
3D Scanning and printing
Timeto print!!!
In this new week it is time to explore the 3D prints and scans, the model used to print is an Artillery Sidewinder SW-X1 whose printing space is 30x30x40 cm. The option used for scanning is a mobile phone because we did not have a 3D scanner at the time of this assignment.

Artillery Sidewinder SW-X1
Week 5 Assignment
📆 February
GroupTask
The group task this time was to review the parameters of the 3D printers to be used, so the first step to print these parameters was to calibrate the printer so that the prints would be accurate.
Calibration
Regarding calibration, this model of Artillery Sidewinder SW-X1 printer has a semi-automatic calibration since in the main menu you can find the option to scroll through the four points to calibrate and the central point. It is preferable to calibrate in X, go to point A and point C and then go to point B and point D. Finally confirm that the calibration has been successfully completed with the center point, it is also advisable to use a sheet of paper to calibrate this printer and make sure that the springs are correctly positioned and adjusted for a successful calibration.

Calibration start

Complete calibration
The first test
The file was downloaded from the Thinguiverse page to test the printing quality of this printer model, the idea of these test objects is to see the printer's capacity with respect to inclined lines, arcs, spherical parts, linear, circular printing, etc. as well as testing the printing speed.
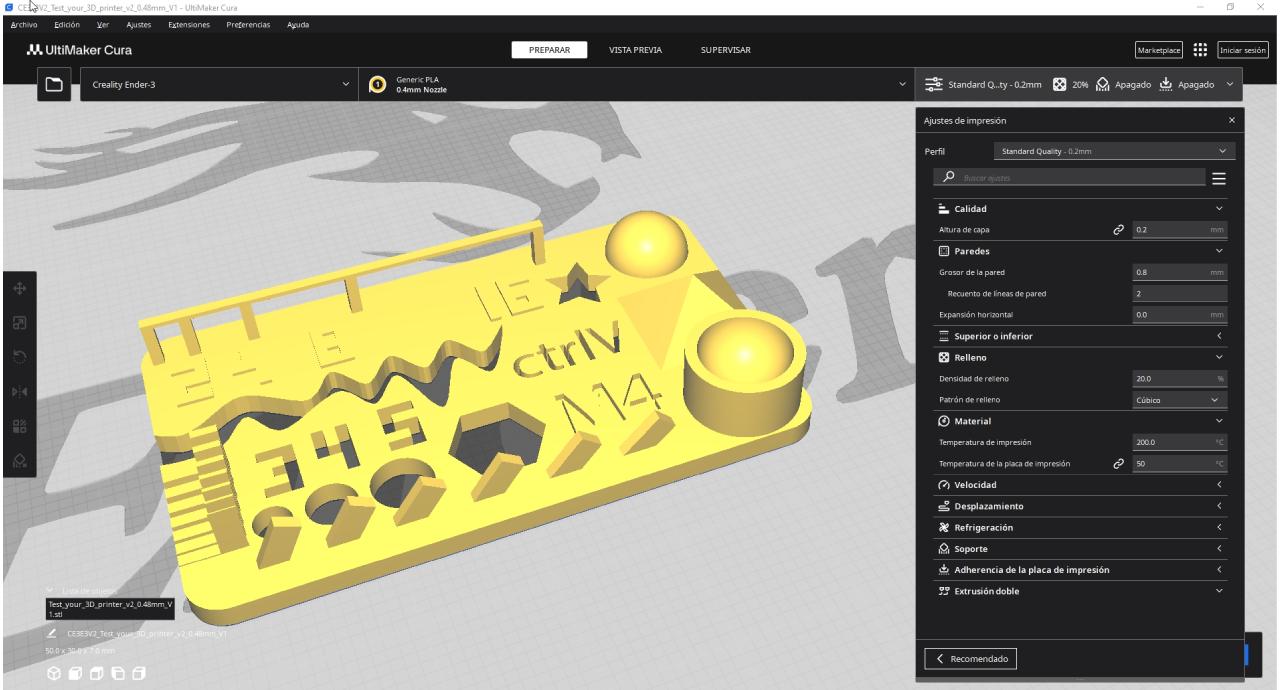
First test parameters

First test is printed

Printing start

Finished print

Object to test
The second test
The object of the second test was chosen because of the amount of detail it contained compared to the object of the first test, in addition the impressions were circular in shape and the dome was much larger.
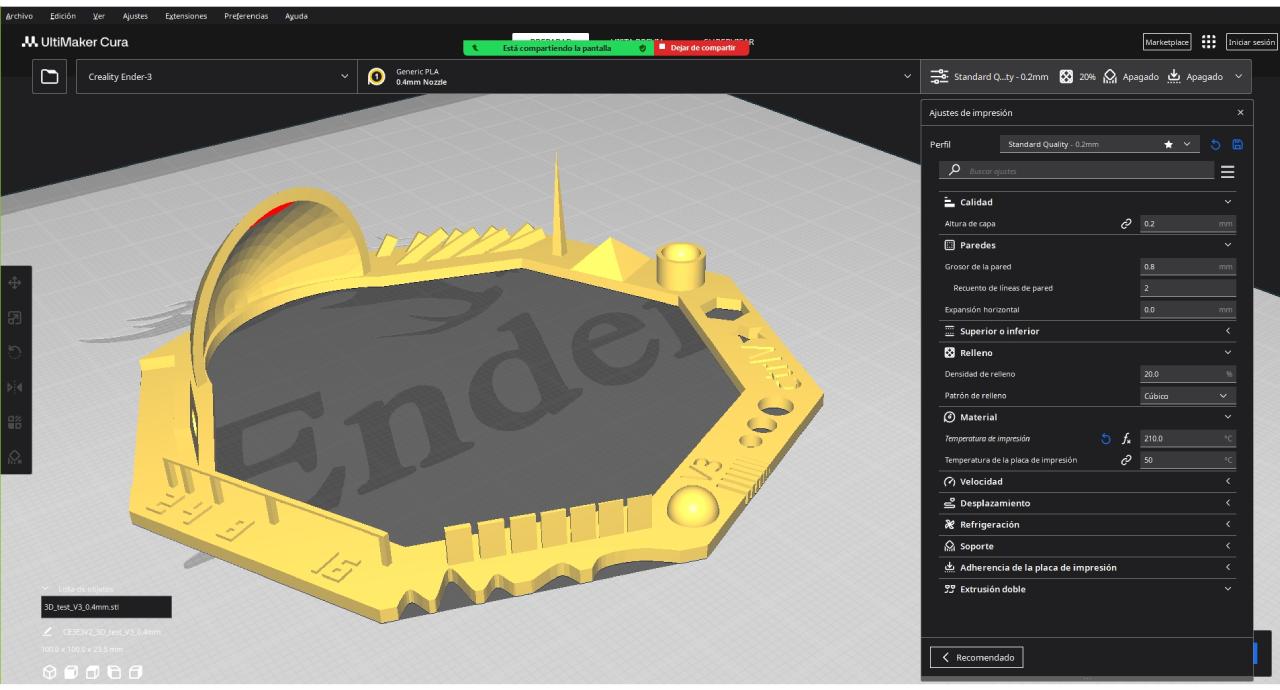
Second test parameters

Second test

Completed test
The third test
Regarding the third test, it was used to check the printer's ability to print curved parts without the need for supports or generated support and to see the quality of this type of printing, as well as other extra details.
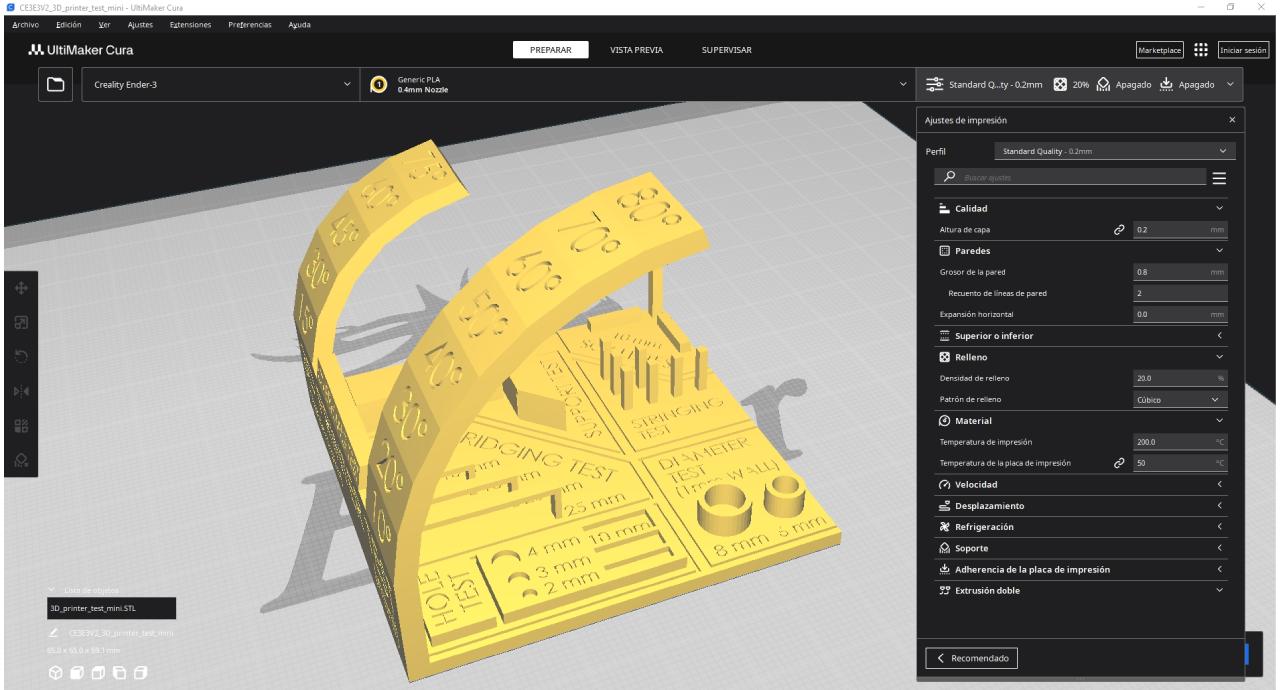
Third test parameters

Third test

Completed test
IndividualTask: 3D Print
It was time to test the 3D printer and for this I developed two 3D designs.
The first test
The first design I developed was those cubes that are inside others that can't get out, however I didn't consider the minimum measures for 3D printing and some parts of the design were too thin, so the design failed and when it was printed, it didn't work. It is important to consider minimum measurements depending on the size of the nozzle that the printer has, so that it can be structurally viable and also consider gravity.
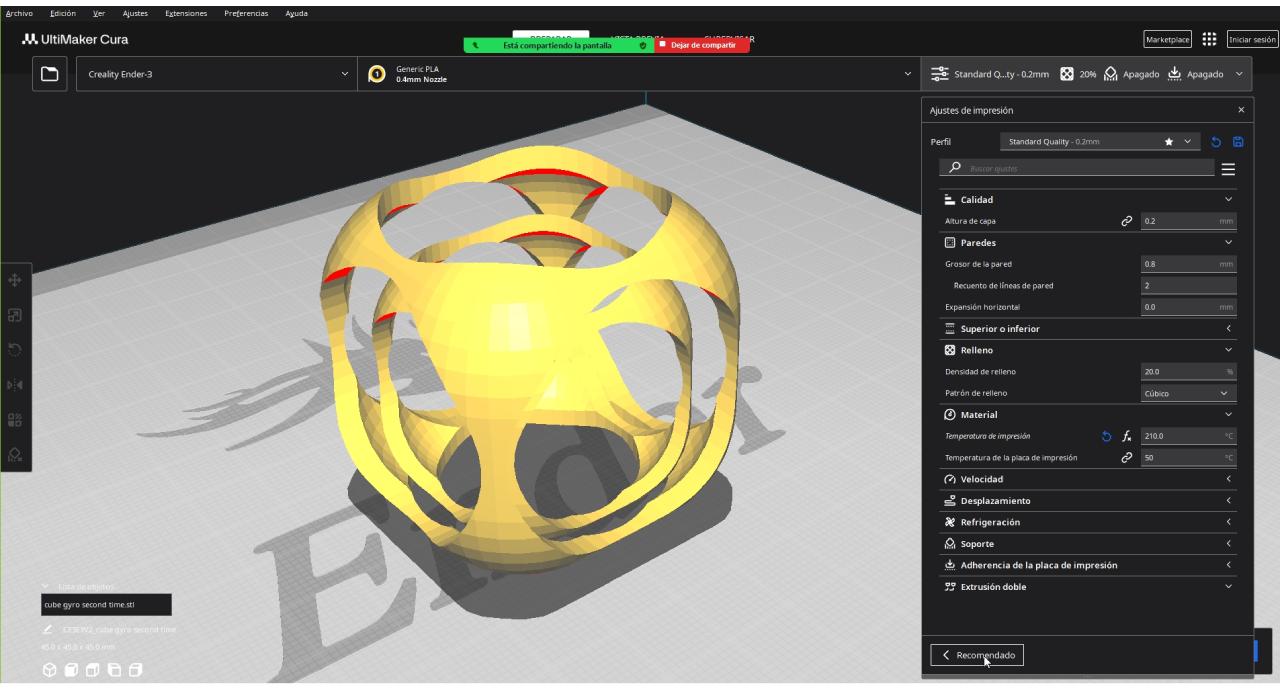
First print parameters

3D Printing at UltiMaker Cura

Print layers

Starting 3D printing

Failed printing
The second test
The idea was to design a sea snail using the Fibonacci method, so I followed this tutorial. After following some steps and using Grasshopper I got the shape of a sea snail.
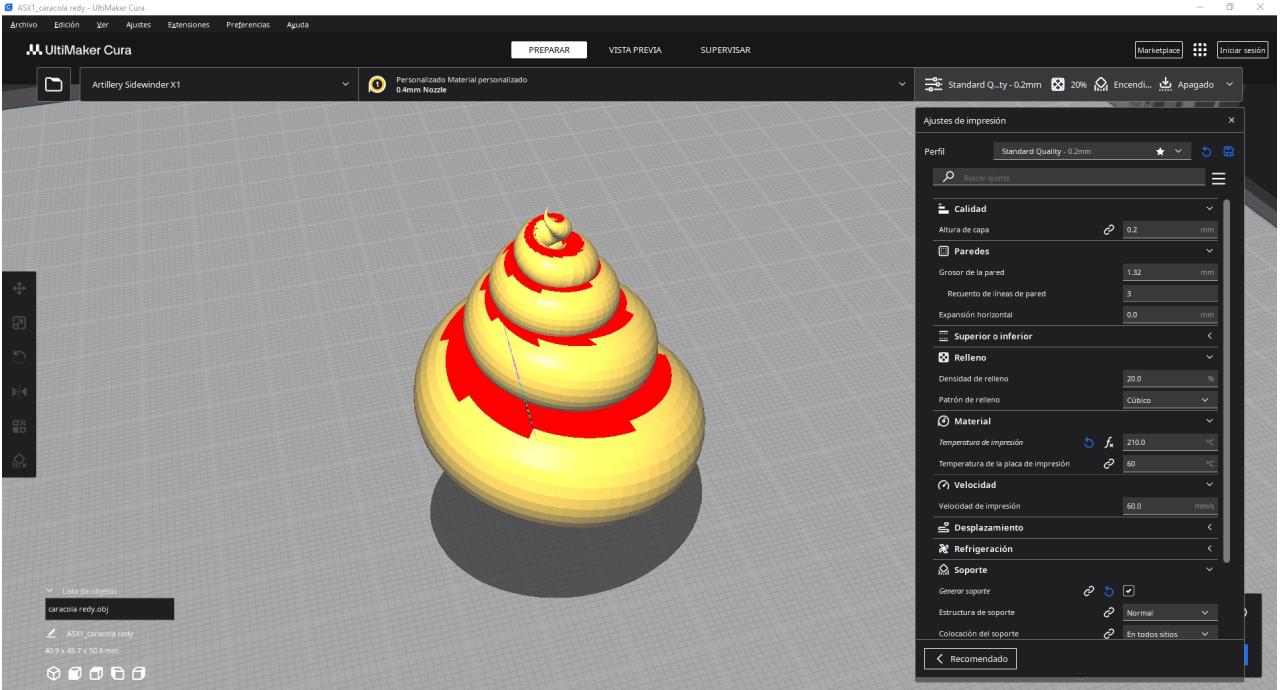
Second print parameters
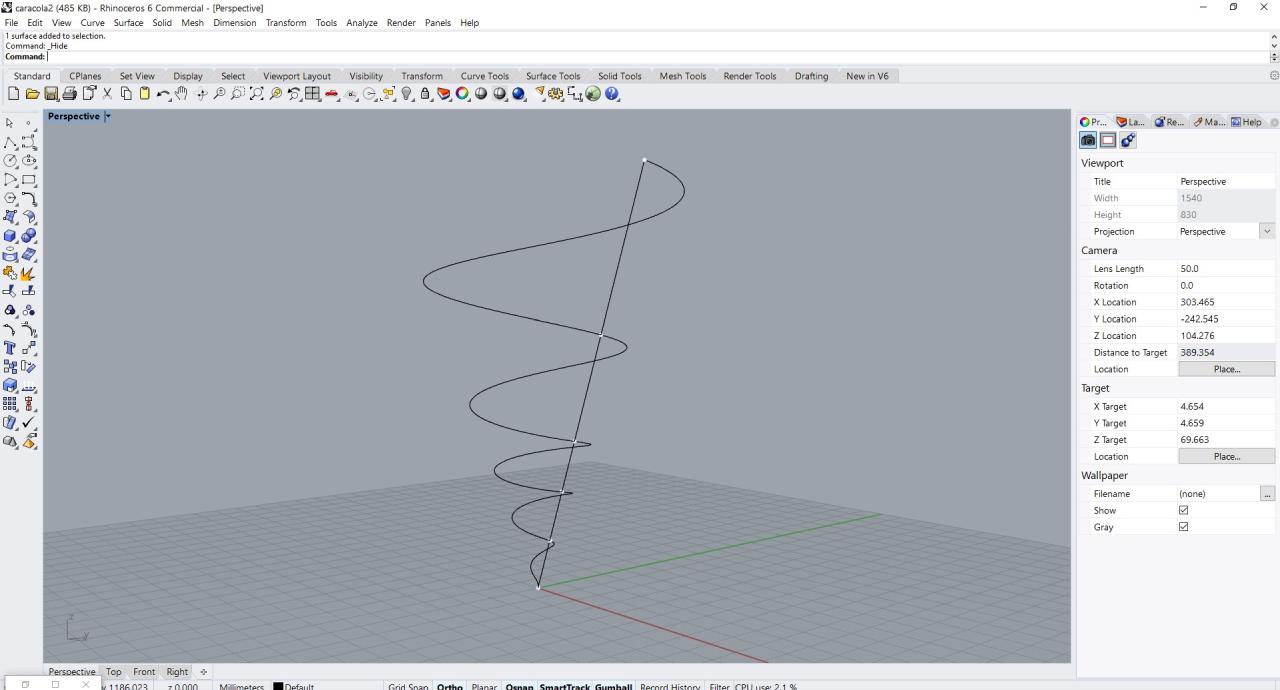
Fibonacci Proportion
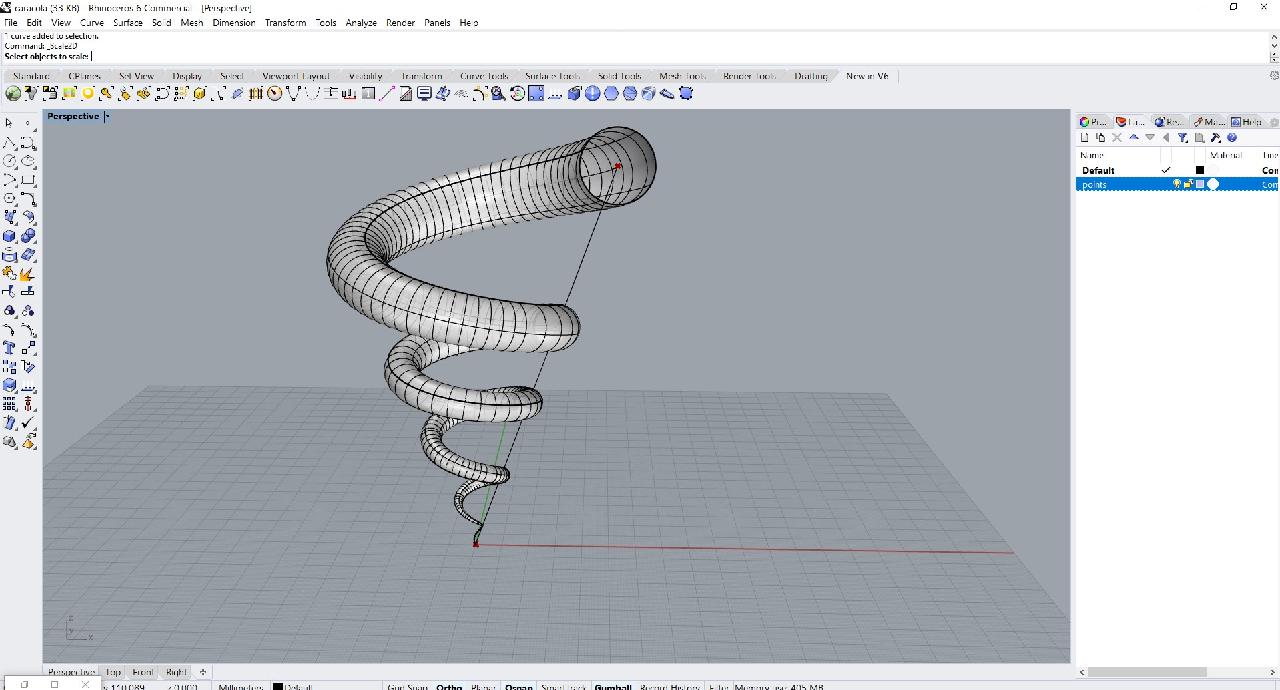
Sweep 1 rail
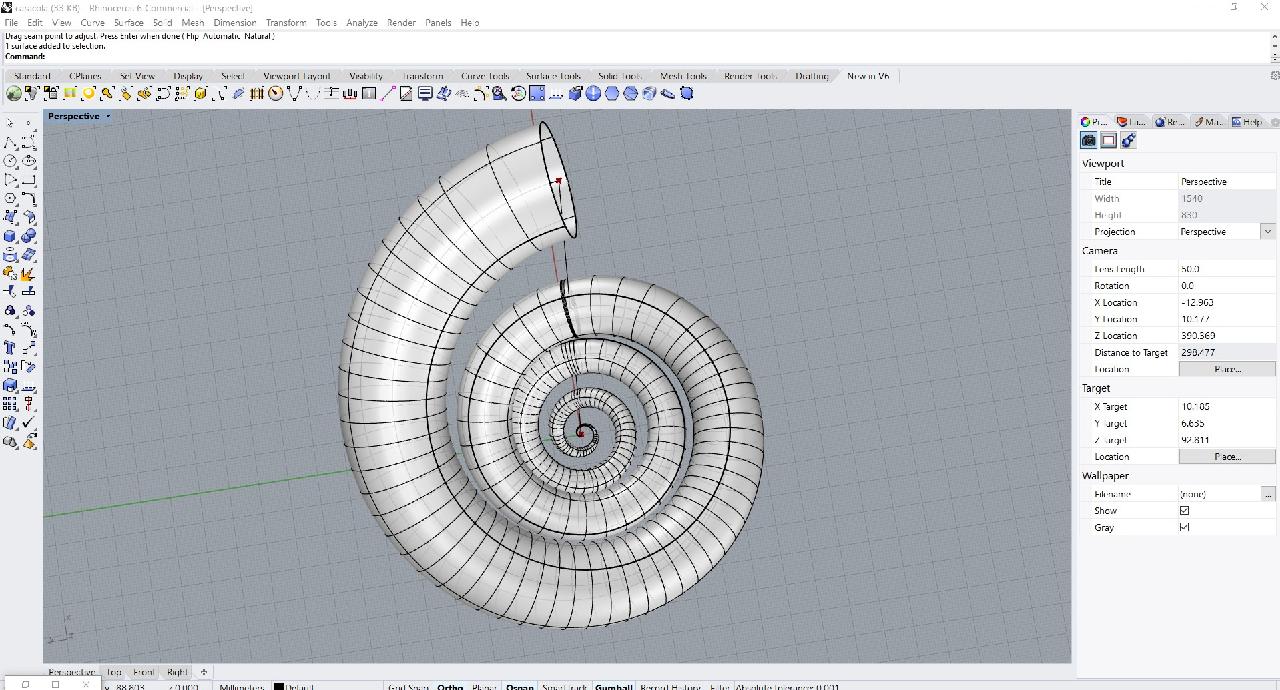
Top view
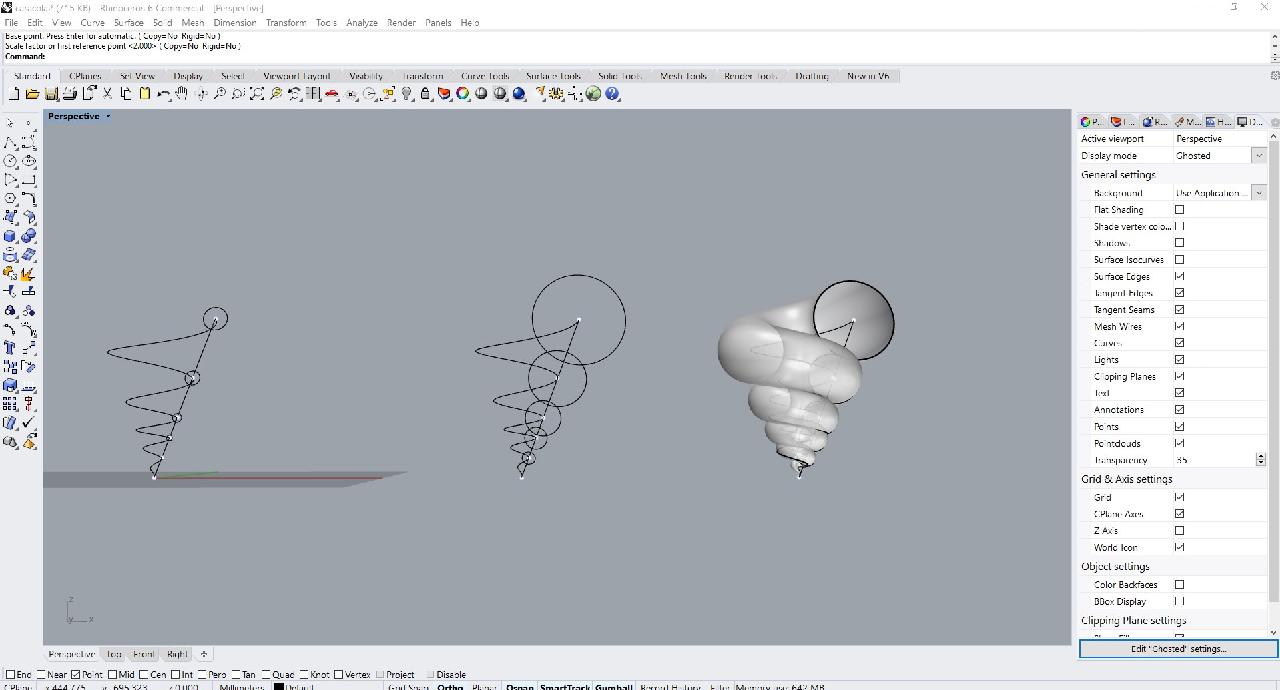
Scale circules
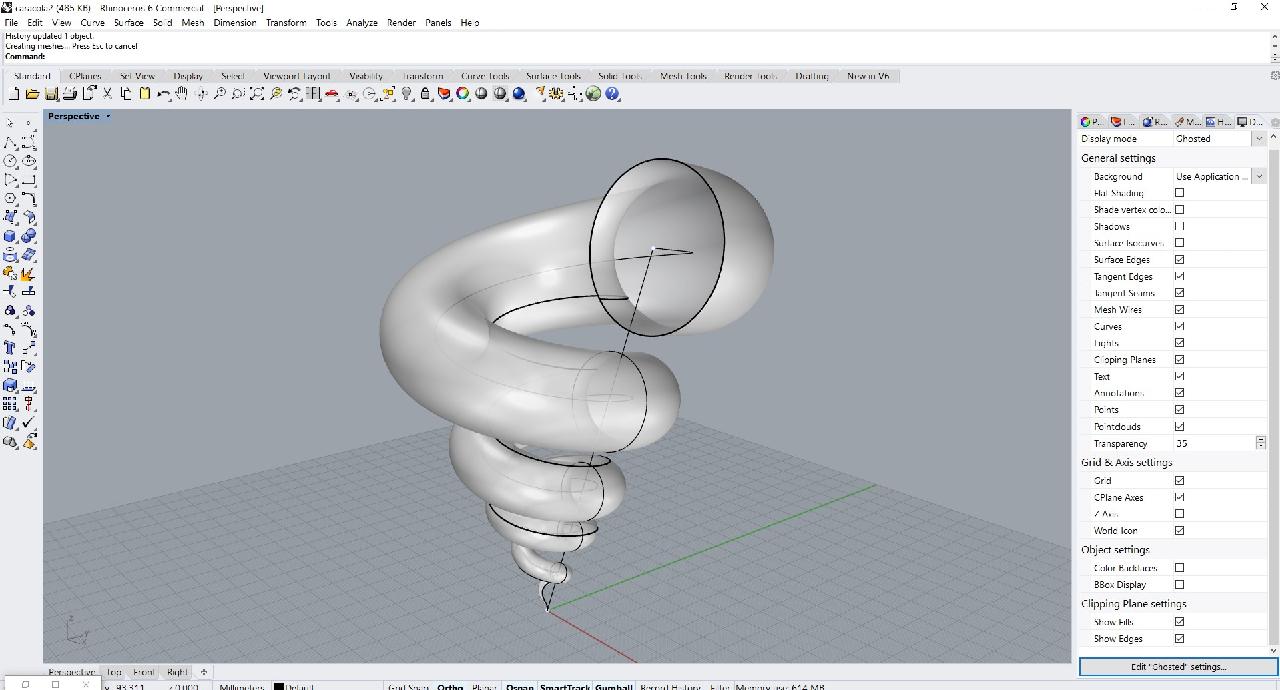
Sea snail
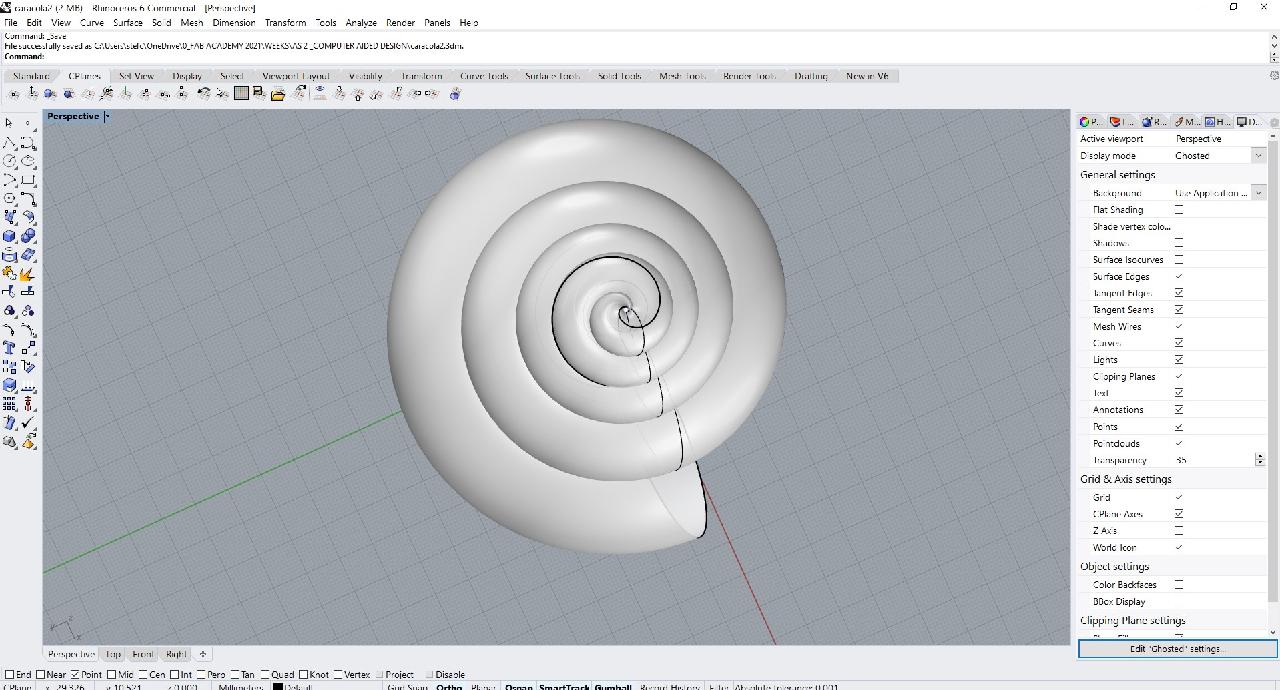
Top view
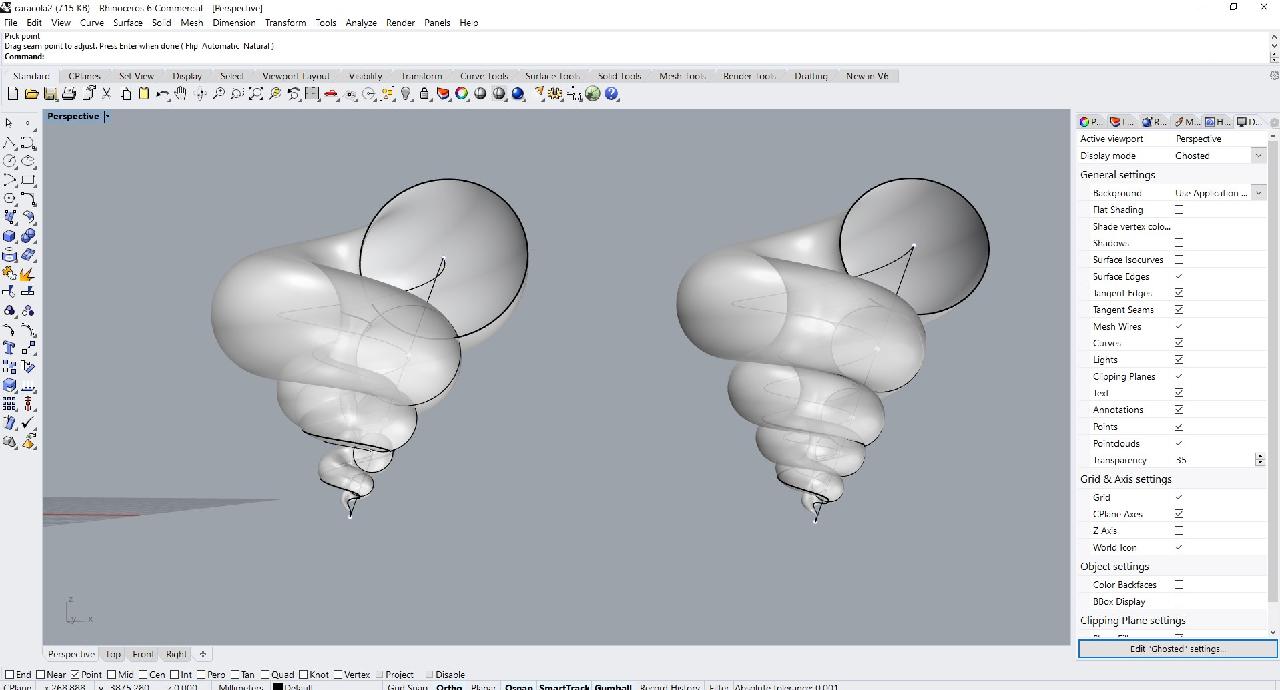
Front view
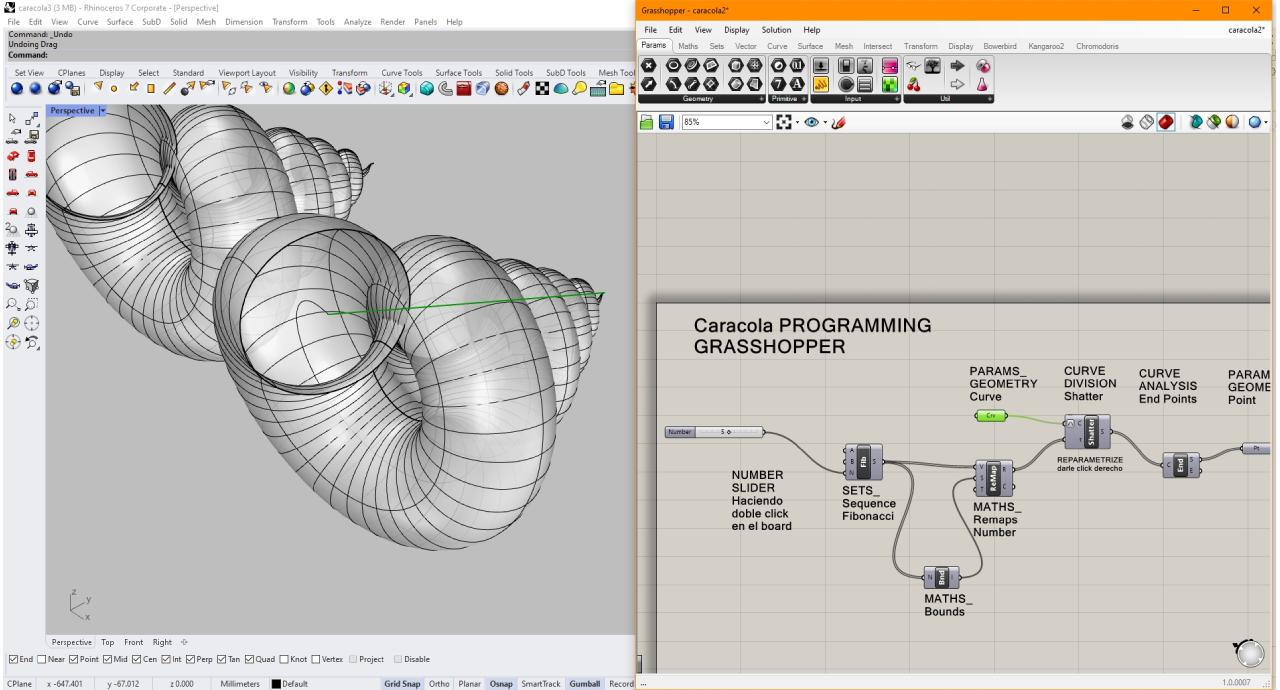
Grasshopper

3D printing setup in UltiMaker Cura

3D printing setup in UltiMaker Cura

3D printing in semi transparent PLA
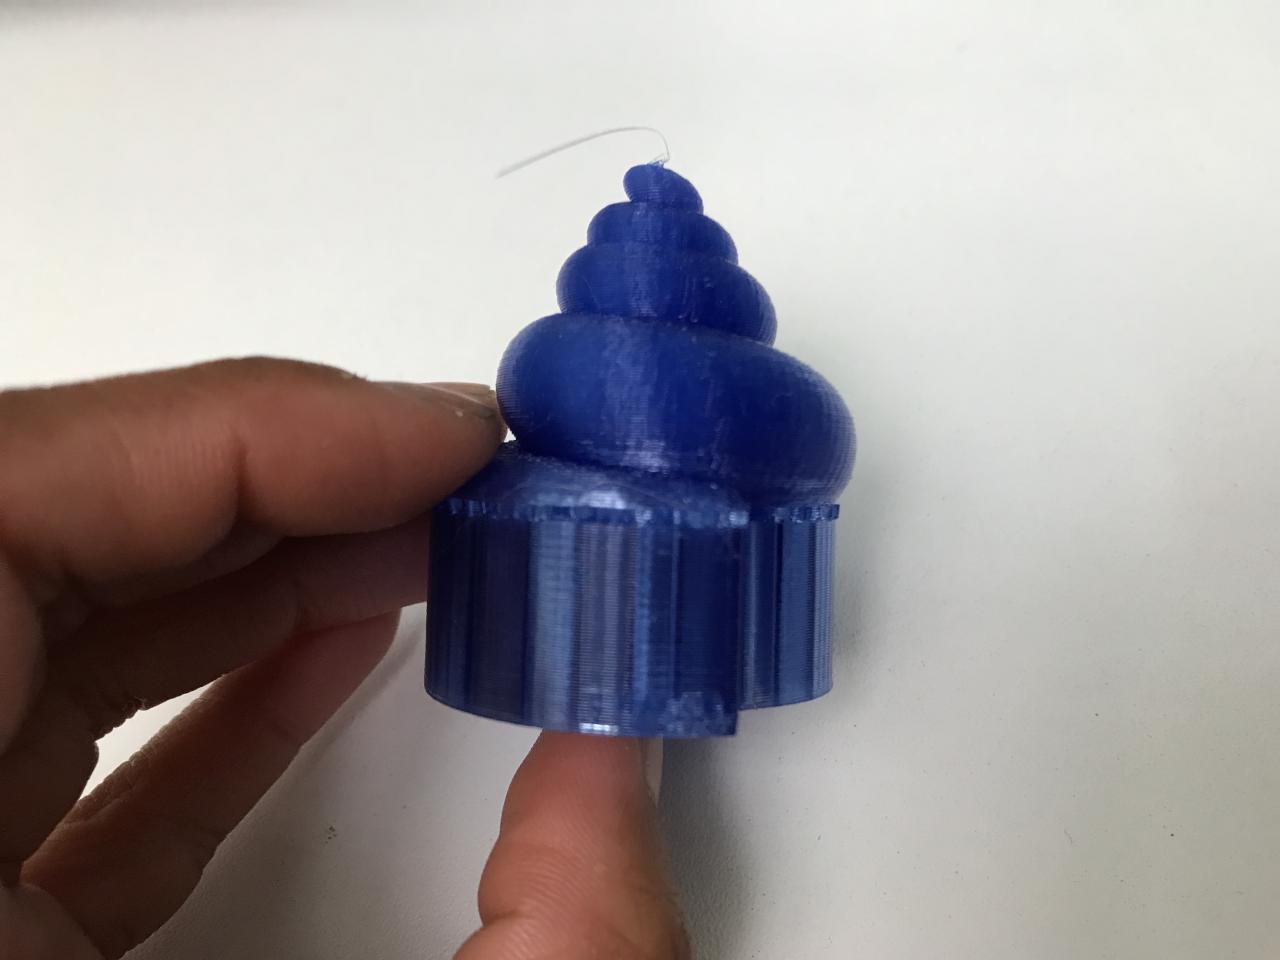
3D printing in semi transparent PLA
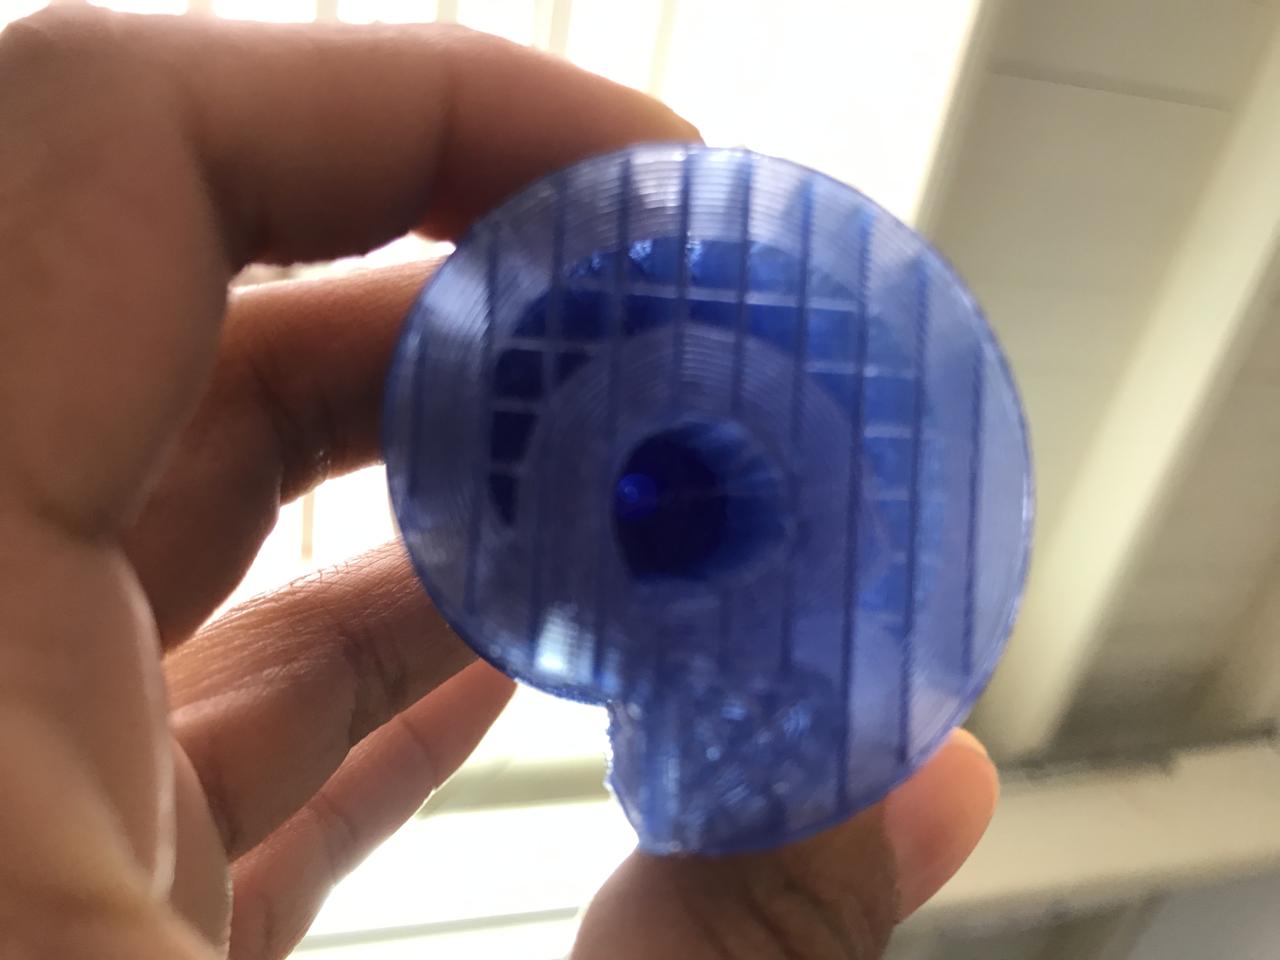
3D printing supports
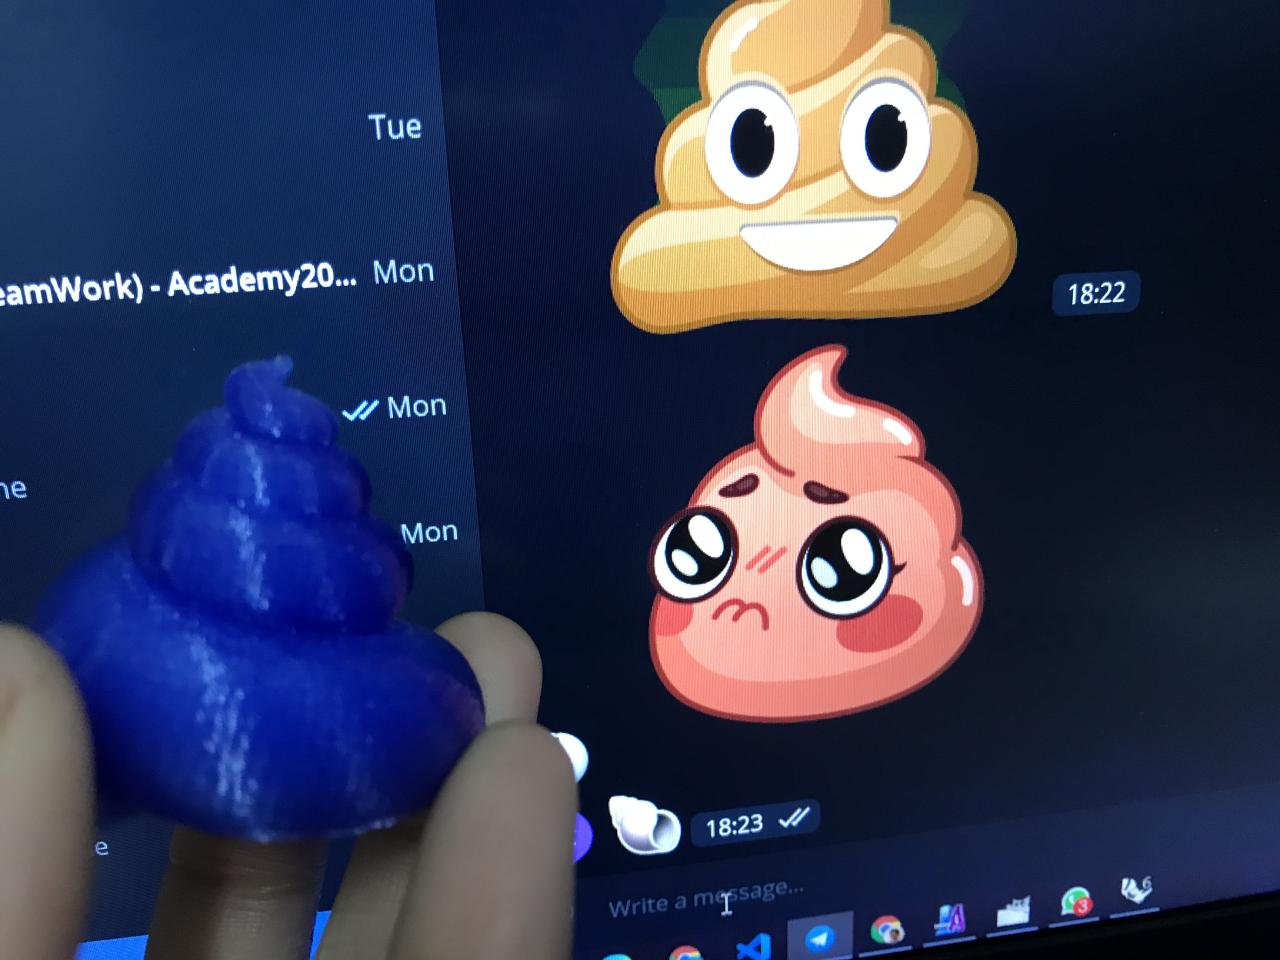
Final print
IndividualTask: 3D Scan
As there was no laboratory to go to and use 3D scanners, we used our cell phones to scan, they were times of confinement, so the Qlone application turned out to be perfect for this task. The only difficulty is that to export the files in various formats such as .obj or .stl you have to pay a membership fee.
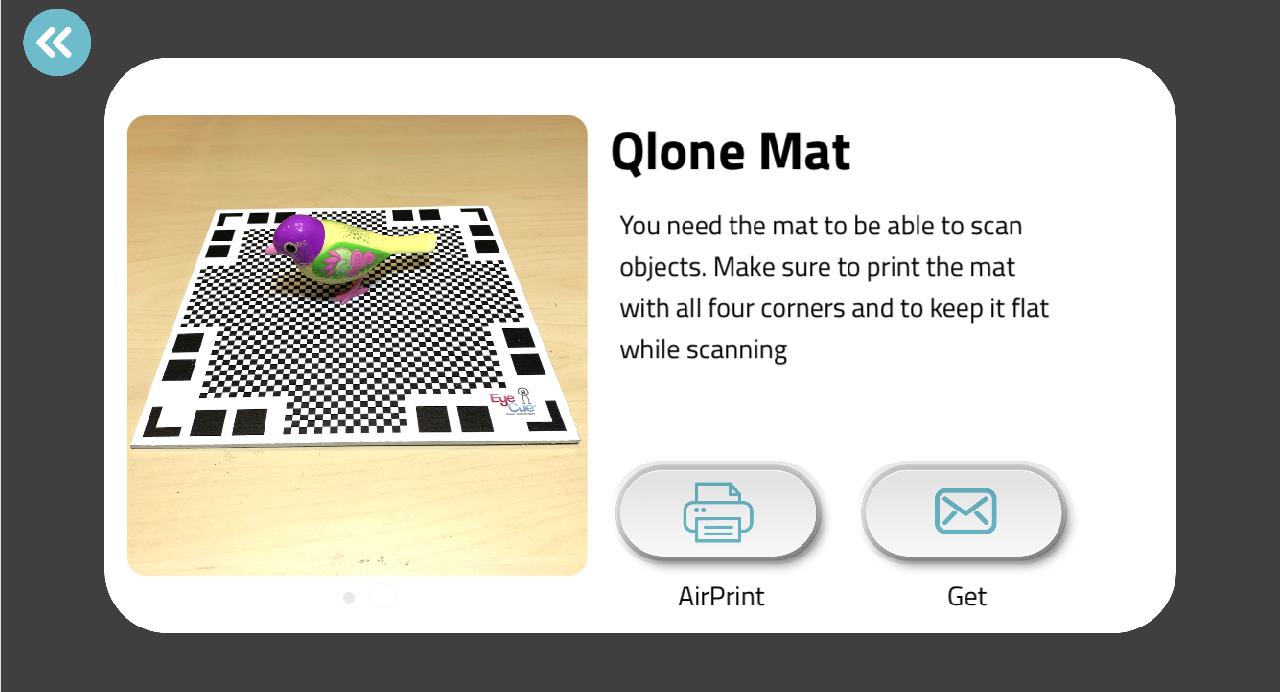
Qlone needs a mat for scanning
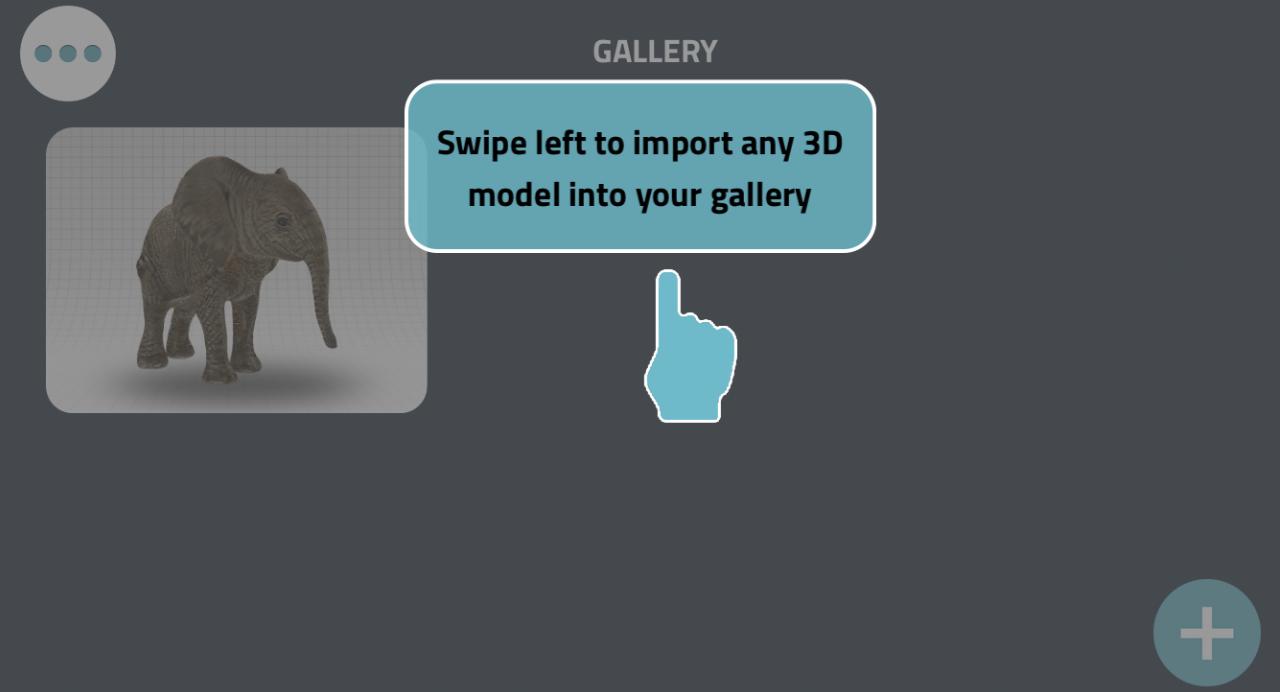
Gallery
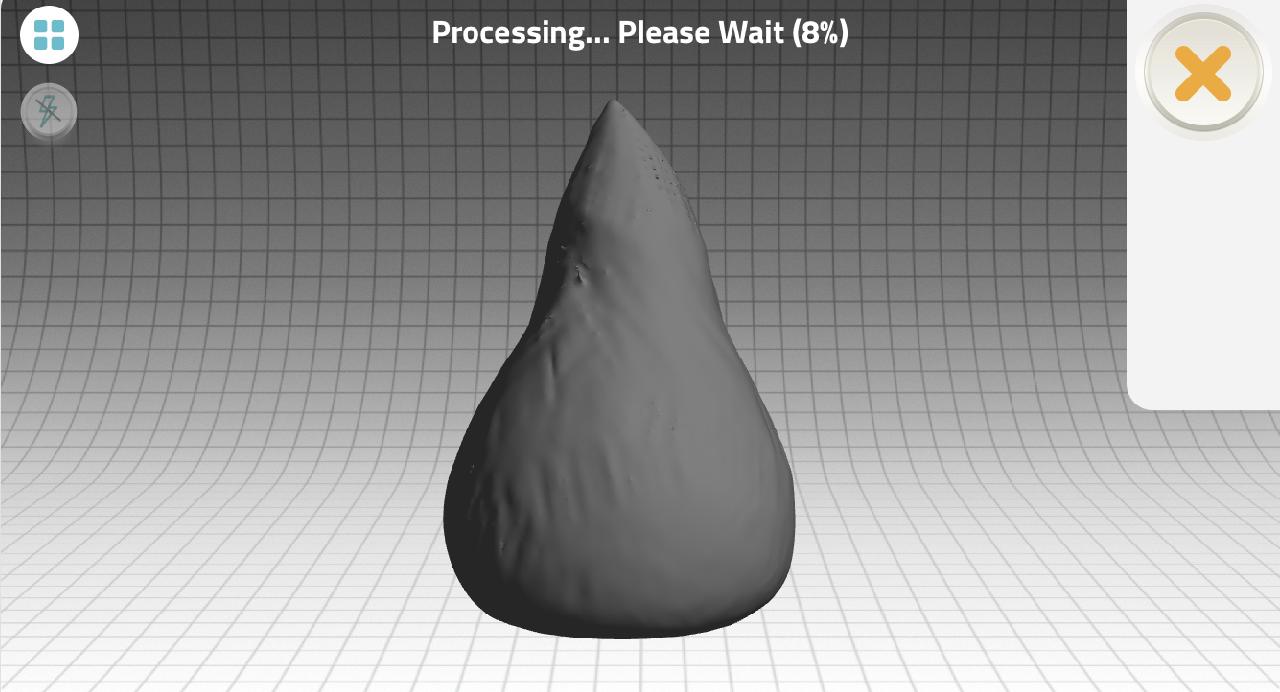
3d scanner in process
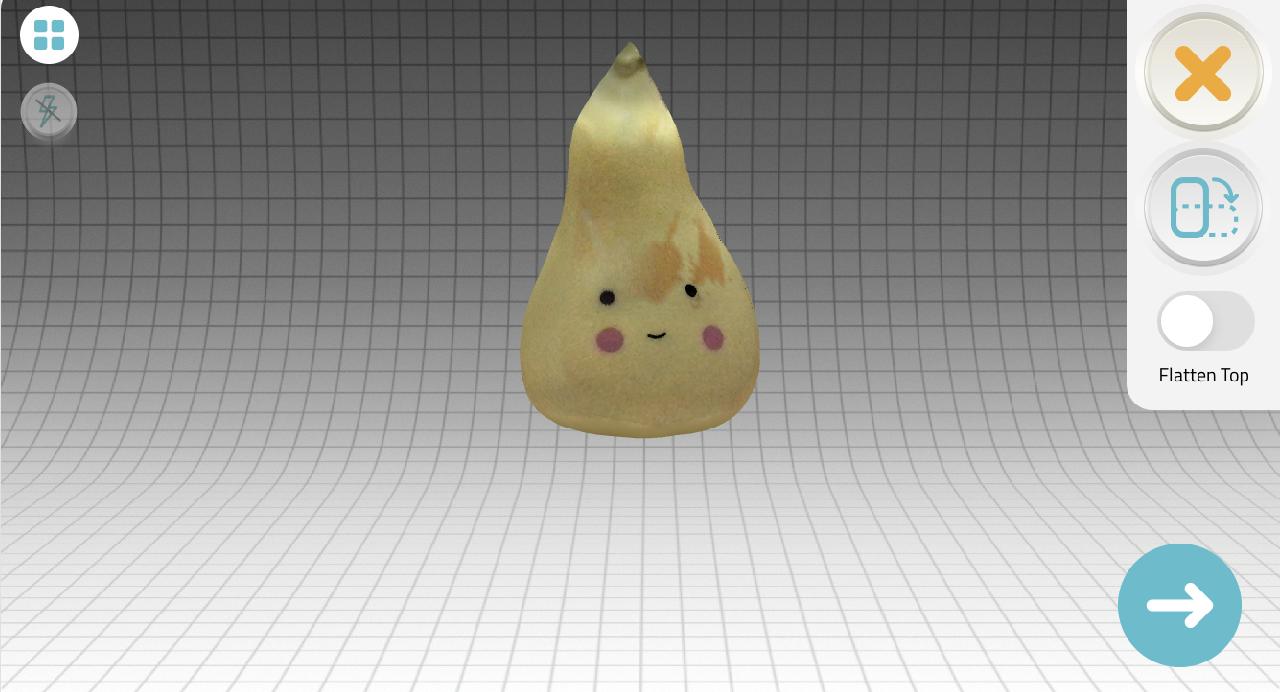
Finished scan
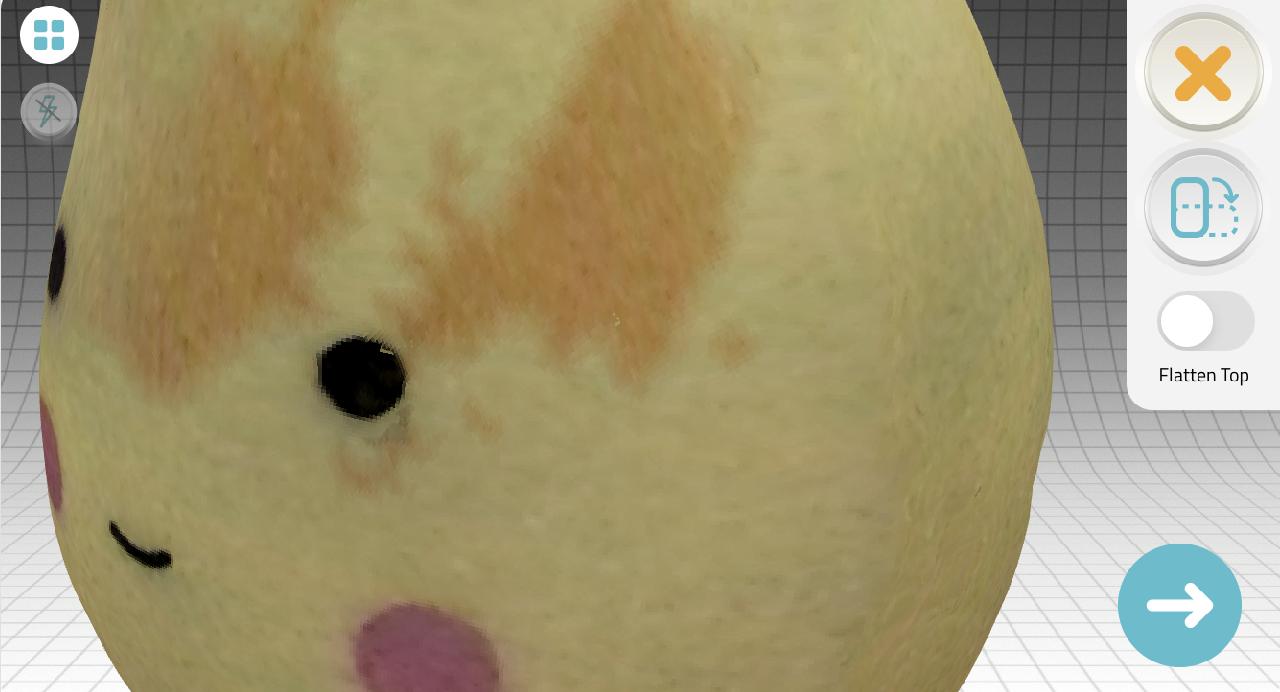
Good detail quality
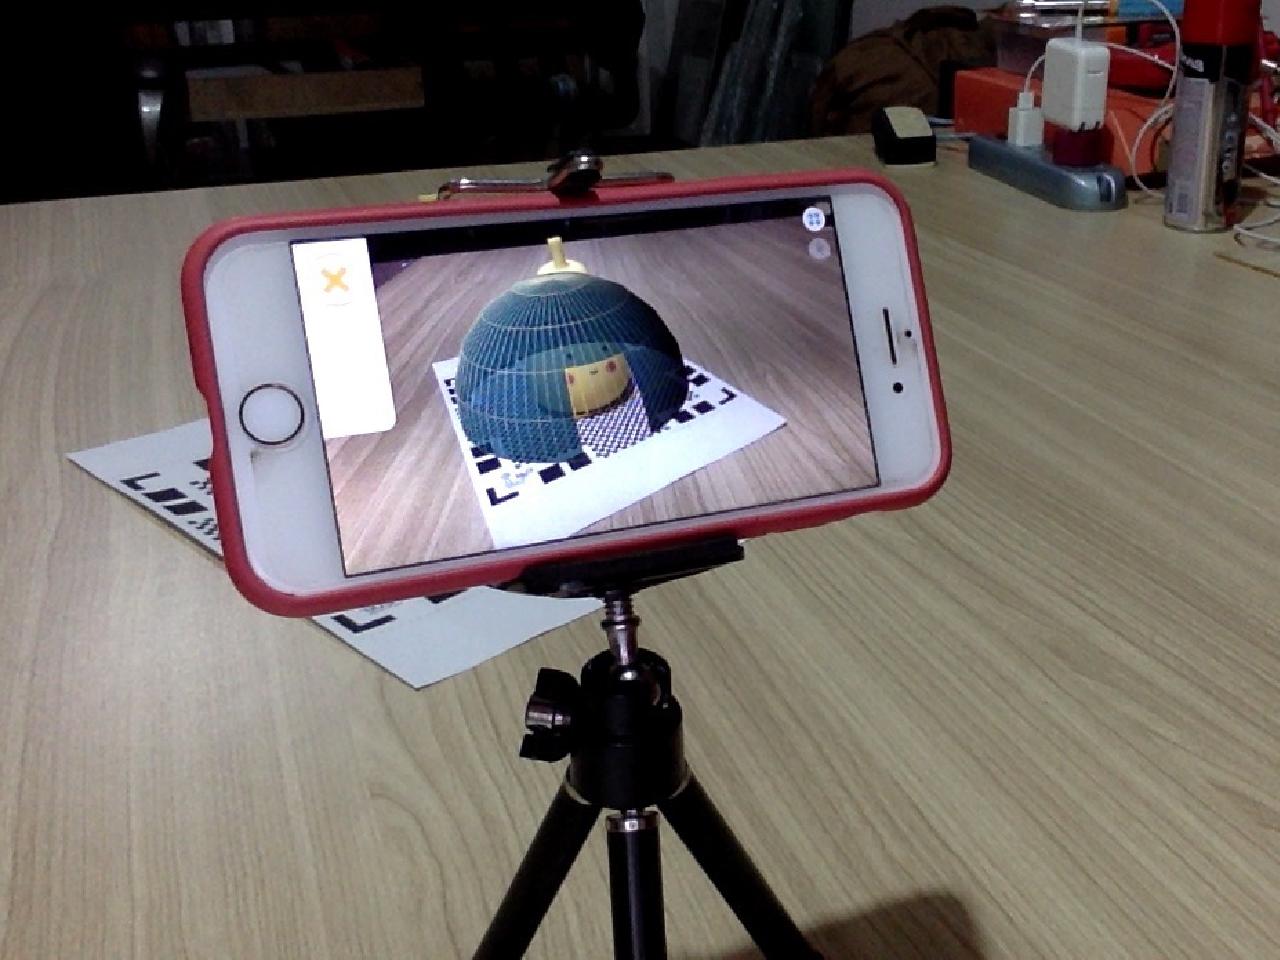
Scanning process
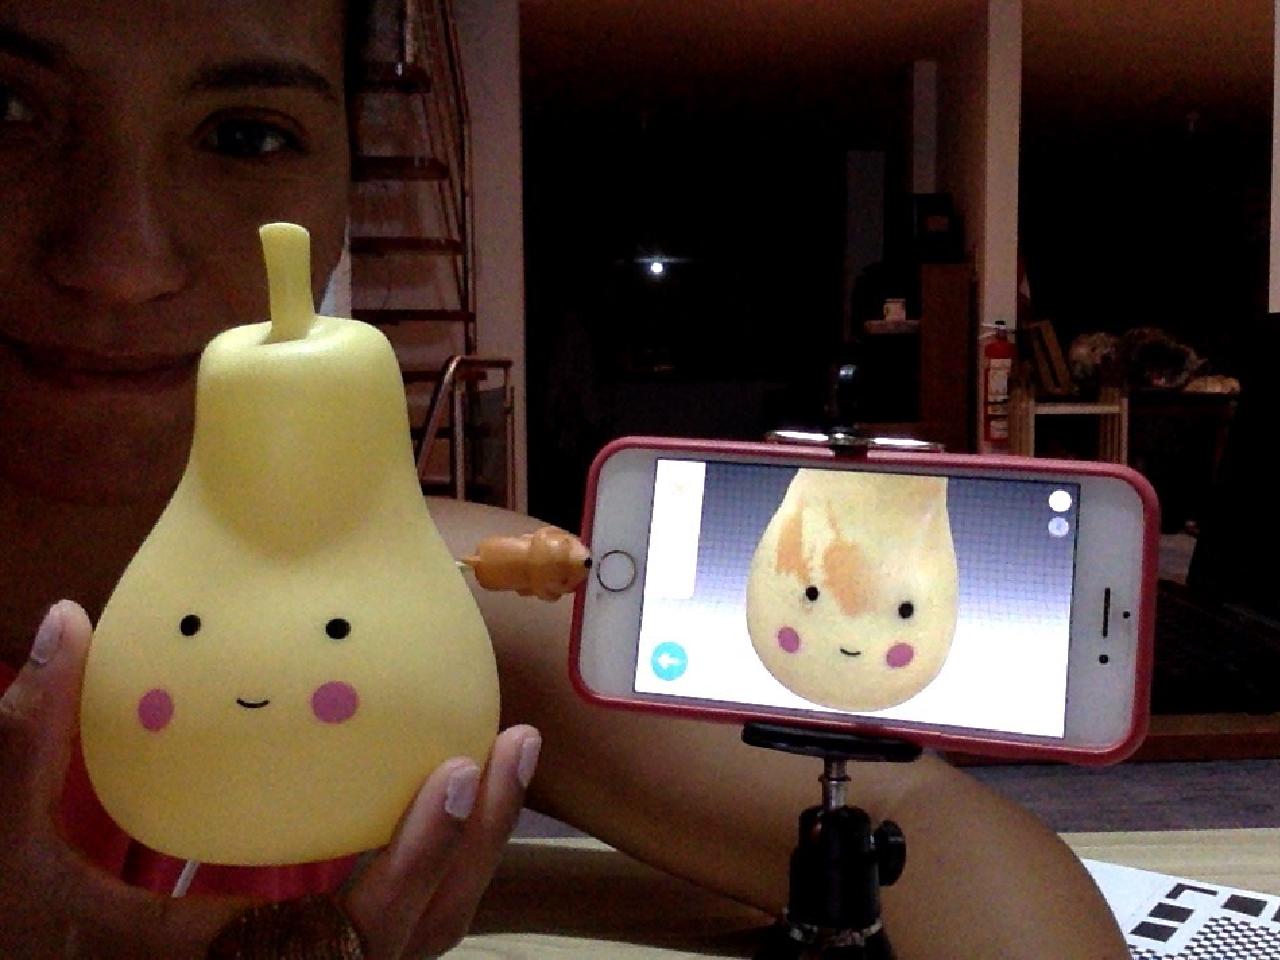
Final result
AboutLearning
- Not all that glitters is gold, the tutorial looked great, however the end result is a bit of a strange design.
- Although I wanted a kind of elegant sea snail for the design, I got a design very similar to an emoji 💩.
- The apps Qlone and 3D Magic Scaner work very well for scanning from the mobile phone, however both are paid and therefore if you do not pay you can not download the 3D objects.
My Verdictfrom what I learned
- For 3D printing there are certain considerations to be taken into account when designing, such as gravity, the shape of the print and the quality you want to achieve depending on the size of the nozzles.
- For 3D scanning it is necessary to have enough light in the environment, the parts that are black are not scannable because the camera does not detect them correctly. In addition, it is necessary to have a rotating base or a bench or a circular space where you can rotate around it to be able to capture all the angles of the object to be scanned and the scanning will come out well. If you use Clone you have to use the template guide anyway, however, in 3D Magic you do not have to use the template guide.