2. Project management
Part A: GIT
git is an open-source distributed version control system. version control is a project management tool that keeps track of changes in the files, each time a change is made and committed, it gets a unique identifier which makes it easier to roll back to any previous version since it only keeps track of changes, it doesn’t keep too much storage.
another useful tool in git is branching, branching is a useful tool in git, as it allows the user to branch apart experimenting with new features without risking the functionality of the working project, once the experiment is a success, git has a merging tool that helps to add the extra code to the main branch.
I will be using git in a windows 10 machine using Linux subsystem for windows 10, you can follow this tutorial to get it, I installed ubuntu since I am a bit familiar with it.
after installing it try this command:
git --version
if the following response may be with a different version number comes up you have git in your system, if not follow this tutorial to install it.
git version 2.25.1
now after git is installed, I will make a new project to show how to use it.
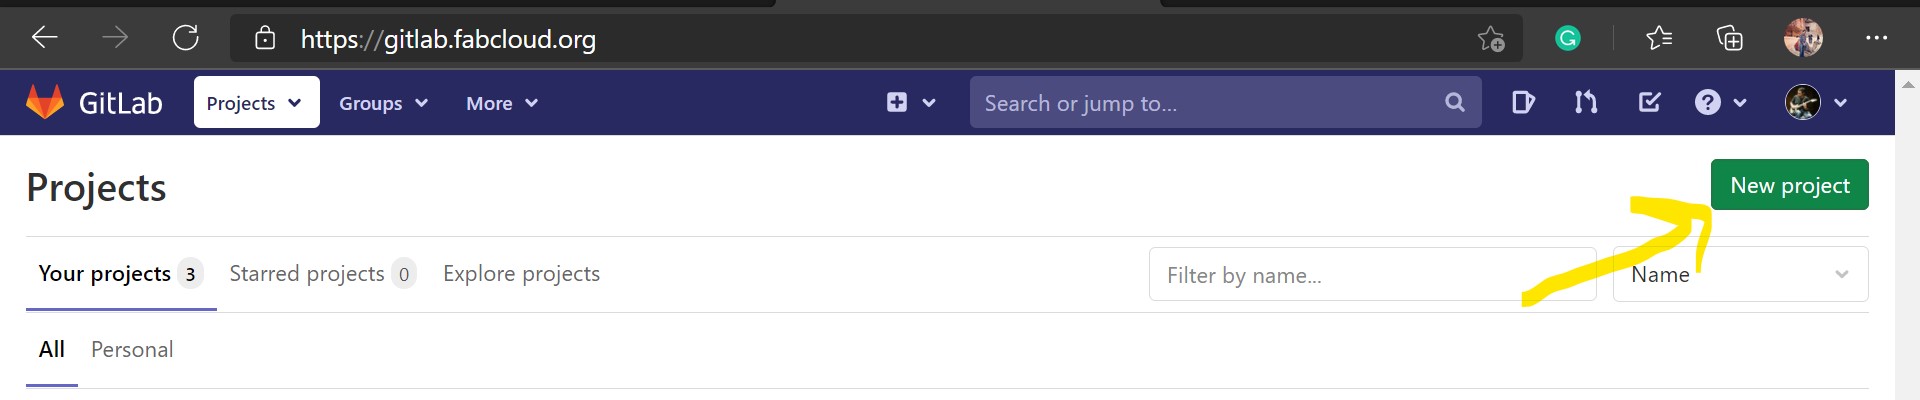
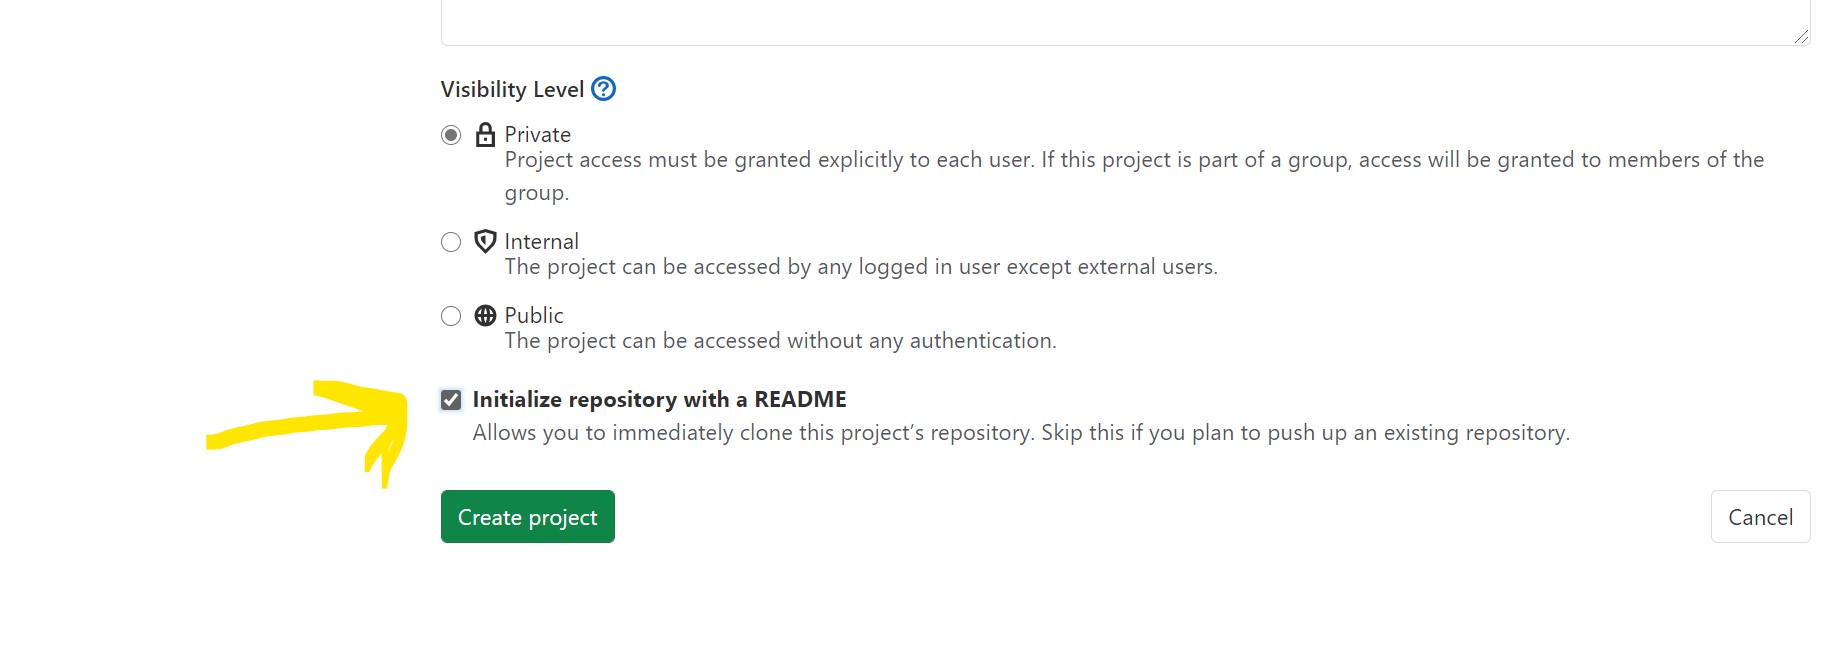
create a new blank project
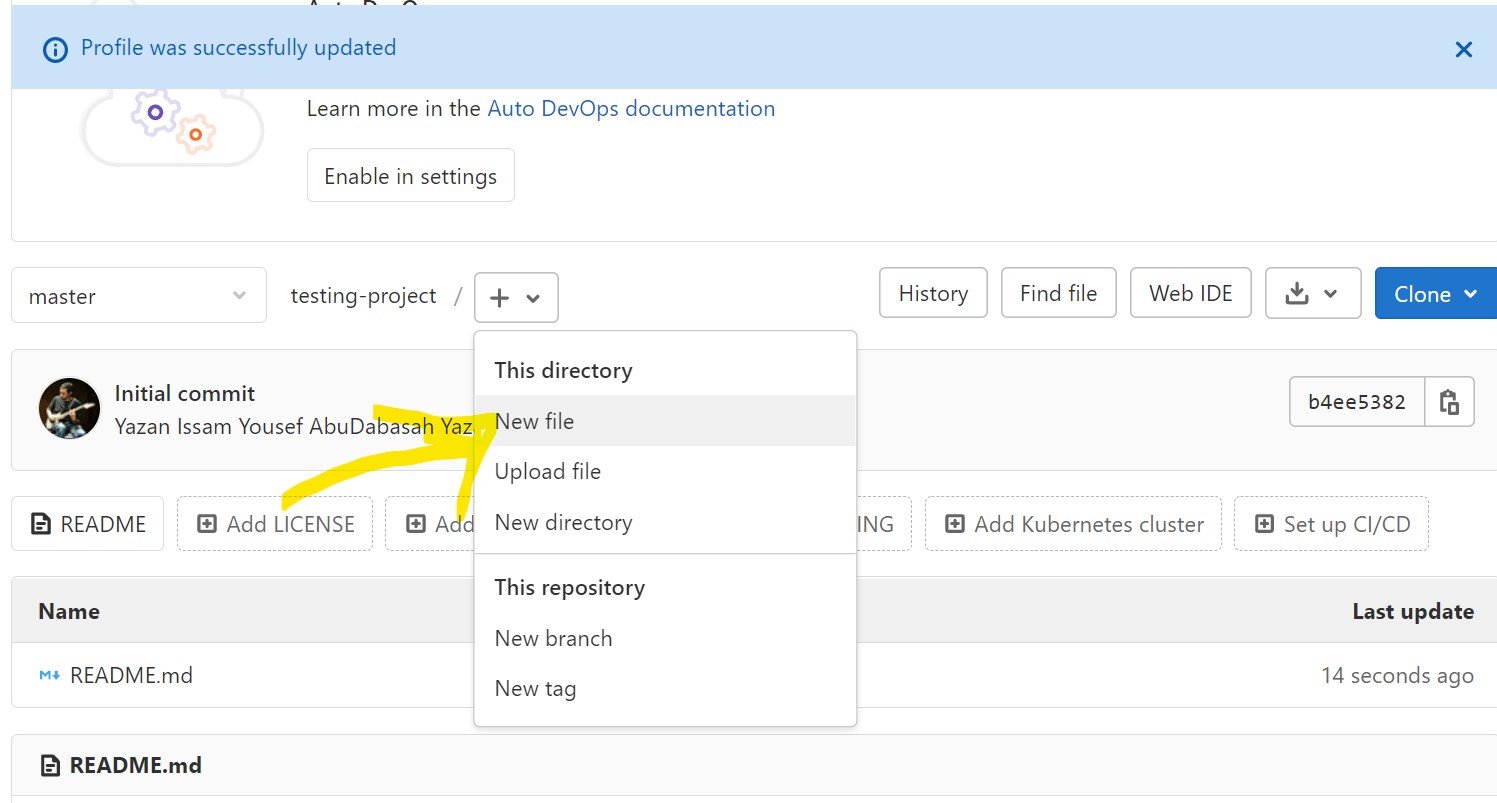
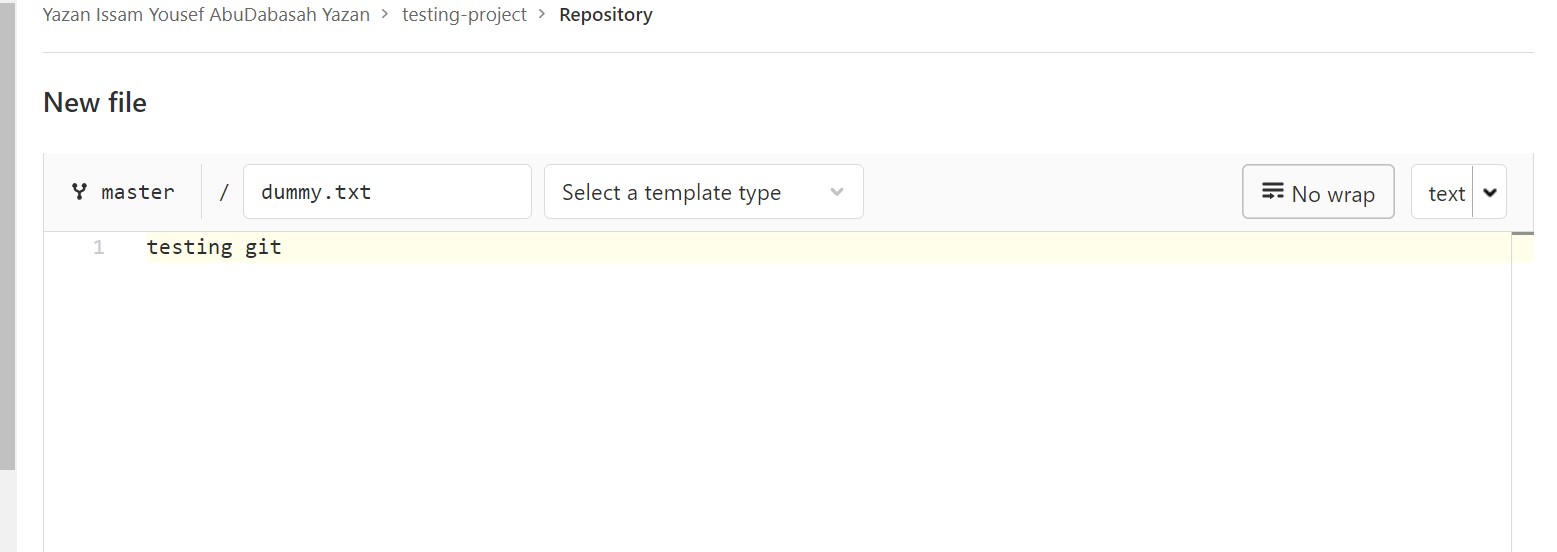
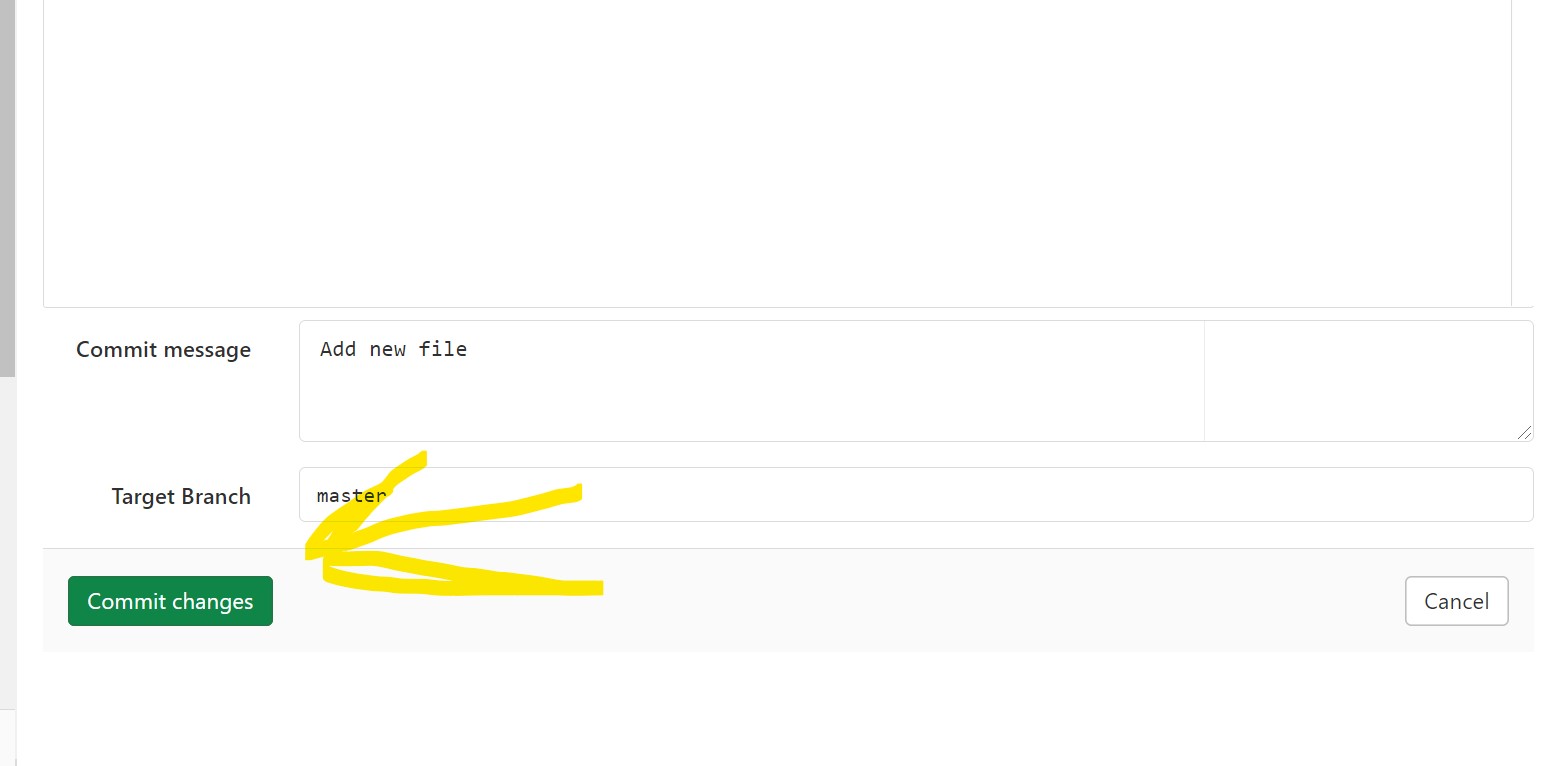
create a new blank project in git lab from the browser and make a dummy text file in it.
 —
—
 —
—
 —
—
 —
—
 —
—
Clone the project to local PC
navigate using cd to the folder that the project will be located at, I will place the project in the d drive to easily navigate to it in the windows file explorer app,
cd /mnt/d
clone the project to your computer using this command
git clone https://gitlab.fabcloud.org/yourusername/projectname.git
get the link from the main project page under clone, 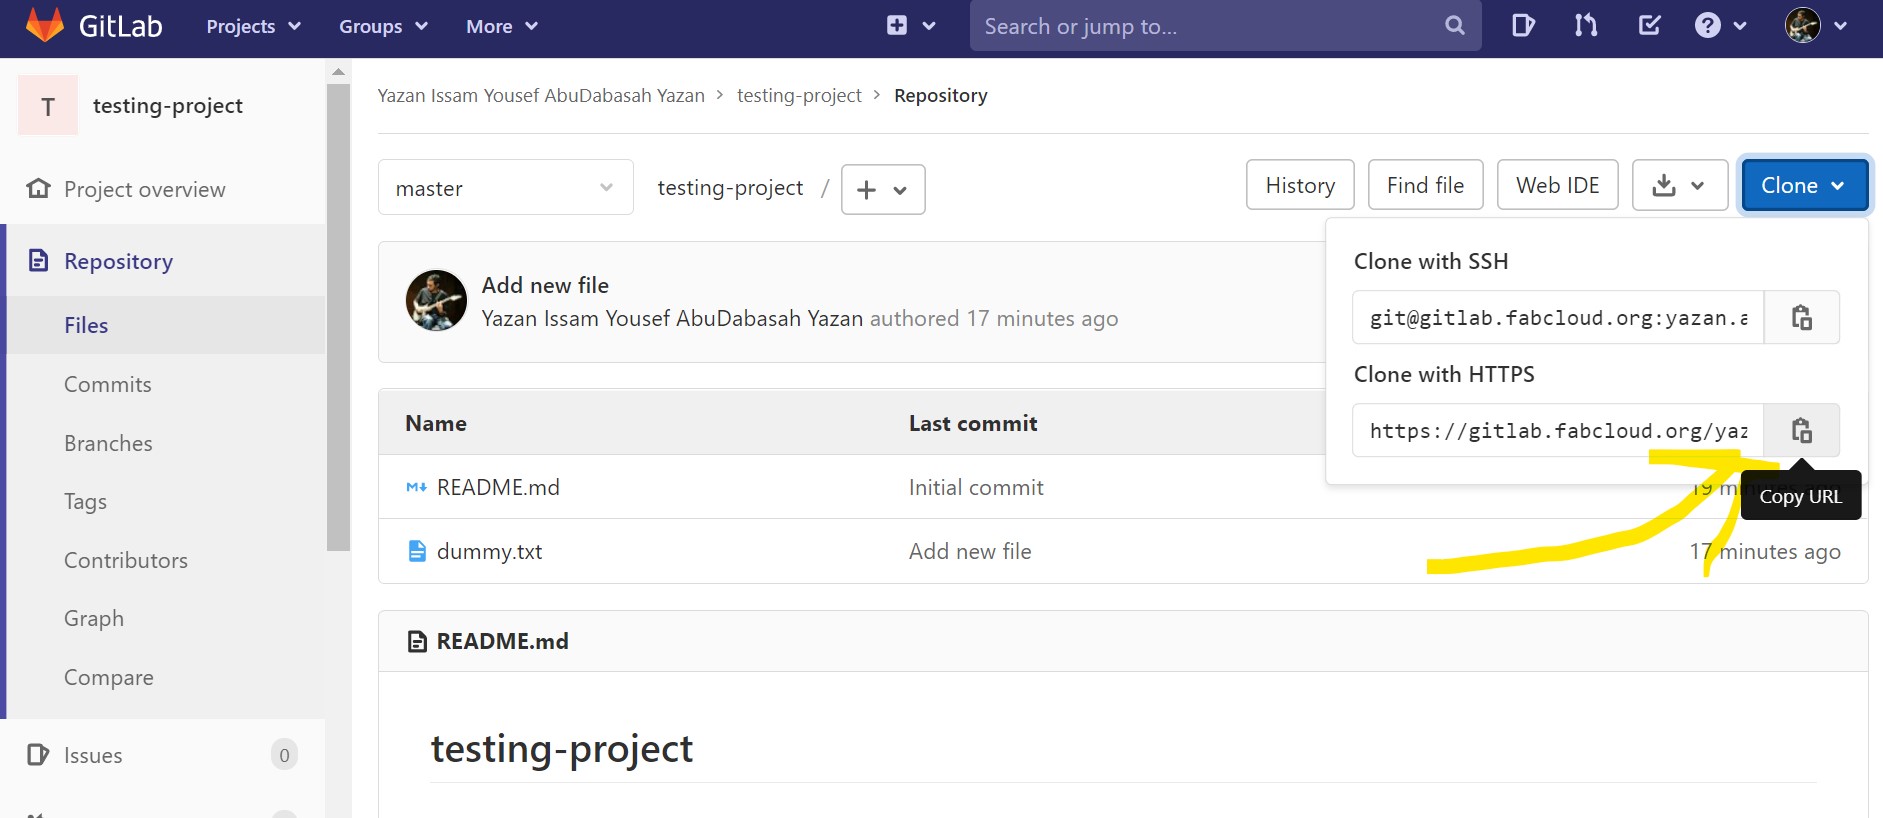
Edit
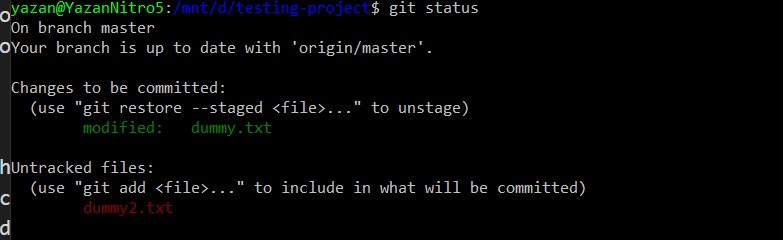
here I modify the text in the dummy file to showcase git usage 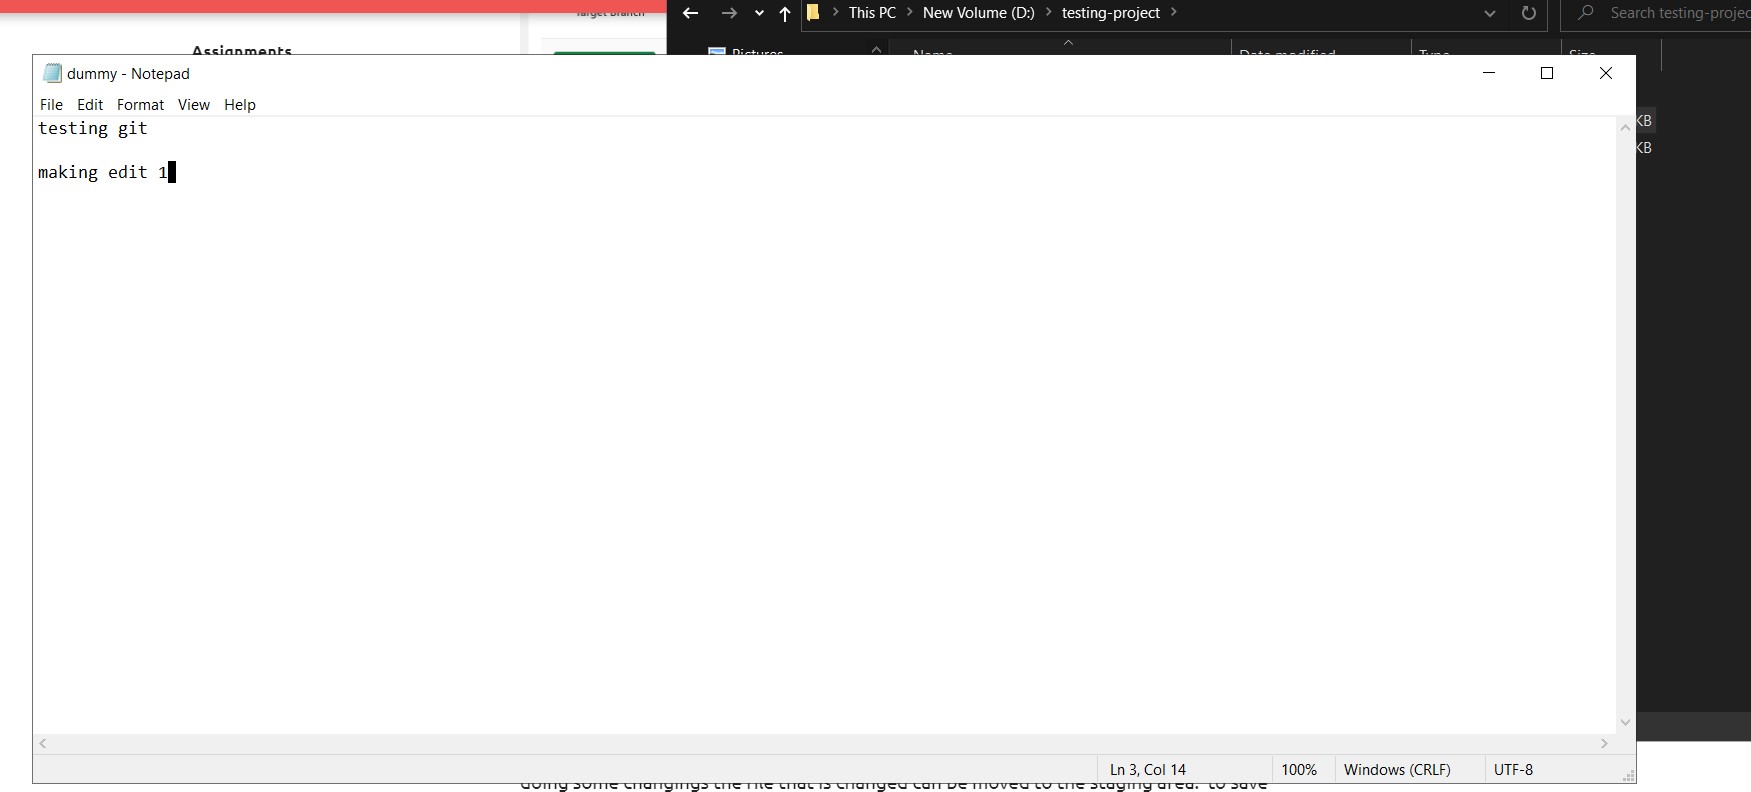 after moving to the new project folder in the linux terminal I can use the following command to check my project status
git status
and here it shows that the file has been edited 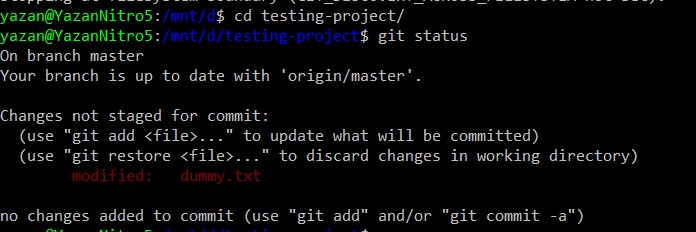
Add the edit to the project
git has three major sections in which the project is located, the file itself is the workspace, after doing some changes the file that is changed can be moved to the staging area.
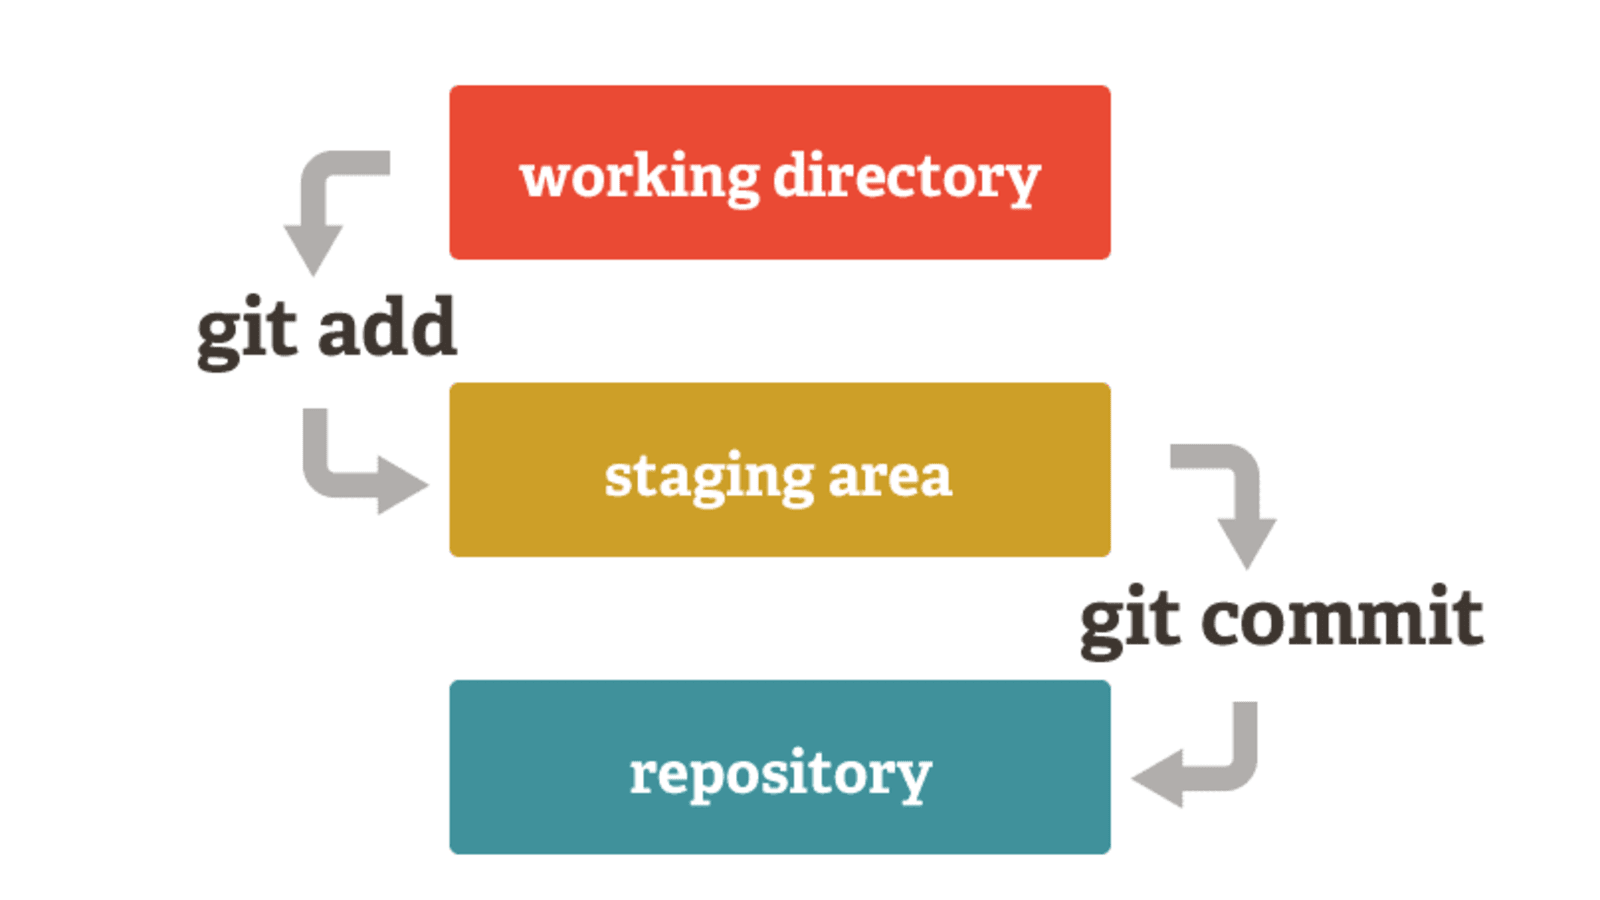 to save the changes to the staging area, I use the command:
git add dummy.txt
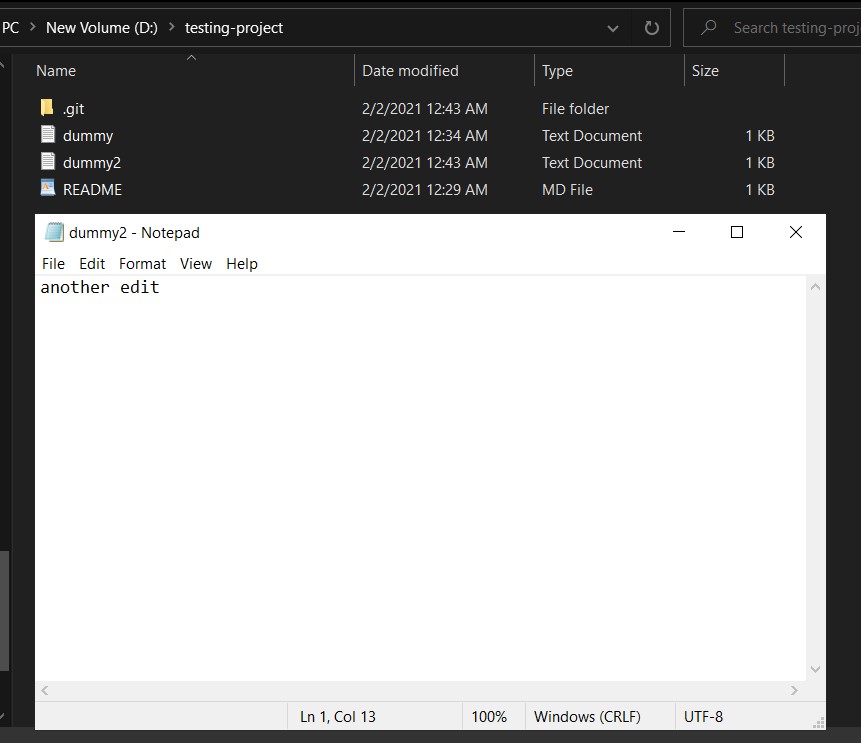
here I know that I finished working on the file, and I can move to work on another. I will create a second dummy file and fill in some data
 now I want to add the second file to the staging area using
git add dummy2.txt
now after I finished all the edits, I can move them to the next stage, a repository which is a new version of the project using this command
git commit -m "add any comment to know what you added"
Upload to the cloud
finally, to upload the work to the cloud, I use the command
git push
but before I do that I have to set my name and email to the configuration of my local git software using
git config --global user.name "FIRST_NAME LAST_NAME"
and
git config --global user.email "MY_NAME@example.com"
it will ask for your user name and password and will show something like this once it uploaded correctly
Enumerating objects: 6, done.
Counting objects: 100% (6/6), done.
Delta compression using up to 8 threads
Compressing objects: 100% (2/2), done.
Writing objects: 100% (4/4), 363 bytes | 121.00 KiB/s, done.
Total 4 (delta 0), reused 0 (delta 0)
Part A: MarkDown
For my website, I will be using the template provided by fabAcademy, which uses MarkDown as its main test editing language.
Markdown is a way to write content for the web. It’s written in what people like to call “plaintext”, which is exactly the sort of text you’re used to writing and seeing. The plaintext is just the regular alphabet, with a few familiar symbols, like asterisks ( * ) and backticks ( ` ).
Editor
I am using Microsoft visual studio code, as my main text editor, I choose it because I am already a bit familiar with it, it’s easy to use, with a ton of extensions to make coding easier.
I like that it can run in linux subsystem for windows 10, which is the main interface that I am using to use git and run my website locally.
Text
to add text simply write in the .md document and the text inside the website page will show up as written, for bold put the **bolded part** inside double * symbol, for italic put the *italic part* inside single * symbol.
for headers add a hashtag symbl before the header line, the number of hashtag represents the header type # largest, ## smaller, …
List
for numbered list start every line with 1.
code example:
1. item one.
1. item two.
1. item three.
results to:
- item one.
- item two.
- item three.
for bulleted list start every line with -
code example:
- item one.
- item two.
- item three.
results to:
- item one.
- item two.
- item three.
links and images
to add a hyper link to text use the following example:
[My website](http://fabacademy.org/2021/labs/irbid/students/yazan-abudabasah/)
results to: My website
to add an image link to text using the following example where the link is the location of the picture in the website directory:
{width=25% }
results to:

code documentation
to document a block of code use triple ` symbol around your code.
example code:
    ```c
    if()
        {}
    else
        {}
    ```
results to :
```c
if()
    {}
else
    {}
```