4. Computer controlled cutting
This week I worked on:
- Designing a parametric press-fit construction kit
- Lasercutting a parametric press-fit construction kit
- Cutting using a vinylcutter
- Group Assignment
Designing a parametric press-fit construction kit
This week, I worked on creating a parametric press-fit construction kit. The kit was a two cubes that can be taken apart and assembled in multiple ways. To be able to do so, my design was using finger joints. Finger joints, also known as a comb joint, is a woodworking joint made by cutting a set of complementary, interlocking profiles in two pieces of wood.
To design a finger-joint design, I used the following resources below:
- Fusion 360: Automatically sized finger-joints
- Designing Laser cut joinery in Fusion 360
- Use Fusion 360 CAD Software for Laser cutting
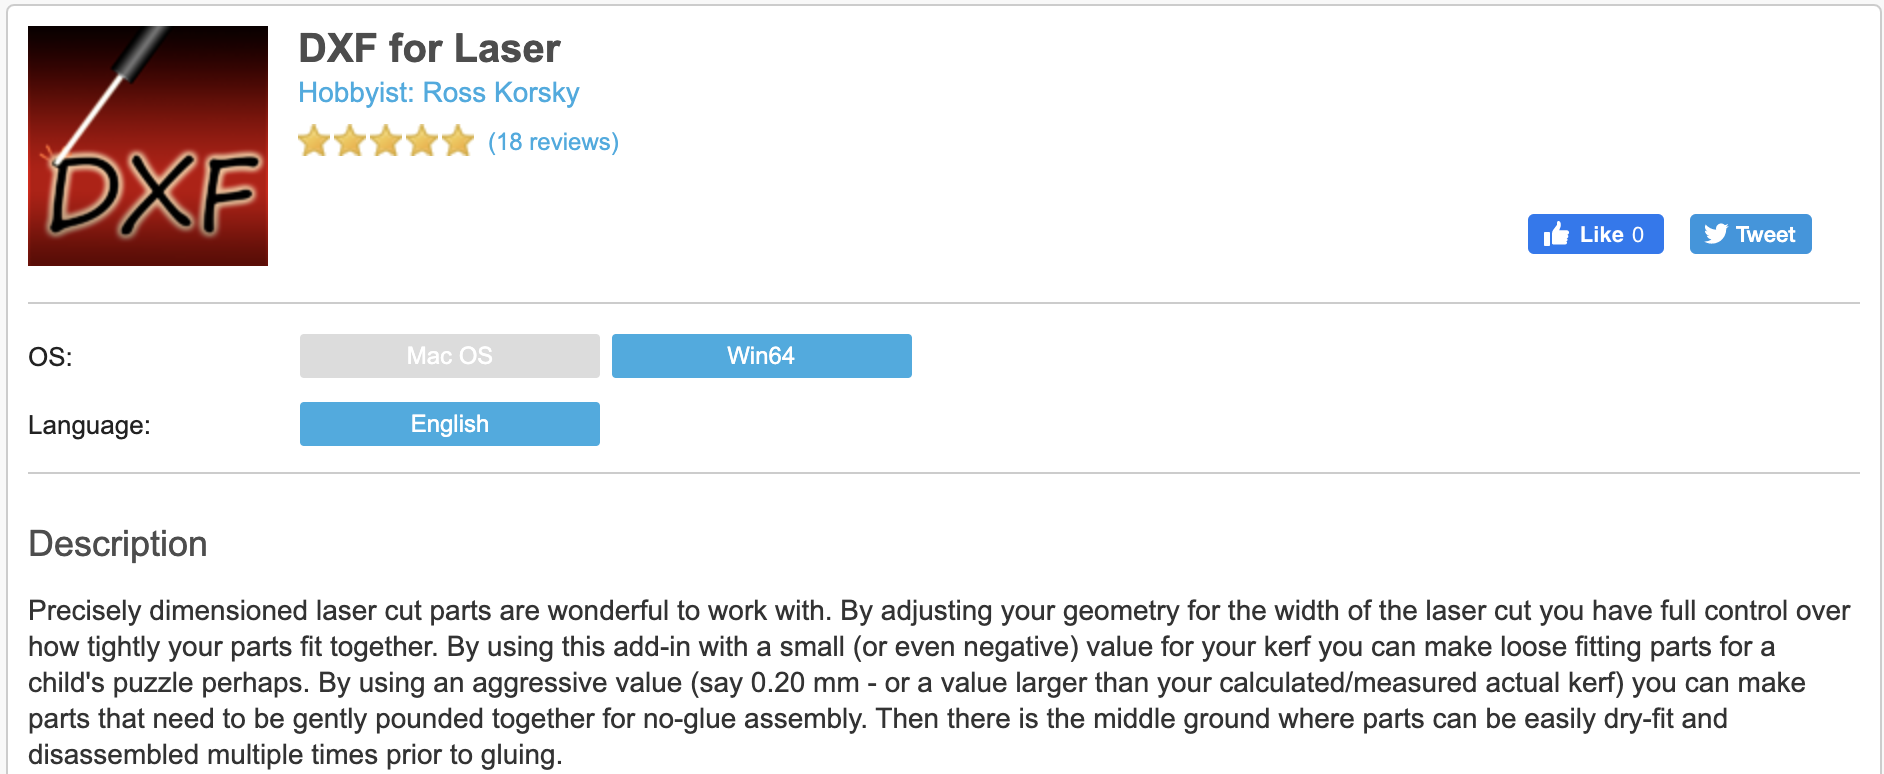
Since the goal was to lasercut my design, one of the resources I used mentioned to search for a plugin on Fusion 360 called DXF for Laser. This plugin can be found in the Fusion 360 app store. This plugin will generate a Kerf (laser cut width) compensated DXF file to produce laser cut parts with dimensions that match my drawing geometry. In other words, this plugin allowed me to export my sketch into DXF and to take the Kerf into account at the same time.
Unfortunately, the resources I used were complex. I decided to request help from my instructor, Spencer Mewherter, a Fablab alumnus and the Boston team’s instructor. Spencer was able to provide me with one-on-one guidance on using Fusion 360 to create a finger-joint cube. We started off with adding some parameters thus making my design parametric.
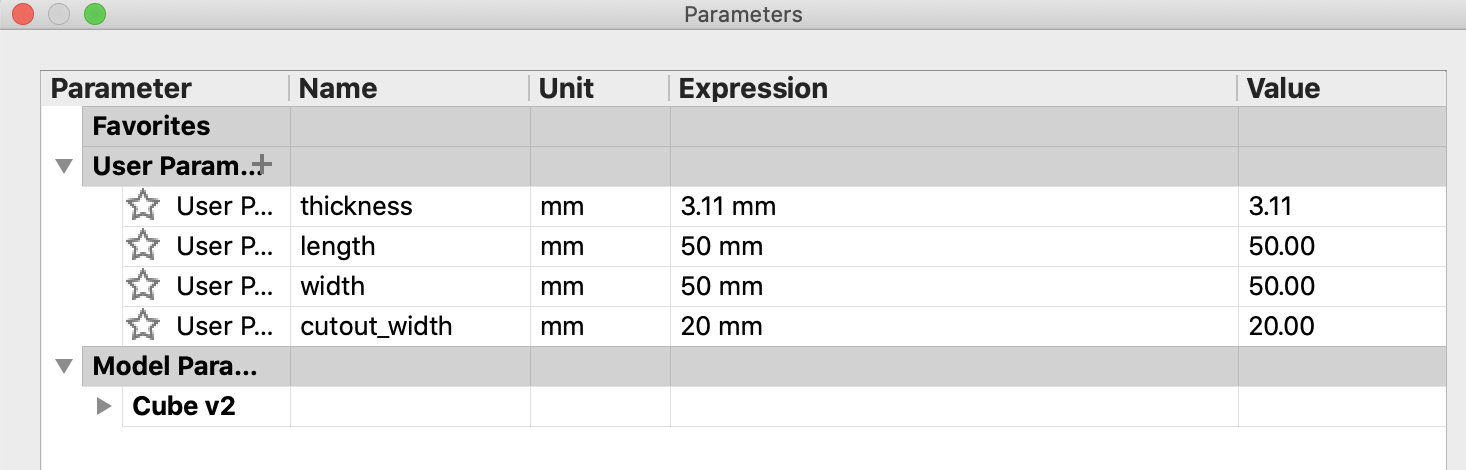
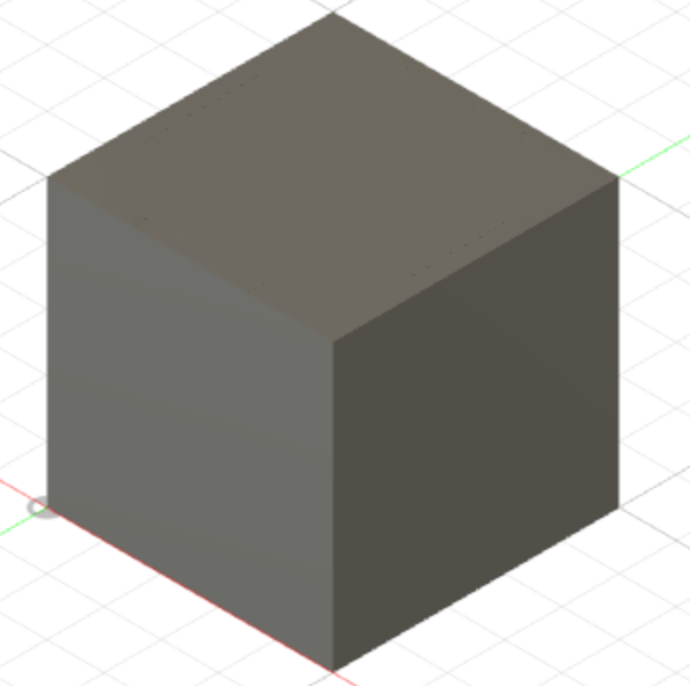
It is good practice to make my design parameteric in the case that I would like to change the size of my cube. The next step was to start a new sketch on the top orientation and create a square:
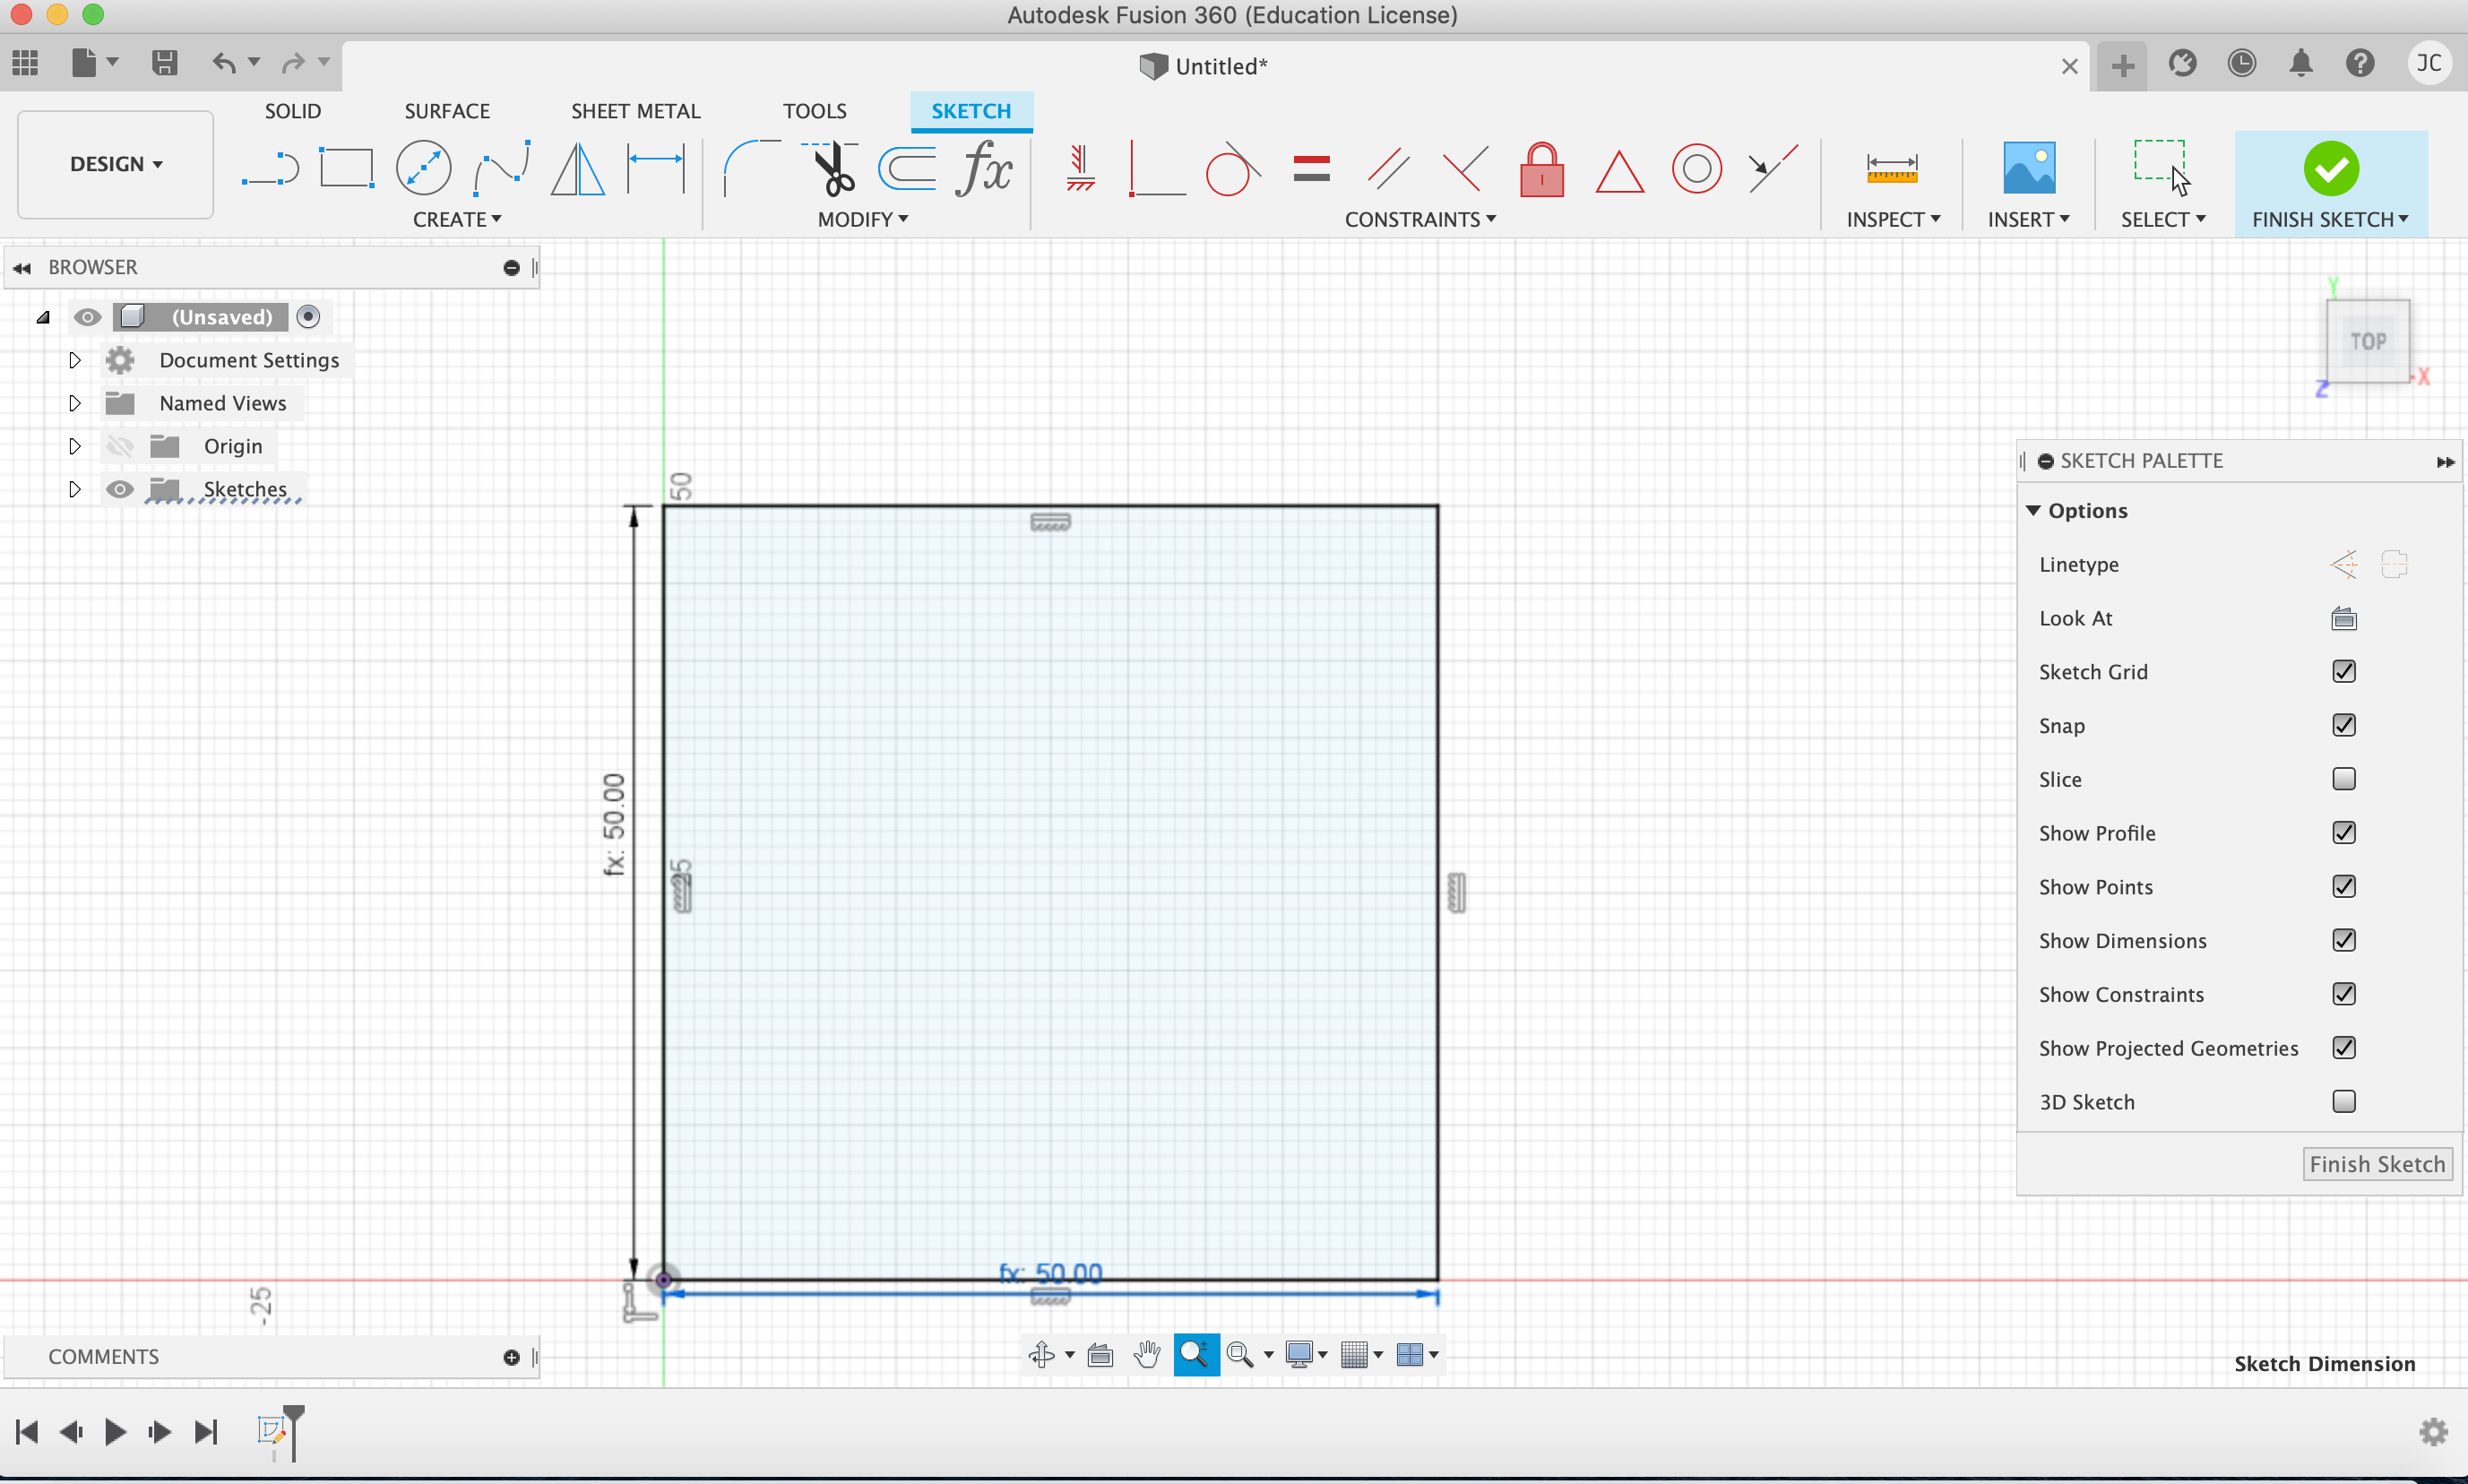
From there, I made some cuts and extruded my square:
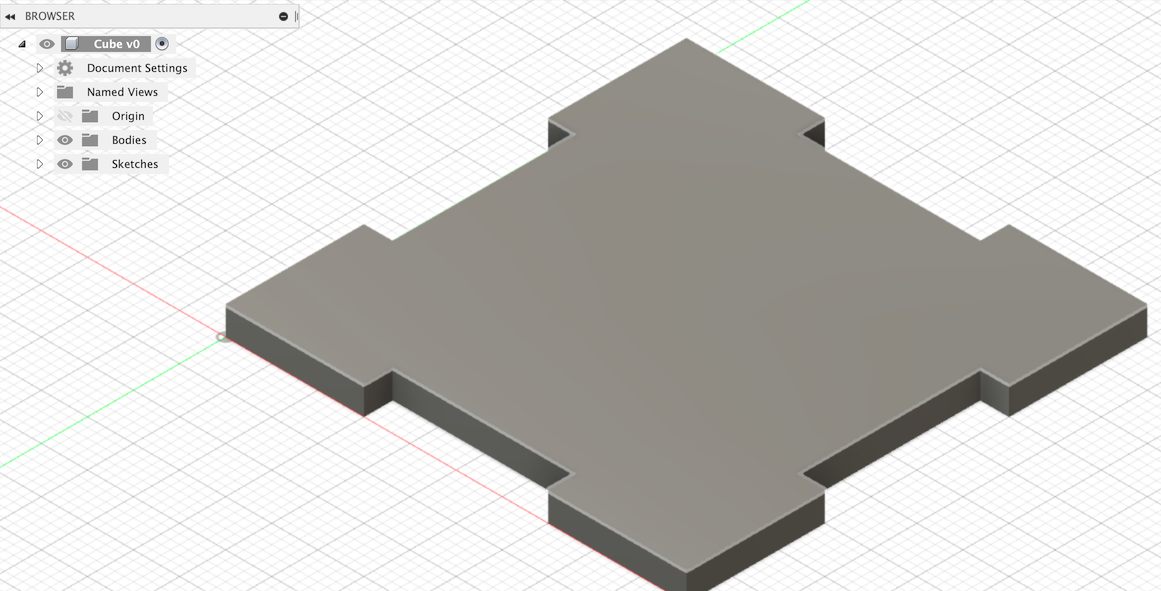
Once I create my base, I repeated the process to create more fits/pieces so that it can represent a cube:
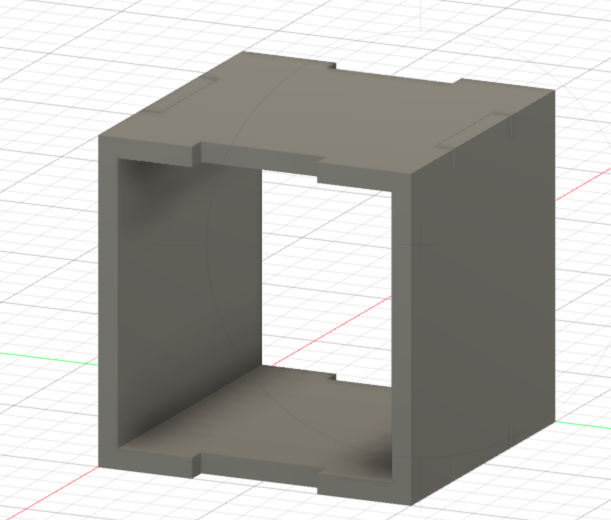
My repetitive process lead way to the following:
Lasercutting a parametric press-fit construction kit
Lasercutting my design requires me to export my design into a DXF file. There are two ways to do this. One way is to use a plugin. The pluggin I mentioned earlier called DXF for Laser. Another way is to create a DXF from your objects within Fusion and exporting those objects onto the lasercutting machine.
Though I downloaded the pluggin that would do the work for me, I decided to discuss the process needed to export to dxf without the pluggin. The first thing to do is to copy all the pieces and leave the original where they are. The copies will be the one I will be working with. The goal with the copies is to lay all the parts out so that they are flat on the Fusion plain so that I can export or create a drawing of all of the faces in the next board that is a DXF. Once everything is align on the same plain, select a face and start a new sketch on that face.

From there, you select the face, right-click, and choose to Project. From there, select all the other faces. So, by clicking project and all of the other faces, you will have everthing included. You will now have a new sketch that will have the faces you selected. From there, export the sketch as a DXF file, save it, and open it in Adobe Illustrator, or a similar application. If you need further guidance, you can watch the following resource: Laser cut octopus lamp.
Since I used the pluggin:
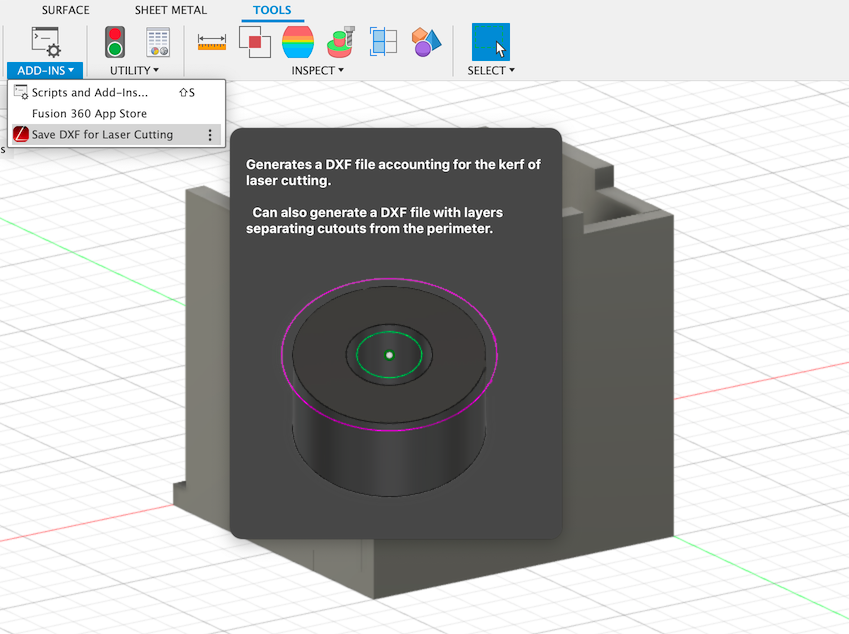
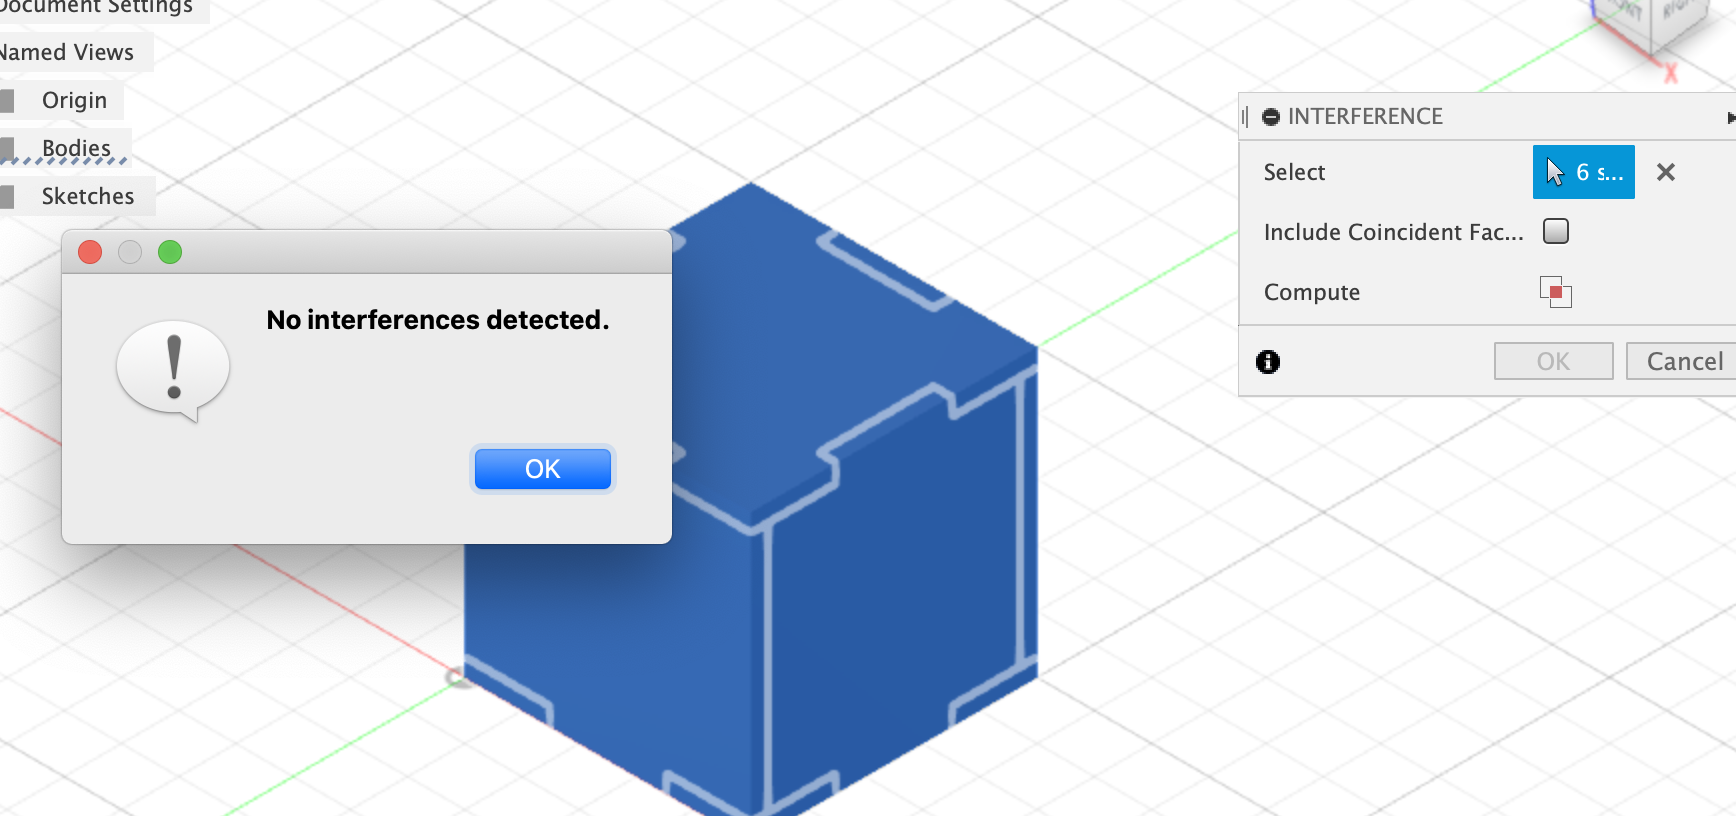
I did not need to do the steps to convert into a DXF file. However, before I exported the file, my instructor did advise me to identify if there are any Interference in my design. Checking for Interference can save you a lot of trouble when laser cutting the model.
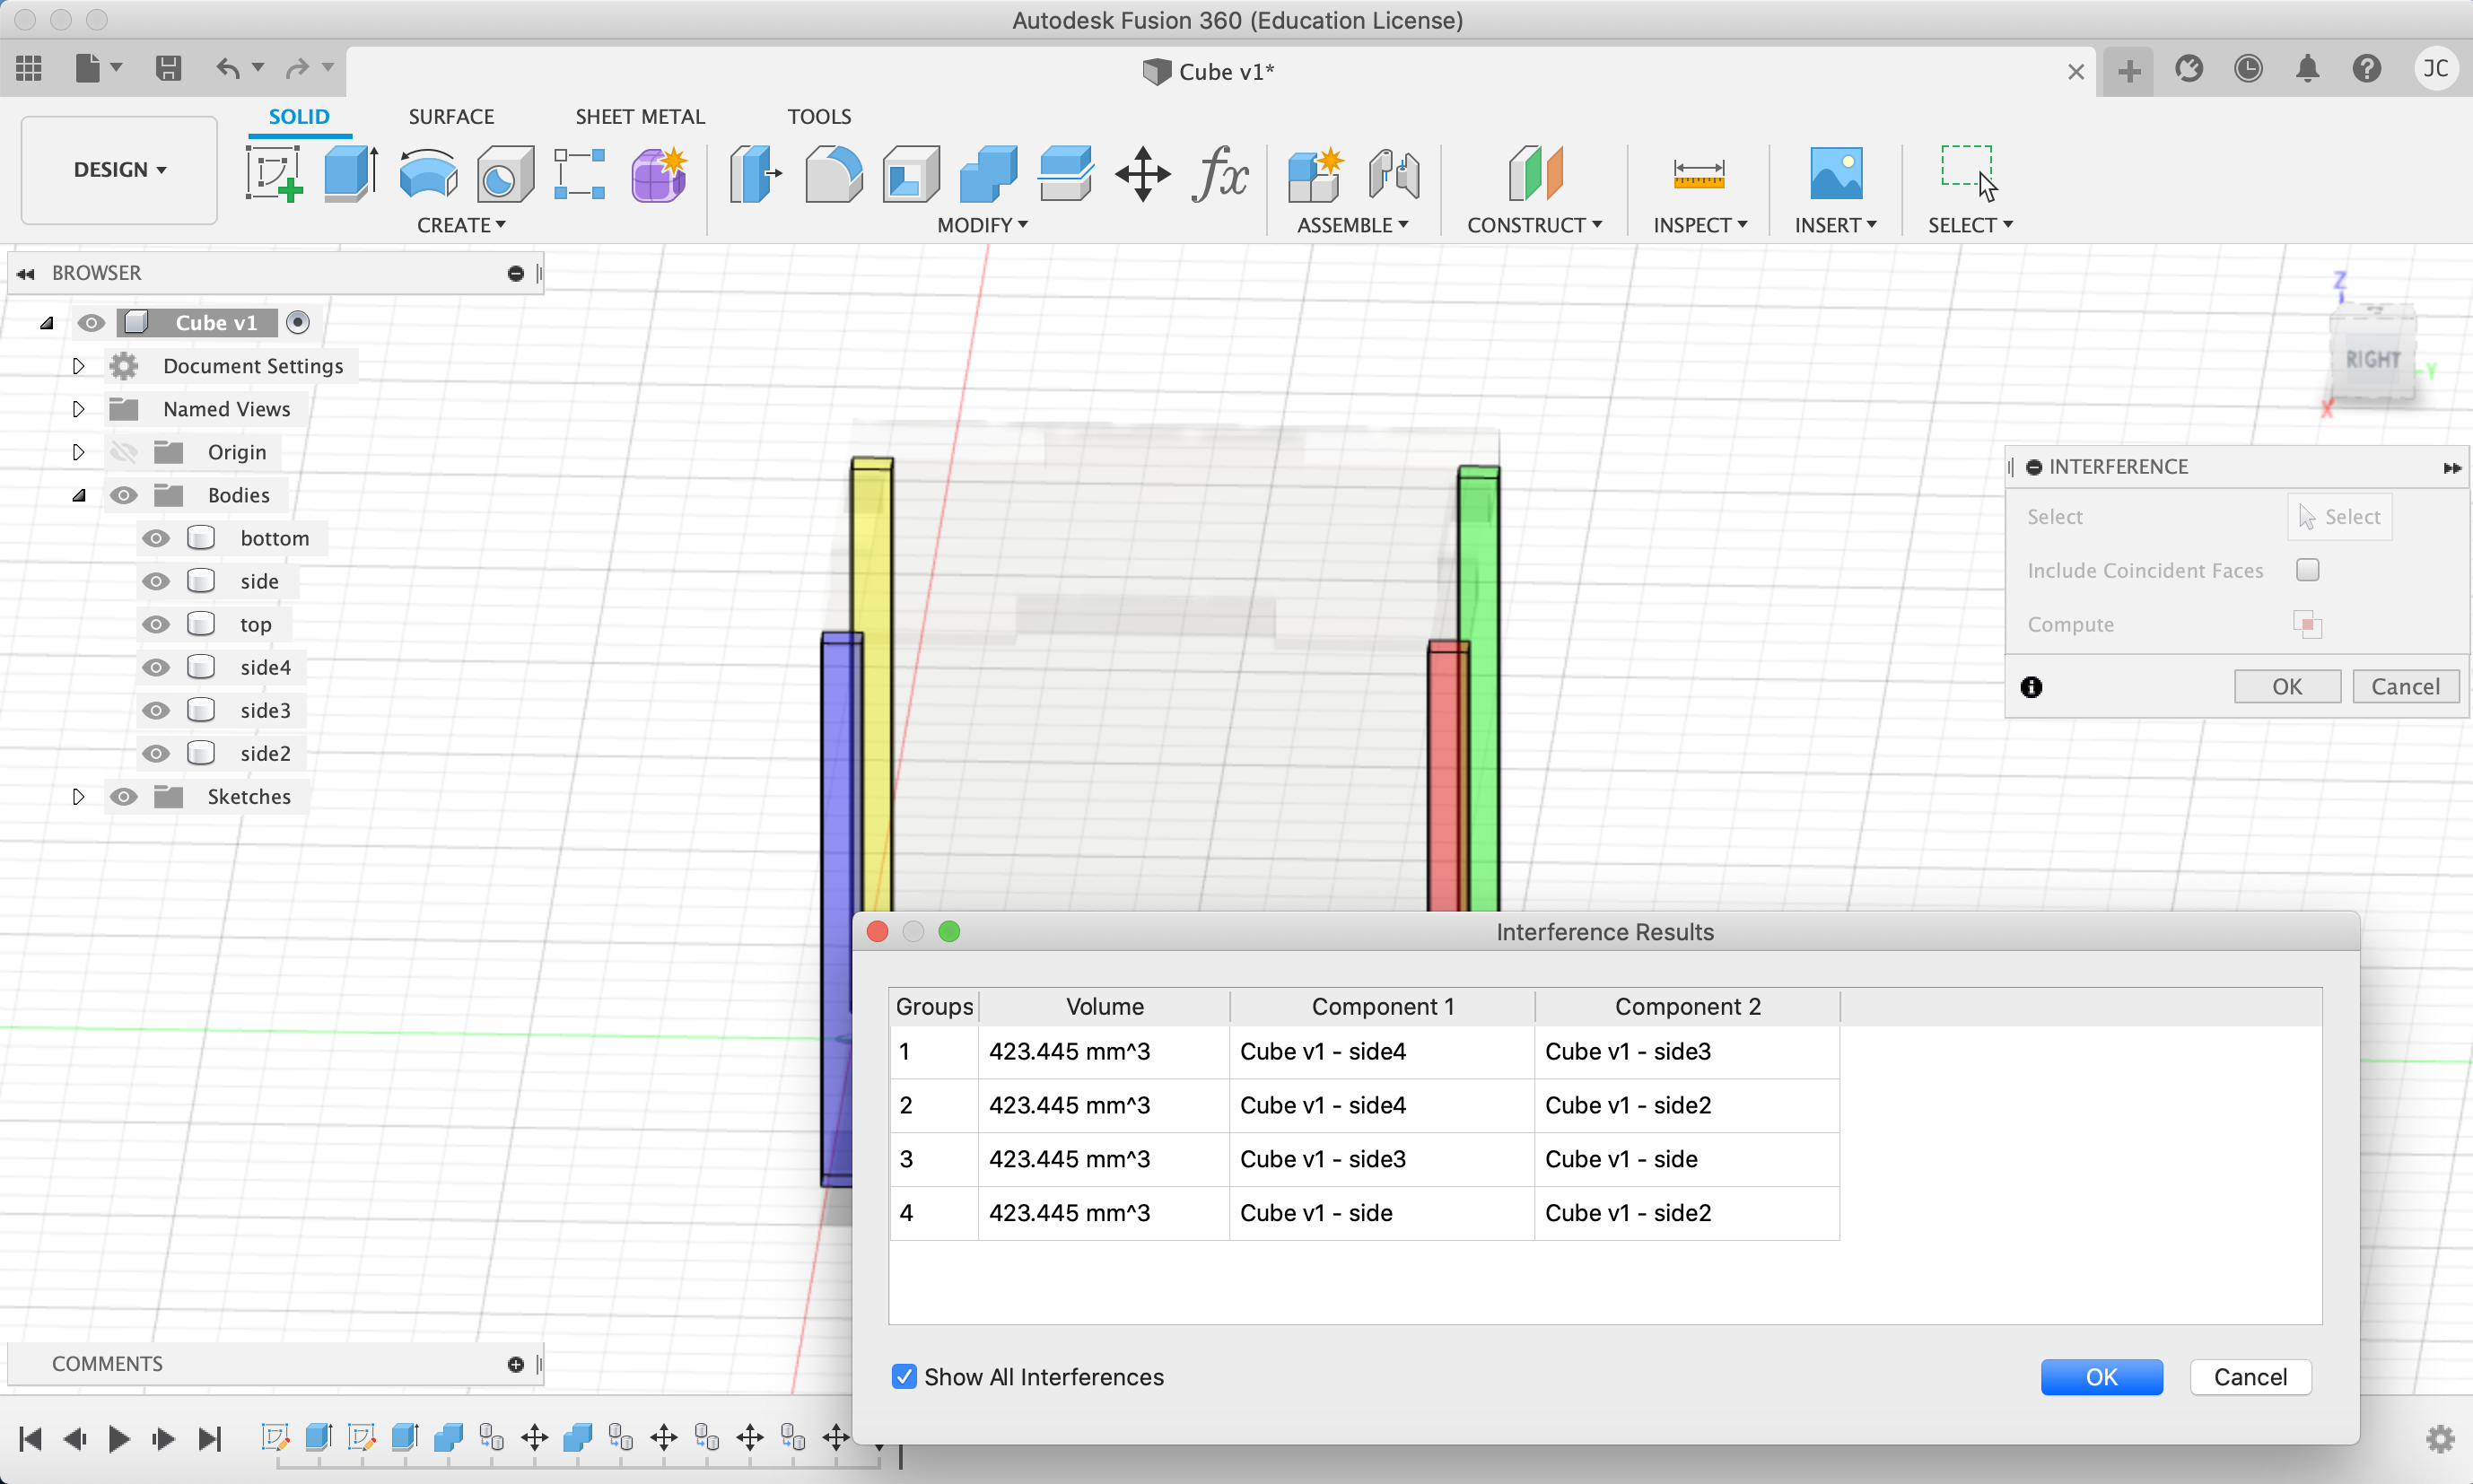
There were a few interference within my design. The simple approach to fix those interference was to cut some sides to ensure that my model can fit together and no side was intervening or preventing a snugged fit.
Once the interferences were dealth with:
I was able to move onto the laser cutter.
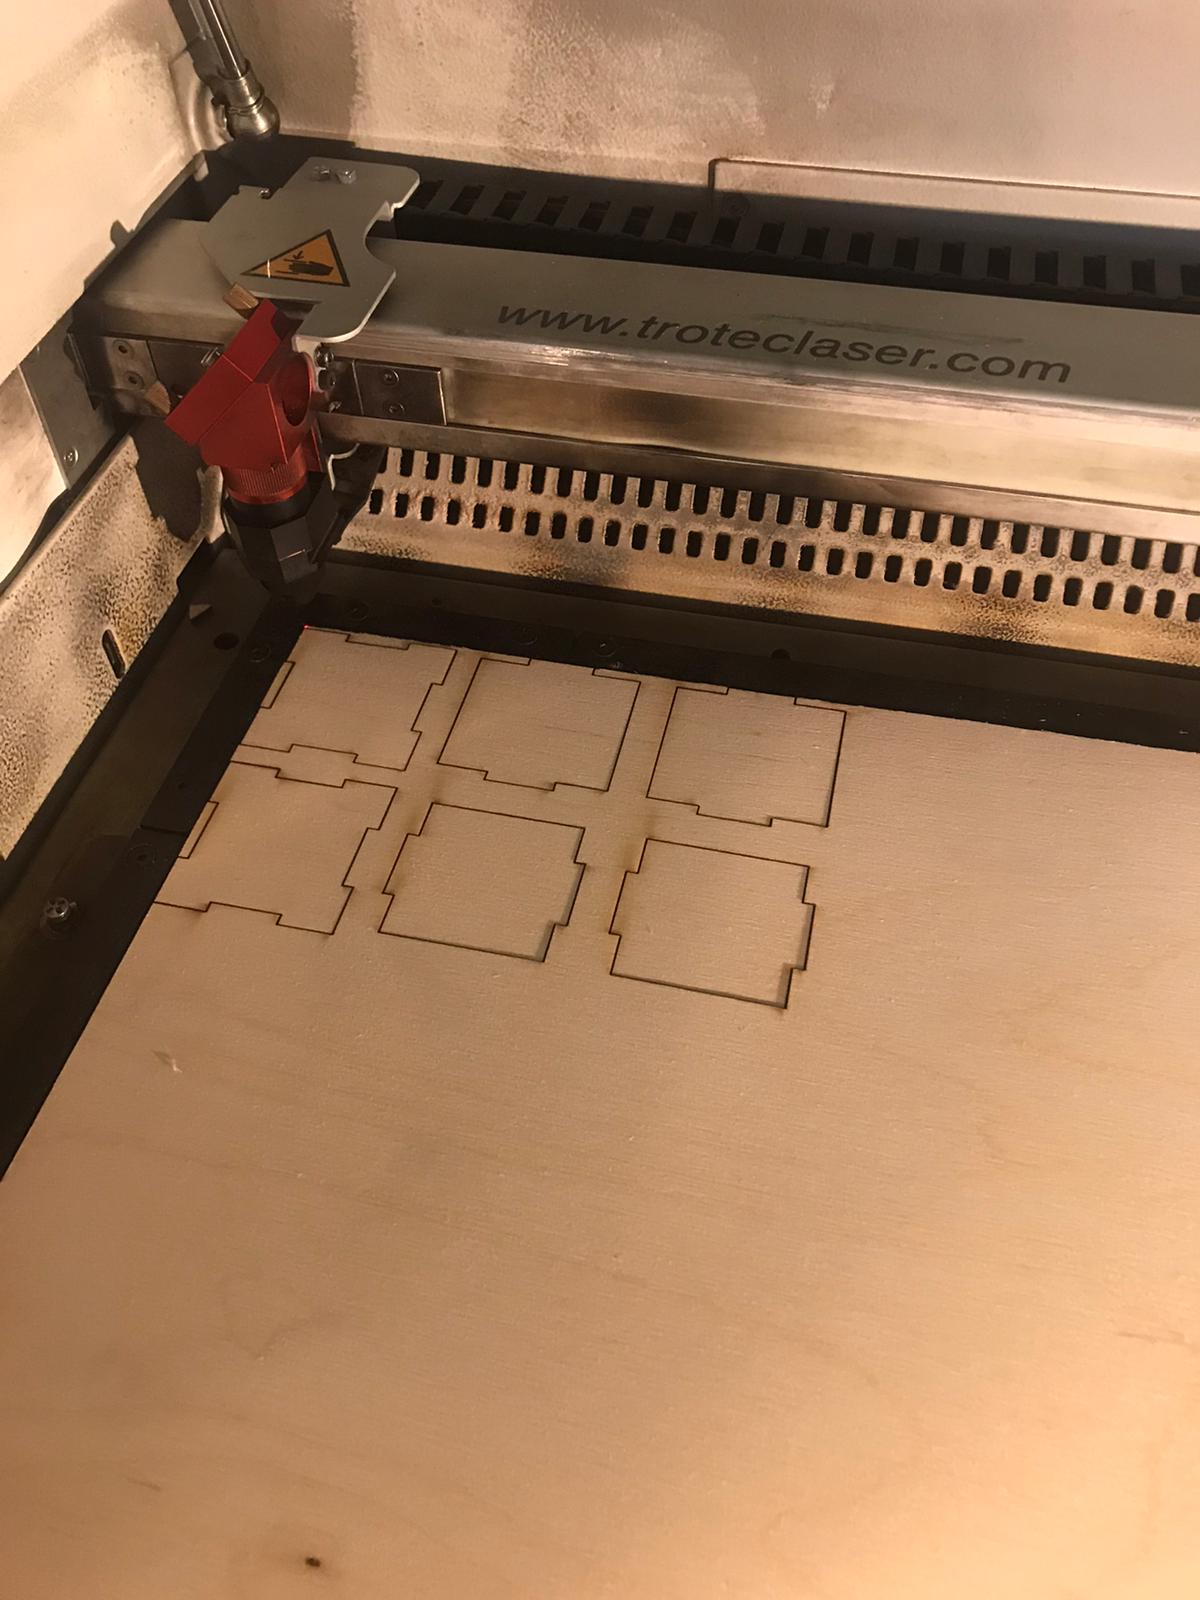
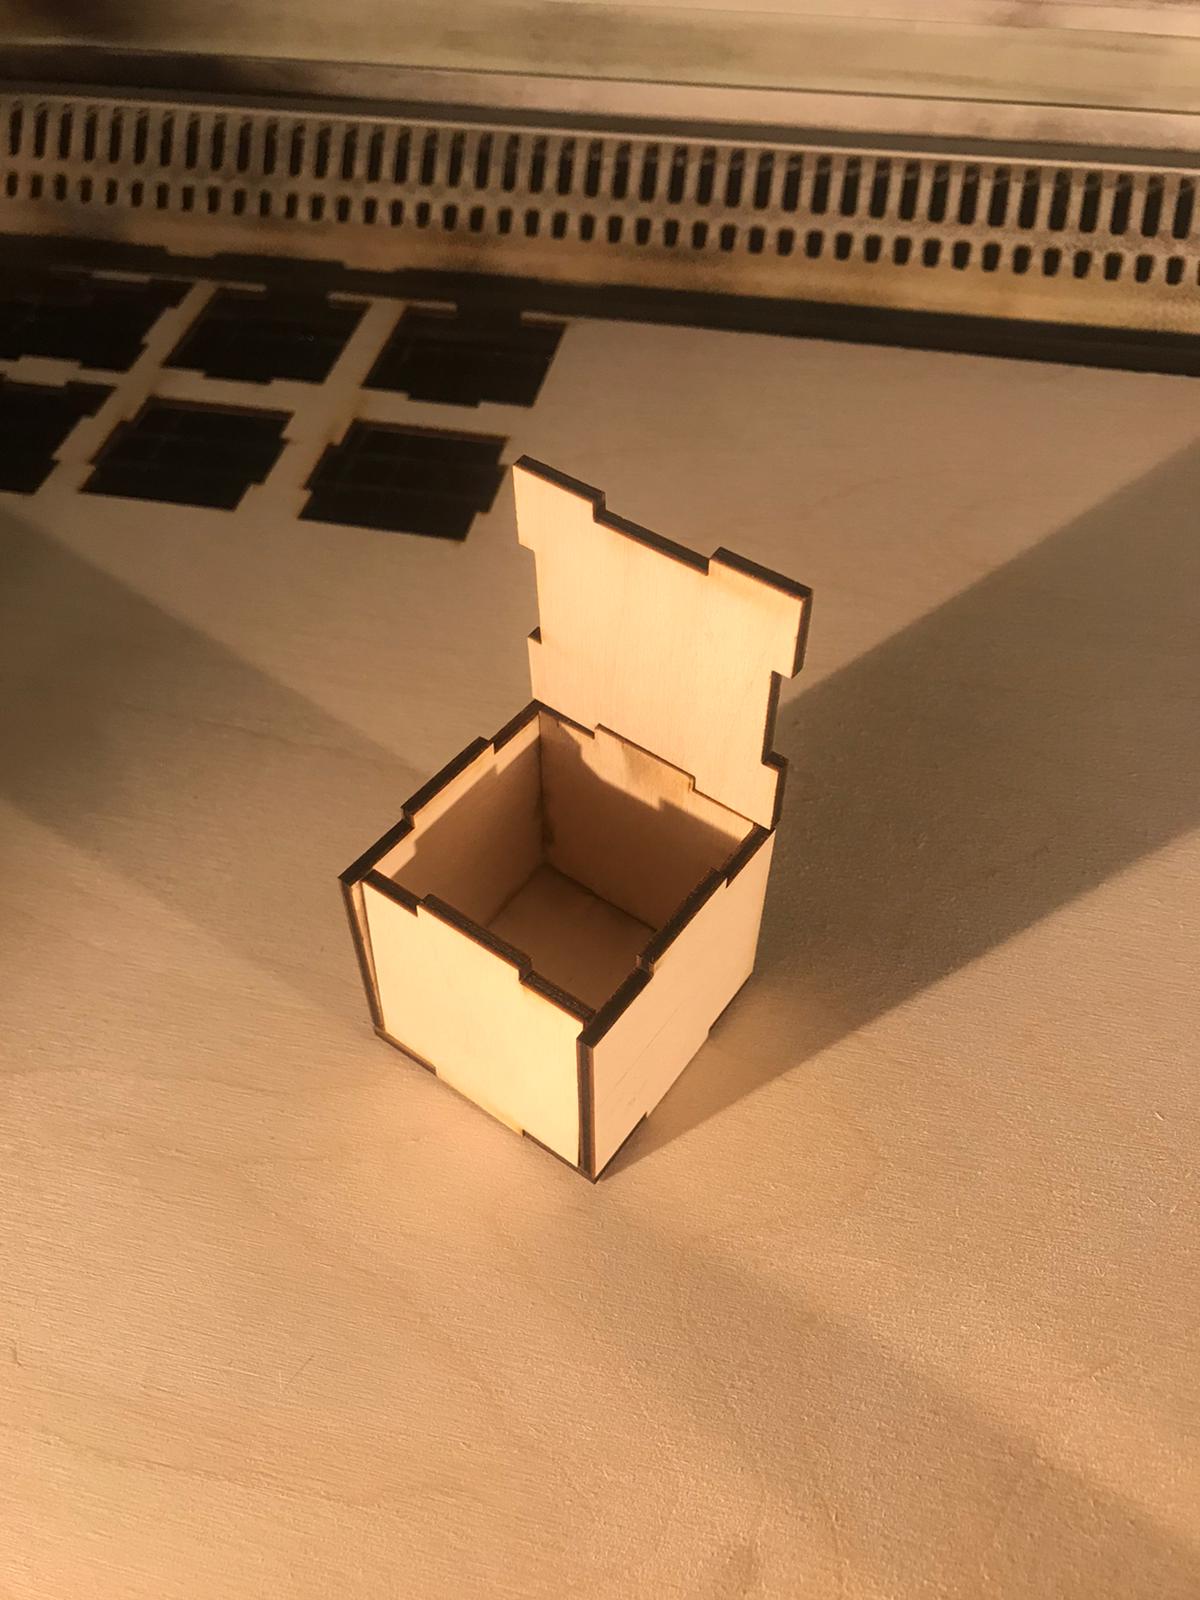
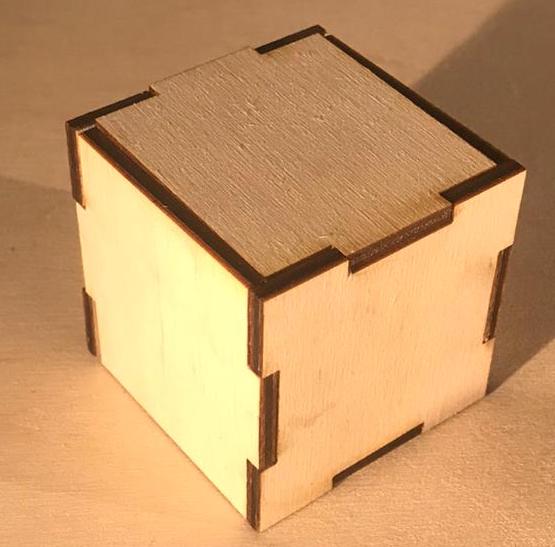
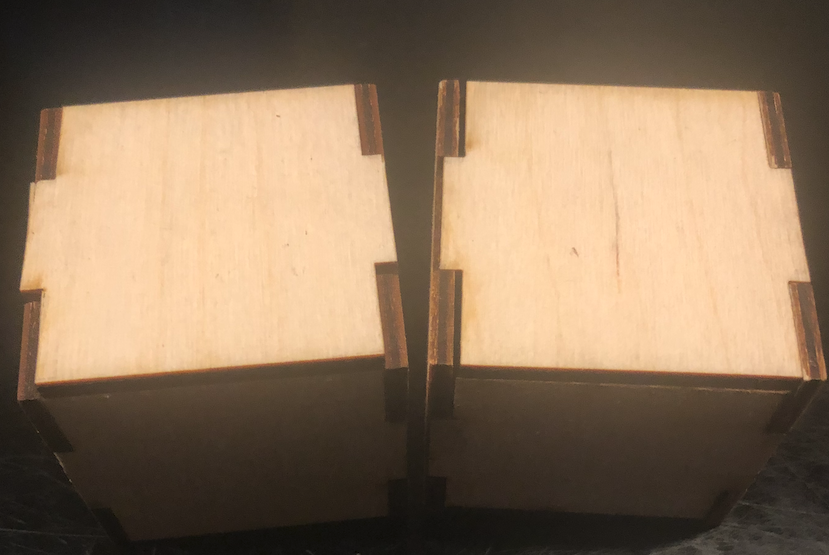
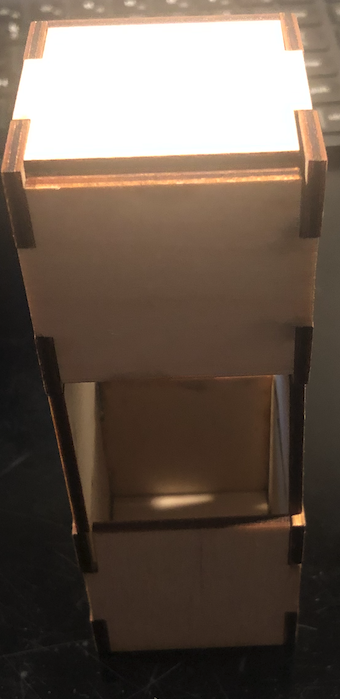
I was able to make 2 cubes with would allow me to assemble them in multiple ways:
Once my laser-cutting was done, I decided to explore the idea of creating a press kit with some documentation, in the case someone wants to implement the Laser Printed Cube.
After watching/reading some tutorials on how to do so: 1. Design a parametric press-fit kit by Adrien 2. Laser Cutter Press-fit construction kit
I was able to create my own design kit.
The procress to create a kit wasn’t too difficult.
1. I broke up my pieces, to separate them, so I can transfer them into the press kit.
2. I went to my design and selected File -> New Drawing -> From Design
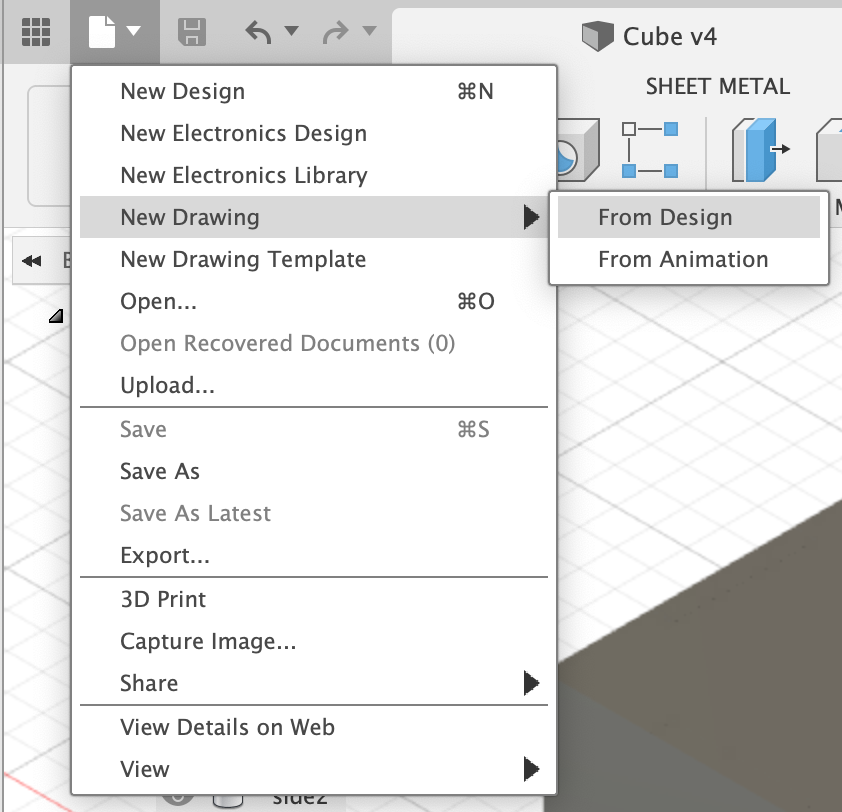 3. A pop-up showed and I selected visible only
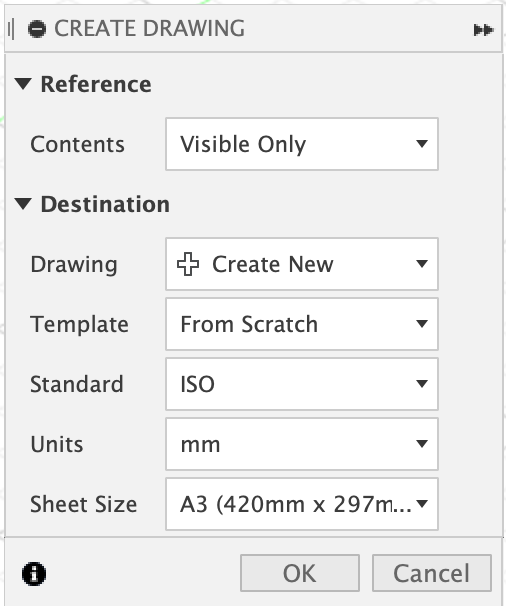 4. A new tab was created and it allowed me to transfer my visible content in the new tab.
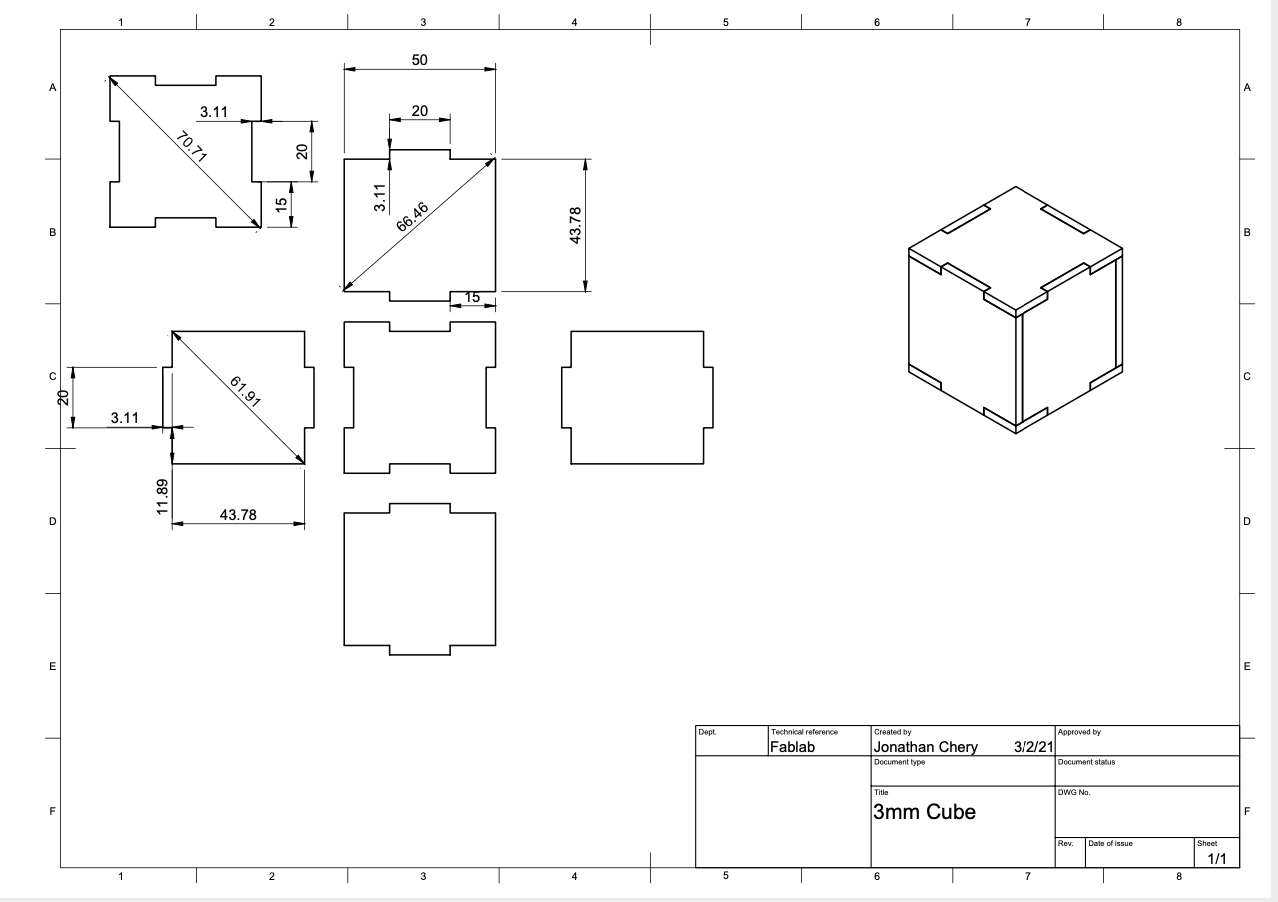
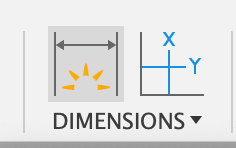
5. I selected Dimension on the top and added dimensions to my press kit
4. A new tab was created and it allowed me to transfer my visible content in the new tab.
5. I selected Dimension on the top and added dimensions to my press kit
 6. Once I completed the dimensions, I went back to my design and reassembled the pieces so I can add the final product.
7. I edited the the text to give more description of the project
8. Finally, I outputted as a PDF located on the top right corner
6. Once I completed the dimensions, I went back to my design and reassembled the pieces so I can add the final product.
7. I edited the the text to give more description of the project
8. Finally, I outputted as a PDF located on the top right corner
You can doanload the Fusion 360 files by clicking here -> Download .f3d
Cutting using a Vinylcutter
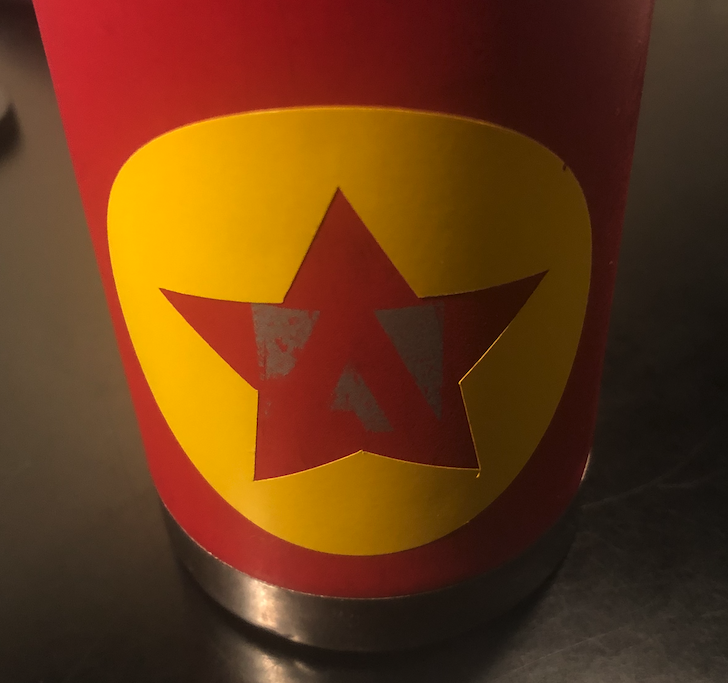
For my vinyl cutter design, I created a star and attached it to my water bottle:
To obtain the above output, I followed several tutorials to learn more about Vinyl Cutters and the process:
- Roland® Vinyl Cutter Package
- How to Cut Vinyl Start to Finish with the Roland® GS-24 Vinyl Cutter
- Roland Vinyl Cutter Training
At the Dassault Systèmes Lab, they have the Roland GS24 vinyl cutter. This vinyl cutter is able to cut rolls, vinyl or other materials, up to 4 millimeters thick.
The nice thing about the Roland GS24 is that it measure the roll for you and it is quite easy to use. To make the star cut, I used Adobe Illustrator. The star design was already pre-loaded onto the computer. As a test trail, I decided to use the loaded image.
After configuring the vinyl cutter, I made my first cut and it came out perfect. Once I made the cut, I sticked it to my bottle.
Since I won’t be using the vinyl cutter in my final project, I didn’t want to spend too much time tinkering with it. With that said, I settled with the star on my bottle.
Group Assignment
The group assignment can be found here:
For the group assignment, my team and I were to characterize the lasercutter’s focus, power, speed, rate, kerf, and joint clearance and document the work either individually or as a group. Above you can find our group documentation.