16. Molding and casting
Reguirements
group assignment:
  review the safety data sheets for each of your molding and casting materials,
     then make and compare test casts with each of them
individual assignment:
  design a mold around the stock and tooling that you'll be using,
     mill it (rough cut + (at least) three-axis finish cut),
     and use it to cast parts
Group project
The members of the group:
- Achille Achille’s site
- Anssi Anssi’s site
- Jari Jari’s site
- Hannu
This week assignment is documented in Anssi Heikkinen page
Individual project
My object was half ball (hemisphere). I designed it using Autodesk Fusion 360.
Design
Step 1. I started by drawinf a sketch. I drew cross-section of objet and mold edges 2-point Rectangle and Center Diameter Circle
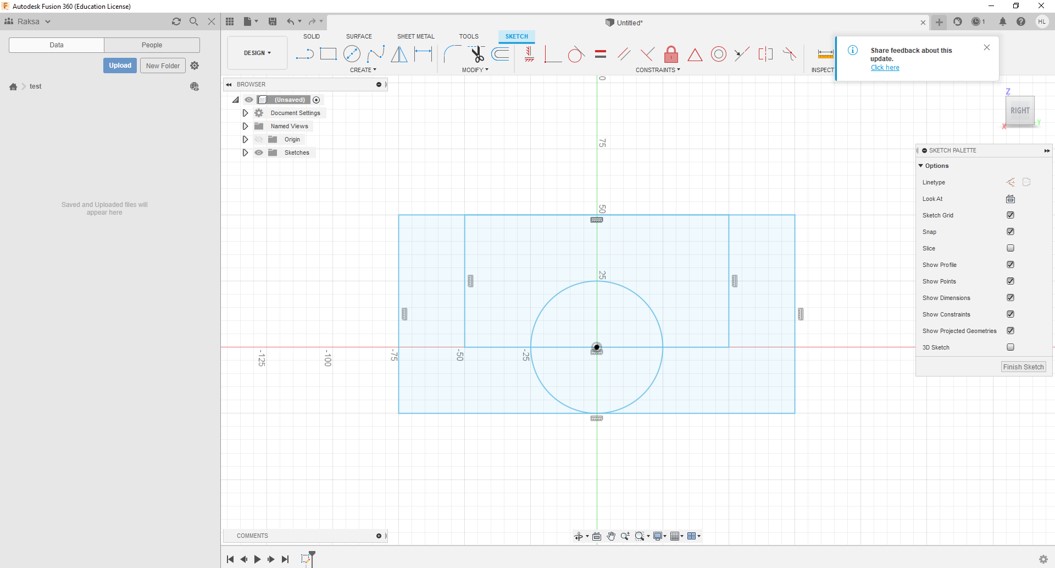
Step 2. Then I Removed lines so that I got cross-section (object and mold edges).

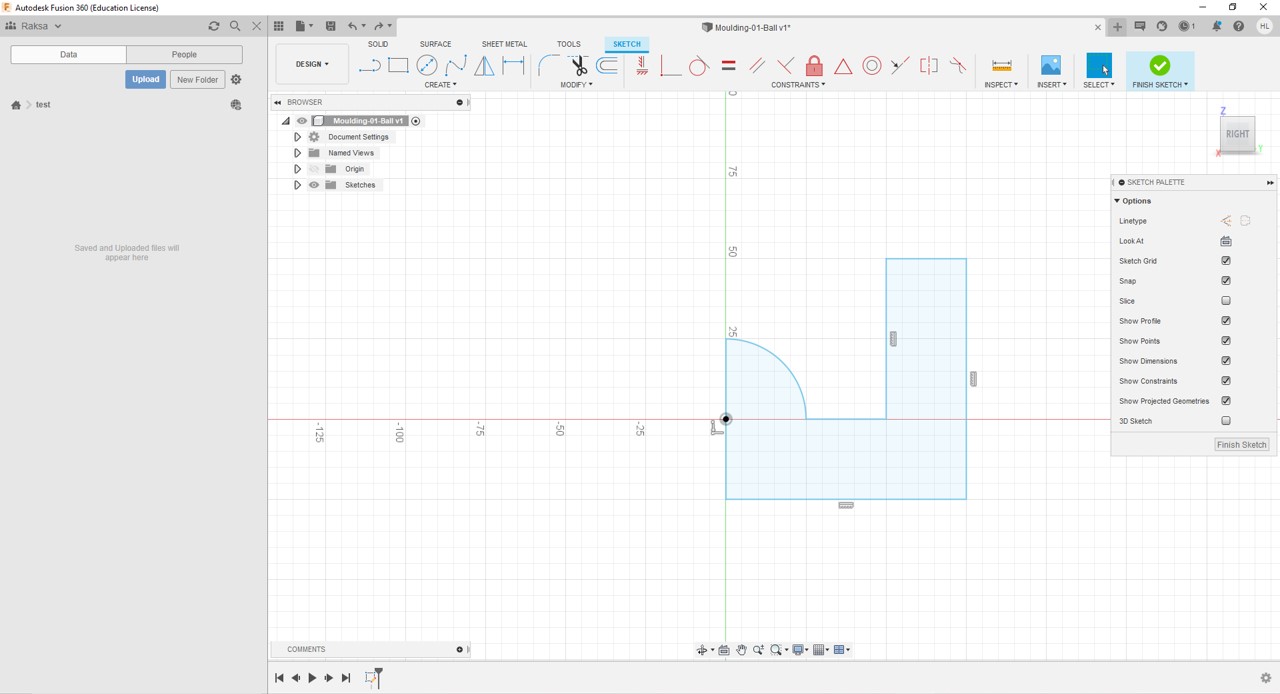
Step 3. Then I removed left side of cross-section. After that my sketch was ready and I clicked Finnish Sketch button.
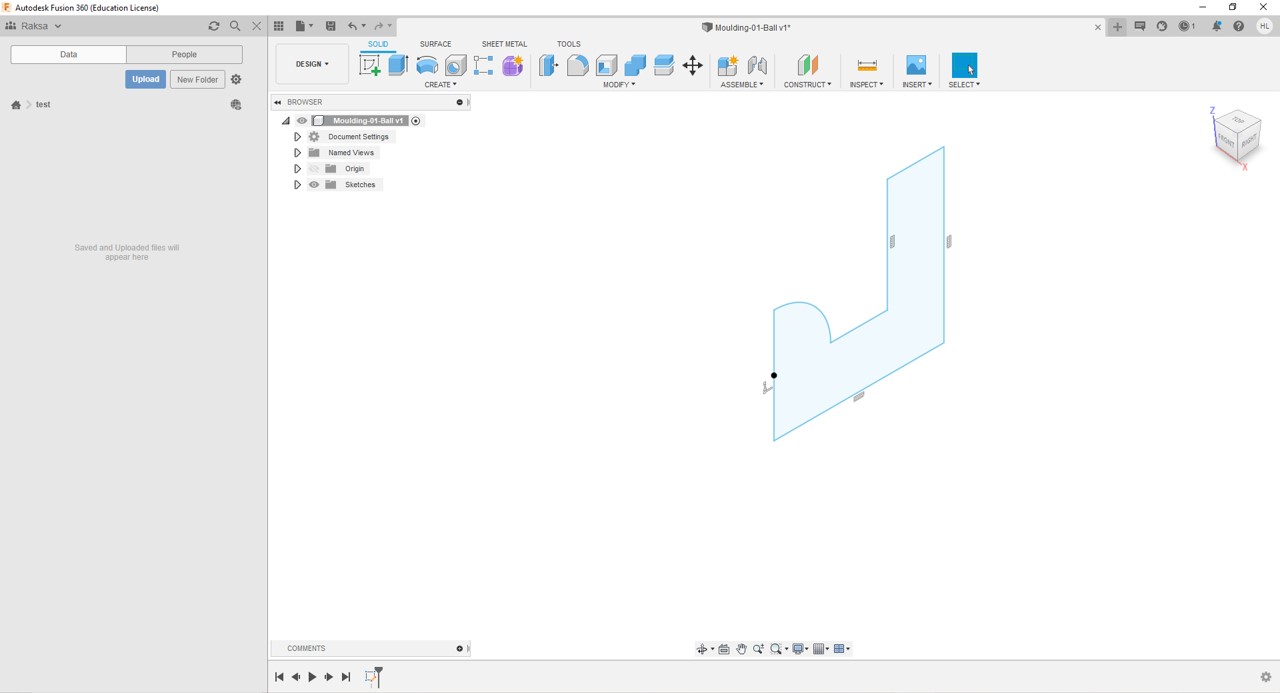
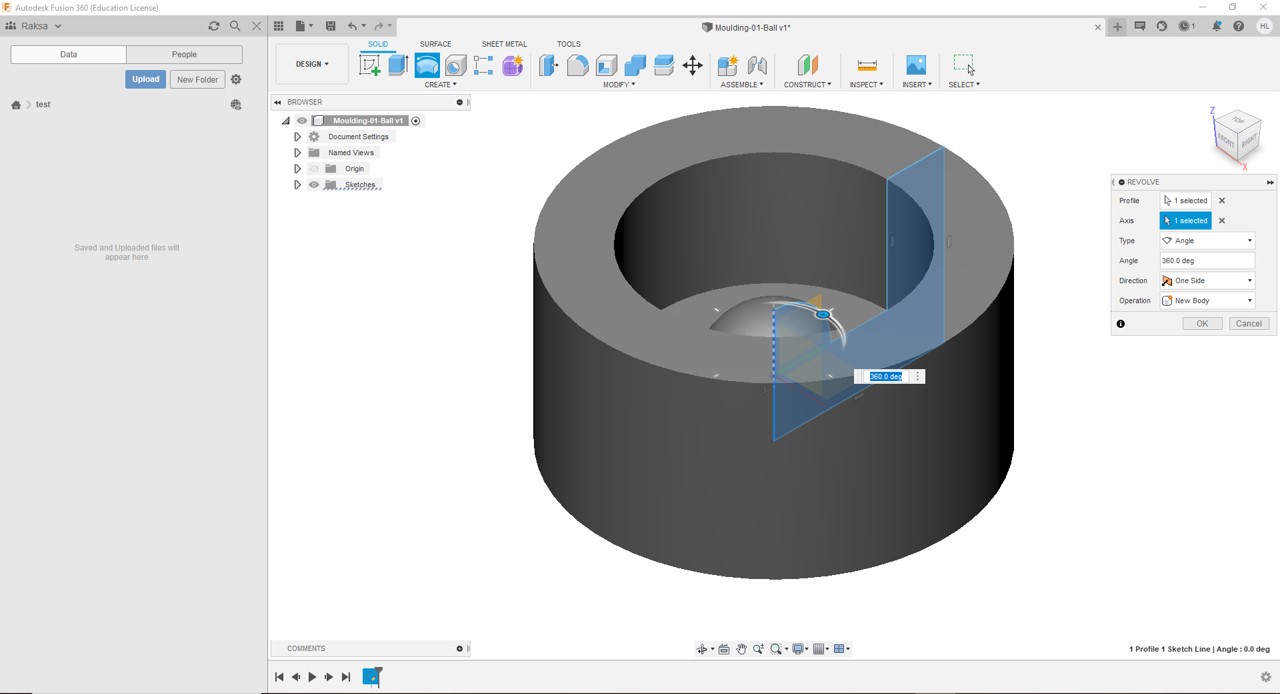
Step 4. Then I use Revolve command to made 3d object. I rotated sketch around z-axis
Step 5. At last I got 3d model to make milling data. I exported model in STL format.
Milling process
I made milling with Roland SRM 20. I used same Milling machine in Electronics production week. Before I canned mill I made tree different milling files: Surfacing, Roughing and Finishing files. I used Roland’s MODELA Player 4 program to make files.
Milling files with MODELA Player 4
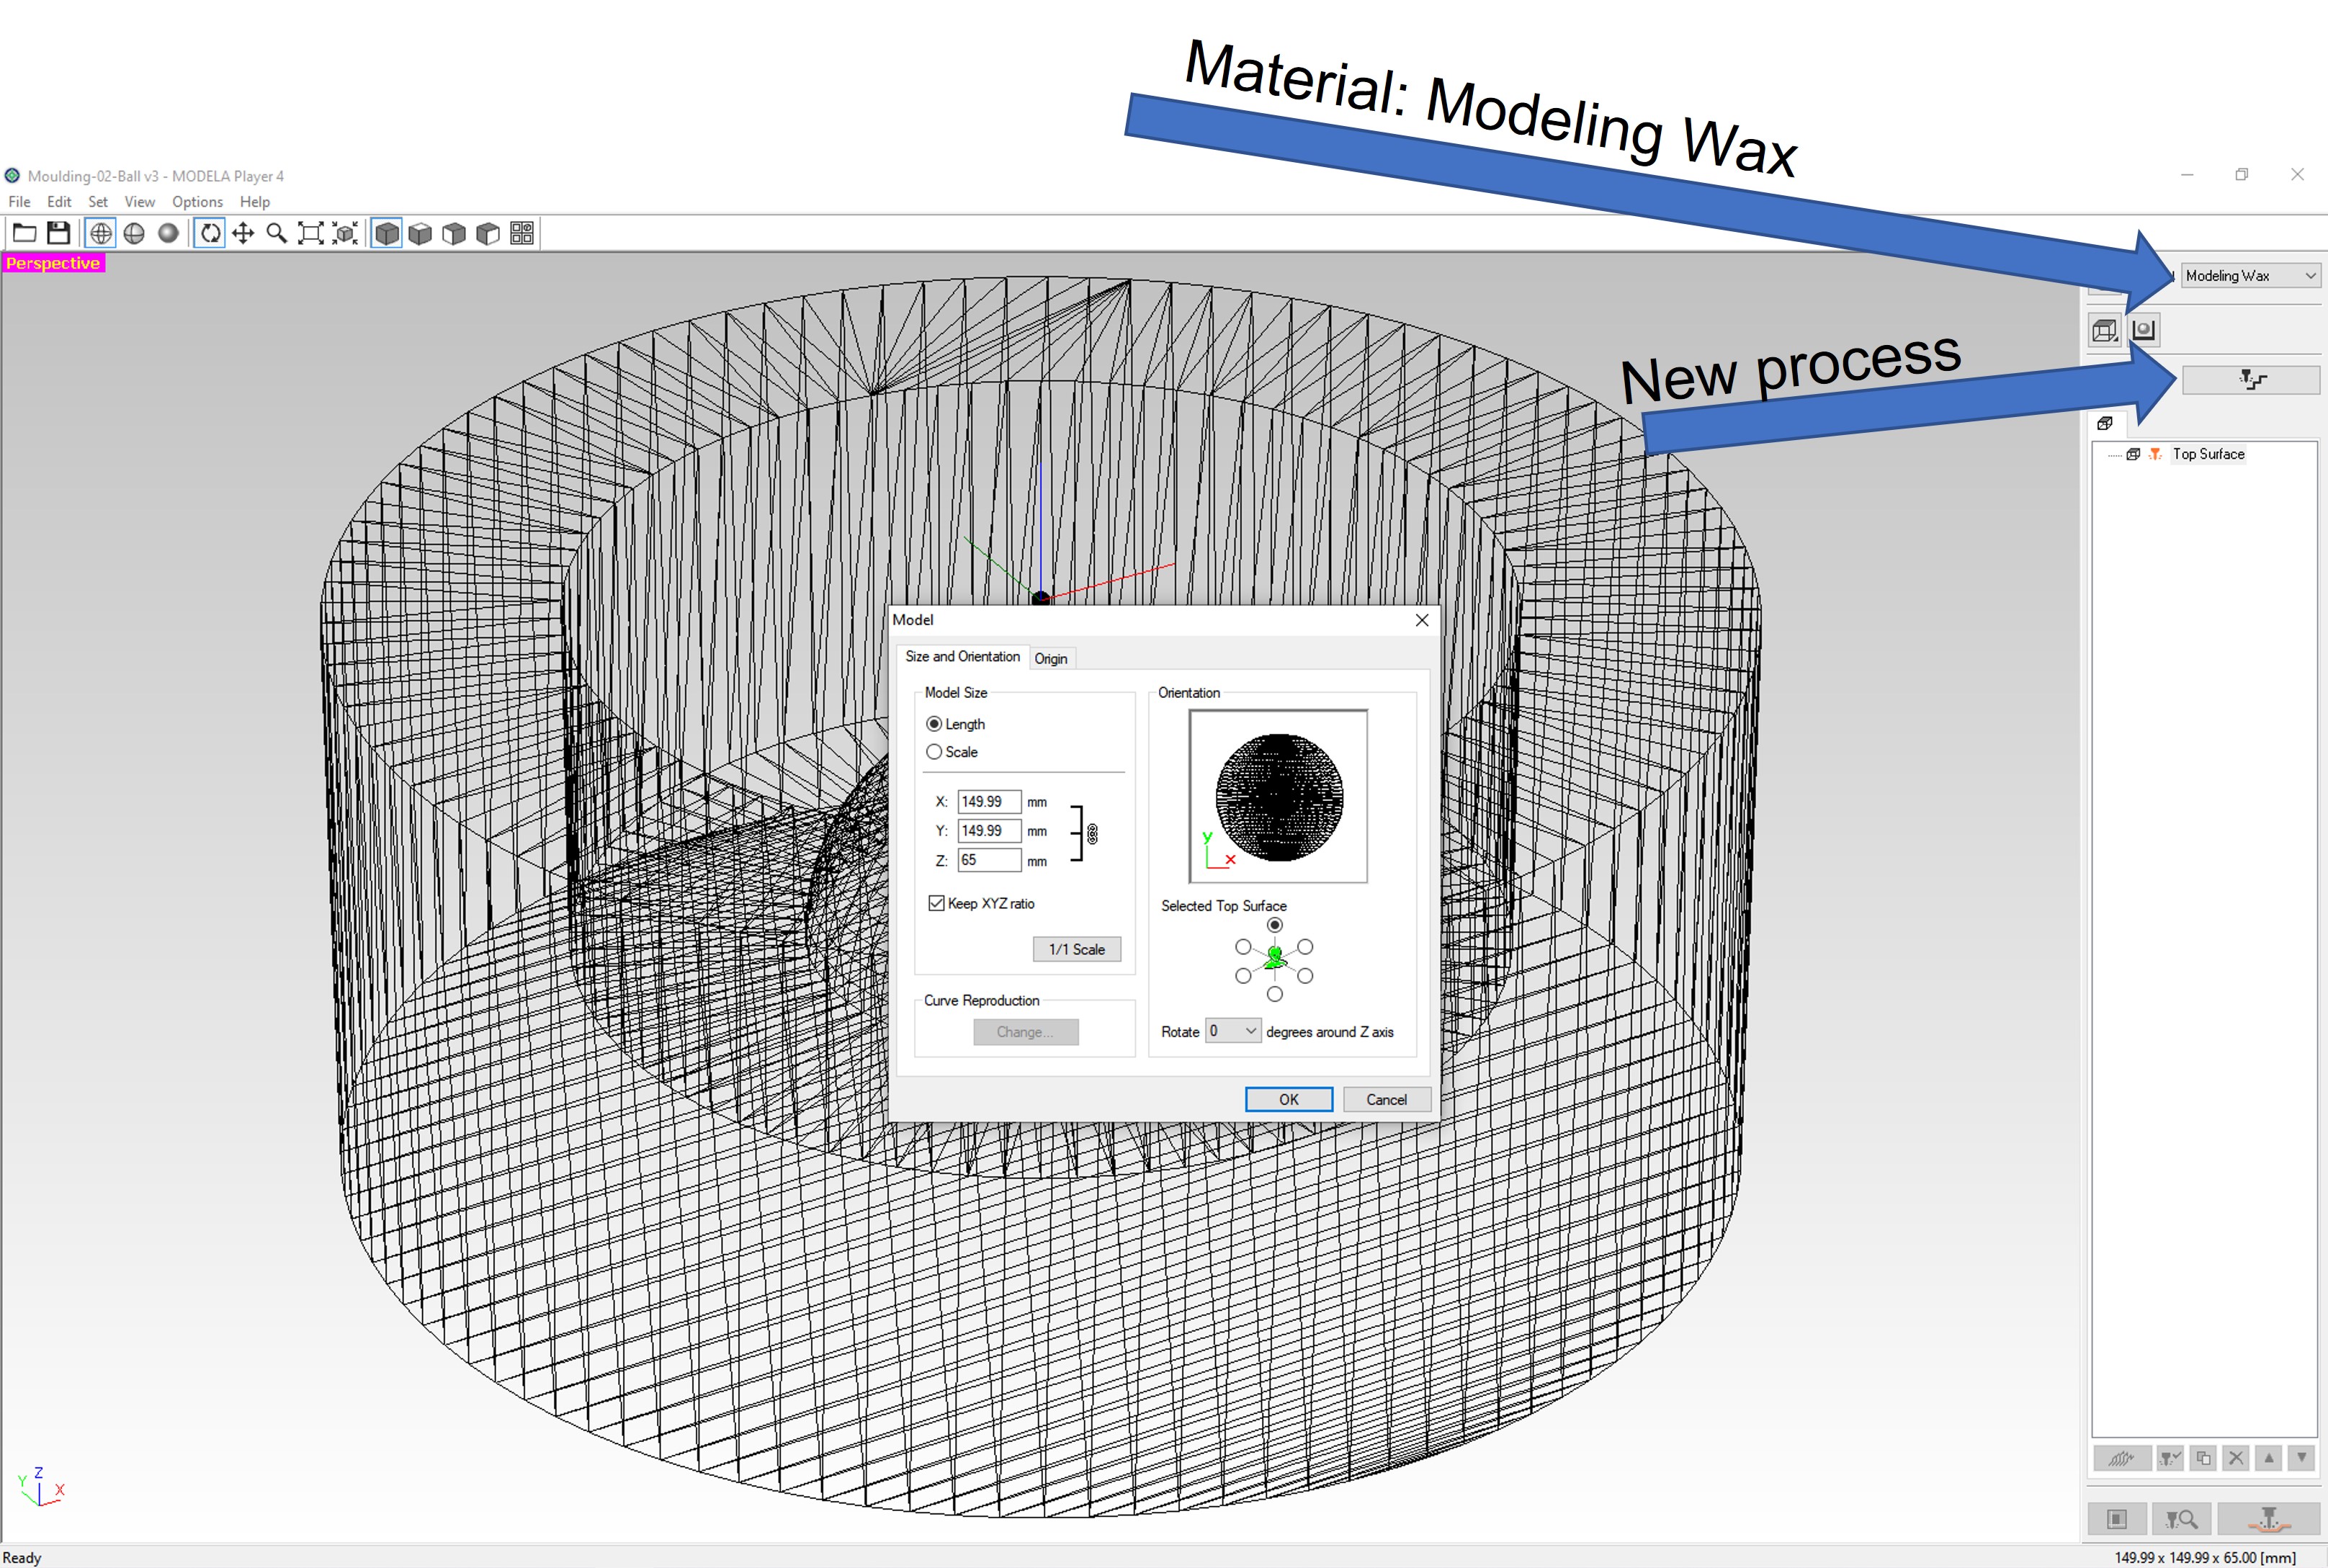
Step 1. First I opened STL file. Then I started to greate new process. Note you have chose right material (Modeling wax). I checked Size and Orientation.
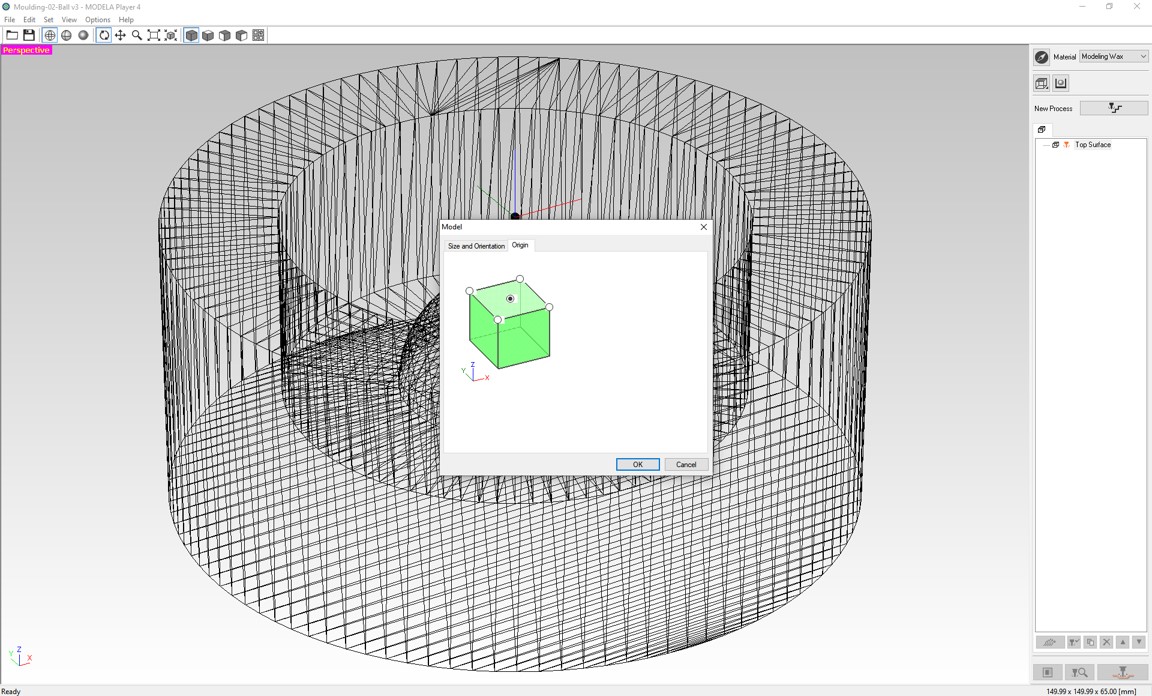
Step 2. Then I cheked Origin in Model window. First I set origin to center but later I changed to Lower left.
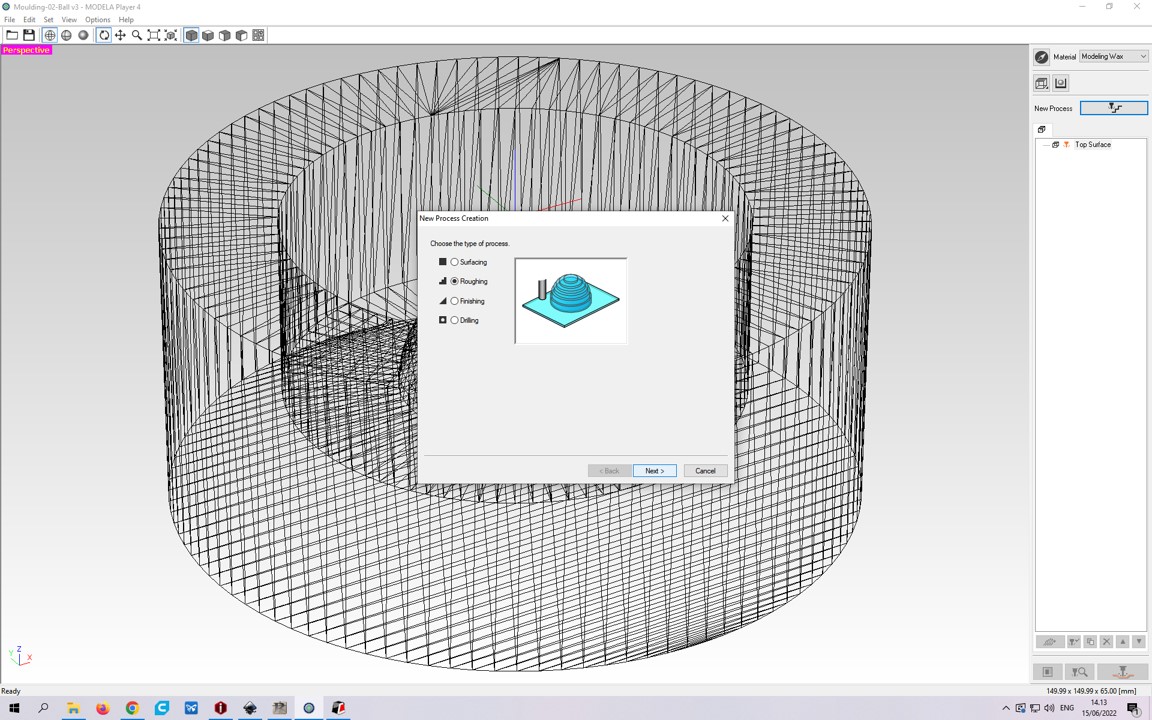
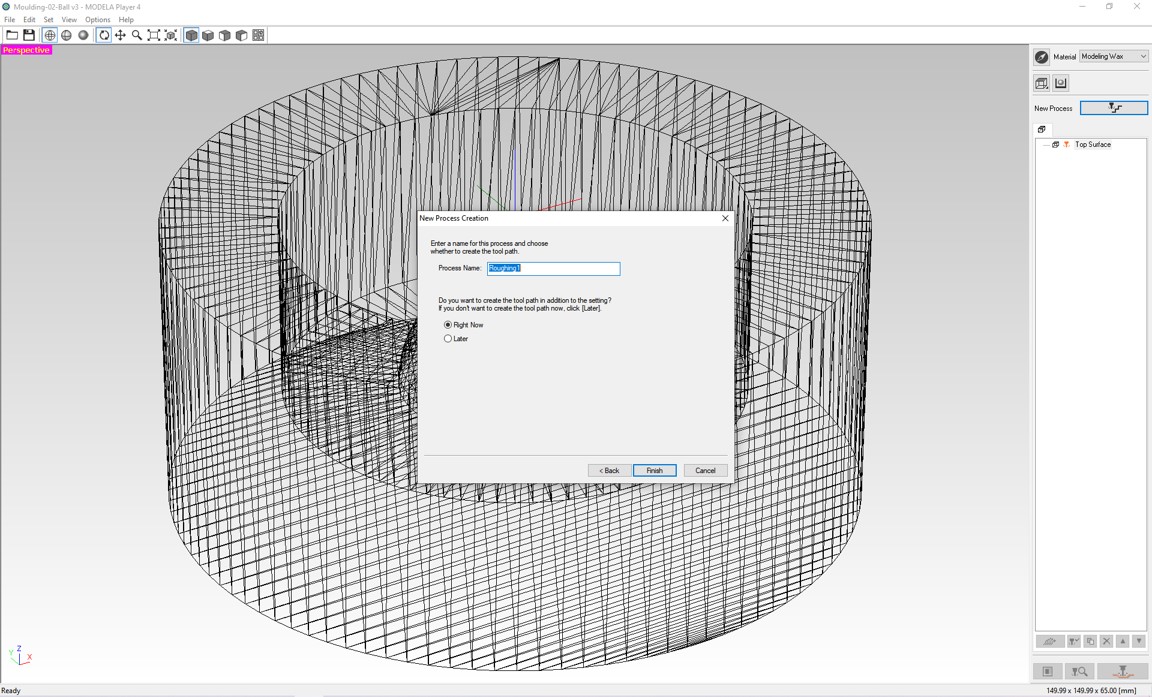
Step 3. I opened New Process Creation window. I choosen Roughing and clicked Next button.
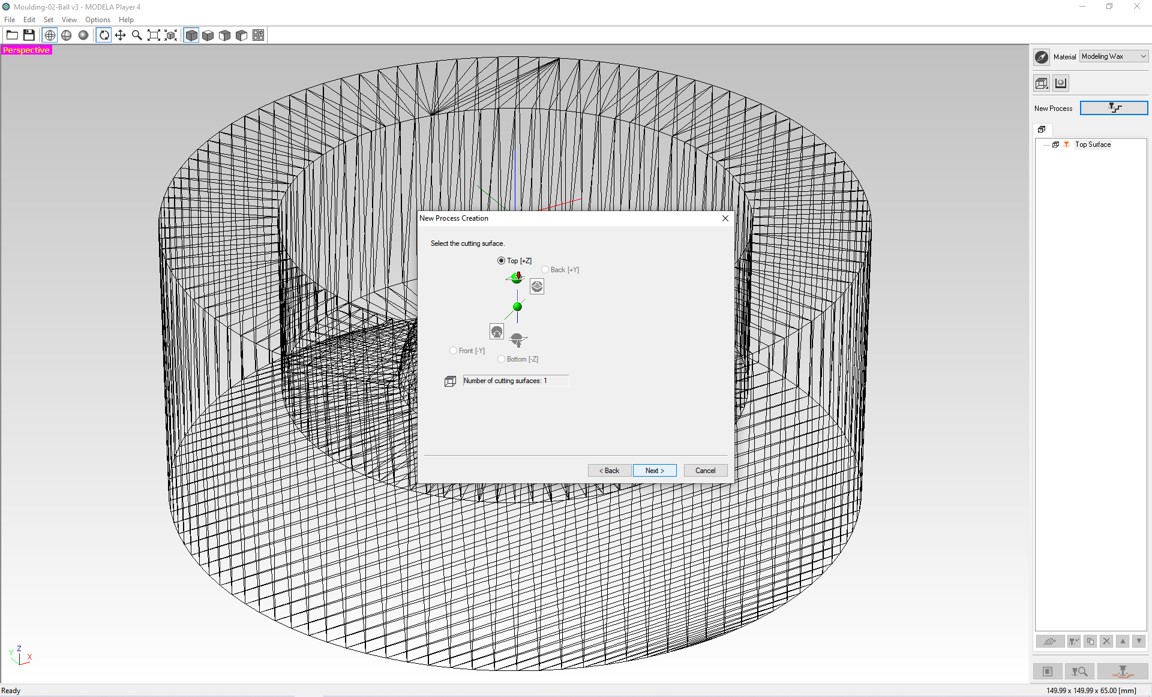
Step 4. Then I selected Top (+Z) to the cutting surface and clicked Next button.
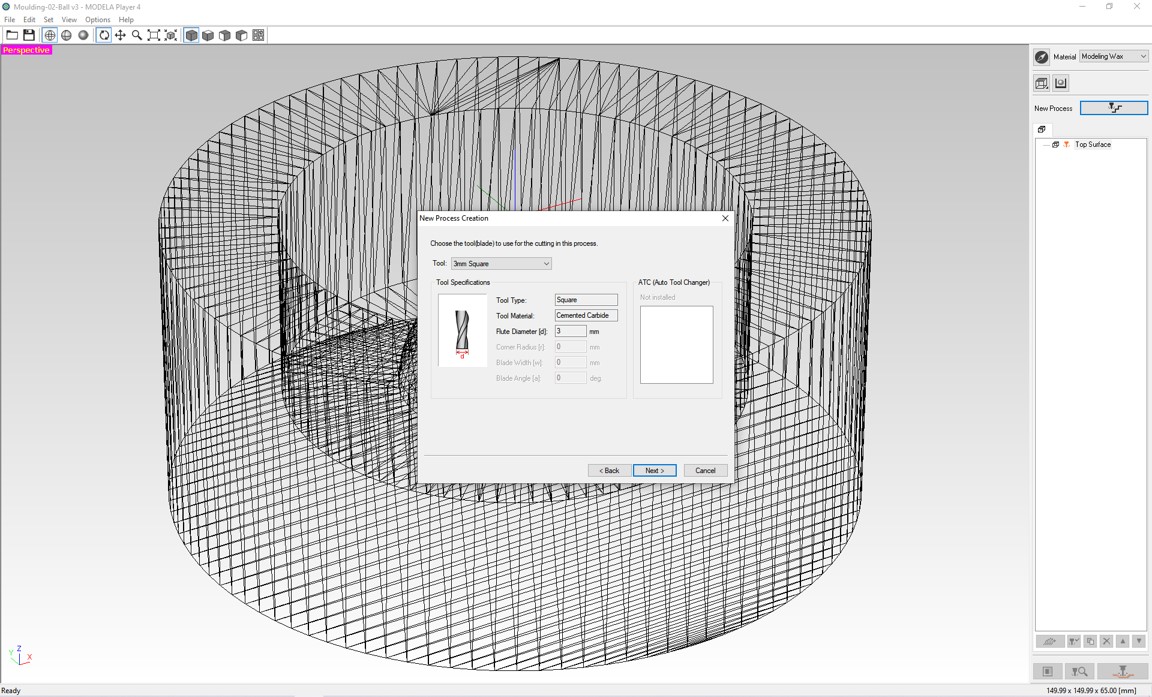
Step 5. Next I chose 3 mm Square to tool and clicked Next button.
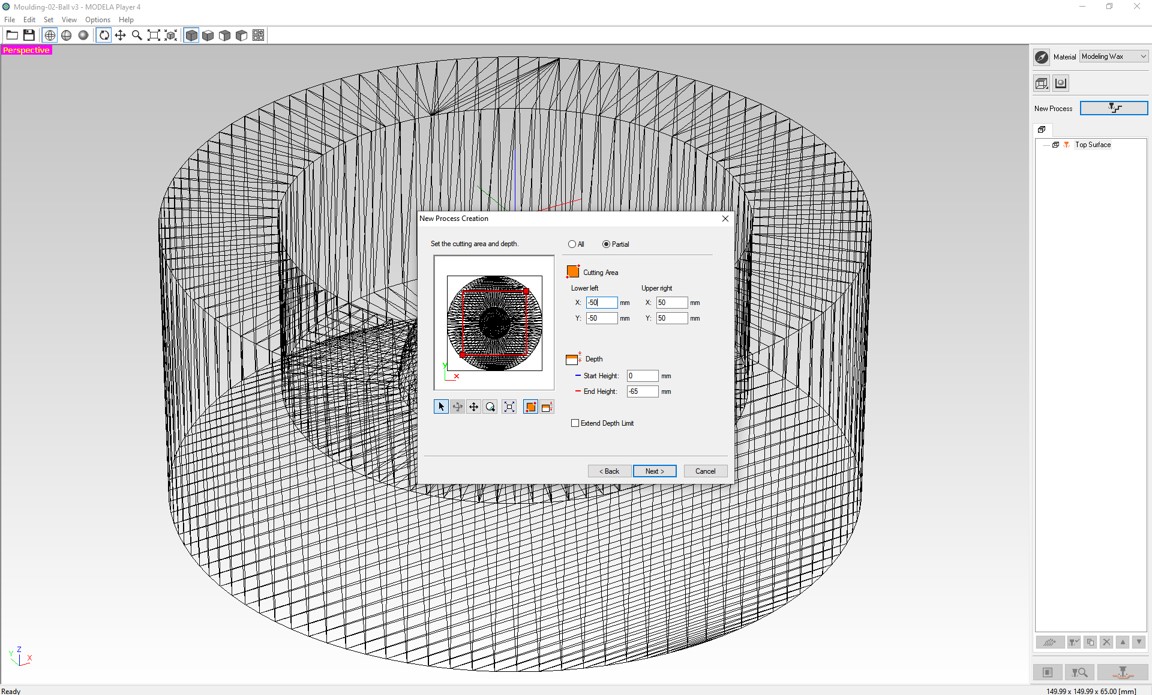
Step 6. Then I setted the cutting area and clicked Next button.
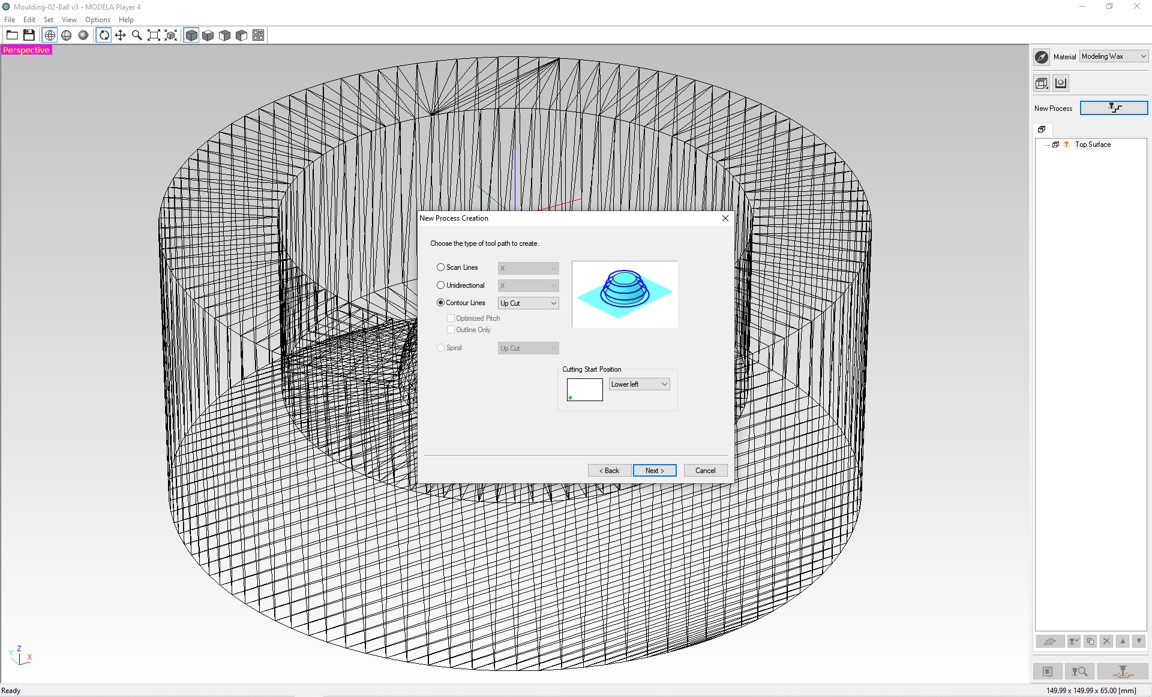
Step 7. I chose Up Cut to Contour Lines and clicked Next button.
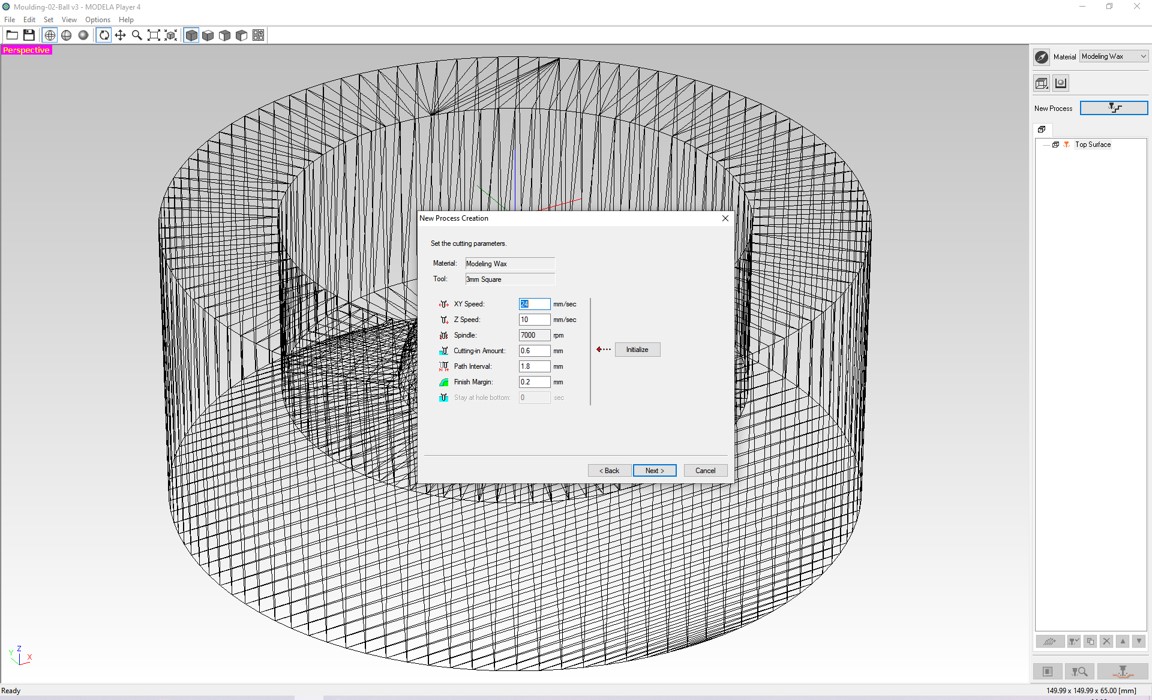
Step 8. Then I set the cutting parameters and clicked Next button.
Step 9. And finaly I named process and clicked Finish button.
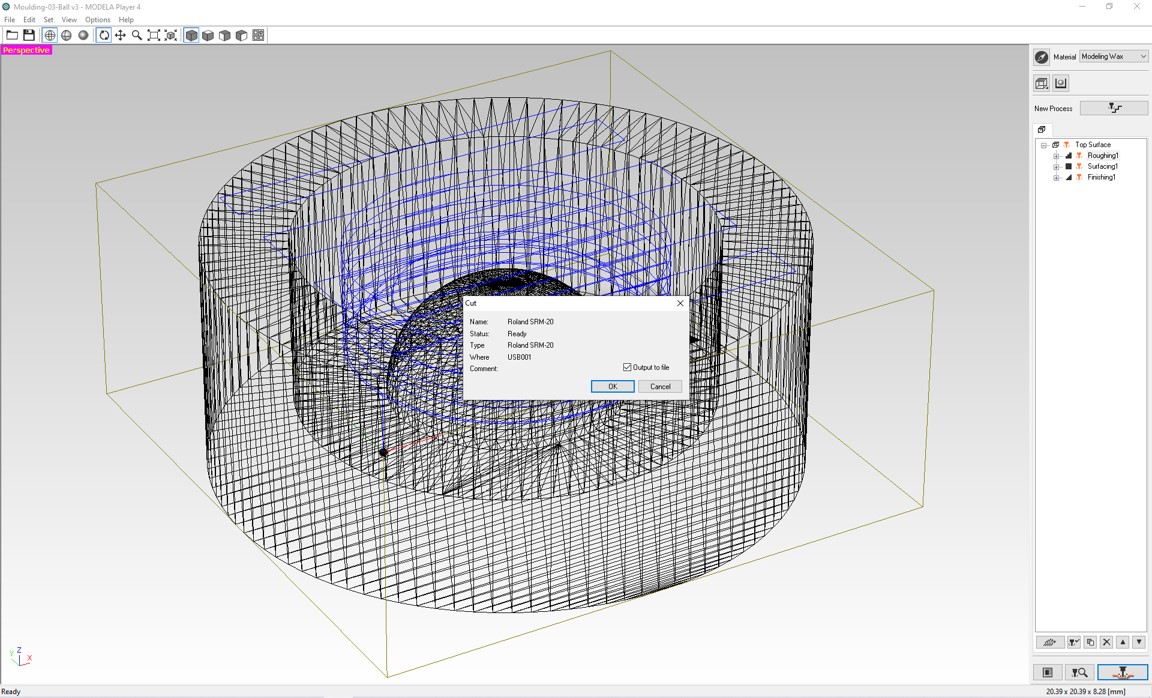
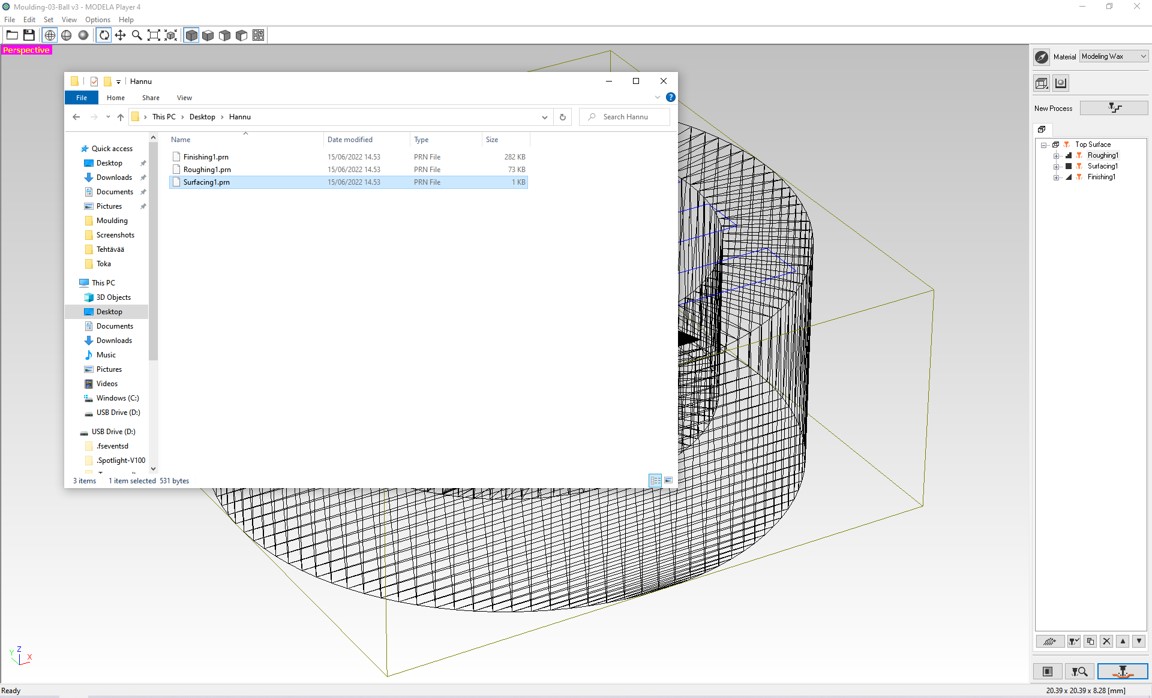
Next I made Finishing file and Surfacing file in the same way. I had to flatten the surfacing of the machinable wax because it was rugged. And finally I got Surfacing1.prn, Roughing1.prn and Finishing1.prn
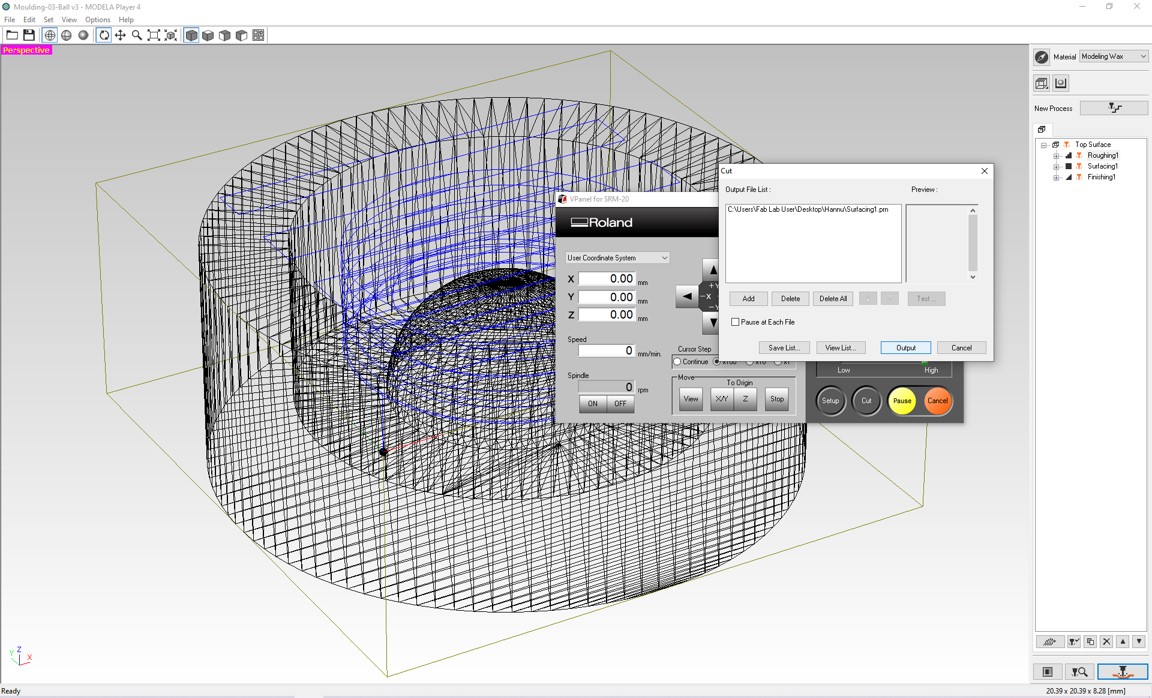
Milling with Roland SRM 20
The milling process went such as on Electronics production week.
First I ran the the Surfacing1.prn file and then Roughing1.prn file and last Finishing1.prn file.
Step 1. First I opened Vpanel for SRM-20 and opened Surfacing1.prn file
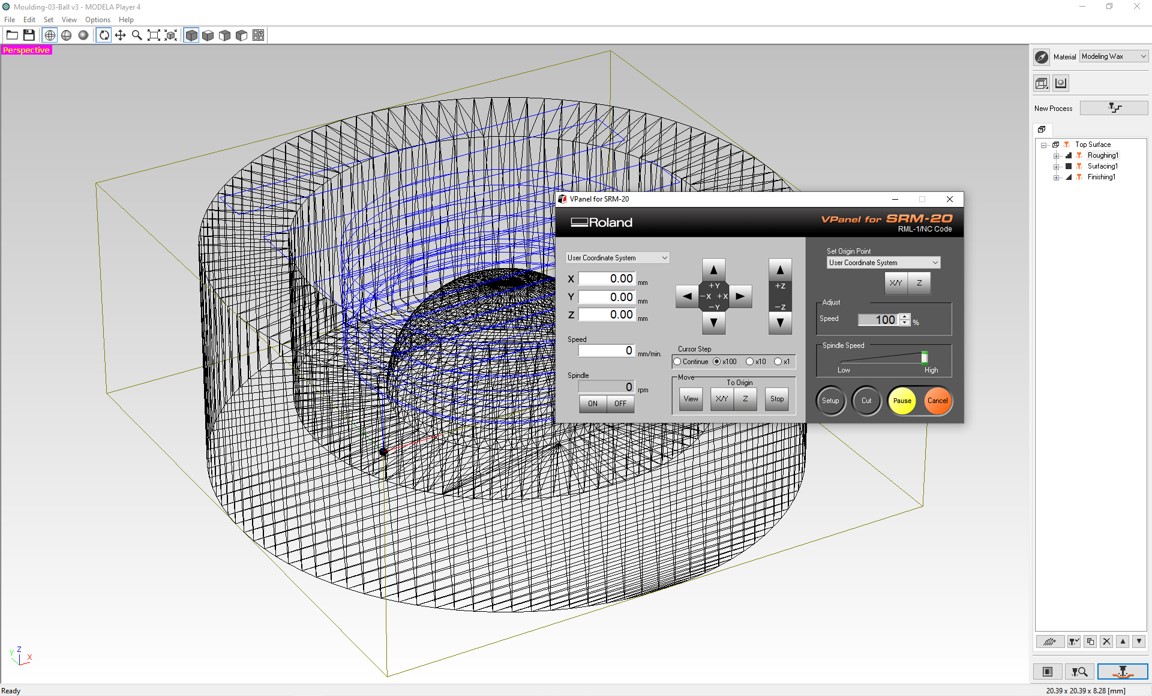
Step 2. I set tape and hot glue onto base of milling machine and I pressed Milling Wax onto base.
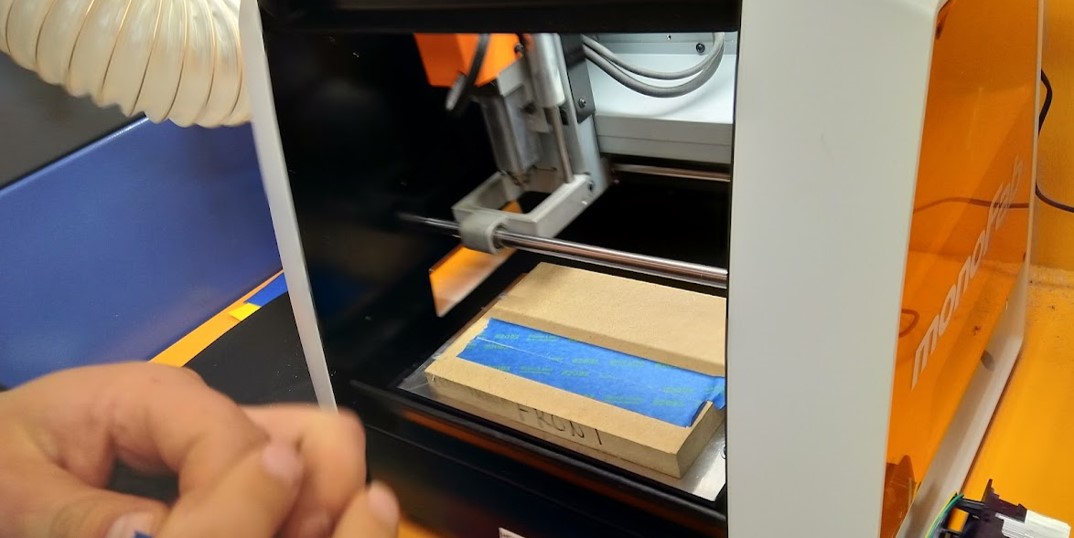
Step 3. Then I set X/Y and Z positions.
Step 4. Surfacing
Step 5. After surface milling I made roughing milling
Step 6. And finally I made finishing milling.

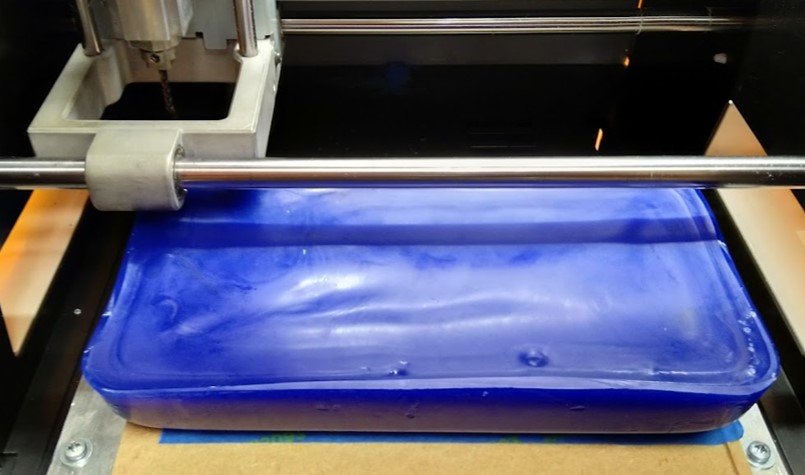
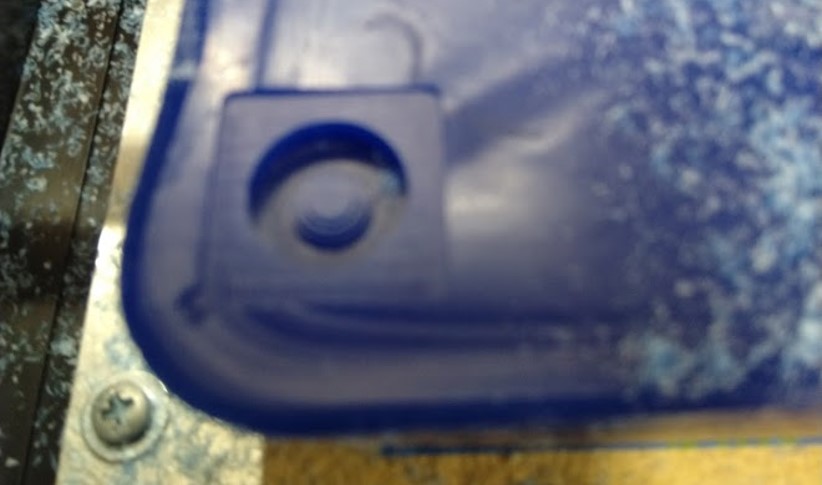
After all three milling processes my mold was ready.
Casting
First I made mold for final object.
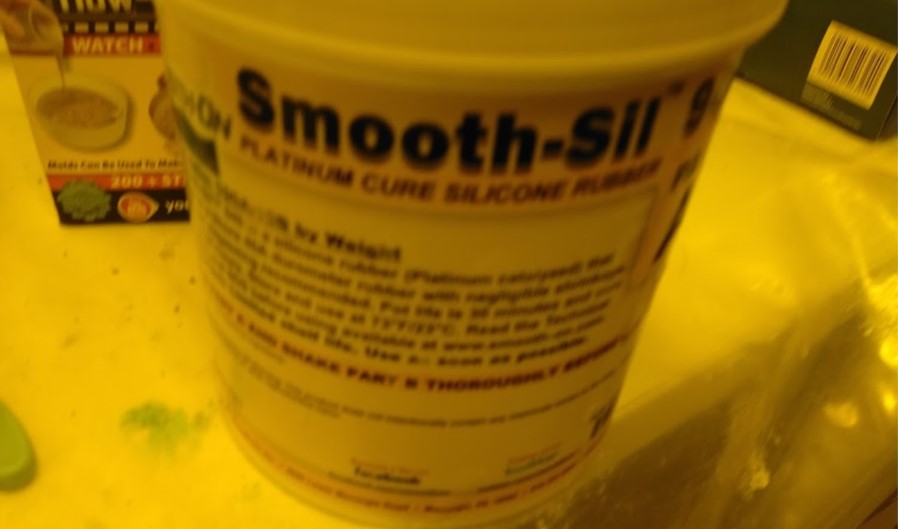
Step 1. I used Smooth-Sil 940. Smooth-Sil 940 is suitable for related applications

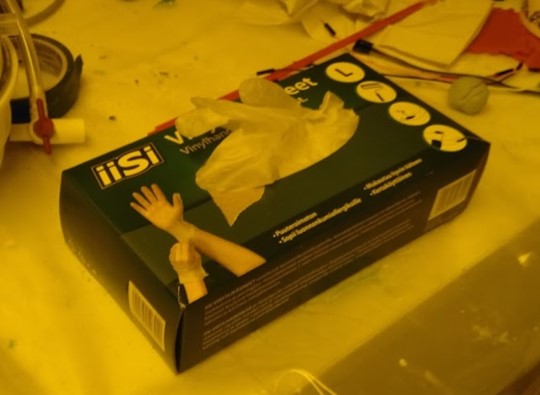
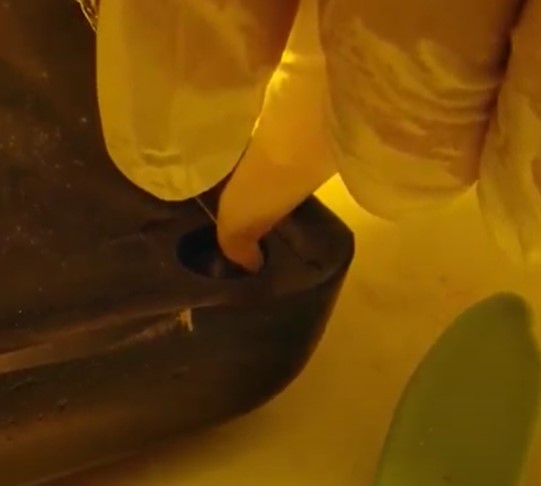
Step 2. Safety: I used vinyl gloves and glasses
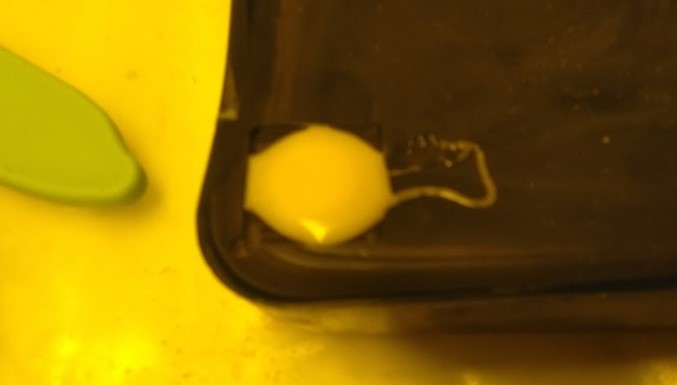
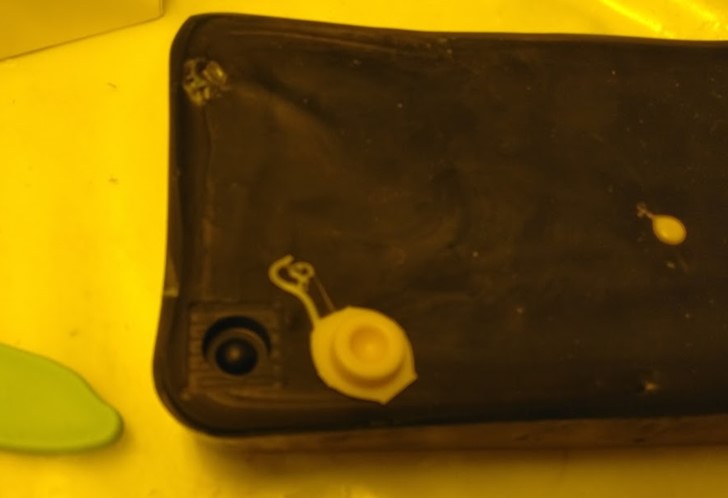
Step 3. I mixed the components by weight: 100 parts component A and 10 parts components B
Step 4. I used scale to measure weights.
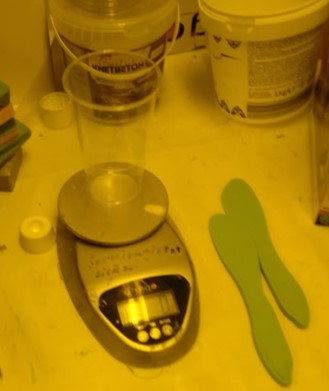
Step 5. When I was mixed componets I put mixture to vacuum chamber for a few minutes.
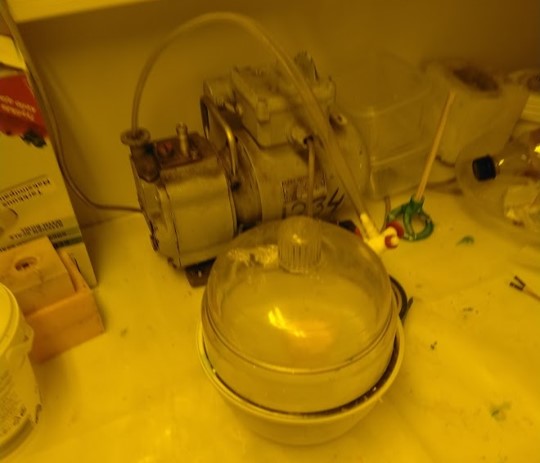
Step 6. Then I poured mixture to mold.
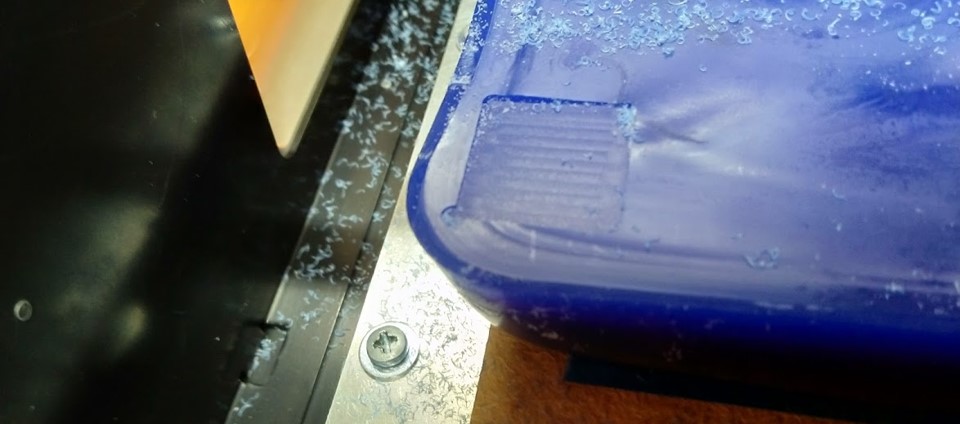
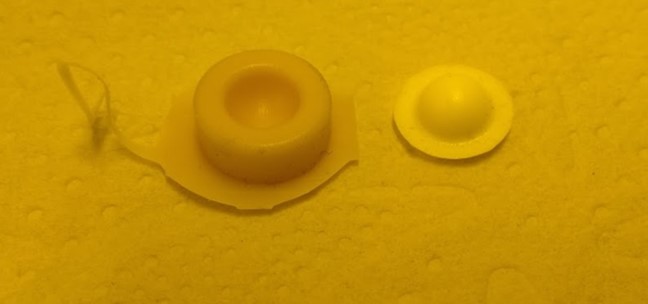
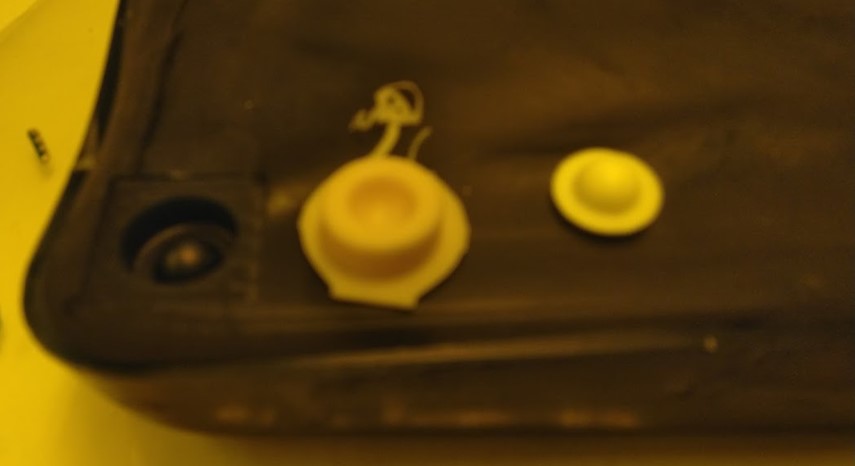
Step 7. The next morning I removed hardened casting. I got my own molding for final casting.
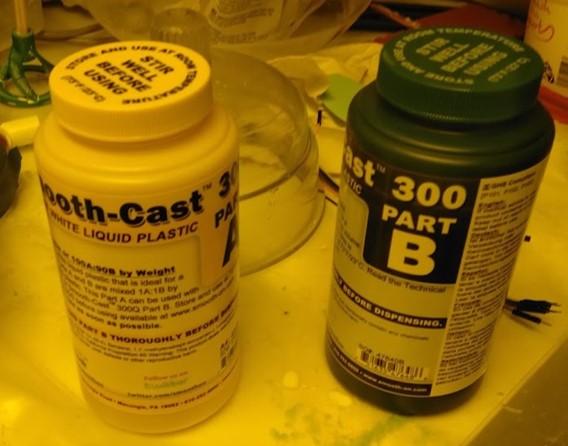
Step 8. To the final casting I used Smooth-Cast 300
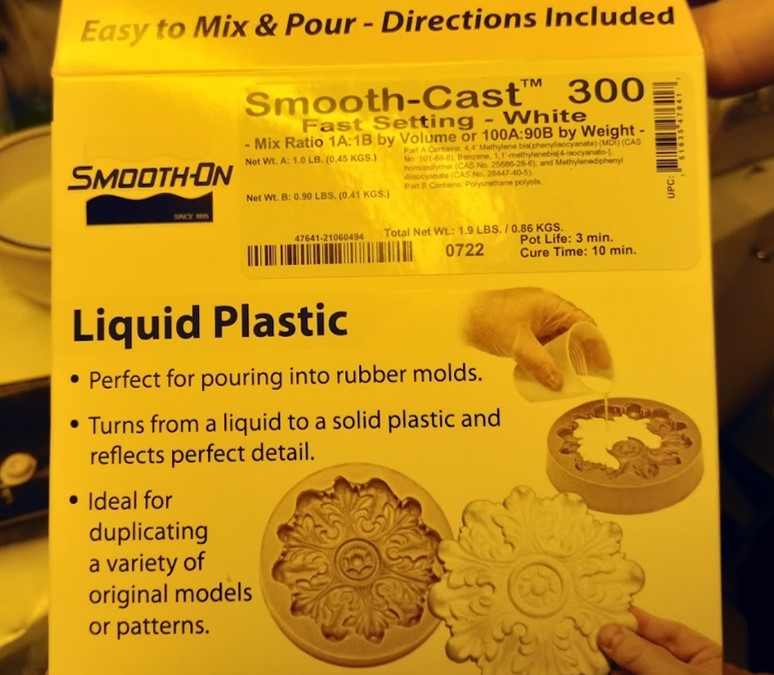
Step 9. Then I mixed the components by weight: 100 parts component A and 90 parts components B.
Step 10. I poured the mixture into the mold
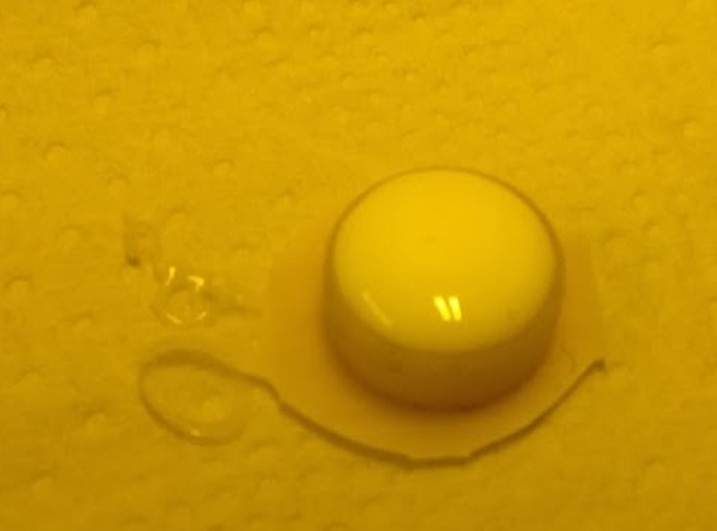
Step 11. After 4 hours I removed final object
After molding and casting week
Videos
Videos by Lars Christensen
- Fusion 360 Tutorial — Beginner To Advanced — How To Create a Mold— Part 1
- Fusion 360 Tutorial — Beginner To Advanced — How To Create a Mold— Part 2
- Fusion 360 — Mold Design - Cavity & Core
Others
Files
Design
Milling