2. Project management, personal web site, version control
Due 2024/01/30
Conceive
- This week we use web-development tools to create a web site to log our Fab Academy work. We will use the website and project-management techniques to track our final project. A web site is similar to a lab journal that a scientist might use to record the processes used in his research.
- We use version control to manage our code in the cloud. We use Git version-control software to manage code revisions. It enables us to commit changes in the code to a repository. Should changes break the code, we can use Git to restore a previous, working version. Version control is like the editor-in-chief of a newspaper that determines what changes get published to the repository.
Assignments
| Have you? | Done |
|---|---|
| Group assignment: | ⬇ |
| None | N/A |
| Individual assignment | ⬇ |
| Work through a git tutorial. | Yes |
| Build a personal website describing you and your final project. Refer to the lecture material for examples. | Yes |
| Upload parts 1 and 2, to the class archive. | Yes |
Learning outcomes
| Have you? | Done |
|---|---|
| Identify and utilise version control protocol(s) | Yes |
| Explore and use website development tool(s) | Yes |
Checklist questions
| Have you? | Done |
|---|---|
| Made a website and described how you did it? | Yes |
| Created a section about yourself on that website? | Yes |
| Added a page with a sketch and description of your final project idea(s)? | Yes |
| Documented steps for setting up your Git repository and adding files to it? | Yes |
| Pushed to your class GitLab repository? | Yes |
| Signed and uploaded Student Agreement? | Yes |
Context
- Syllabus FAW02
- Assessment FAW02
- Tutorial FAW02
- Video FAW02
- Recitation FAW02
- Recitation video FAW02
- Review video FAW02
- FabAcademy 2021 Documents
- FabAcademy Home Page
- FabLabs Home Page
Comprehend
- A web log or “blog” creates a digital, online archive of events–successes, failures, or insights related to a person or project–in a permanent record.
- Fabacademy uses Gitlab to store and serve student web logs.
- Gitlab uses Git for version control of code. Git provides “branching” and “merging” features that enable division of coding responsibilities and nondestructive editing by managing “clones” or “branches” of the code base.
- Before Git commits changes to a repository, Gitlab uses continuous integration (CI) to test the code before committing it to the main development branch.
- Gitlab uses continuous delivery (CD) as part of CI/CD “pipeline” to further automate delivery of software releases to users.
- Developers control what tasks should be performed on edits to the main branch by using the .gitlab-ci.yml file.
- Students tell the Gitlab server how to publish their blog site using the .gitlab-ci.yml file.
- In order to prepare a web log for service, students must do three things: setup a web framework in a Gitlab project, create pages for the site, and add content to those pages. Gitlab.fabcloud.org serves at least 18 different web frameworks for blogs. The following are a few of the options.
- I want to understand the various web site workflows for Gitlab. I can build pages with HTML and CSS. I can build sites using WordPress and Bootstrap on servers. I am unfamiliar with middleware such as Jekyll, Markdown and YAML.
- HTML pages Students can use a text editor to code the page format from scratch and edit content.
- Hugo and Jeckyll generate static sites using go and gem respectively. They both offer themes to format content and require no database to function.
- Bootstrap uses JavaScript and CSS to format pages.
- MkDocs generates static sites using Markdown. It excels at presented formatted documentation.
- I want to transform my GitLab site from MarkDown to Jekyll, then add Bootstrap and finally, just Bootstrap.
- I tried to create a site from Hugo using the plus sign icon on the purple top navigation menu of GitLab. It immediately broke my FA pages link. So, I killed the project using settings->house keeping->remove (I think). This restored the former site and pages link.
- I am now trying to change the site by replacing .gitlab-ci.yml file.
Individual assignment
Take Care
- The most important thing to know about this assignment is that it is more important to have a running site than a beautiful one.
- Use project management techniques to divide the goals into simple tasks and budget your time.
Calibrate and Characterize
- Not applicable
Control
Build a personal website
- WWW-server interface
- I chose to use the Mkdocs that Fabacademy provided because the document-style formatting makes consuming the information easier for users.
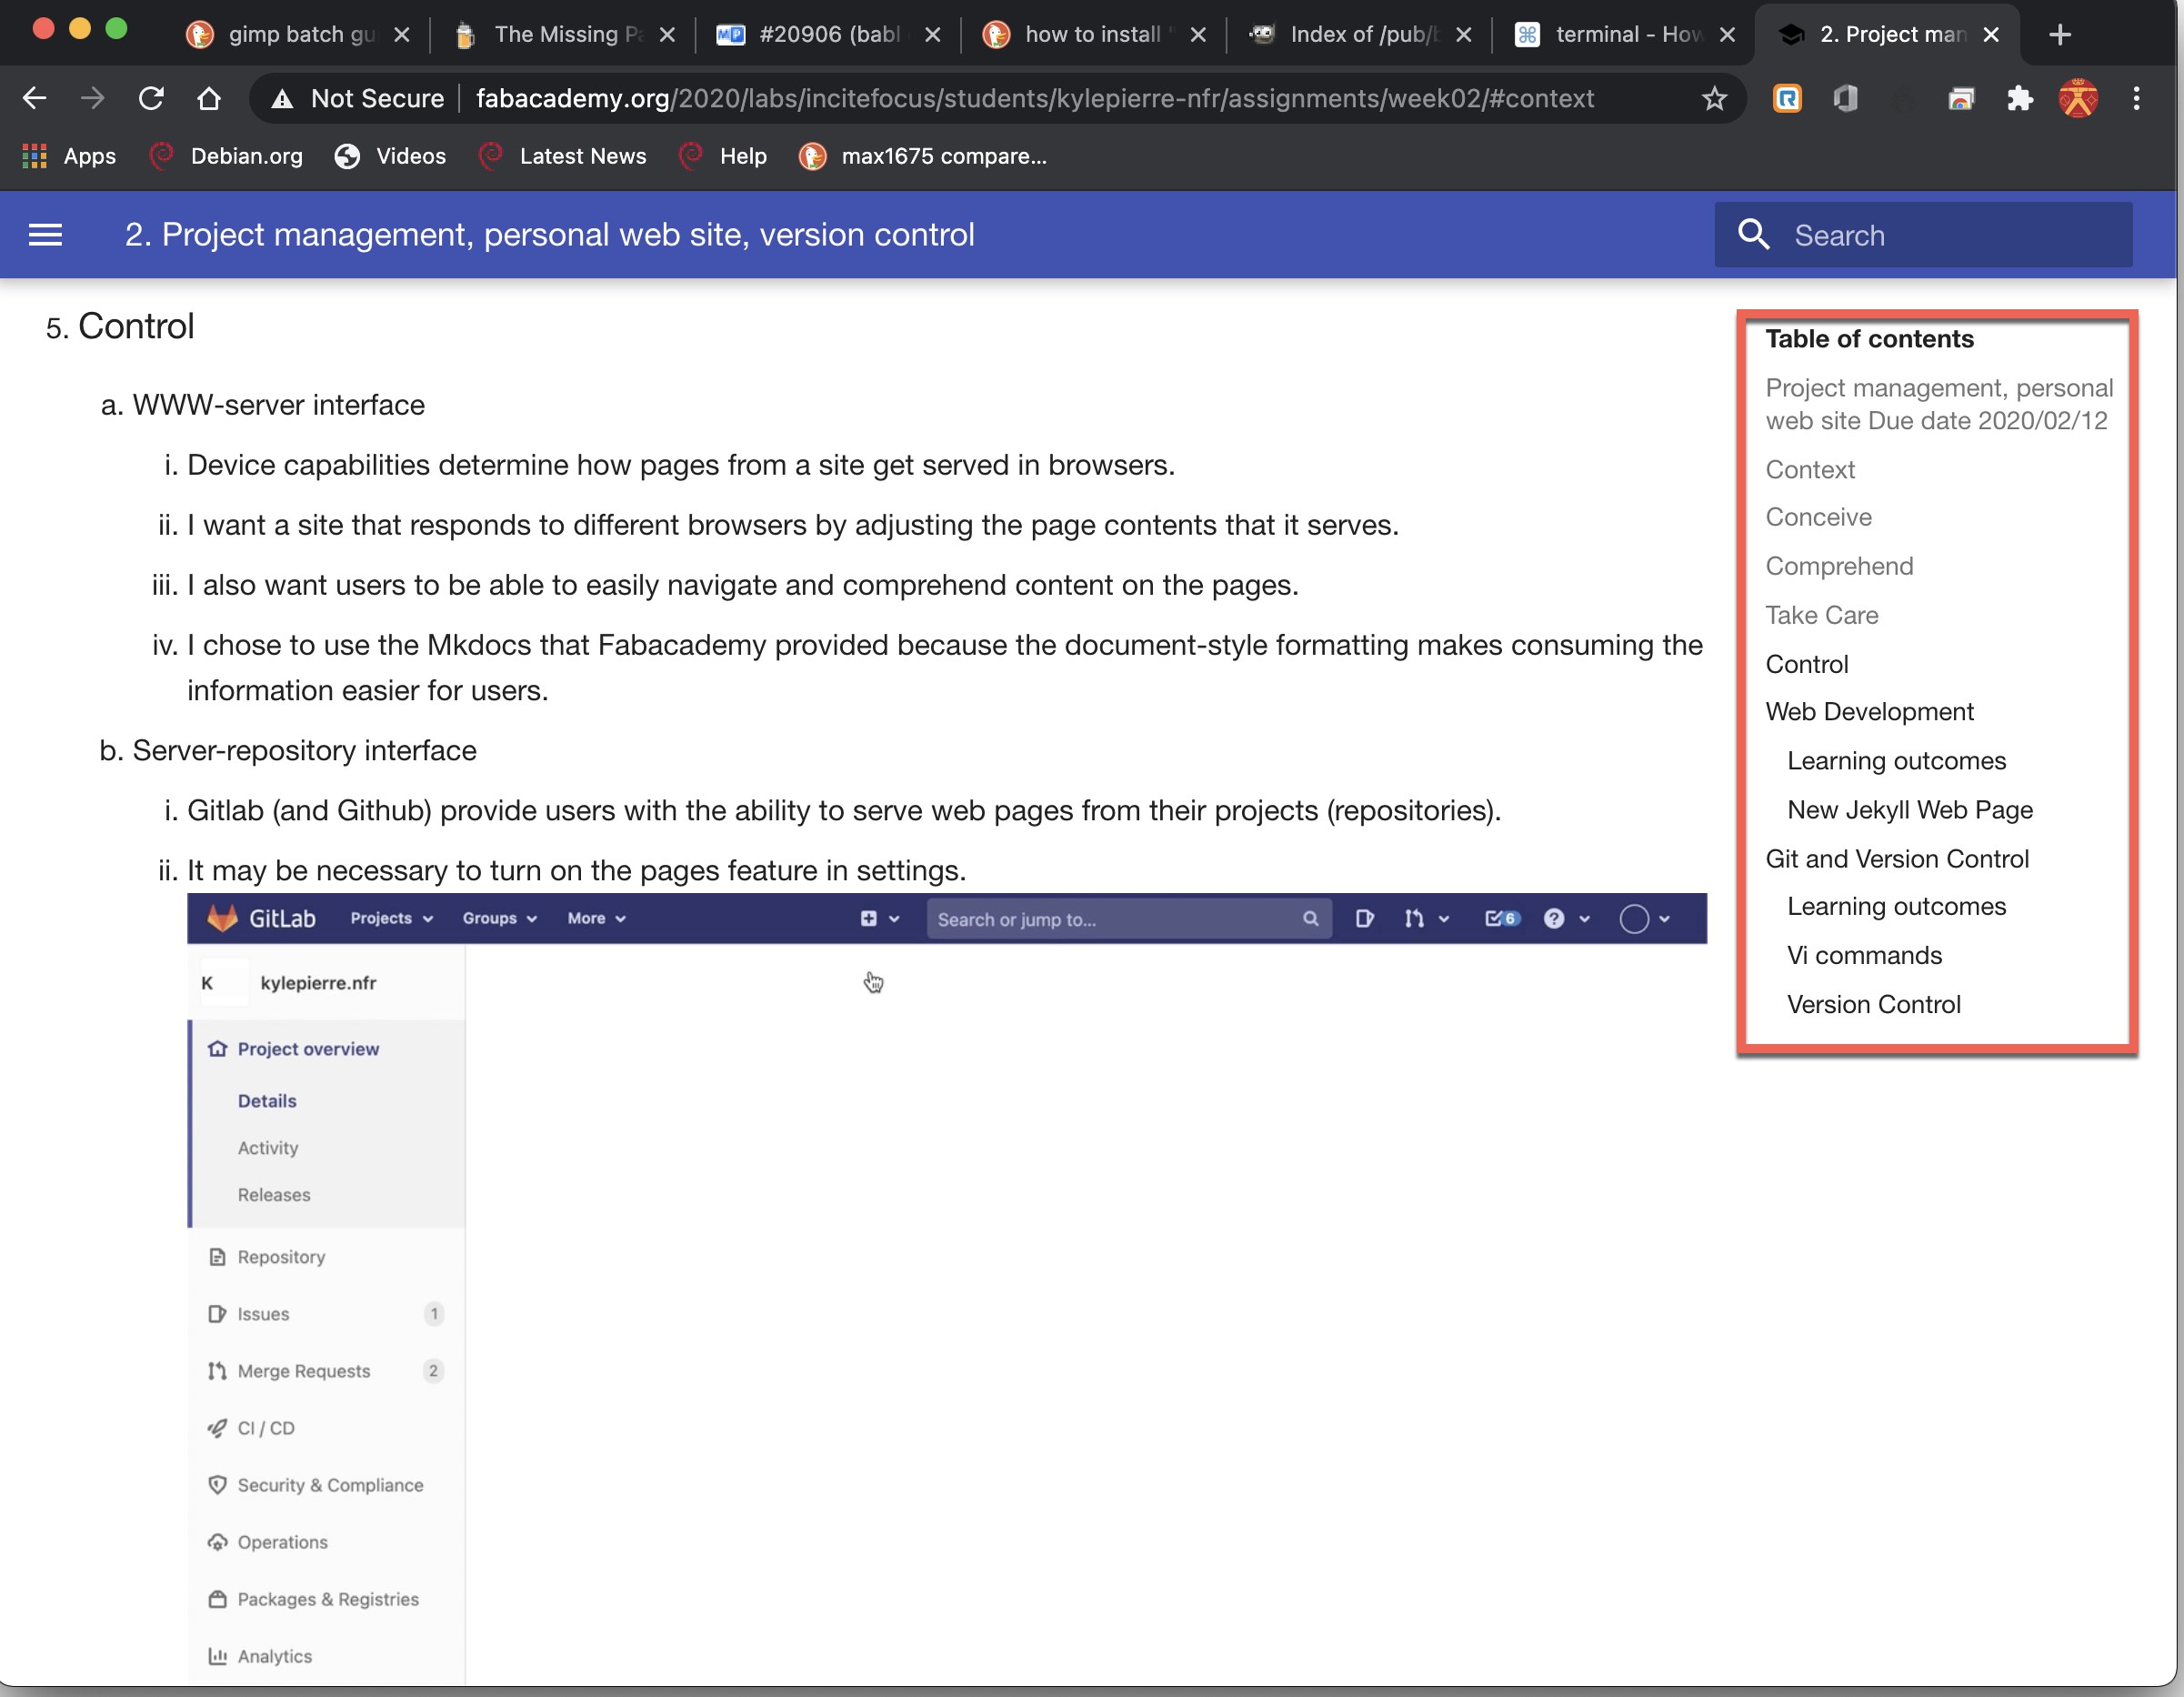
- Device capabilities determine how pages from a site get served in browsers.
- I want a site that responds to different browsers by adjusting the page contents that it serves.
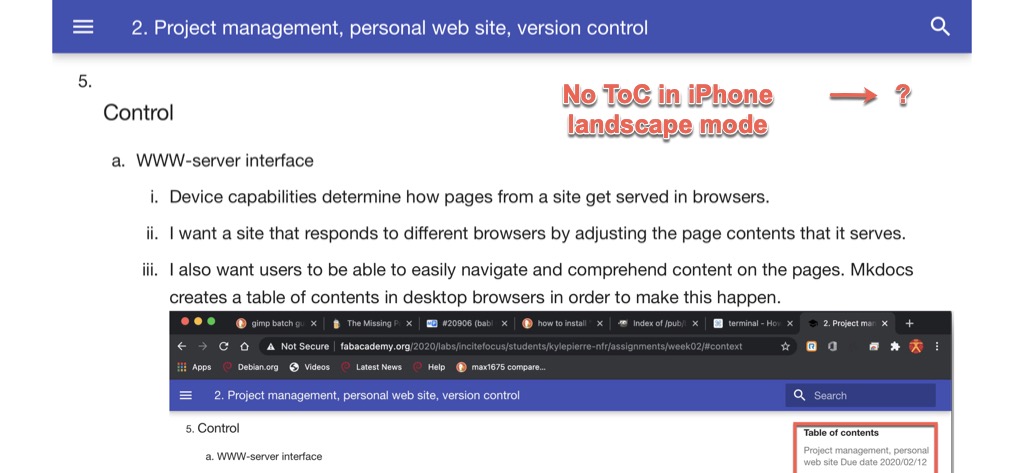
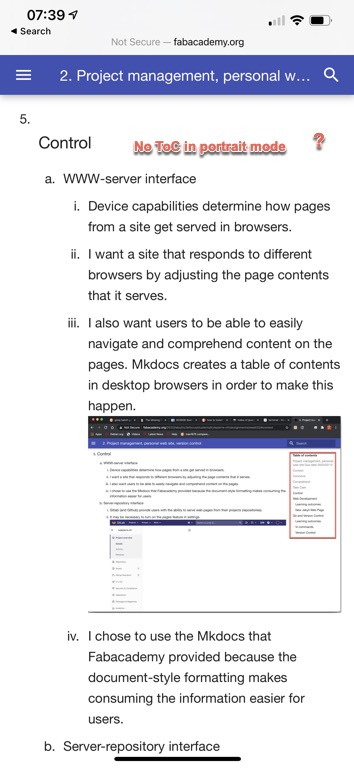
- I also want users to be able to easily navigate and comprehend content on the pages. Although some templates or plug-ins offer a table-of-contents feature, the provided Mkdocs template includes one by default–but only in desktop browsers.
- As mentioned in paragraph 1 of comprehend, Gitlab learns what content to serve and how to serve it from a .gitlab-ci.yml file.
- Gitlab uses runners to complete the jobs.
- Runners display results of the jobs in a pipeline
- The pipeline is a log of sorts.
- As with other logs, pipelines provide information for resolving merge issues.
- If the repository content will be served using a program interpreter, use .gitlab-ci.yml to deploy the correct Docker container for the programming language.
- I chose to use the Mkdocs that Fabacademy provided because the document-style formatting makes consuming the information easier for users.
- Server-repository interface
- Gitlab (and Github) provide users with the ability to serve web pages from their projects (repositories).
- It may be necessary to turn on the pages feature in settings.
Git tutorial
- Repository-clone interface
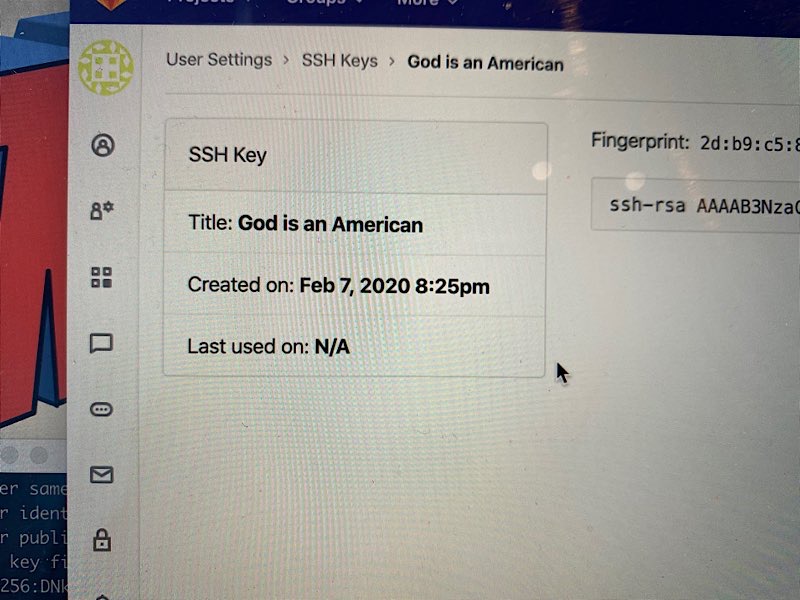
- In Gitlab and Github, a user uses ssh to uniquely identify himself and securely access the server.
- I used this Gitlab ssh setup as a guide to create an ssh connection with the repository.
- Install git from here done
- *Step 3 in the version control rec, git config, it may be necessary to retype the dashes in “–global.”
- *Also in step 3, if no ssh key has been generated no .ssh directory will exist. So, run the ssh-keygen command first. done
- Use cat ~/.ssh/id_rsa.pub to display public key.
- Copy public key
- Add, paste, and name public key on gitlab under settings. Done
- Fab Academy provides a user account and a repository to start.
- A user can edit web-log pages directly in Gitlab through the browser.
- While I made virtually all of the changes to the site using the Gitlab GUI, I did use Homebrew to install git on a MacBook Pro. I also installed the GitKraken GUI.
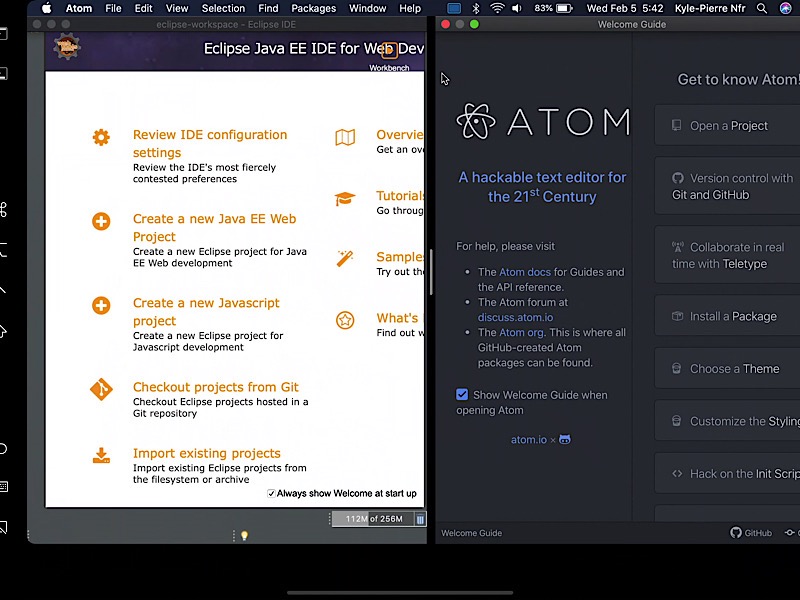
- My goal is to migrate to Atom, Sublime or Eclipse for both editing and commits. I prefer the UX of Atom to Eclipse but I am more familiar with Eclipse and it is a more mature IDE. So, we will see.
- This changes the code base directly and does not require a clone or branch.
- To change the code base remotely, a user must use git commands to clone a copy of the repository–the master–to a local machine.
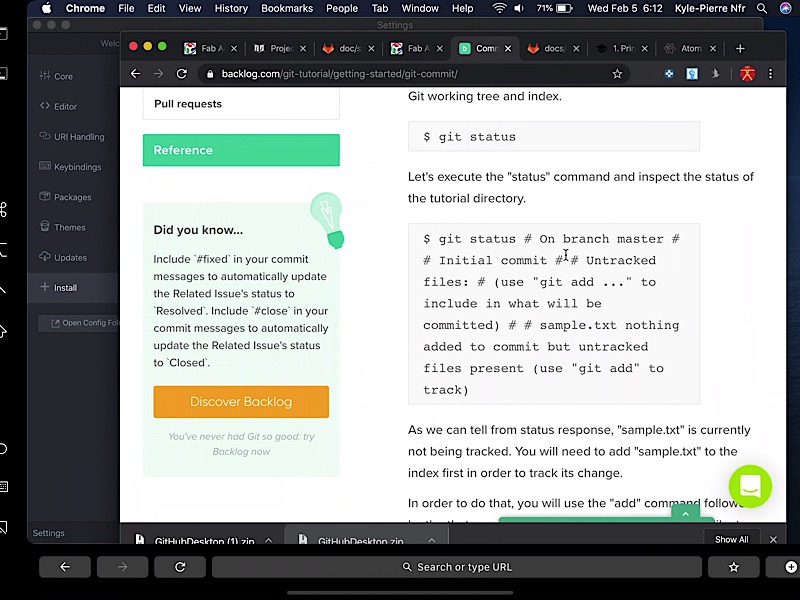
- I found this git tutorial to be helpful for learning how to establish a clone of a repository and how to communicate with the repository remotely.
- I referred to the following site to review Vi commands. Note: Vi does not include in app help but the bash command “man vi” does provide syntactical information.
- Git status; git pull; git add *; git commit.
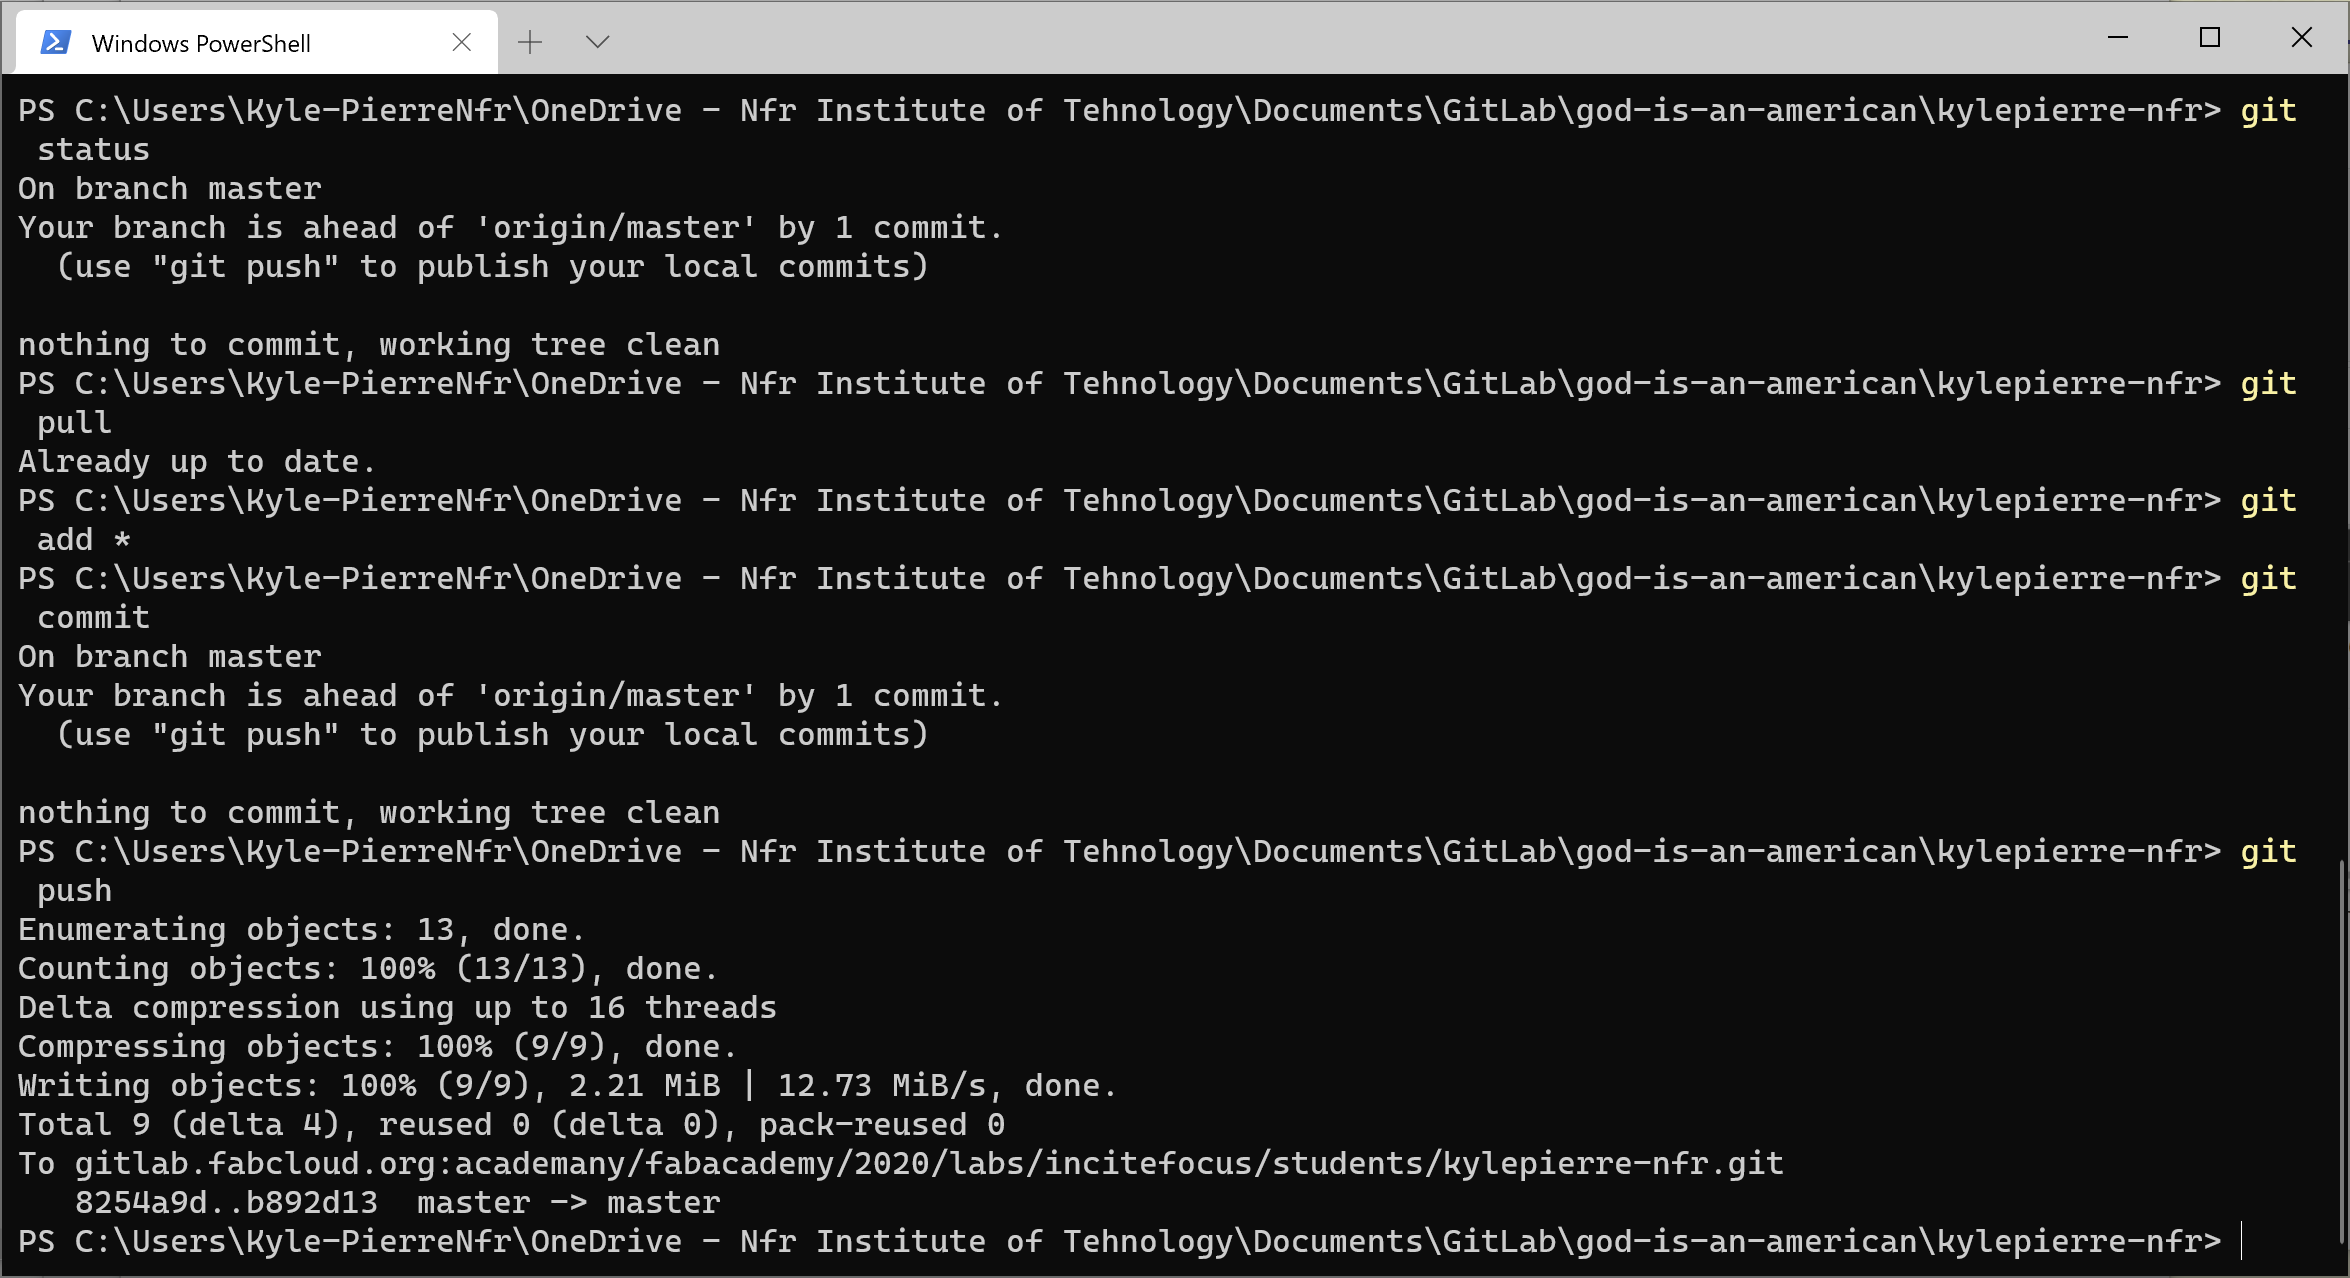
- Edit commit comments in vi.
- git push

- Git status; git pull; git add *; git commit.
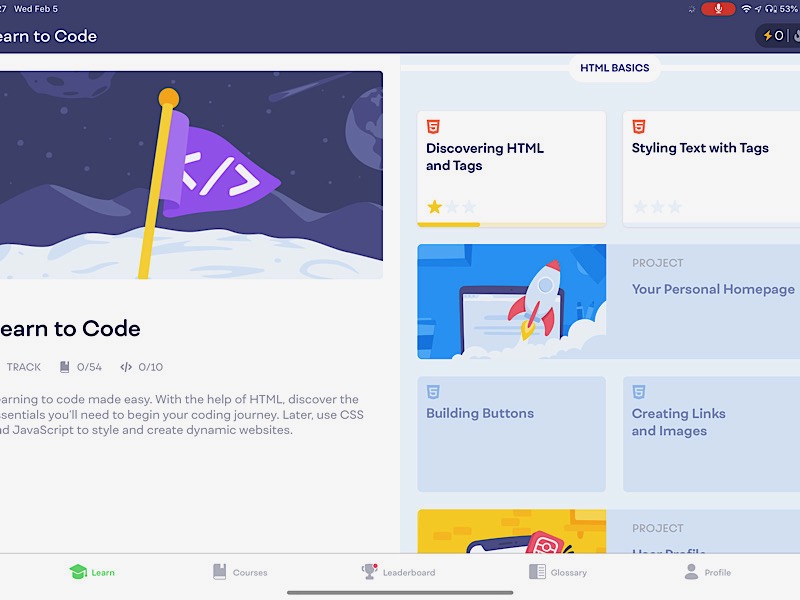
- I brushed-up on my html using the MIMO app on iPadOS.
 *These screens were captured using an iPad and Mac OS “Sidecar”
 - I used “Image Size” iPadOS app for image compression on iPad and iPhone.
- I added iTerm2 to my MBP after seeing Kris’s setup. I also added zsh & oh-my-zsh to get the look of his term window.
- I followed the tutorial here
- The above instructions did not yield the desired results.
- I tried uninstalling and reinstalling everything to no avail.
- The information on the page at this link helped me create the desired look.
- The essential point is that I had to use some combination of oh-my-zsh themes and powerline fonts in order to get the look and function that I wanted.
- Iterm2 plus Oh my zsh plus powerlevel 10k
- From medium
- Install homebrew on iterm2 done
- Install oh my zsh from github using curl done
- Install powerlevel 10k theme done
- Install vim line fail
- Finally, executing the command “git clone git@gitlab.fabcloud.org:academany/fabacademy/2020/labs/incitefocus/students/kylepierre-nfr.git” created a clone of the master repository on the local maching done
Upload to class archive
- Clone-editor interface
- In the repository-clone interface, Git runs commands such as push and pull on the command line of a terminal using a secure shell.
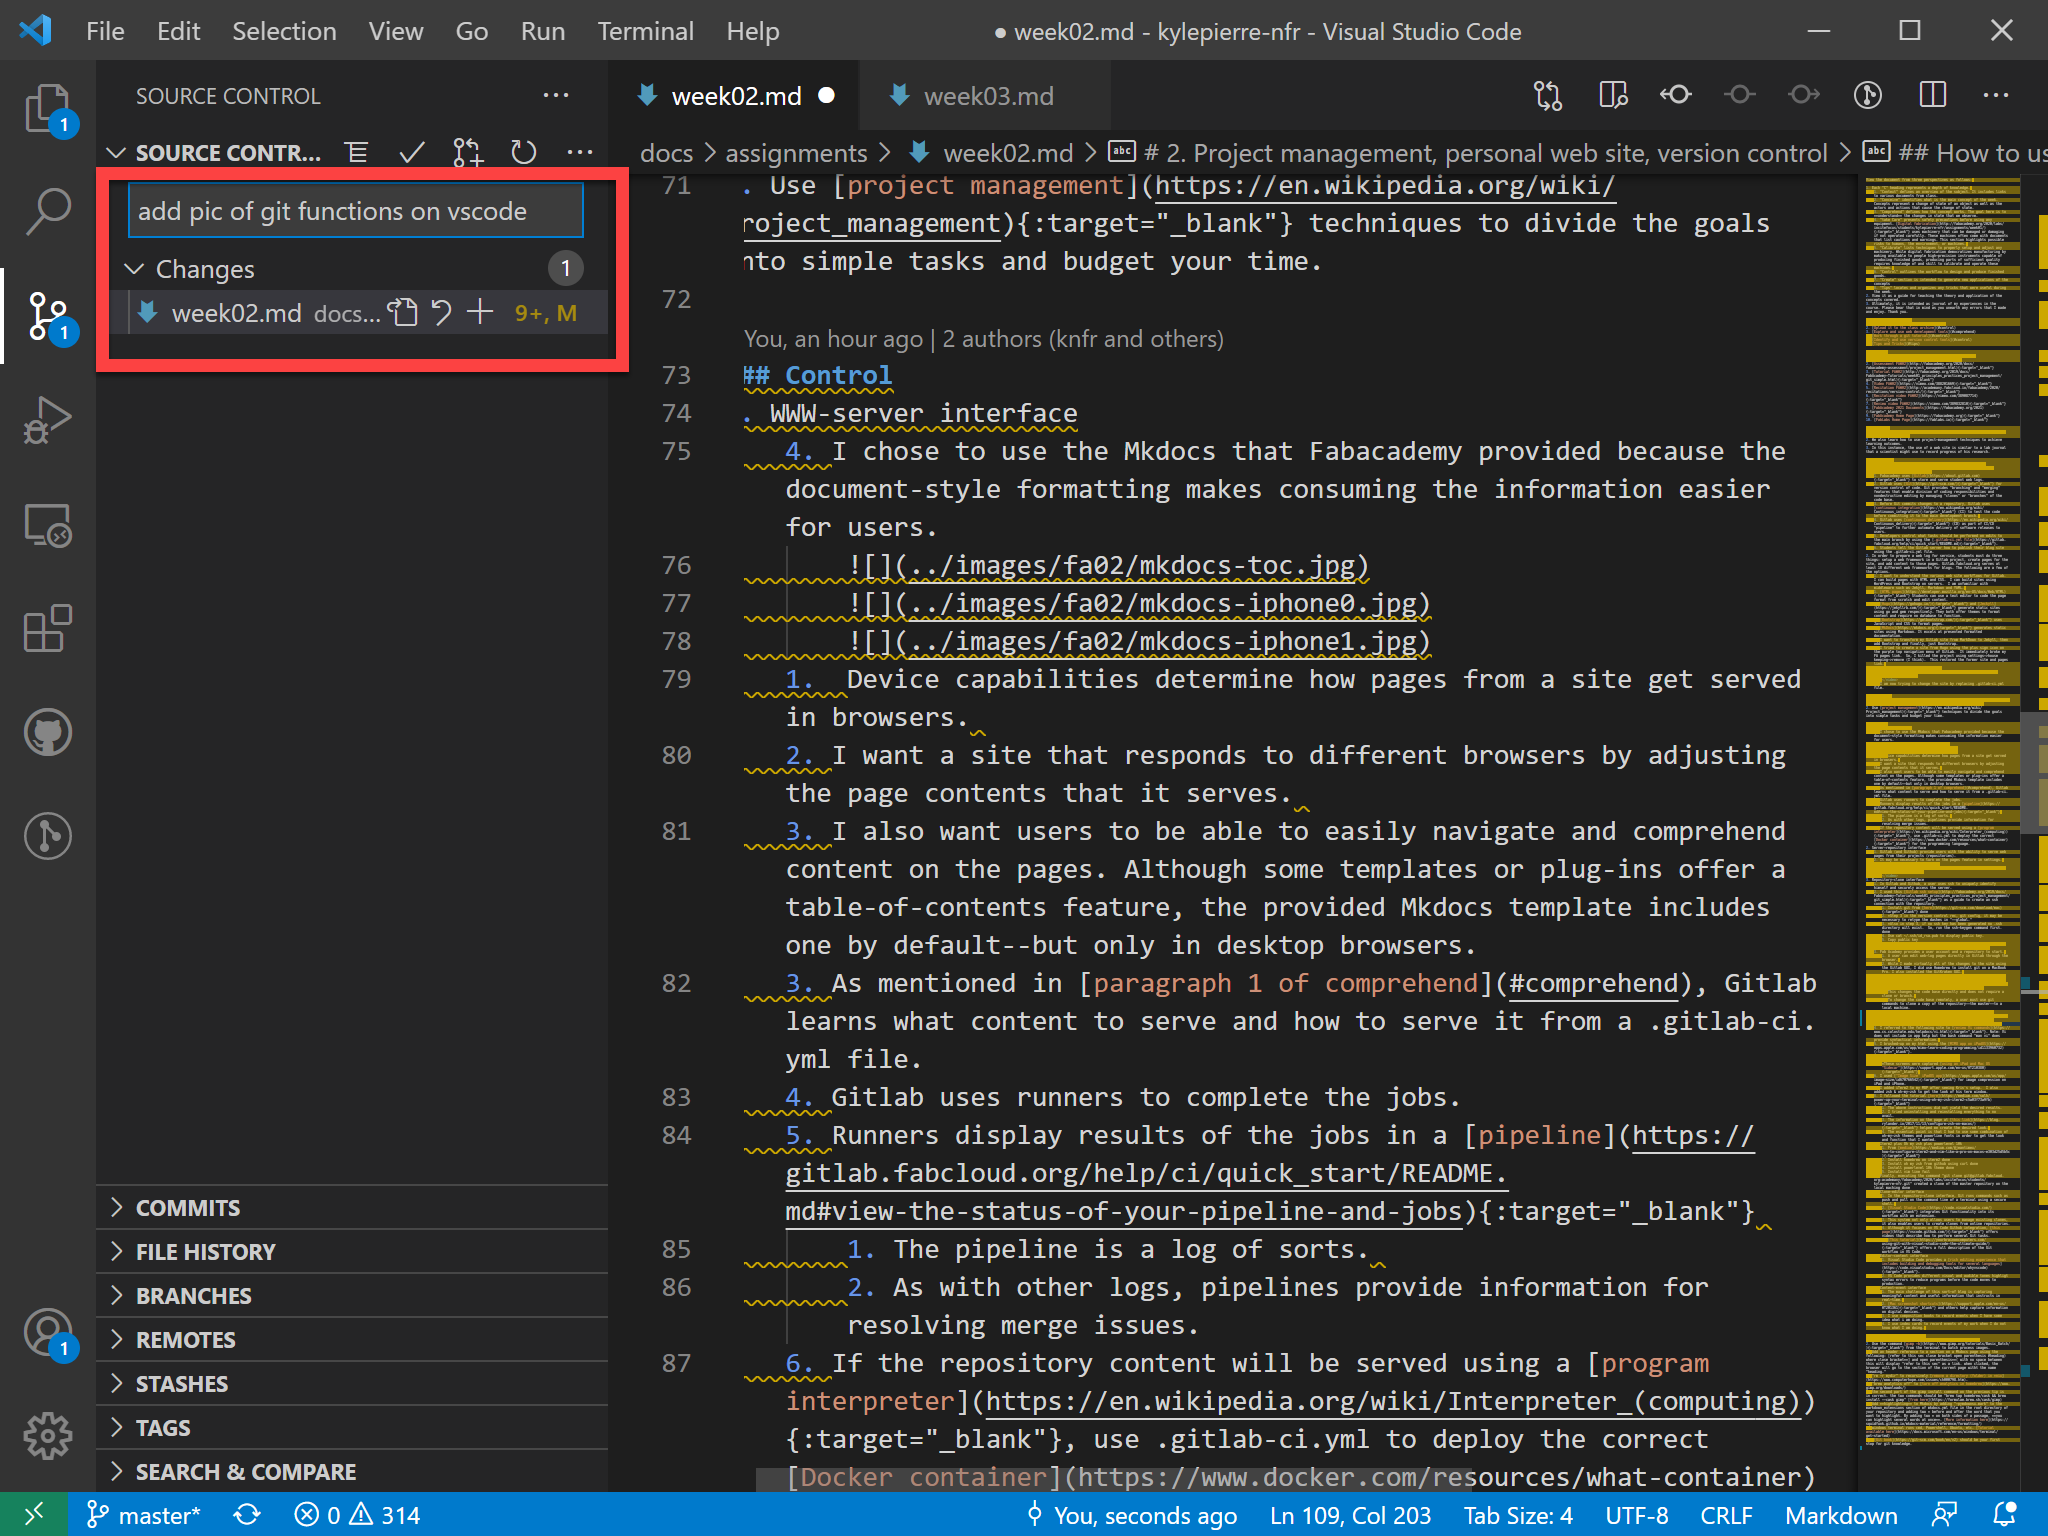
- Visual Studio Code integrates Git functionality into its workflow with an extension.
- This system not only allows users to manage existing clones, it also enables users to create clones from online repositories.
- Although it focuses on VS Code Github integration, this page offers videosdescribe how to perform several Git tasks.
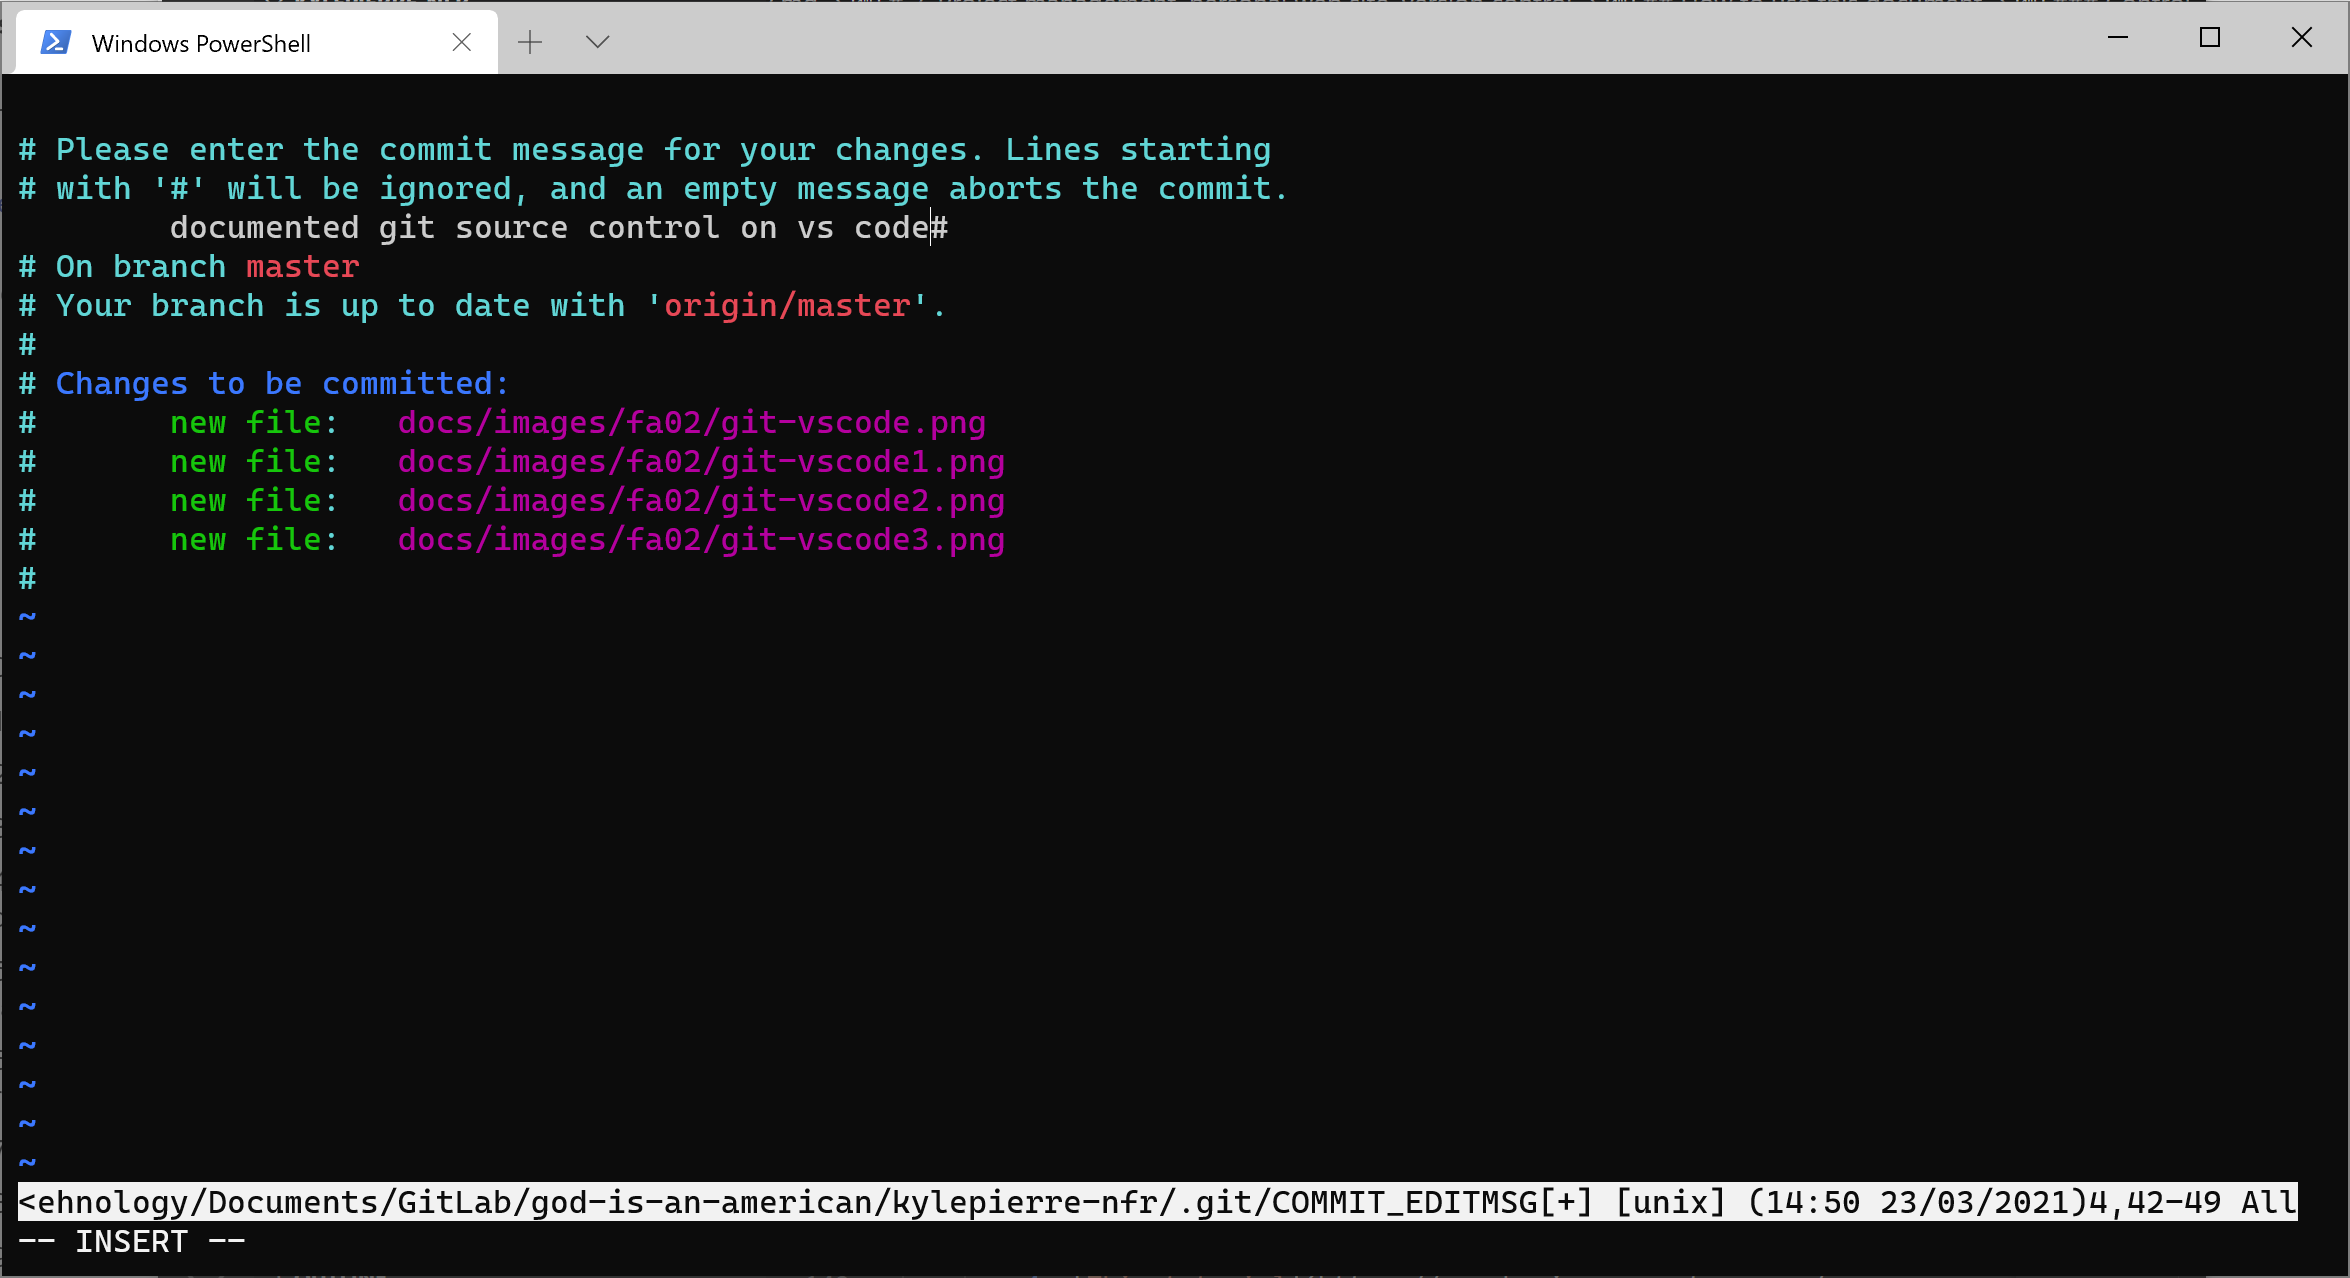
- Git source control
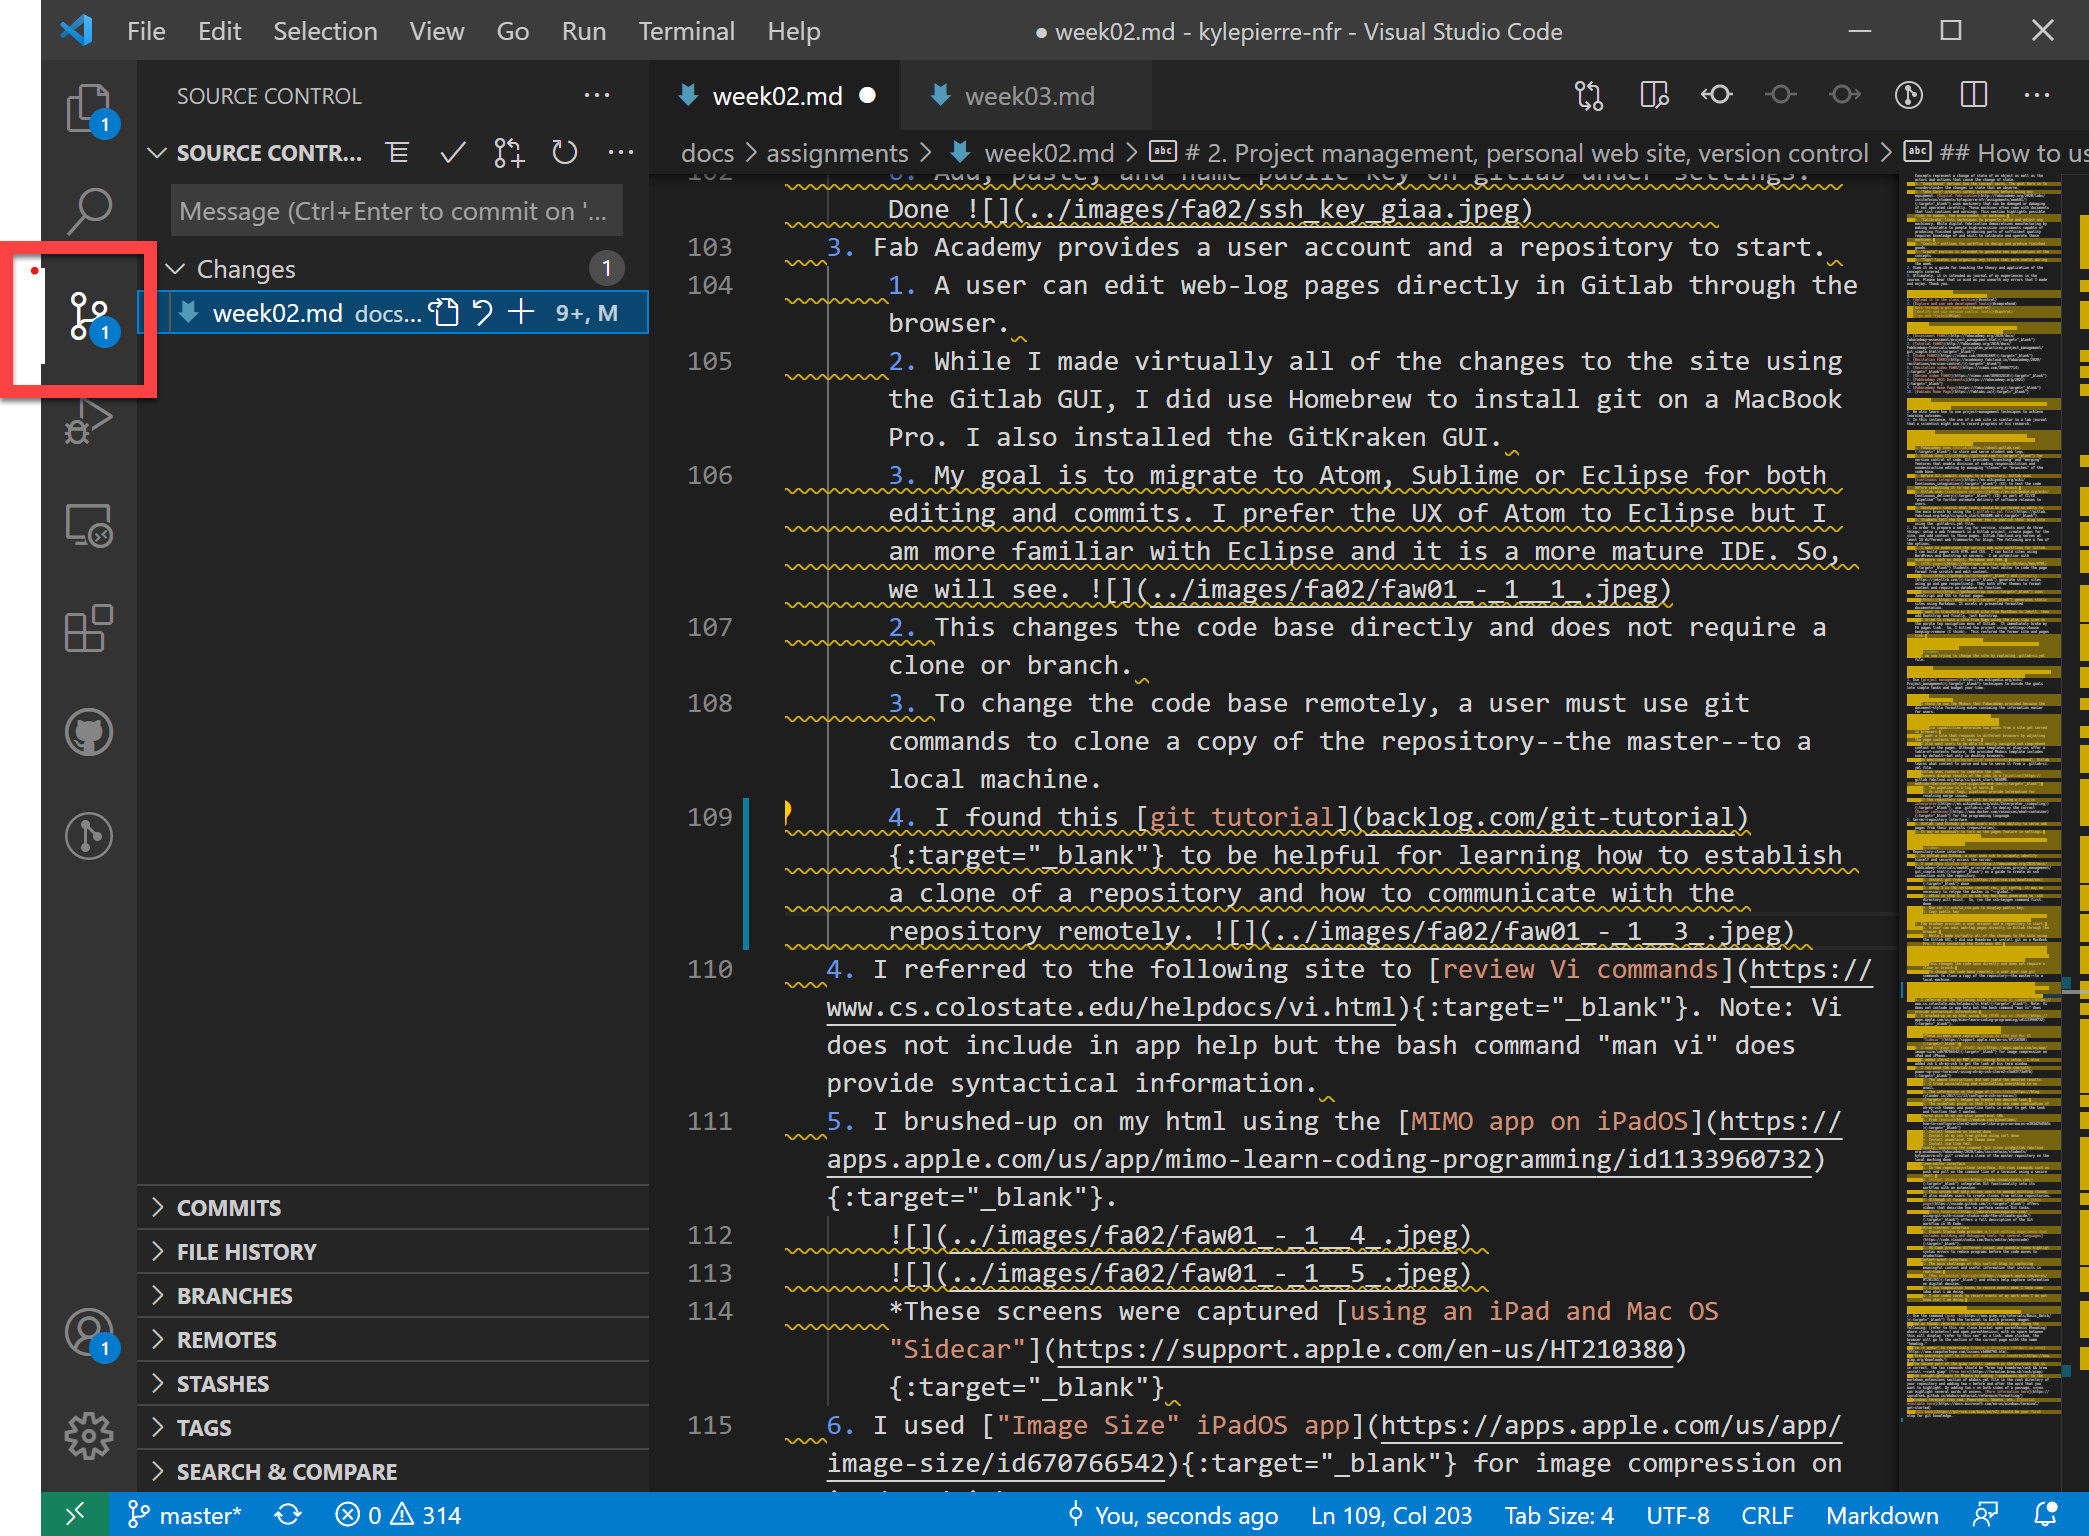
- Comment for commit
- Git add and commit
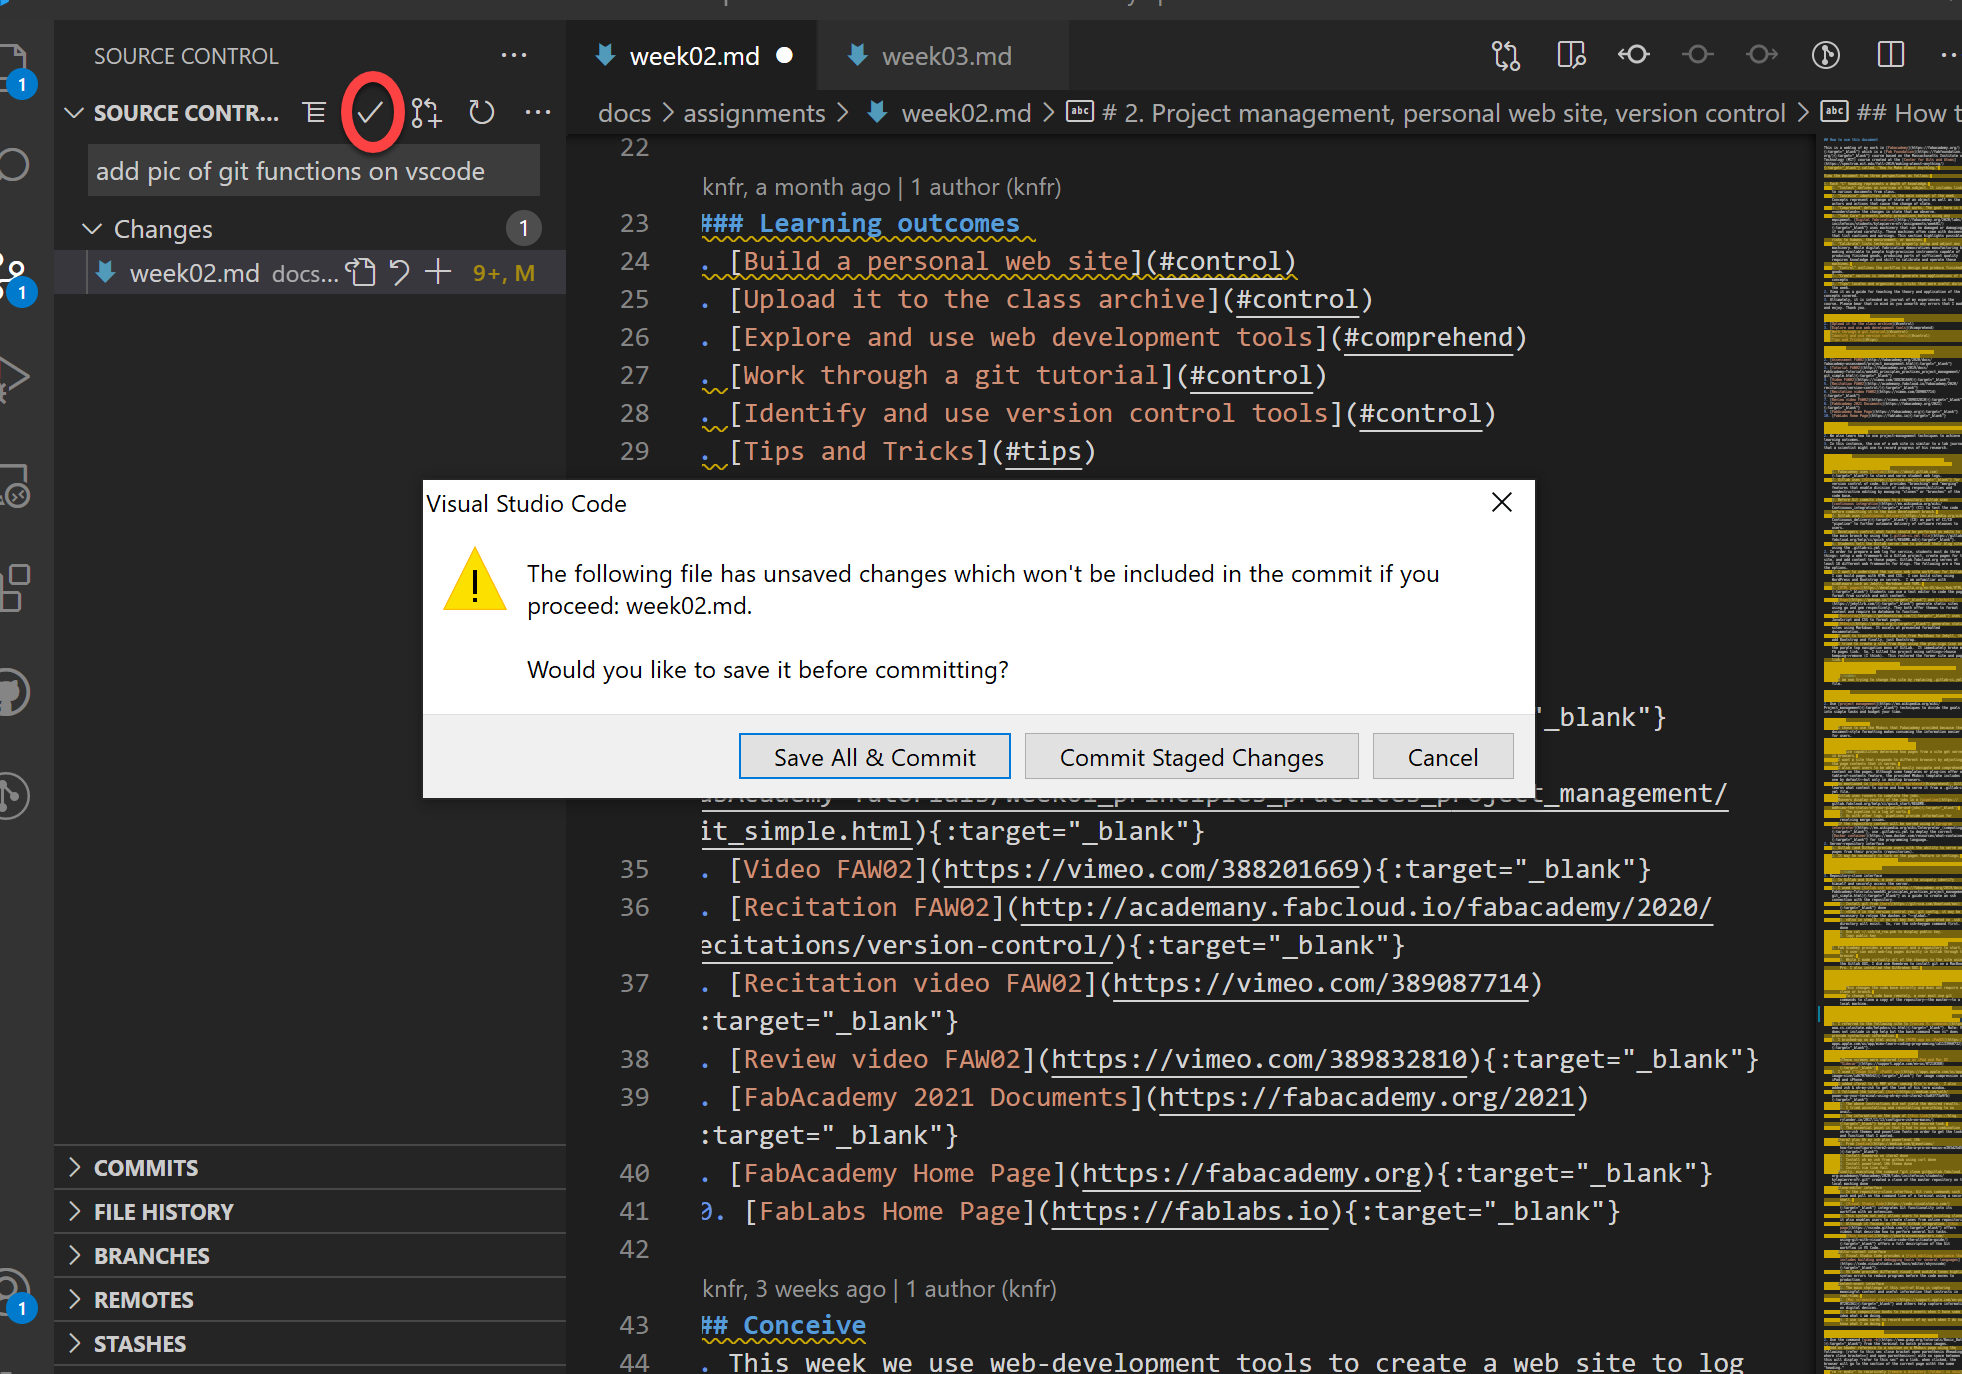
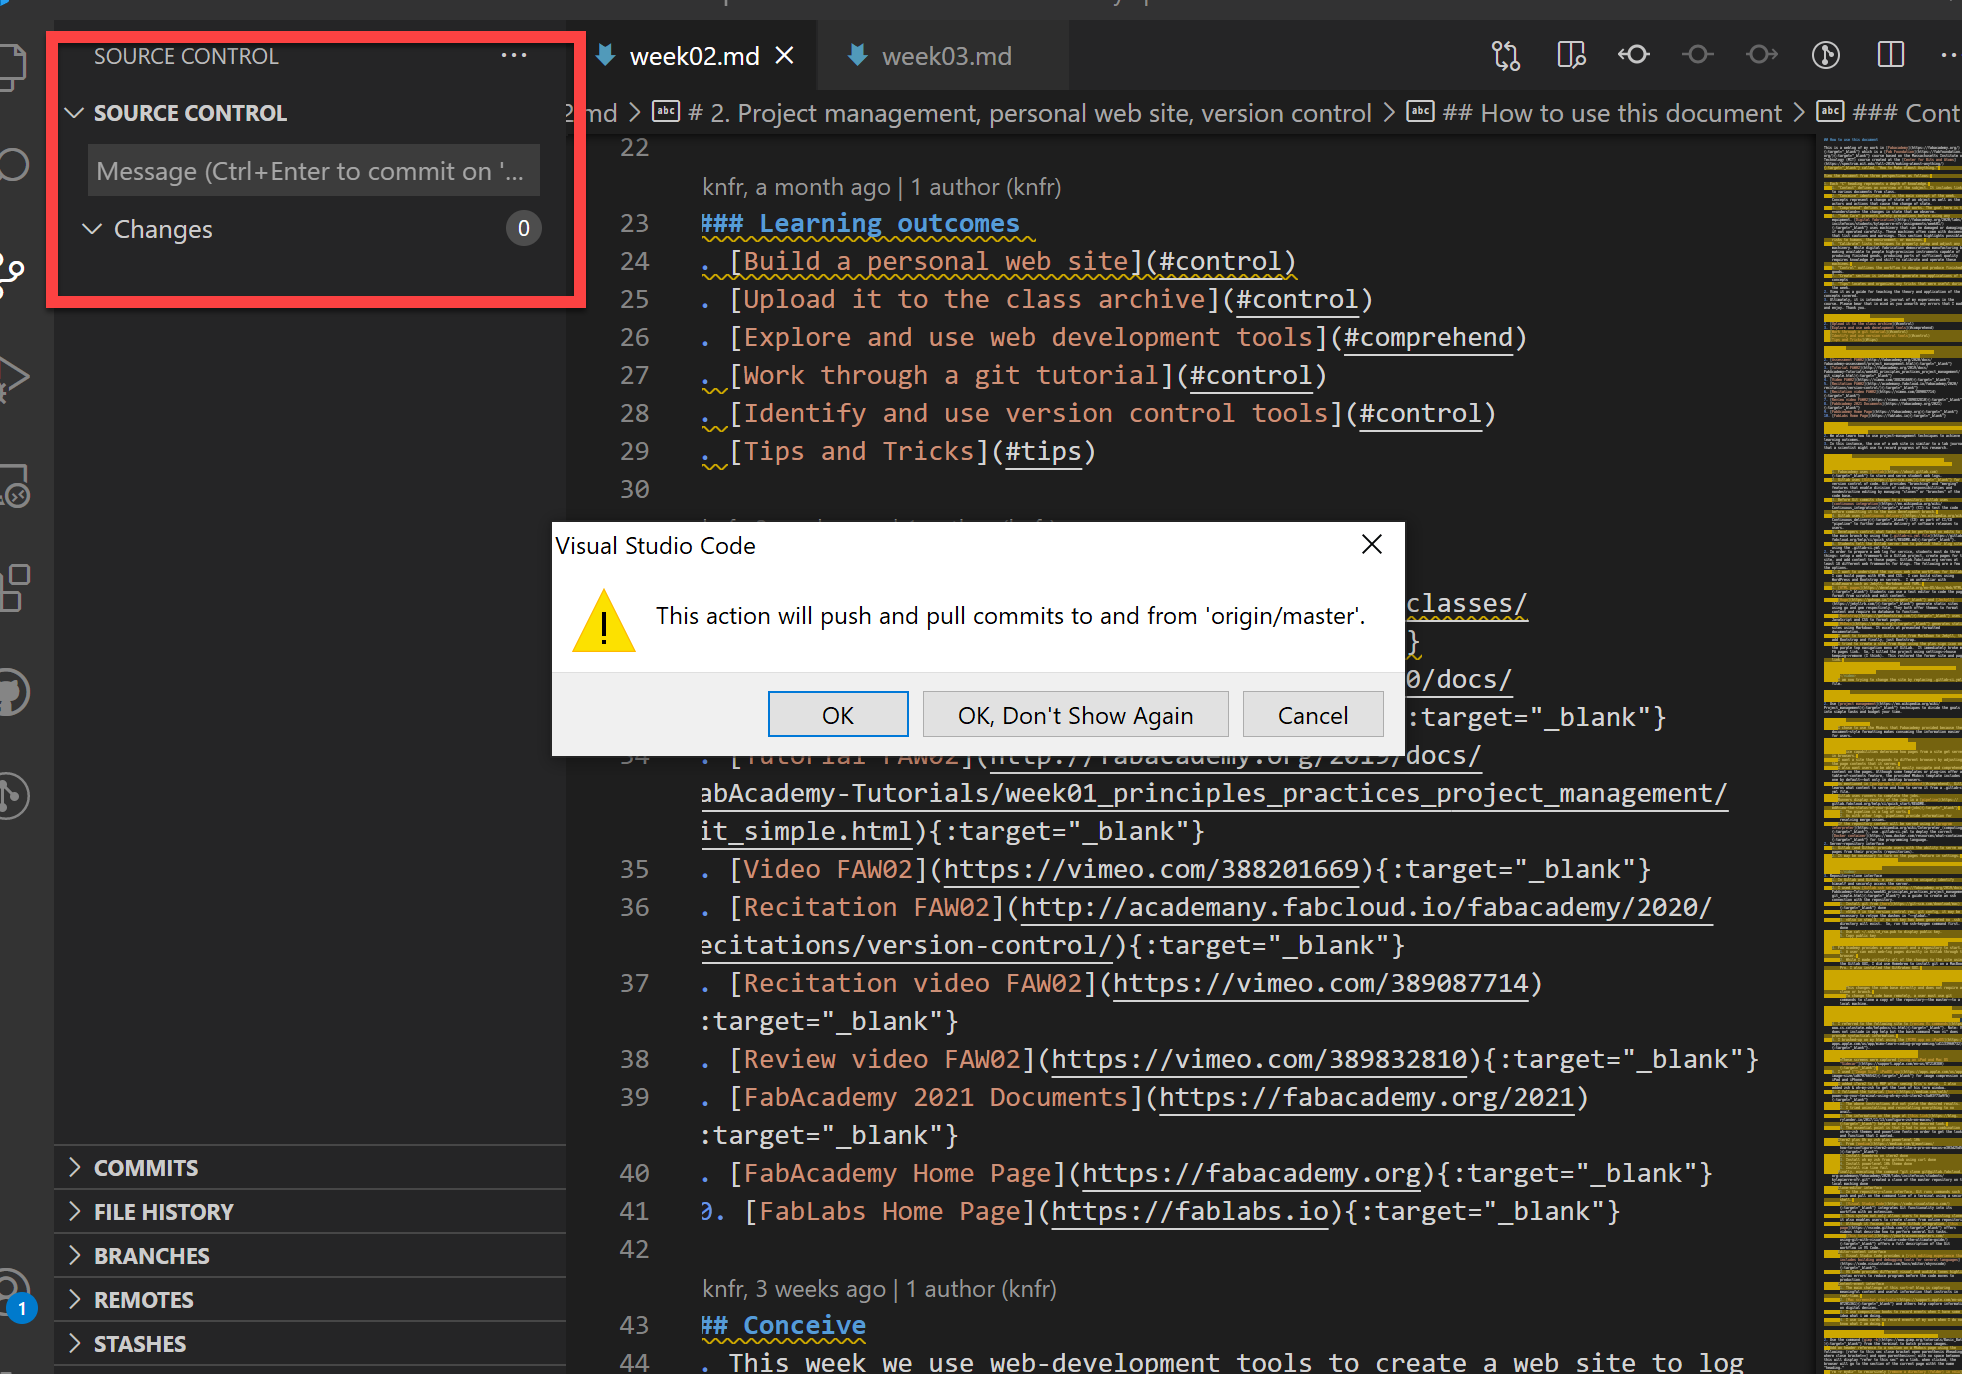
- Git push and pull of commits which resolves all of the changes to the repository.
- This tutorial offers a full description of the Git workflow in VS Code.
- Git source control
- Editor-content interface
- Visual Studio Code provides a rich editing experience that includes building and debugging tools for several languages.
- VS Code provides different visual and audible tones highligt syntax errors to reduce programs before the code moves to production.
- Content-event interface
- The main challenge of this sort-of blog is capturing meaningful content and useful information that instructs in real-time.
- Mac screenshot shortcuts and others help capture information on digital devices.
- I use composition books to record events when I have some idea what i am doing.
- I use index cards to record events of my work when I do not know what I am doing.
Tips, Tricks, & References
- Homebrew for Mac
- Use the command gimp -b from the terminal to batch process images.
- Add an header reference to a section on a Mkdocs page using the following: [refer to this sec close bracket open parenthesis #heading) where close bracket==] and open parenthesis==( with no space between this will display “refer to this sec” as a link. when clicked, the browser will go to the section of the current page witht the name “heading.”
- “rm -r mydir” to recursively remove a directory (folder) in *nix.
- “brew analytics off” to turn off analytics in homebrew
- the second part of the gimp install command on the previous tip is in correct. the two commands should be “brew tap homebrew/cask && brew install –cask gimp” from here
- Add highlighting to Mkdocs by adding “-pymdownsx.mark” to the markdown_extensions section of mkdocs.yml file in the root directory of your repository and adding two = before and after the word that you want to highlight. By adding two = on both sides of a passage, you can highlight several words at once. More information here
- windows terminal runs cmd, Powershell, Ubuntu, etc. Tutorial available here
- Git book should be your first stop for git knowledge.
How to use this document
This is a weblog of my work in Fabacademy which is a Fab Foundation course based on the Massachusetts Institute of Technology (MIT) course created at the Center for Bits and Atoms called, “How to Make Almost Anything.”
View the document from three perspectives as follows:
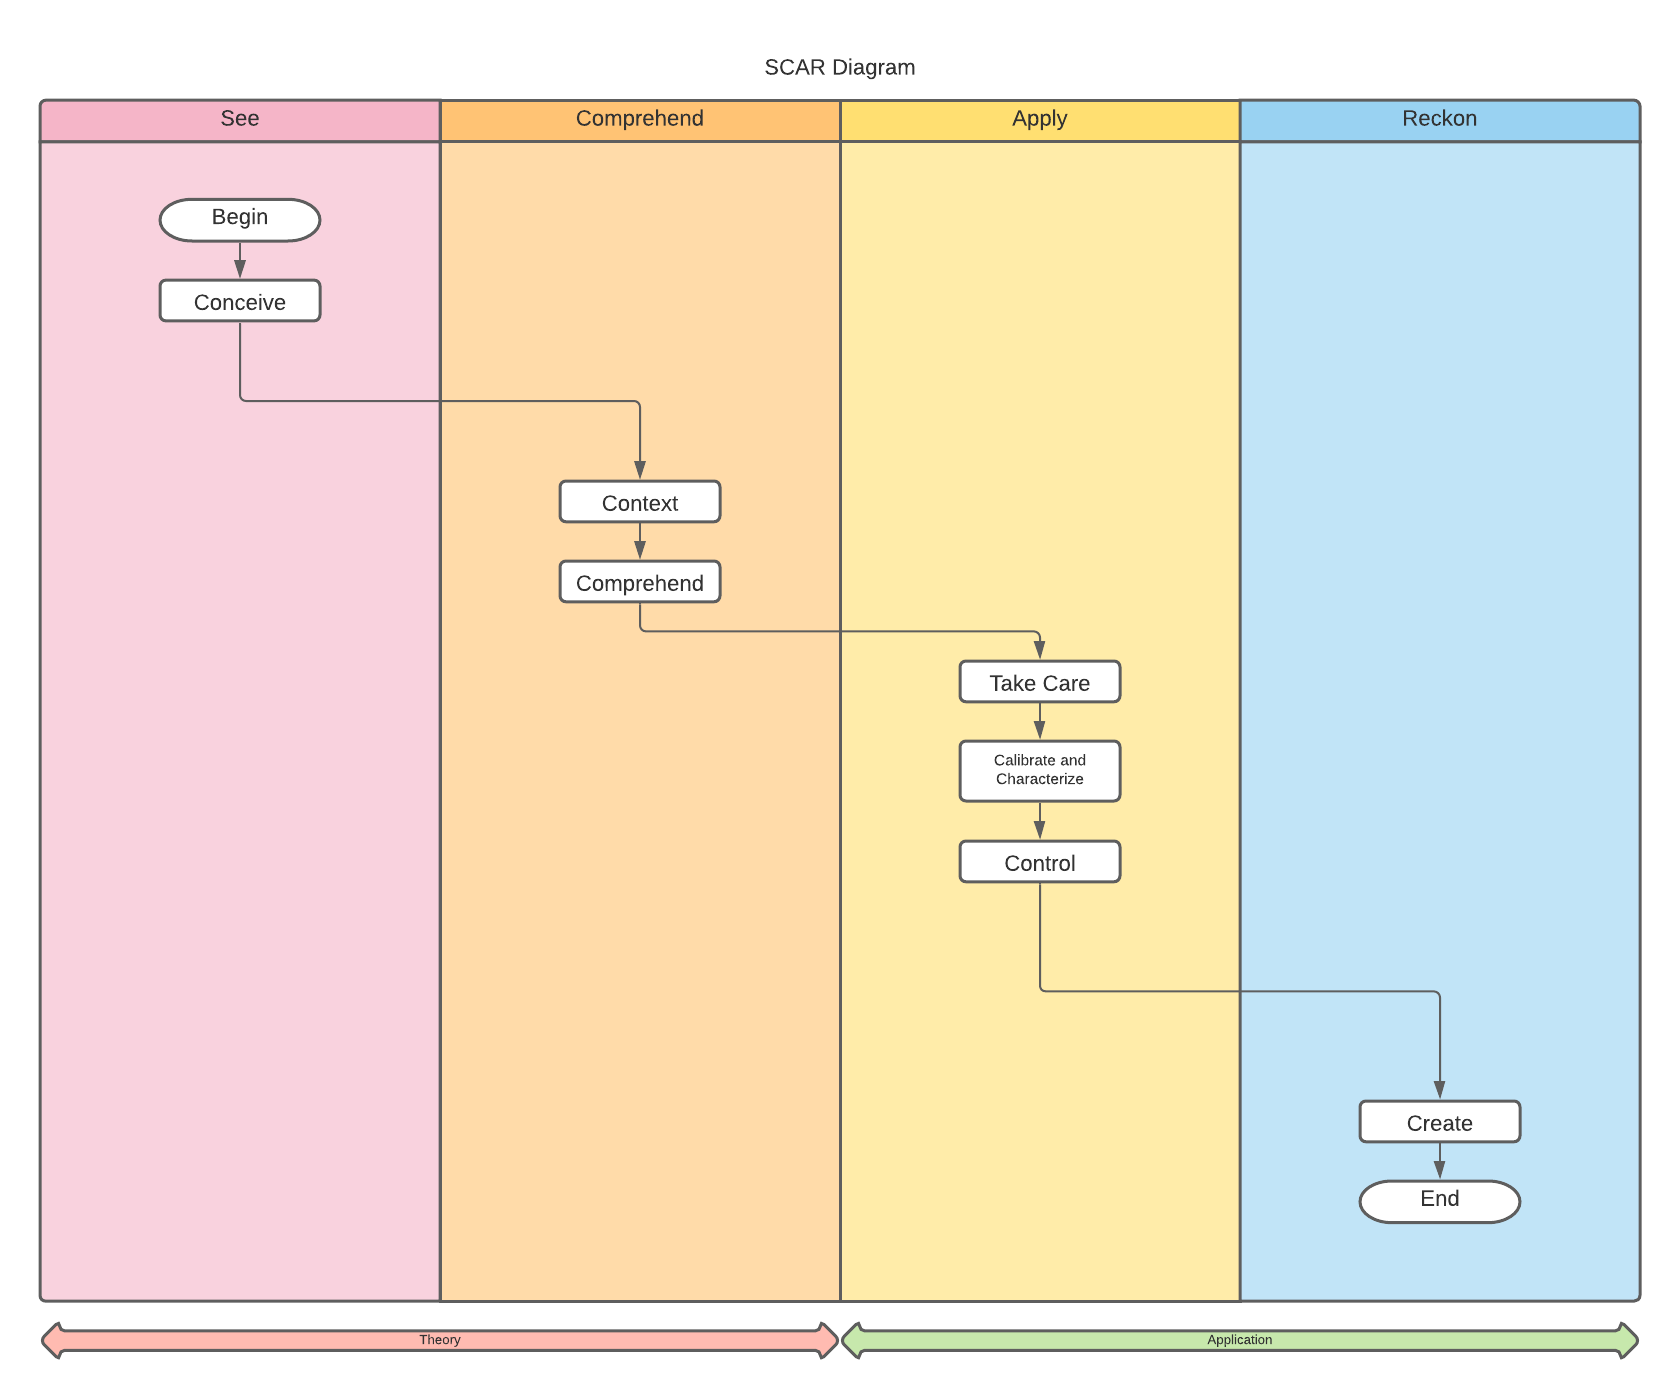
- Each “C” heading represents a depth of knowledge.
- “Conceive” identifies what is the main concept of the week. Concepts represent a change of state of an object as well as the actors and actions that cause the change of state.
- “Context” defines an overview of the subject. It includes links to various documents from class.
- “Comprehend” defines how the concept works. The goal here is to understand the changes in state that we observe.
- “take Care” presents safety precautions before using any equipment. Digital fabrication uses machinery that can be damaged or damaging if not operated carefully. These machines often come with documents that list cautions and warnings. This section highlights possible risks to humans, the environment, or machines.
- “Calibrate” lists techniques to properly setup and adjust any machinery. While digital fabrication democratizes manufacturing by making available to people high-precision instruments capable of producing finished goods, producing parts of sufficient quality requires knowledge of and skill to calibrate and operate these machines.
- “Control” outlines the workflow to design and produce finished goods.
- “Create” section is intended to generate new applications of the concepts
- “Tips” locates and organizes any tricks that were useful during the week.
- View it as a guide for teaching the theory and application of the concepts covered.
- Ultimately, it is intended as journal of my experiences in the course. Please bear that in mind as you unearth any errors that I made and enjoy. Thank you.