10. Molding and casting
In this week my objectives are:
- Reviewing the safety data sheets.
- making and comparing test casts with each of them.
- Creating a mould using a milling machine.
- casting the parts using the mould created.
Group Assignment
Reading the Safety Data Sheet(S.D.S):
The SDS we referred to was the SDS of Smooth on OOMOO Series. It had several sections ranging from material Composition to material disposal.
For a layman the important sections would be first aid, handling and storage, personal protection and accidental release measures.
Making a mould
There are three steps in making a good mould, they are:
- Create a Positive(Target).
- Create a negative(Cast) using the positive created earlier.
- creating the final product(mass production) using the negative.
Creating the Positive:
In this step we have to design a target by milling a block of wax, in order to do that we have to design it. In my case, I am designing a new logo for my company’s products. I start by doing a 3D Design. The design is purposefully kept simple as this process is new to me.
design
To design the mould i used sketchup and meshmixer. in sketchup I designed the mould which is a two part mould which will give me two halves of the negative mould, here i was able to observe the limitations of sketchup especially when it came to importing the objects that have been smoothened in meshmixer however after a lot of work(fixing the issues), designed the mould.
In this process the important thing to remember is registration marks and the spouts.
The registration marks are important because they hold the two halves of the negative mould together. The spout is to pour the casting material and also to let the air escape.
While designing my mould I put in a cylindrical pillars and also gave a depth to the borders so that the negatives can be sealed properly and prevent leaks.
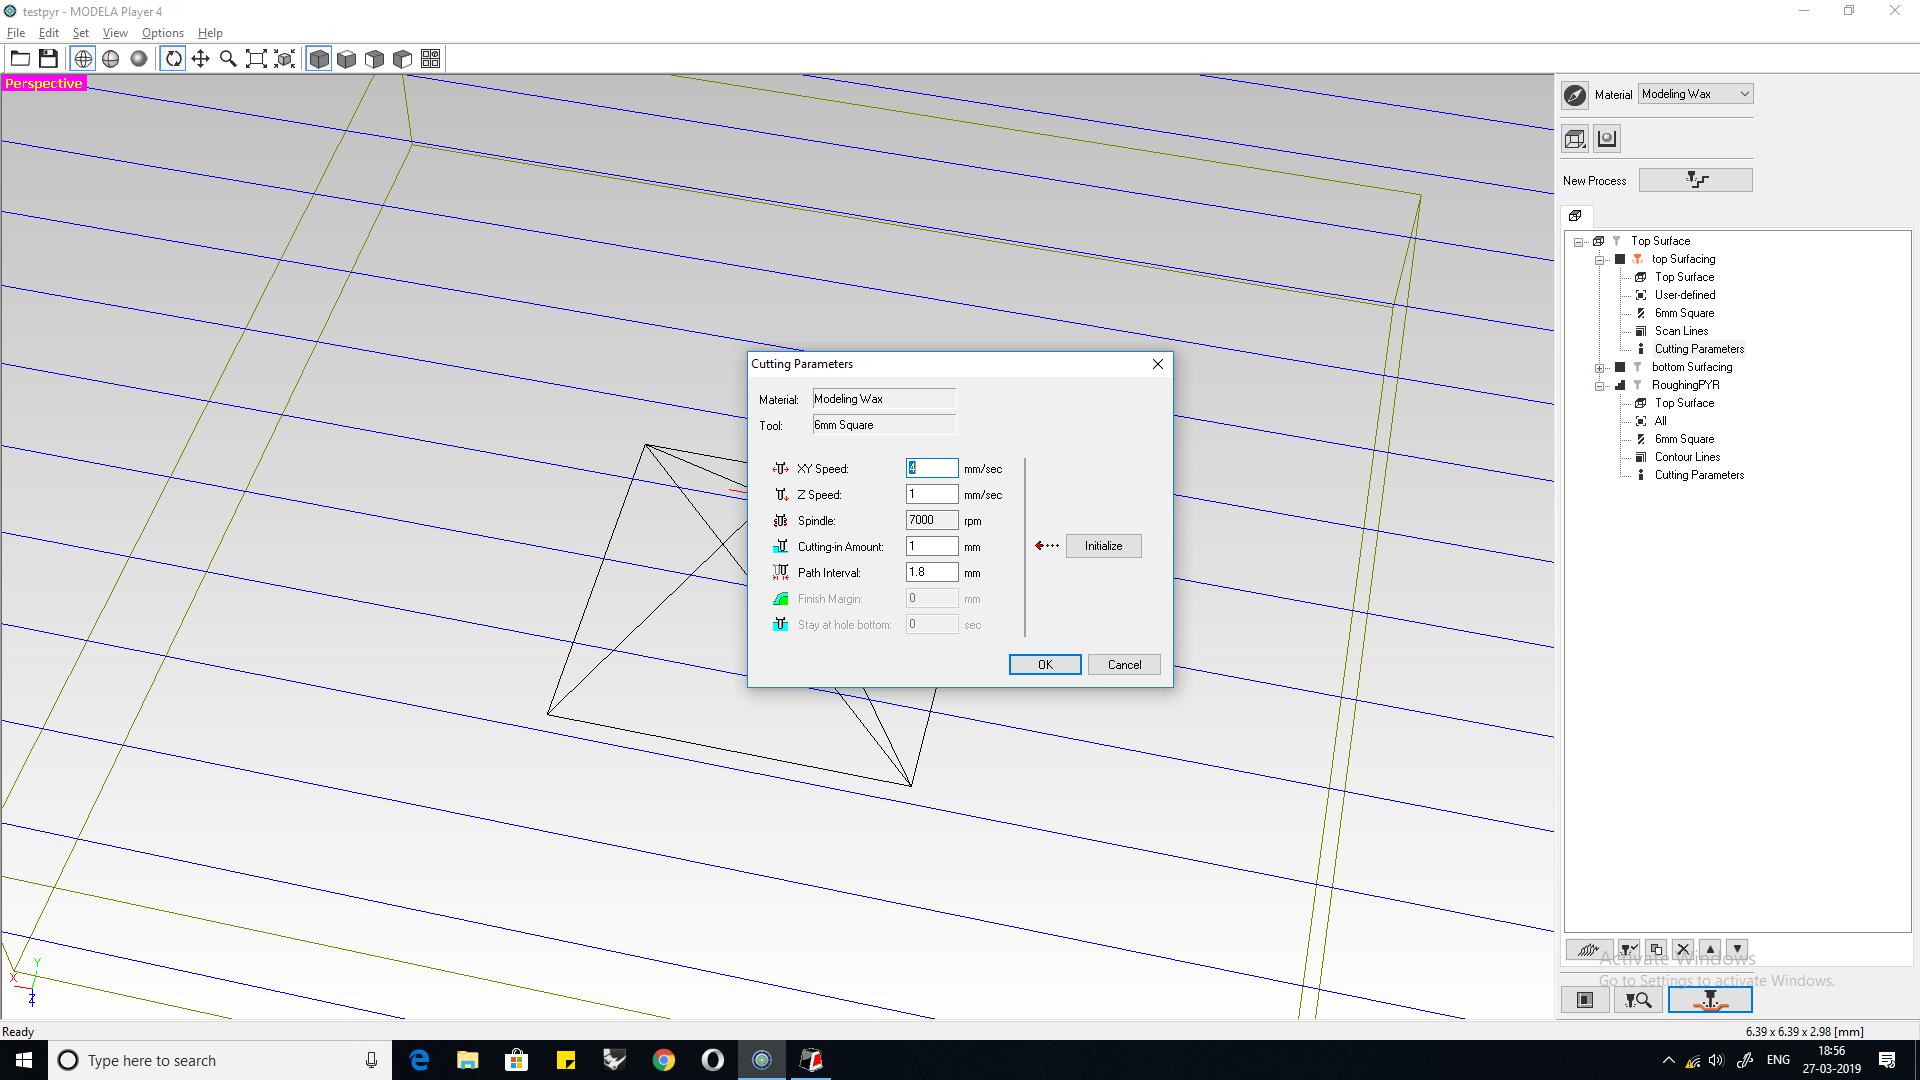
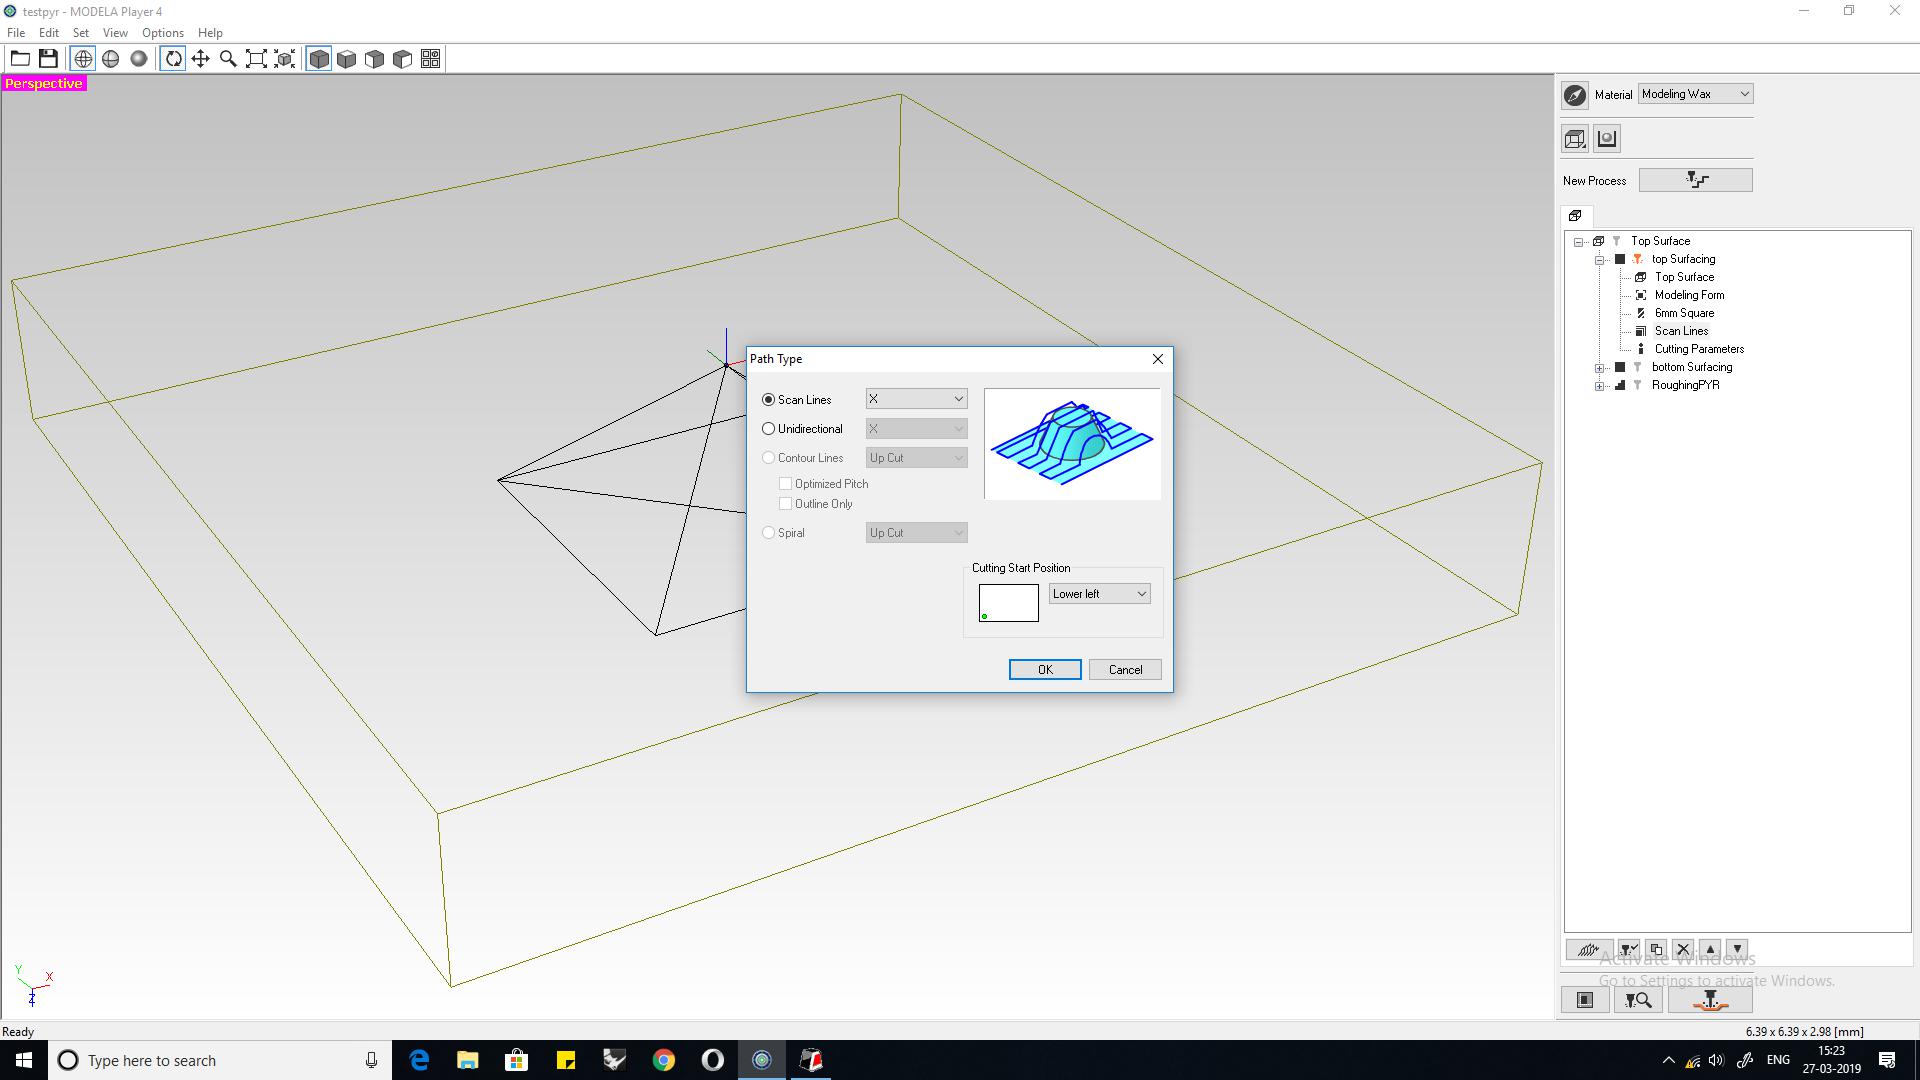
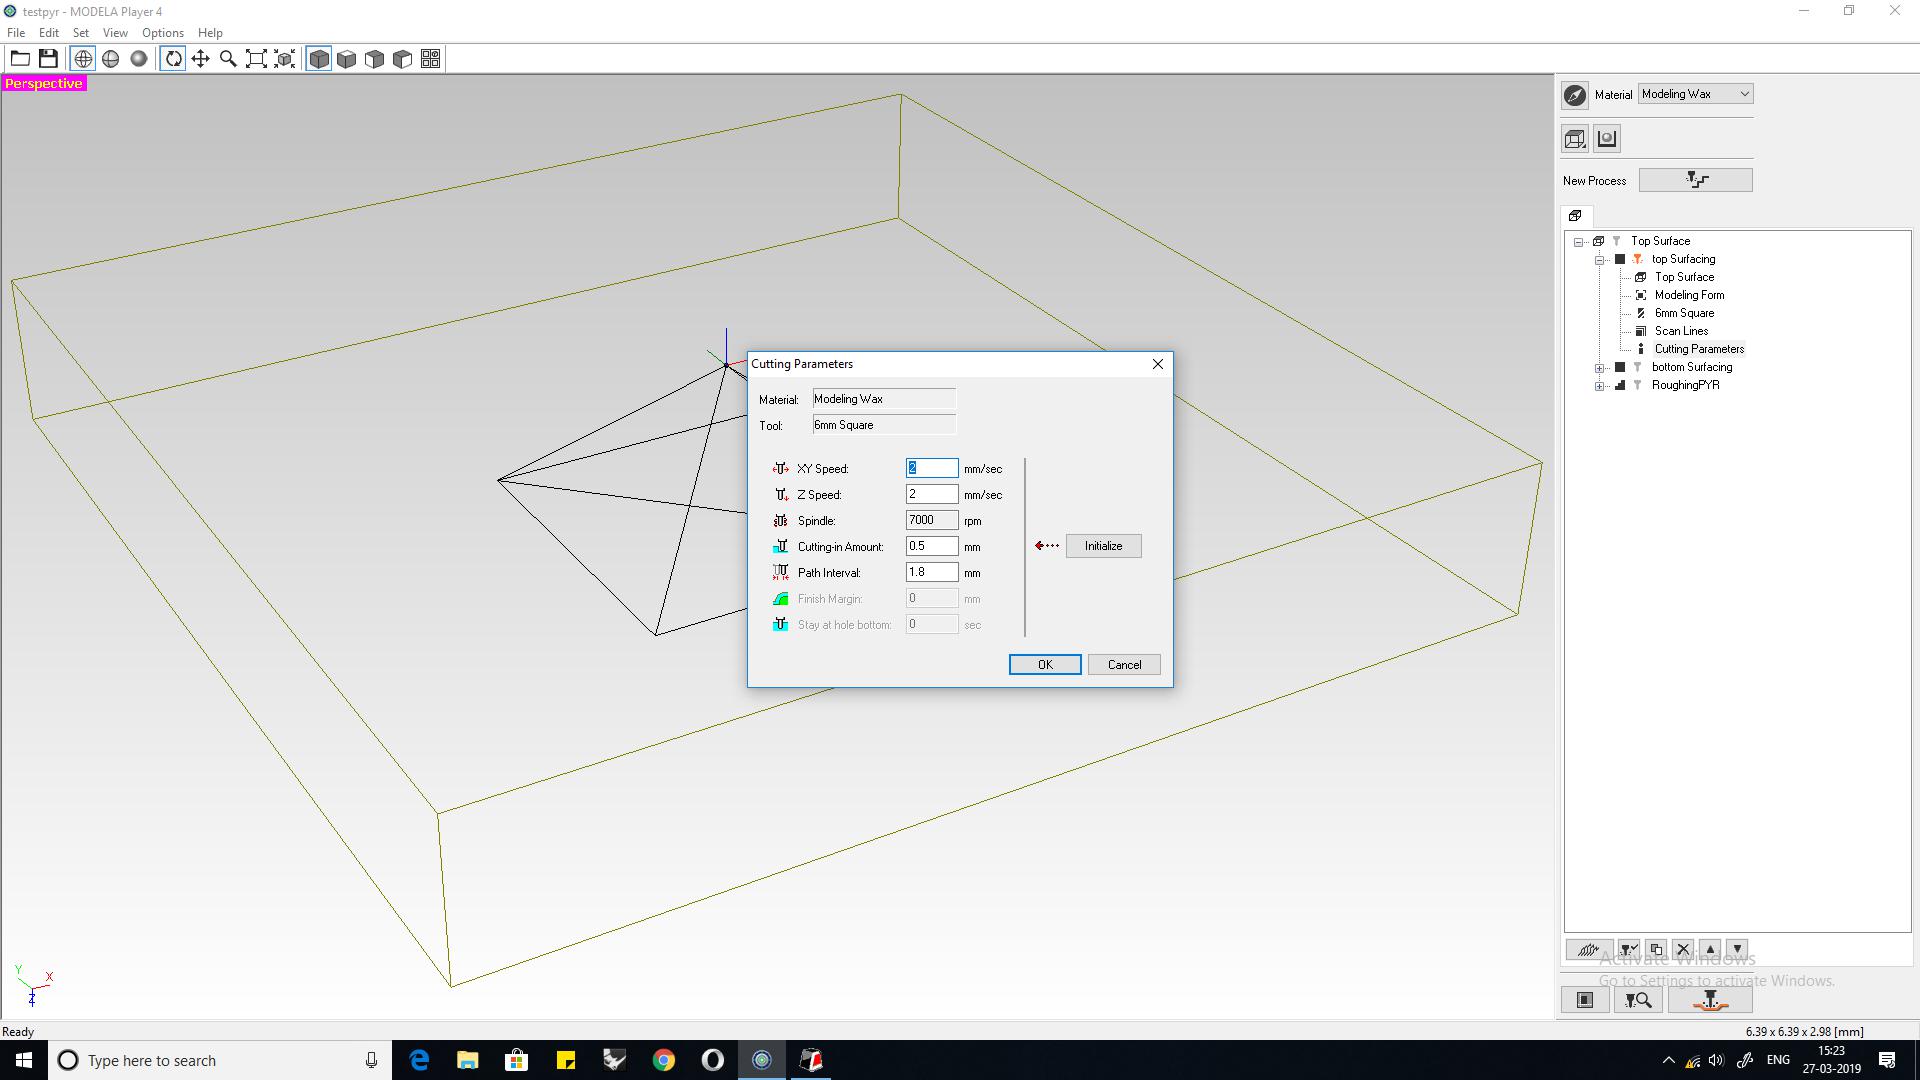
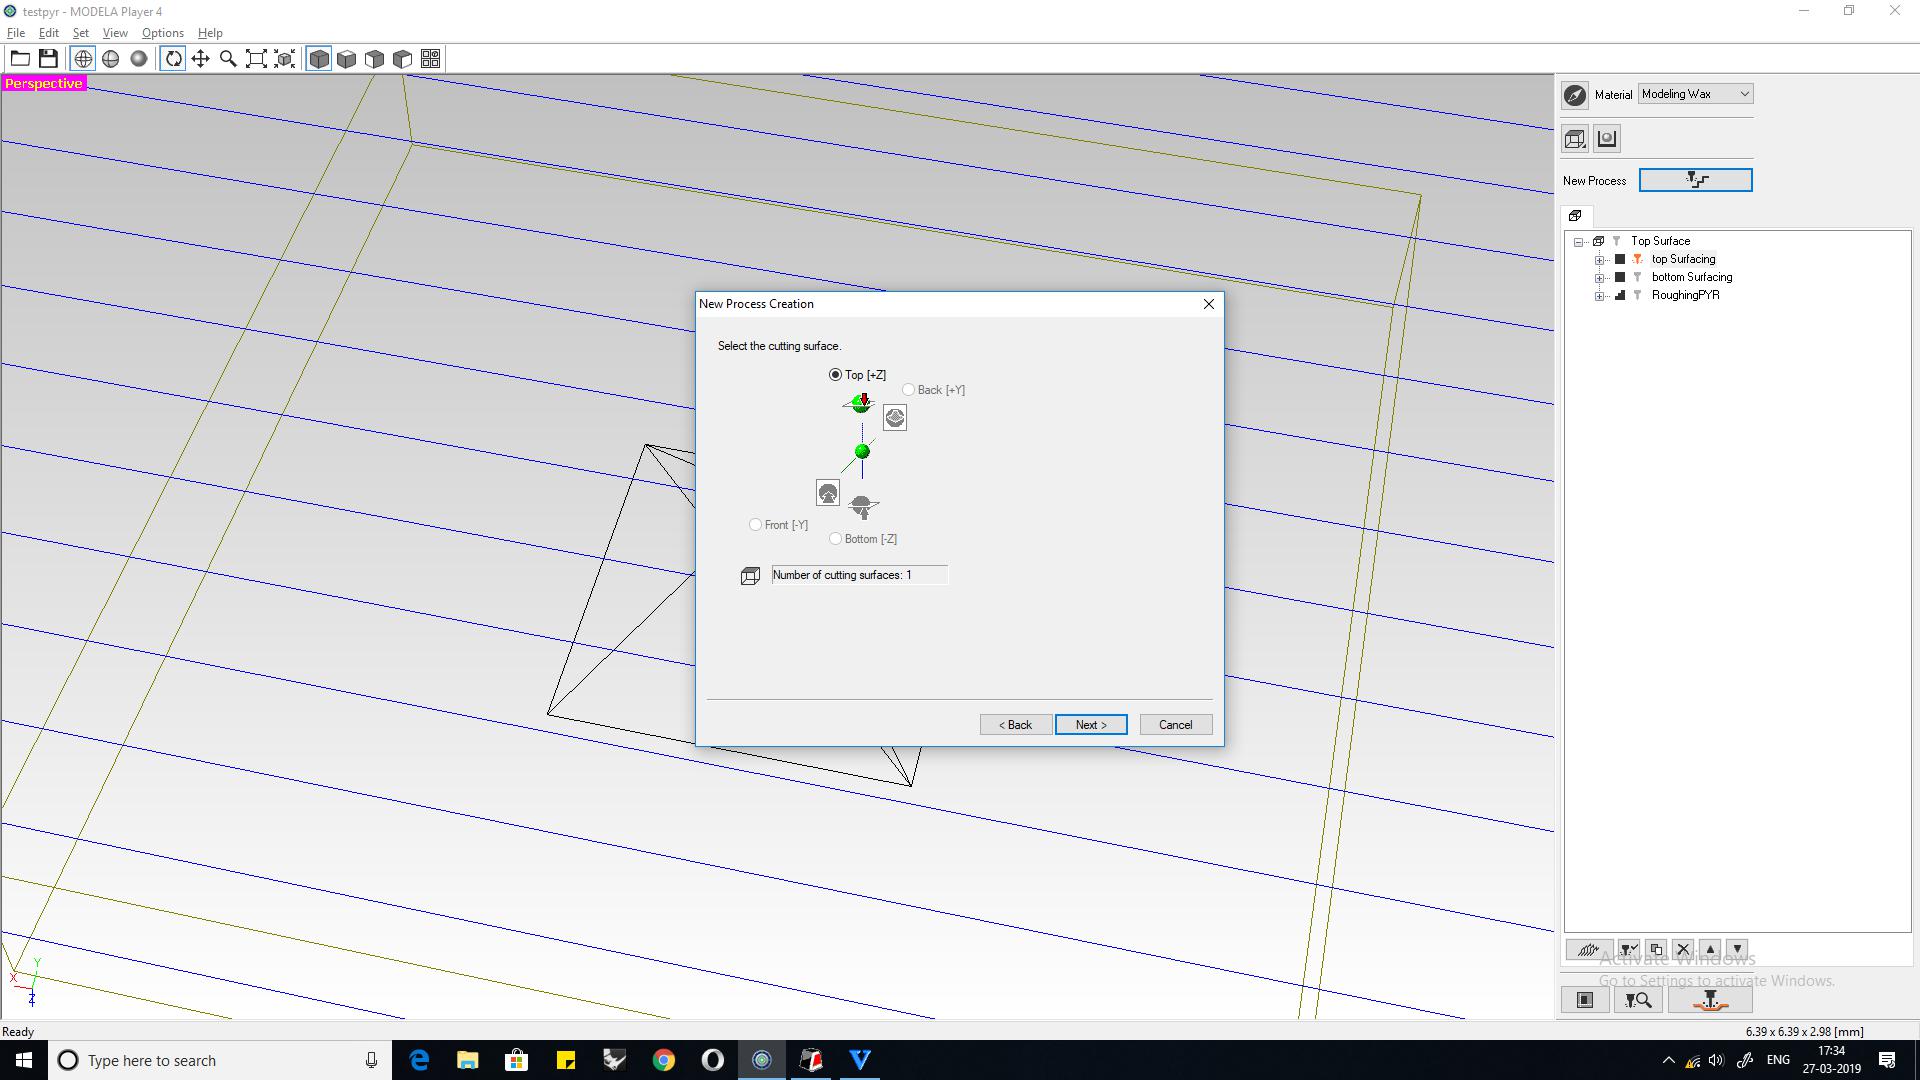
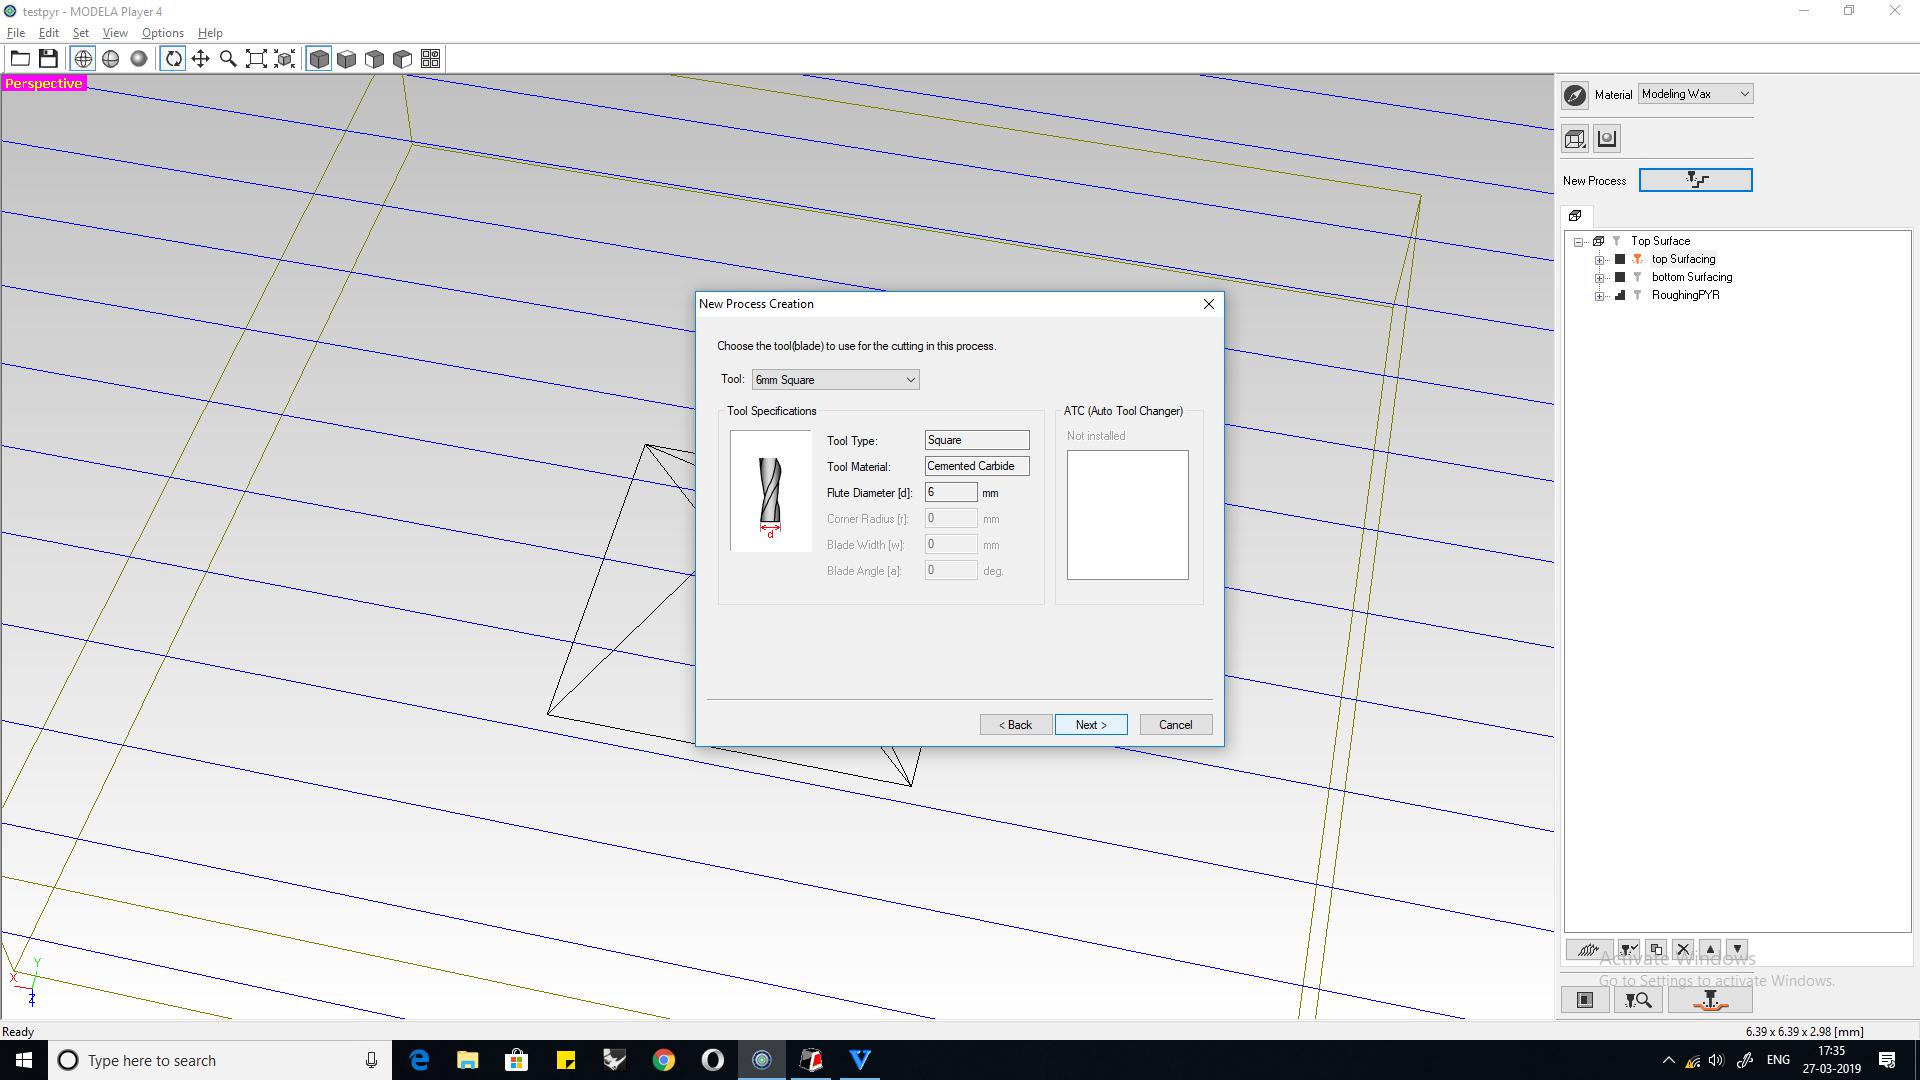
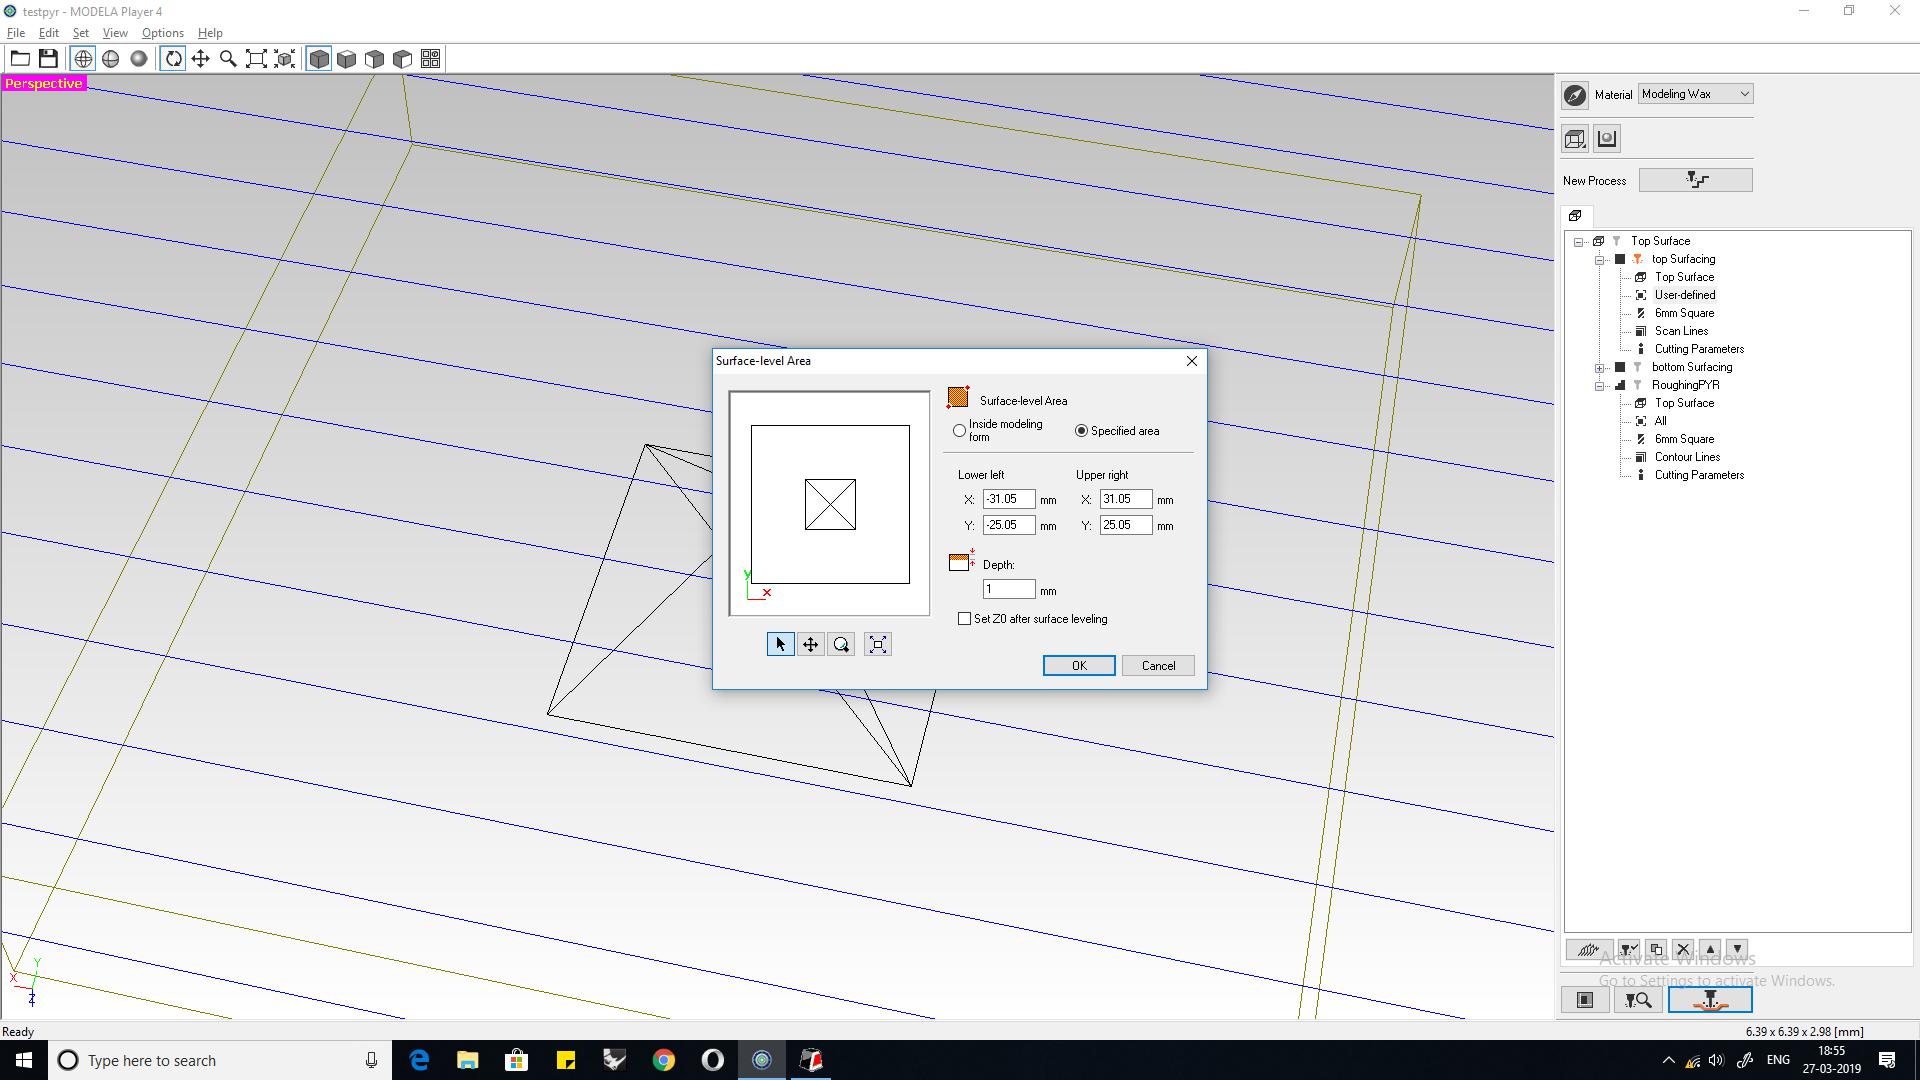
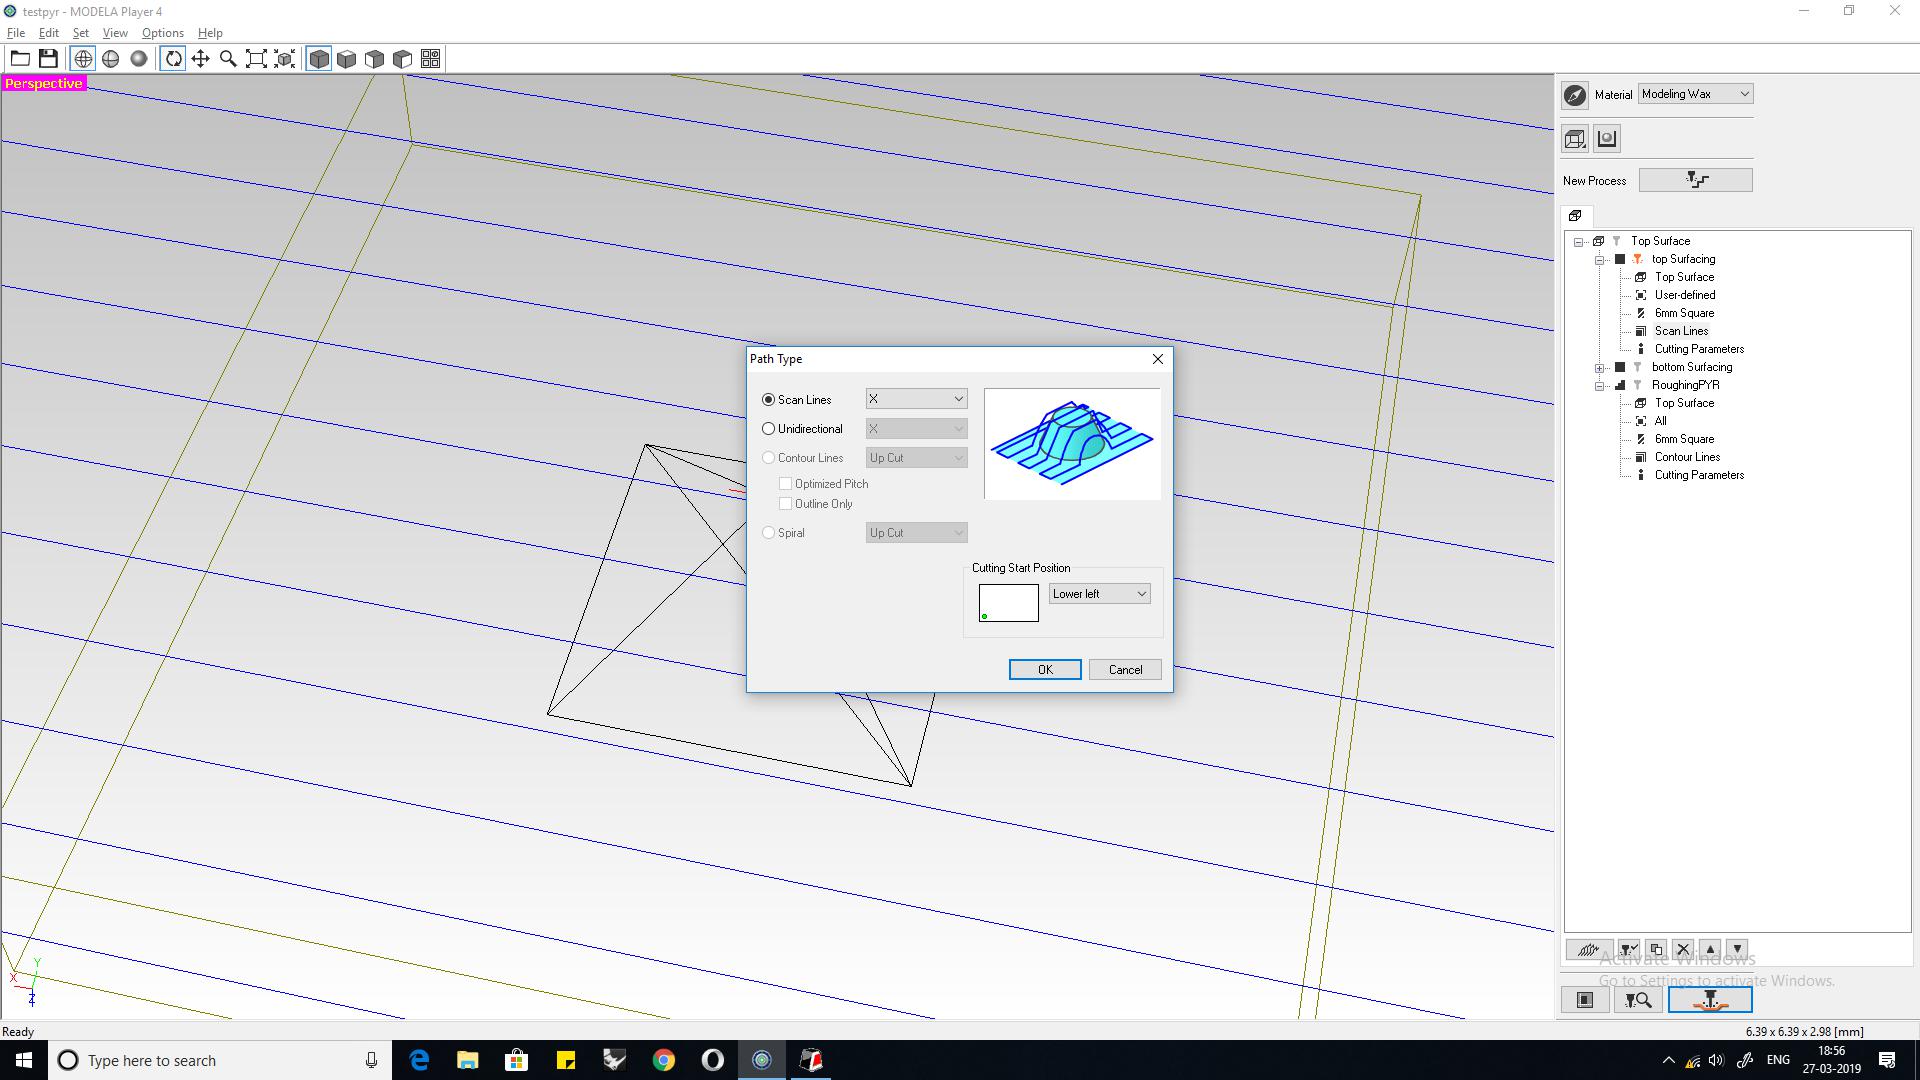
Milling the positive The lab is equipped with a Roland SRM20 Monofab milling machine, this machine is capable of doing 3- axis milling. This is the same machine we used to fabricate our PCBs however for this application we have to change the collet as the shank diameter of the bits are bigger when compared to the bits used to mill the PCB.
Useful links
Code Example
Gallery