8. Embedded programming
This week I continue with the ATSAMD11C that i already use during the past weeks.
We are in the second week of confinement. I used most of the past days to take care of my company and the employees. My tutor at the Agrilab prepared to me a basic necessities box, so installed my local workshop. 3 chairs 1 for me and 2 for my dog

Research
i have to read a microcontroller data sheet. 981 pages…
and to do something with microcontroller.
I discover Arduino
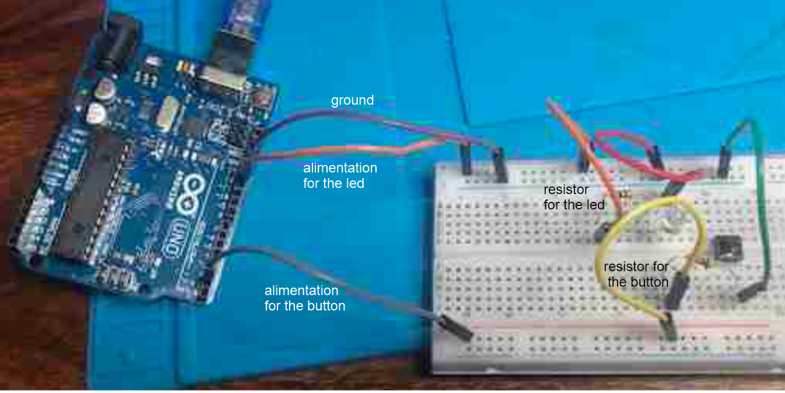
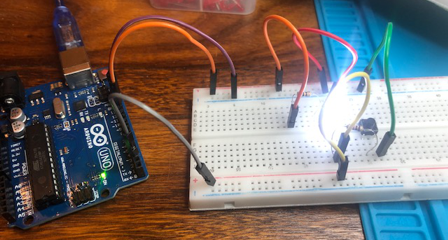
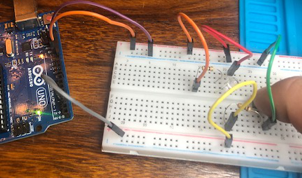
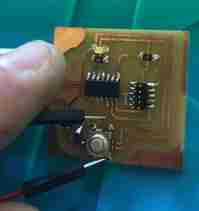
the exercise was to use a Arduino to light a led with a button
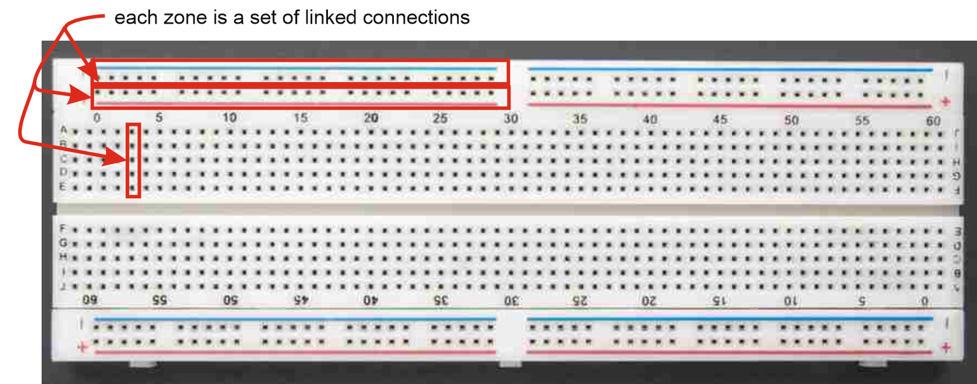
i use breadboard, mainly because the fab lab is closed.
\
int buttonState = 0;`
`int ledpin = 7;`

`void setup() {`

  `pinMode(ledpin, OUTPUT);`
 `pinMode(buttonPin, INPUT);`

`}`

`void loop() {`

`buttonState = digitalRead(buttonPin);`

  `if (buttonState == HIGH) {`
``

    digitalWrite(ledpin, HIGH);

  `} el`se {`
``digitalWrite(ledpin, LOW);``

  `}
```
light off of the led with the button
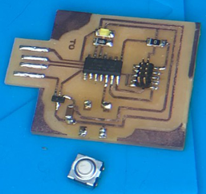
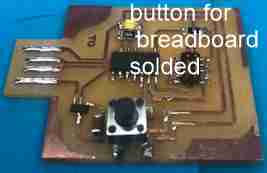
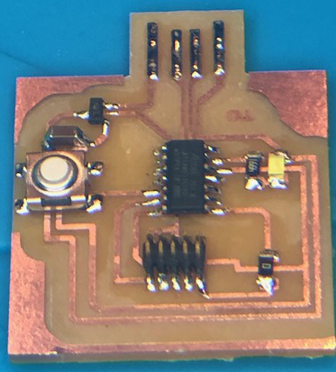
About the ATSAMD11C
to write the code, you have to compare the physical and logical design. To know which pin to use.
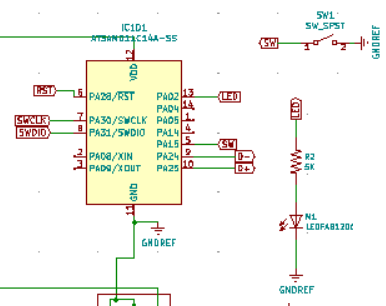

in my example, i will use the 2 in output for the led and 15 in input for the button.
intbuttonPin = 15;int buttonState = 0;int ledpin = 2;`

`void setup() {`
  `pinMode(ledpin, OUTPUT);`
 `pinMode(buttonPin, INPUT);`

`}`

`void loop() {`


`buttonState = digitalRead(buttonPin);`

  `if (buttonState == HIGH) {`
`digitalWrite(ledpin, HIGH);} else {digitalWrite(ledpin, LOW);`
  `}`

`}
`
the led light but the button does not work
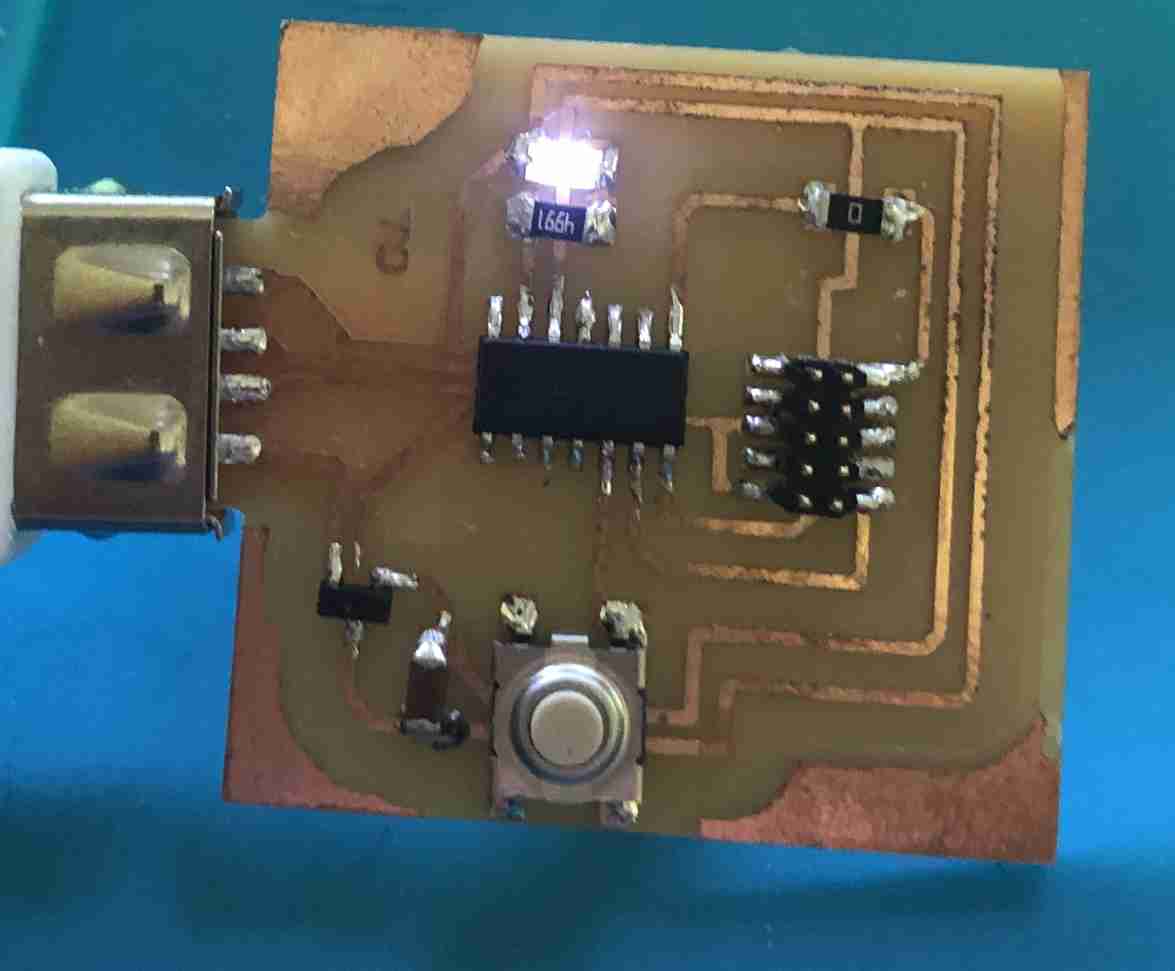
when i use a wire to test, the code work so i think i have to unsolder the button to turn it.
when i try to rotate, the trace does not fit with the button so i have to tinker because it’s impossible due to the confinement to mill another board