6. 3D Scanning and printing
This week I worked on 3D printing and scanning.
group assignment
test the design rules for your 3D printer(s)
We test 2 different 3D printer with FDM technology :
- Ultimaker 3 extended
- Prusa MK3
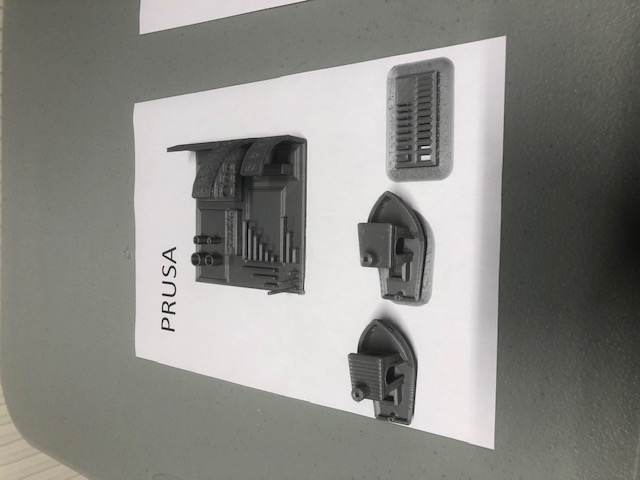
Prusa MK3
For slicing (cut in slices et generating GCODE for printers), I use Cura, it’s a open source slicing software supported by Ultimaker (I will compare with Prusa slicer when I will have more time). First, you have to have to add official Prusa settings for the MK3. Prusa mk3 settings are already in cura but Prusa says they aren’t official and give a way to add correct settings to cura.
First test : 3DBenchy
First download 3DBenchy here on thingiverse. It’s the most famous 3D printer test on internet.
After downloading the STL file, we open it in cura.
I want to test without optimization I usually apply. So I made a fresh install, just add the Prusa settings to a fresh install of Cura. I’ve also moved to Cura 4.x even if I have always keep my Cura 3.6 before this week. I’ve lost a lot of time with their new UI, it’s easier for newbie but awful for advanced users, especially if you have habits with previous UI.
The settings are :
- printer : Prusa MK3
- material : PLA
- profile : MK3S_MK3_0.2_fast
- infill : 20%
- no brim
- no support
- default temperature settings : 210°C for nozzle, 60°C for bed
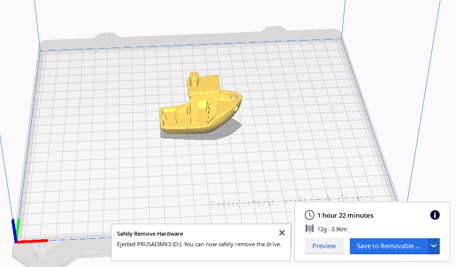
Save GCODE to SD card. Put SD card in the prusa and launch the work.
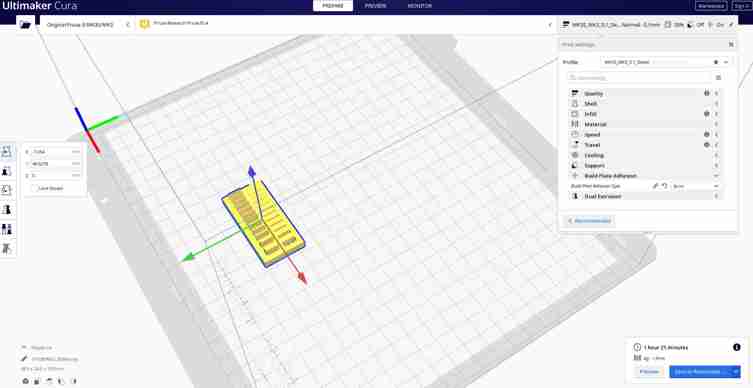
I have also launch it in MK3S_MK3_0.1_Detail + infill 20% + brim to see differences between 0.2 and 0.1
One FabAcademy test
Other test, given in the course.
Settings applied 0.1, infill 20%, brim.
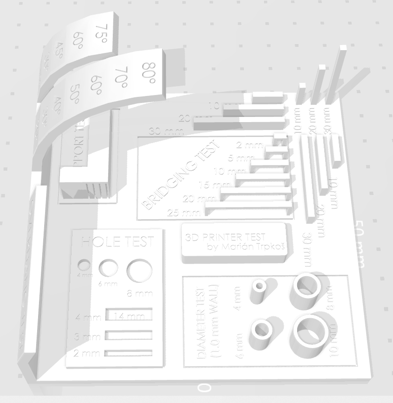
All In One 3D Printer test
You can download it here on thingiverse.
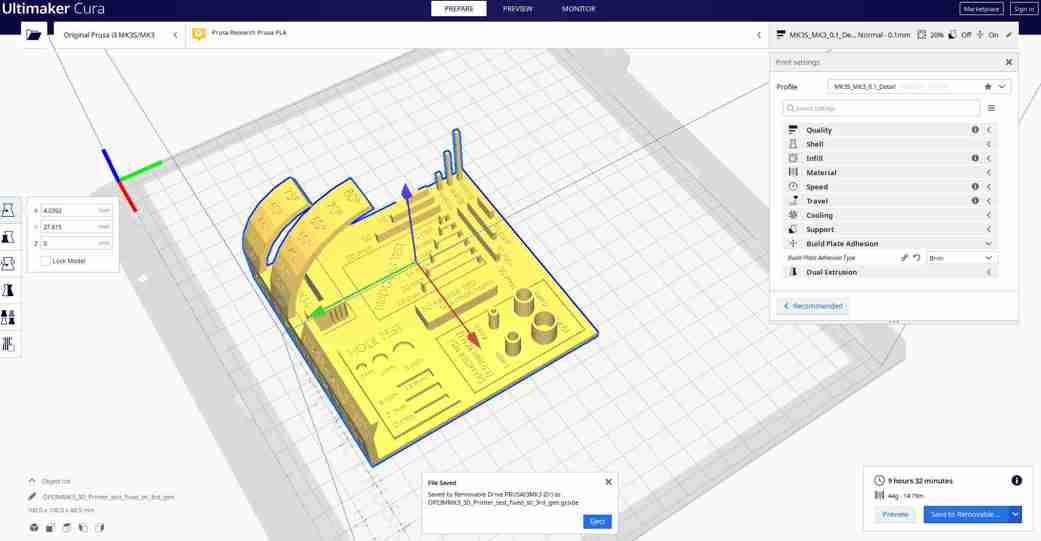
Settings applied are :
- printer : Prusa MK3
- material : PLA
- profile : MK3S_MK3_0.1_Detail
- infill : 20%
- Brim
- no support
- default temperature settings : 210°C for nozzle, 60°C for bed
We can see in layers view, no support will be added.
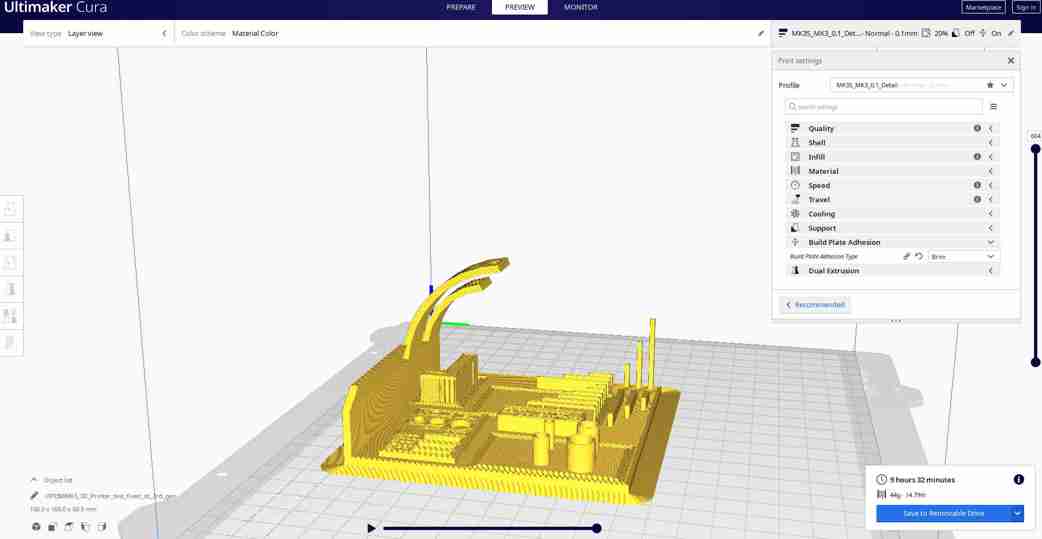
Some details aren’t present on the printed object because they have been destroy directly by the slicer.
Problems
On the Prusa MK3, in first tests in 0.1mm layer, the first layer adhesion wasn’t good. I first adding brim but still bad. Then I adjust Z calibration to lower the nozzle, it was better but still not perfect. I redo Z calibration and lower nozzle to press first layer and it was good the second time. I want launch another 0.1 mm bench and problem came back, only thing that changed is the magnetic bed I remove to get the object(s) and replace after, I think it never came exactly at same position even if I place it very carefully, I have to to test this more in future to confirm but it will be a problem if it’s the case.
Never get levelling problem with the ultimaker 3 extended even if we remove and replace glass bed. Probes on 2 systems have different technology, induction probe for Prusa MK3 and touching probe on Ultimaker MK3. Even if the Prusa make 9 points leveling it’s less accurate than Ultimaker system, I think induction probe don’t test the magnetic bed but the metallic structure under, so if the bed isn’t exactly replaced when Z calibration was made it add error when we have to be precise at 0.1mm.
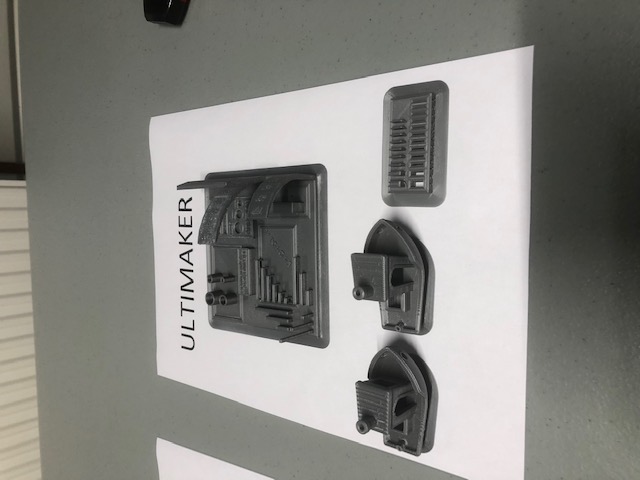
Ultimaker 3 extended
second printed of our group assigment. We printed the same test as the Prusa MK3. We used it with beginner mode (because we are beginners), so some settings are already done :
The settings are :
- material : PLA
- infill : 20%
- brim
- no support
- temperature is monitored by the printer according by the material
The Z calibration is made by the printer.
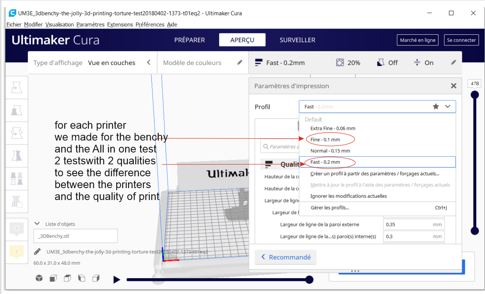
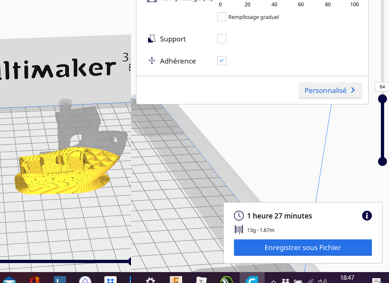
Here are the settings for the quality. we used the same settings for the Benchy and the All-in-one test.
and for brim (7 mm and 17 lines)
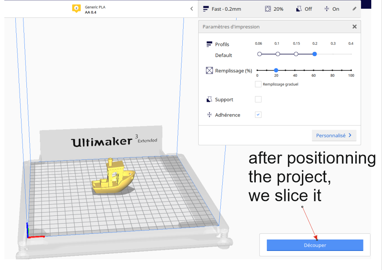
When the print is configurated with cura, you prepare the gcode
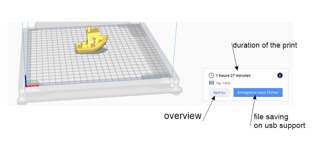
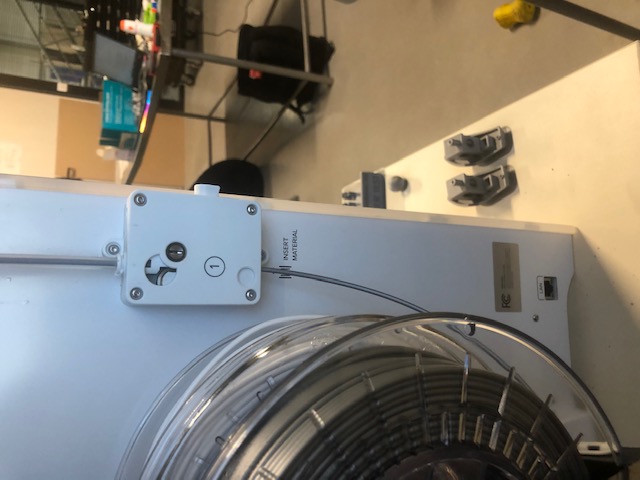
we copy the gcode prepared by Cura in an USB key to insert in the printer (near the screen)
You can check the print and the inside of the object with the overview option and scrolling on the right side
Problems
we had different problems in our printing. None when we printed the different test one by one, but many when we tried to print several tests in the same time, with brim, which is ultimately not a good idea.
the brim : when you put different objects to close on Cura with a brim in the settings, the edges may overlap, and disturb the printing by the accumulation of material entrained by the extrusion head.
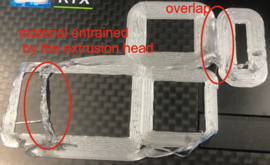
several objects : the extrusion head built in the same type all the layers of the different objects. For this, it flies over the different parts already built and tear off the material already deposited.
with the Ultimaker, the 3D printing filament got stuck during a print.
the drive mechanism that pushes the filament
the filament eroded by the drive mechanism
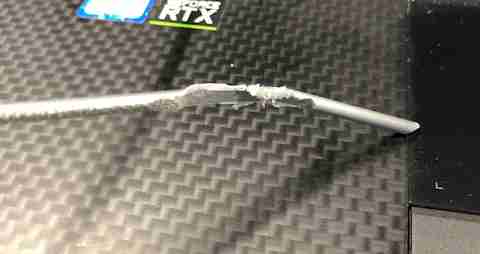
in this case, you have to remove the filament and cut bevel it to re-introduce it.
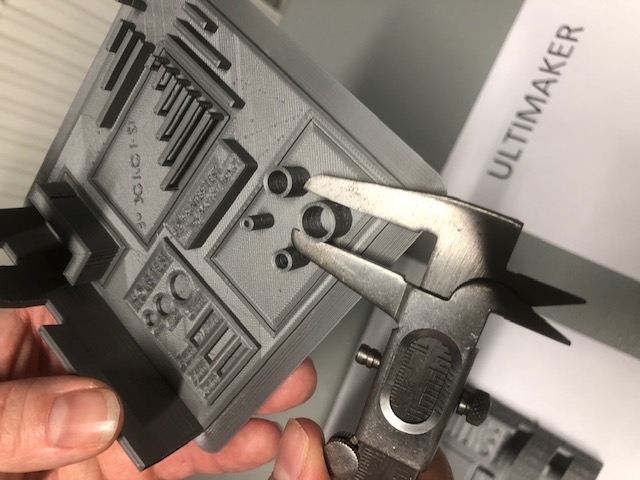
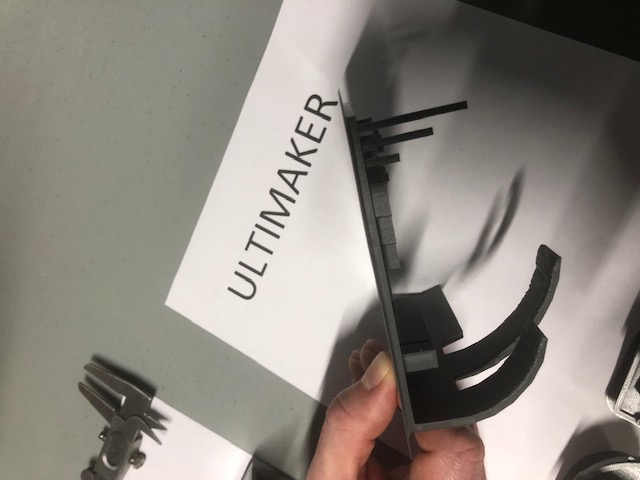
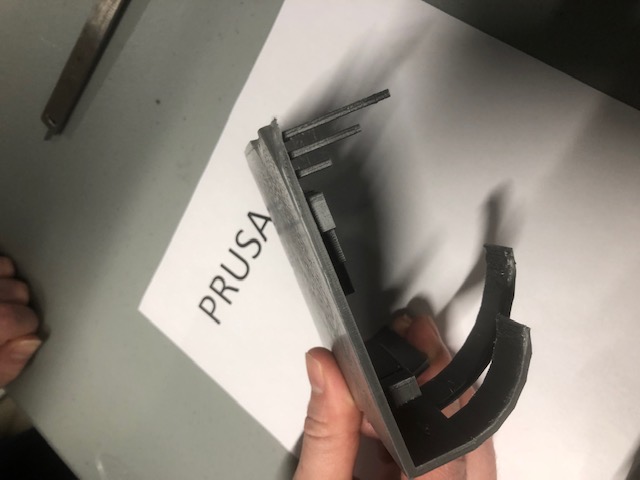
printer comparison
Our different tests
the work of the Ultimaker is a little better except for the overangle.
individual assignment
design and 3D print an object (small, few cm3, limited by printer time) that could not be made subtractively
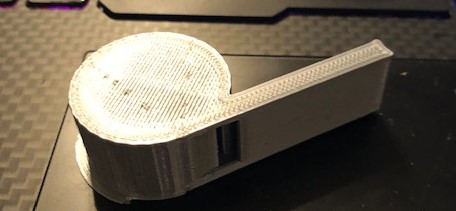
I imagined printing a whistle with a ball in it.
i designed the whistle with Fusion 360, with parametric parameters
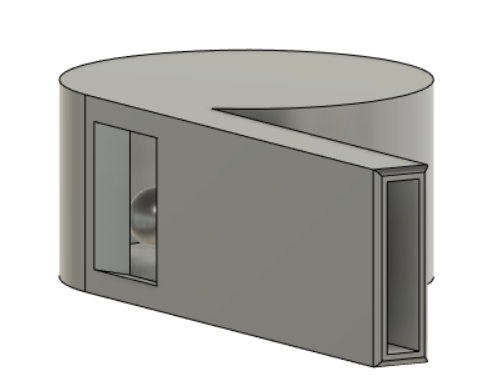
The ball can not be made subtractively

we prepare the file from Fusion360 to Cura. 2 types of files .obj ou .stl

before to go further, you have to check :
- is the design possible to draw (possibly with support if it’s not a problem in the use of the product) ?
- is the design in the best posture to be printed.
here, it’s not possible, because of the position of the ball inside
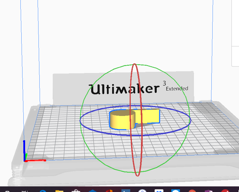
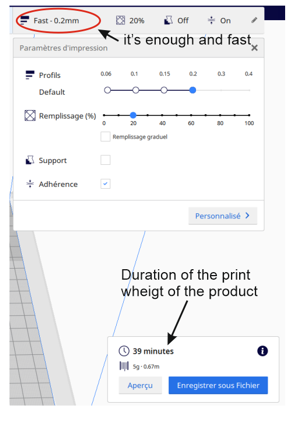
we have to rotate, to slice to check and generate the gcode for the printer.
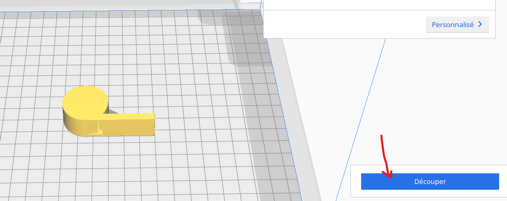
the cgode will be paste on an USB key which will be plug in the printer.
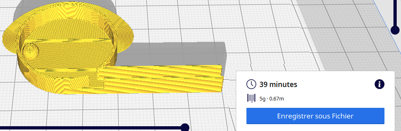
you can check that the ball is expected
And when you pause the print, you can see the printed ball and detach it before the whistle closes completely.
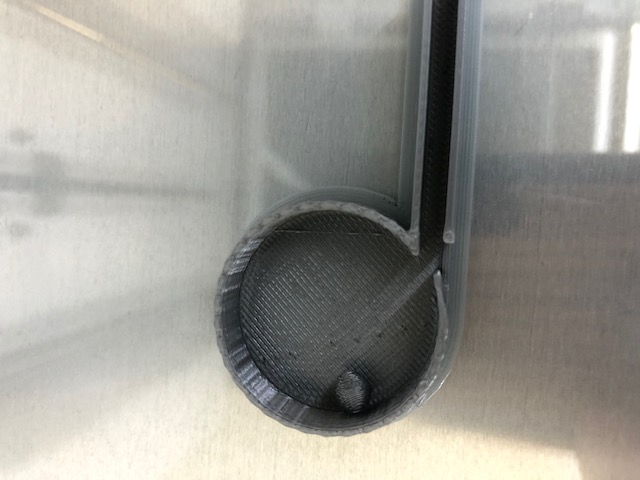
the final result
3D scan an object (and optionally print it)
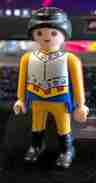
i decided to scan a playmobil
we use a fixed einscan pro + and a turntable. the software is EinScan-Pro series_v3.0.0.1
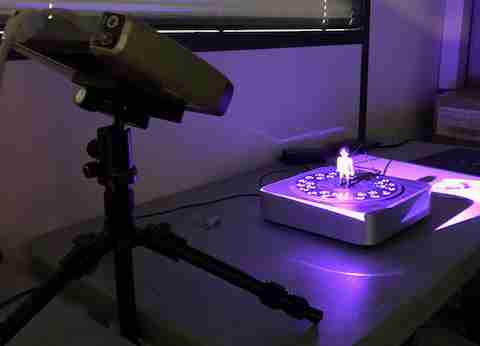
this scanner use the structured light technology.
on the screen, you can calibrate the intensity of the light, the number of measurement and then launching the scan.
i have chosen to put the light a the maximum and the number of steps at 72 (each 5°)
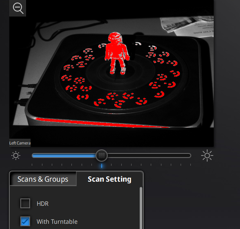

you can see that the result is not good. especially then the subject is shinny or dark. One big problem is the shadow causer by the angle of the illumination of the scanner on the object.
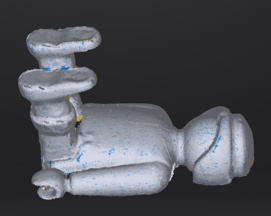
when you finish the scan, you have 2 options : watertight model or unwatertight model.
the first one one try to fill the scan and the second one works only on surfaces and is more precise.
example of waterlight option : 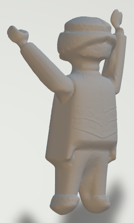
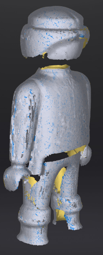
example of unwaterlight option : 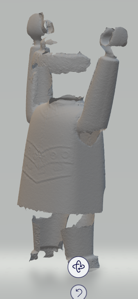
i tried many scan, with different position : stand-up, layed on each side, sat, etc… i tried to coat with talc, which gave some good result.
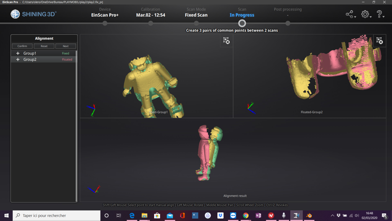
the alignment option of the shinning software is maybe usefull but with simpler object
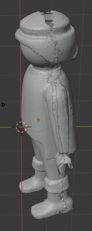
finaly, all those tries gave me many scan were i found parts of the object. With blender i cut and assembled different parts of the object
blender try with unwaterlight scan
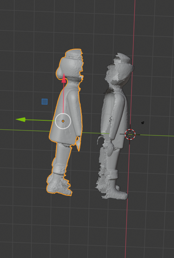
the result is an empty figures with holes
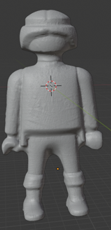
After mixing different scan
the final result is
and printed with support

