18. Wildcard week
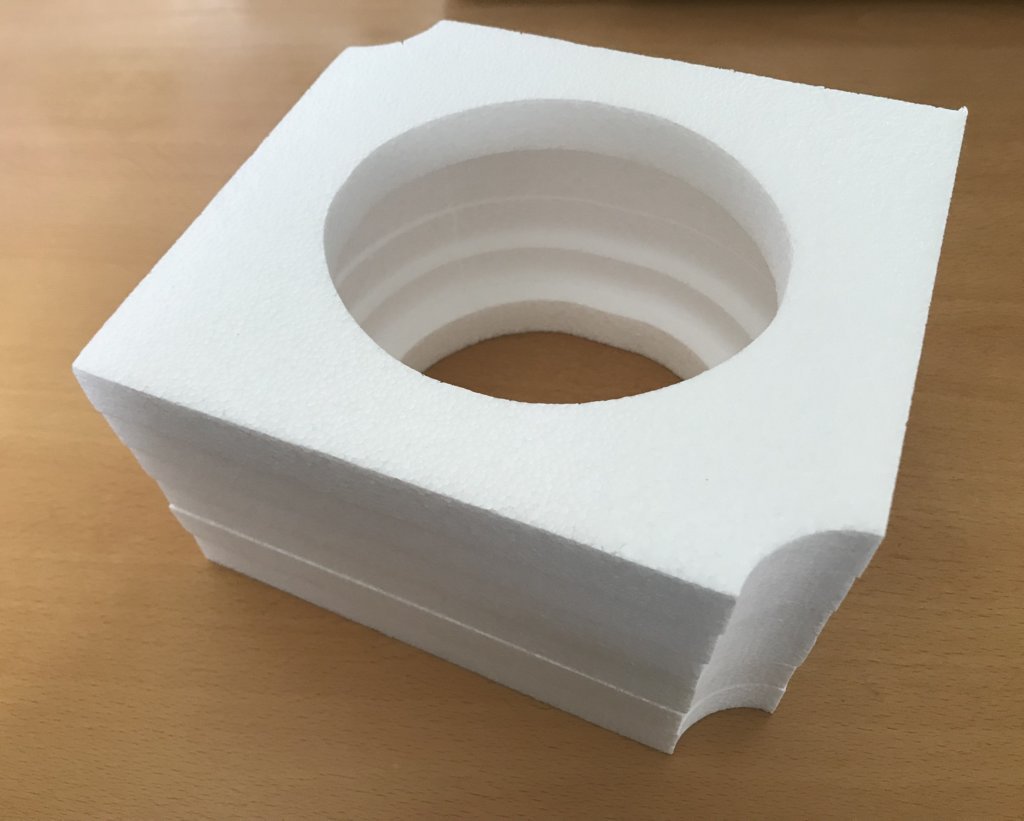
This week I design and made the internal packaging of my final project through ploystyrene cutting, and so including a digital fabrication process and manufacturing not covered in my other assignments.
Polystyrene cutting
Camputer aided design
1st I designed it first including my final project 3D model inside an hypotetical solid; Then by a front perspective I made contour command, and selecting both I projecting 20 mm spaced lines, like the thickness of the polystyrene sheets I used;
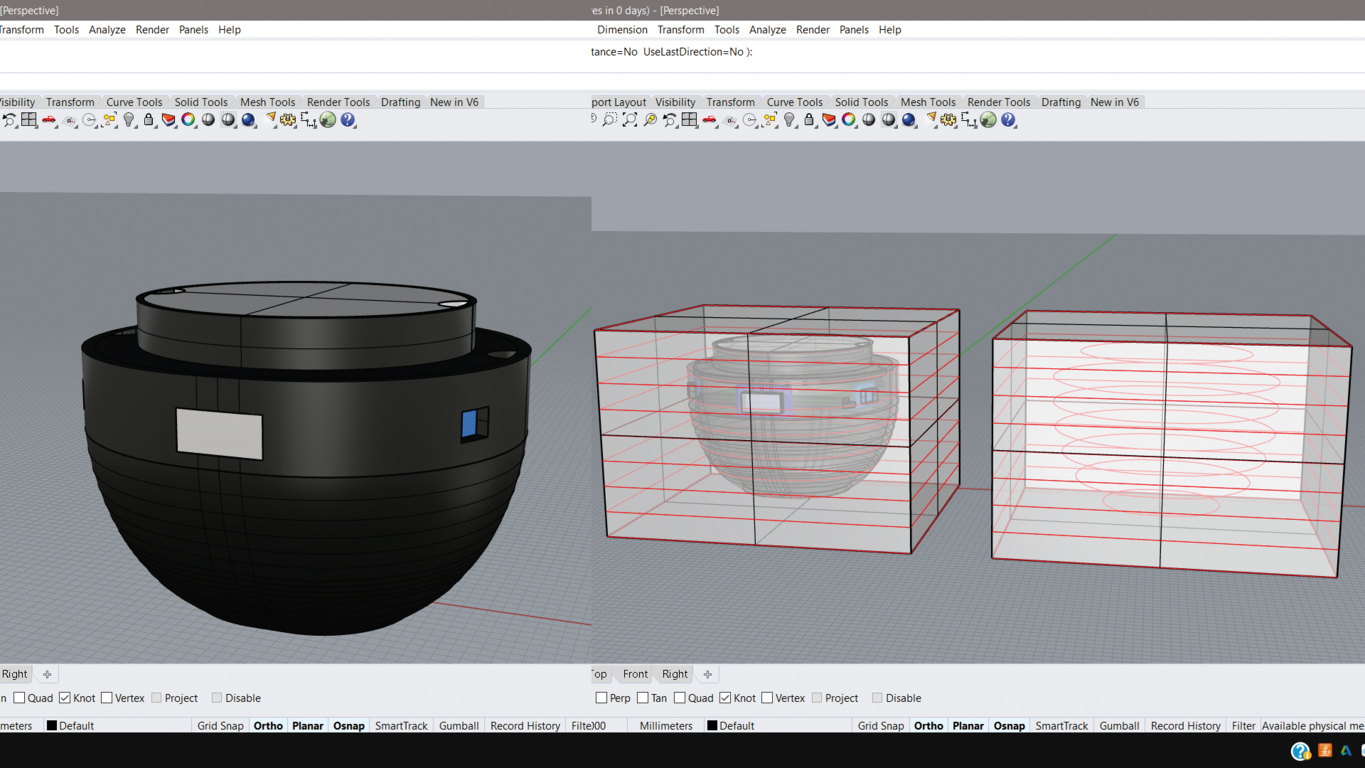
2nd I dimensioned and modeled my internal packaging to remove it easly from the external one;
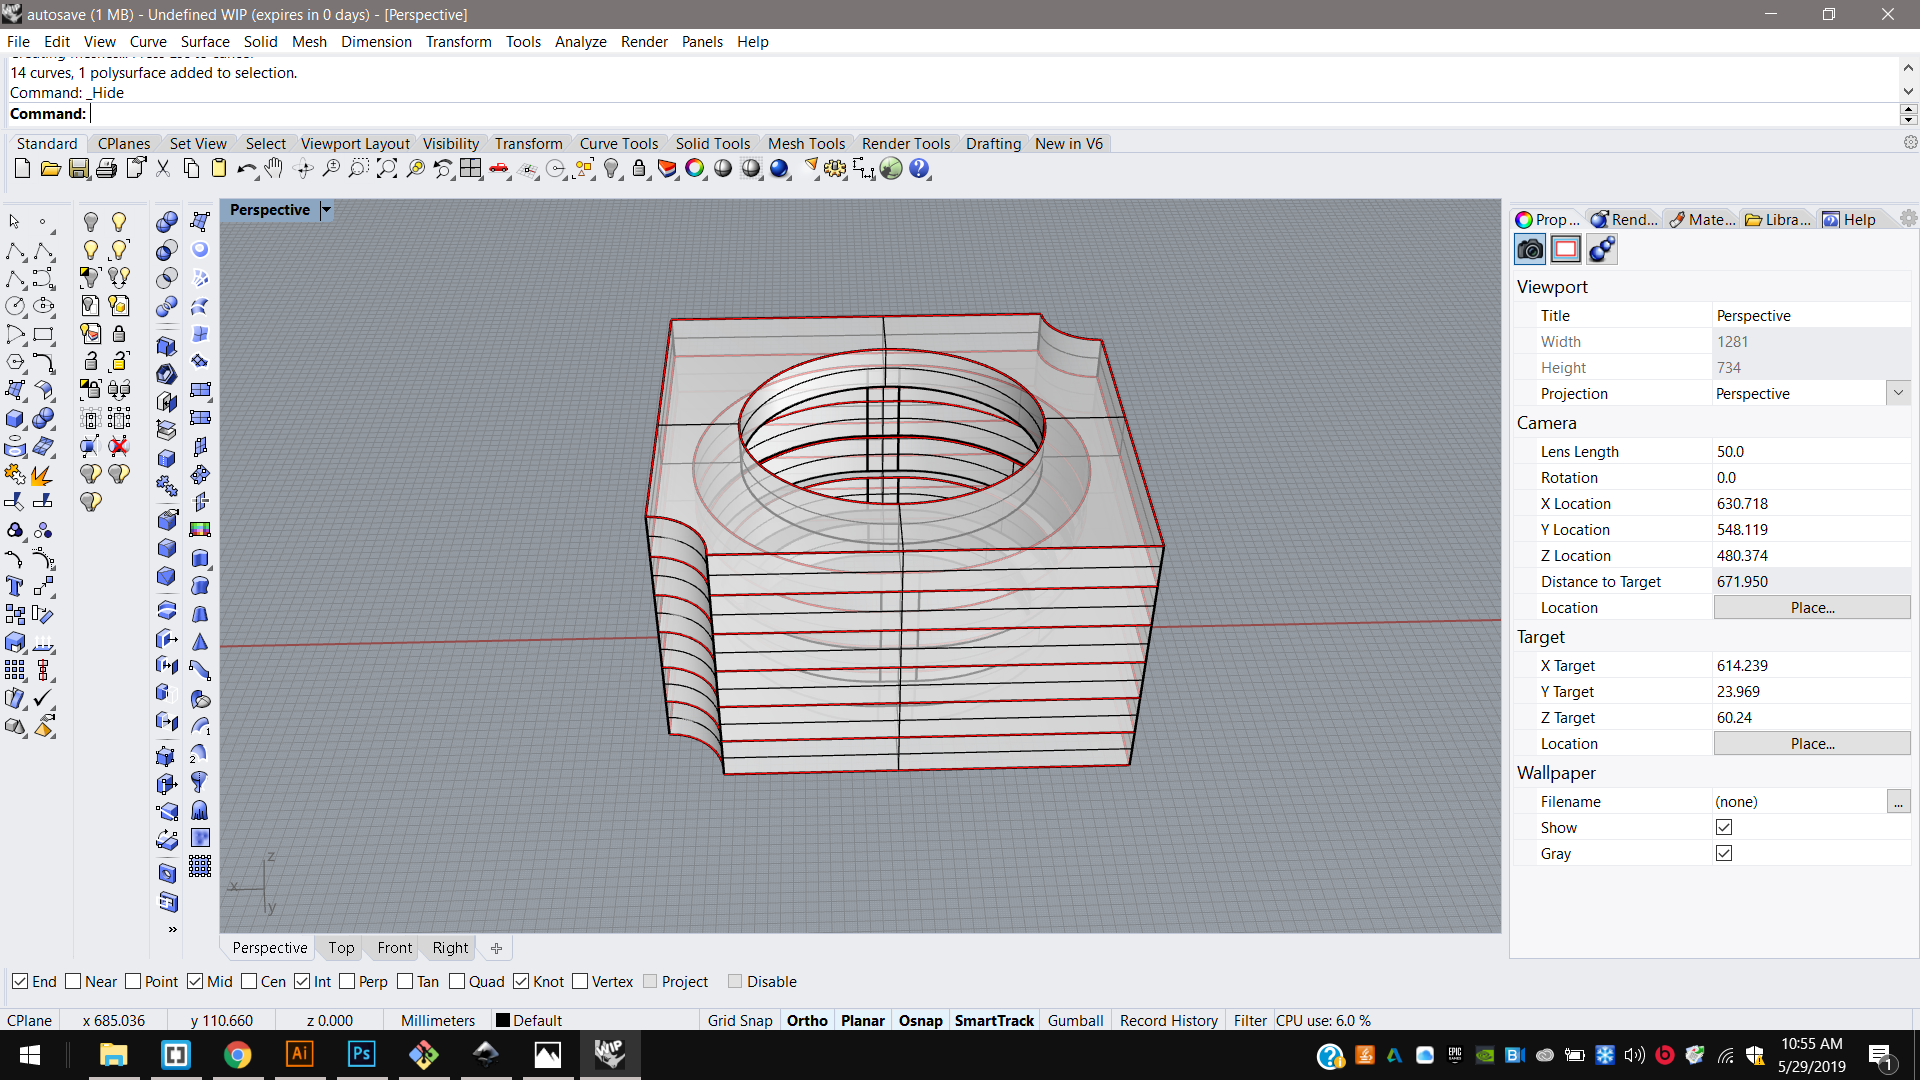
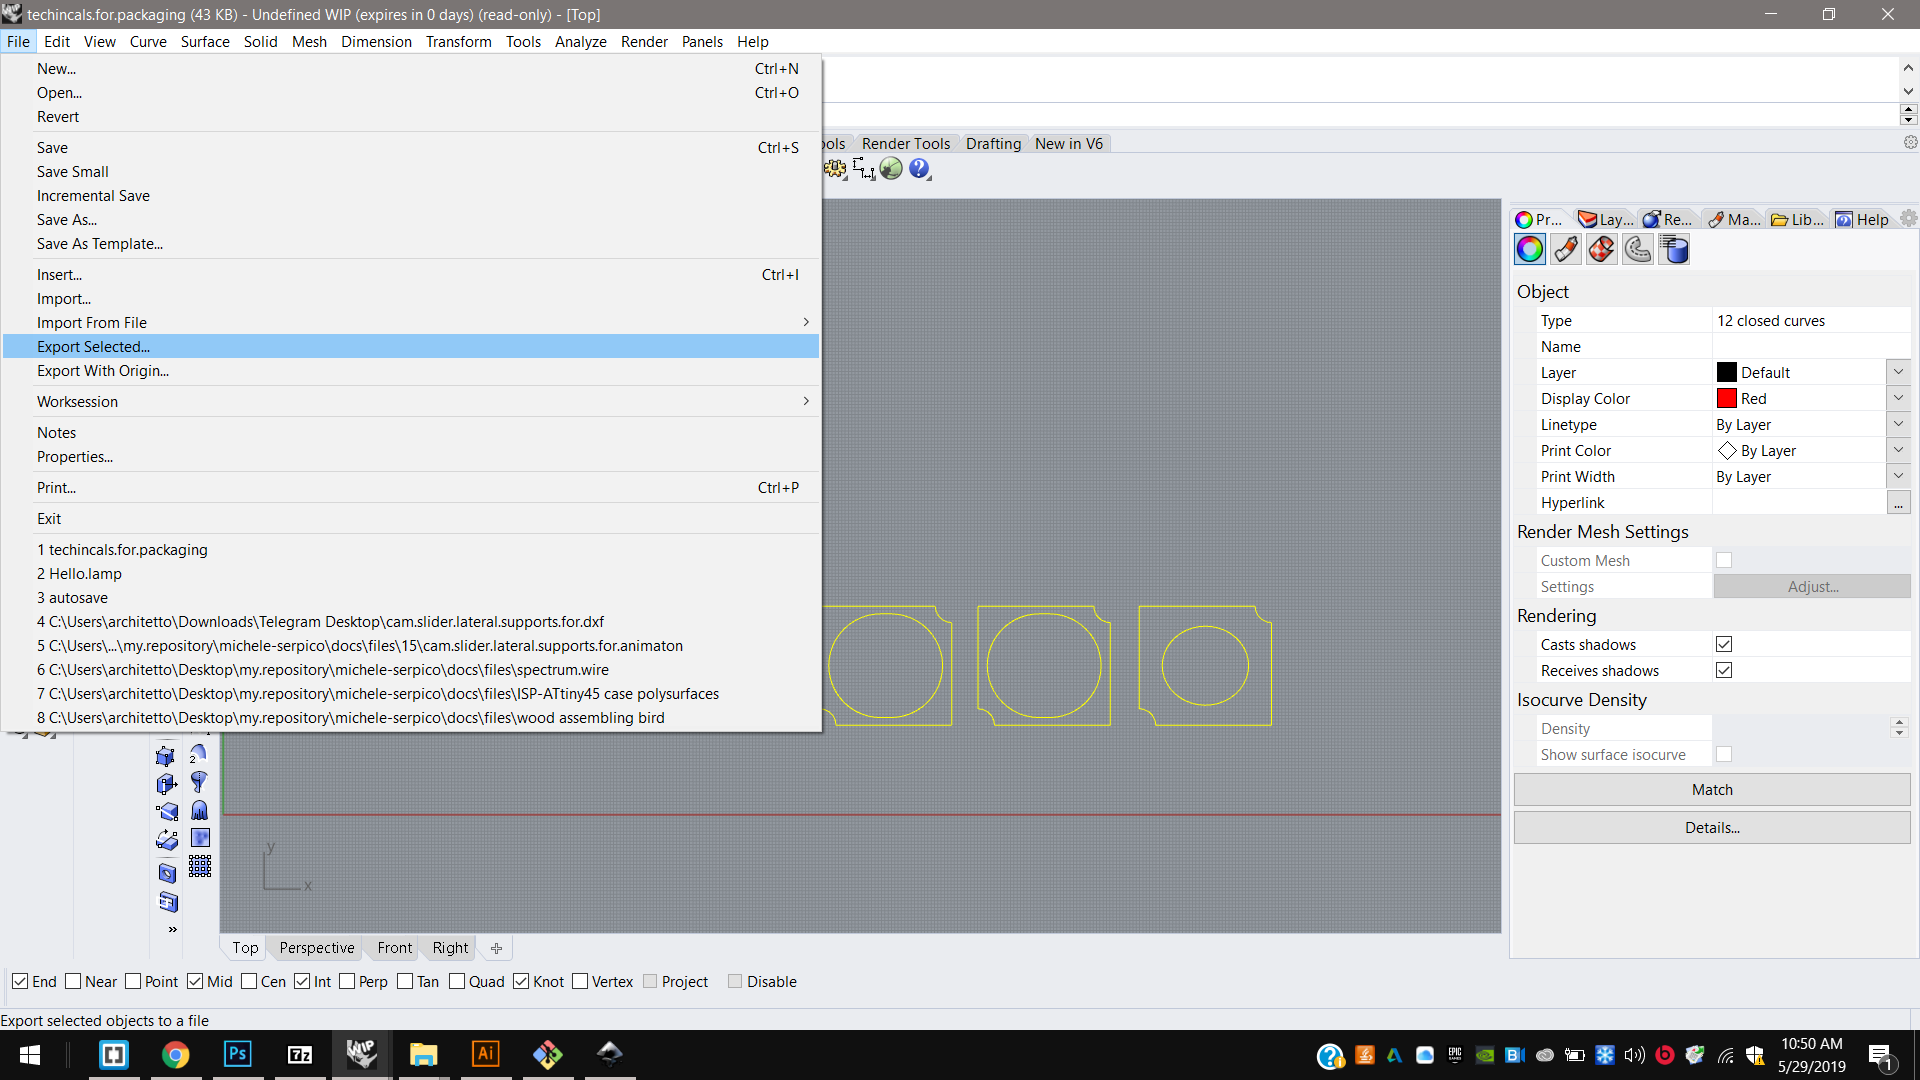
3rd And then I moved them next to each other, and I exported them in a single .pdf file.
Computer controlled cutting
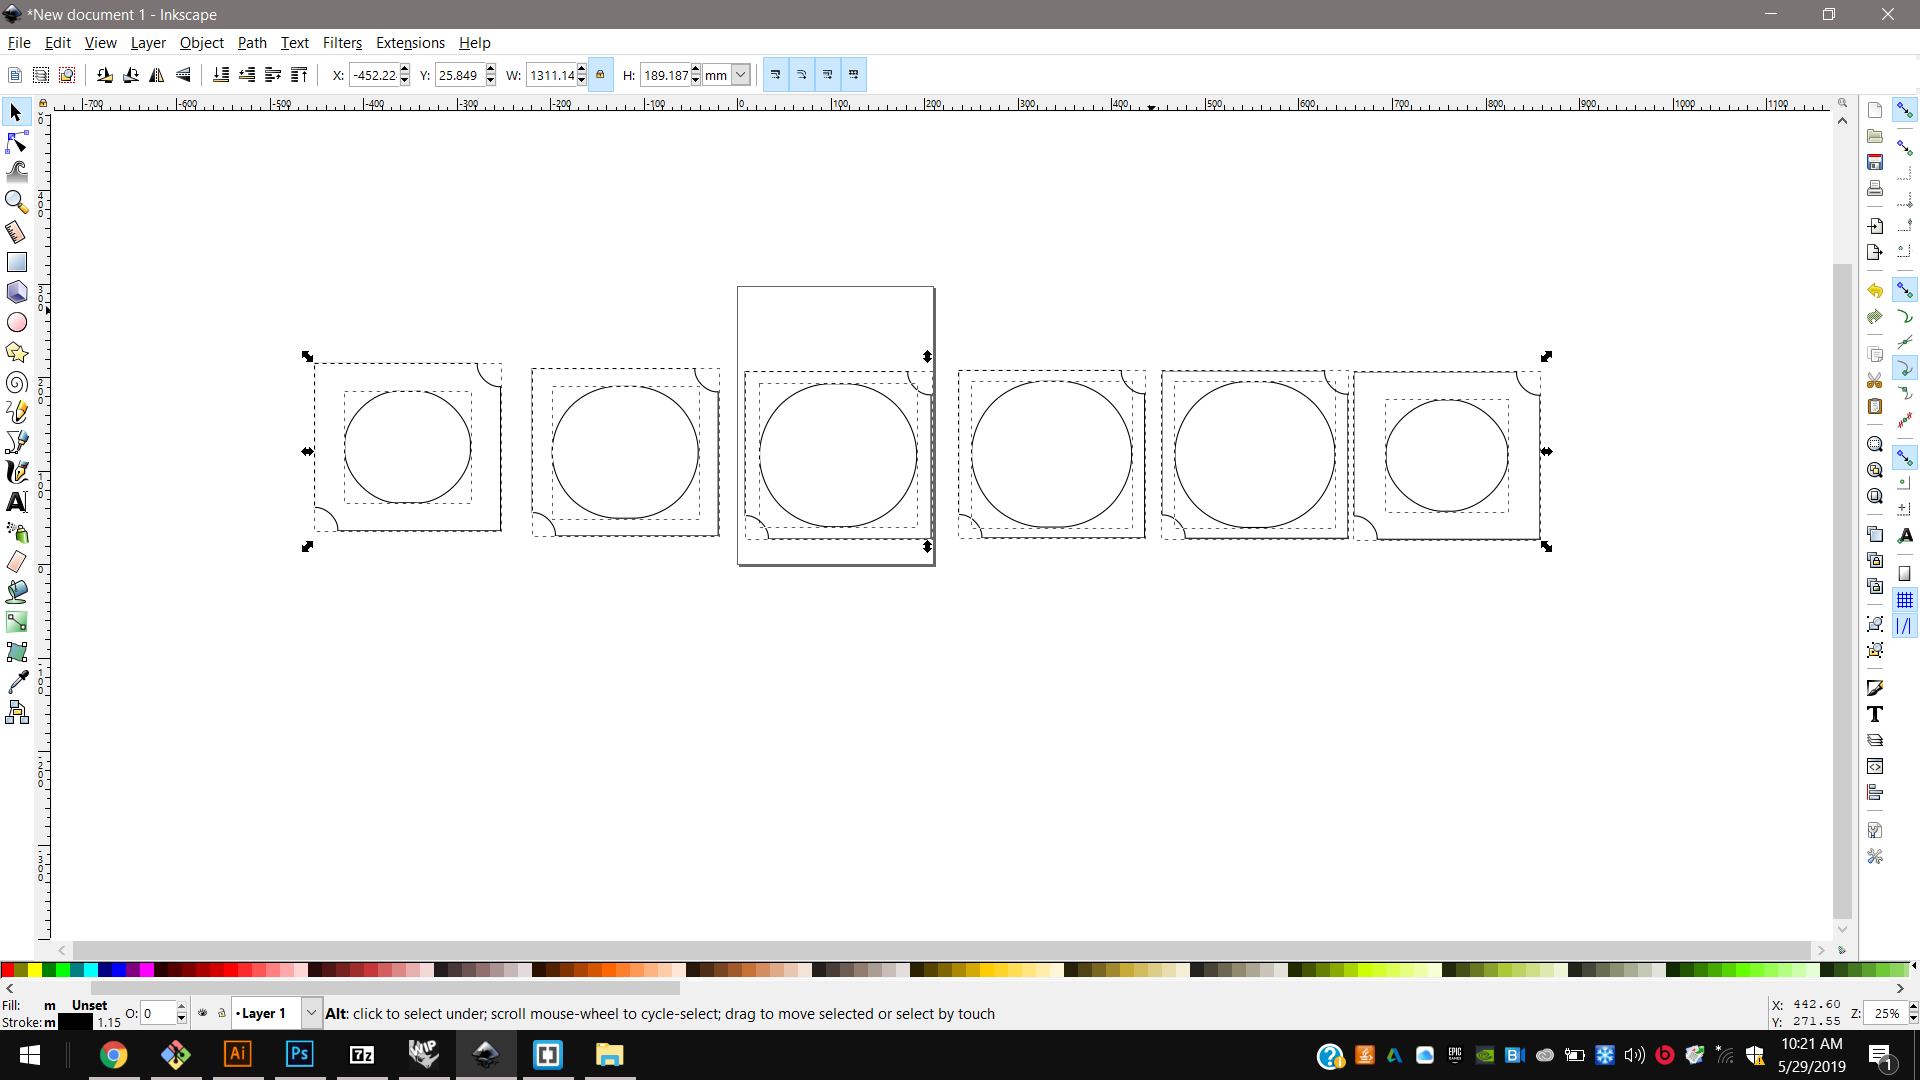
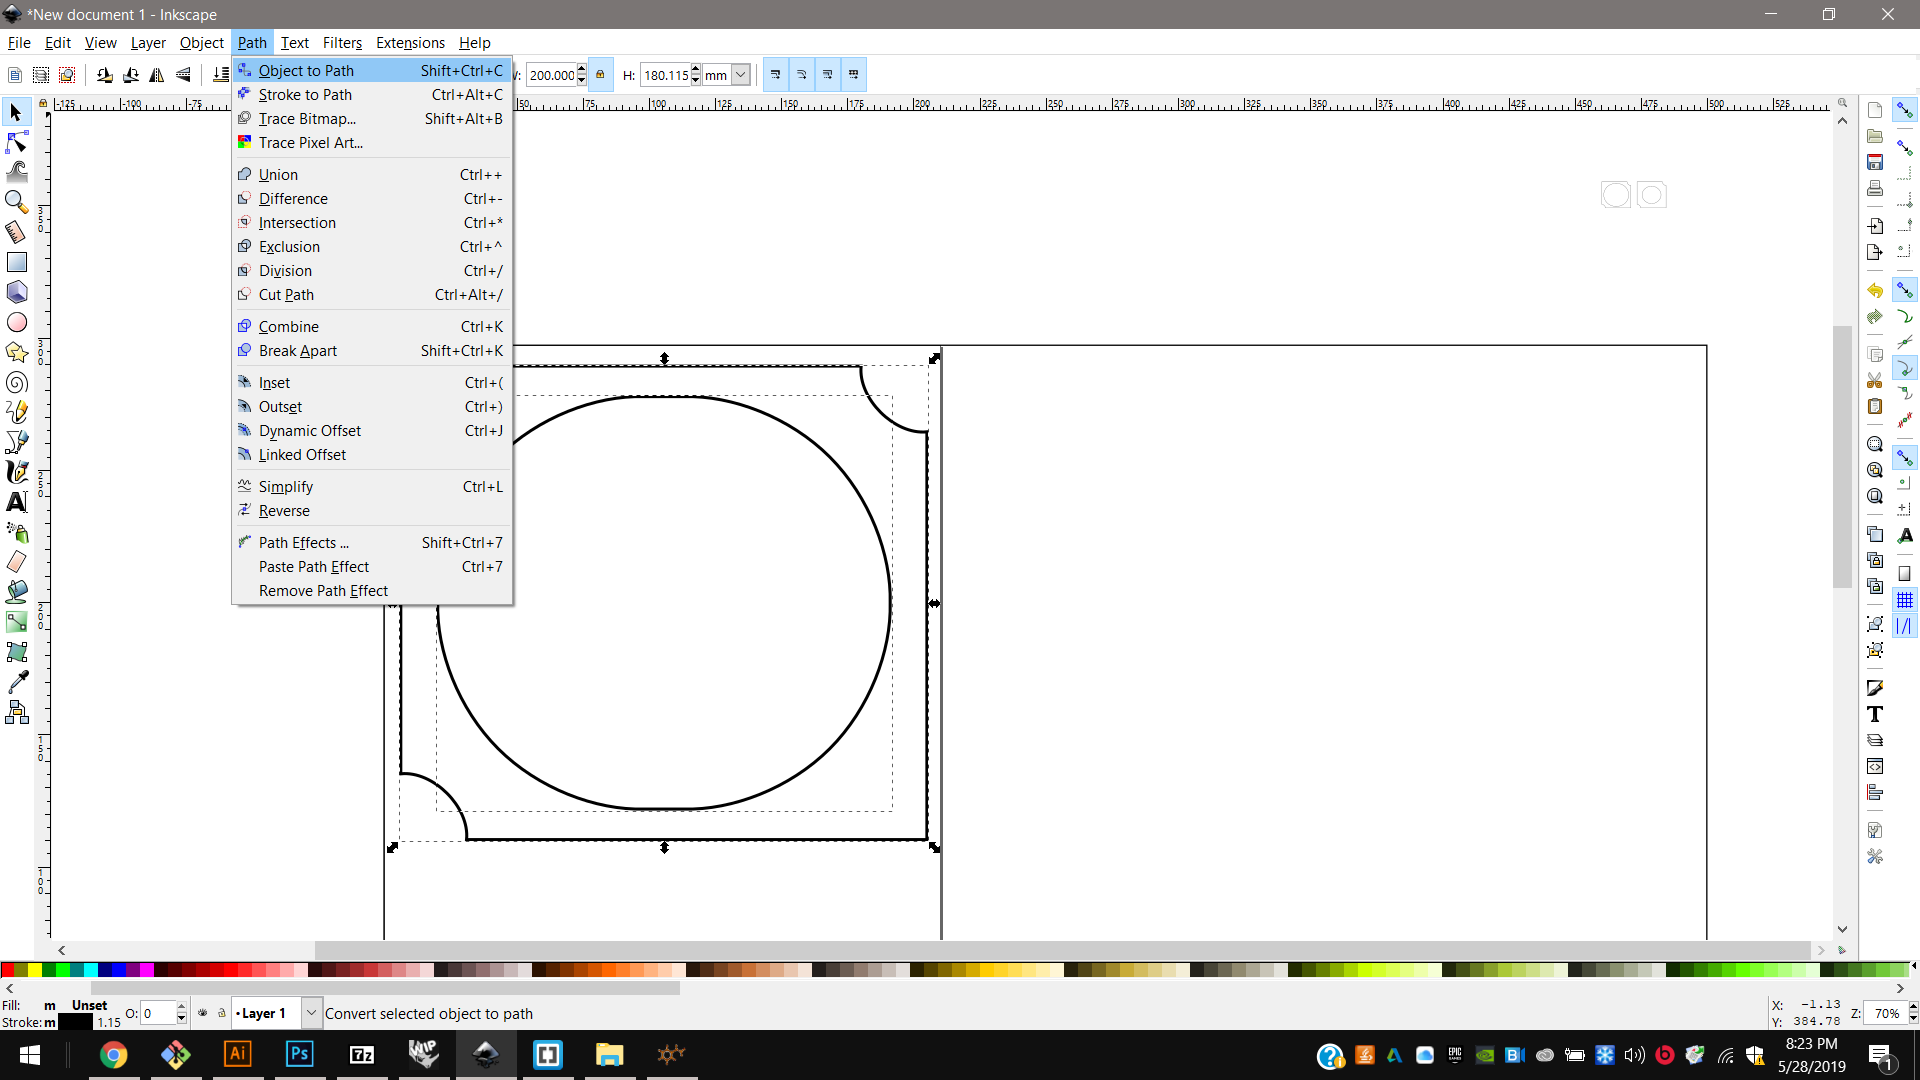
1st I installed Inkscape already; I imported my .pdf file and scaled them as default measure;
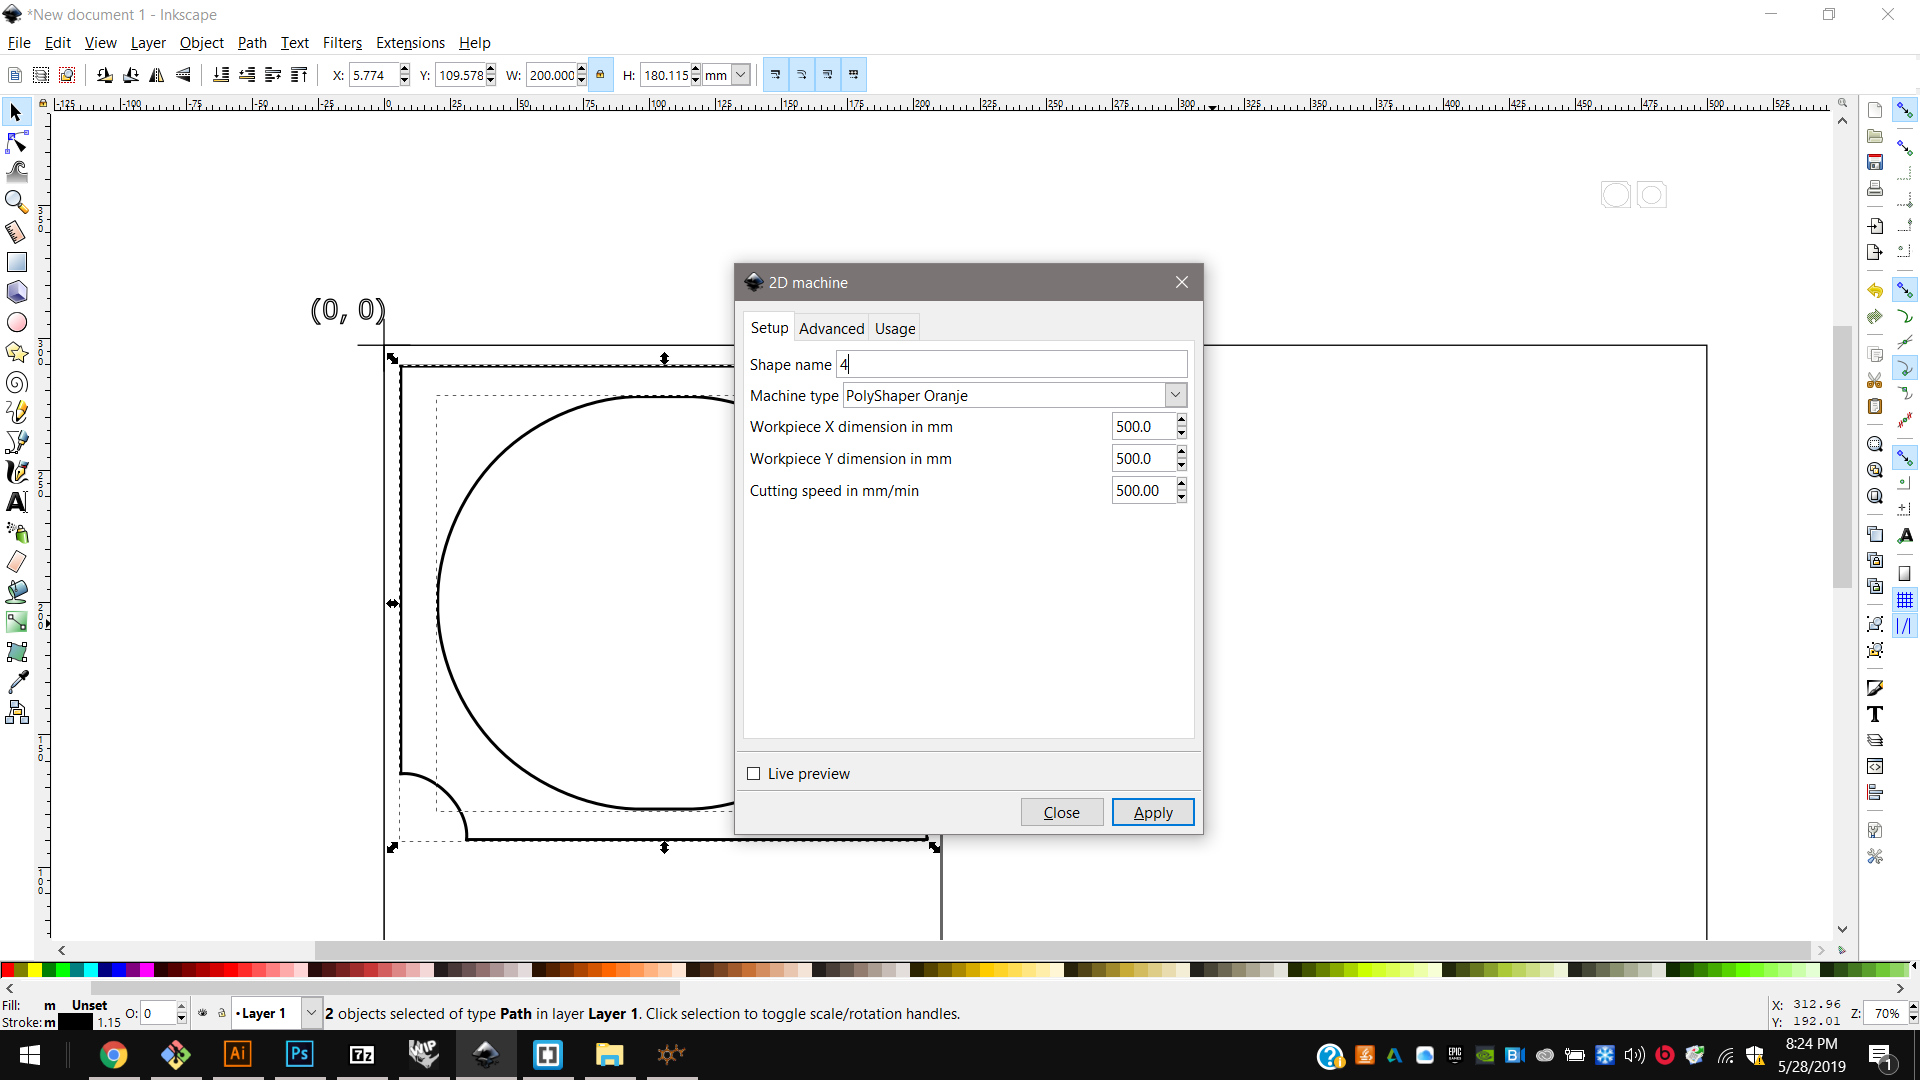
2nd I placed and fixed 25x25 cm polystyrene first sheet on the Orange 2D polystyrene cutter, to the sliding support with a screw;
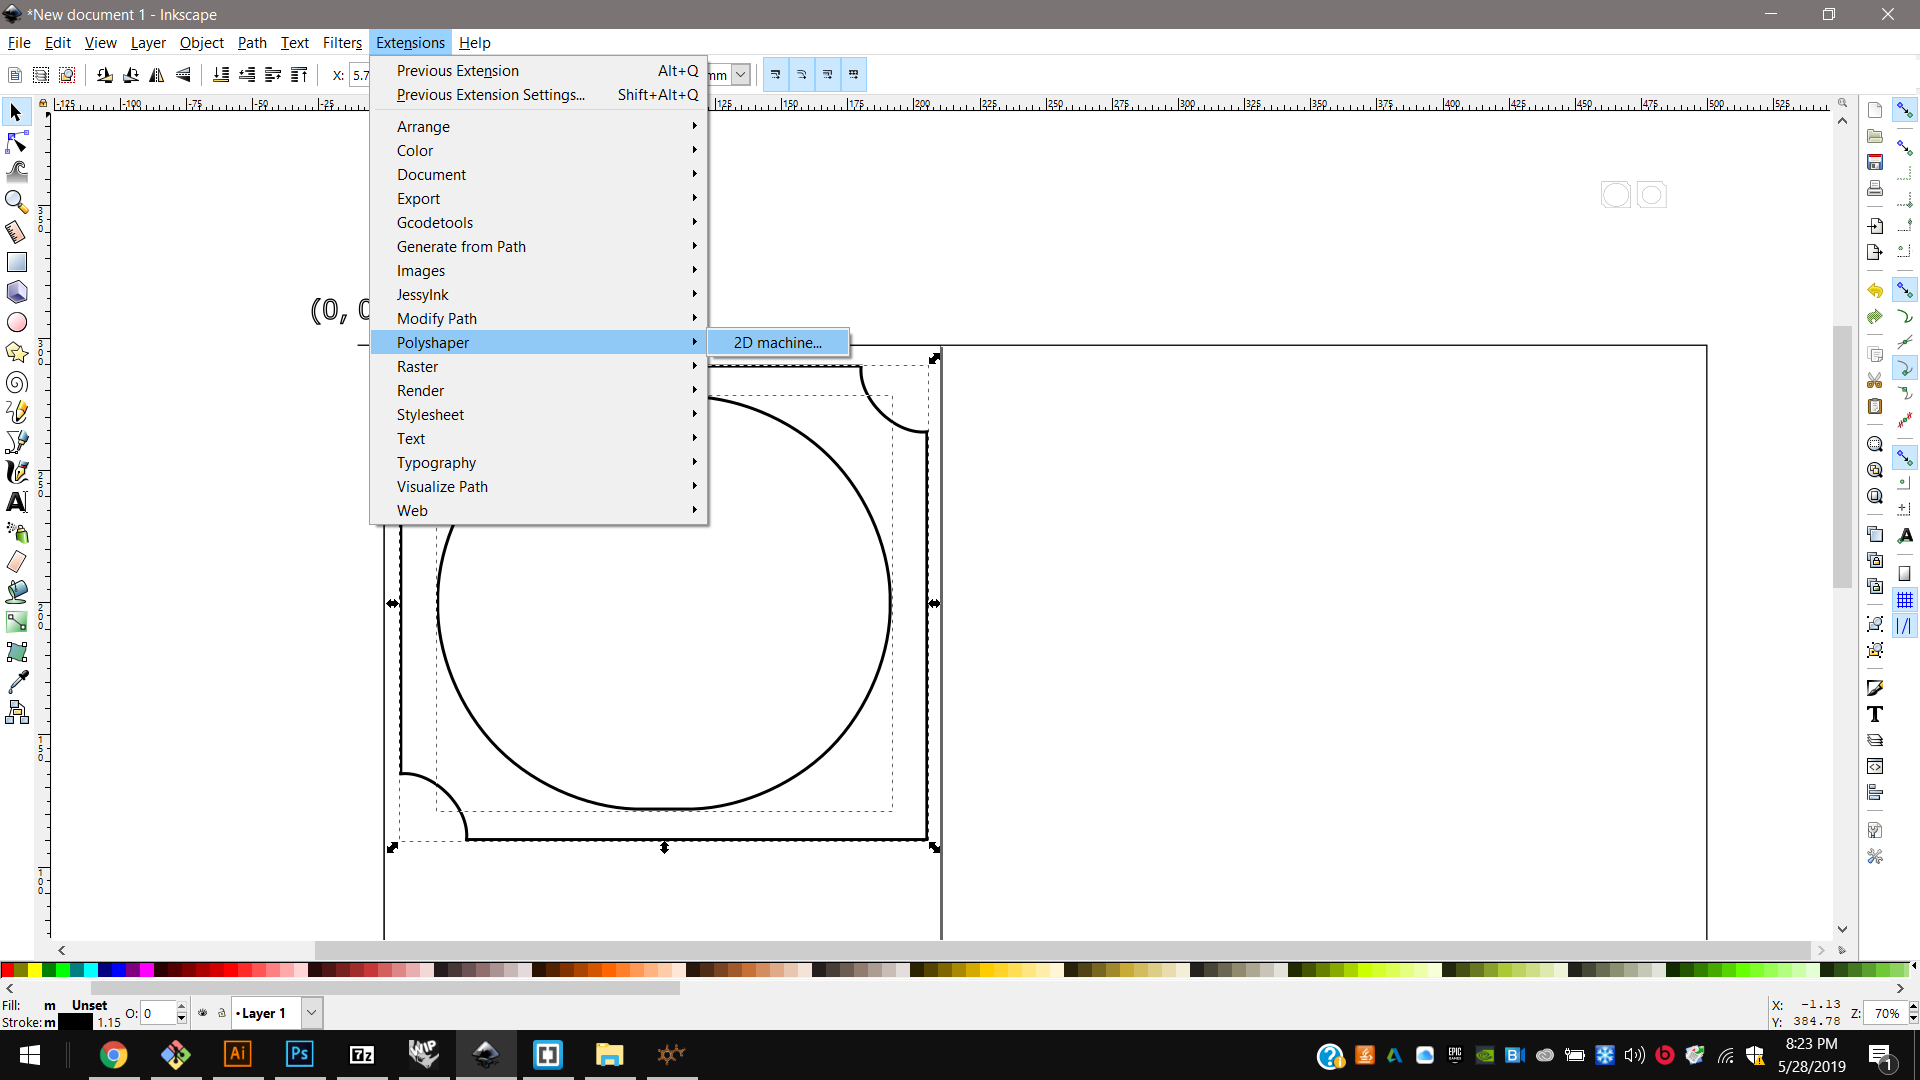
3rd I downloaded and installed Polyshape & ShaCo softwares;
4th I connected my pc and the machine by serial port;
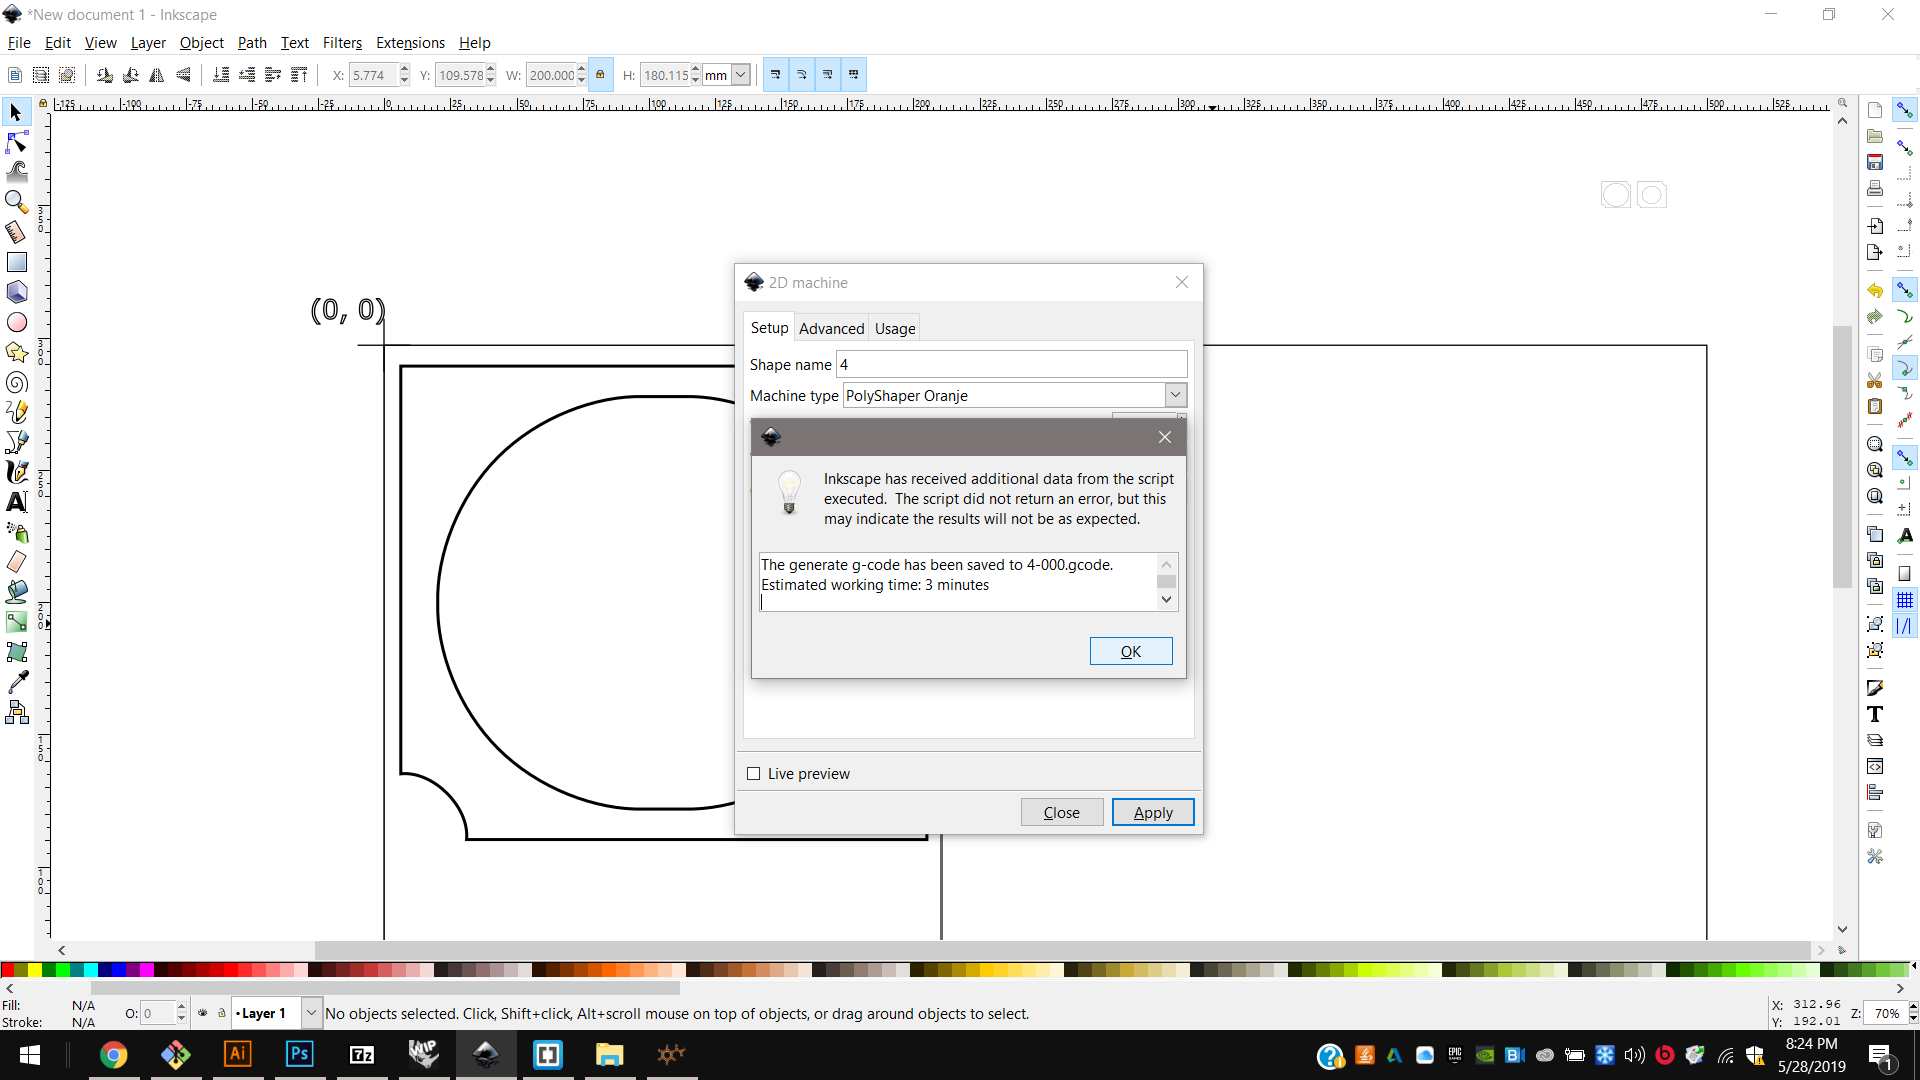
5th And then I generated the respective G-code and I started the cutting process, setting also the temperature of the cutting wire:
-
sending object by path;
-
selecting the supported software and the connected machine;
-
features about the single process, sheet, and speed too. Applying this settings the drivers will generate the respective G-code;
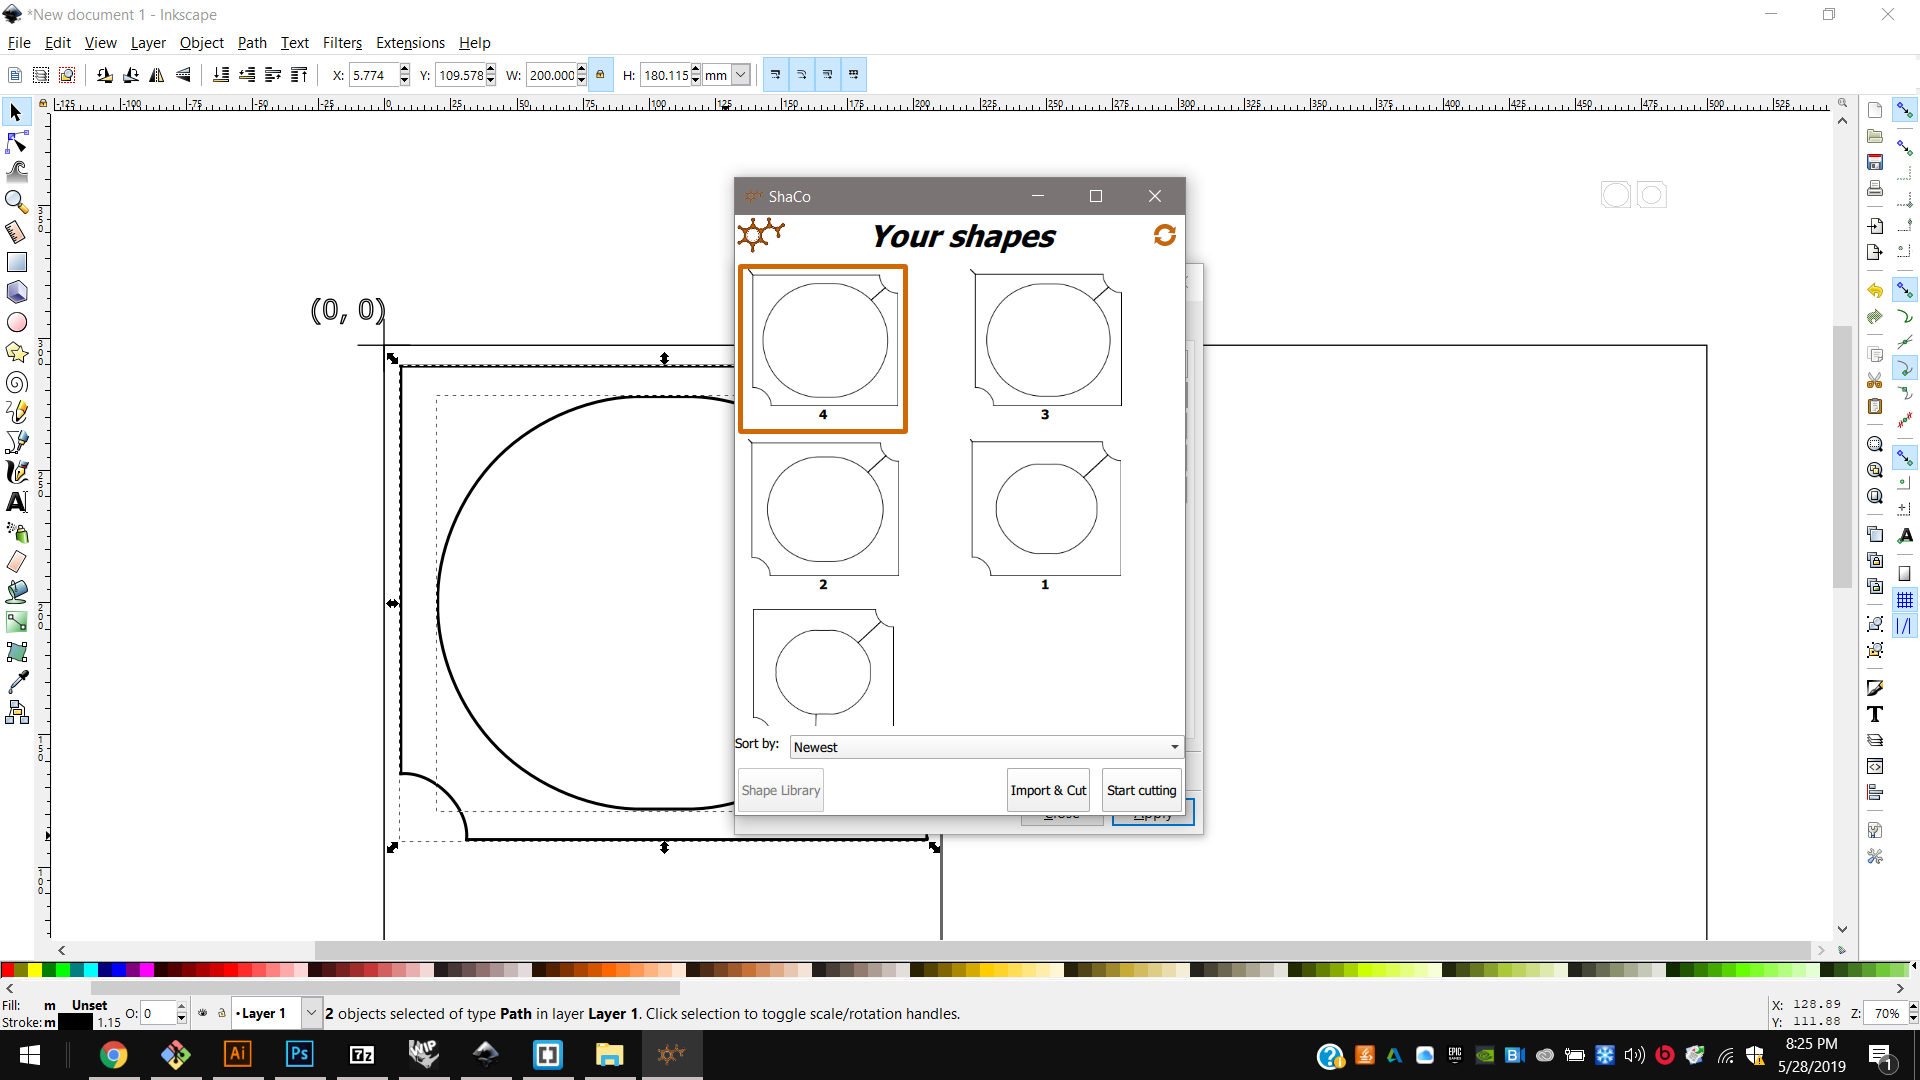
-
opening ShaCo, and managing the respective generated files (also refreshing it, if necessary);
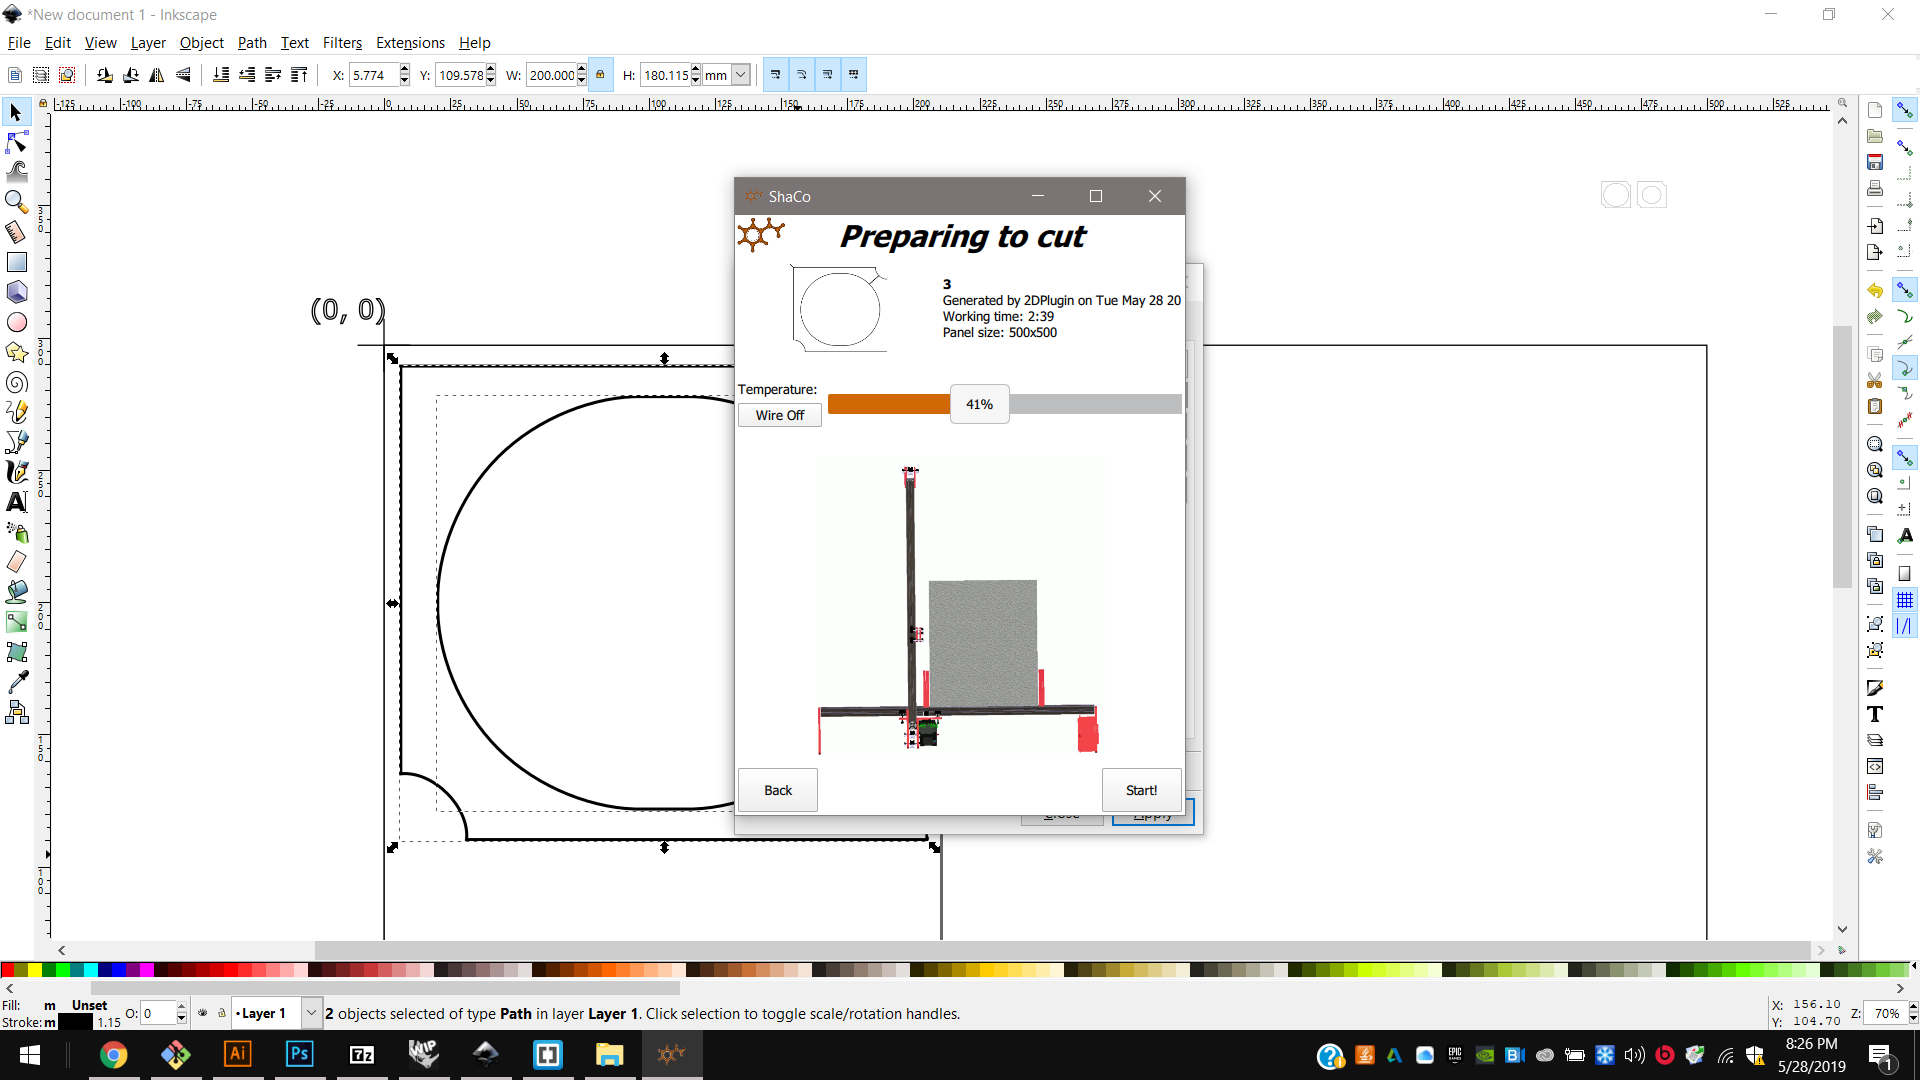
-
selecting the right temperature of the cutting wire, then click on “Start!” to cut.
Below you can find images describing step by step.