11. Input devices
For my final project: HC-SR04 ultrasonic sensor
This week I made a board to read my first input device, soldering and programming an HC-SR04 ultrasonic sensor.
I choose this type of sensor to approach to the gesture input I’m going to make for my final project, about a levitating lamp.
Test
1st First I made some practice using Arduino uno r3 board, connecting it to an hc-sr04 distance sensor and programming it in Arduino IDE;
2nd I uploaded the default program and I included its library too…
It works as a small radar of 5 volts through 4 pins respectively defined as echo, trig, VCC and GND. It calculates the distance sending signals and reading its return.
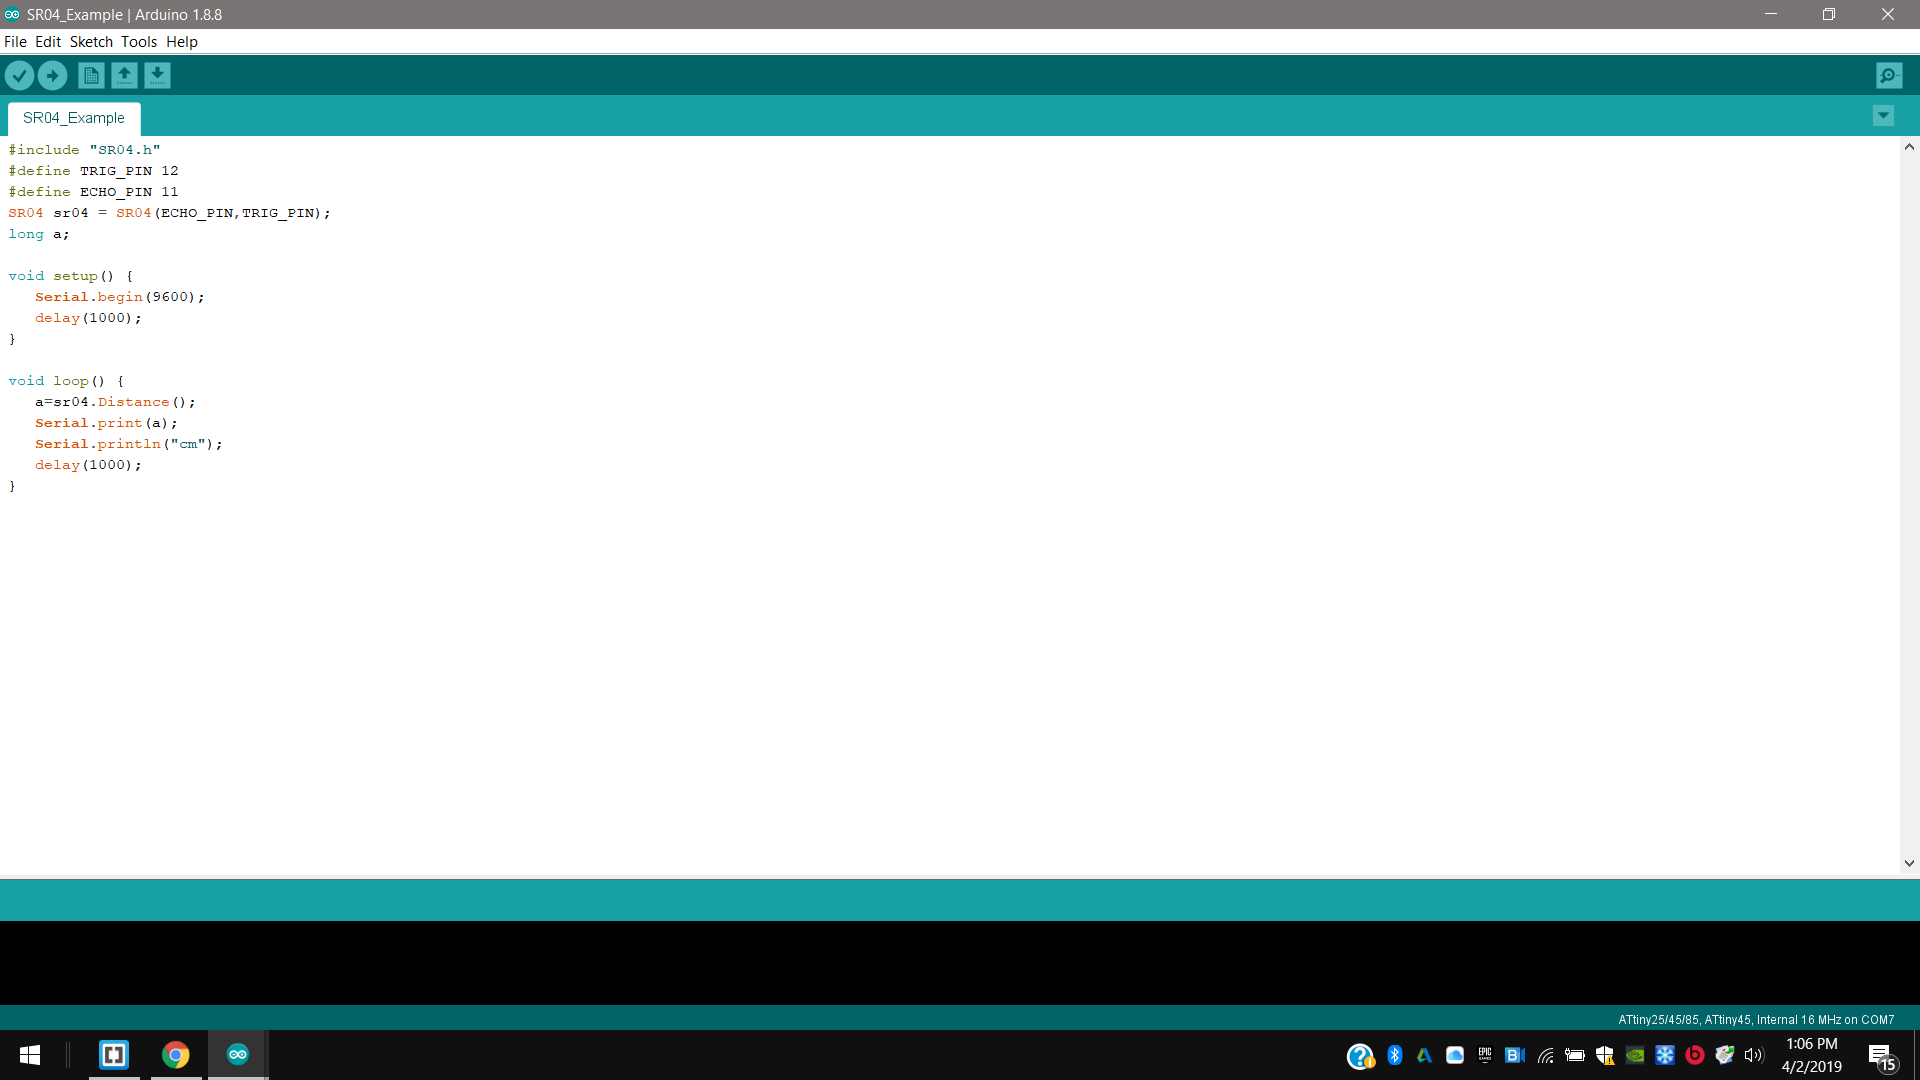
3rd So in the program I set respective pins, the respective function and the data rate in bits per second (baud) for serial data transmission;
4th and uploading the it I could check the sensor working just clicking on the serial monitor icon in the right corner of IDE, showing the movements and so the changes of distance.
// including the default sensor library
#include "SR04.h"

// declaring its respective pins of sending and returning signals
SR04 sr04 = SR04(ECHO_PIN,TRIG_PIN);

//defining them
#define TRIG_PIN 12
#define ECHO_PIN 11

// declaring its variable
long a;


void setup() {

// Initialize serial communications;
   Serial.begin(9600);

// declaring how much time between each signal
   delay(1000);
}


void loop() {

// defining its previous variable
   a=sr04.Distance();

// declaring to print serial communications in the serial monitor
   Serial.print(a);

// ...  and defining them
   Serial.println("cm");

// declaring how much time between each print.
   delay(1000);
}
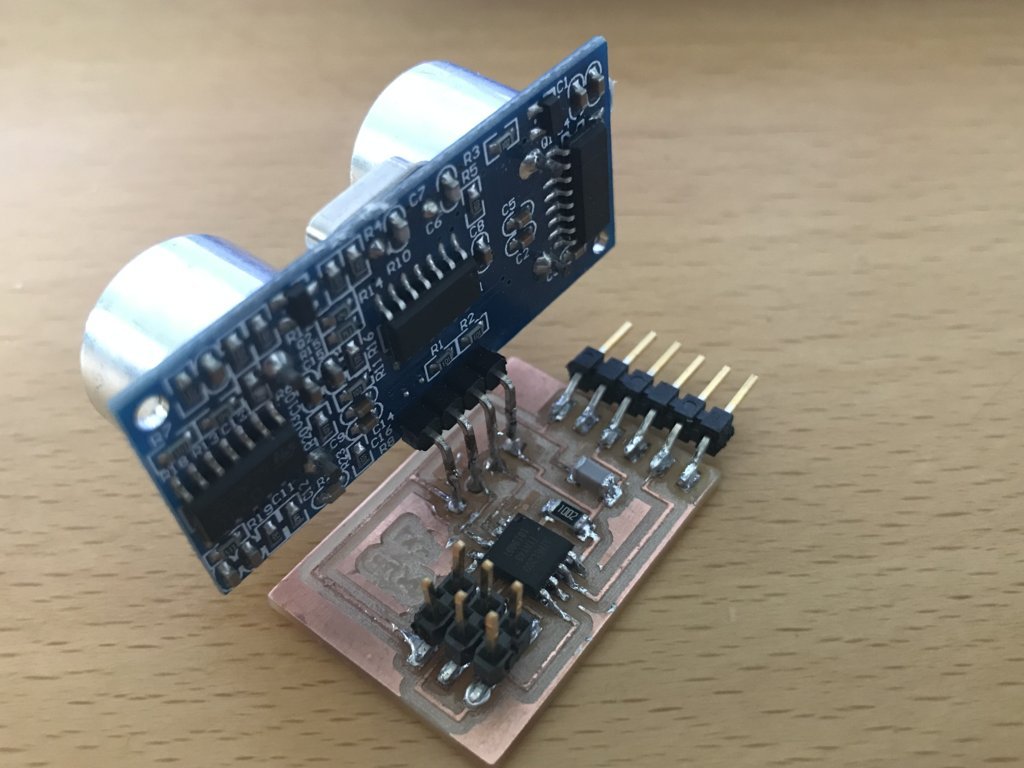
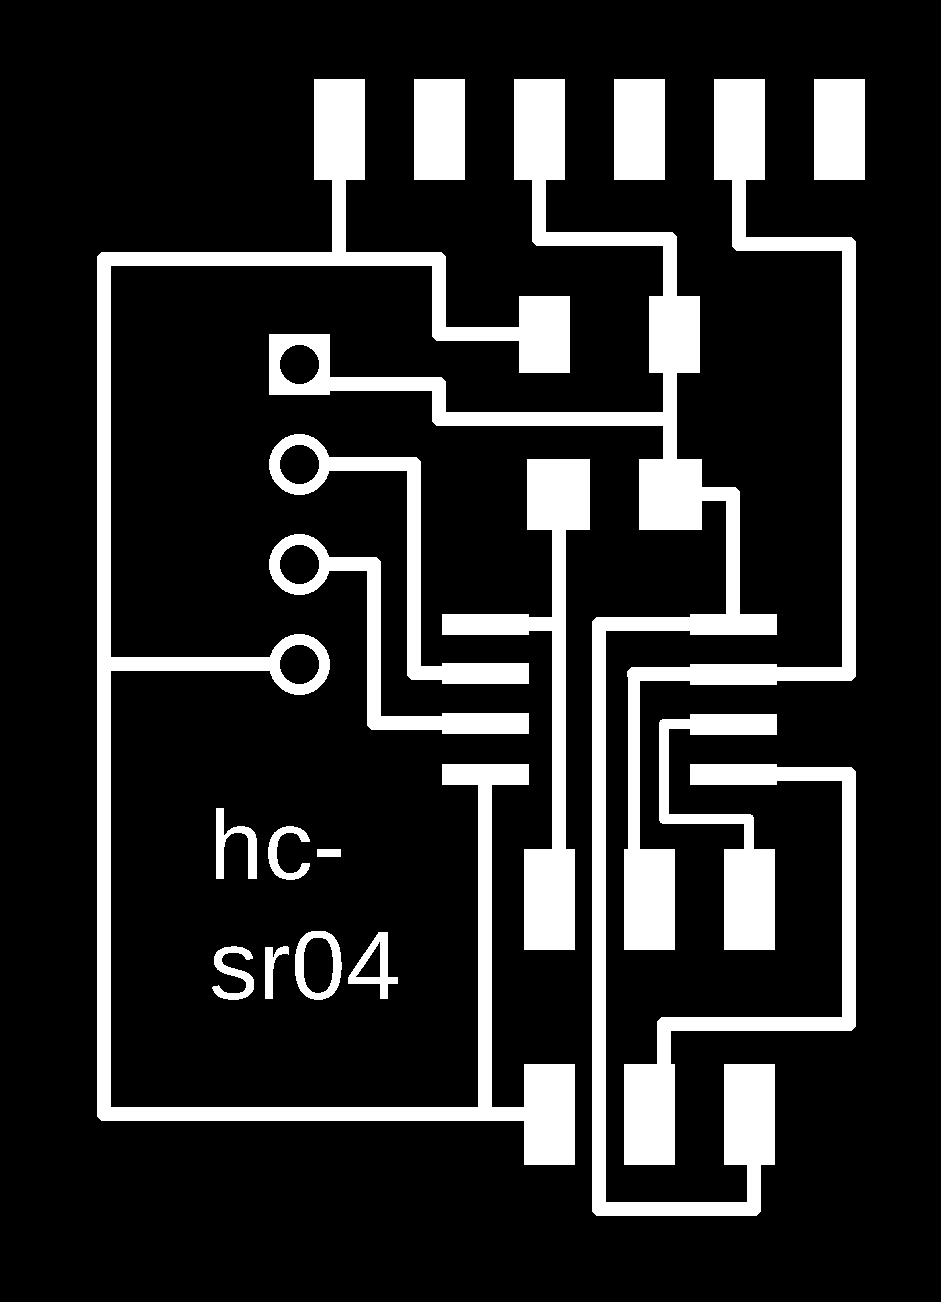
Attiny45 + hc-sr04 board
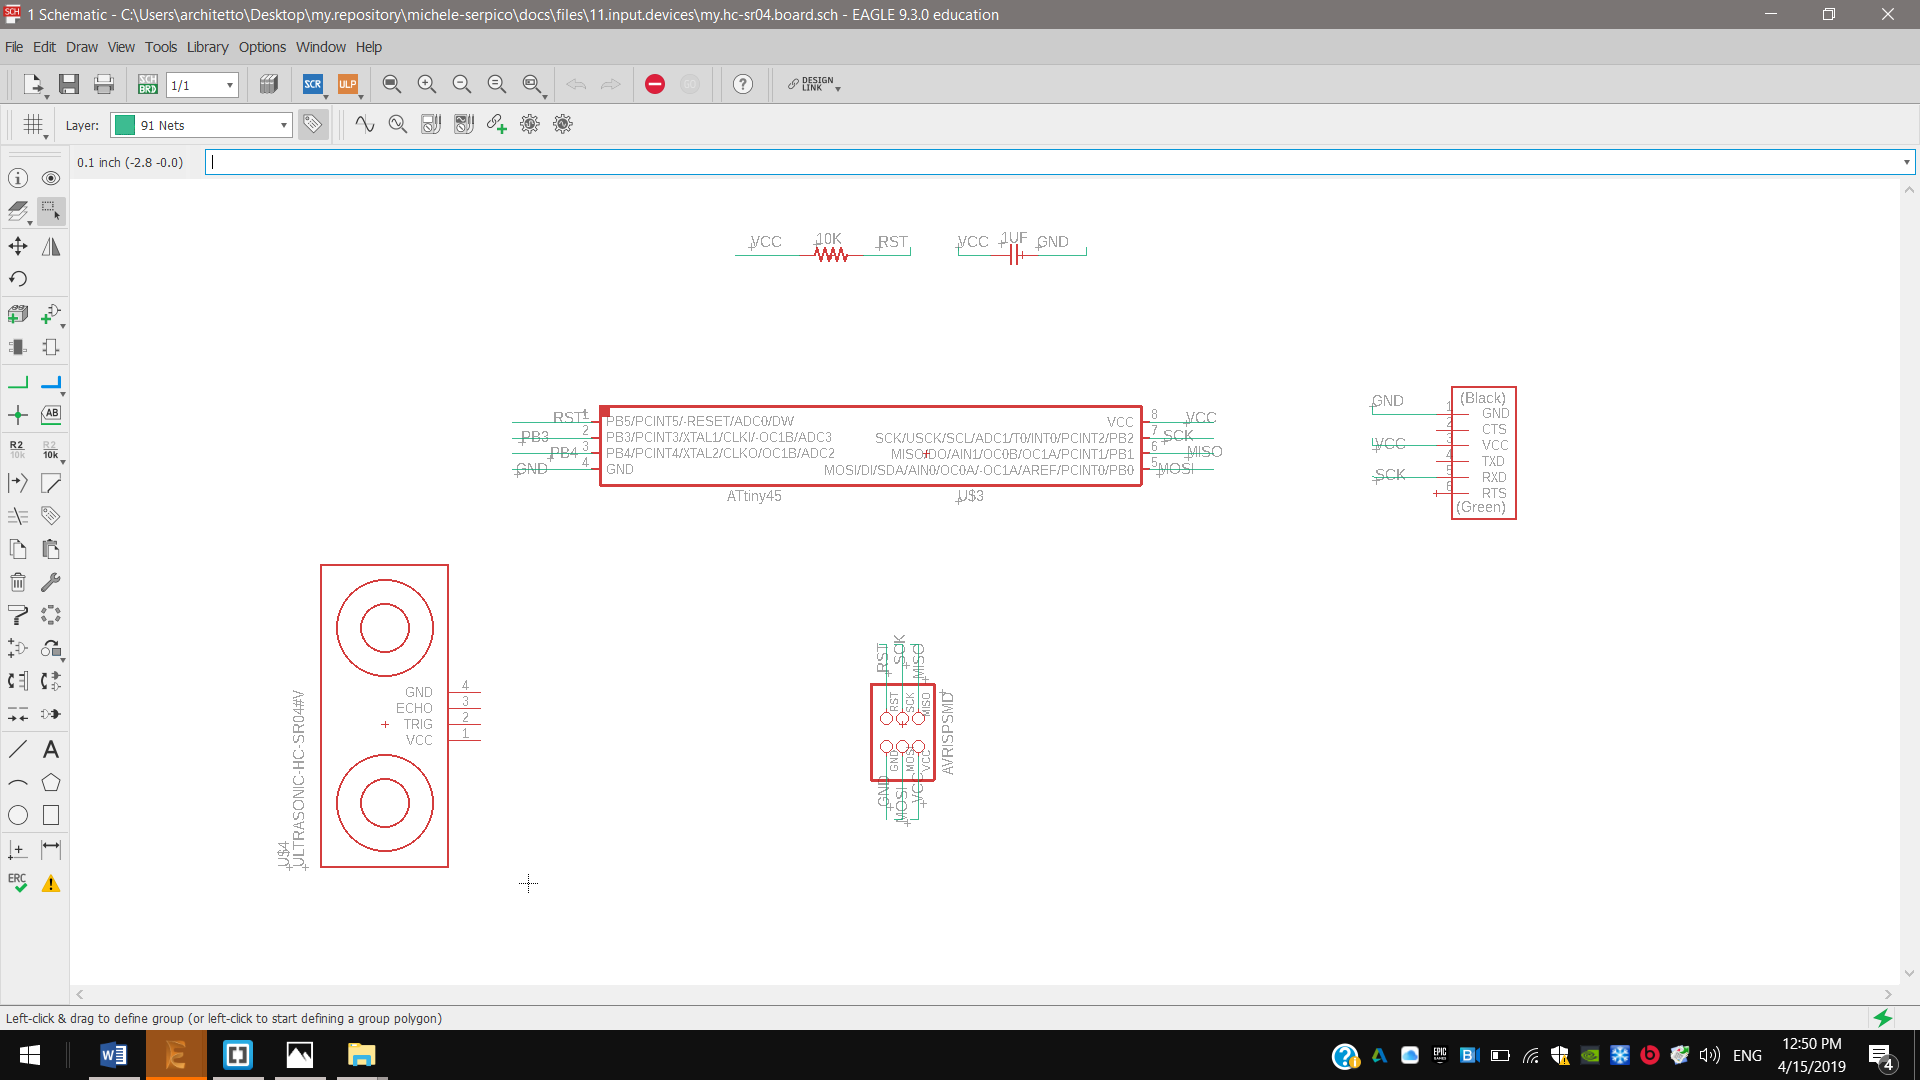
I made a small board to solder an Attiny45, 10K resistor, 1uF capacitor ISP and ftdi connectors, and the ultrasonic distance sensor.
Designing
Schematic
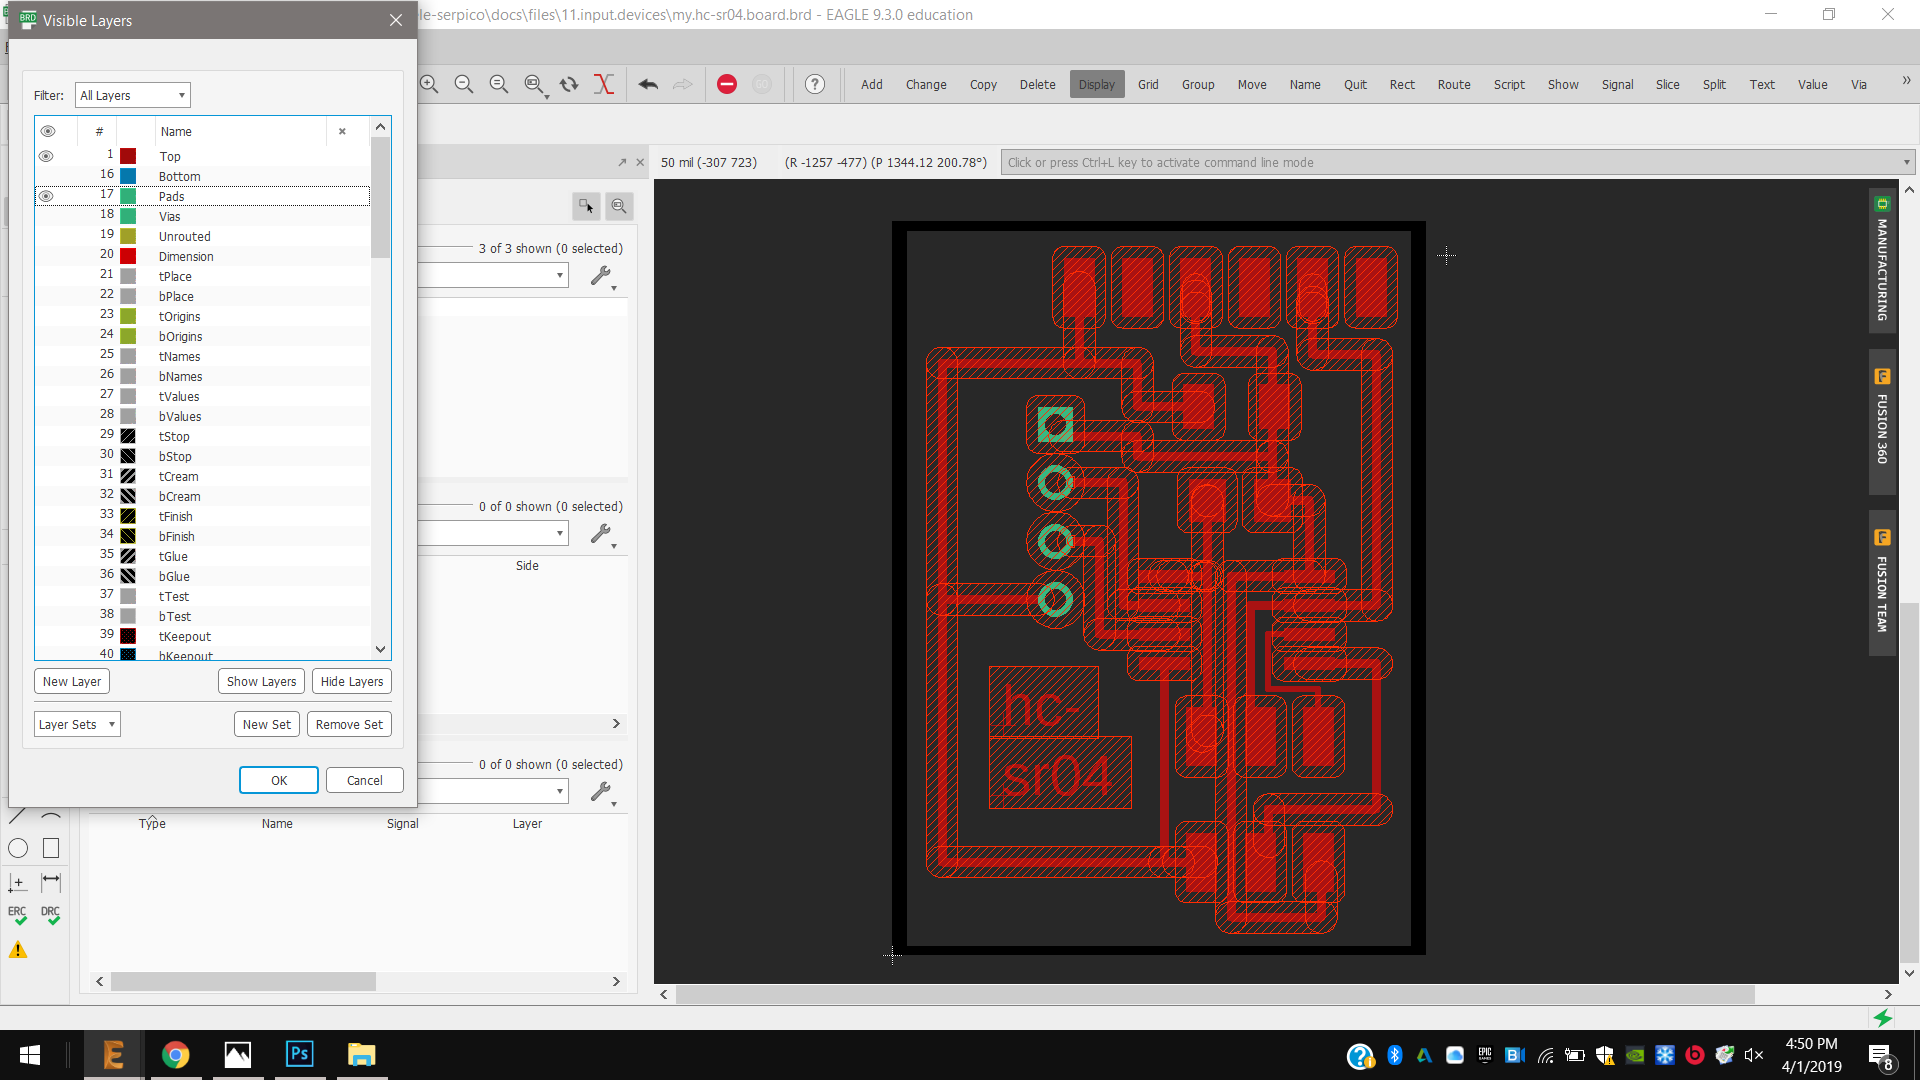
Board
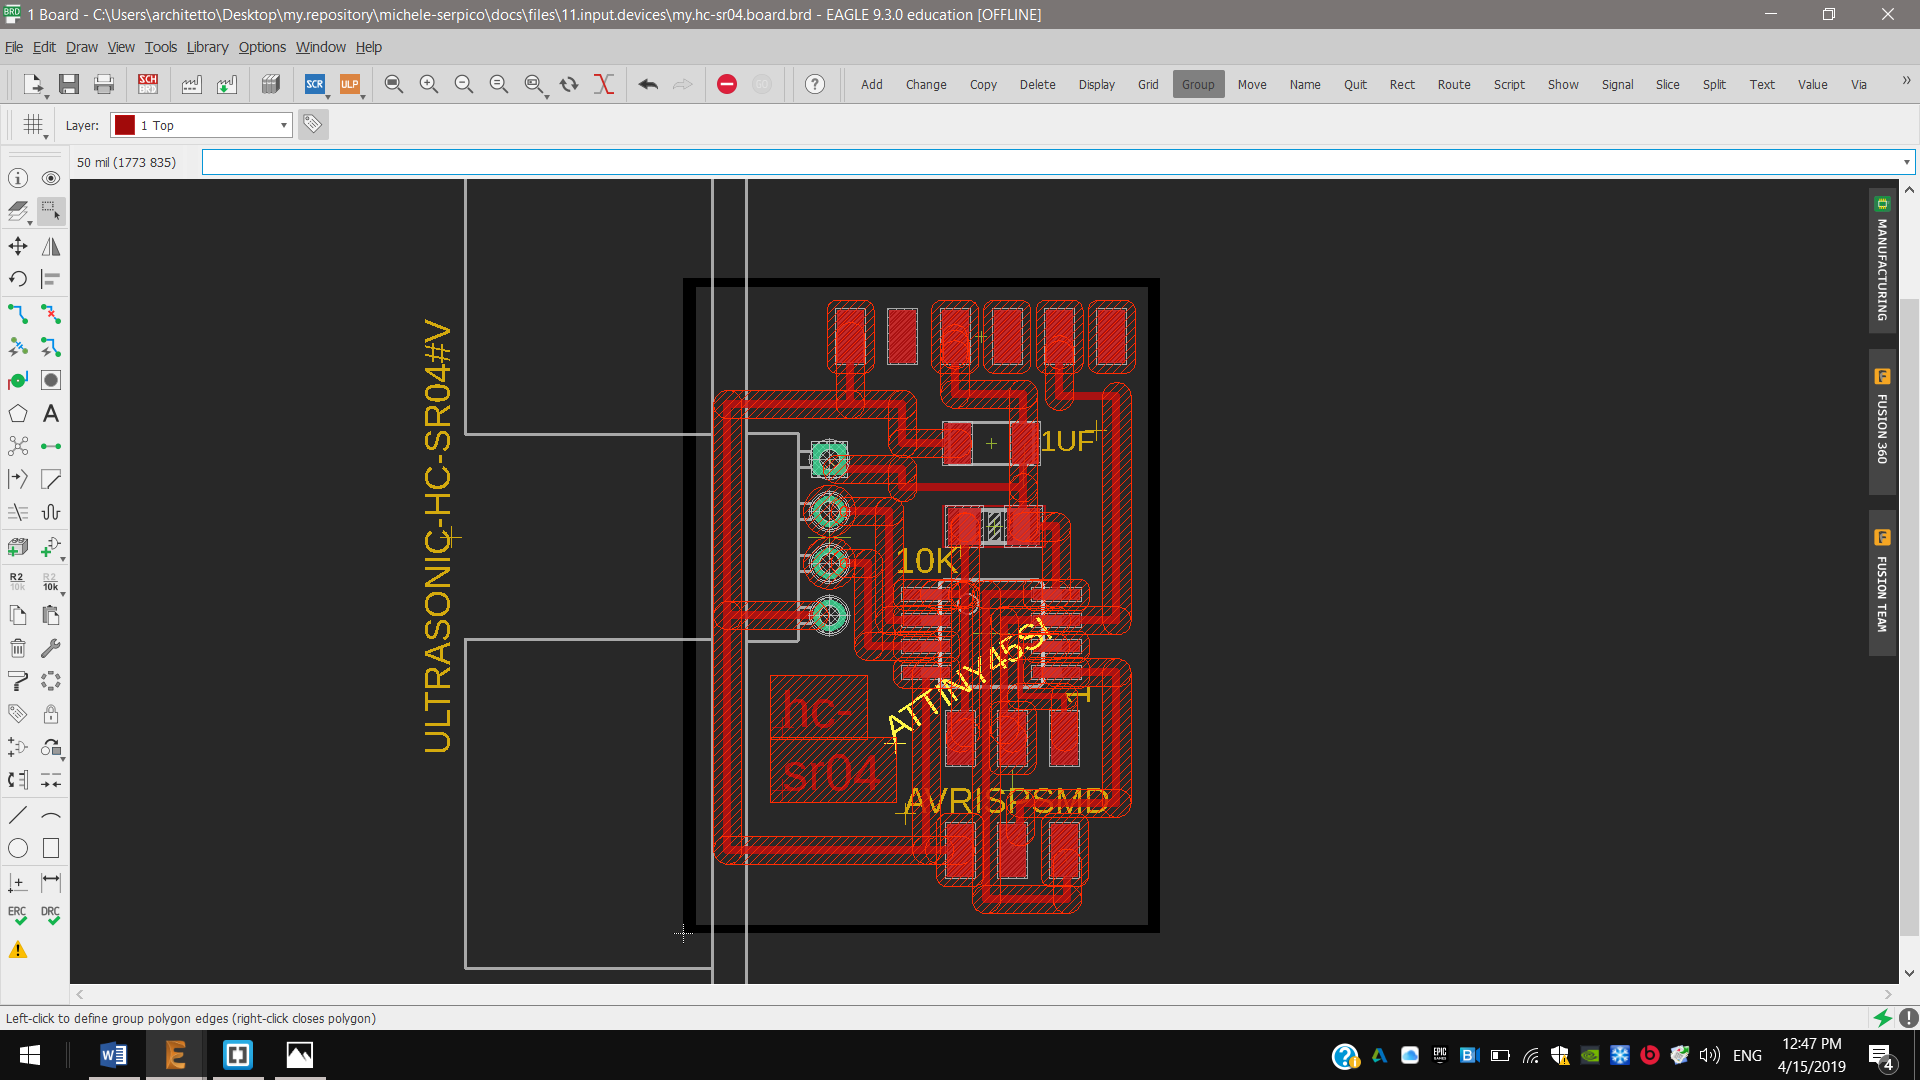
Soldering
I soldered an Attiny45 with:
- x1 10K resistor
- x1 1uF capacitor
- x1 ISP connector
- x1 FTDI connector
- x1 hc-sr04 distance sensor
Programming
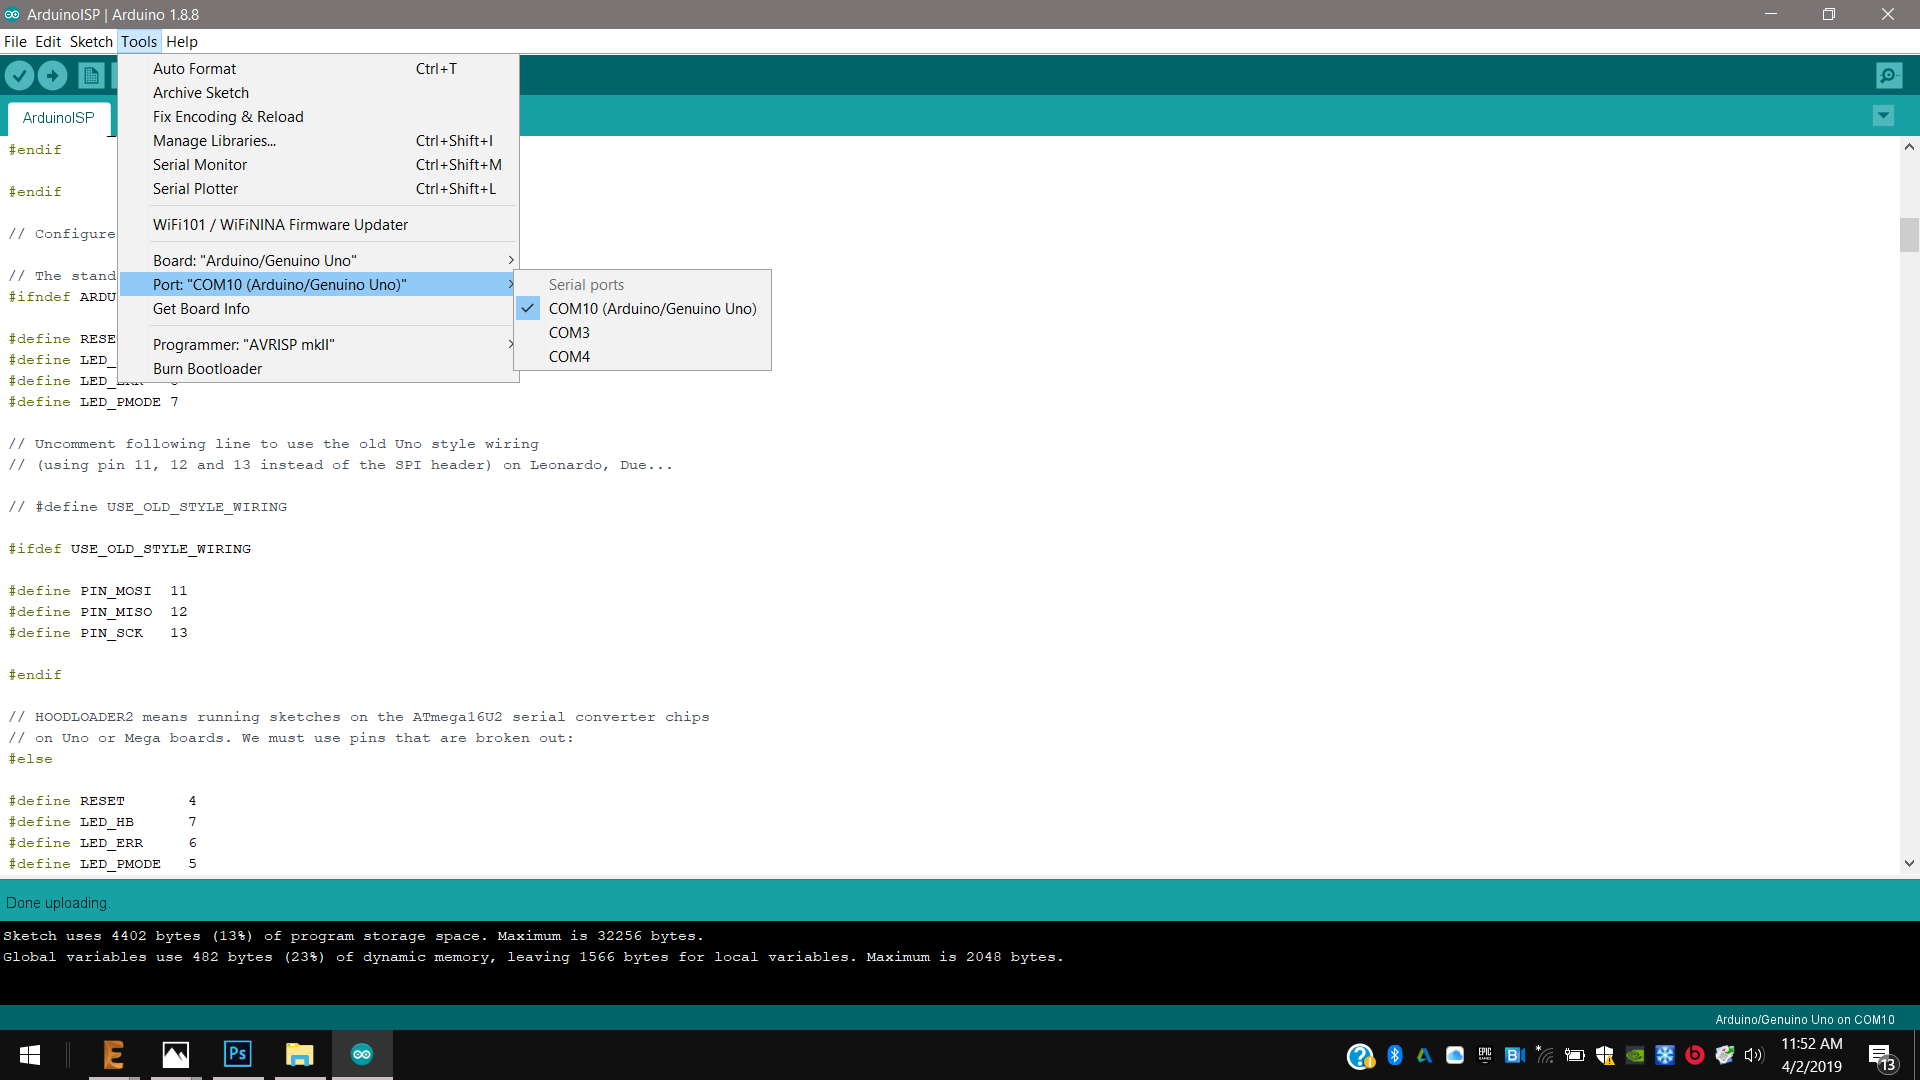
1st In Arduino IDE I uploaded the Arduino ISP example, to enable my Arduino uno as programmer.
2nd I properly connected it to my new board, and I connected the board to an other port with a FTDI wire;
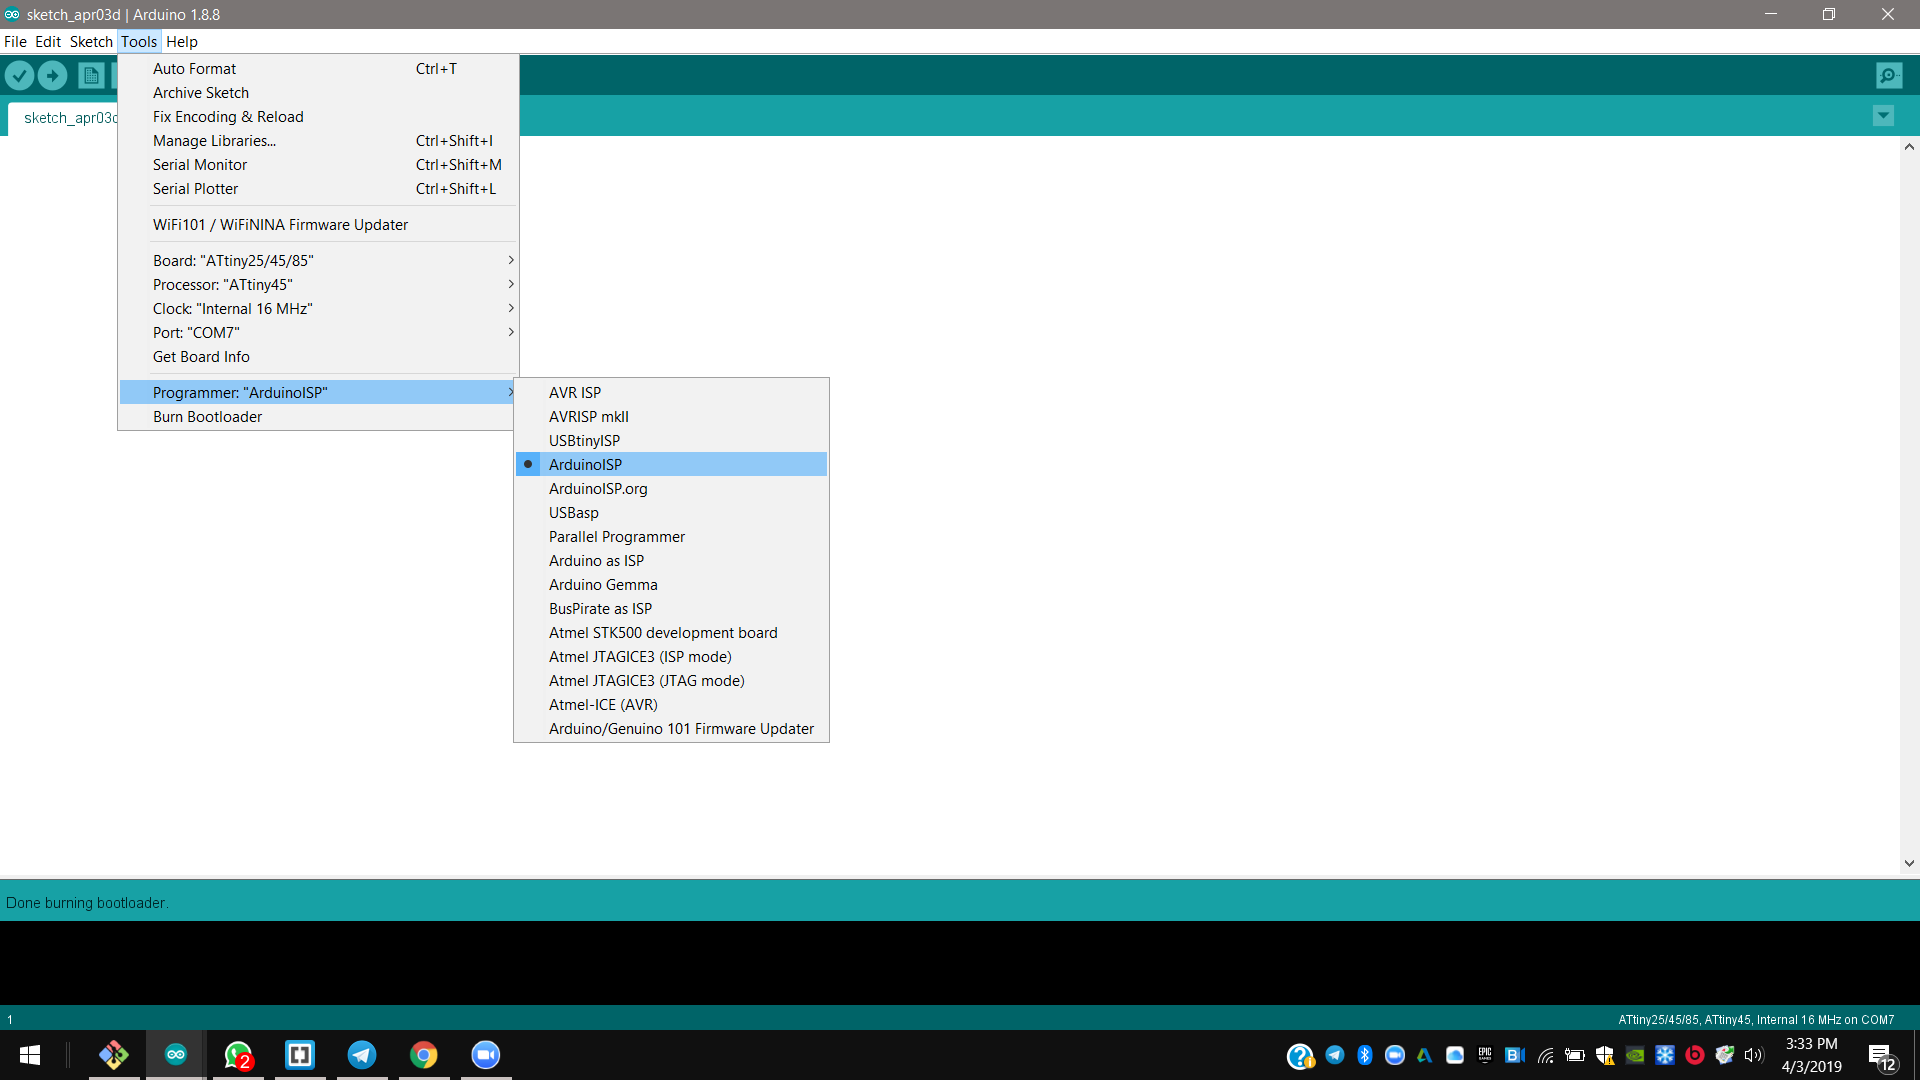
3rd and I selected the right tools as Attiny25/45/85 board, _Attiny45 processor, 16MHz internal clock, and the port. to upload its bootloader.
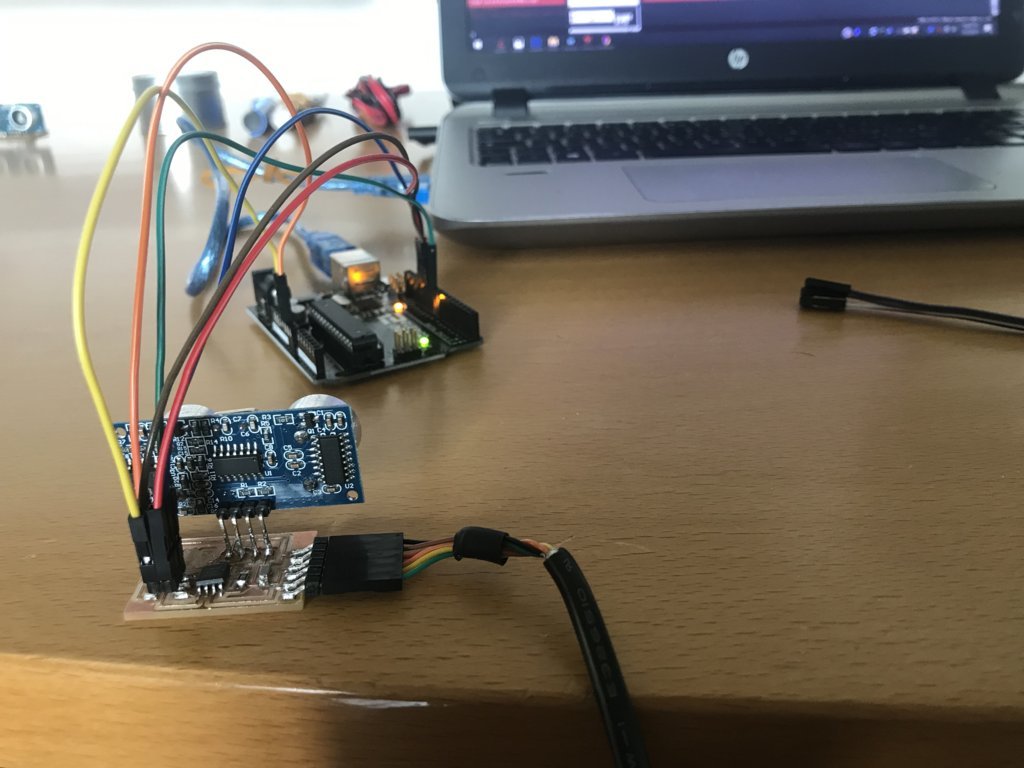
4th The Arduino uno hardware has built-in support for serial communication with devices, so due to my board pin out I had to program, I downloaded the SendOnlySoftwareSerial library to create my serial communication with my device just by one RX pin and so with no return signals.
5th And then in Arduino IDE I included this library and respectively changing the pin out I programmed and read the sensor again.
#include "SR04.h"
#include <SendOnlySoftwareSerial.h>


SR04 sr04 = SR04(ECHO_PIN,TRIG_PIN);
#define TRIG_PIN 3
#define ECHO_PIN 4
SendOnlySoftwareSerial mySerial (2);  // Tx pin

long a;


void setup ()
  {
  mySerial.begin(9600);
  }


void loop ()
{
 a=sr04.Distance();
   mySerial.print(a);
   mySerial.println("cm");
   delay(1000);

}
Downloads
.sch
.brd
.png
traces
attiny45.plus.hc-sr04.traces.png
outline
attiny45.plus.hc-sr04.outline.png
.rml
traces
attiny45.plus.hc-sr04.traces.rml
outline
attiny45.plus.hc-sr04.outline.rml