3. Computer aided design
This week I learnt to manage several and exhaustive CAD softwares and so to realize models and video concept.
To complete this task I had to start learning how 2D softwares works to draw illustrations and technical documents. Then I kept working on 3D shapes, physically simulating and animating them, and adding audio sources to complete.
2D softwares
I started learning how to use InDesign to write accurate documents, then I worked on raster file and fast changes using Photoshop, and on vector files with Illustrator. This format keep always the best quality, rather than raster format made by grains of pixel.
InDesign
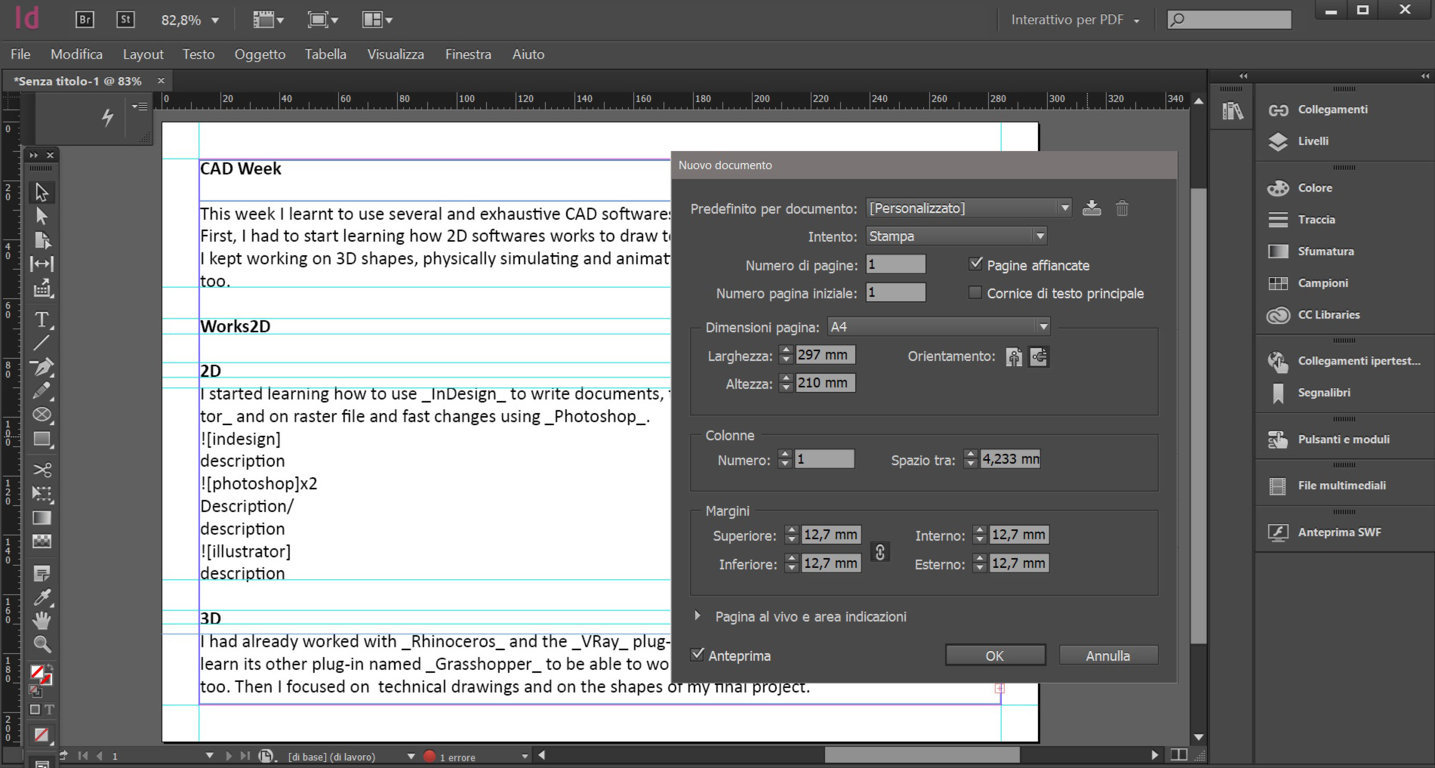
Opening this software I saw a window to configure your layout. InDesign works with accurate shapes and distance between the lines of text. 1st I Used the command “new document” and measures and margins. 2n I designed shapes and inserted text inside. 3rd In the tool bar I checked fonts and file managing.
Photoshop

1st I used photoshop connecting a graphic tablet to my computer to sketch raster files. 2nd This software is useful even when you have to work on fast changes and so managing pixels to realize more complex files; I used it catching your pixels by different point, merging and hiding layers. I used the “magnetic lazo” command to catch the points I had to cancel, colour or just move away. 3d At right of the page I realized many layers hiding and showing them [.psd sketch]
Illustrator
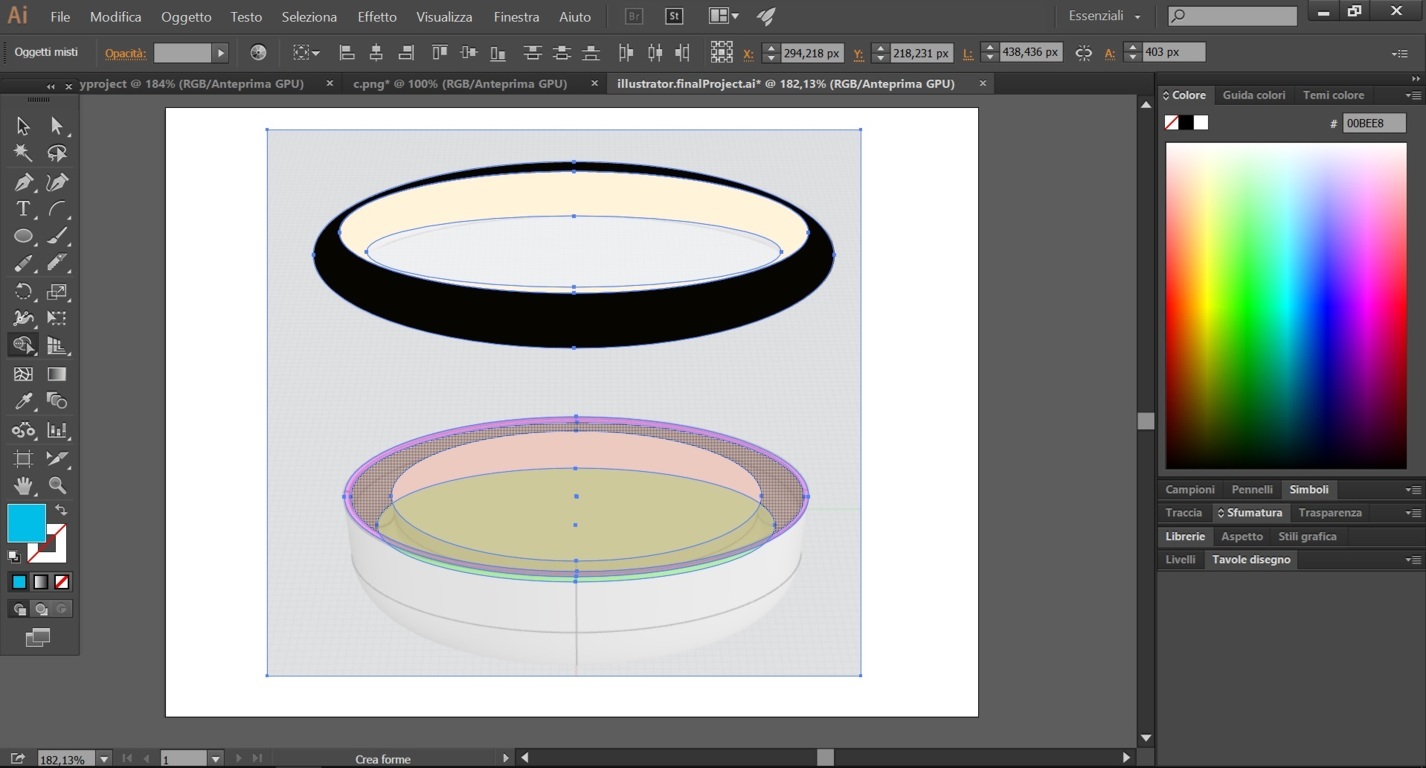
1st Illustrator works designing vector shapes through paths that I had join or subtract. To do it I used the command “create shapes”, joining or subtract them, and the software show joined shapes; after I added colors them and also use text and number in default vector format. 2nd Instead to join them I used “join paths”. 3rd I also traced images with “tracing images” command, managing it in the window “connections”. 4th I kept “Illustrator data” exporting my projects.
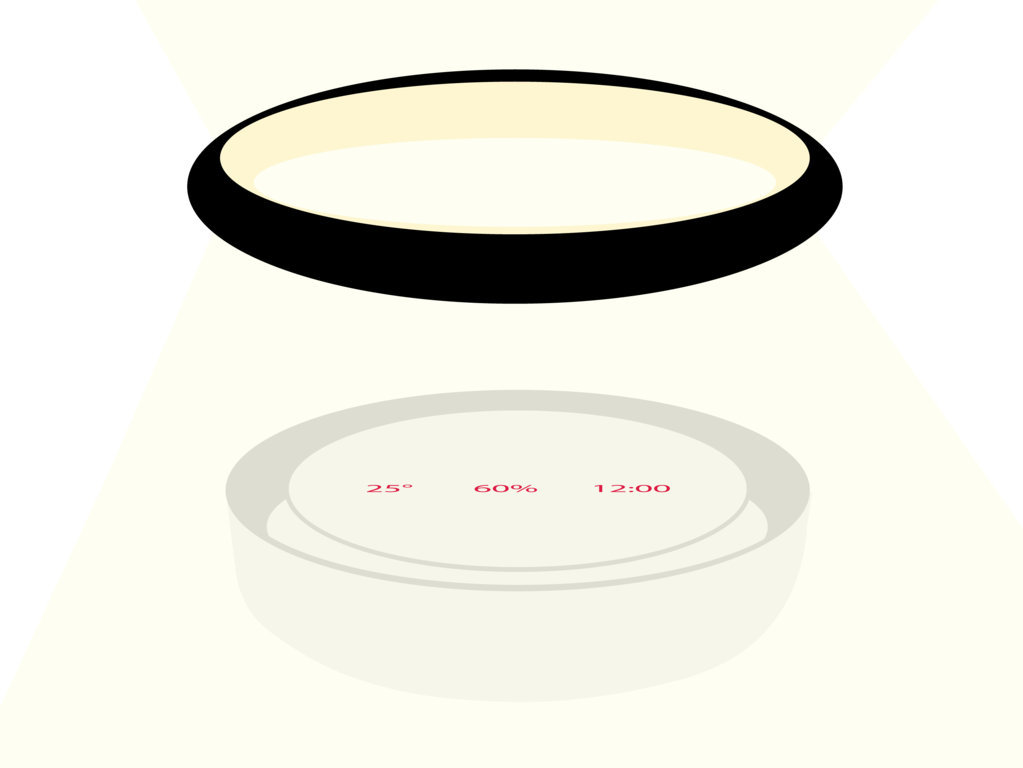
I sketched first ideas of my final project.
3D softwares
I had already worked with Rhinoceros_ and the VRay plug-in to make excellent renders, but I had to learn its other plug-in named Grasshopper to be able to work on 3D models with parametric functions too, and so relationship between elements to manipulate shapes and even models at the same time. Then I focused on technical drawings and on the shapes of my final project. I learnt another parametric software named FreeCad; I think it is more complex and so not fast enough, because I didn’t found easy to manage the orbit view and the location of points. I also enjoyed learning ZBrush, to know how to work on organic complex shapes. Then I simulated and animated models using Fusion, so after I only had to add some audio source to my video concept. For this I used Premiere and I strongly suggest it to you if you have to realize videos working on sequences and audio frequencies, because it’s simple to use, has a good interface and many audio effects. Use Zamzar to convert audio format, and instead use Audacity if you only have to work with audio frequencies and effects. I learnt and suggest Unreal Engine too; This is a software that works with mashes and it could be connected to viewers to let interact with projects, like an immersive augmented virtual reality.
Rhinoceros
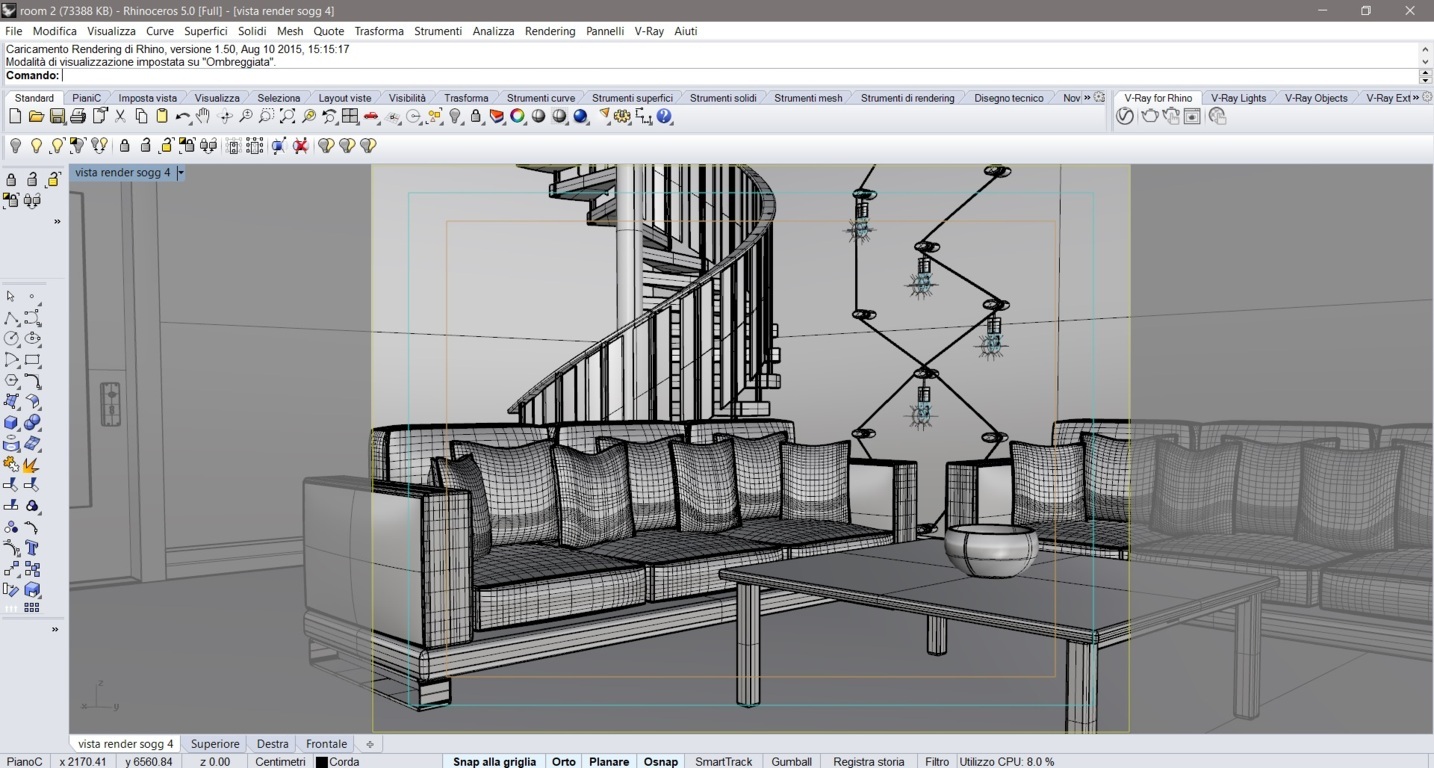
Rhinoceros is very accurate searching location of point, has four view to check always the project but sometimes fails with complex meshes. I used it for my technical drawings too. It offers four accurate views and a set of tools respectively for curves and solids.
1st I started using “lines” and “polylines”, and “spline” setting by point or manually, and editing them;

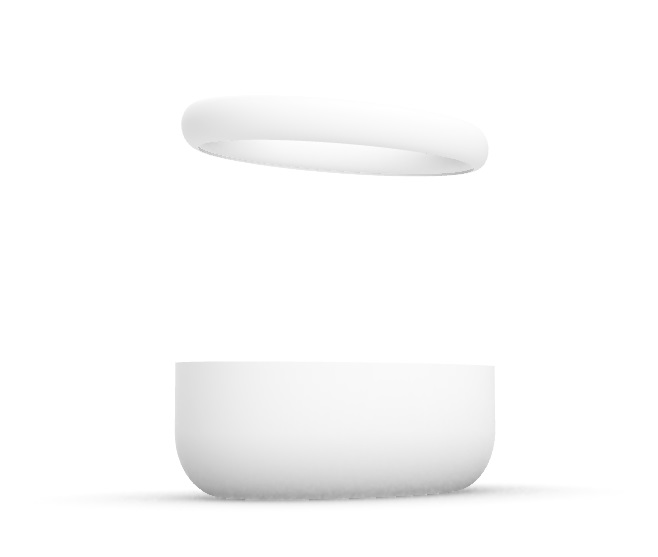
2nd then I created “planar surface” or “loft” to join complex curves in one surface, and simple “extrusions” and editing and connecting them, like “boolean union” and “”boolean difference”. 3d With it I also annotated measures and text, even along shapes using “throw”. Here for my final project I designed the curved sections of the parts, and after I “revolved” for 360° and then I used “scale” it to make it thinner.
Grasshopper
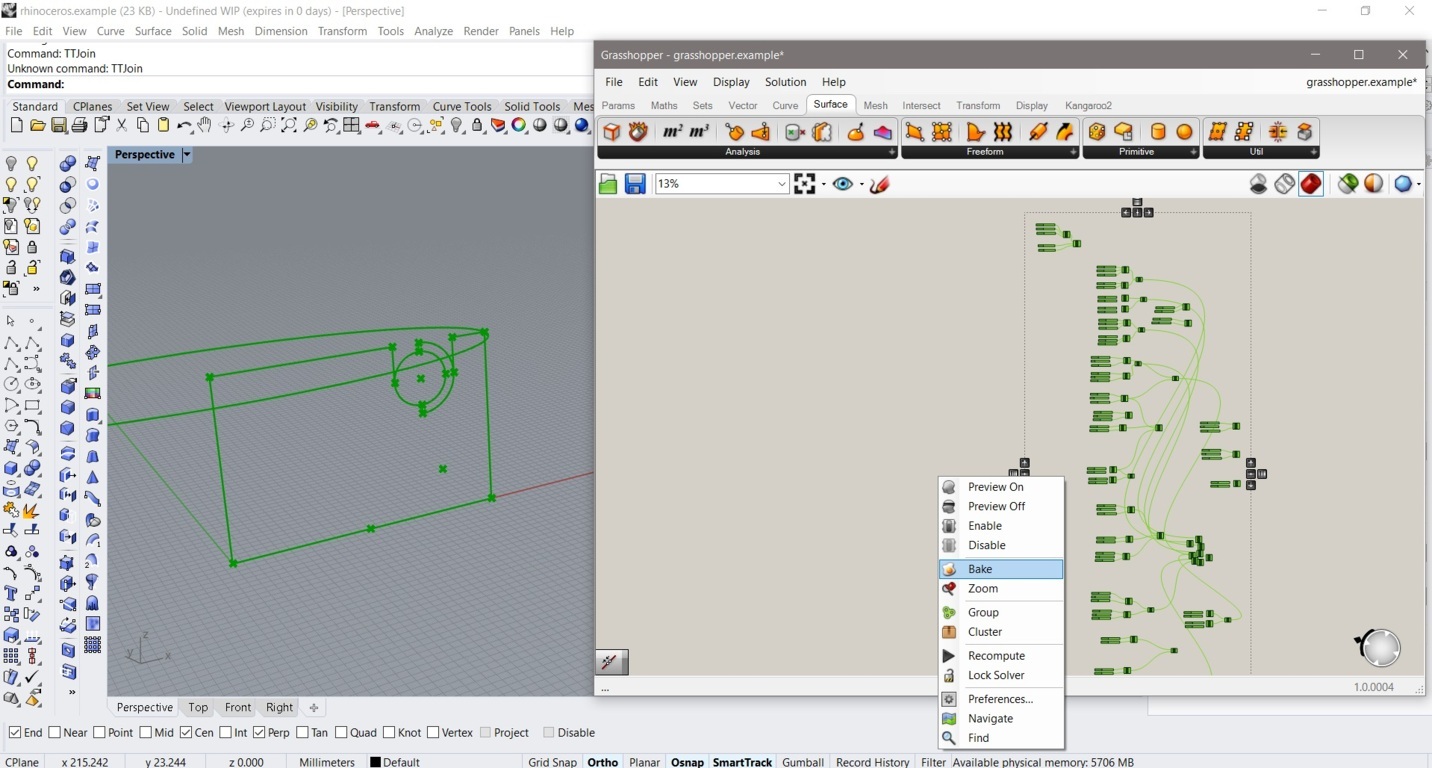
Using Grasshopper I discovered a very accurate parametric software. Here you can even wrote mathematical function like adding or dividing parameters. 1st Above I found all its functions, I started setting points using the command ‘’slider number” and connecting them to curves. 2nd I had to “join” them, then I realized “boundary surface” and “loft” to realize first planar and not planar surfaces. 3d Finally I learnt also to modify them using “extrusions”, “add solid” or “solid difference”. 4th and to connect the whole project and to manage the Grasshoper projects in Rhinoceros using “bake” command.
.3dm file + .gh file technicals of my final project.
VRay
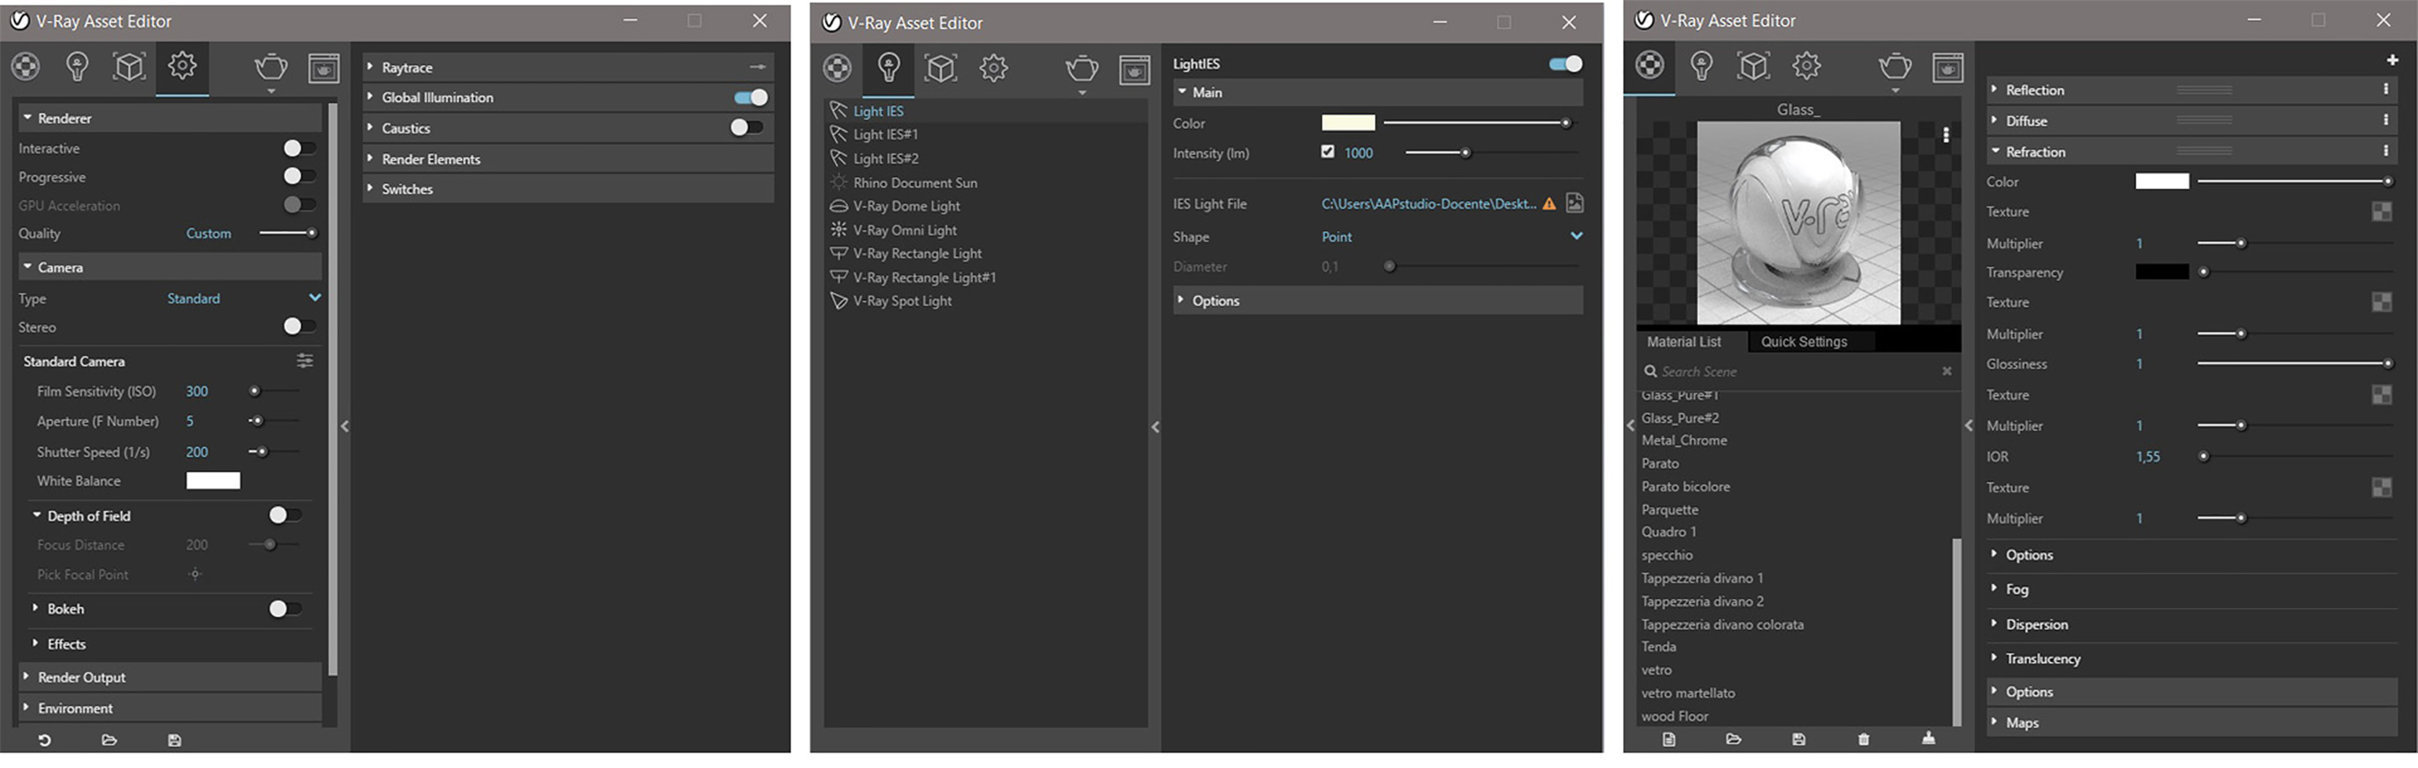
Vray is a very realistic render software. The developers of this software created a code that simulated the movement and intensity of a single photon and obviously huge parts of it. The result is high quality render of .3dm models as real photos.
1st I set sunlight “Rhino document sunlight”, warm or cold “spotlights” setting respective value of lumens and also shadows, selecting “ambient occlusion”; 2nd after this, I checked the “camera” defining “ISO”, “exposure” and “shutter speed” parameters, like a classic camera. 3rd Then I designed materials deciding settings their reaction to the light in terms of “color diffuse”, “refraction” and “reflection”. 4th At the bottom of the page program you can find and start the render command in the current view.

FreeCad
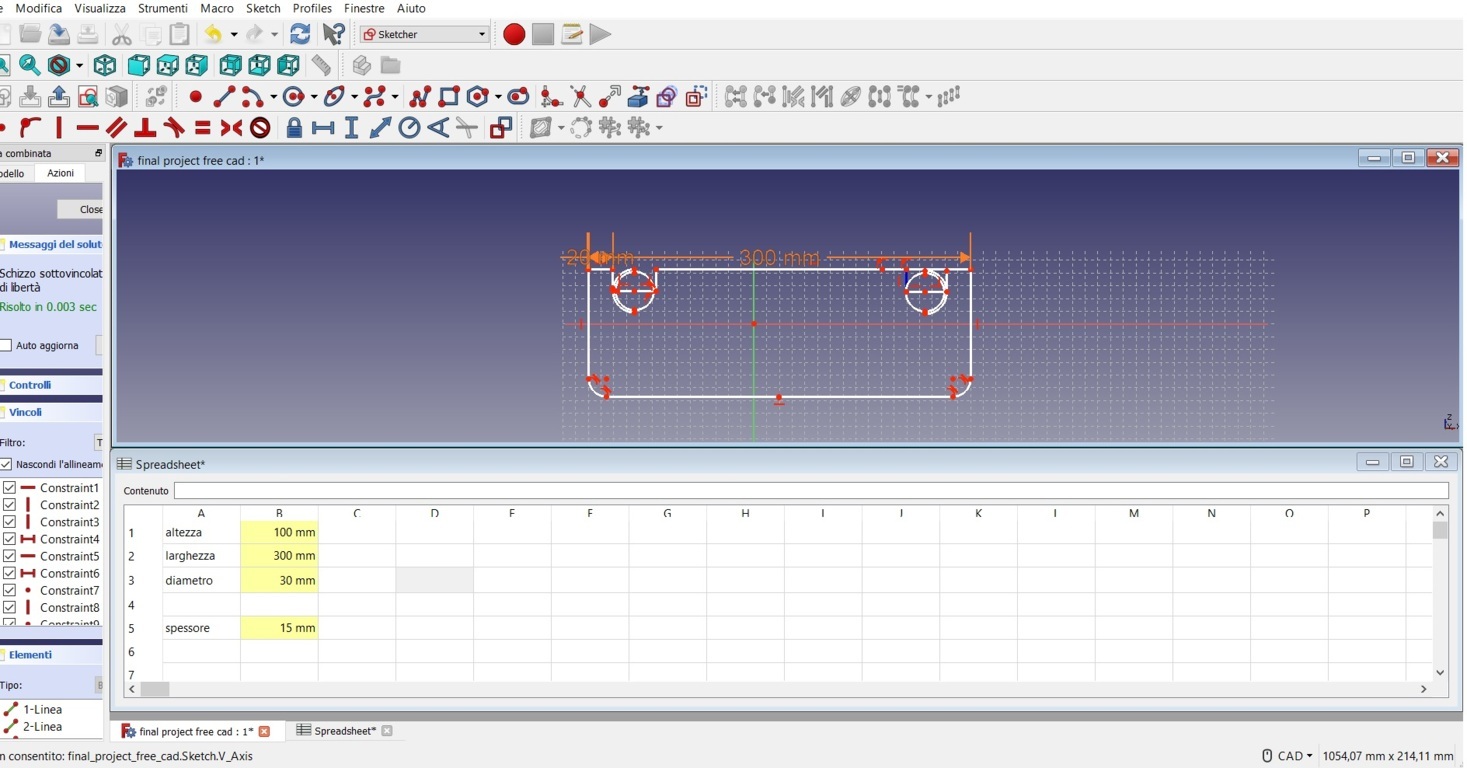
1st This software works by “workbenches”, several set of tools specially grouped for a certain task, as “Sketcher” and “Part” for 3D shapes. 2nd To enable and manage parametric functions selected “Spreadsheet” workbench and set respective “units” and “references”. Here is the technical .std file of my final project:
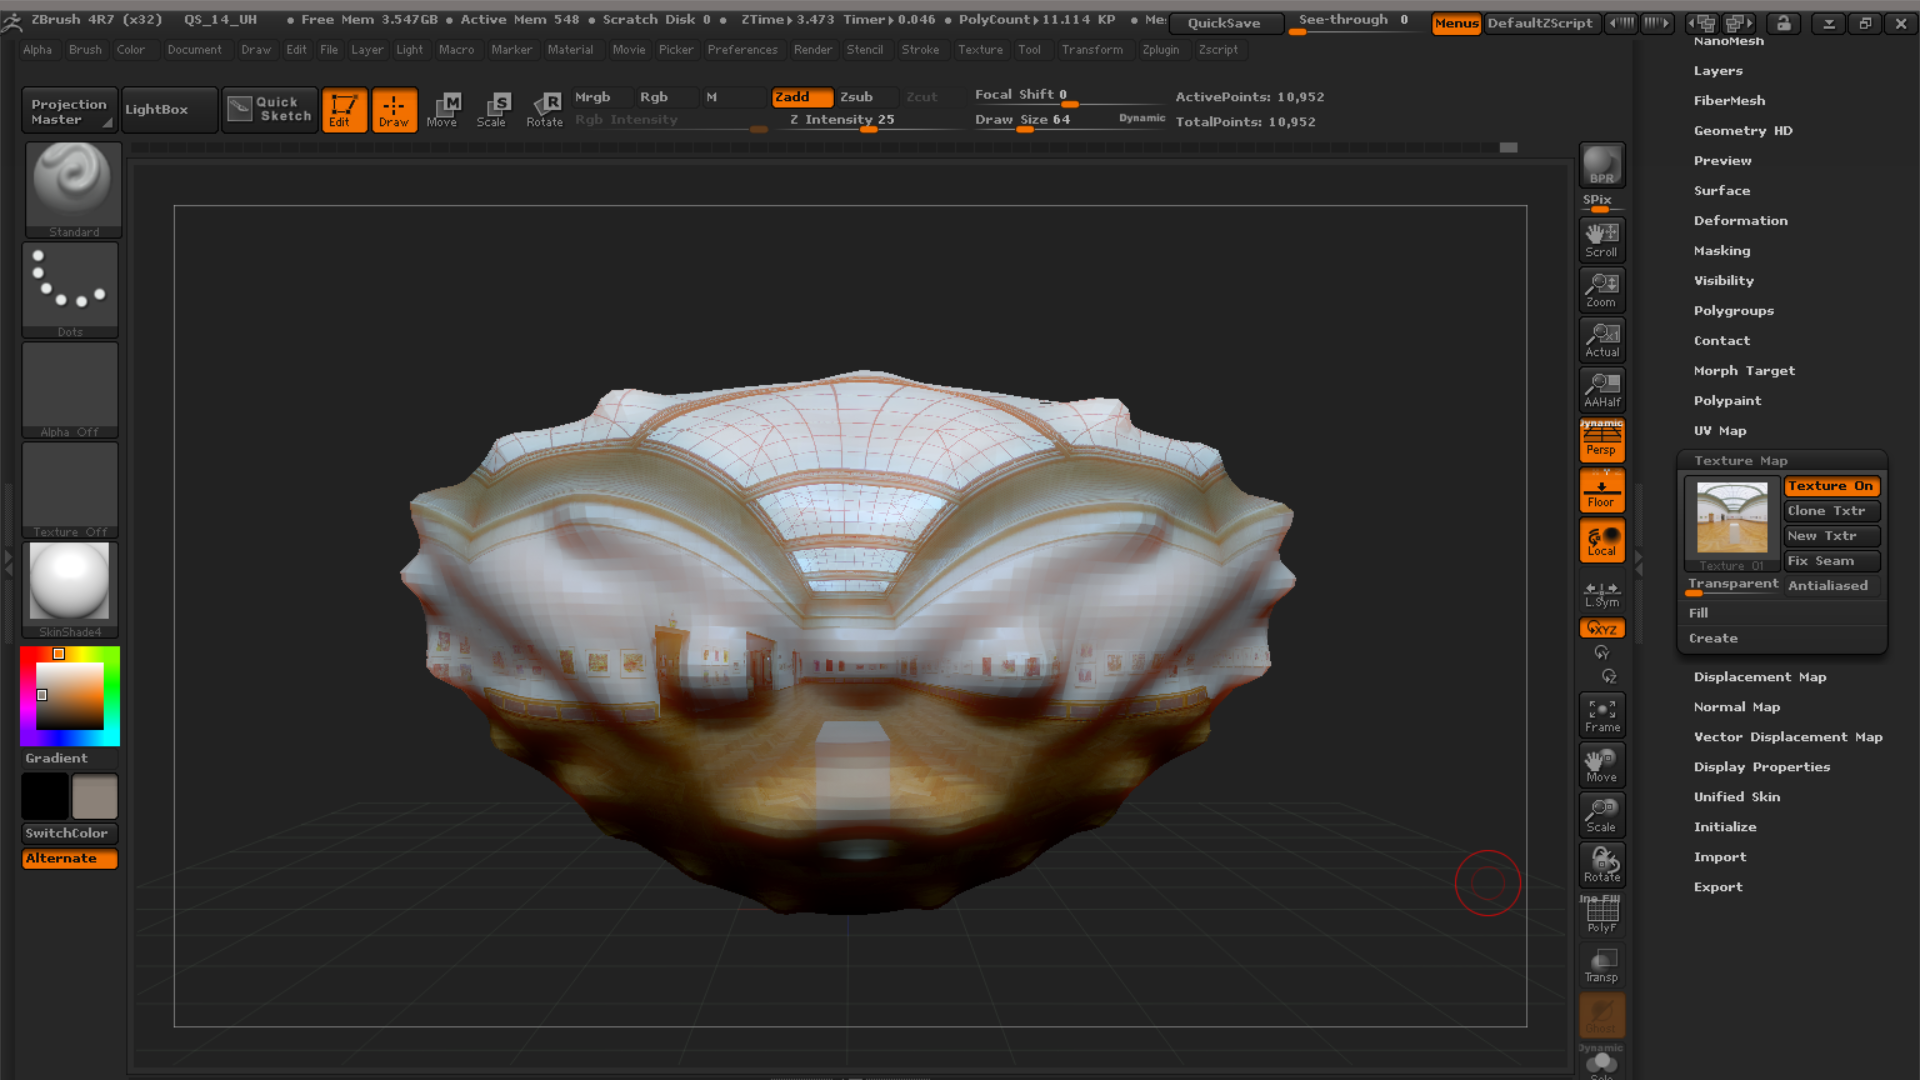
ZBrush
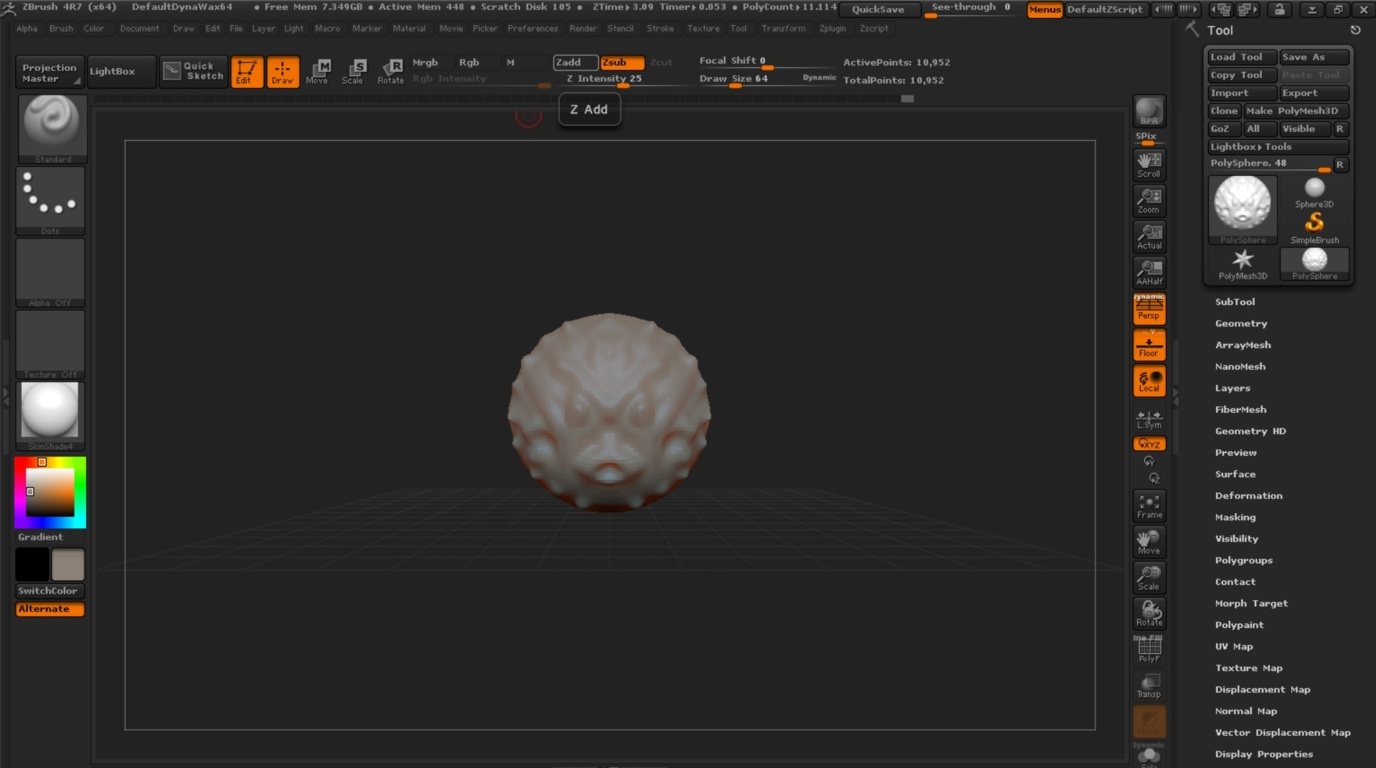
Zbrush is very easy and accurate, it’s necessary to model complex shapes like organic ones.
I used ZBrush opening one of the default shapes ready to model as my new file, and with a set of tools to manually dig, fill, exctract and substract parts of them as I was modeling a piece of clay, grouped in two mode, at the bottom of the page: “Zadd” and “Zsubstract”.
Then I exported projects in mashes. It supports .zbr format files.
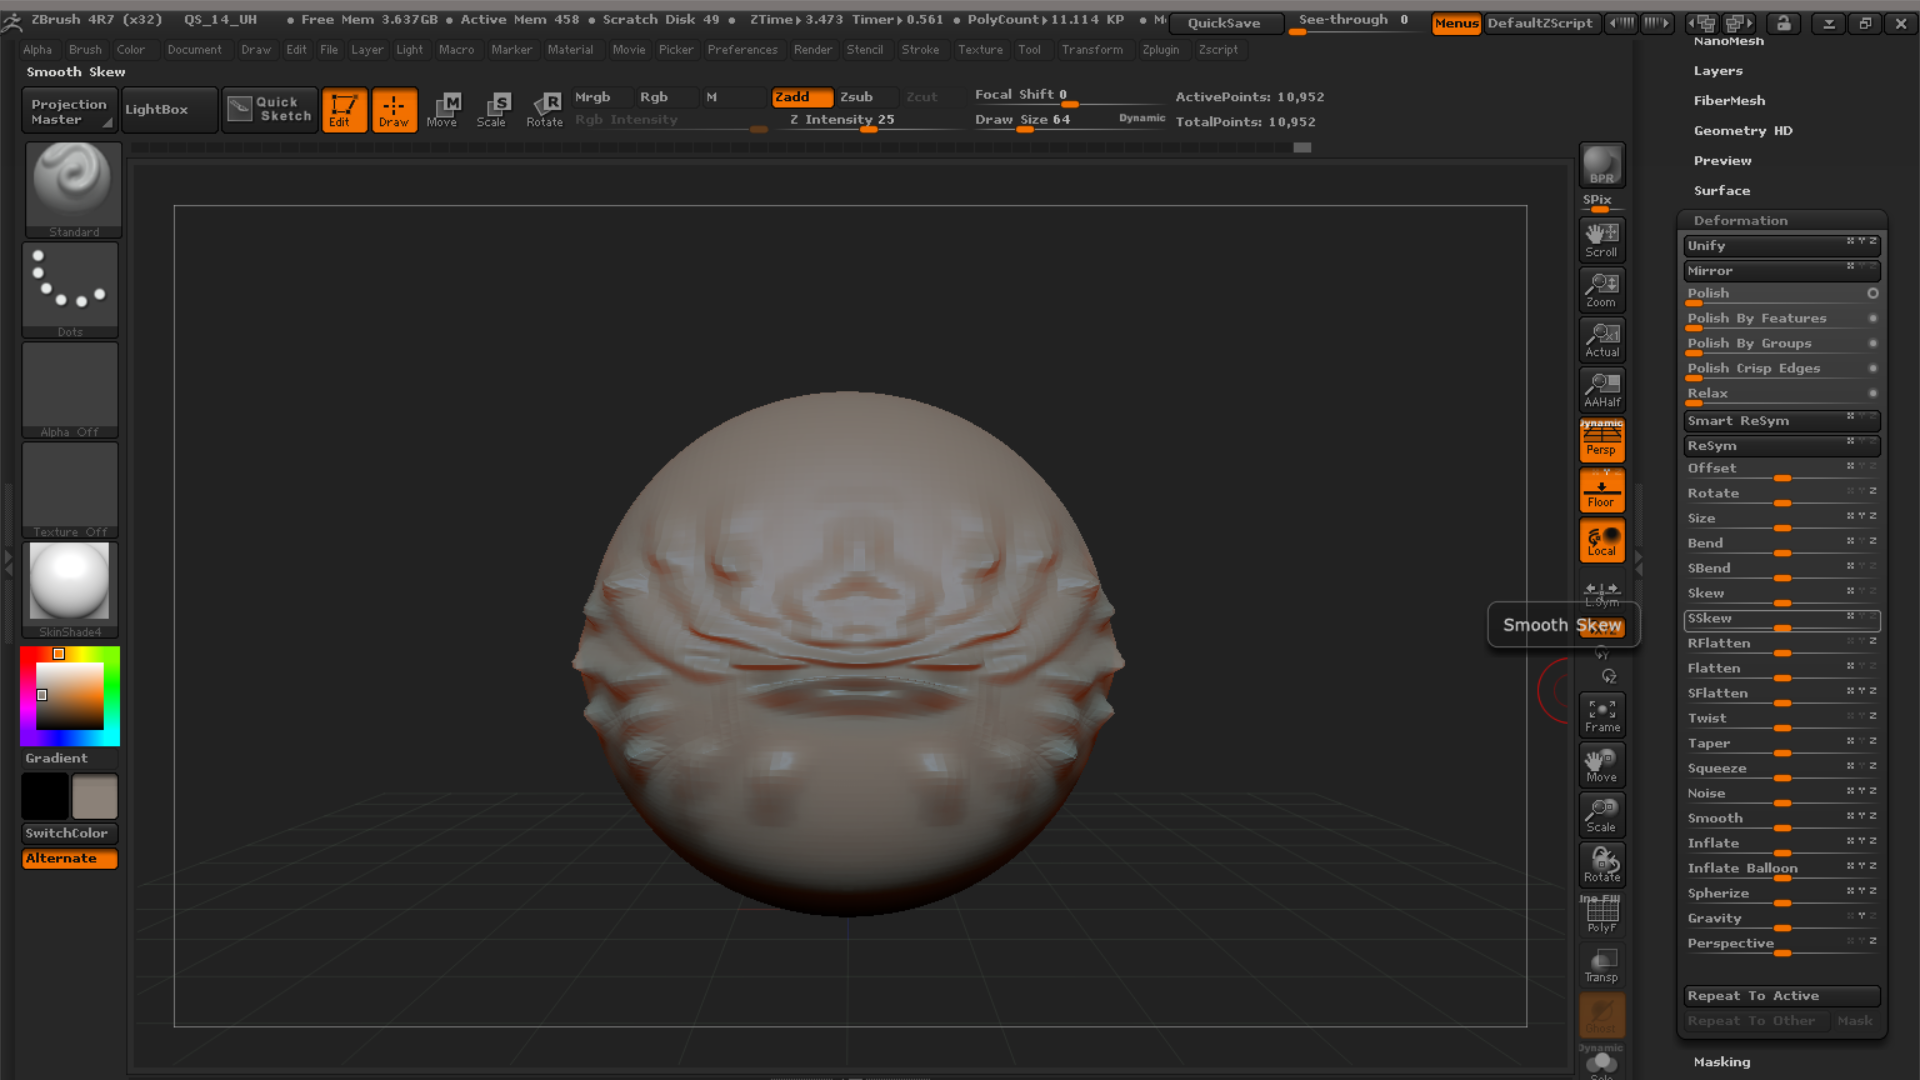
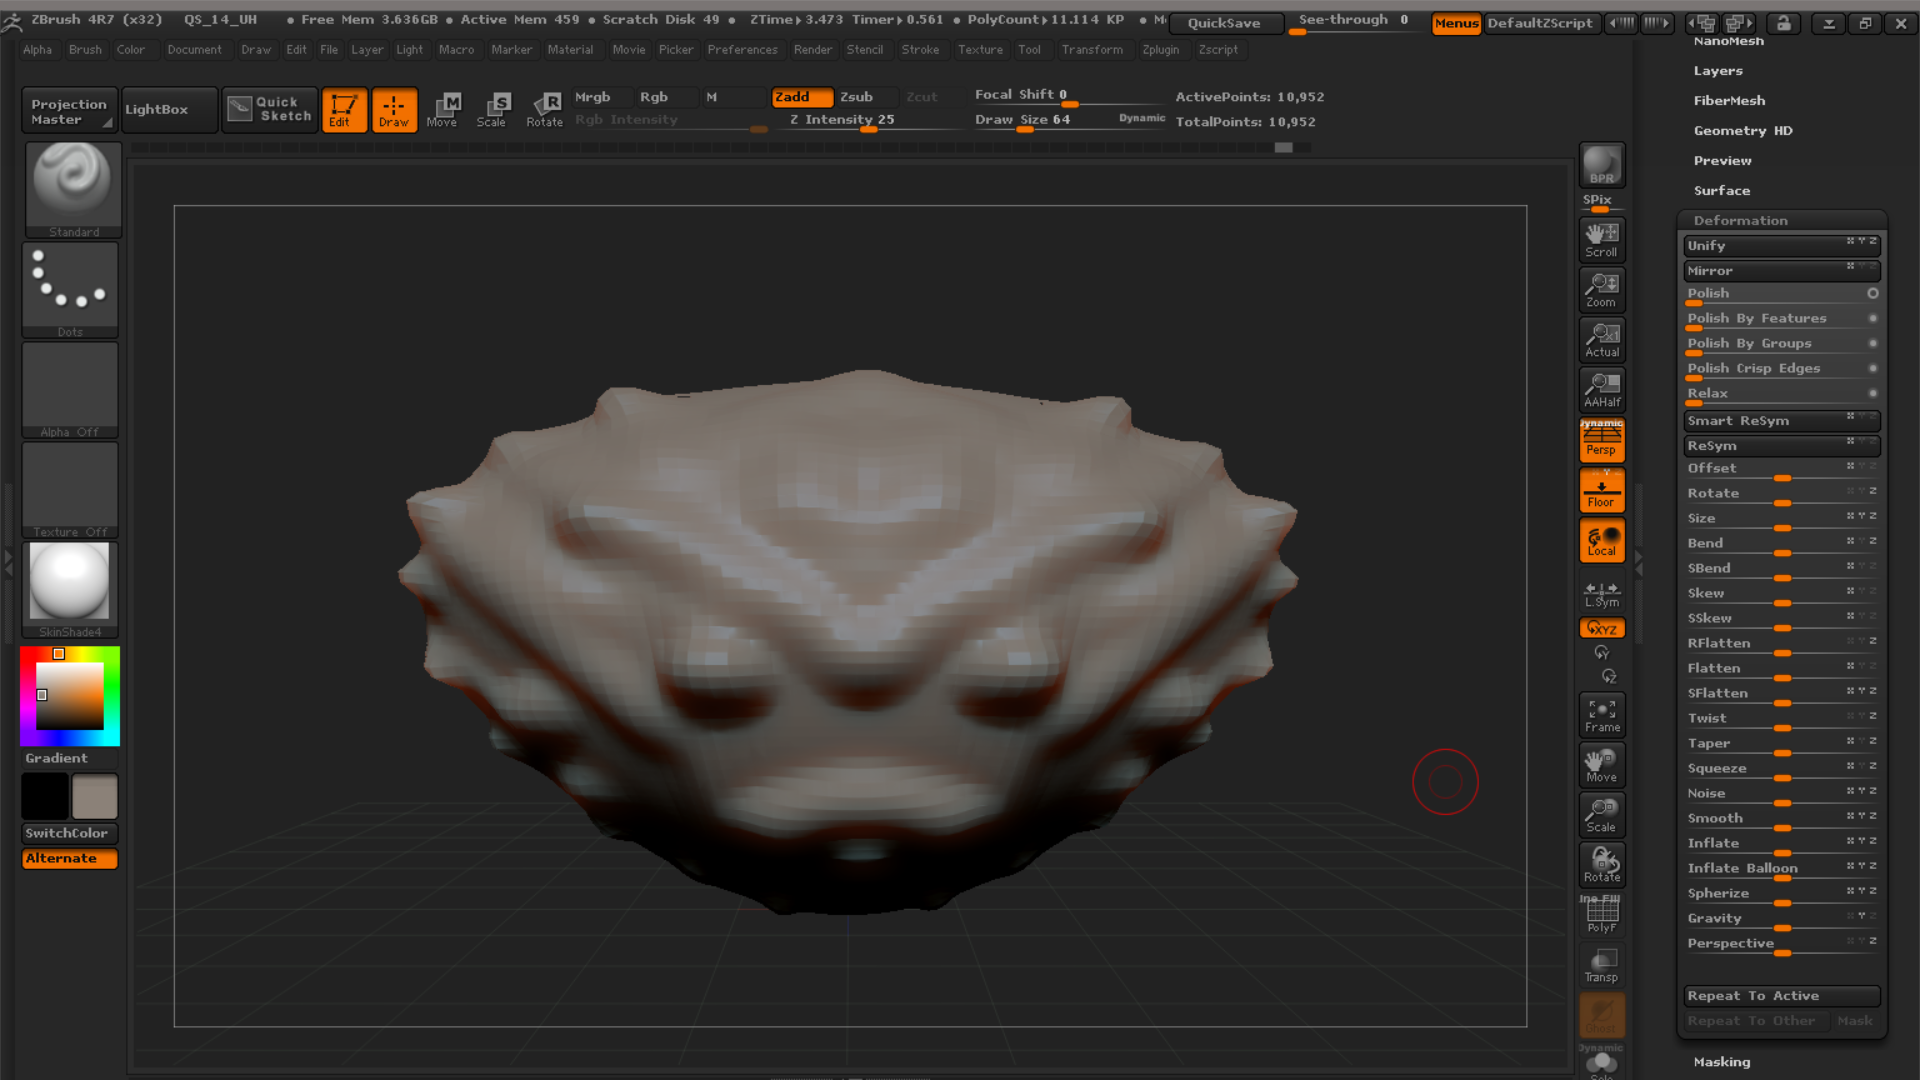
It is a nice software also beacuse it has many commands to model shapes automatically.
1st In the right window .. I could tape, bend, make smooth or add noise to my shape, extrude by gravity, scale-by-flat mode and even more;
2nd In the same workbench there is also the option to work by “masking” to show or hide shapes;
3rd and I could also add textures on them, first creating UV map along the shape and then adding textures. Even the deafault Zbrush textures;
4th the software has also a powerful embedded render software available in the worbench next the editing tools, or even with Shift+R.

Fusion
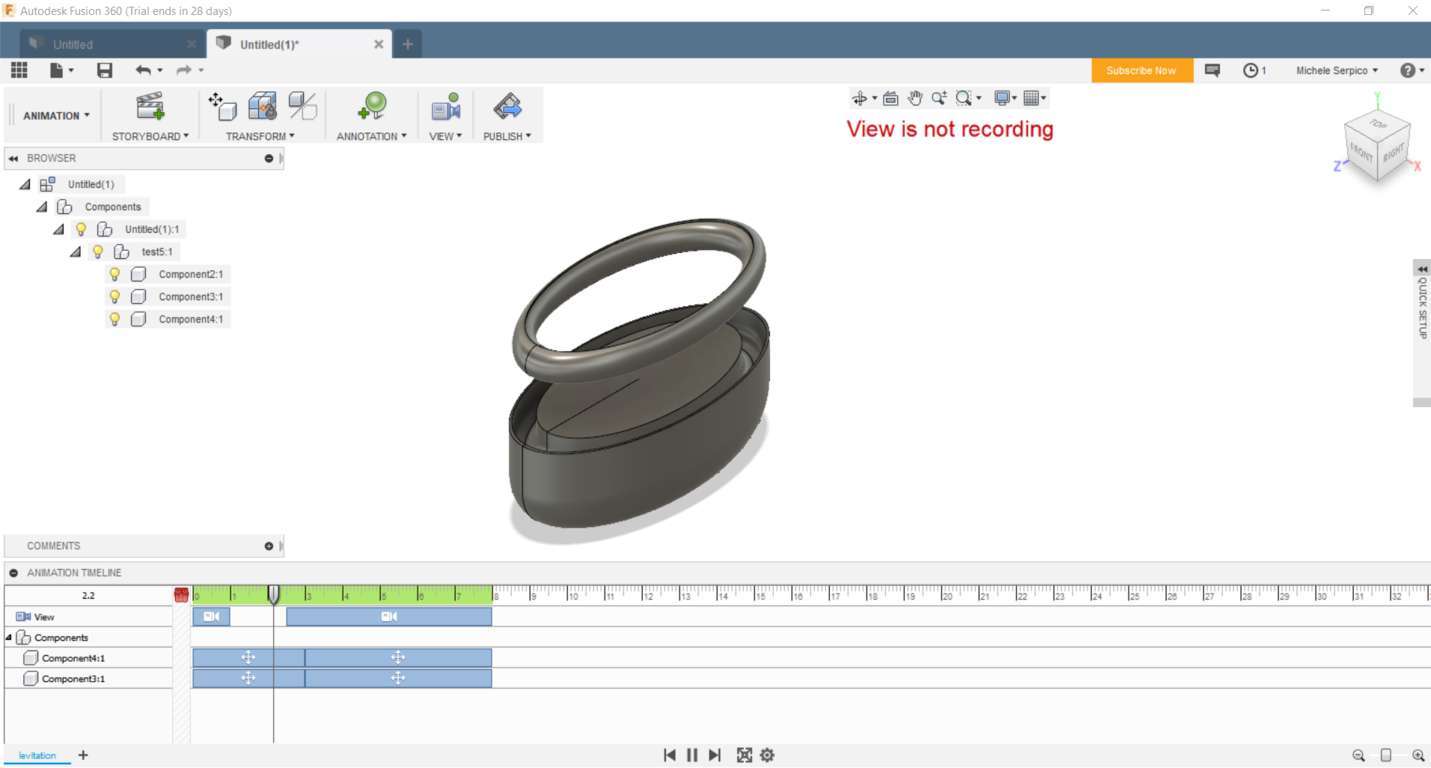
With Fusion I could make the simulation of my hello lamp concept to check how they react to ipothetical forces, and also its animation of parts.
Simulation
1st In the simulation worbench I first add “structural constrains” to hold my object of simulation as fixed;
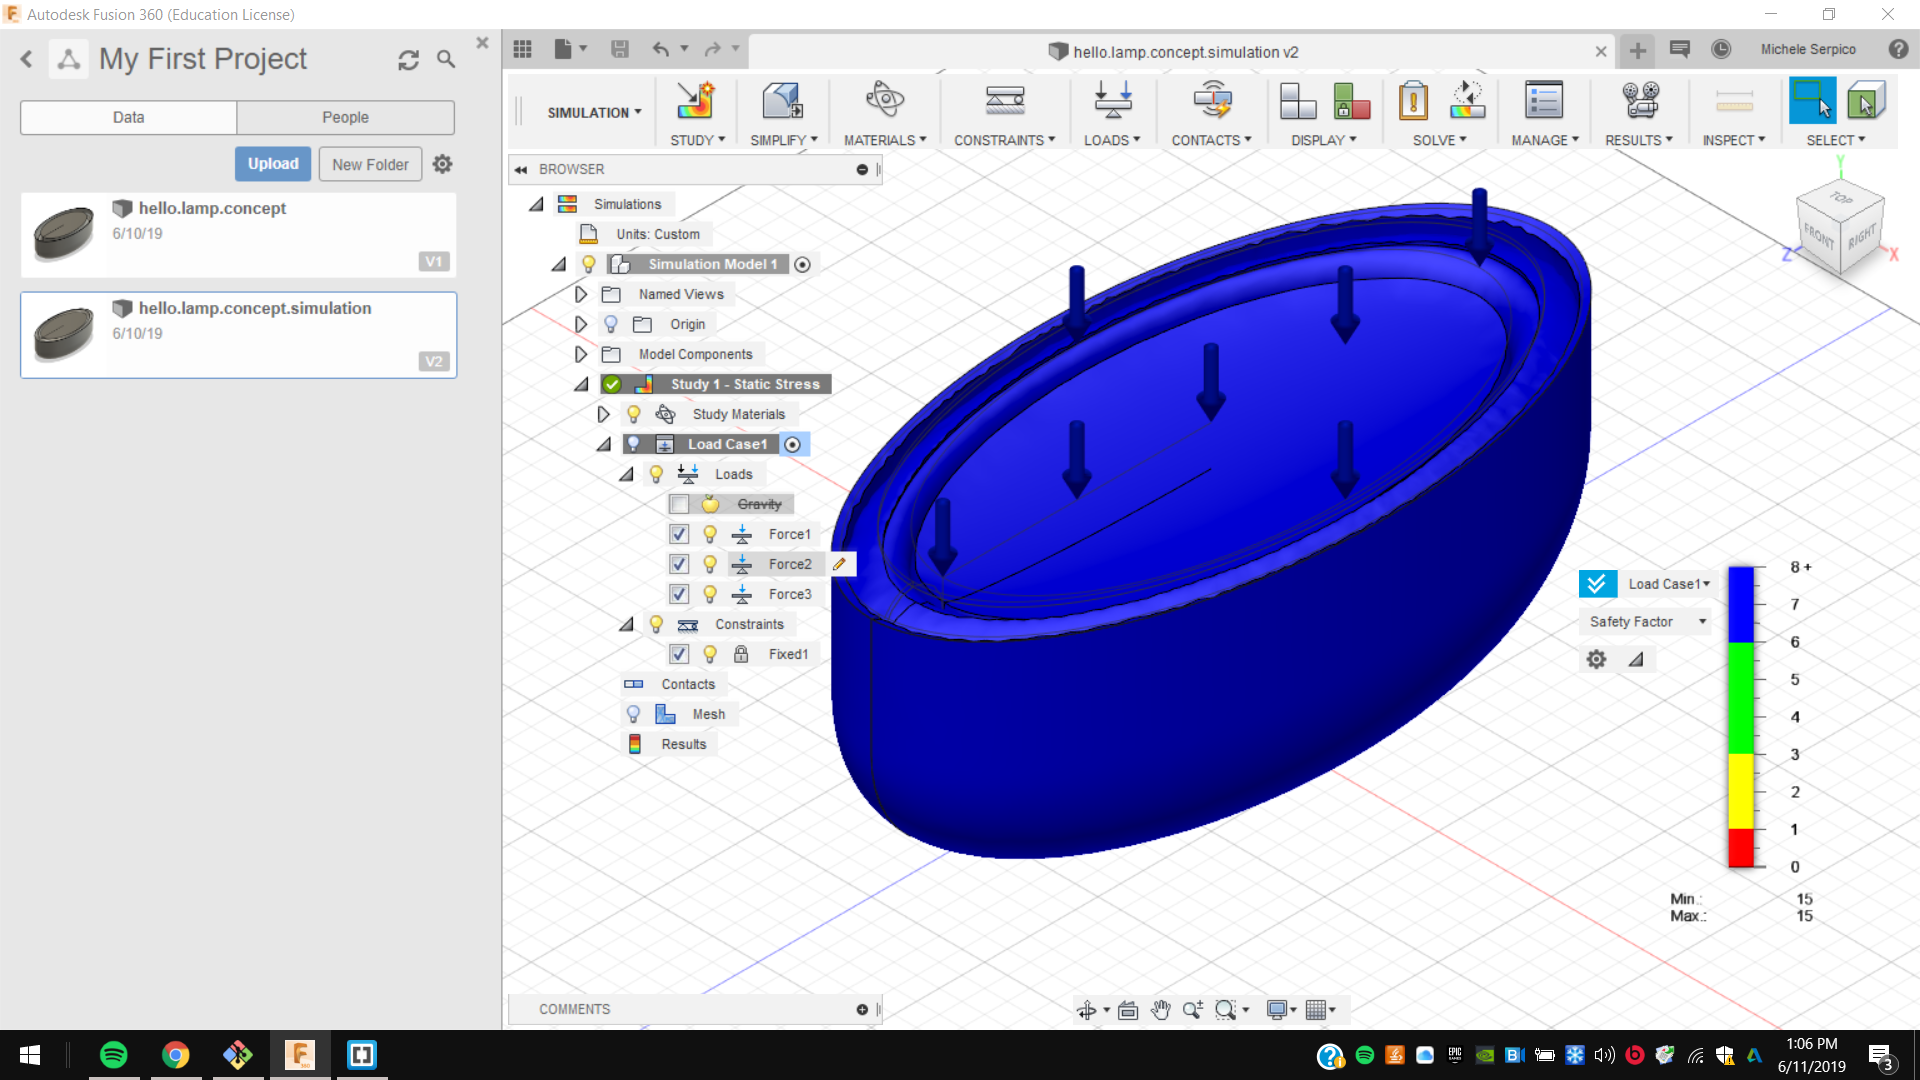
2nd And I added “structural loads” about 5 N forces along the part and from above;
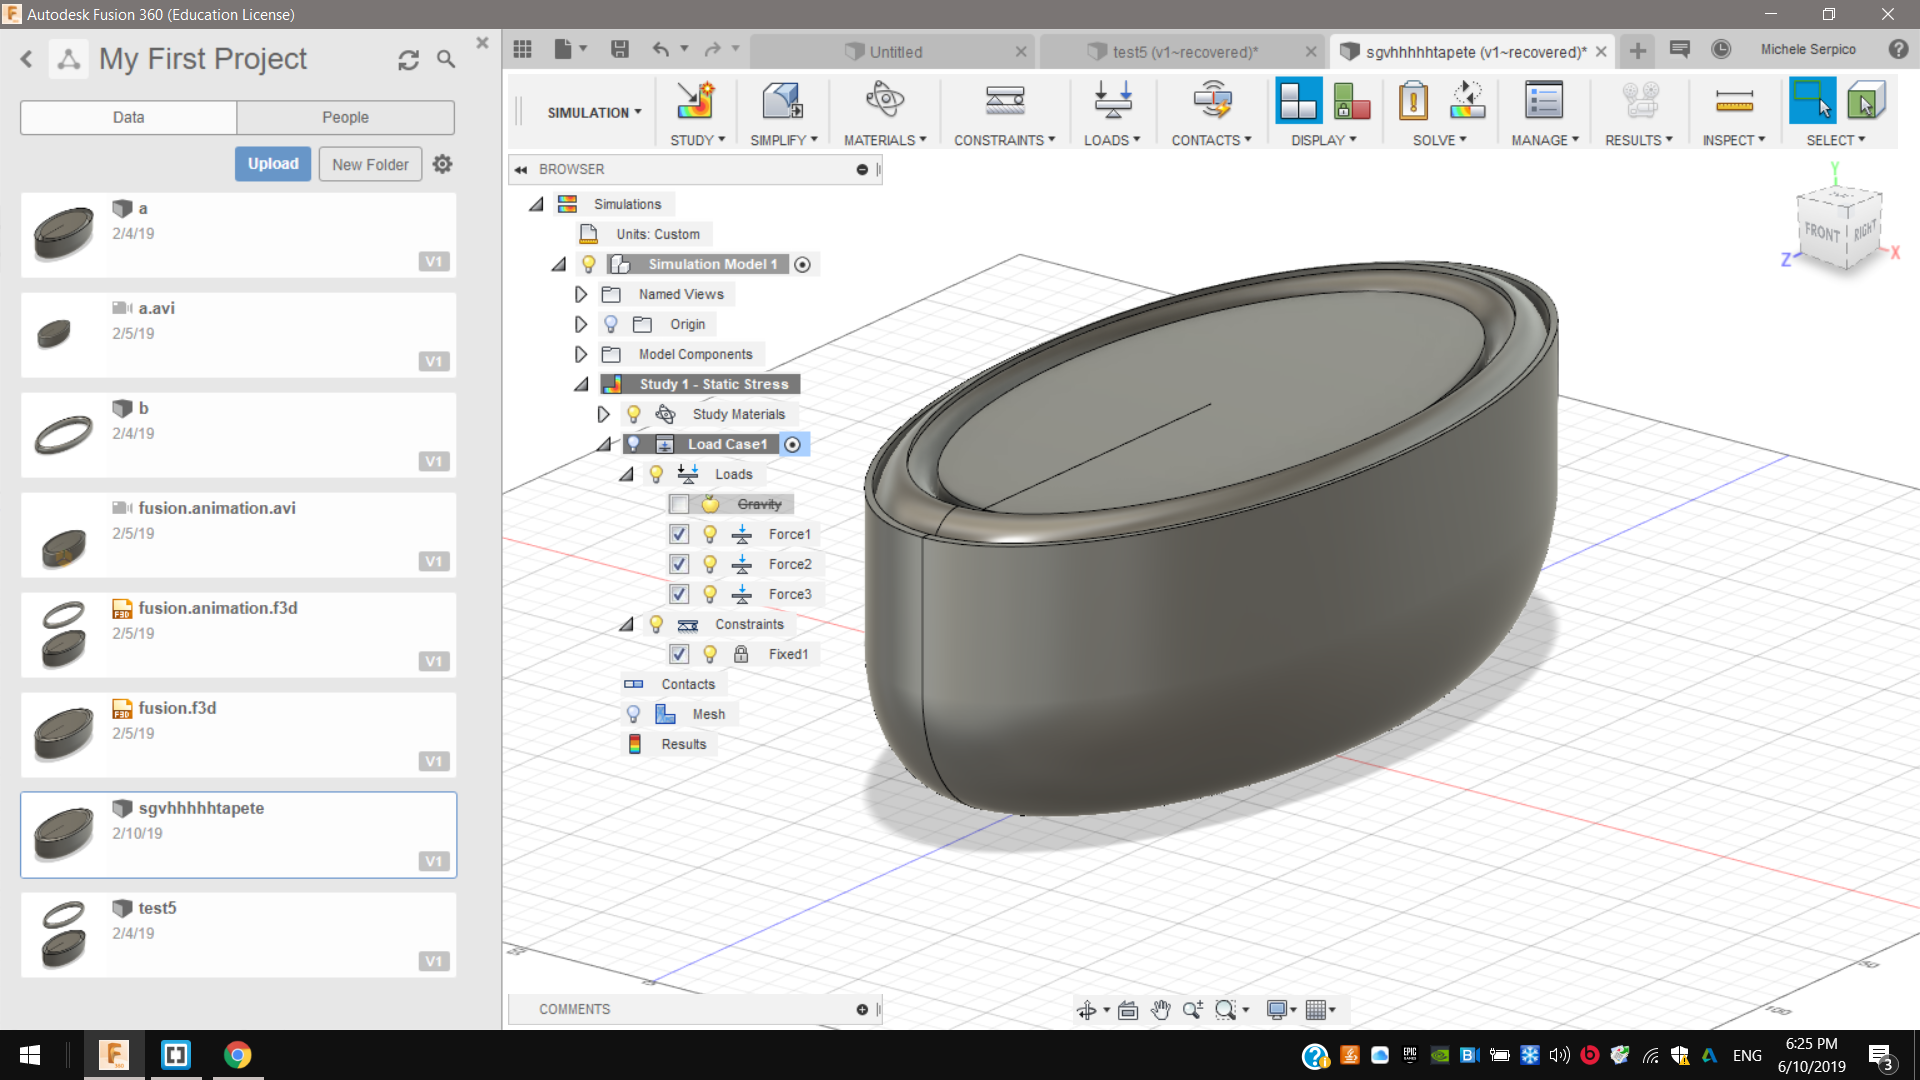
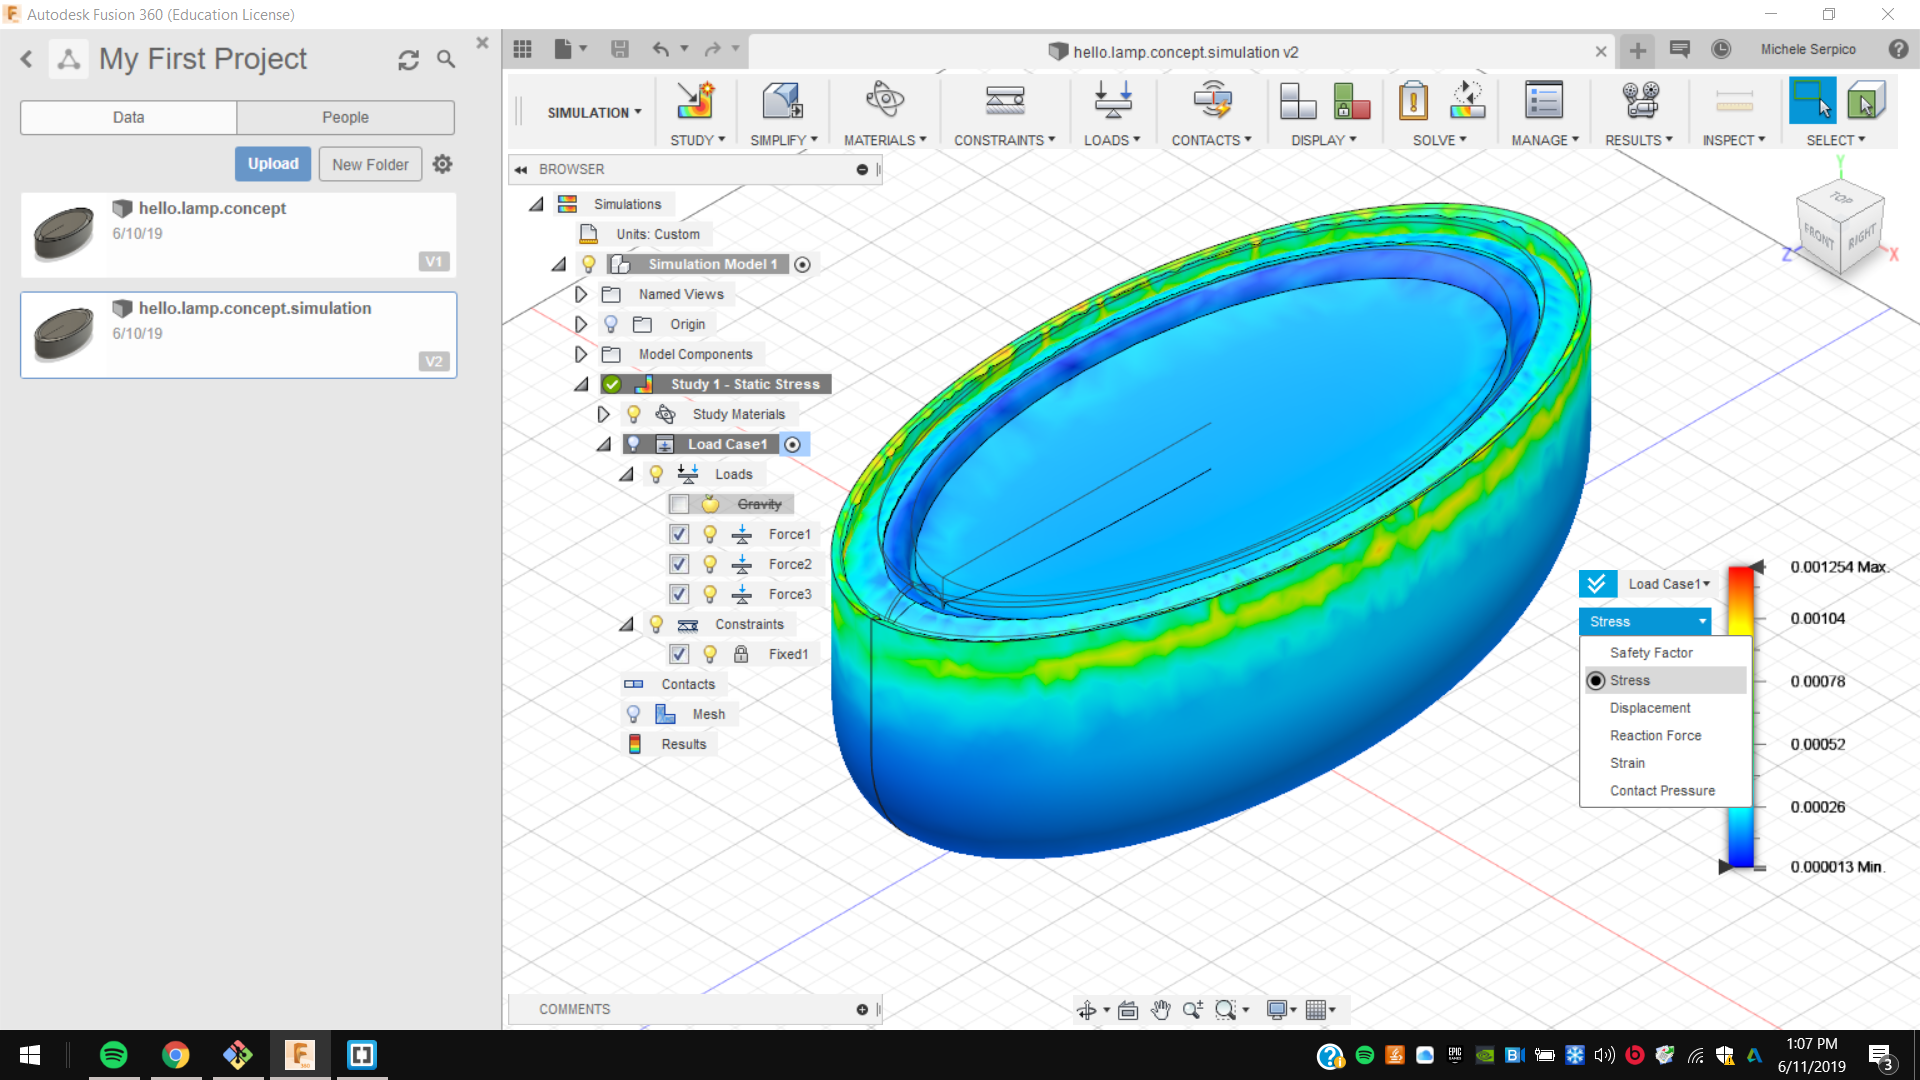
3rd Then I studied the simulation and checked it in terms of stress, pressure, displacement and strain.
4th And finally I could export and shar the study as .html page, through the “publish”command in the righ corner.
Animation
And I also made an animation of my hello lamp concept project in the “animation” workbench. I just moved components and recording the positions as sequences.
At the end, I had to export the video.
Zamzar
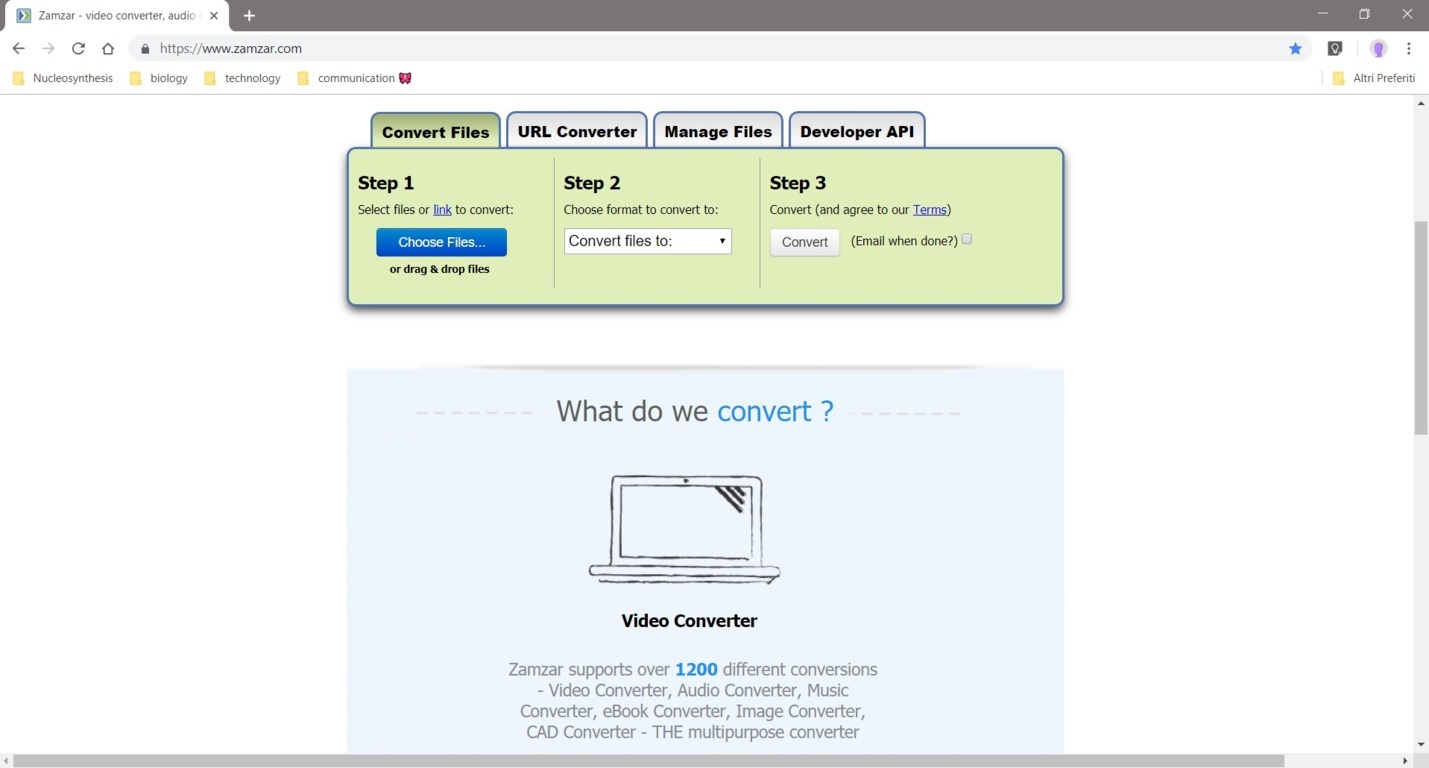
This is an online software and supports over 1200 different conversions - Video Converter, Audio Converter, Music Converter, eBook Converter, Image Converter, CAD Converter. 1st Choose files 2nd Choose format to convert to 3rd Convert audio files.
Audacity
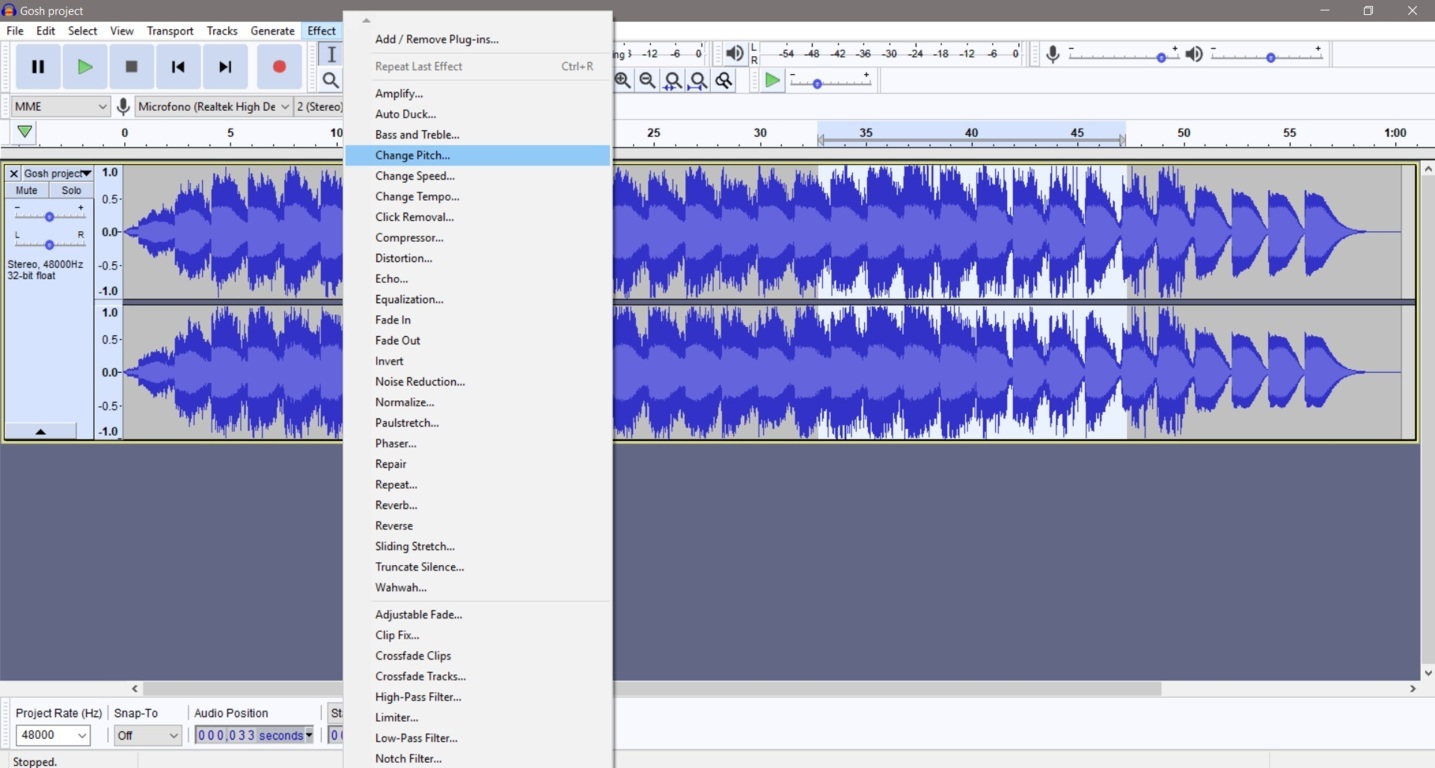
1st Audacity can import M4A, MP4, MOV files without FFmpeg, and WAV 2nd With it I made fast changes to audio files managing frequencies as reversing, deleting, and copying them 3rd Then I added some effects like “In-Out fading”.
Premiere
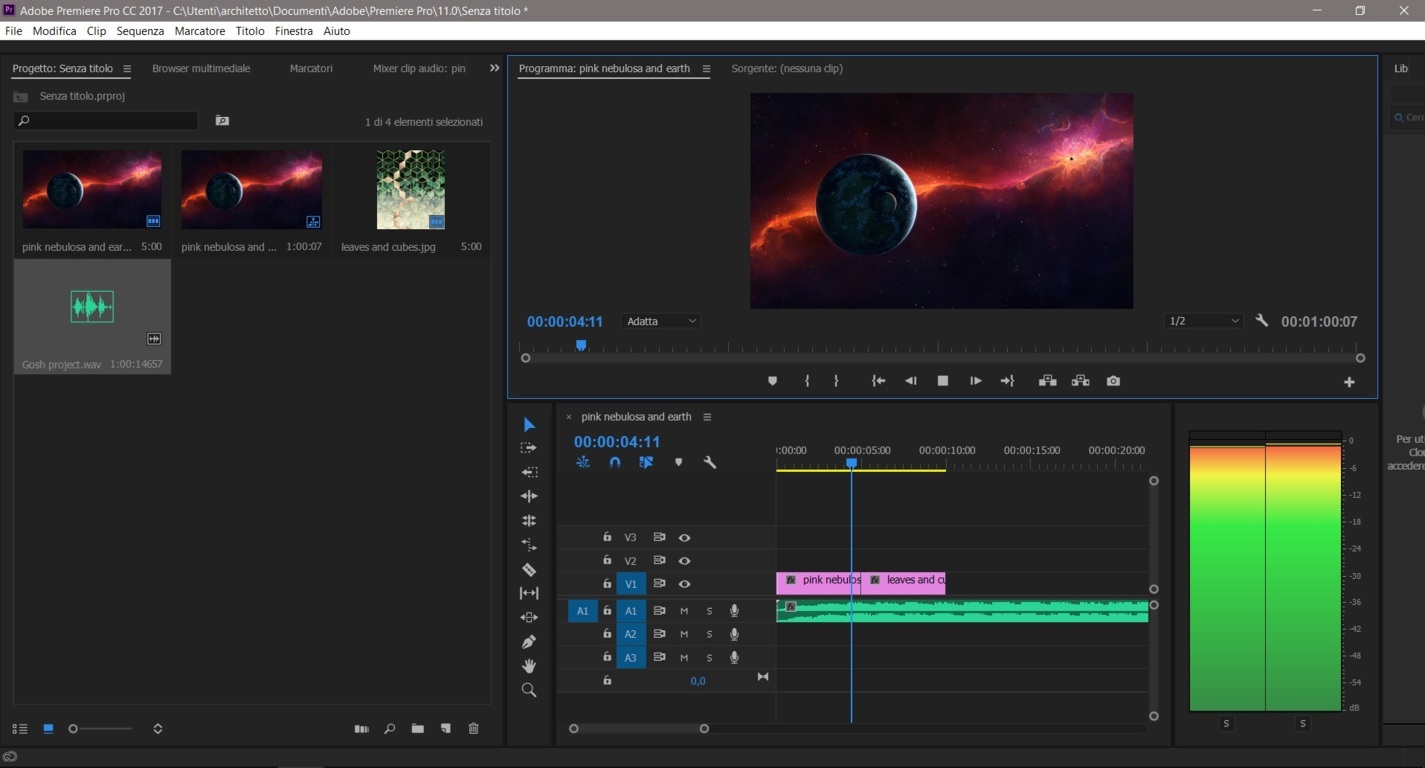
With Premier I made simple and complex sequences with many effects. 1st I Started importing images, video and audio sources in an apposite folder I made. 2nd Manually I moved them to the next work area managing and put them together. 3rd Then I exported my project.
Unreal Engine
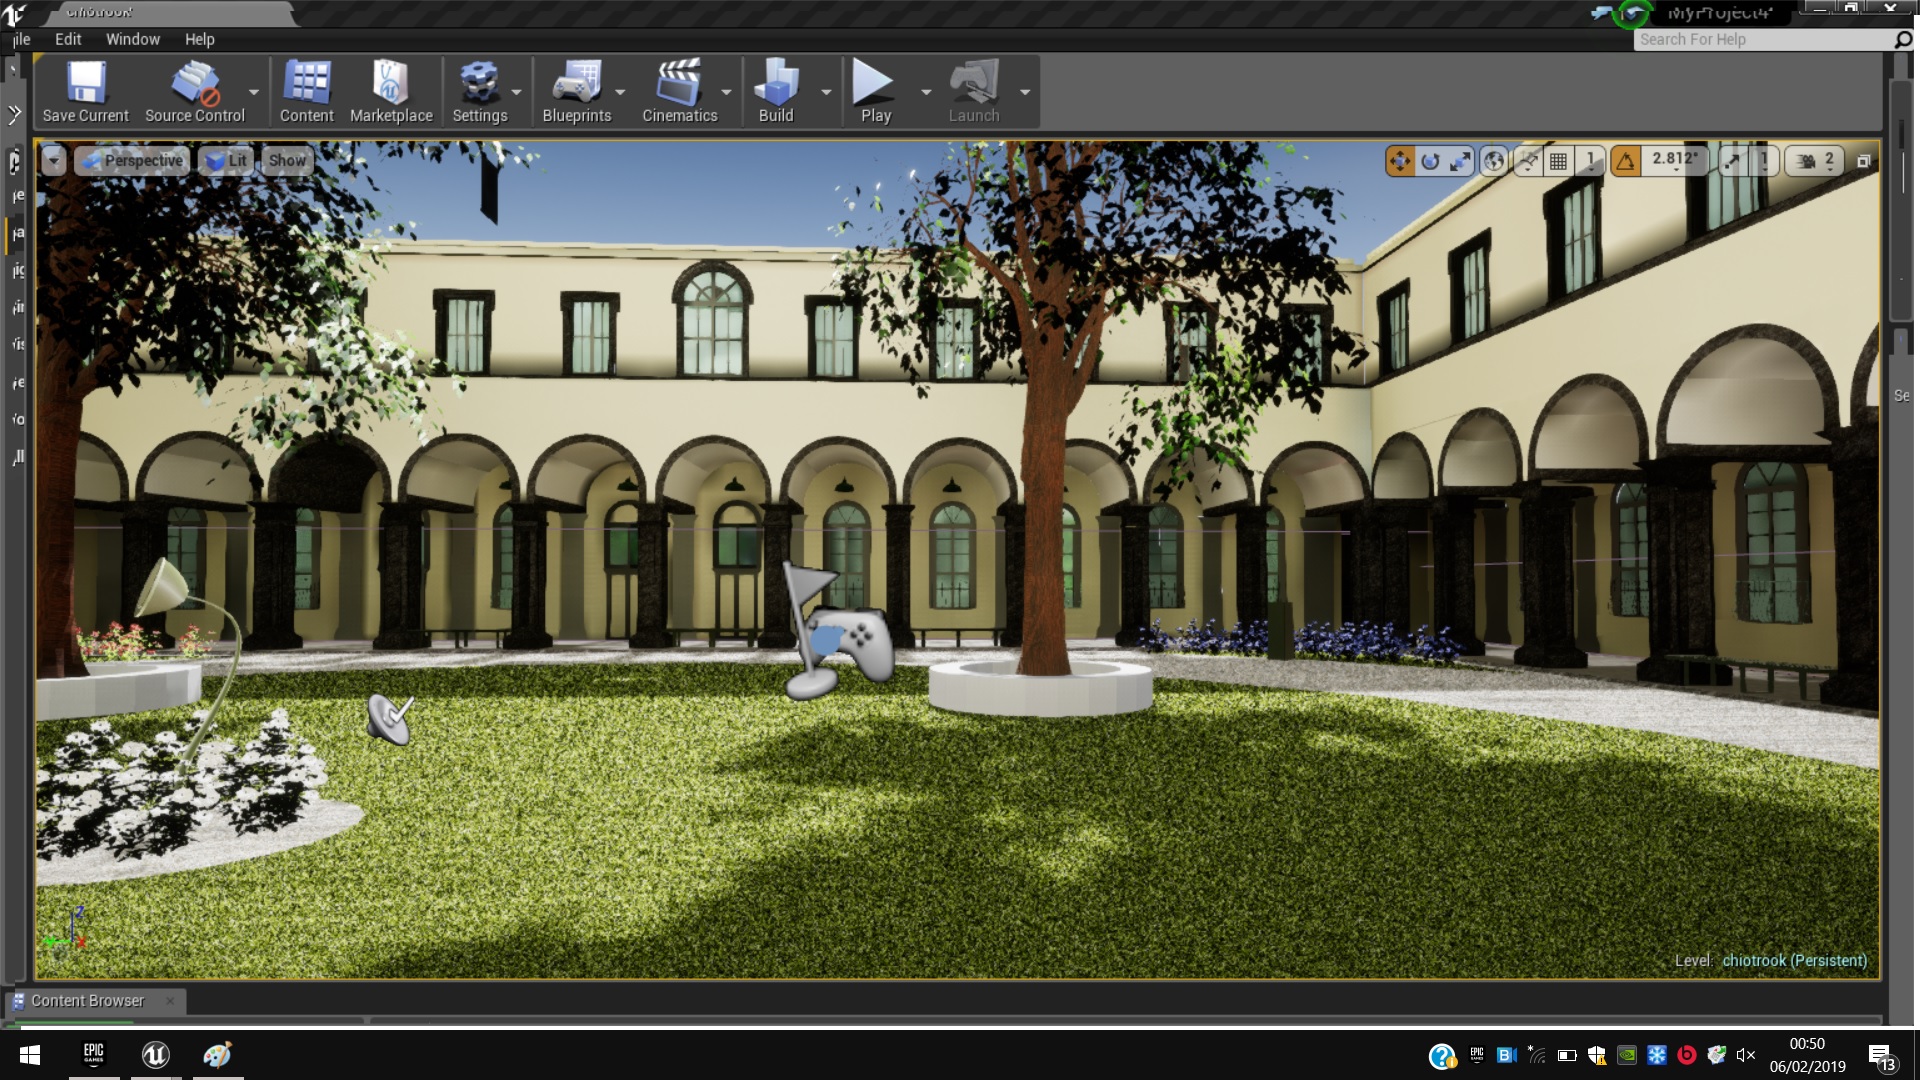
I learnt and suggest Unreal Engine too. This is a software that works with mashes and it could be connected to viewers to let interact with projects, like an immersive augmented virtual reality. It works through “Blueprints” several set of tools grouped for enviroment settings, animation and characters. 1st I realized materials and animations too, but I designed my project with other supported accurate softwares, like 3d Studio Max. 2nd After built the scene, I set a view character to move in the scene. 3rd Animation could be activated through several commands declared before, like happens in Video Games.
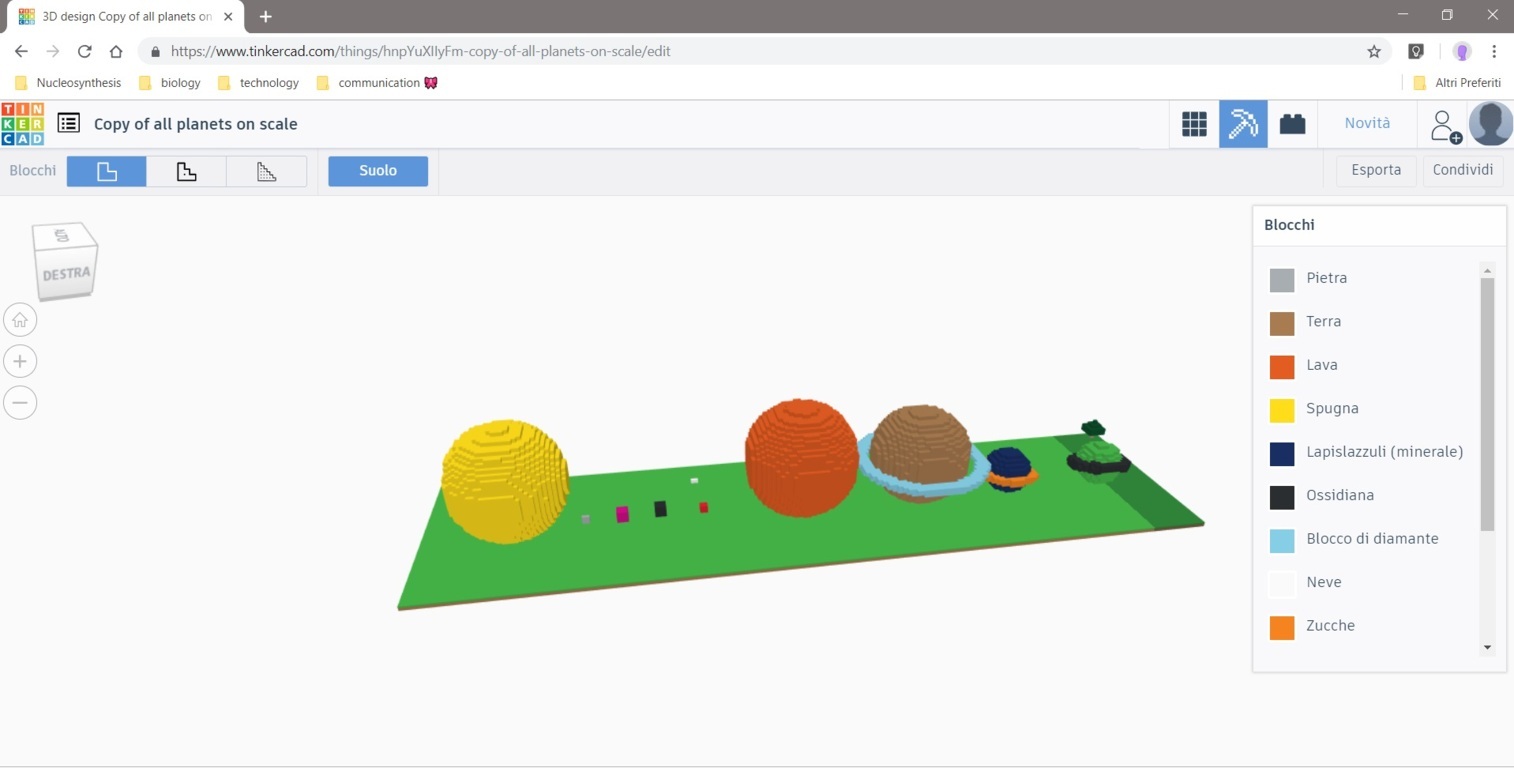
.. And I found very funny working on lego models with Thinkercad Lego Bricks. Kids will enjoy it. I imported svg, ogj and stl files and modeled it in lego block. I found it hard loading mashes, and it lets do it for a max of 25 MB.