
Week 19. Wildcard week
22.05.19 Class
This week I have not been able to go to class and I had to see it later because I have more and more work in the fablab and the final deliveries of the students to whom I teach are approaching. Therefore, I had to see it later and a bit above, since I did not have much time. The work I was going to carry out was very clear and I explain it below.
Week planification
I have not planned anything since I have been working on this week's assignment for three weeks to get the work going, as the final project approaches and I wanted to take advantage in turn to have time and invest in the development of this project.
Individual assignment
For this week I have decided to use the CNC of large format and make a three-dimensional piece in wood on which then perform different new processes that we have not used in any other assignment of the fabacademy.
I designed the piece through the catia surface module, creating the structure of the piece through lines and points by its vertix.
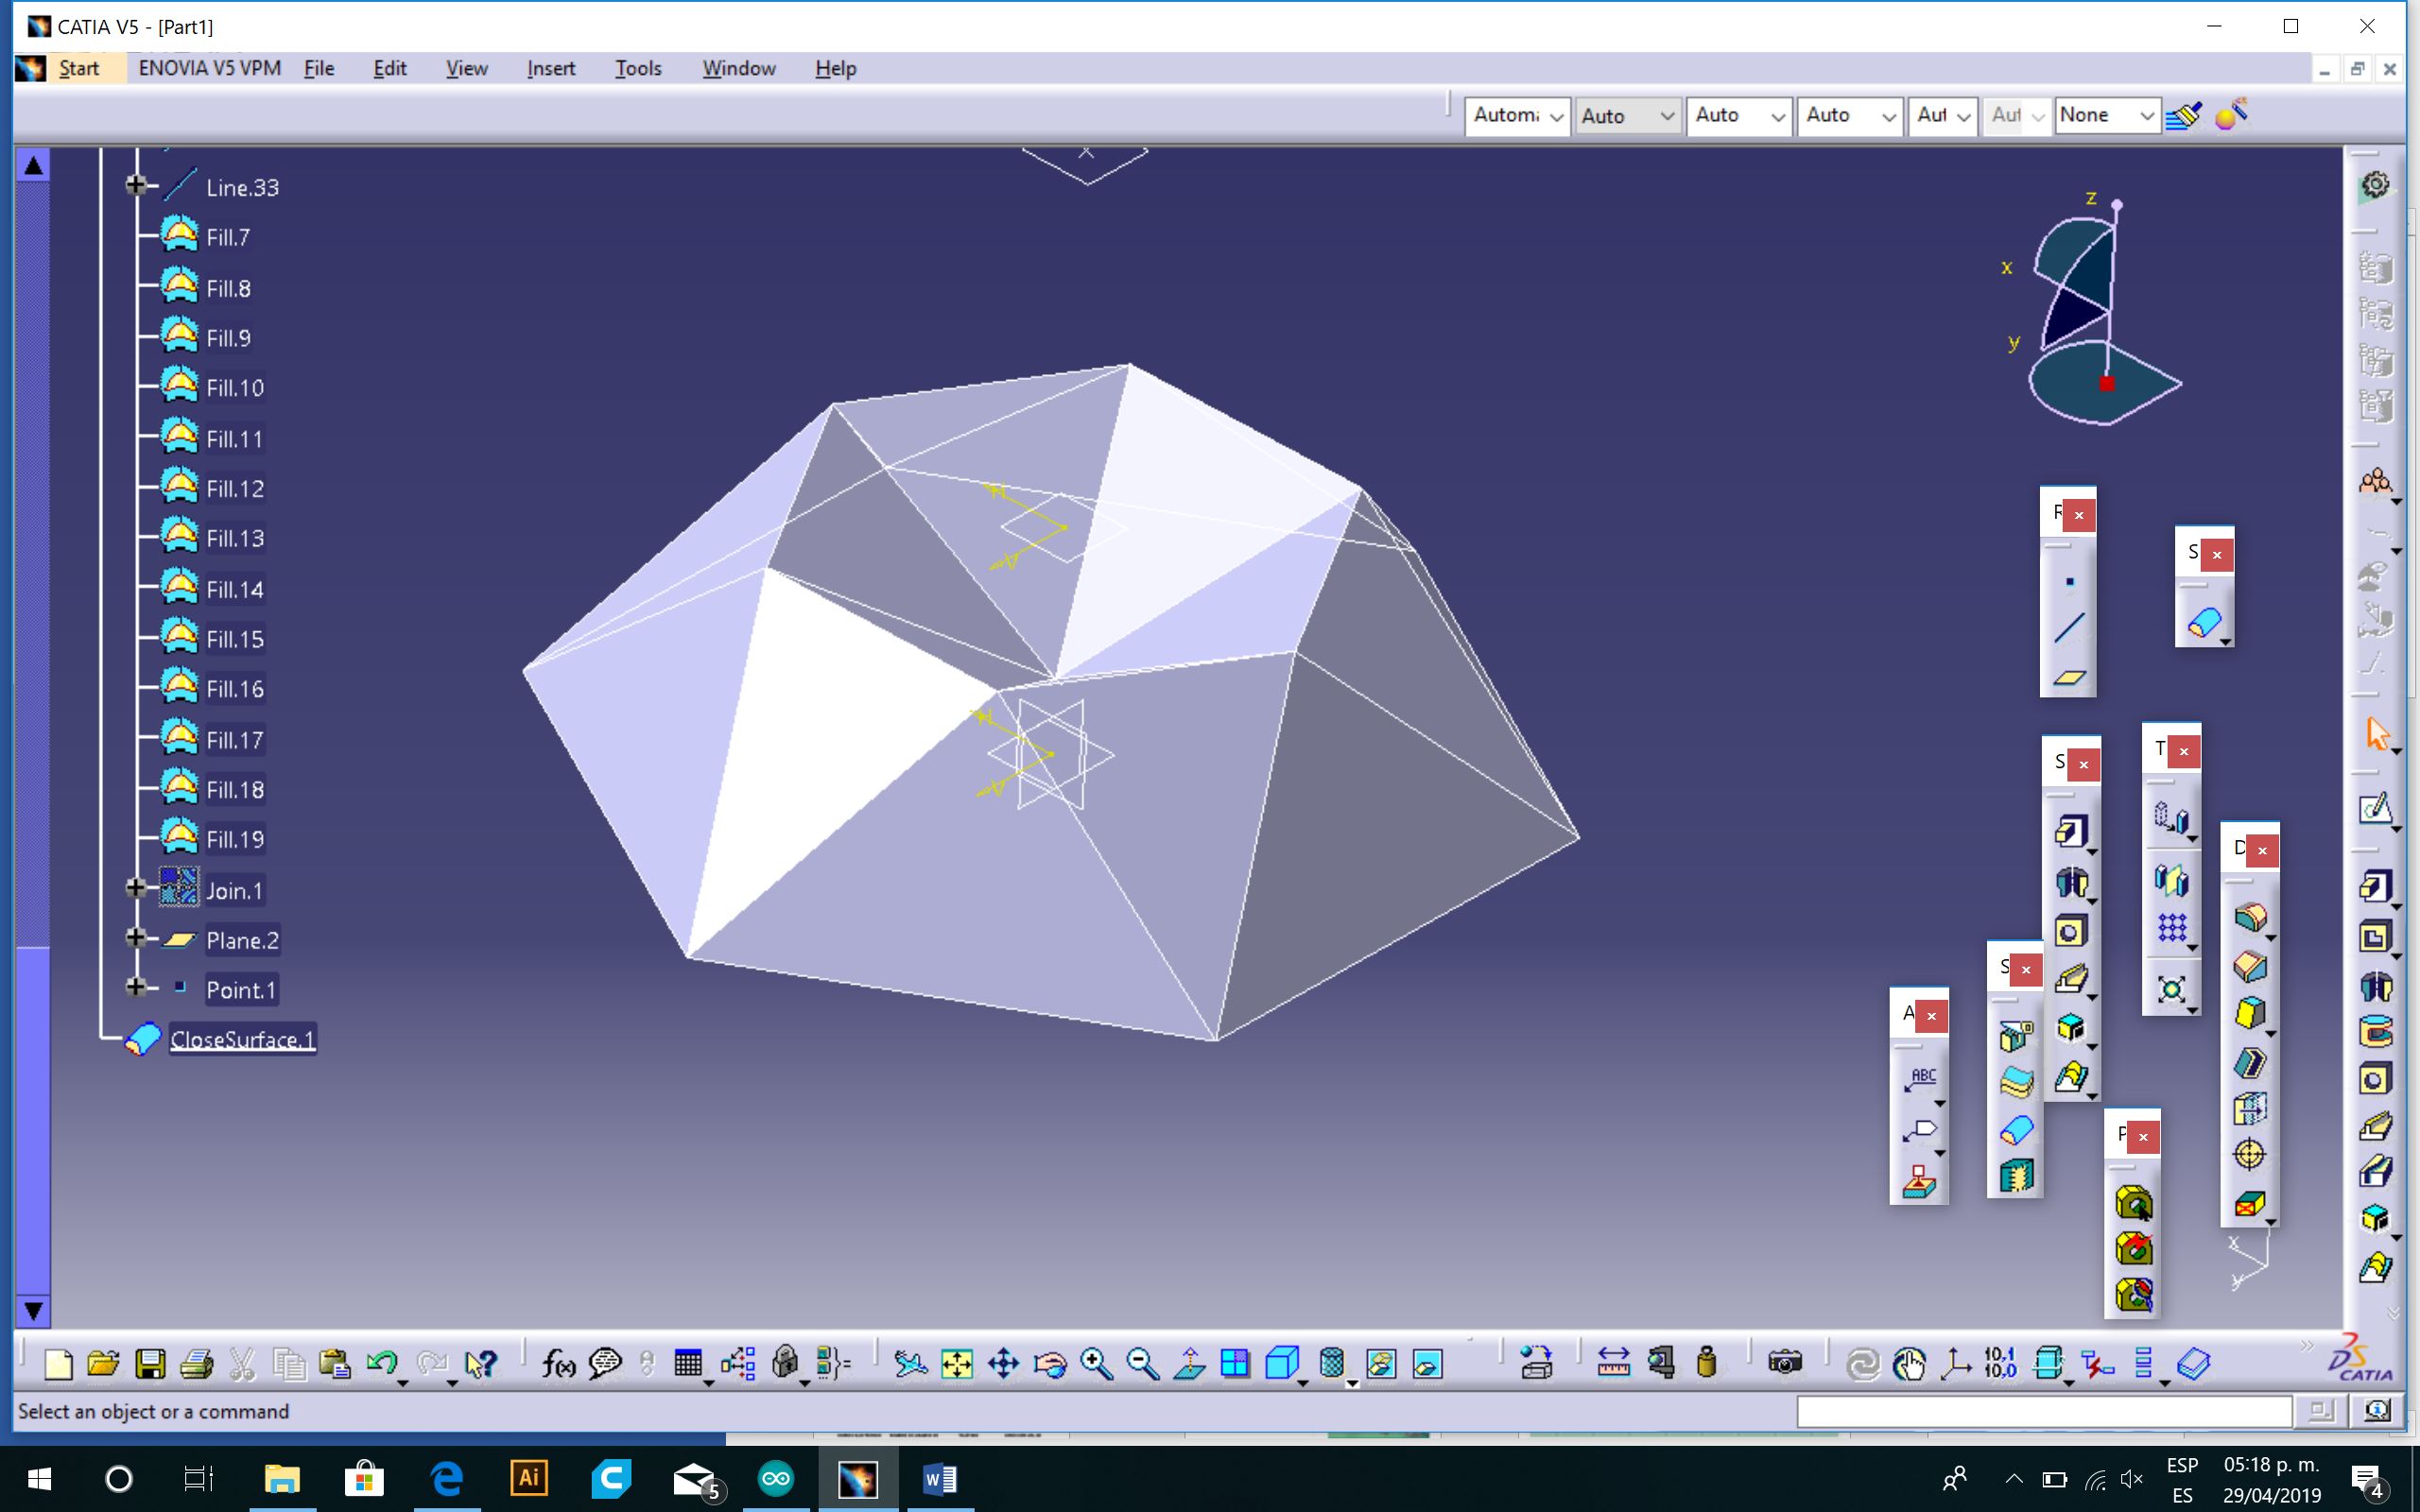
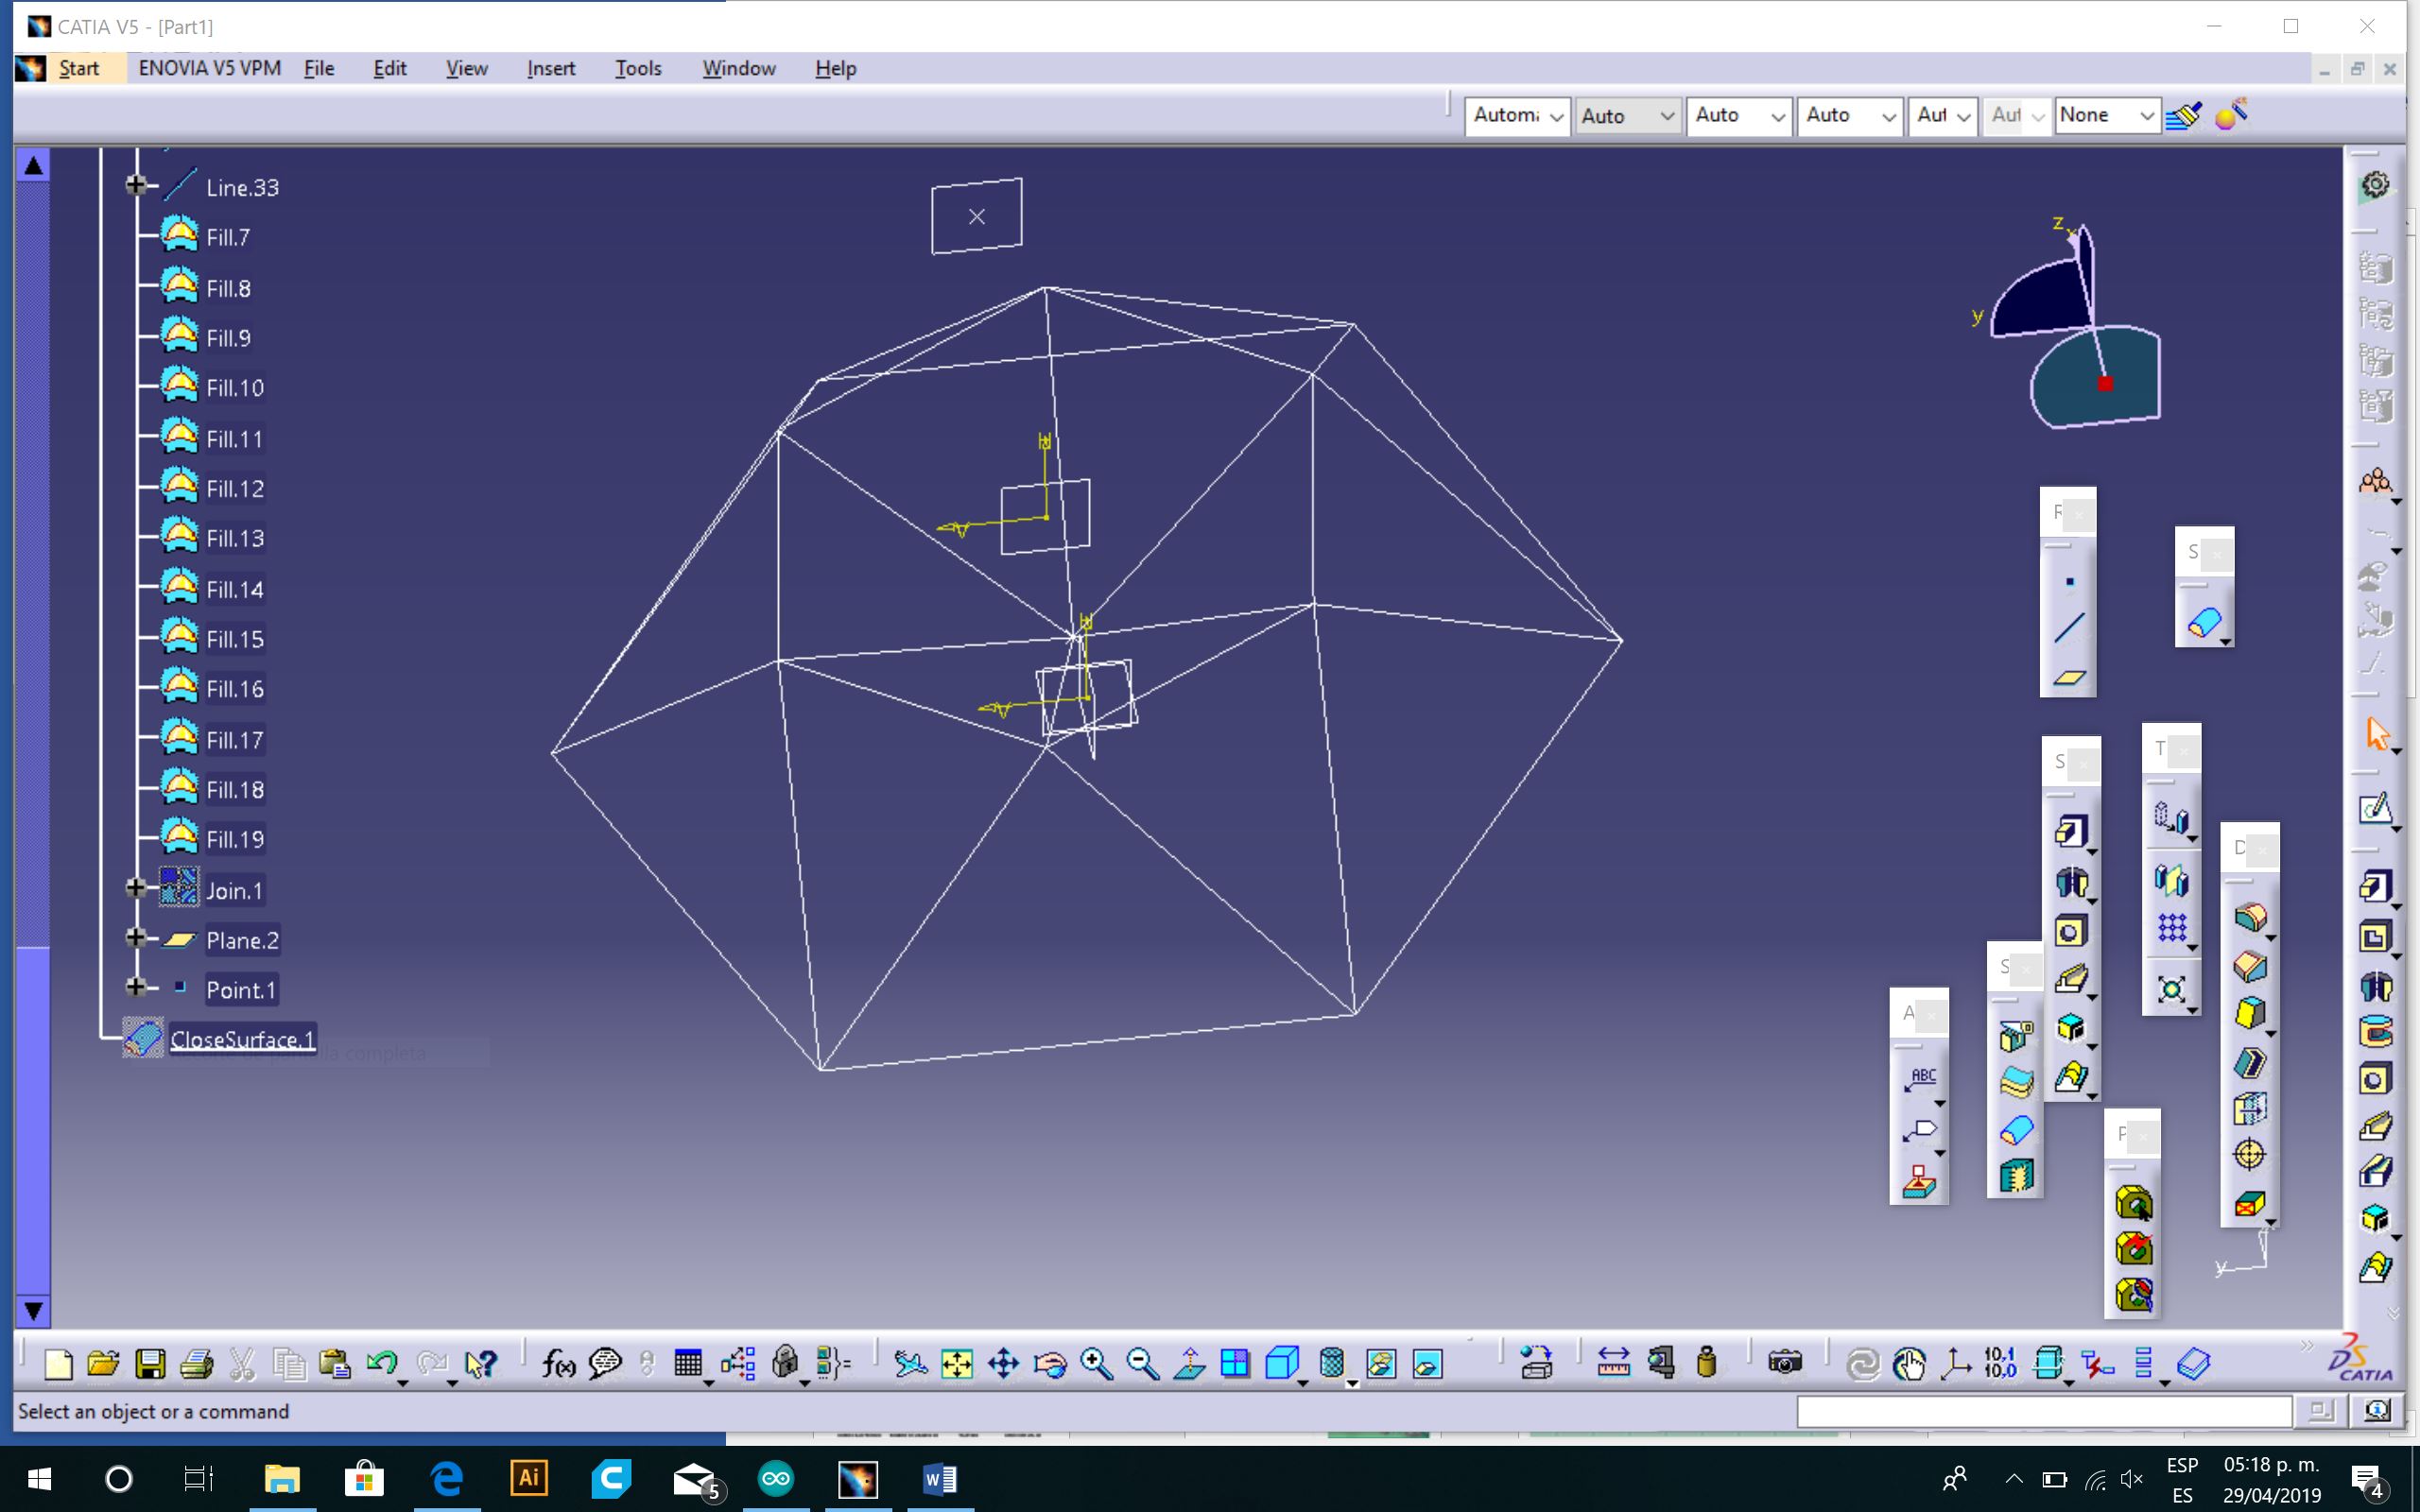 Once I have created the piece, I close with surfaces each face of the three-dimensional piece and I finish is joining all to create a total and closed surface.
With this closed surface I move to the module of design of pieces to make solid the surface through the tool of close surface and to be able to import it to extension .stl and to be able to use it in the program of milling VcarvePro.
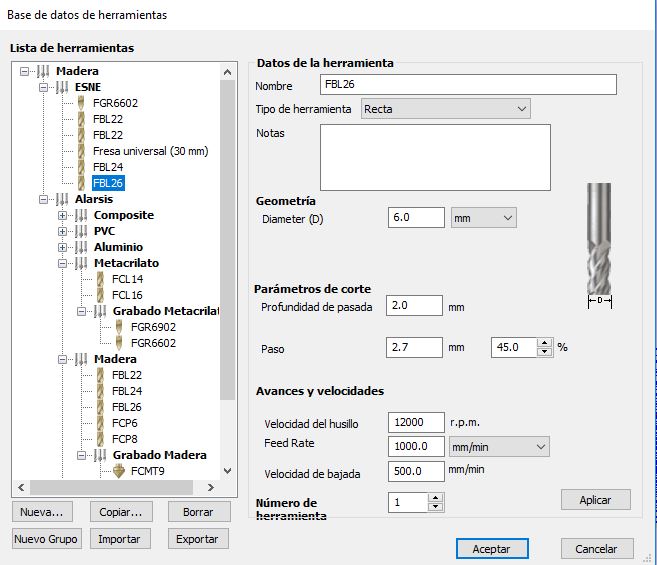
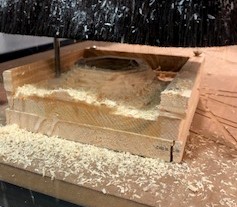
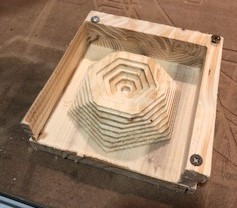
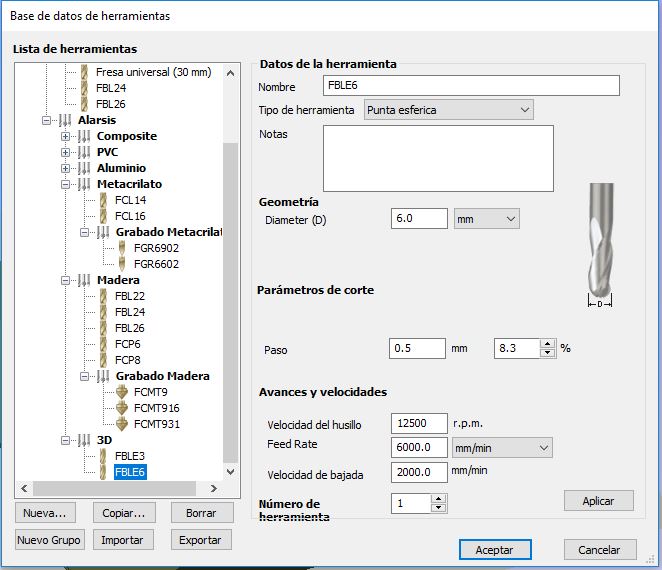
 To process the piece and to be able to mill it I have used the program Vcarve PRO which is the one that comes with the alarsis machine that we have in the fablab. We begin by introducing the dimensions of the material where we are going to make the piece as in the assignment controlled computer machining. Then I import from file / import and select import component or 3D model and select the stl file generated from catia. Then I have selected the option of roughing the piece 3D and I have selected the tool to use, a flat mill of 6 mm in diameter. The speeds, depths of pass etc for this tool are by default in the program since this incorporates a special library that the company of the Alarsis machine installed for us, on next image I show the toolpaths. Anchor the wooden block to the table of sacrifice of the machine with screws and launch the program of milling of this. Here is the result.
 For the next action, from the same program file, select the finishing option and change the tool to use the 6mm diameter round mill. In this case the toolpaths are also generated by the program using the same alarsis library, on next image I show the toolpaths.
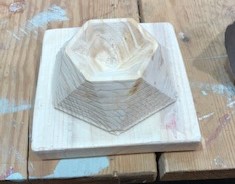
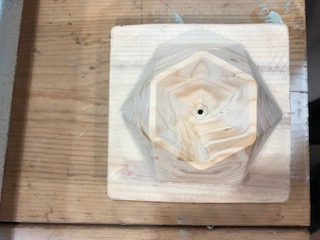
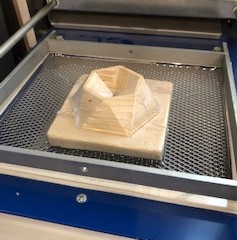
 Saving the same leading zeros of the roughing action, and changing the tooling (which forces us to redo the zero in Z) we launch the finishing action and this is the result obtained:
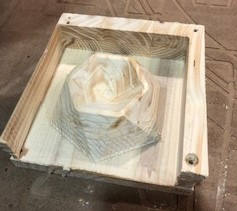
 Once I have the piece I make a hole in the crater of the "volcano" so that the thermoforming machine at the time of vacuum can absorb the air of this part and the plastic molds perfectly to the piece. For this I used a 3 mm drill bit with a manual drill.
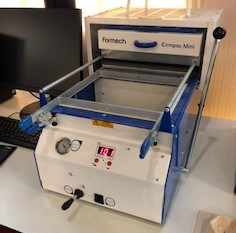
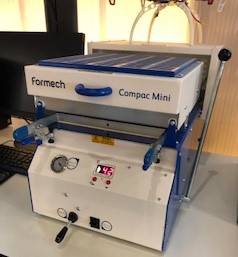
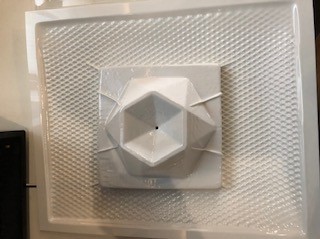
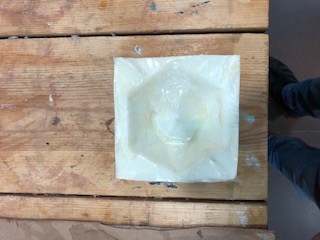
 With this manufactured piece I put it into the thermoforming machine. This technique we have not seen during the fabacademy but it is very easy to perform. consists of putting the piece that will serve as a mold on a vacuum bed, then a plastic attached above that is heated with a resistances cover and when the plastic is hot and malleable, the cover is removed, the piece is raised against the plastic and the vacuum is made so that this plastic takes the form of the piece that we have introduced.
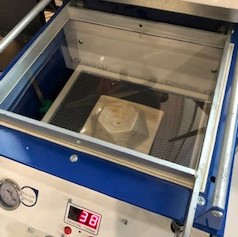
 It is good to apply release agent to the piece so that when the plastic cools down, the piece can be extracted well. Also the thermoforming machine has a timer for the temperatures through which we can regulate for each plastic that we use the temperature you need.
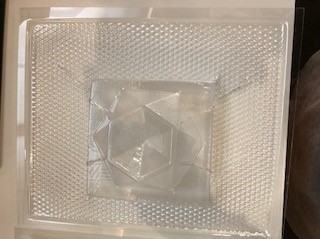
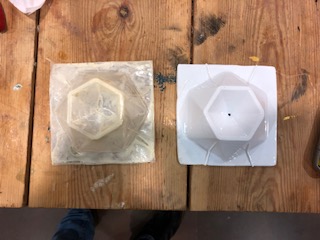
The material I have used has been transparent and white PVC for two different tests. These are the results obtained:
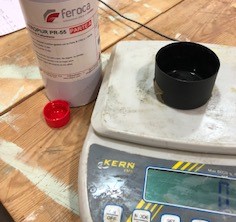
 With the base of these pieces in thermoforming I have used one of them to make another technique that we have not seen during the course of the composites. to make this technique I have used fiberglass cloth, but not fiber itself, if not fabric and I have solidified it with polyurethane resin since it is the resin that quickest cures, since in 5 minutes it is solid.
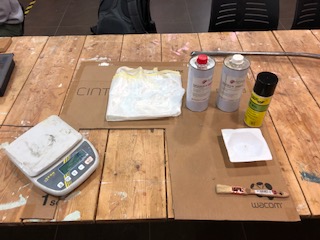 the steps that I have made have been, the first thing to apply release to the piece in thermoforming, then I cut the fabric with the shape I needed for my piece and I have set it aside, I followed with mixing the resin with its 50-50 catalyst and Then I started to apply it on the fabric trying to adapt it to the shape of the mold.
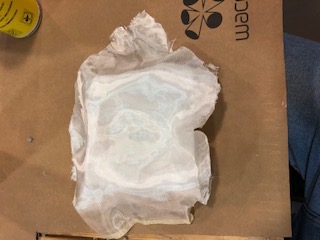
 In my case it is better to apply several small layers than a large one since the resin only has two minutes of working time and 5 minutes of drying time and therefore it is a little difficult to work with it. The idea of investigating in this technique is to have a possibility of improvement in my final project in case the screen milled in the wood does not work, to be able to use this technique
This has been the final result obtained.
In my case it is better to apply several small layers than a large one since the resin only has two minutes of working time and 5 minutes of drying time and therefore it is a little difficult to work with it. The idea of investigating in this technique is to have a possibility of improvement in my final project in case the screen milled in the wood does not work, to be able to use this technique
This has been the final result obtained.
My files
"Volcan" CATPart"Volcan" STL
Rough 6mm plane mill
Finish 6mm round mill
Conclusions
In this assignment I have learned new techniques that we had not seen during the course and I have had another opportunity to use the large format milling machine, this time milling a piece in wood and 3D using the two basic actions for this type of work, which are roughing and finishing.