Molding and Casting
For this week's assignment we had to create a mold and cast it. To create the mold we had to use Computer-Controlled Machining.
Group Assignment
For this week's group assignment we had to review the safety data sheets for each of your molding and casting materials, then make and compare test casts with each of them. You can find the documentaion here.
Casing Process
Molding is the process by wich you create an impression of an object in some sort of material. Generally, an initially soft material is poured or spread around the object and allowed to harden or set, creating a negative imprint of the object. Moldings can be made in either one piece or multiple pieces. While the type of molding material used depends on the size and shape of that object, some popular options include plaster and silicon. Casting Casting is done once a mold of an object is available. If the mold is made up of multiple pieces, it is put together securely and the casting material is applied. Casting creates an exact replica of the object that was molded, with only some slight sanding needing to be done. Various types of metals are commonly used in the casting process, including aluminum, copper, magnesium, iron, and zinc.
Creating the Mold
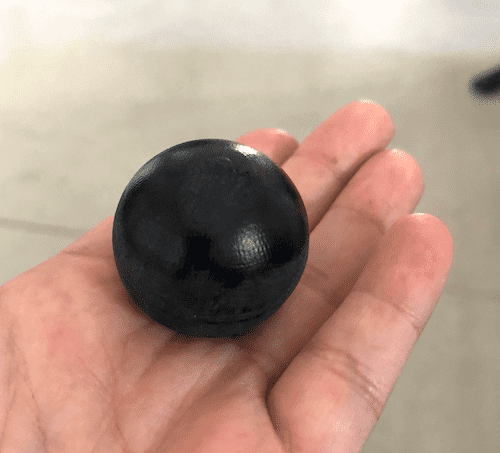
I decided to create a few molds to finish the foosball table.I made tree molds one for the foosball players, one for the ball and one that stops the rod from slipping out.
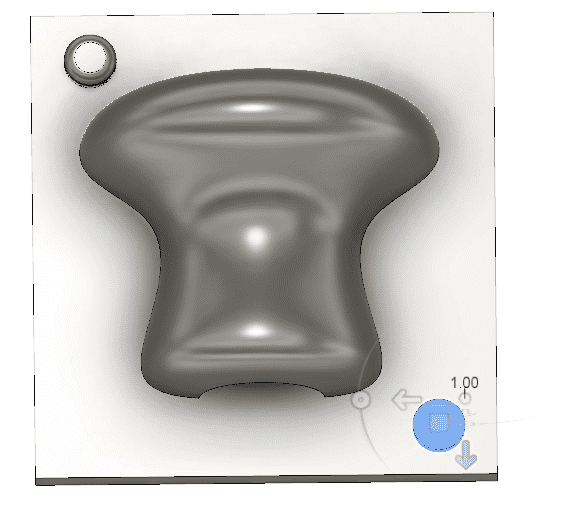
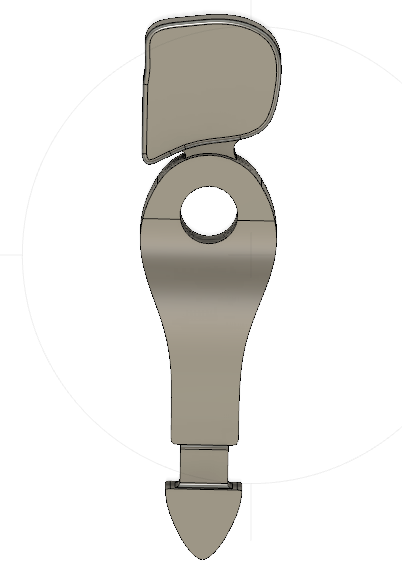
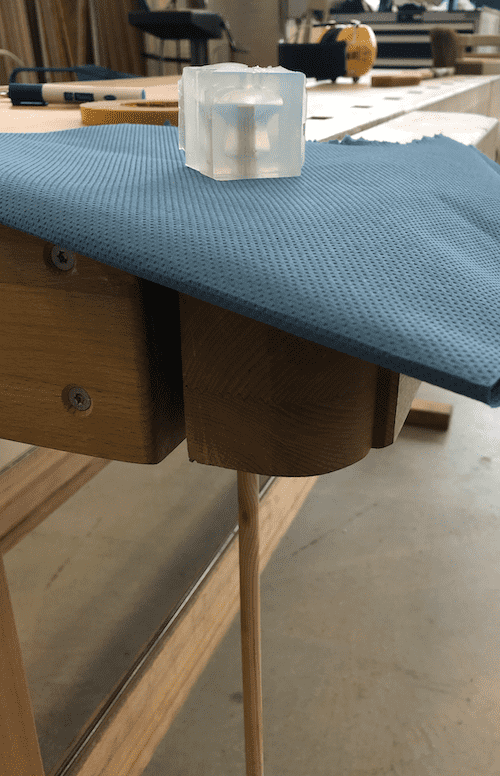
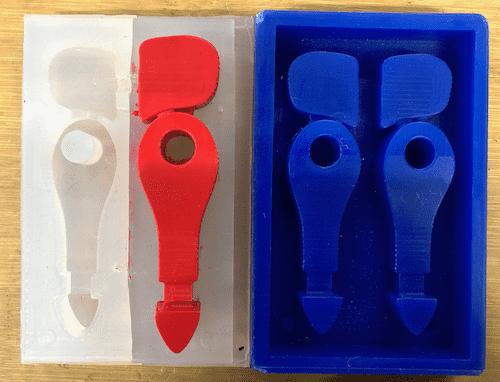
The first thing you do when you want to create a mold is designing its body. Then you have to think about a proper way to split it. Below you can see the stopper that I created to prevent the rod from slipping out.
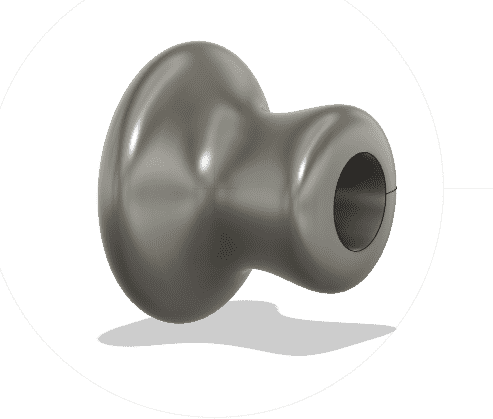

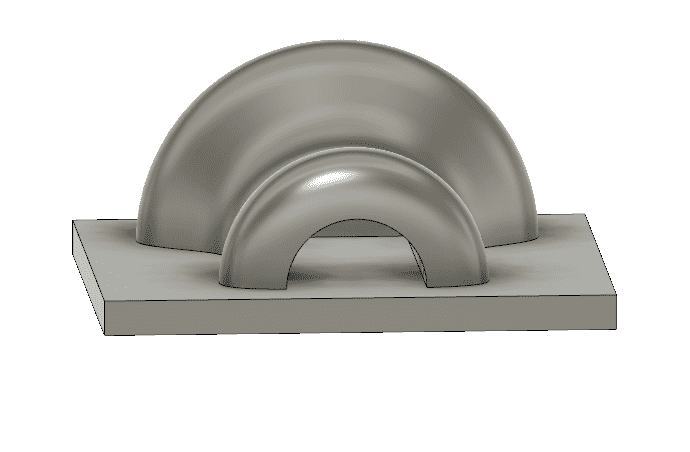
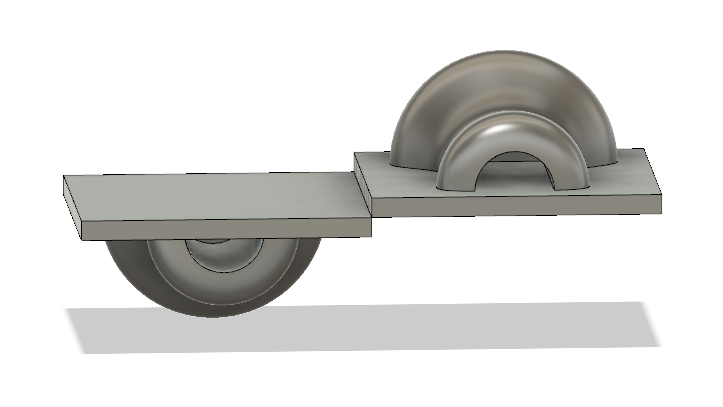
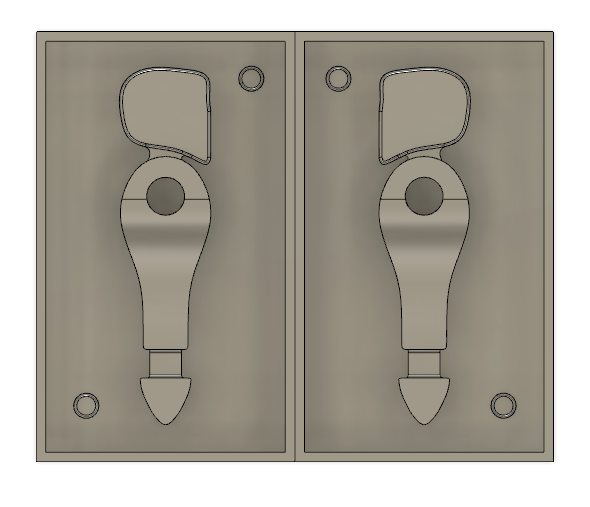
after you decided how to split the body you will have to make some pivots to make sure that the two body parts/ molds are going to be exactly centered.
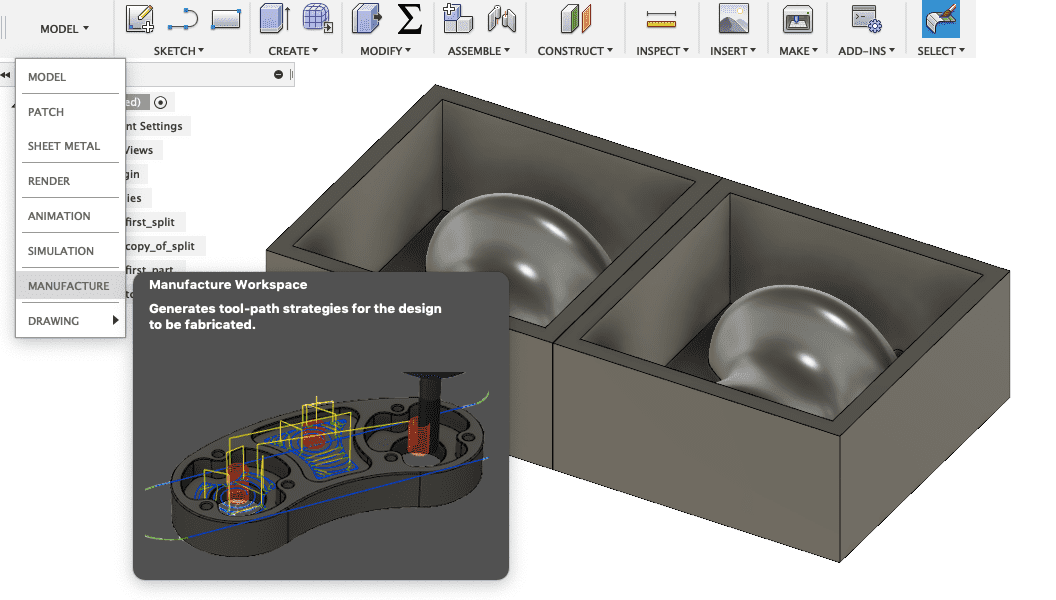
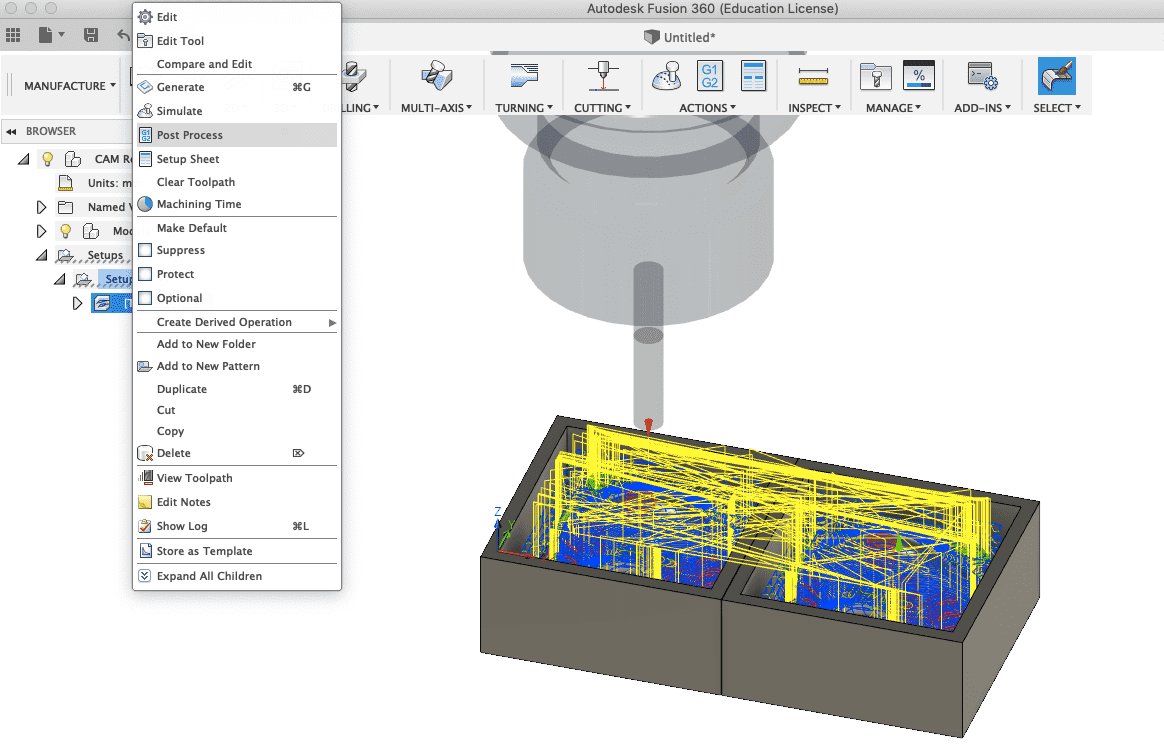
Now we change environment and go to the CAM processor to create the GCODE for the CNC machine.
First of all we have to create a new setup.
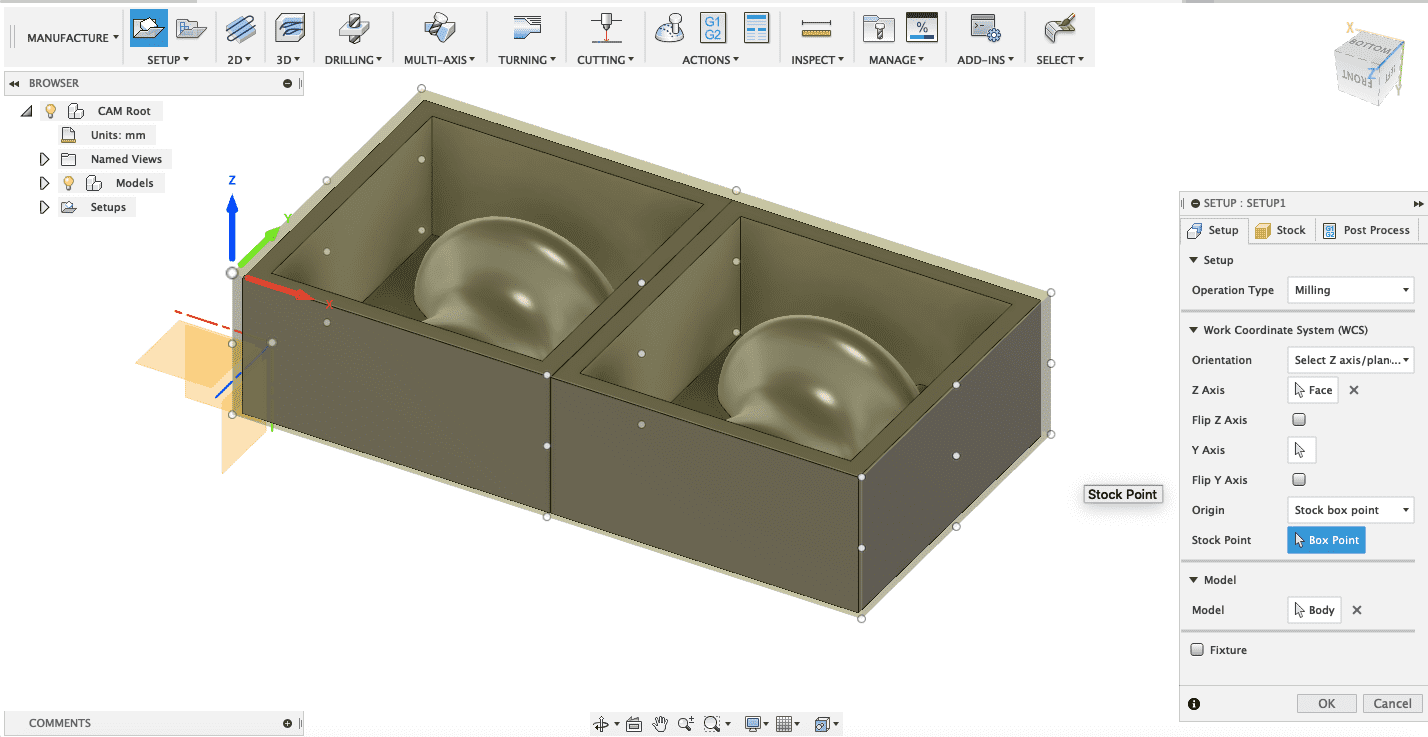
Important is to indicate the correct axes that match the block positioned inside the CNC machine as well as the origin point of the tool. In this case, it is the top-left corner.

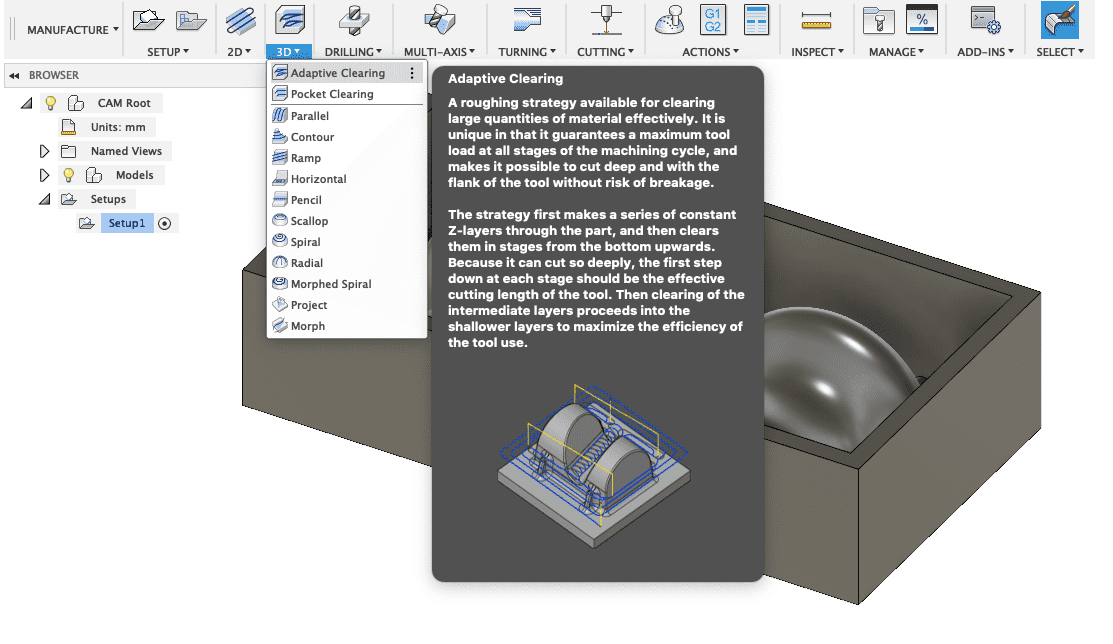
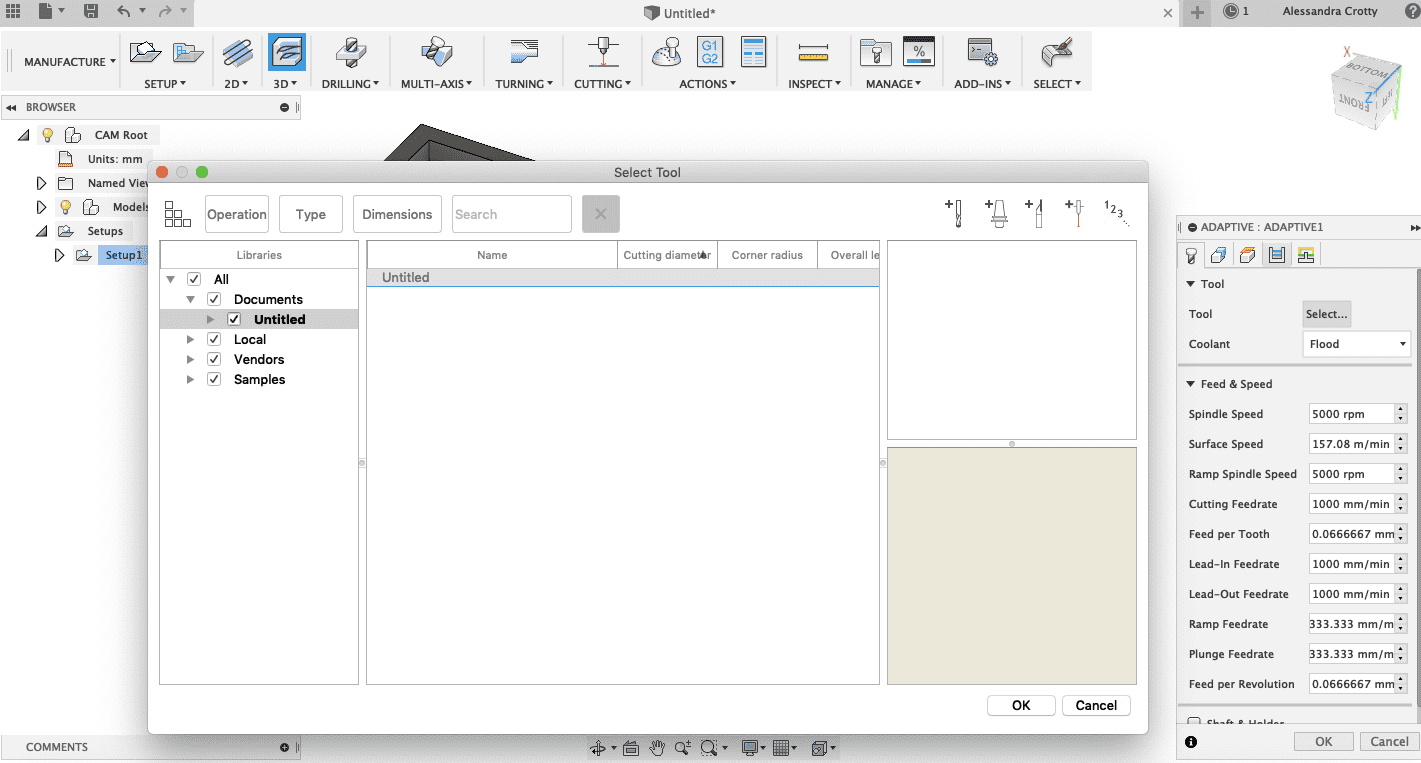
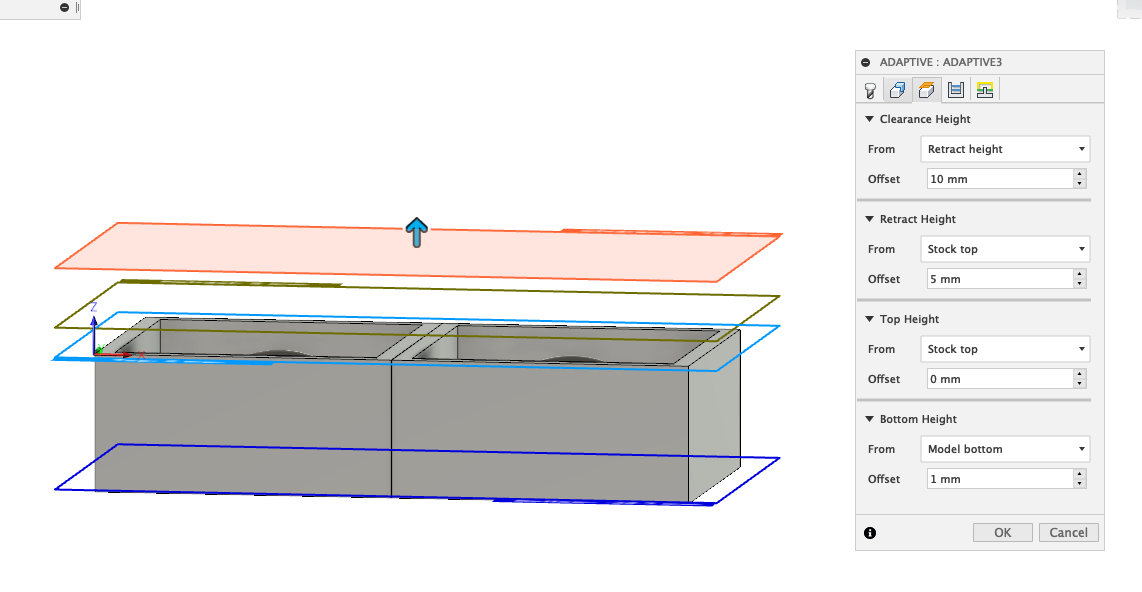
Then three 3D processes will be initiatied. I will show you only one of them in detail how to set everything up and what the most critcial/important steps are. You always start with a clearing job such as Adaptive cut. Go to 3D -> Adaptive Cut in order to initiate the process.
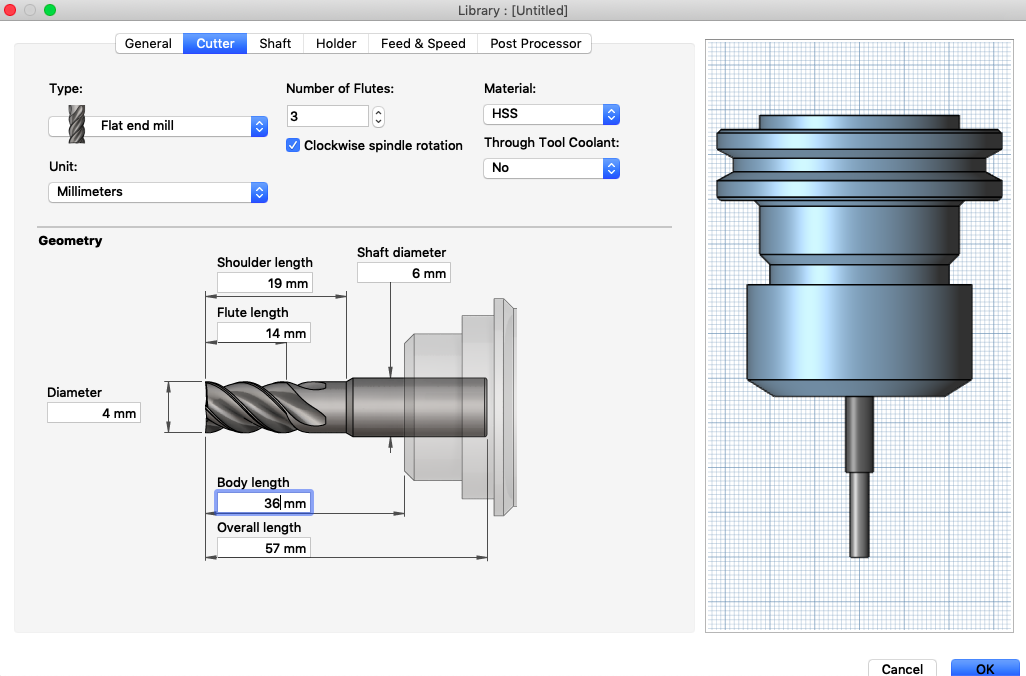
Next you add a new tool. This is one of the most critical parameter. I am going to use a 4mm flat end tool for the clearing job.
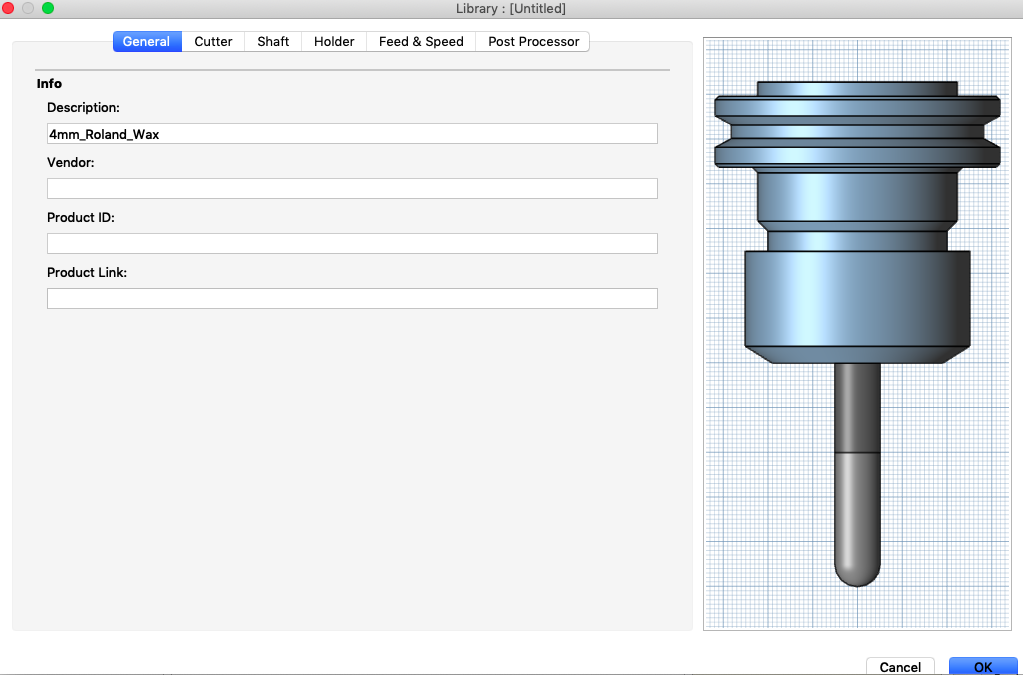
Give the tool a proper name.
In particular the flute length and body length are very critical, these have to be accurately measured.
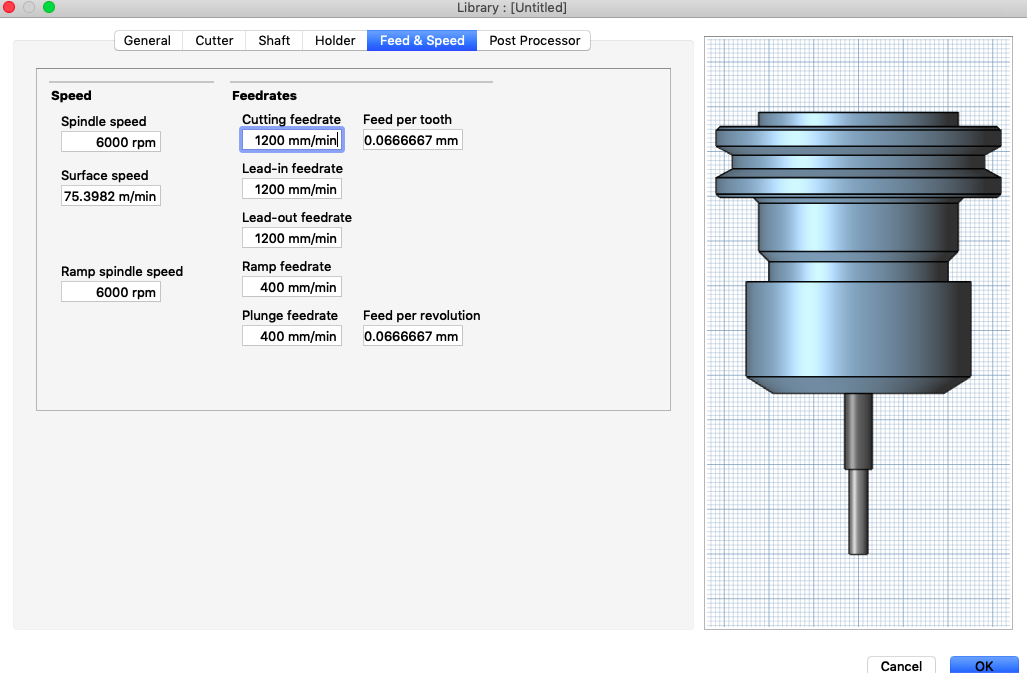
Setup the following data depending on the material that you are using.

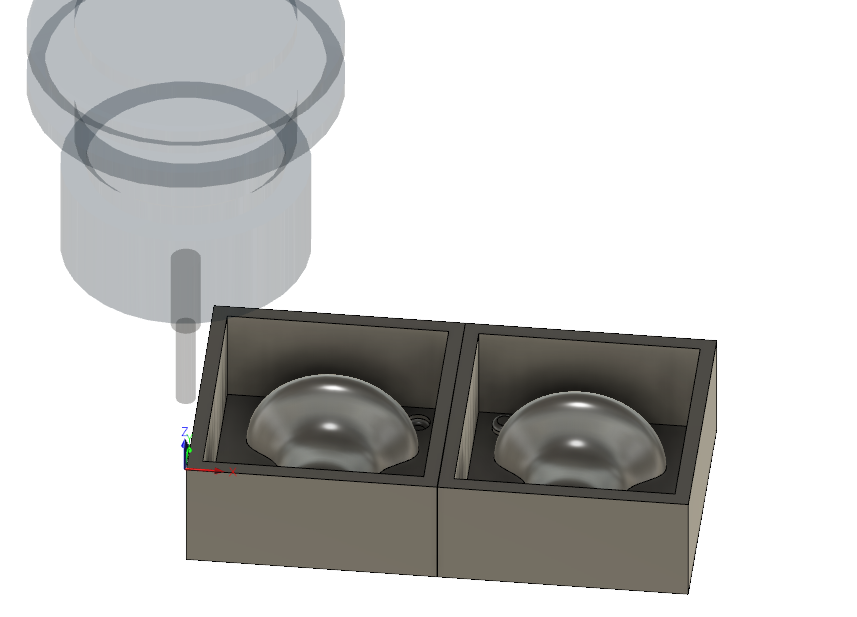
finally check if everything is correct and proceed.
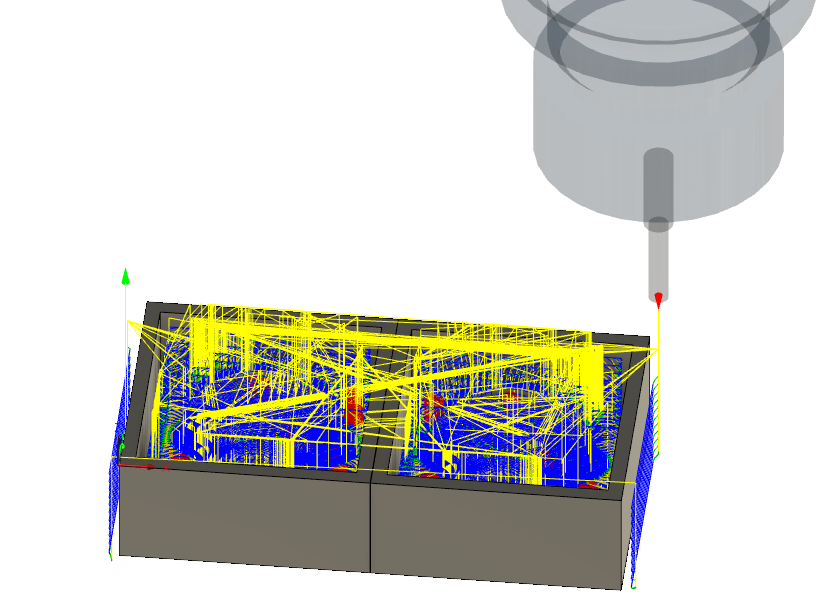
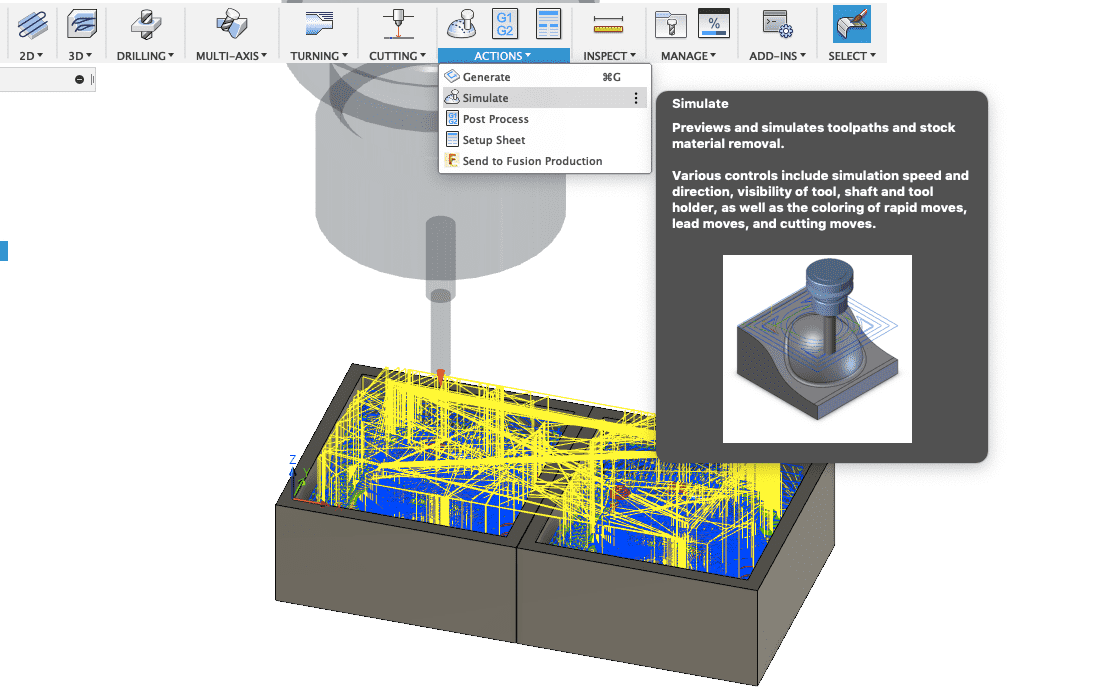
By using the right-click we can simulate the process and see the future work. Make sure that no red flags pop-up.
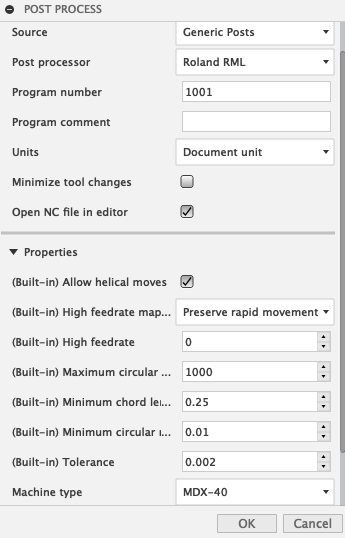
Finally generate the GCODE for the machine and save it on a stick
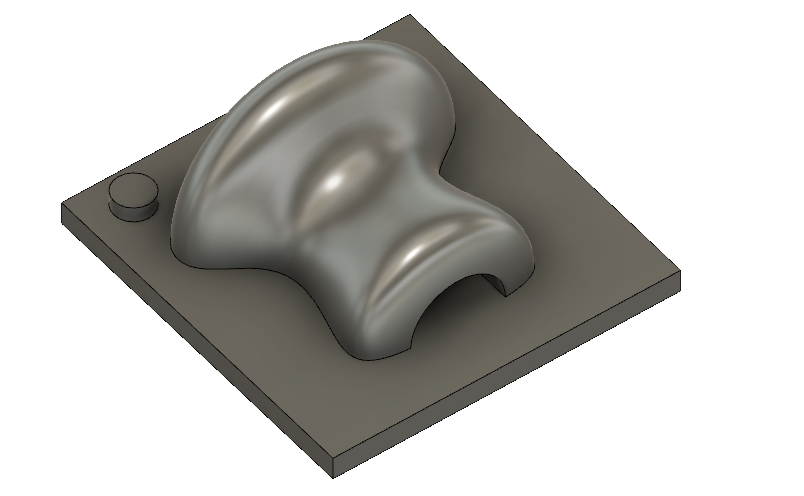
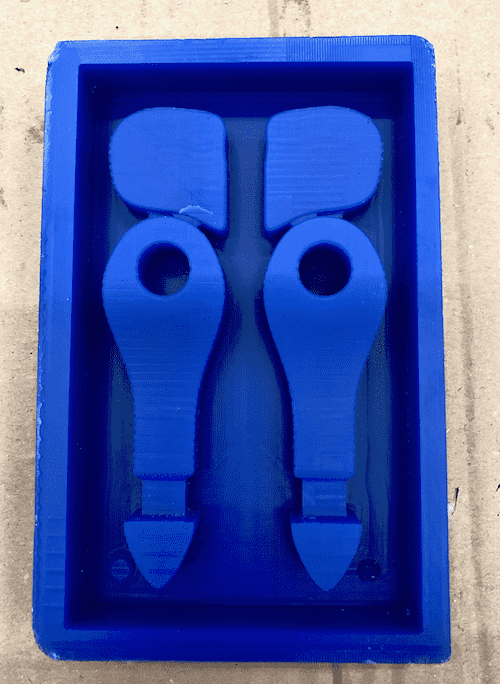
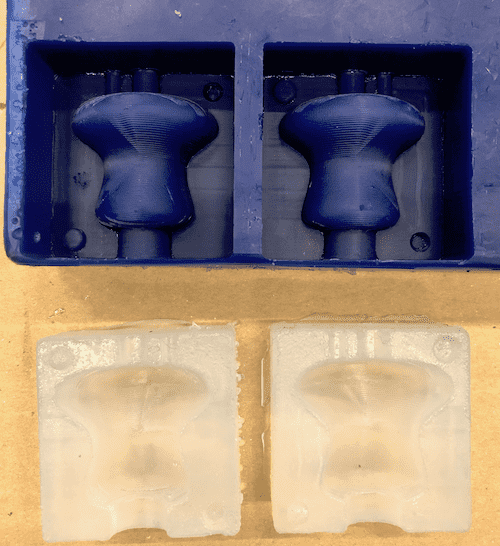
Below the mold of the football players.
CNC Milling Process
For the milling process I am using the Roland Mill.
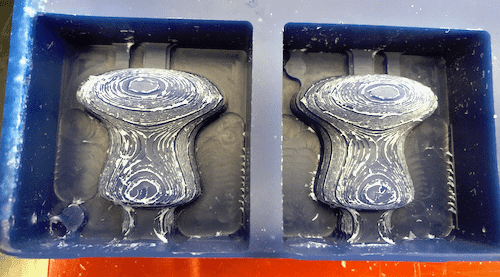
This is the rough Cut generated with the adaptiv clearing technique. It removes most of the material, disregarding any good finish.
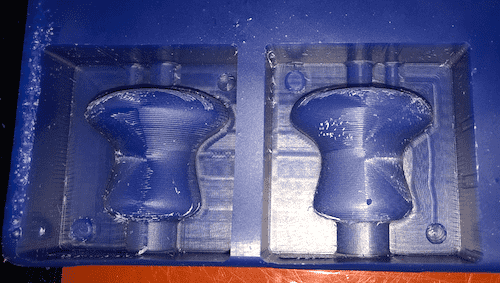
To get a good result you will have to make a finishing cut which is accomplished by smoothing down the surfaces to create the final look of the mold.
Making the Silicone Mold
Some important things to prepare beforehand for the silicone mold:
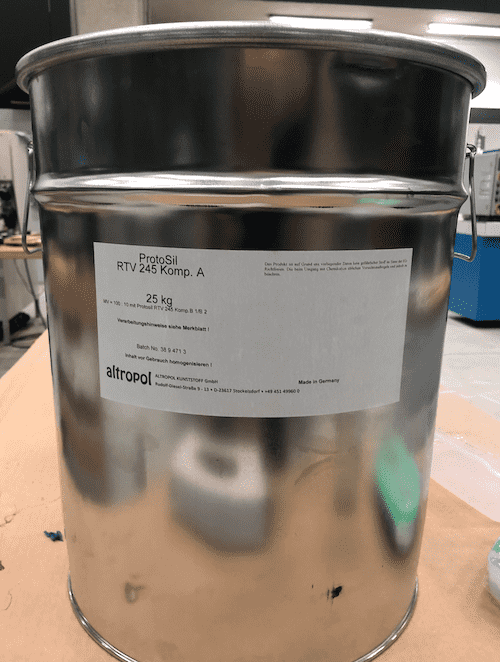
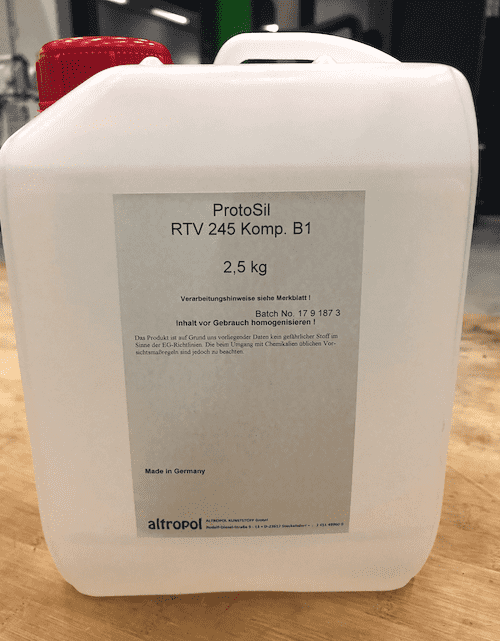
The material used to produce the silicone mixture is Protosil RTV 245. The most critical of the data sheet is the mixing ratio of 10A:1B in order to obtain a good mixture.
We transport the material into our pots and weightes seperatly
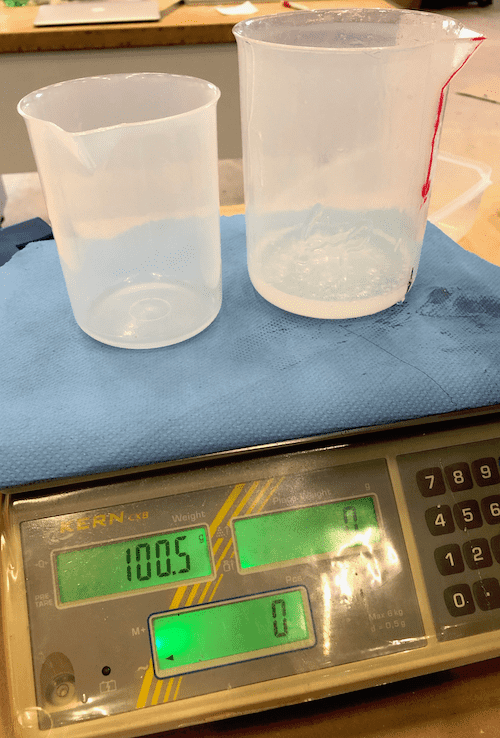
Material is then placed inside the vacuum and left there for 10 minutes under zero pressure. While it's under vacuum it gets mixed, to make sure that we do not create any bubbles.
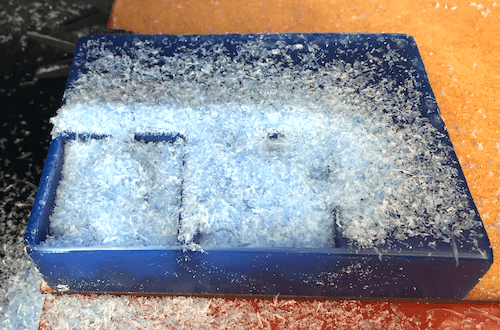
Next we pour it into the mold slowly and with a small beam to be certain that if we have some bublles they breack as soon as they touch the surface.
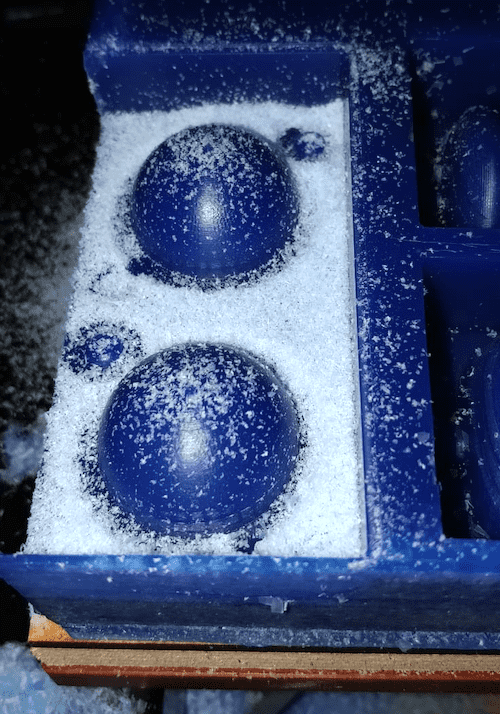
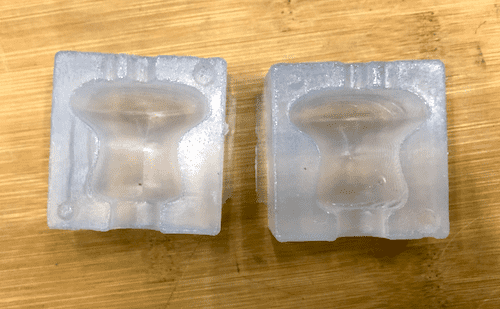
The end result.
We do the same for the other molds.
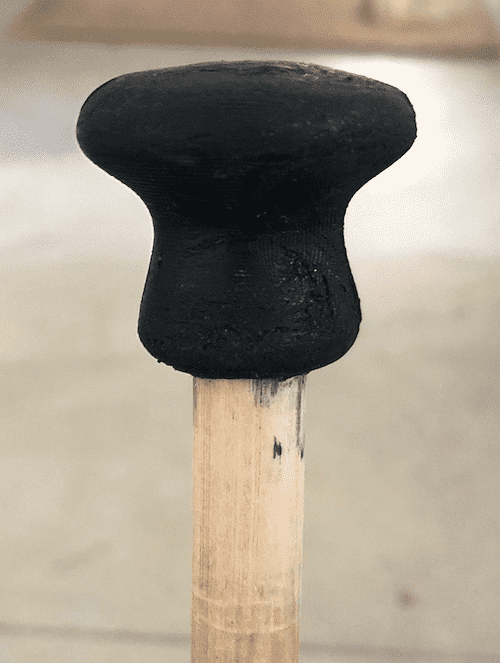
Casting the Resin
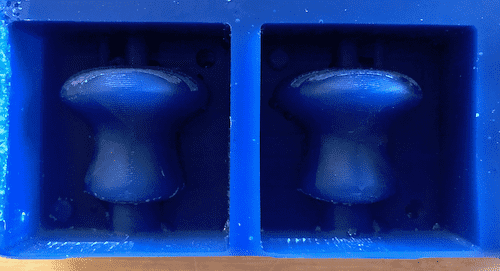
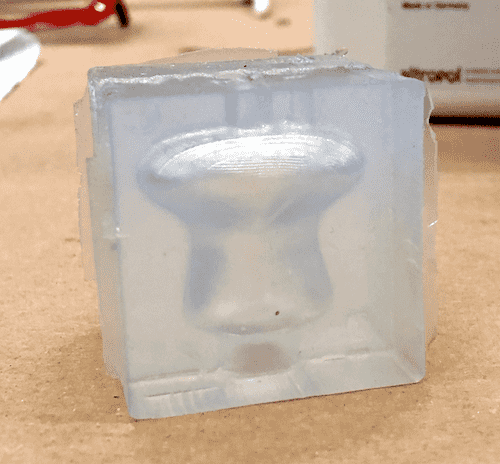
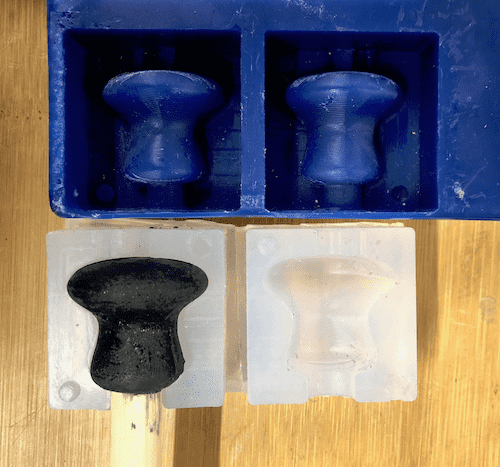
First it is important to prepare the shape into which we will cast the mold. The silicone is cut in the middle, then put together to create an inner volume into which we can cast our mold.
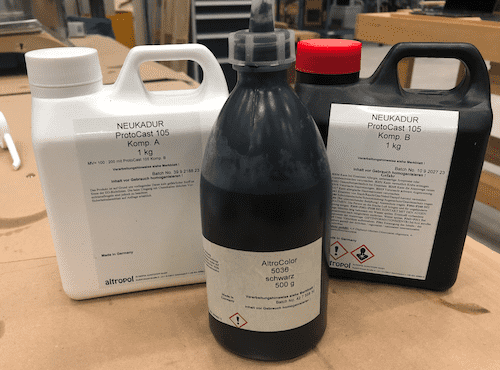
As casting resin we used Neukadur ProtoCast 105. Crytical is to keep in mind the mixing ratio, indicated in the datasheet. Ratio of 100A:200B. As well as the pot life - 30 Minutes. This means how fast the mixture hardens.
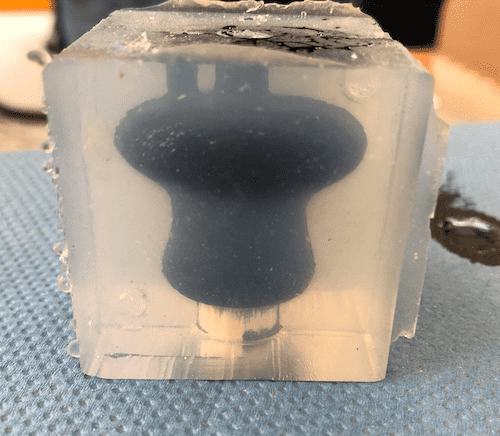
End result.

Download Files
STL-Files
Kicker BallFoosball Player
Protectiv Cap