18. Wildcard week
This week’s assignment:
individual assignment:
Design and produce something with a digital fabrication process (incorporating computer-aided design and manufacturing) not covered in another assignment, documenting the requirements that your assignment meets, and including everything necessary to reproduce it. Possibilities include (but are not limited to) composites, textiles, biotechnology, robotics, folding, and cooking.
Embroidery
Our Machine
This year, our Lab acquired an embroidery machine, and many of us have been excited to learn how to use it, and that is exactly what my coursemates & I decided to do this week.
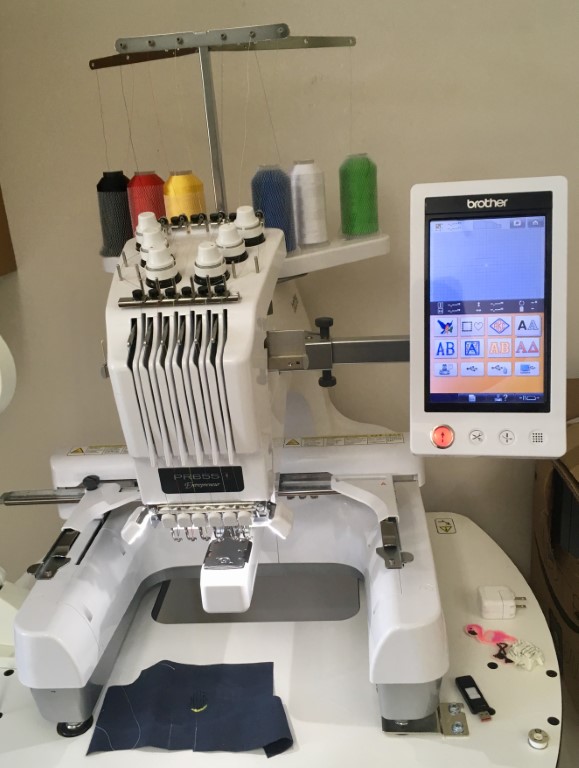
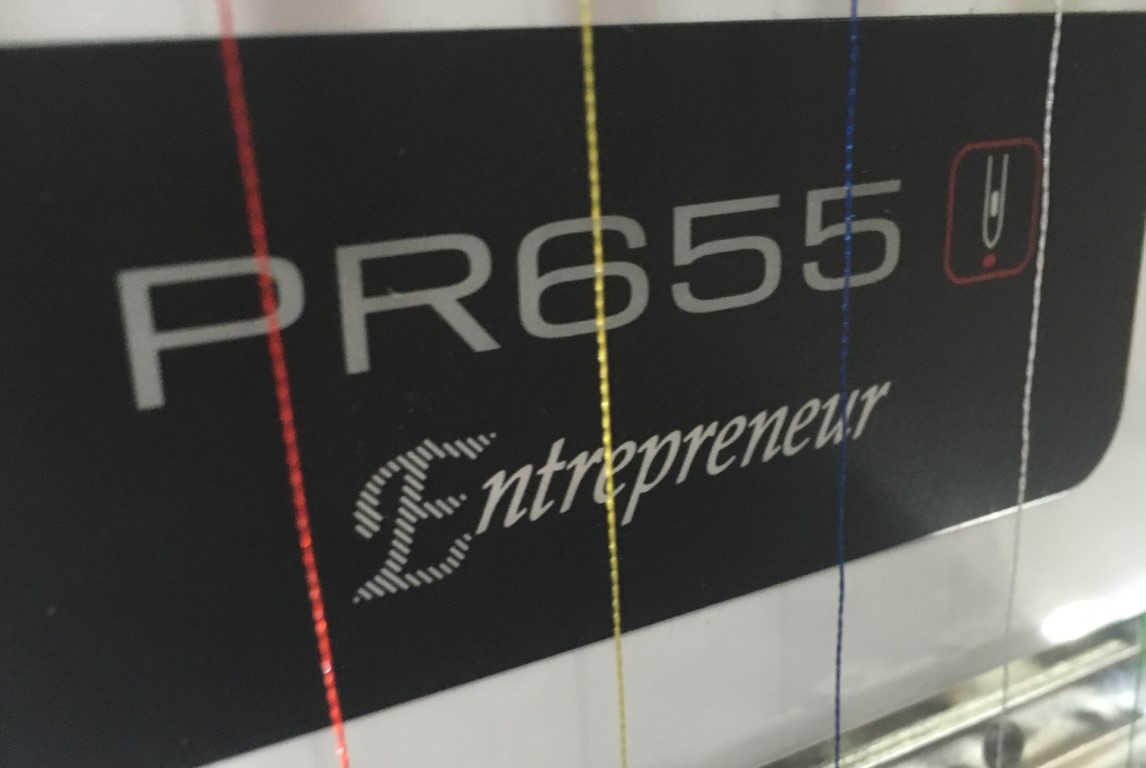
Our machine is a six needle Brother PR655 Entrepreneur.
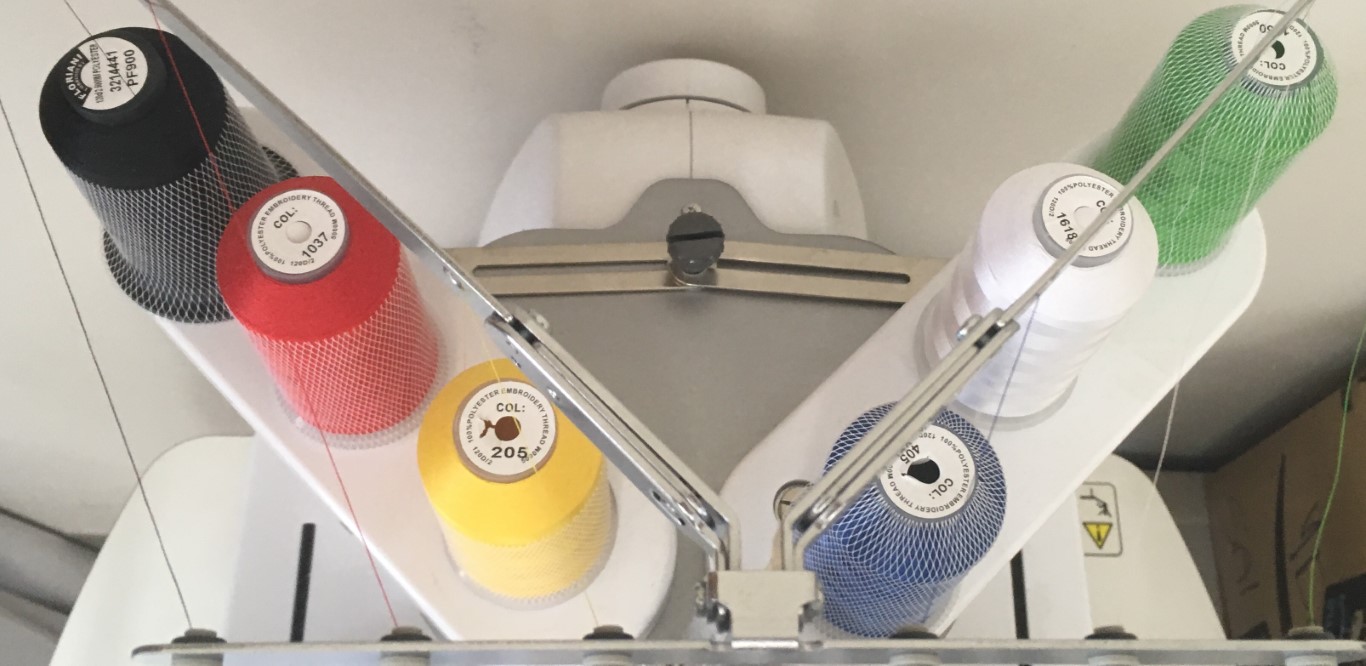
The machine has six needles, so we can simultaneously use six different colors of thread without having to switch any out. At the moment, we have black, red, yellow, blue, white, and green.
Software & Preparation
To produce designs, we used Inkscape and an open-source extension called Ink/Stitch, recommended by one of our instructors, Dr. Taylor, who learned about it at FAB14 in France.
Katie made a helpful reference guide for Ink/Stitch that I’ll include part of here:
- Inkscape Plug-in
Types of Stitch:
- Underlay - gives base, prevents fabric from bunching
- Fill Stitch - “coloring in area”
- Satin Column - cylinder that goes back and forth
- Straight Stitches
- Single Stich - Use dotted/dashed lines in Inkscape
Steps:
- Create Layers in Inkscape Hit plus sign to make new layer ex. Background layer and border layer Can switch order of layers in menu Can hide layers if want to set specific parameters Move to layer - select layer
Files:
- DST file type (most basic file type - cannot scale)
- PES file type (“Top tier” - Dr. David Taylor)
- Output file format (DST) with file path to USB
The installation process for the extension is a little tricky, so I was certain to follow the detailed installation instructions on the site.
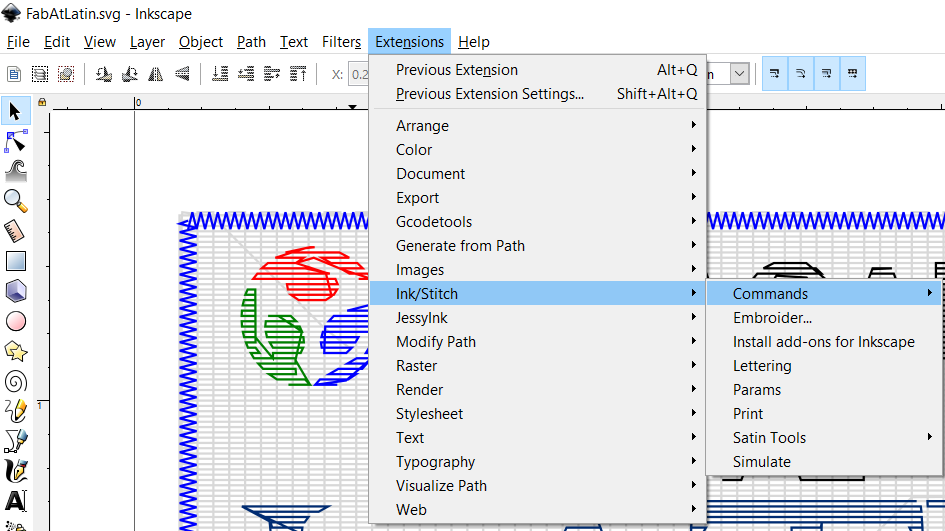
Once the extension is properly installed, it’ll appear under Extensions in the Inkscape menu, as seen above.
Design Process
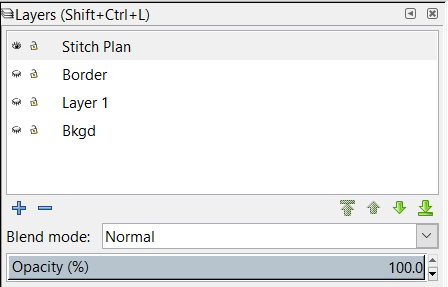
As outlined in Katie’s remarks, it is best to create layers in Inkscape to separate elements of the design. I had three layers: one for the background, one for the actual design (labeled Layer 1 in the screenshot above), and one for the border. The fourth one in the above image, Stitch Plan, is created by Ink/Stitch once you create an embroidery file. I created rectangles for the background (no line, white fill) and border (blue line, no fill) and imported my school’s logo and the Fab Academy logo. My school’s logo was already in SVG format, but I had to trace the Fab logo in Inkscape. Then, I had to use the Break Apart tool with both images to separate them into the individual letters.
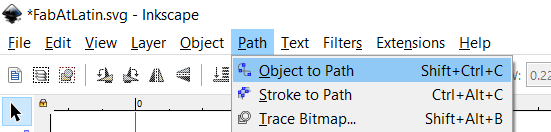
To make objects in Inkscape ready for processing with Ink/Stitch, they must be converted to paths, using the Object to Path function, shown above.
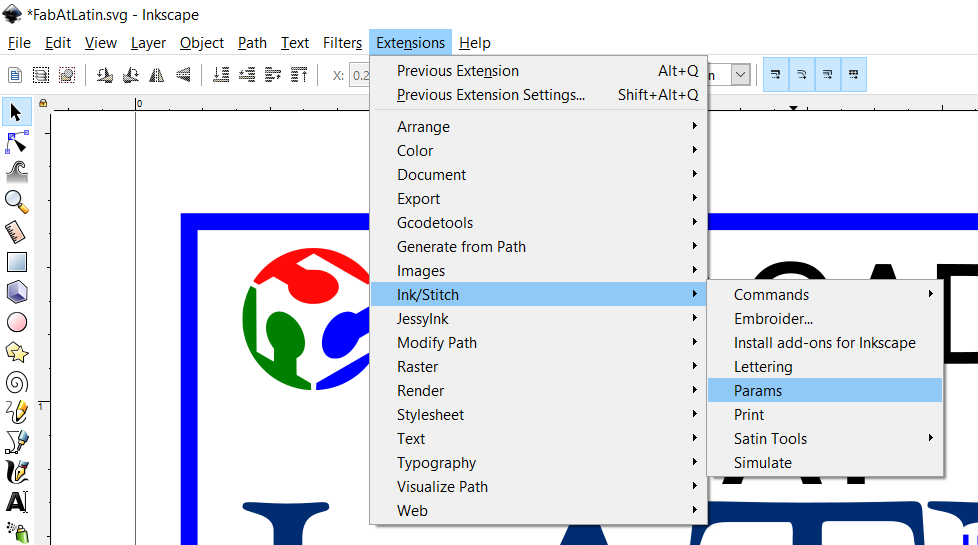
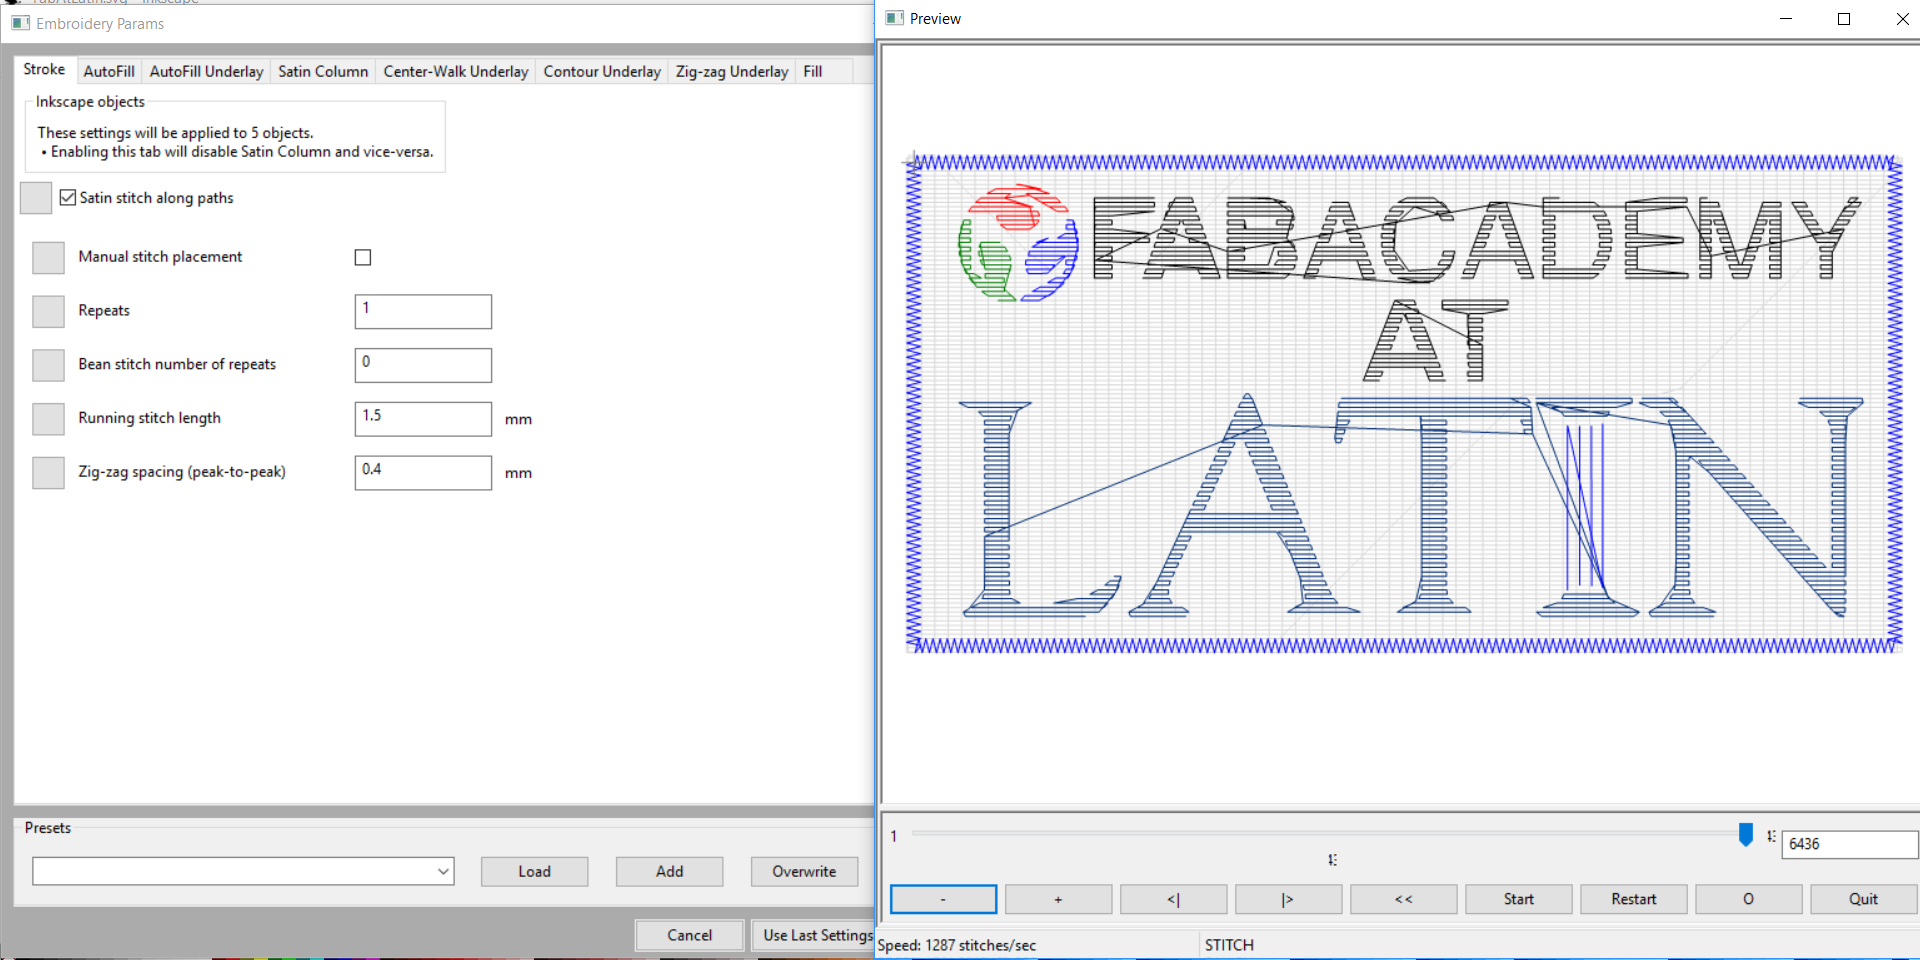
Once a path is ready to be processed, then next step is to run parameters in Ink/Stitch, shown above. This will bring up the windows shown above, where you can change various settings related to the stitching of the design and preview the stitch plan.
Running the machine
In the above video, you can see the process of loading a design file from a flash drive onto the machine and preparing to run the machine. First, I resize the design to fit the workspace I have. Next, I identify which color thread I wish to use for each part of the design. Note that some of the colors initially shown don’t match the colors in my Inkscape design (shown below); this is because the DST file type doesn’t include colors, just X & Y coordinates for the design elements. While this means that the prep process is a little more extensive on the machine, this format is very reliable according to Mr. Rudolph. After I set up the colors, I had a bit of trouble with the machine. Mr. Rudolph helped me troubleshoot it. In the end, we didn’t really figure out what the issue was, but after clicking through some menus, the issue resolved itself.
Once I was ready to begin, I unlocked the machine and pressed the button to begin embroidering.
Above, you can see a timelapse of the machine running. Only one needle runs at a time. In reality, the run took about 18 minutes.
Results

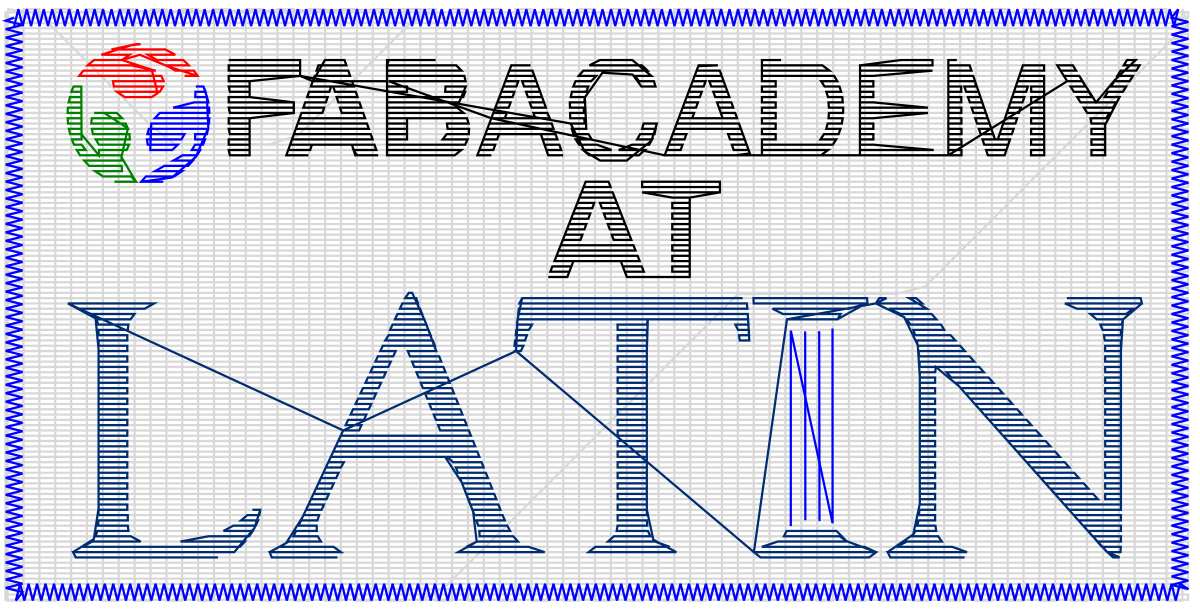
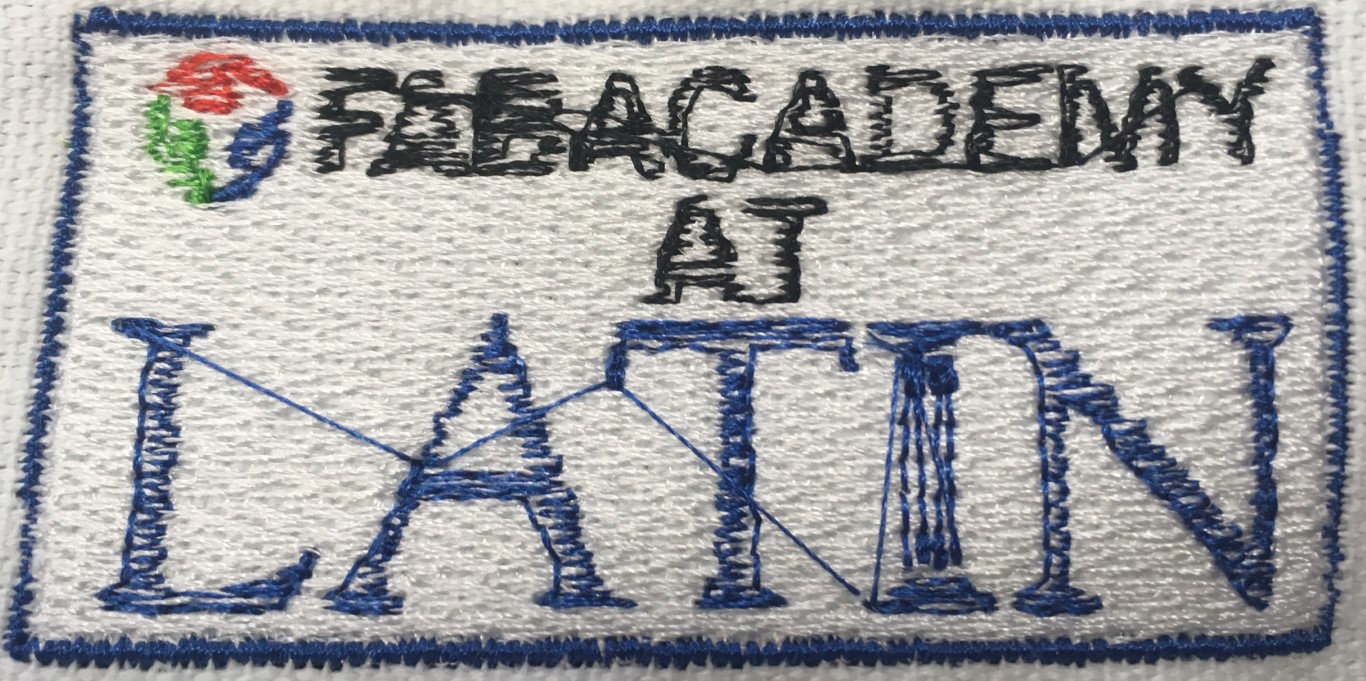
Above, a side-by-side comparison of my original design, the stich plan created by Ink/Stitch, and the final outcome.
My Design Files (.SVG Inkscape file & .DST embroidery file, .zip folder)