1. Principles and practices
This week’s assignment:
plan and sketch a potential final project
I also worked ahead to get this site up and running.
Research
In brainstorming this possible final project, I made a list of the machines/processes that we will be covering in this course to make sure an idea could encompass as many of the options as possible. I also considered my interests, those primarily being aviation, travel, and technical theater. I’m not certain how this particular idea came to me, but as soon as it came to me, all the gears in my head finally started turning. Within minutes, I had a pretty good idea of what my project might look like. While rudimentary at the moment, I hope that with more thought and learning more about these machines & processes, I will be able to create a solid final product. With that being said…
Potential Final Project #001
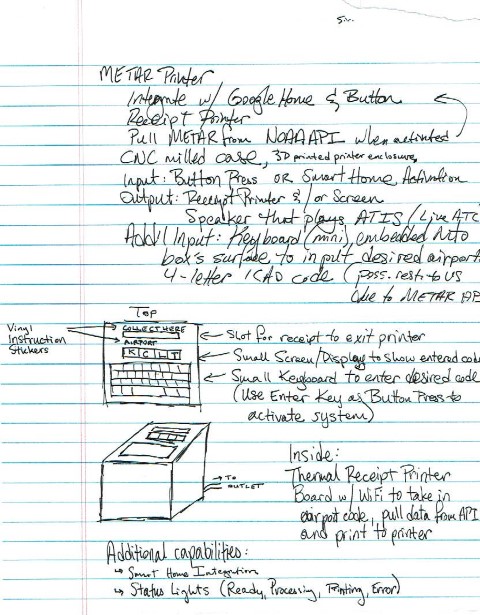
A quick sketch and lots of rapid-fire ideas for features & components
My idea for my final project is a METAR Printer. You might be wondering, “What is METAR?” According to Wikipedia, which can explain it much better than I can:
METAR is a format for reporting weather information. A METAR weather report is predominantly used by pilots in fulfillment of a part of a pre-flight weather briefing…METAR is also known as Meteorological Terminal Aviation Routine Weather Report or Meteorological Aerodrome Report.
In essence, this machine would accept user input, either for a predetermined airport (likely that nearest the machine’s location), or possibly the desired 4-character ICAO airport code, which could be entered using a keyboard included in the interface’s panel. Once activated, the machine would pull the corresponding METAR from the Aviation Weather Center’s Text Data Server, run by NOAA (Natl. Oceanic & Atmospheric Admin.) & the NWS (Natl. Weather Service). When the information is received, it would be sent to a thermal receipt printer to be printed. The user could then collect their weather report and read it, post it, etc.
Here’s an example of a METAR from the AWS’ website accurate at the time of writing:
KCLT 211952Z 31007KT 10SM FEW250 02/M22 A3043 RMK AO2 SLP311 T00221217
To decipher it takes some practice. Ready? KCLT is the ICAO code for Charlotte-Douglas Intl. Airport, my home airport. 21 is the day of the month, 1952Z is the time the report was created (19:52 UTC or 14:52 local), 310 is the direction in degrees from which the wind is prevailing, and 07KT is the windspeed (7 knots). 10 is the visibility in statute miles (SM), and there are few clouds at 250 hundred feet, or 25000 ft. The temperature is 02 degrees Centigrade, and the dew point is M(inus) 22 C. Finally the A(ltimeter) setting is 3043, or 30.43 inHg, which is what the altimeter must be set to in order to show an aircraft on the ground at the airport at the airfield’s actual elevation above sea level.
As someone who likes to know the current weather before heading outside, I think this would be a fun and useful project as it puts a bit of aviation into my routine. Besides METAR, the machine could also pull TAF (Terminal Aerodrome Forecast) information from the server, which provides the weather forecast for a certain number of hours into the future.
Update
I realized that Potential Final Project #001 was not complex enough for a final project. See Potential Final Project #002 in Week 2 for documentation regarding new ideas.
Software I installed for this assignment
- Image Resizer This software (Windows only) makes it very easy to compress a batch of images instantly.
- Brackets I am using the Brackets code editor per the recommendation of my instructor. So far, I really enjoy the UI, and it does offer a nice Live Preview feature when editing HTML code (though this website is written in the Markdown language).
- GitHub Desktop I chose to use GitHub Desktop and edit on my desktop instead of the GitLab web portal because it allows me to have a copy of all my site files on my hard drive in case of some sort of failure on GitLab’s servers, and I can still edit site files while offline.
Additionally, I am using the native Snipping Tool on my Windows PC to capture screenshots for this site, and my browser of choice is Google Chrome.
Links I found helpful for this assignment
- Instructions for using GitHub Desktop with GitLab This extremely helpful and detailed article guided me step-by-step through the process of integrating GitHub Desktop with GitLab. Note: for me, the authentication modal discussed in step 3, subsection v did not appear until I tried to push an edited file back to the origin repository (GitLab). Then, as written in the article, I entered my account email in the field labeled username, and my SSH key in the field labeled password. For this reason, it is crucial to copy & paste your SSH key into a text file or document when you create it so that you have it in case you need to authenticate again, or if you get a new computer and want to have the same setup on that computer.
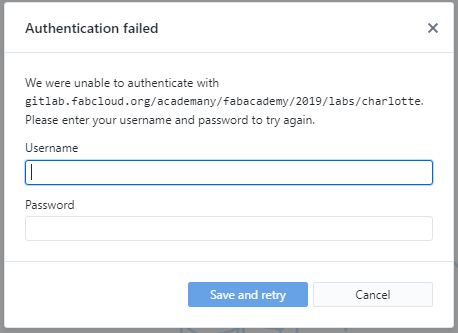
The aforementioned authentication modal in GitHub Desktop
- Cheatsheet for Markdown coding This cheatsheet has proven to be indispensable for me to quickly understand how the Markdown language works. This is my first time using Markdown, so it has been a lot of trial-and-error work to get this site working, but this page has made it a lot easier.
- Mkdocs Documentation This site uses Mkdocs, a static site generator written in Python, and this documentation has helped me understand how to change this site’s font, color scheme, logo, and social links.
Site Configuration
My code for my mkdocs.yml file, which is essentially the configuration for the site is as follows at the time of writing:
# Replace the text below to customize your site
site_name: Kai Vincent - Fab Academy
site_description: My FabAcademy site

site_author: Kai Vincent
docs_dir: docs
site_dir: _site
copyright: Creative Commons Attribution-ShareAlike 4.0 International License #[1]
   # failed linking [1]: https://creativecommons.org/licenses/by-sa/4.0/
#Creative Commons Attribution Non Commercial
theme:
  name: material
  # see https://squidfunk.github.io/mkdocs-material/getting-started/#color-palette
  palette:
    primary: "purple"
    accent: "deep purple"
  font:
    text: 'Poppins'
    code: 'Ubuntu Mono'
  feature:
    tabs: true
  logo:
    icon: 'local_airport'
  #favicon: 'favicon.ico'
extra:
  social:
    - type: "globe"
      link: "https://sites.google.com/a/charlottelatin.net/kv-portfolio/"
    - type: "linkedin"
      link: "https://linkedin.com/in/kai-vincent"
   # - type: "instagram"
    #  link: "https://instagram.com/fabacademany"
    # - type: "twitter"
      #link: "https://twitter.com/fabacademany"

markdown_extensions:
  - extra
  - smarty
  - admonition
  - codehilite:
      guess_lang: false
  - toc:
      permalink: true
This code, along with the rest of the site, was included as a template when I accessed my GitLab repository. As you can see, I have commented some lines out. For example, I attempted to link the copyright license to its corresponding page on the Creative Commons website. I also found the link to the aforementioned Mkdocs documentation in this file. I also tried multiple times to edit the favicon for my site to match the logo of my site, but my attempts always resulted in a blank page icon  where the favicon should have appeared. I also edited the social media links to show my Engineering Portfolio and my LinkedIn profile.
Trials & Tribulations
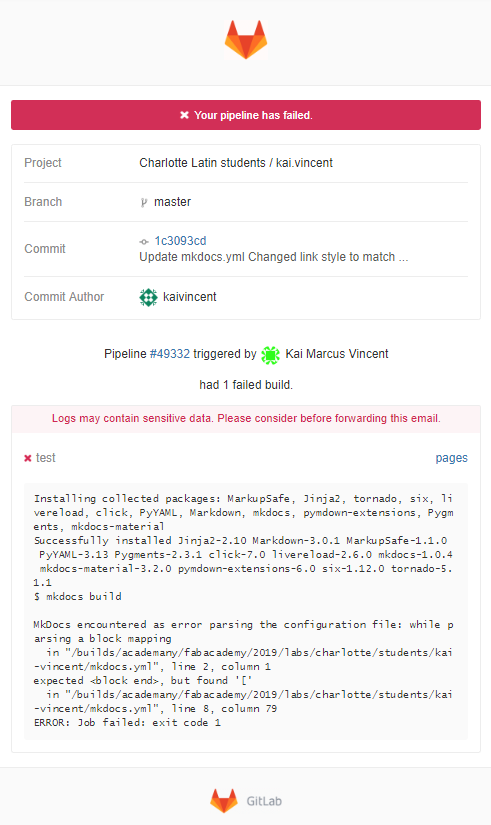
Visible on the GitLab pipelines dashboard and sent automatically via email, failure alerts like this one detail where and what errors exist in your commit.
When I began to try editing more advanced components of my site config file and then my home and about pages, I began to receive many pipeline failure alerts when I committed changes and pushed them to the origin repo (my GitLab repository). Luckily, these alerts, while often hard to read, list a good deal about any error(s) encountered, including the line and column of the error in the code, and an error message, which can often be Googled to find solution documentation with decent success. If you’re experiencing an issue, it’s likely that someone else has already encountered it, so be sure to search your issue before opening a thread on a forum.
Site Workflow
After successfully setting up Brackets and GitHub Desktop to work with my GitLab repository using the article listed above, I opened my local repository folder on my desktop (in the location I chose while setting up the repo clone on GitHub Desktop) in Brackets.
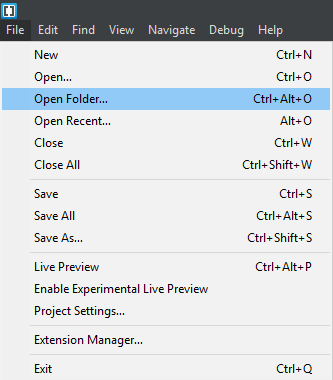
This screenshot shows the menu path in Brackets to open a folder.
By doing so, all of the files within the folder are neatly listed in the left toolbar in Brackets so that you can easily switch between files, as seen below.
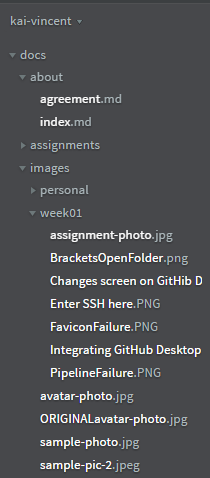
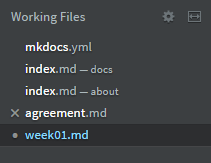
Also, all files that you edit while in Brackets are listed under Working Files in the upper left corner, which is useful if you need to switch quickly between a few files you are editing simultaneously (any changes you make are not lost when you switch between files in this view, even if you haven’t saved yet. Just be certain to save before you close Brackets!)
While you are in a file, there is a handy readout at the bottom left corner of the coding screen that lists the exact line and column location of your cursor, which can be useful if you are trying to find the location of an error listed in a pipeline failure. Also listed is the total line count of the file.

Once you save your code and are ready to commit it to your GitHub repo and push it to your origin GitLab repo, go to the GitHub Desktop screen.
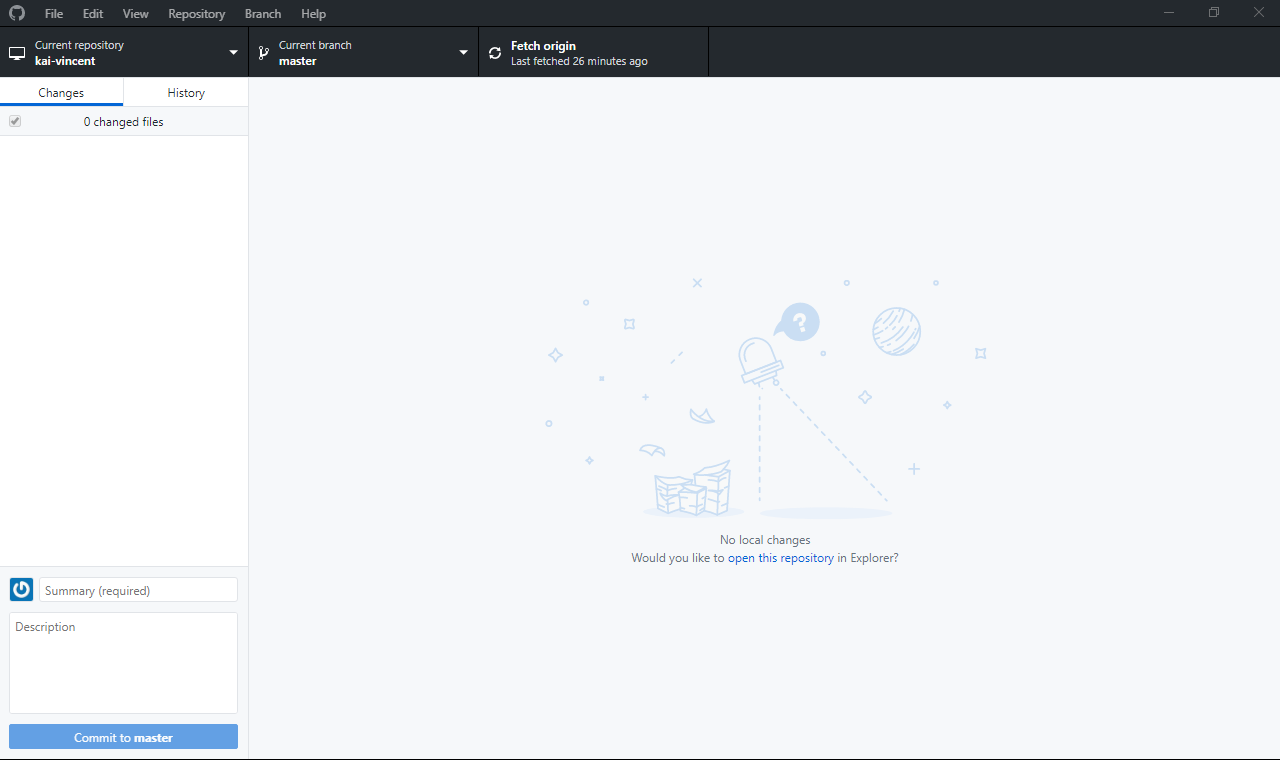
View of the GitHub Desktop dashboard without any file changes
Once the program detects your local changes to files (or additions of folders, images, or other new files, which you can do by saving to or copying and pasting to the desired location in the same local repo folder on your hard drive), it will display the changes and provide fields in the lower left corner to document a summary and description of the changes. These entries will be saved to both GitHub and GitLab (once you push the commit to the origin repo). This is especially useful if you do many commits in close order and one/multiple fail, as you will know which file(s) and what specific changes need to be looked at.
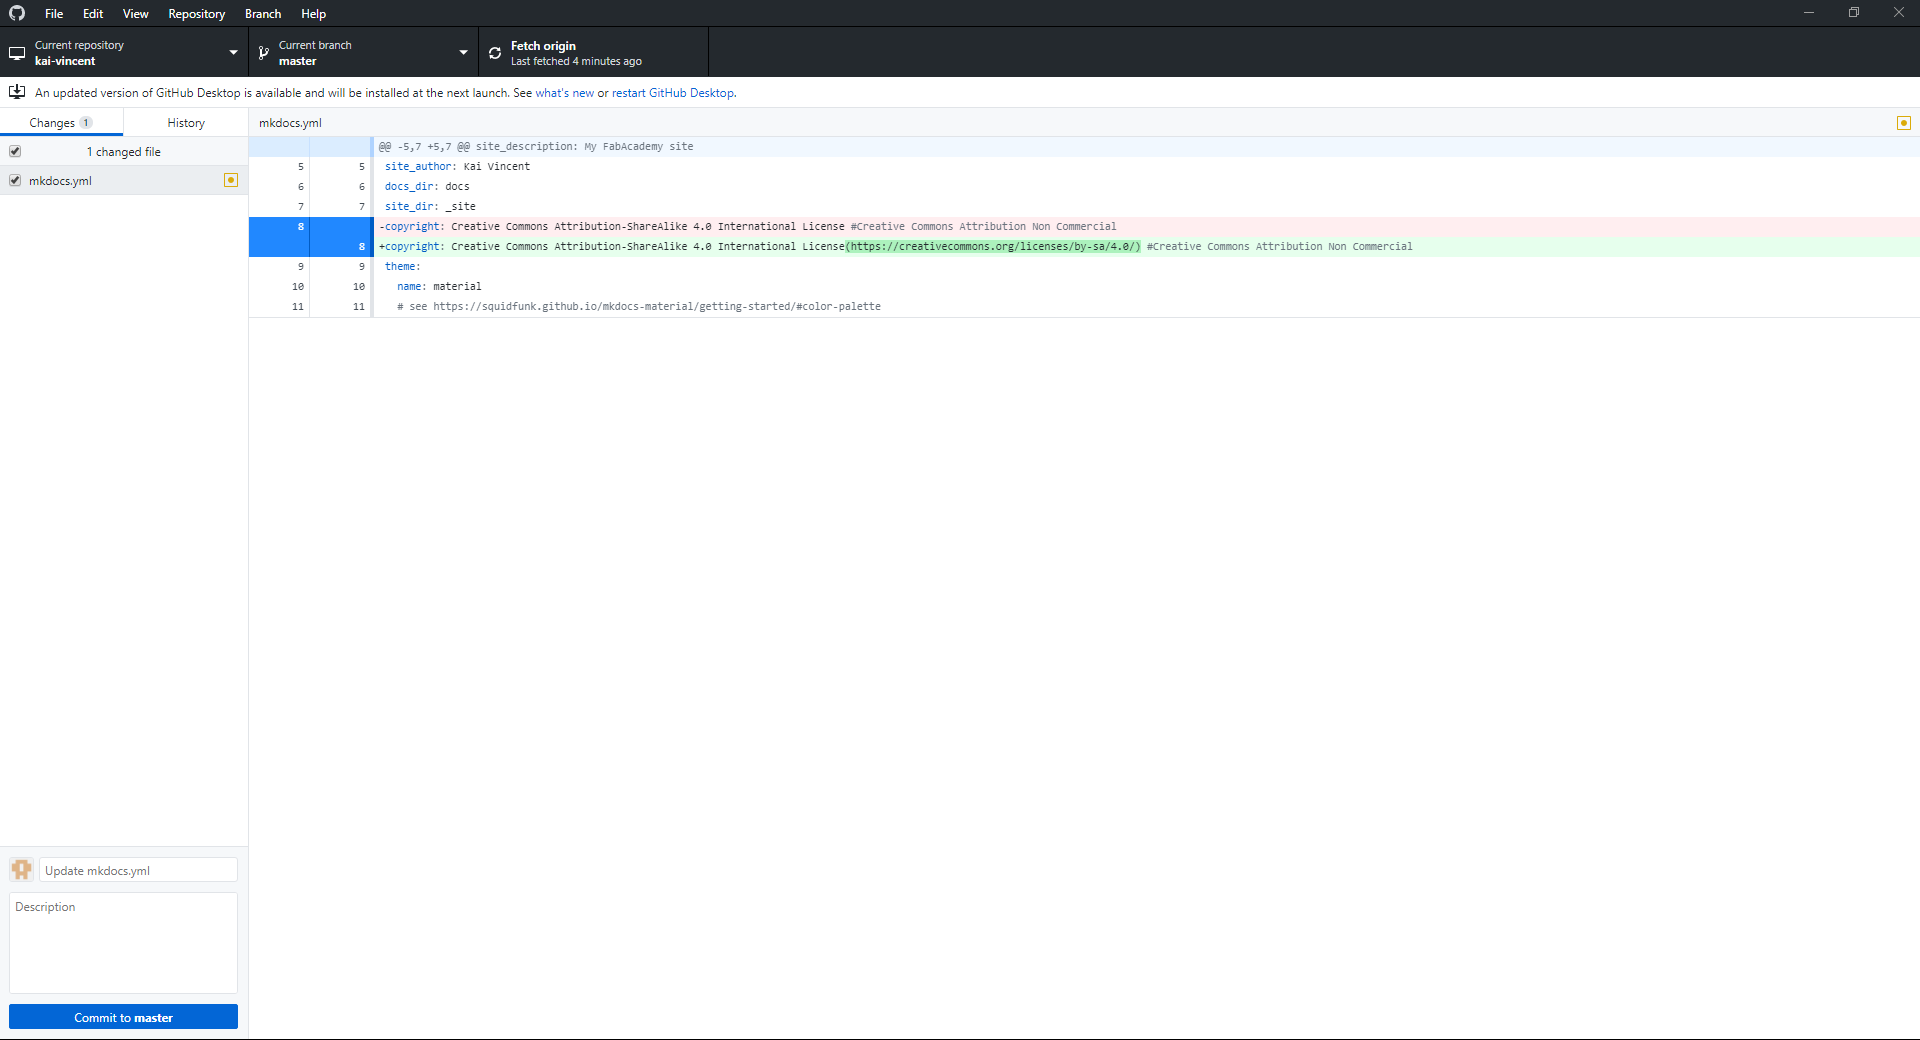
View of the GitHub Desktop dashboard with file changes
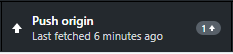
Once you have committed all changes and are ready to push the changes to the origin repo at GitLab, simply click the Push Origin button in the toolbar.
You can monitor the progress of testing (GitLab tests your changes to make sure they don’t bring your site down; if any issues are detected, you’ll receive one of the aforementioned Pipeline Failure messages) on your GitLab Pipeline dashboard. Once you see that the most recent commit has passed, you can refresh your live site to see the changes.

