
Goal | Class Archive | Video | Challenges | Related Classes | Class Notes | Review Materials | Assignment
Goal
* design and 3D print an object (small, few cm) that could not be made subtractively
* 3D scan an object (and optionally print it)
Video
Challenges
this is text
Class Notes
this is text
Review Materials
this is text
Assignment
3D Scanning and Printing (attempt with 123D Catch)
There’s a cool lion statue, down the street from the South End Technology Center. I wanted to capture it using 123D Catch on my iPhone.
With the app, I can take a series of pictures around the subject which are assigned different angles. The app uses the device’s accelerometer to sense the different angles.
I tried a couple times to capture the lion. As a free app, there’s not much support and the model can take several hours to process once loaded to Autodesk’s service.
3D Printed Sprite Art Halloween Toys for Kids
The inspiration for this project is “Super Mario 8-bit Mushroom Keychain” (http://www.thingiverse.com/thing:510663)
I would like to define a workflow for creating sprites (2D artwork created from a matrix or pixels). I would then convert the 2D design into 3D. Finally, the art would be printed using a Makerbot Replicator 2.
Creating 2D artwork
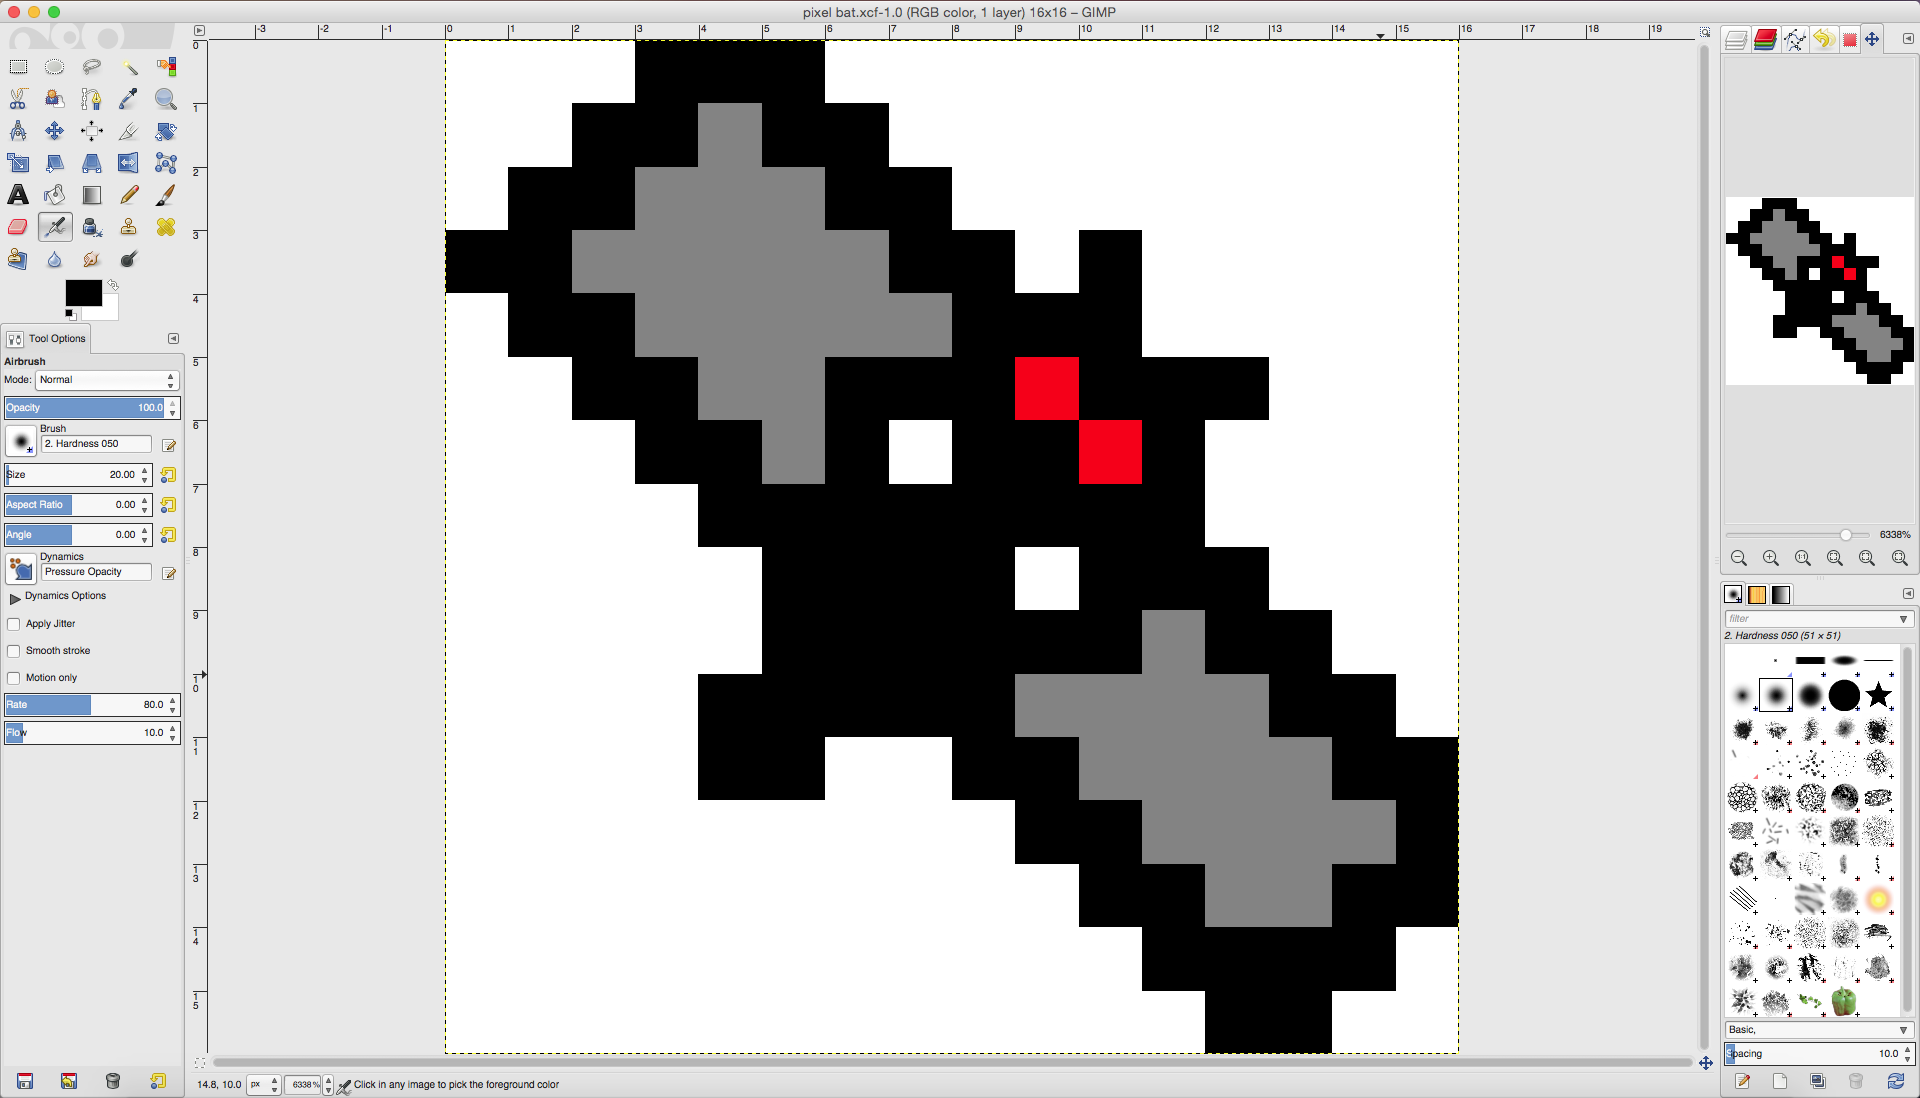
In GIMP, I created a 16×16 graphic. I defined a grid that was spaced by 1 pixel in each direction. I defined a one pixel brush without antialiasing.
Using the grid, I designed two sprites (a pumpkin and a bat).
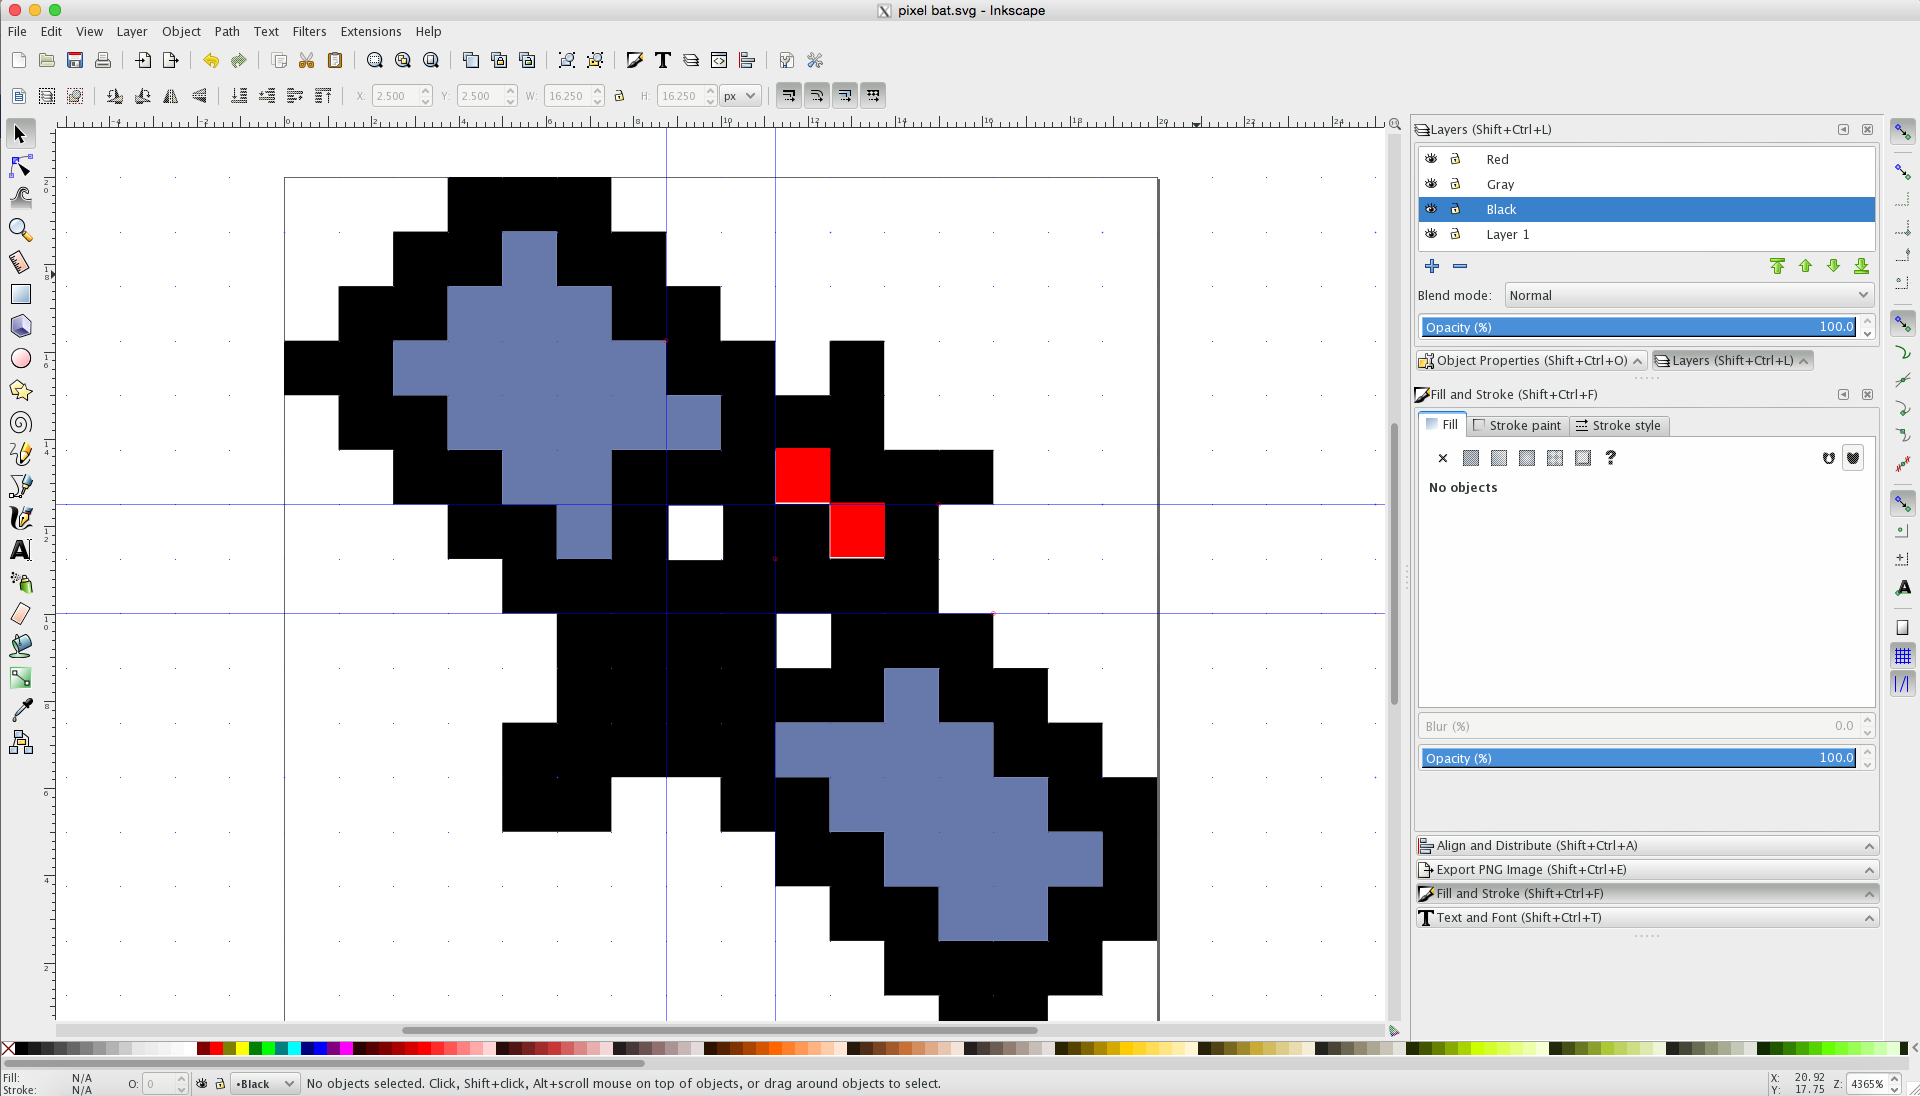
The next step, I had to convert the the PNG to an SVG. In Inkscape, I modified the document properties to match the size of the PNG files. I also created a similar grid to what was made in GIMP. I described the design parametrically by creating different colored rectangles. Once a whole set of one color was on the document, I selected all the shapes and created a union. I repeated the process for each color and saved the document as an SVG.
Going from 2D to 3D
In Blender, I imported each SVG. I learned it is important to work within the native Blender units instead of describing the object in Imperial or Metric units. The reason for this, Makerbot Desktop imports models in mm units.
I aimed to make each part approximately 5 cm in width. So, I scaled up my model to 50 units width. It is important to always apply transformations once they are done in Blender.
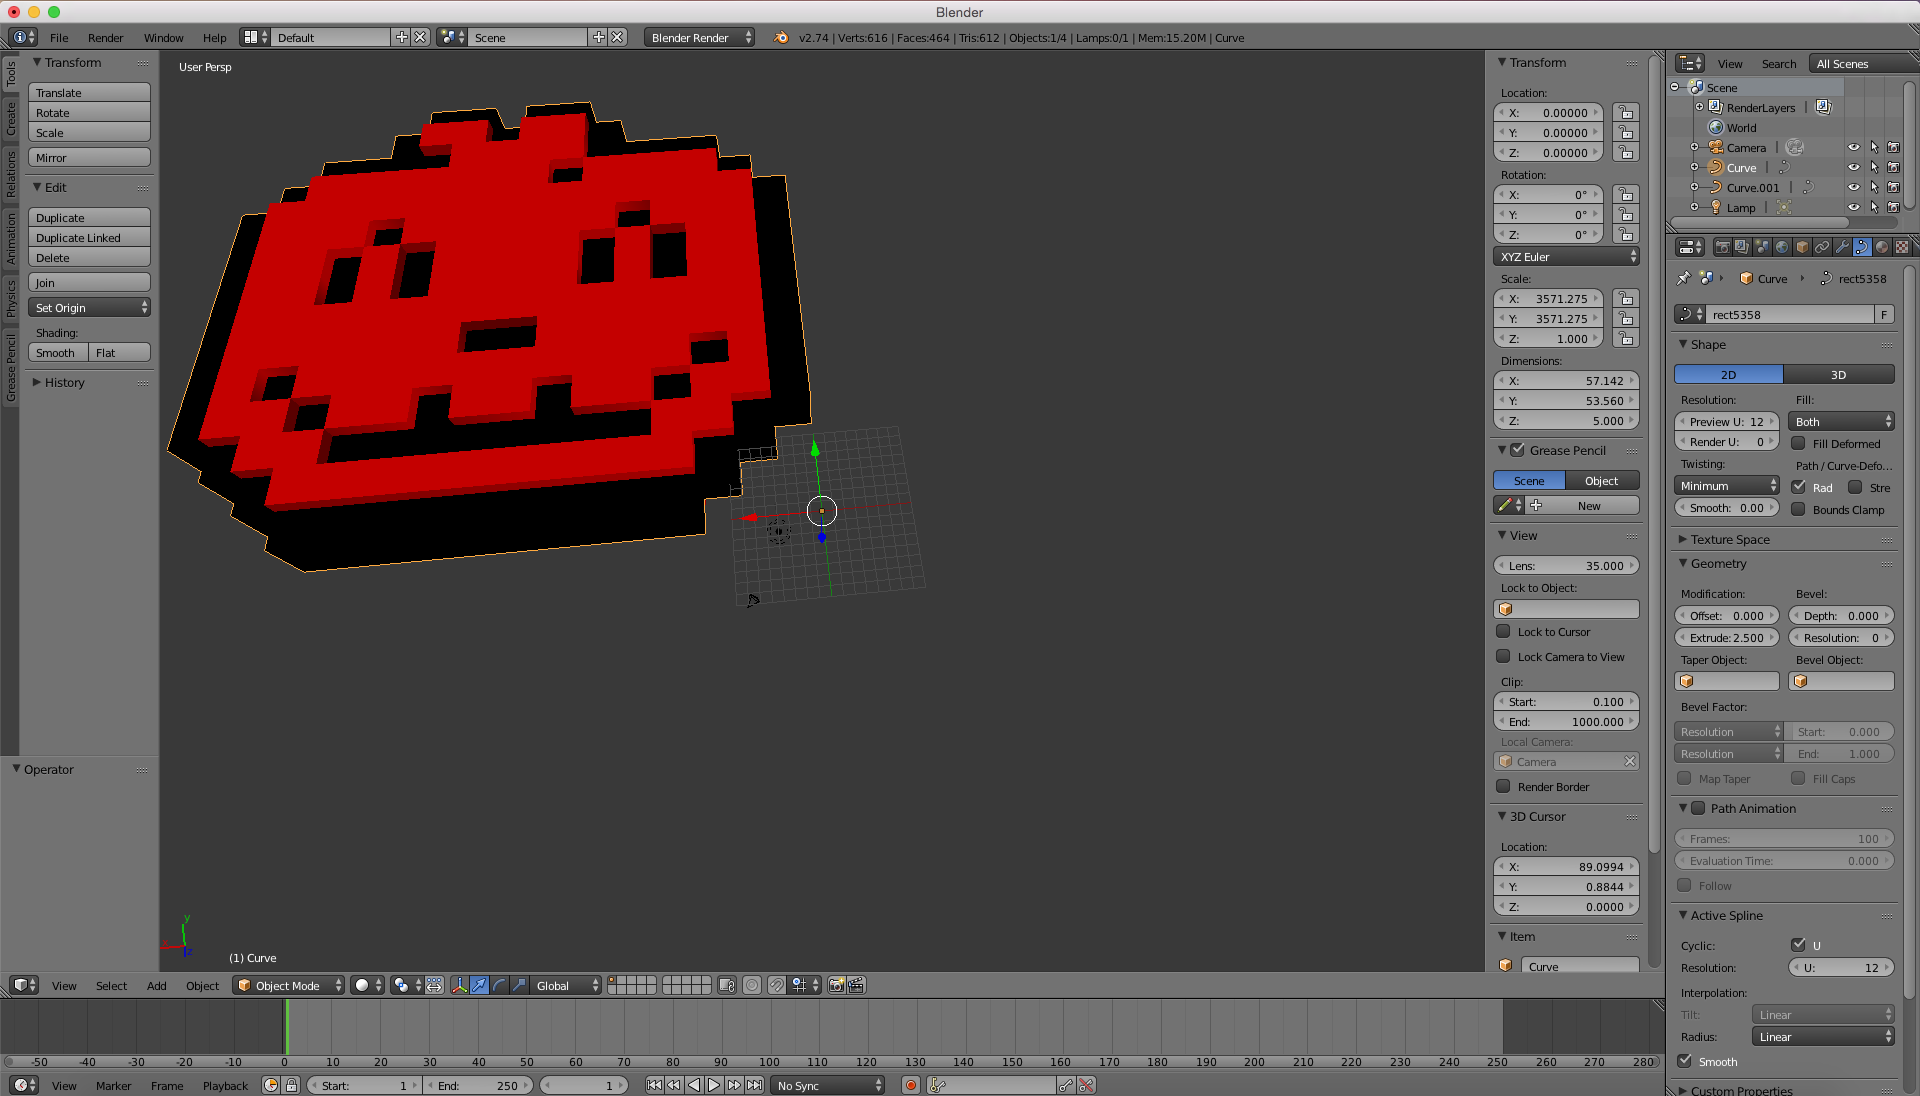
In order to make the design 3D, I used the extrude effect on each layer of curves. Each color of the design is imported into Blender as its own layer of curves. When making the pumpkin design 3D, I decided to give different heights to each “color.” I then joined the layers and created a mesh from the resulting model. In this way, I was able to do a single pass in printing out the part. For the future, different colors can be exported to individual STL files. I can then assemble a multi-colored model from different extruded filament rolls.
Printing the 3D model
In Makerbot Desktop, I added the STL files. There is a automatic level of error correction in the program. It will ask to orient the part to the platform of a simulated Makerbot. The program also asks to scale the part. Especially in cases where the model is pieced together from separate parts, it’s important to maintain control of the size/scale of each part. You can select a scale option on the left side of the HUD. You can freehand scale the part, or enter in values for X, Y, and Z dimensions.
I first attempted to print out a bat design. Overall, the part was basically the same shape. I did experience, however, some curling of the part during the print process. In order to troubleshoot, we replaced the build plate tape. A dirty build plate or tape can contribute to curling. I also leveled the build plate a couple times to try to resolve. Thinking that the part needed support, I printed with the raft on. Still, the part continued to print and curl. Finally, I realized that the filament extruded was not PLA. We, in fact, were using ABS which requires a heated build plate. I replaced with normal PLA and the problem was resolved.
files:
pixel bat (png, svg, stl, thing)
pixel pumpkin (png, svg, stl, thing)