Bonus?!
Everyone loves a freebie! My Week 3: Computer Controlled Cutting post was already on the long side, so I'm splitting the "extra credit" work off to this post.
So what's the bonus?! Well I tried the vinyl cutter, and cut my word clock model from Week 2 out in cardboard.
The Vinyl Cutter
This parts going to be the quickest write up I do. I tried to cut out the Fab Lab logo in vinyl. It worked.
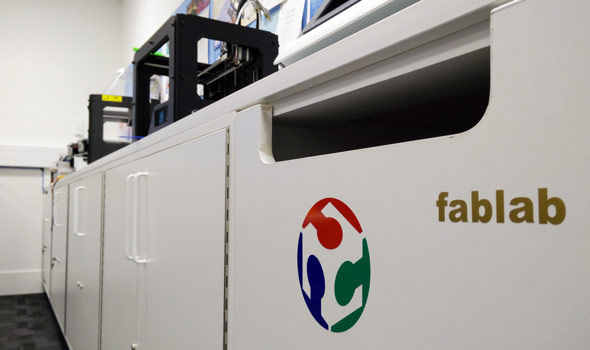
I did three. One for the lab, one for my logbook and one for future graffiti-ing. The only slight mishap I had was when I tried to cut directly from a roll of vinyl and for some reason it decided to set the origin at the END of the roll. I wish I had a photo of my face as several meters of vinyl come shooting out the front of the plotter.
The Cardboard Word Clock
Since I had a spare sheet and a half of cardboard left, I thought I would try cutting out the V2.0 model of the word clock.
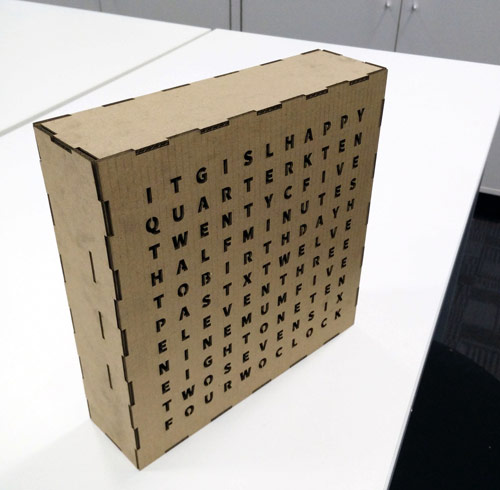
Cutting the panel with the front face took just over 8 minutes, which was a lot less than I was expecting with all the fiddly letters to cut. Once again the cardboard impressed me. I fully expected the tiny little struts holding the middle of letters to break but the amount of detail the cardboard held was excellent.
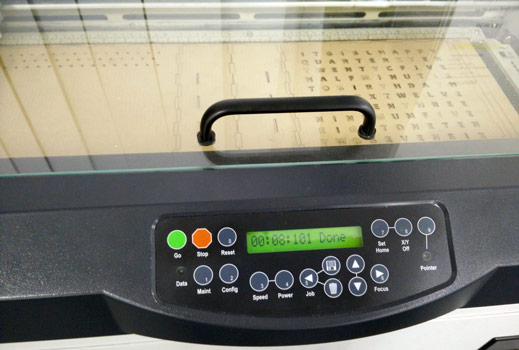
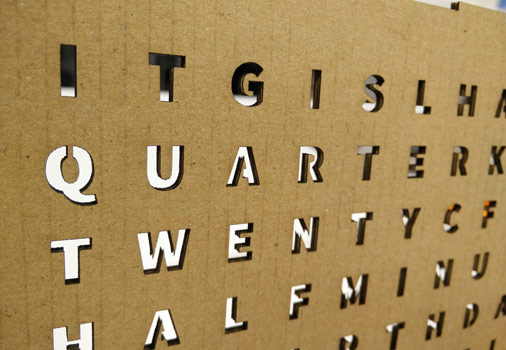
I was left with a lovely little pile of cardboard letters that I can't quite bring myself to throw out.
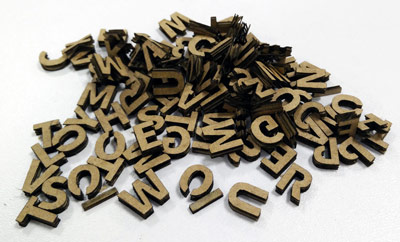
Cutting the clock out in cardboard was exceptionally useful for checking my design. The grid worked out great (even if I did't have quite enough cardboard to hand to cut all of it out).
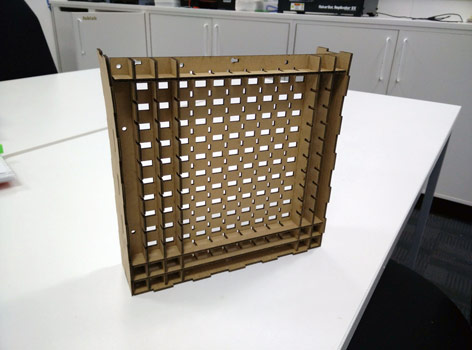
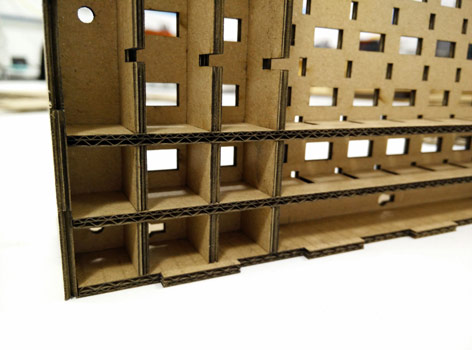
When putting the middle grid together with the back and sides I realised I had forgotten to chamfer the tabs, which made getting everything together a bit of a guddle.
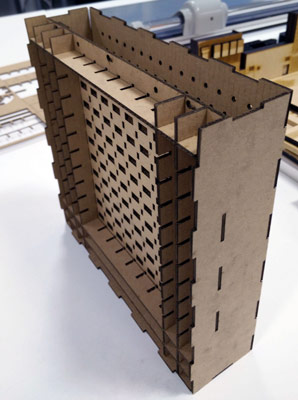
But hey, that's why I was cutting it out in cardboard in the first place - to find these things out! I also had my first disappointment with the cardboard, which didn't help with getting the frame together. The sheet I was using had been badly stored and had a pretty bad bend in it. It hadn't mattered for the press-fit kit because the pieces were so small, but for the long edges of the clock it was pretty obvious.
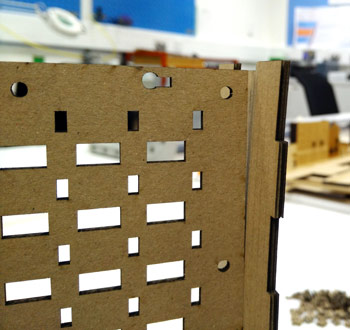
On the bright side, my experimental LED support structure and clip looks like it's going to be just the ticket.
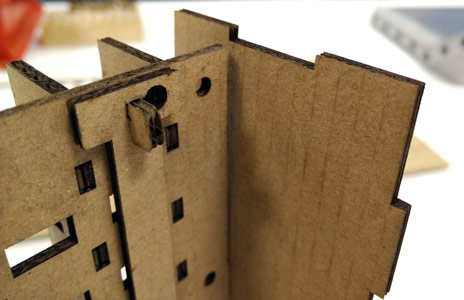
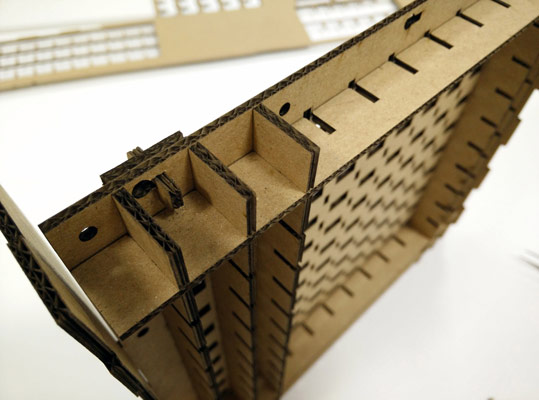
It's a little early to call it perfect. I still need to try in it ply to check it doesnt flex too much in the middle and let the LED strips slip, and the slot in the middle plate is a wee bit near the edge for my liking. I'll give it a bash as is though and can always fix it if it does become a problem.
Get The Files
For the Fab Lab logo I never even saved the file. I just loaded a png of the logo in Inkscape, did a bitmap trace and sent it straight to the plotter.
If you want a cardboard word clock of your very own, as is usual with my bonus content, the files are all on my GitHub.
Comments
comments powered by Disqus