4/3/2015 // Electronics Design //
Planing
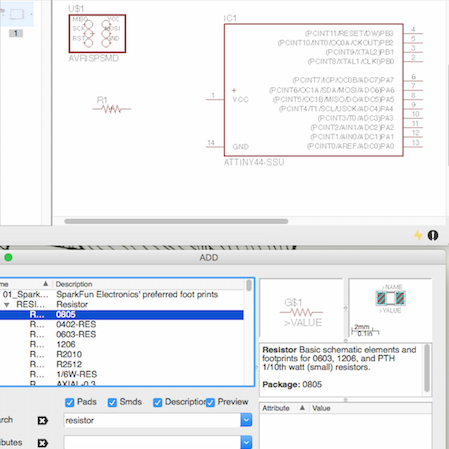
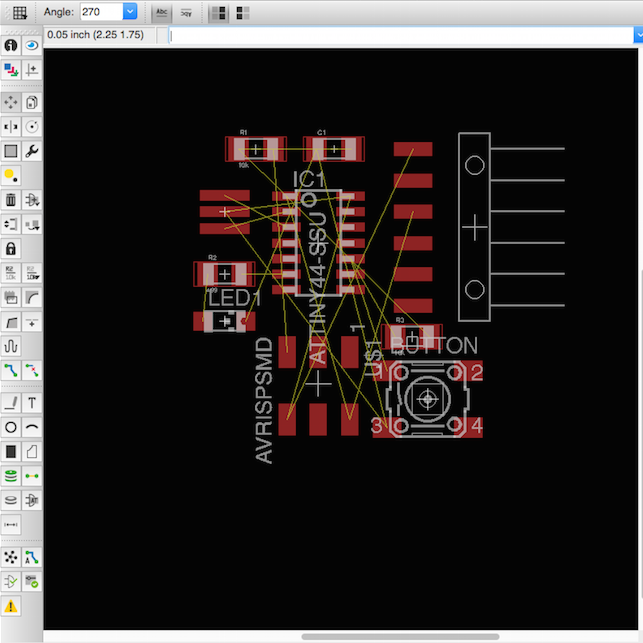
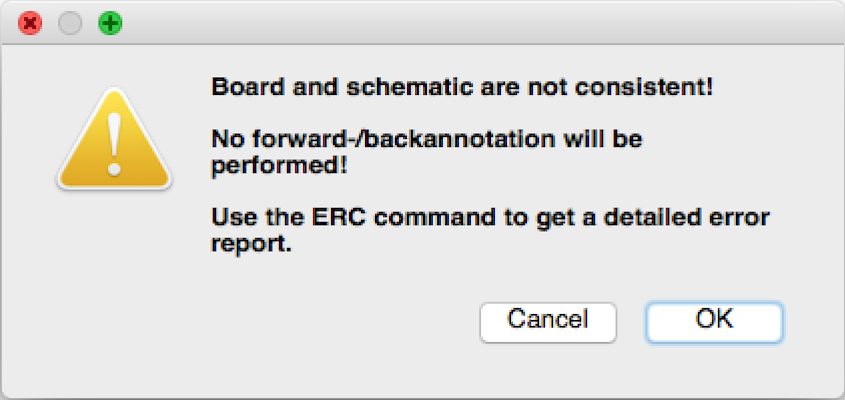
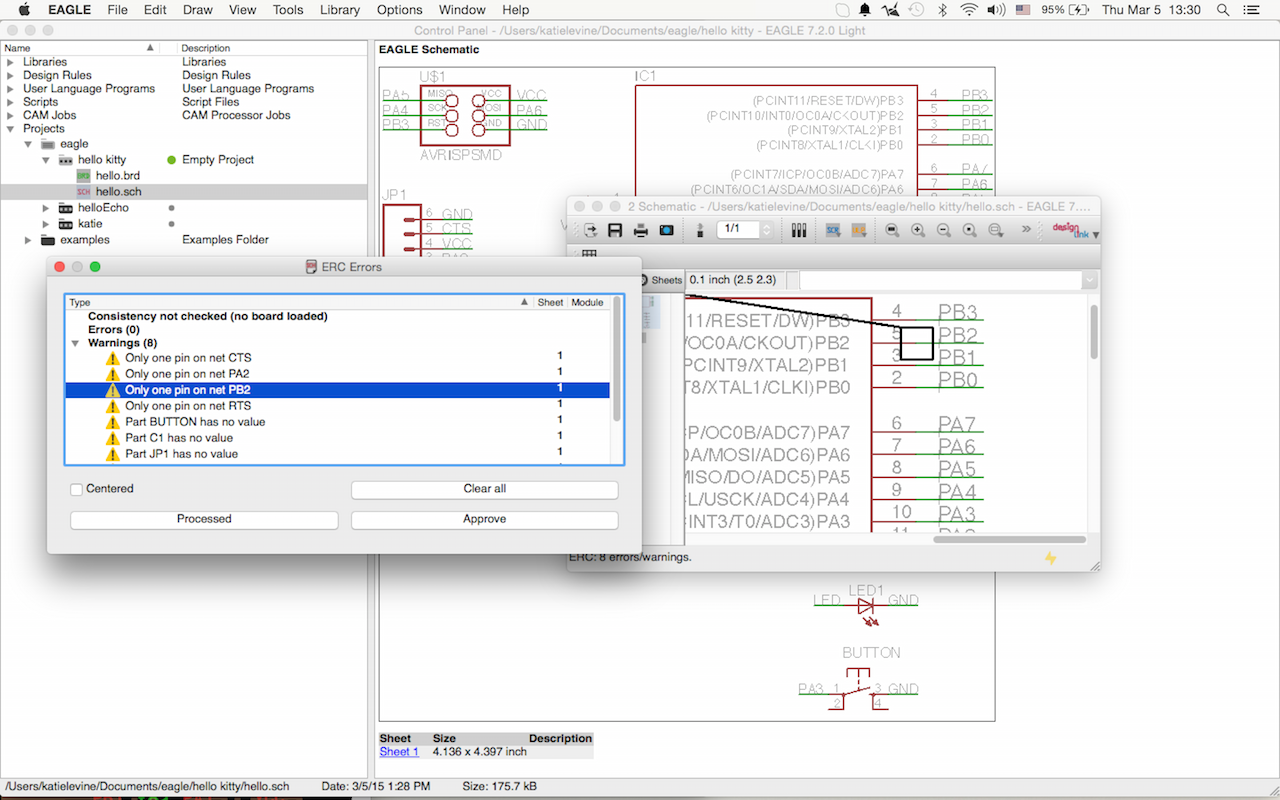
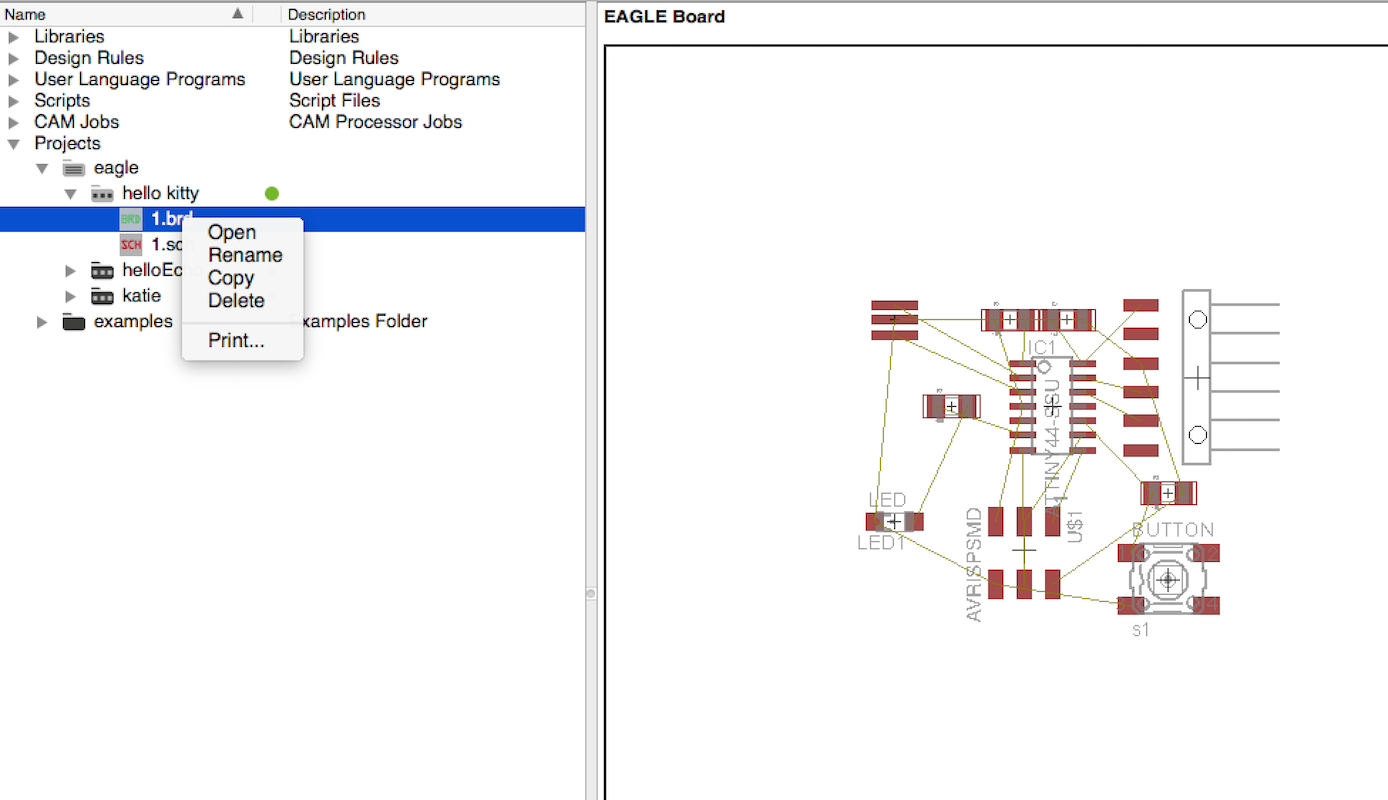
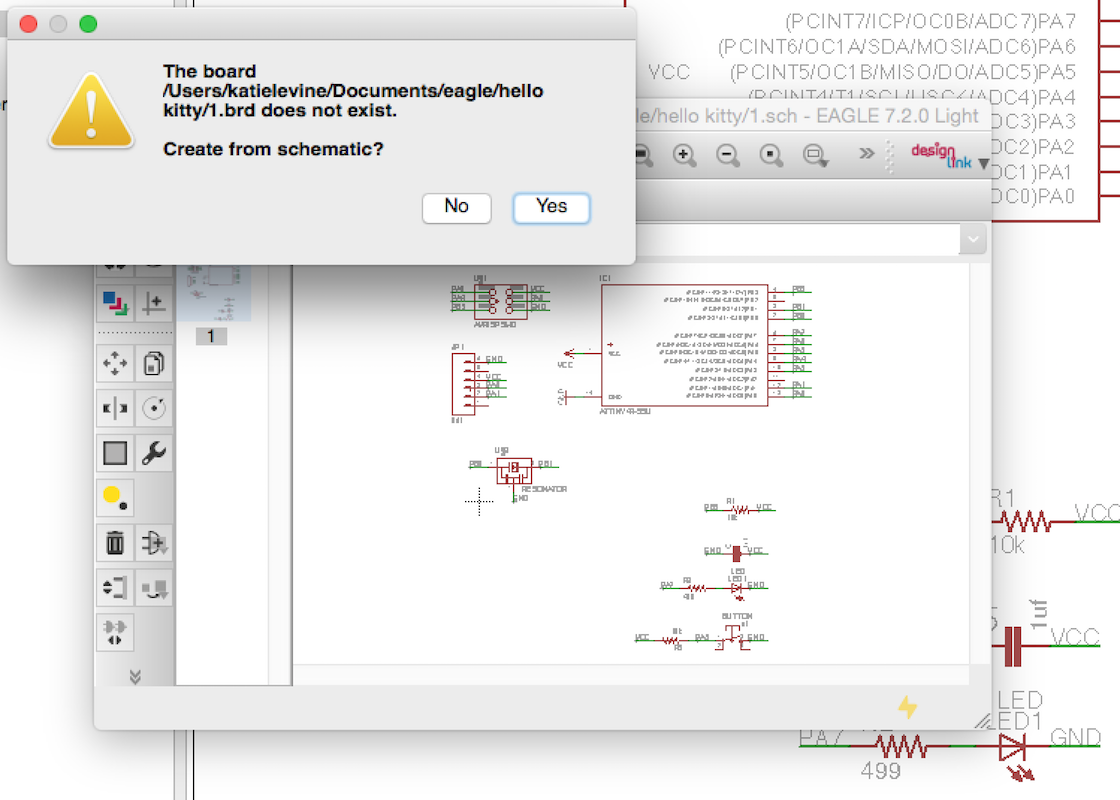
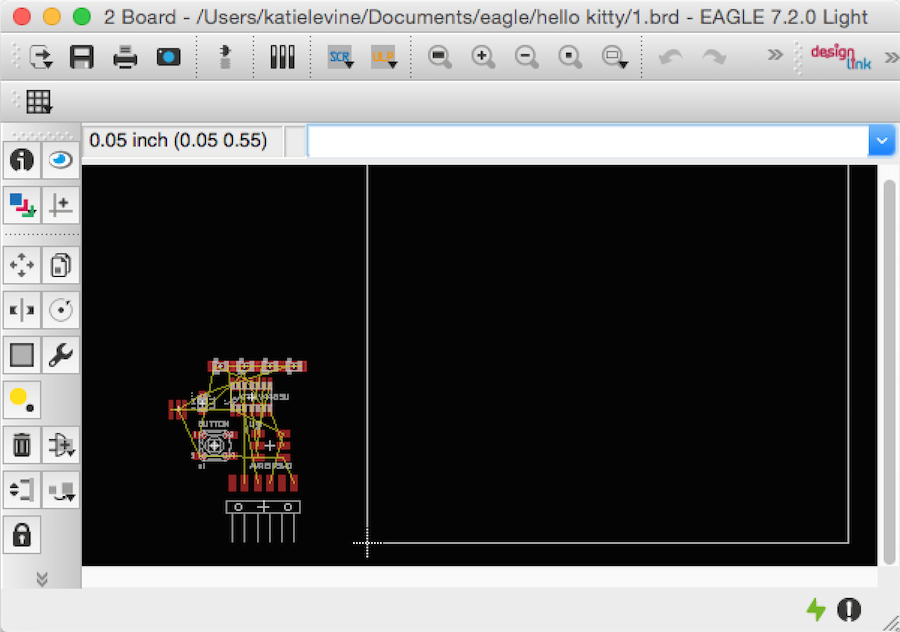
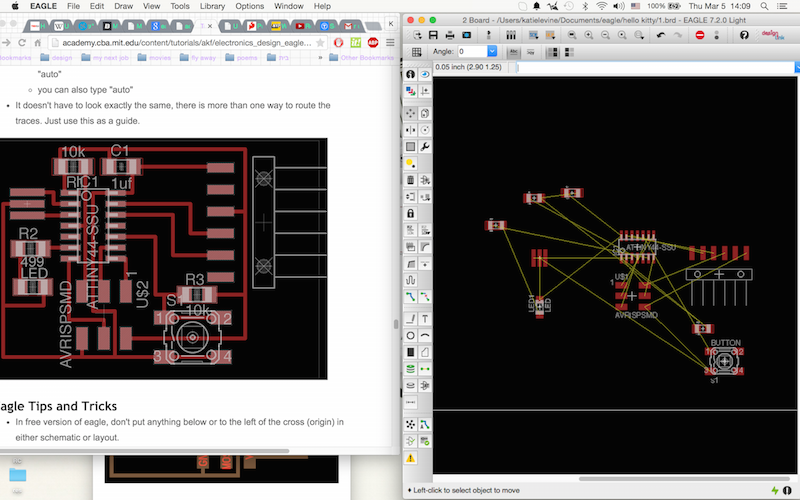
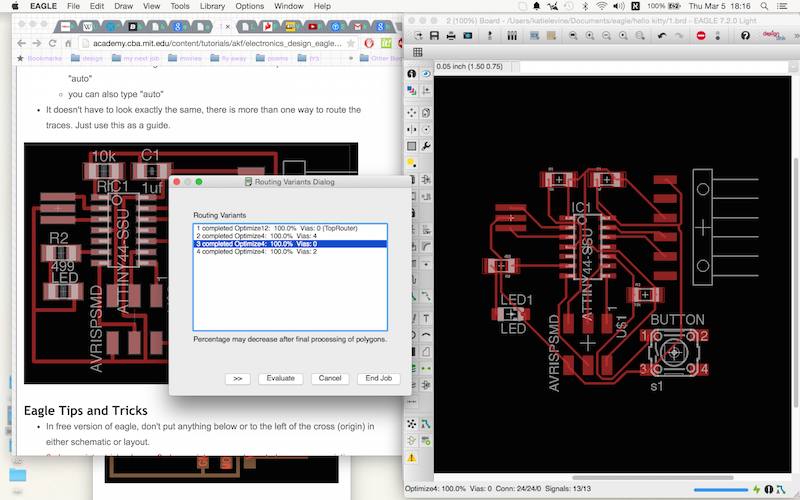
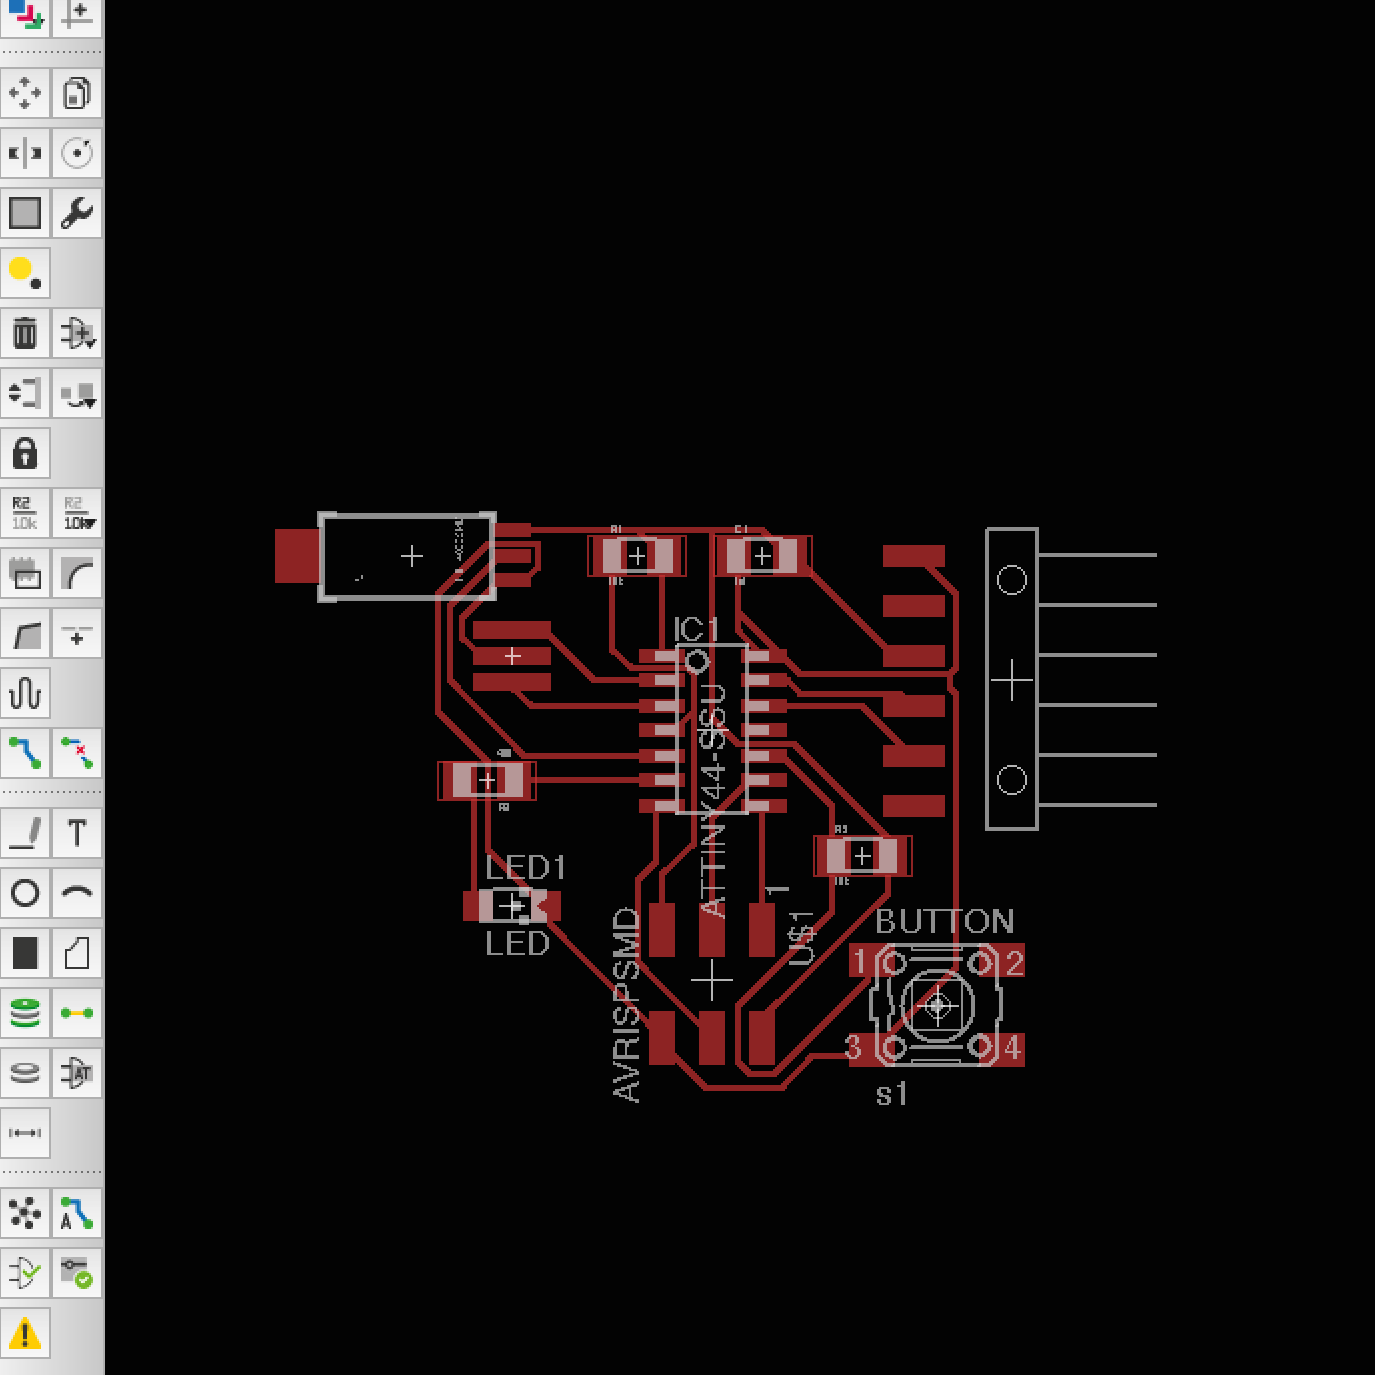
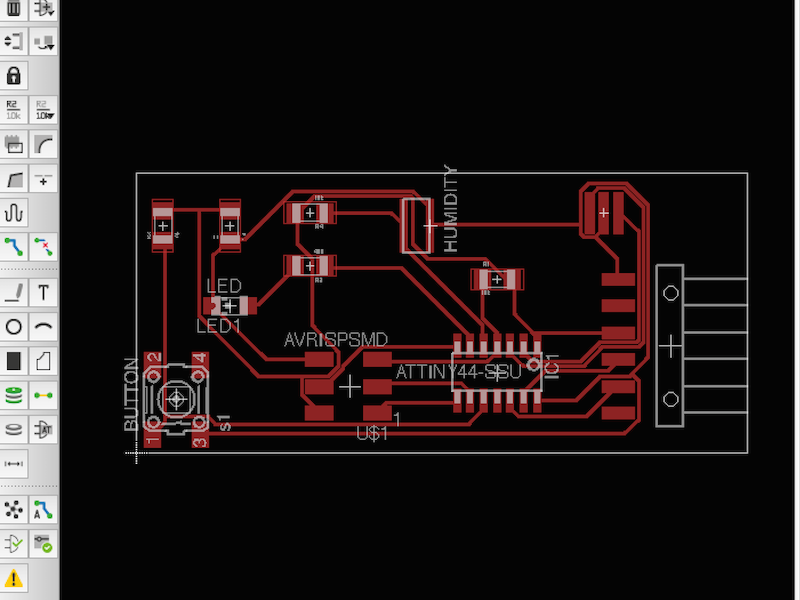
After the some hours playing with Eagle in week 4 making this weeks assignment was not so hard and I've managed to make the schematics of the board in about ah hour. I did encounter a repeating problem when the schematics didn't connect to the board. It took a few tries for me to understand that I have no idea how to solve this so I deleted the board from the main folder and then regenerated it on the schematics sheet. It just made a new board so all I had to do is to rearrange the components on the board.
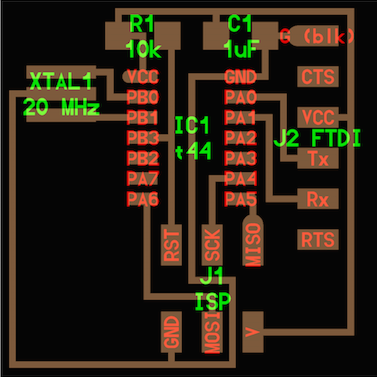

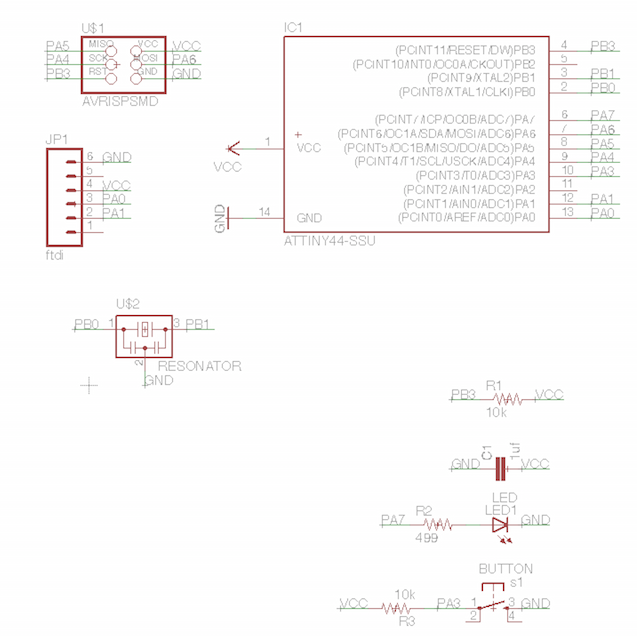
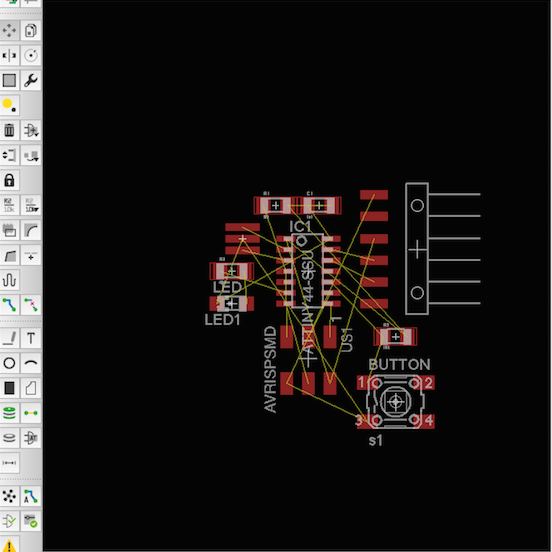


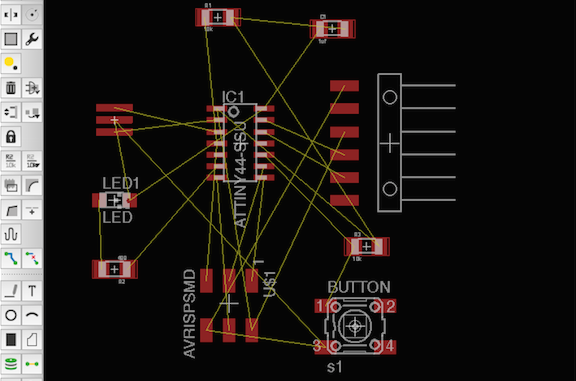
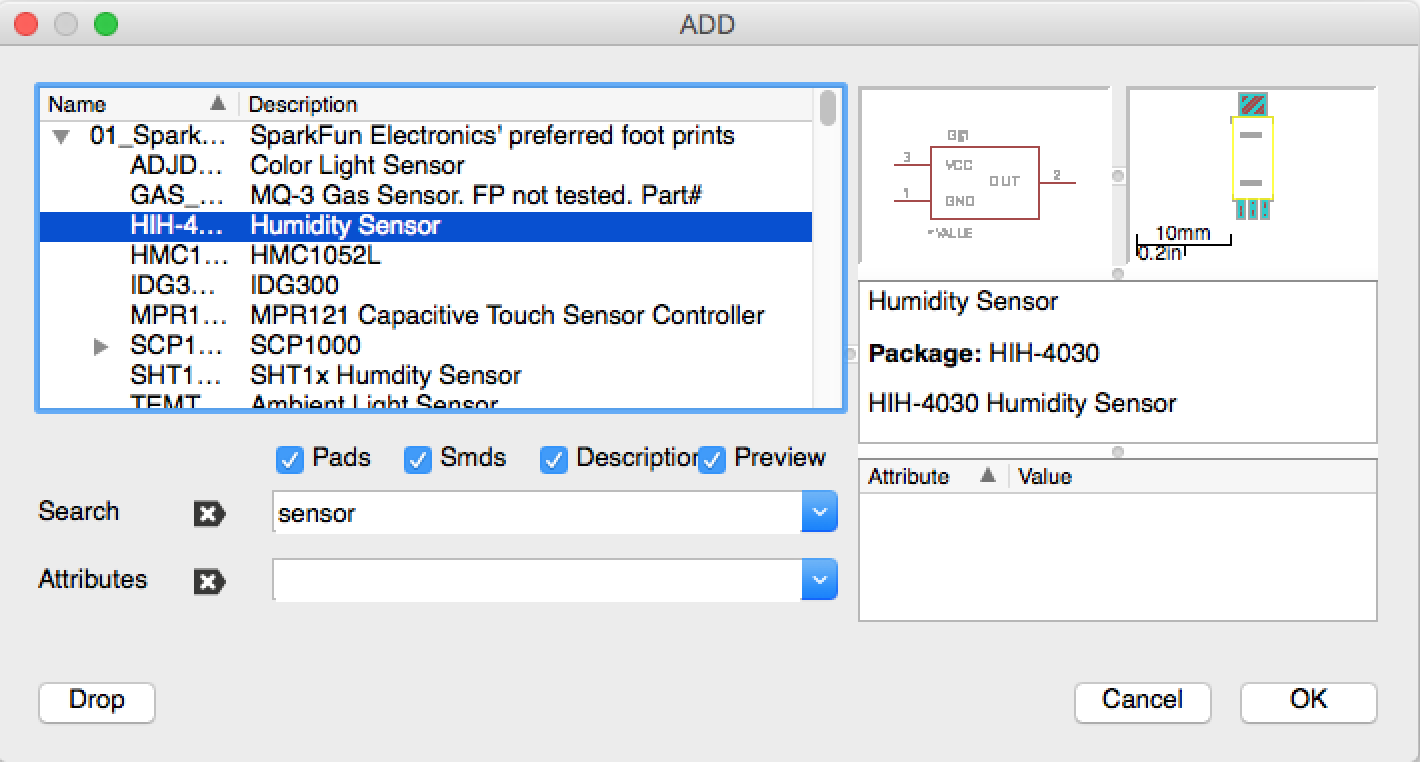
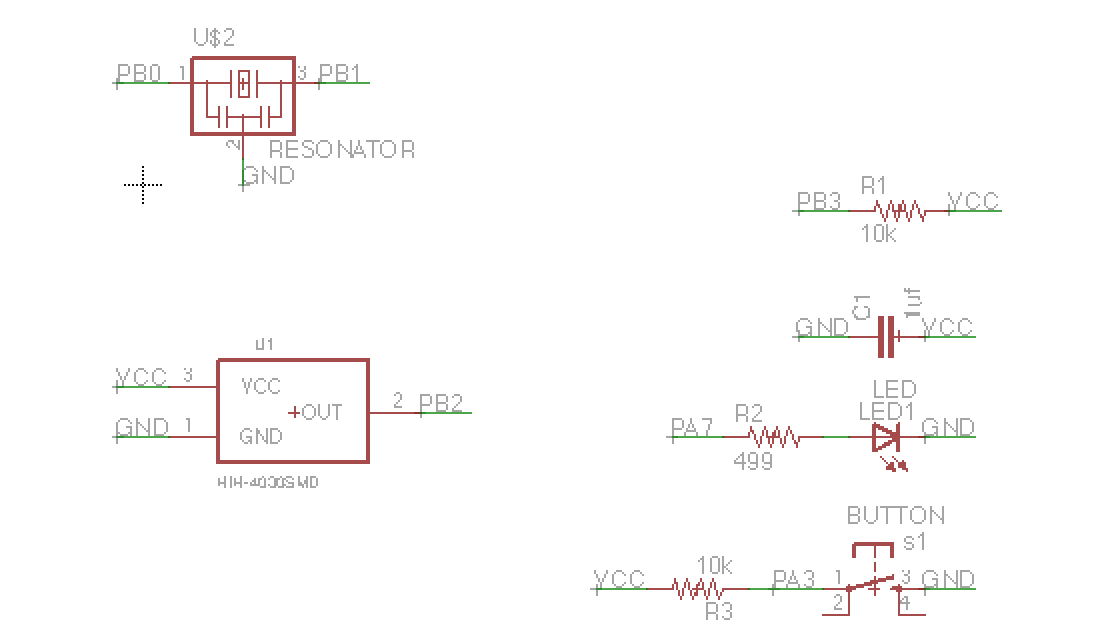
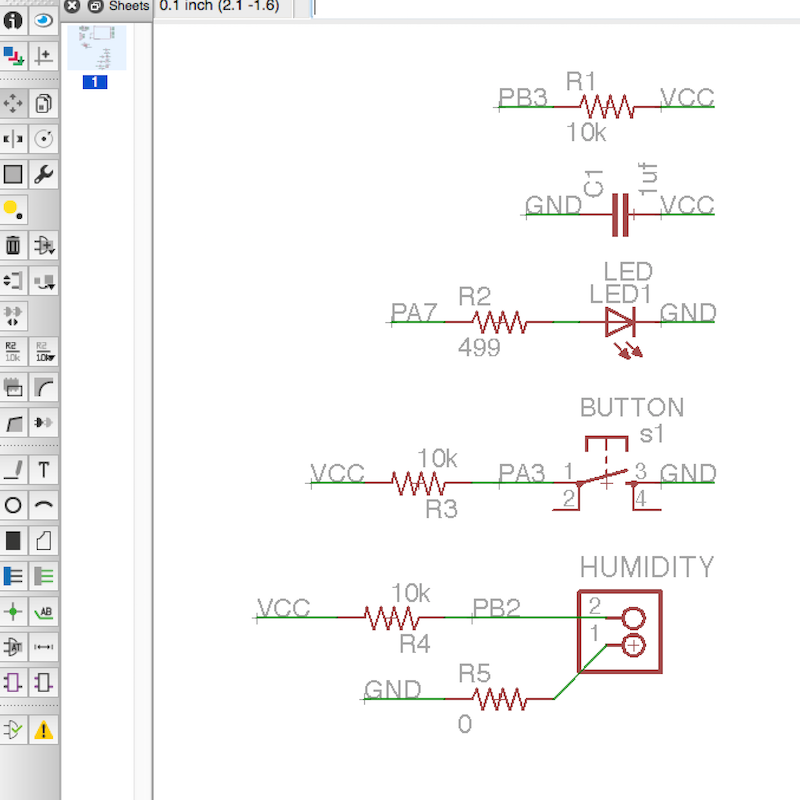
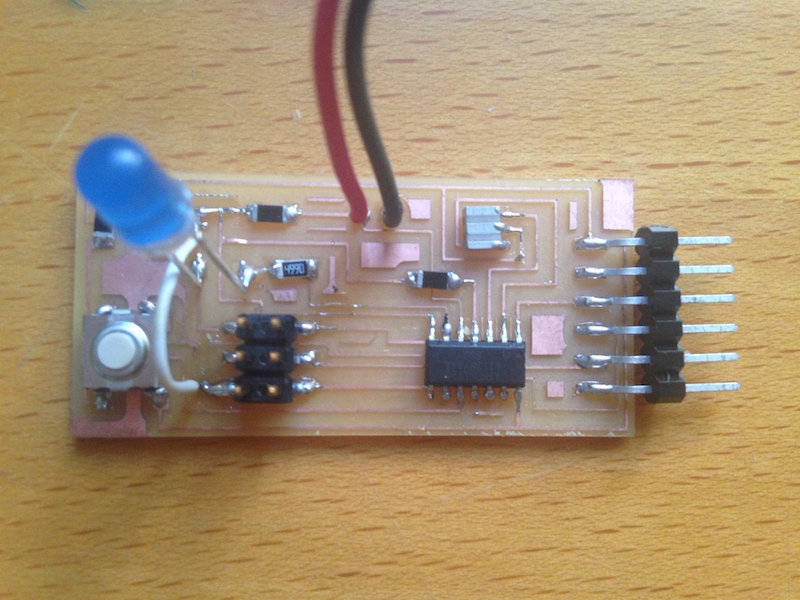
Once that was done I've decided to add a component so that this board will help me with the final project and so I've added a water/humidity sensor. My plan is to make a board with a button, a LED and a button to turn it of. This will be my indicator for contact with water. First I went on the line ;) to check how to make a humidity sensor and found this video:
When I saw how basic the sensor was I Added it to the board with a resistor and that was it.
Making
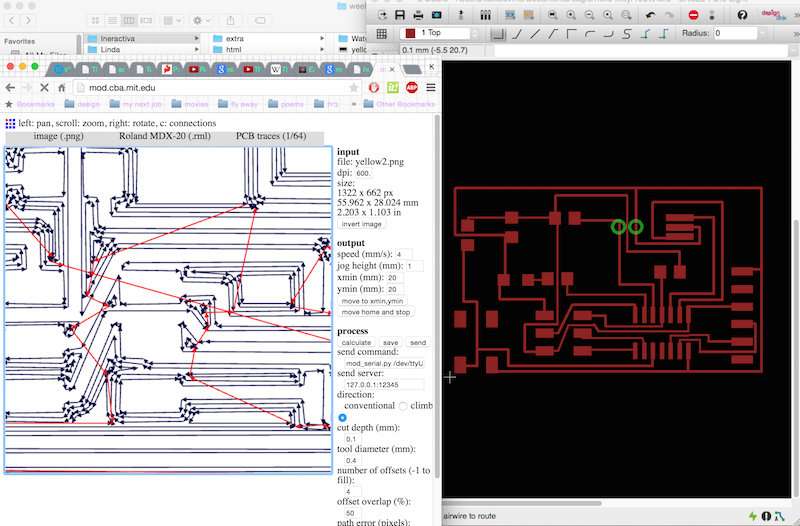
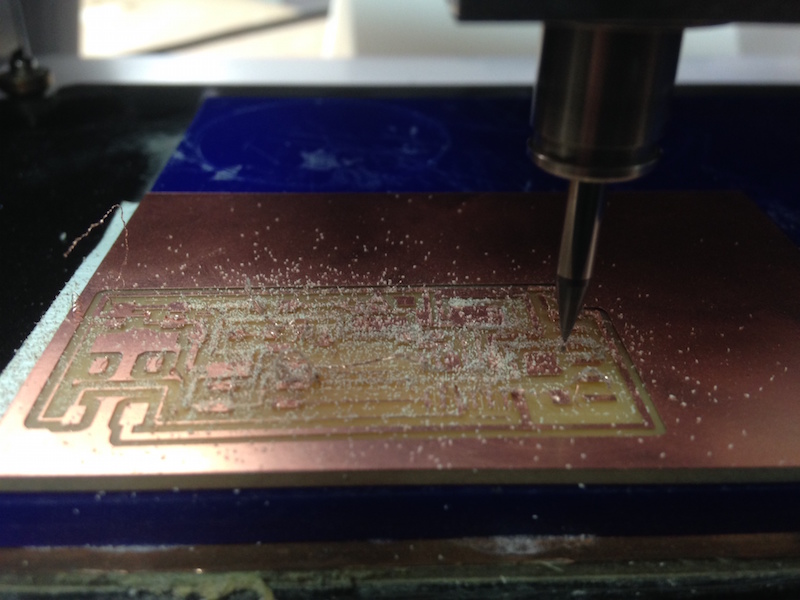
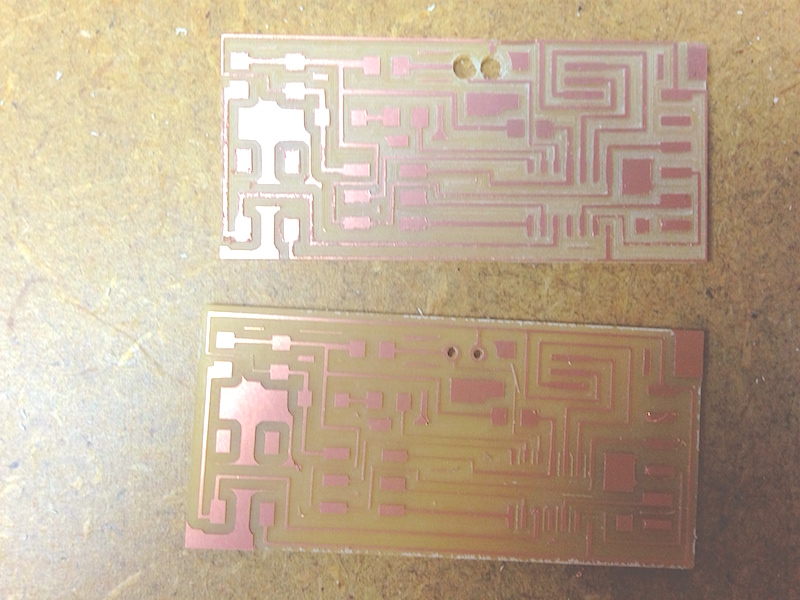
When the design was done I went on to milling the board. First try didn't go well because I inverted the cut file colors. Second time was better but with flaws non the less.

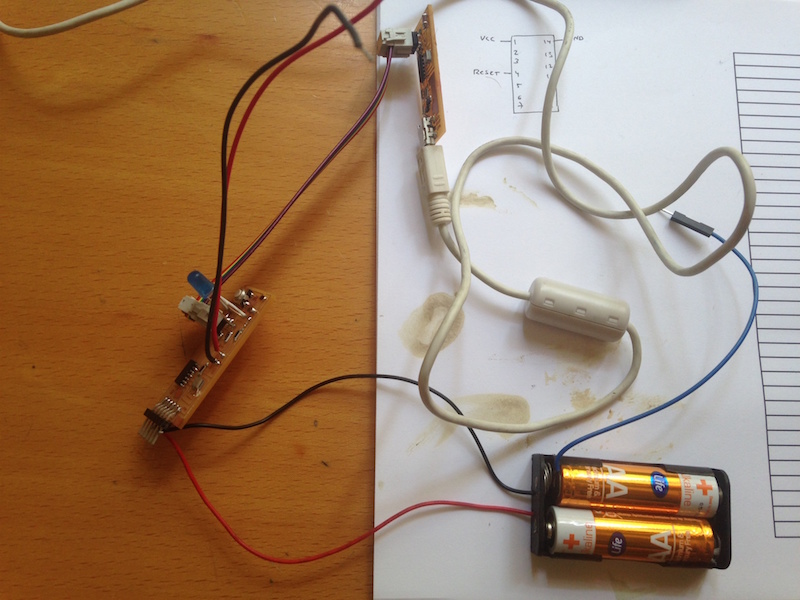
After soldering the was working fine and but I didn't have a FTDI cable so I improvised and connected 2 AA batteries for power. It didn't exactly go as planned and one of the batteries exploded!! It made a popping sound and some dark liquid started leaking so I disconnected the batteries (unfortunately only after it burned my table).


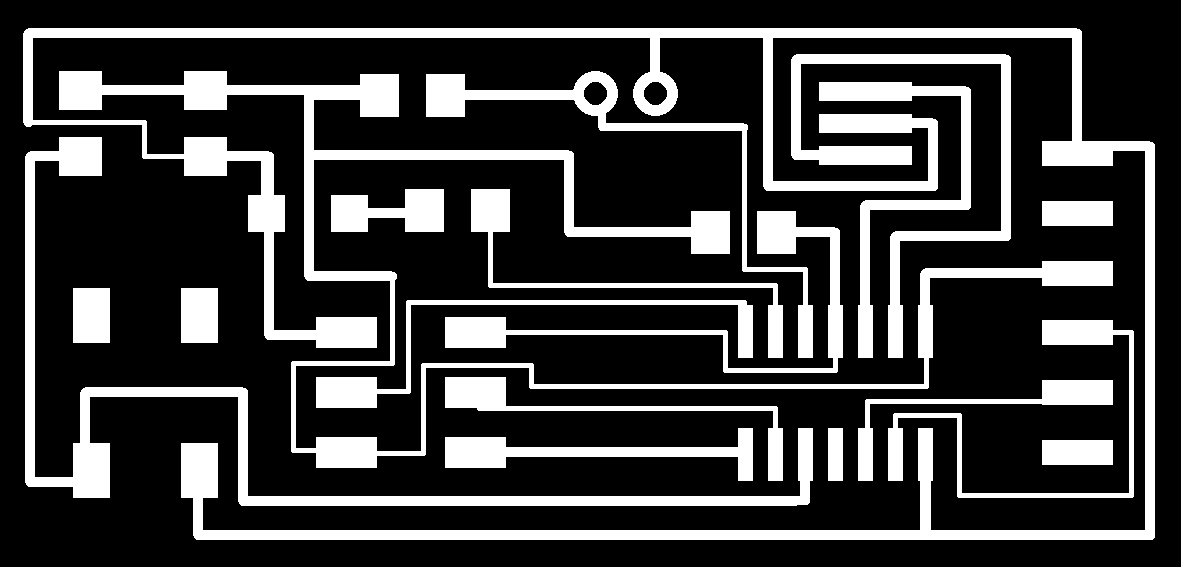
If you would like to make this board here are the PNG files and BOM.