
Final Project
Stage 3 - Software Development & Testing
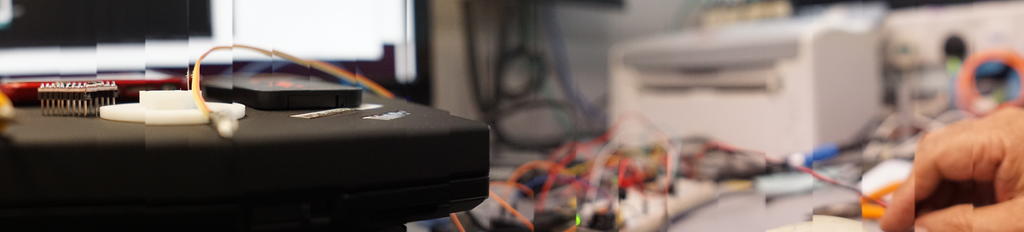
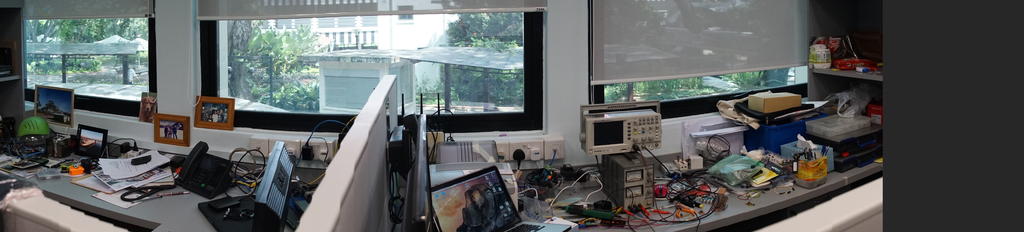
With all component parts assembled, it is time to interface and add in the the "smartness" of the project. We start by making a plan of the entire software process and map the pins from the microcontroller which we intend to use before testing with the camera itself.
The mapping is as follows:
Pin    Dir    Purpose
PD0           Rx  - for debugging
PD1           Tx  - for debugging

PD3    OUT    IRemitter using PWM

PD4    OUT    Motor Direction
PD5    OUT    Motor Step
PD6    OUT    Motor Enable

PB4    IN     Pushbutton
PB5    OUT    LED indicator

The next stage is to put the different parts together in a software flow. I
first wanted to work with Interrupts so that it would give better control over
the use of the outputs and the control of the camera as I could then pulse the motor evenly, at the same time send the necessary pulses to the IR emitter to trigger the camera.
I started with the timer interrupts and could obtain square wave outputs using
an interrupt service routine which changed the status of a pin at different
frequencies, but found that the code interfered with other timing requirements,
like PWM and delay routines. So unless I was prepared to work entirely using
interrupt driven software (also deconstructing all the arduino routines) it was
a little unfeasible for the time being. (Intrrupt driven waveforms)
So, lets look at the panorama mode of the a6000. When the camera is set in
this mode, it expects to have a full shutter depress, after which you need to
move/pan the camera in a horizontal plane evenly until the picture is taken. With a little experimentation, I found that you needed to find that precise moment when the camera figures out that it should start recording. This comes about with the simultaneous depression of the shutter as well as the movement of the camera, so I tried the following
WHILE timing is ok DO
    trigger shutter
    pan camera x degrees
    decrement time
WEND
The result was not conclusive as the camera and shutter trigger were not responding to the sequences even when you changed the necessary timings. So I decided to split the triggering from the camera movement.
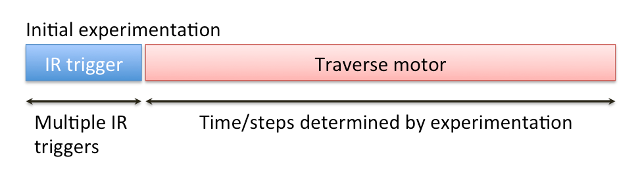
Initial assumptions on triggering
By doing so I could trigger the camera using the IR code 0xB3B8F. With the camera triggered, I tried panning the camera and the panoramic mode started. With experimentation, I found that I needed only to depress the shutter until the panorama mode kicked in after that there was no necessity to send futher trigger sequences. The timings were then modified as below:
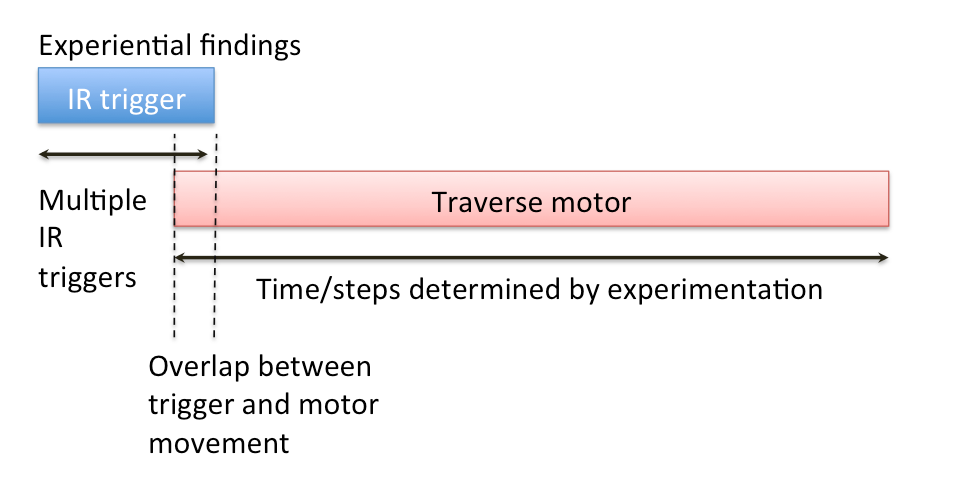
Results on experimentation with trigger and motor movement.
Hence, to trigger the shutter, we send a repetitative sequnce of IR codes, simulating a keypress and hold of the shutter button. After this we then start panning the camera. The triggering and the movement works at a raate of 1 in 3 attempts
We then look at the motor movement. This is done by sending a number of square pulses to the motor driver which then sequences the stepper motor into movement. I first started with full-step movements and found that the steps were too jerky and large. By changing the MS1 and MS2 inputs, I was able to obtain a fairly smooth movement at 1/8 step. The motor was sufficient to turn the camera and holder, but more torque would have been better. Similarly, if the steps were made finer, it would have a better and smoother translation.
The motor movement is quite straight forward except for the torque and the timing and range of steps which were worked out through experimentation of values. Another observation was that the motor was always draining current after activation. Looking at the data sheet, I found out that if I disabled the motor when not in use, it would stop the drain, this is done by using another control line for the enable. (_ENABLE).
It was quite straight forward then, to put all parts together and come up with a working program that could be tweaked and modified. The structure of program is as follows:
BEGIN
   setup hardware
   disable motor
   indicate "Ready"
   LOOP
      WHILE trigger-not-pushed DO
          nothing
      END-WHILE
      indicate "In operation"
      enable motors
      move camera to start position
      send IR trigger
      pan camera for photo
      move camera to start position
      disable motors
      wait for 1 second
      indicate "Ready"
   END-LOOP
END
Code for project: project.ino
The above code sequence works, we are able to show that triggering is possible with infra red and the panoramic mode can be executed. I then proceeded to tweak the system to make it more reliable. The main problem lay with the triggering of the shutter which seemed not to work reliably.
I then tried using the manual remote trigger which required the use of a remote trigger cable. The method of triggering required the sending of a FOCUS signal (GND) followed by the SHUTTER signal (GND) a few moments later. With experimentation it took a timing of 500 milliseconds between the FOCUS and the SHUTTER. Hence, it seems that the focus must first be obtained before the shutter can be applied
This finding can also be applied to the IR code, where it takes at least 500 mSec for the focus to be obtained before shutter triggering can occur, and by tweaking the system we can now have a reliable panorama system.
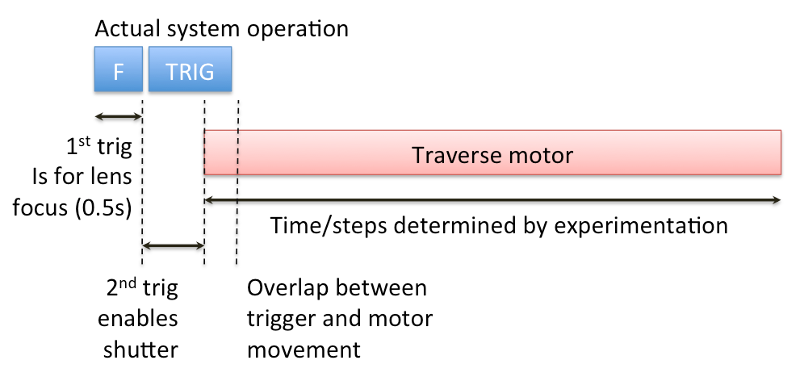
Result: Trigger (Focus, Shutter) and motor movement
Improvements
The following improvements to the system can be implemented
Physical components
- Geared motor for finer movement across the pan
- Higher torque stepper motor
Structure/Construction
- 3D print removing obstruction to IR receiver
- Holes for switches, indicator LEDs
- Snap-fit catches to hold system securely
Electronics
- ATTiny44 to be used instead of ATMega328p
- LCD panel for extended display
- Joystick/input system for extended functionality
- Battery pack system (need to reduce power consumption)
Software
- Tweakable trigger/timing sequence
- Better positioning before/after panorama shot
- Intervalometer for other shutter sequences
Work Results
Normal photo for comparison

Test results: no focus, incomplete pan (black region)

Test results: focus obtained, incomplete pan

Test results: full step, motor steps evident, incomplete pan
Test results: focus obtained, full step, motor steps evident, complete pan
Test results: focus obtained, 1/4 step, smooth steps, incomplete
Test results: focus obtained, 1/8 step, smooth, complete pan
Test results: repeated test, everything works!
Project Work
Not being of a artistic mind, I have shamelessly borrowed this template (simpleStyle_8) from html5webtemplates, in recognition of a simple, cool and functional webpage design.