1.15 Machine Design
3.2 : CONCEPTUAL MODELLING:
The Schrodinger's Machine has two possibilities to be materialized: 1. as a BCN CNC, a MTM Snap based clone, and 2. as a Drawbot. As a group project we will document both until a decision is made.
3.3 : DIGITAL MODELLING
3.3.1 : Physical structure
3.3.2 : Instrumentation

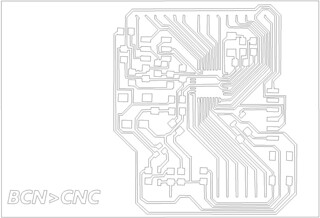
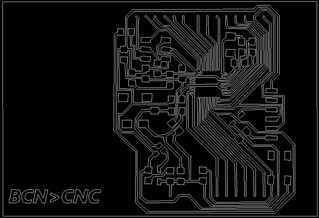
3.3.3 : Computation
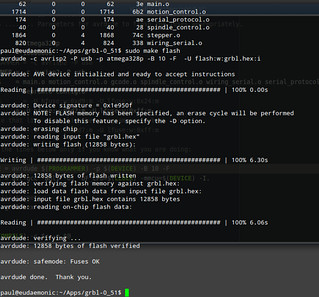
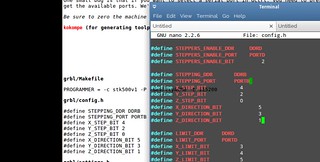
GRBL installing and configuring

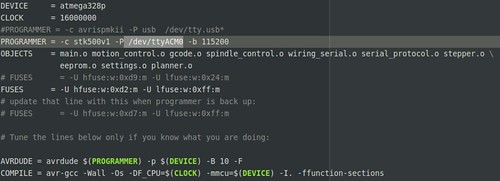

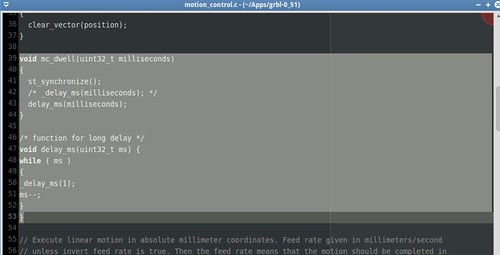
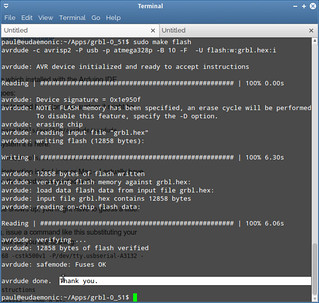
GRBL flashing into the microcontroller (ATmega 328p)

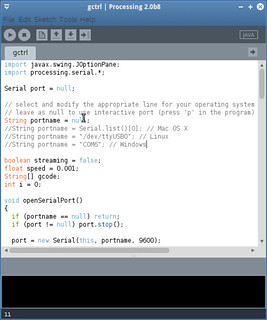
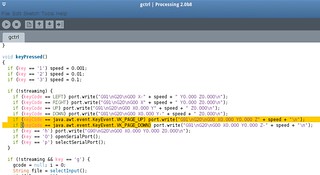
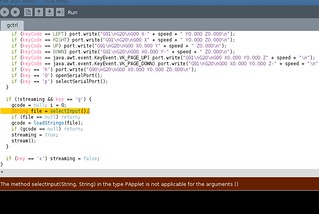
gctrl installation and configuration (using Processing IDE)
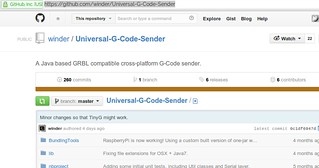
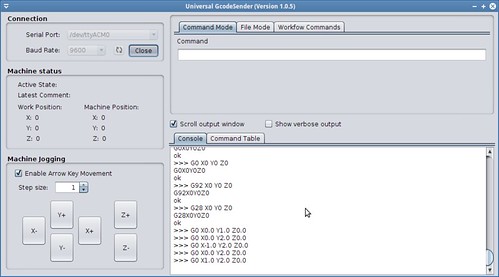
Universal G-Code Sender installation and configuration
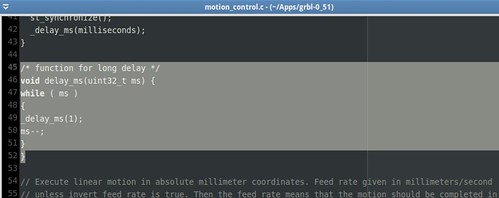
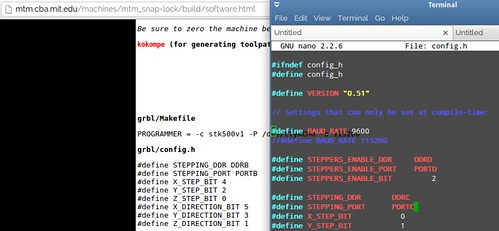
GRBL reconfiguration

3.4 : PHYSICAL MODELLING / FABRICATION
3.4.1 : INGREDIENTS
Digital stuff (Bits)
Physical stuff (Atoms)
3.4.2 : INSTRUCTIONS
Steps
RESULTS
Inspirations from HTMAA
Full visual journey
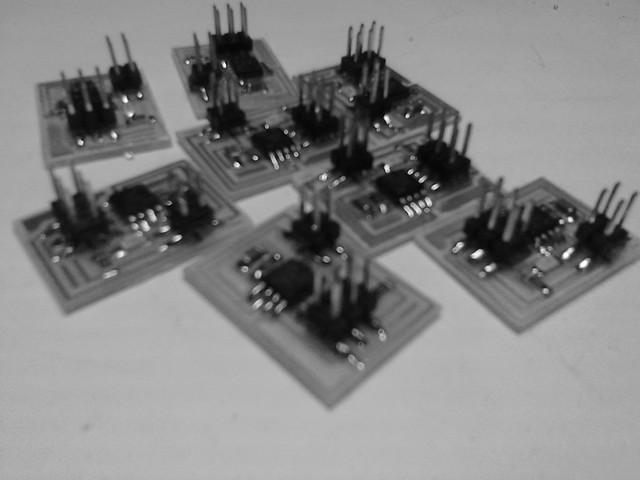
Board milling and breaking
If you want to test more than one serial bus node you can use my image modification here (is the GIMP source so you can export into PNG).

Ingredients
Physical stuff (Atoms)
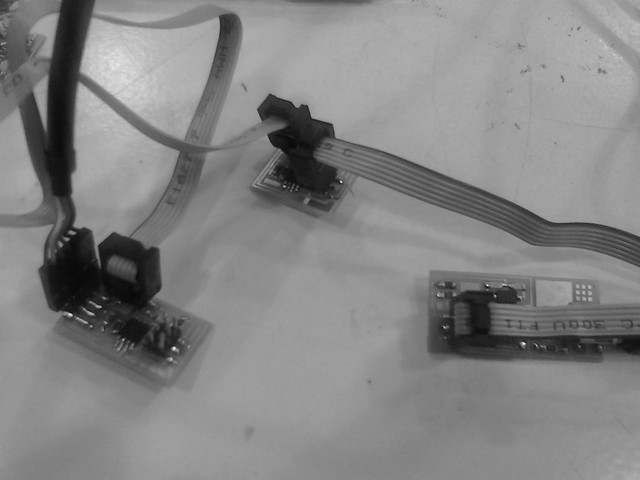
If you don't have a 4 pin cable, there is also a hack, you can use a 6 or 10 pin DIL cable and add 4, 6 or 10 pin DIL female headers
Digital stuff (Bits)
Instructions
Steps



17apr 2013
