14. Networking and Communications
This is the assessment for this module:
Group assignment
- Send a message between two projects.
Individual assignment
- Design, build, and connect wired or wireless node(s) with network or bus addresses.
Individual assignment
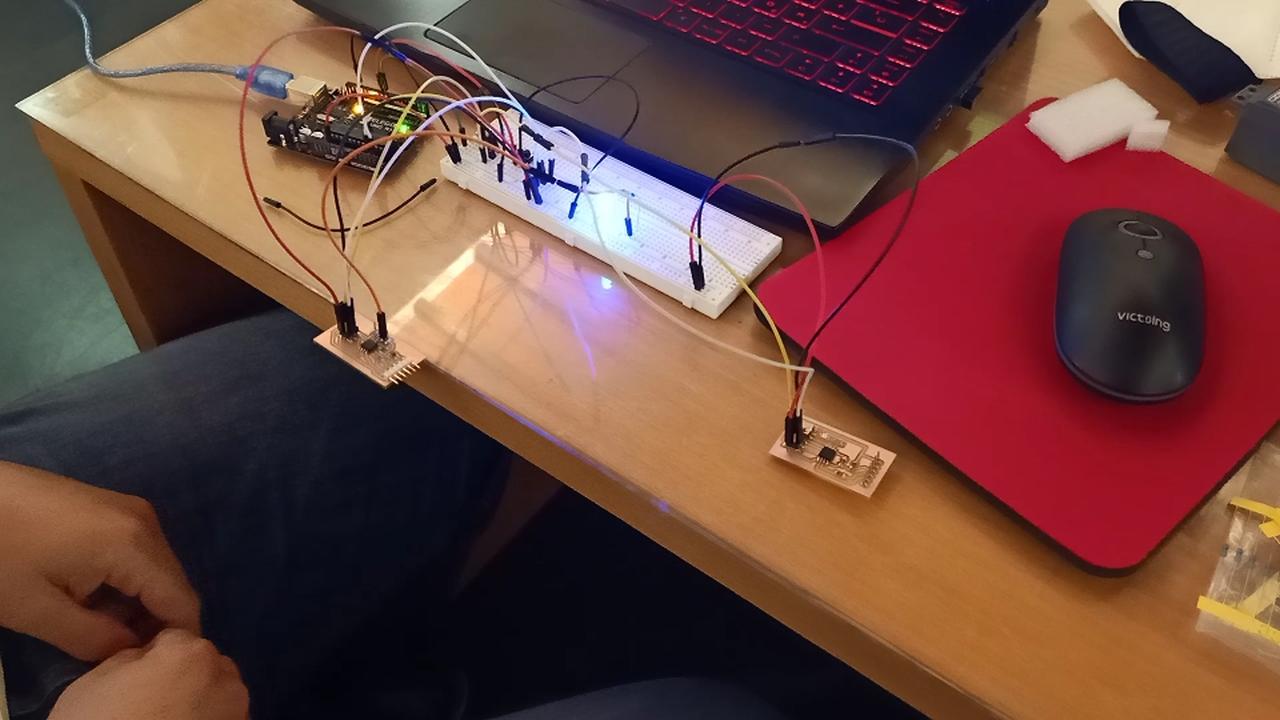
For this week I decided to connect and make work together 2 PCBs I made during the previous weeks, along with an Arduino Uno. Since I wanted to connect the boards with the I2C wired protocol, I also needed a breadboard.
This is what the wired setup looks like:
Manager Board
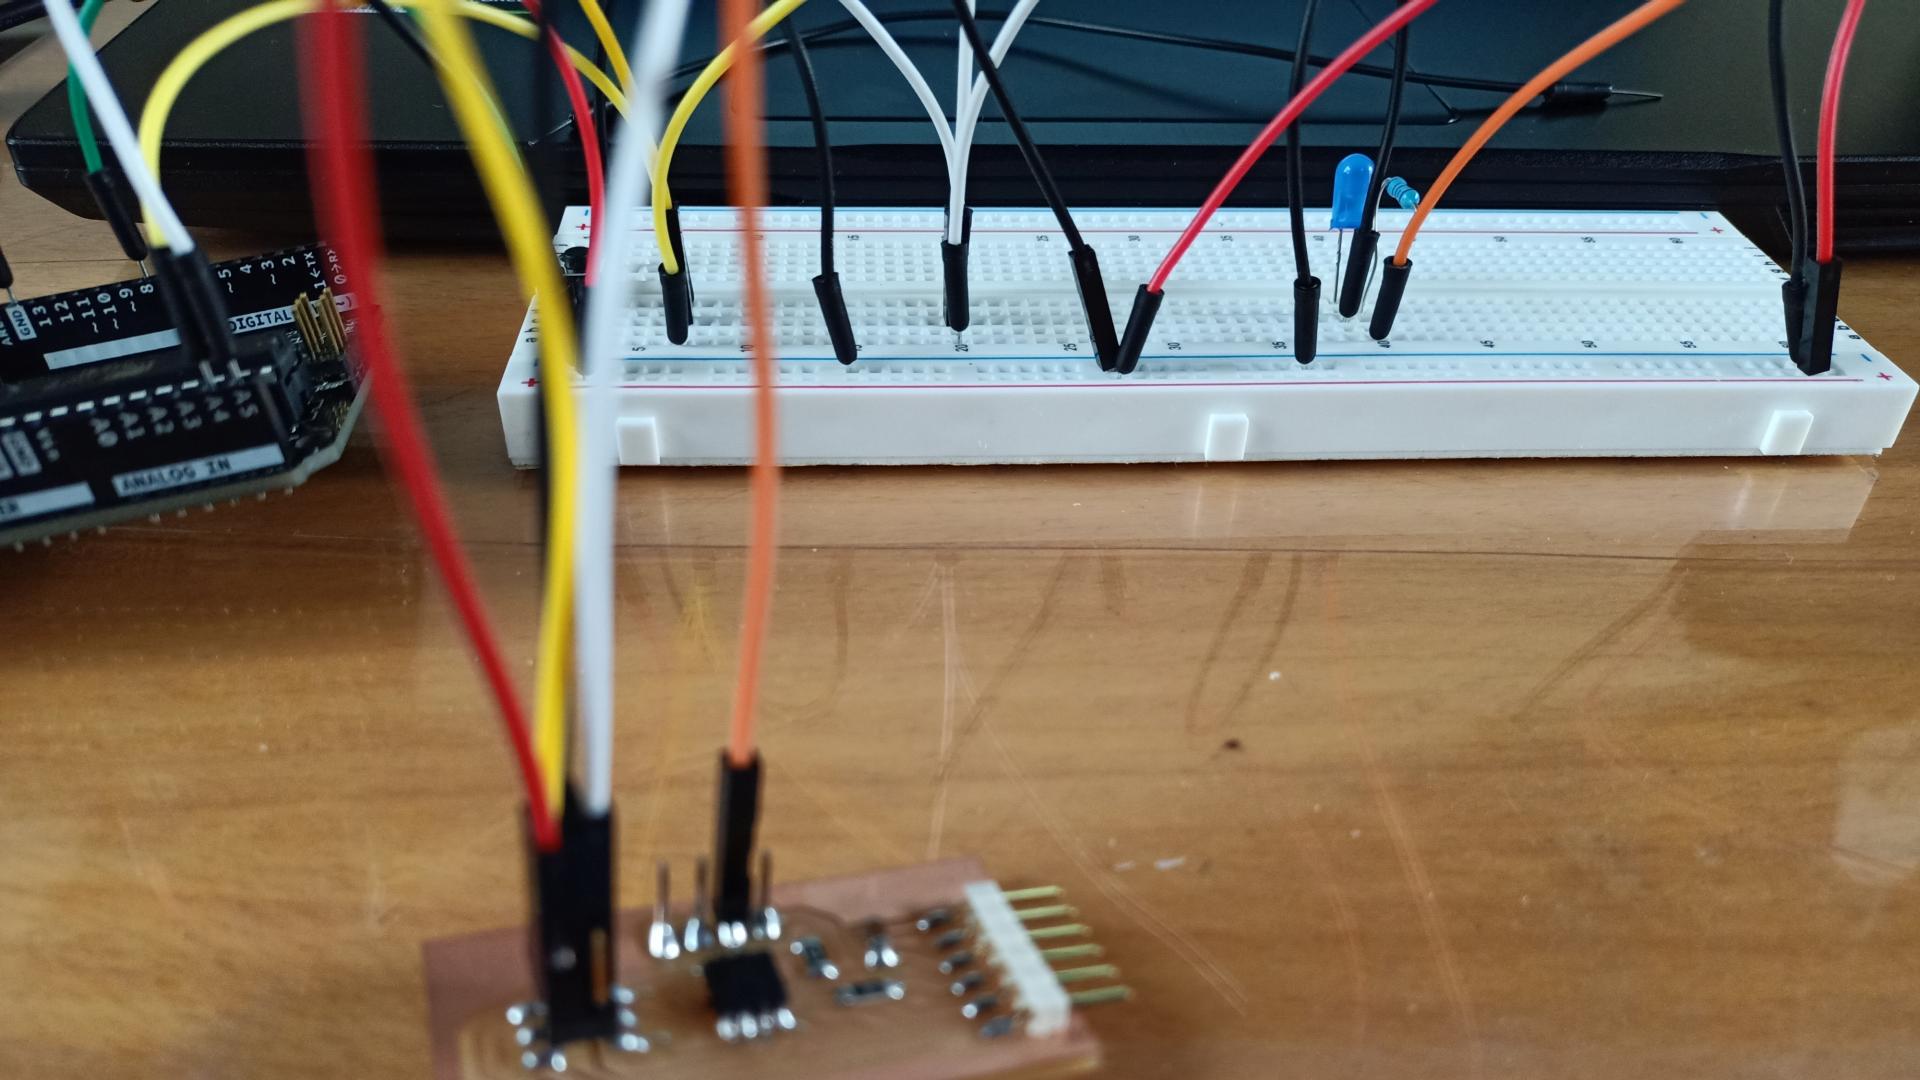
I used the Arduino Uno board as the Manager. I connected two buttons on the breadboard to its pins and other two pins created the BUS for TWI (more specifically A4 and A5). This is how it looks like with all the wires connected:

Starting from this code, I made my more personal version of it. This is the code I loaded on the Manager Board:
#include <Wire.h> //include the wire library for the Manager Arduino
int state1;//state of the pushbutton 1
int state2;//state of the pushbutton 2

int current1; //current state of pushbutton 1
int current2; //current state of pushbutton 2

void setup() {

  Wire.begin();//begin the wire library
  pinMode(8,INPUT_PULLUP); //setting both pins as input with the pull-up resistor
  pinMode(9,INPUT_PULLUP);
}
void loop() {
  //setting the buttons state
 state1= (digitalRead(8)); // state reads the value at pin 8
 state2= (digitalRead(9)); // state reads the value at pin 9

 //button 1 settings

 if(state1==LOW && current1==LOW) // if the state is high and button 1 current is low
 {
   Wire.beginTransmission(2);// begin transmission with staff 2
   Wire.write(HIGH); // manager writes a high value
   Wire.endTransmission();// end transmission

   state1=LOW; // set state to low
   current1=HIGH; // current to high
 }
 else if(state1==LOW && current1 == HIGH) // if state is already high and button 1 current is high too
 {
   Wire.beginTransmission(2); // begin transmission with staff 2
   Wire.write(LOW); // manager writes low value
   Wire.endTransmission(); // ends transmission

   state1=HIGH; // set state to high
   current1=LOW; // set current to low
 }

 //button 2 settings

 if(state2==LOW && current2==LOW) // if the state is high and button 2 current is low
 {
   Wire.beginTransmission(3); // begin transmission with staff 3
   Wire.write(HIGH); // manager writes a high value
   Wire.endTransmission(); // end transmission

   state2=LOW; // set state to low
   current2=HIGH; // current to high
 }
 else if(state2==LOW && current2 == HIGH) // if state is already high and button 2 current is high too
 {
   Wire.beginTransmission(3); // begin transmission with staff 3
   Wire.write(LOW); // manager writes low value
   Wire.endTransmission(); // ends transmission

   state2=HIGH;//set state to high
   current2=LOW;//set current to low
 }

    delay(2000);
}
Staff Boards
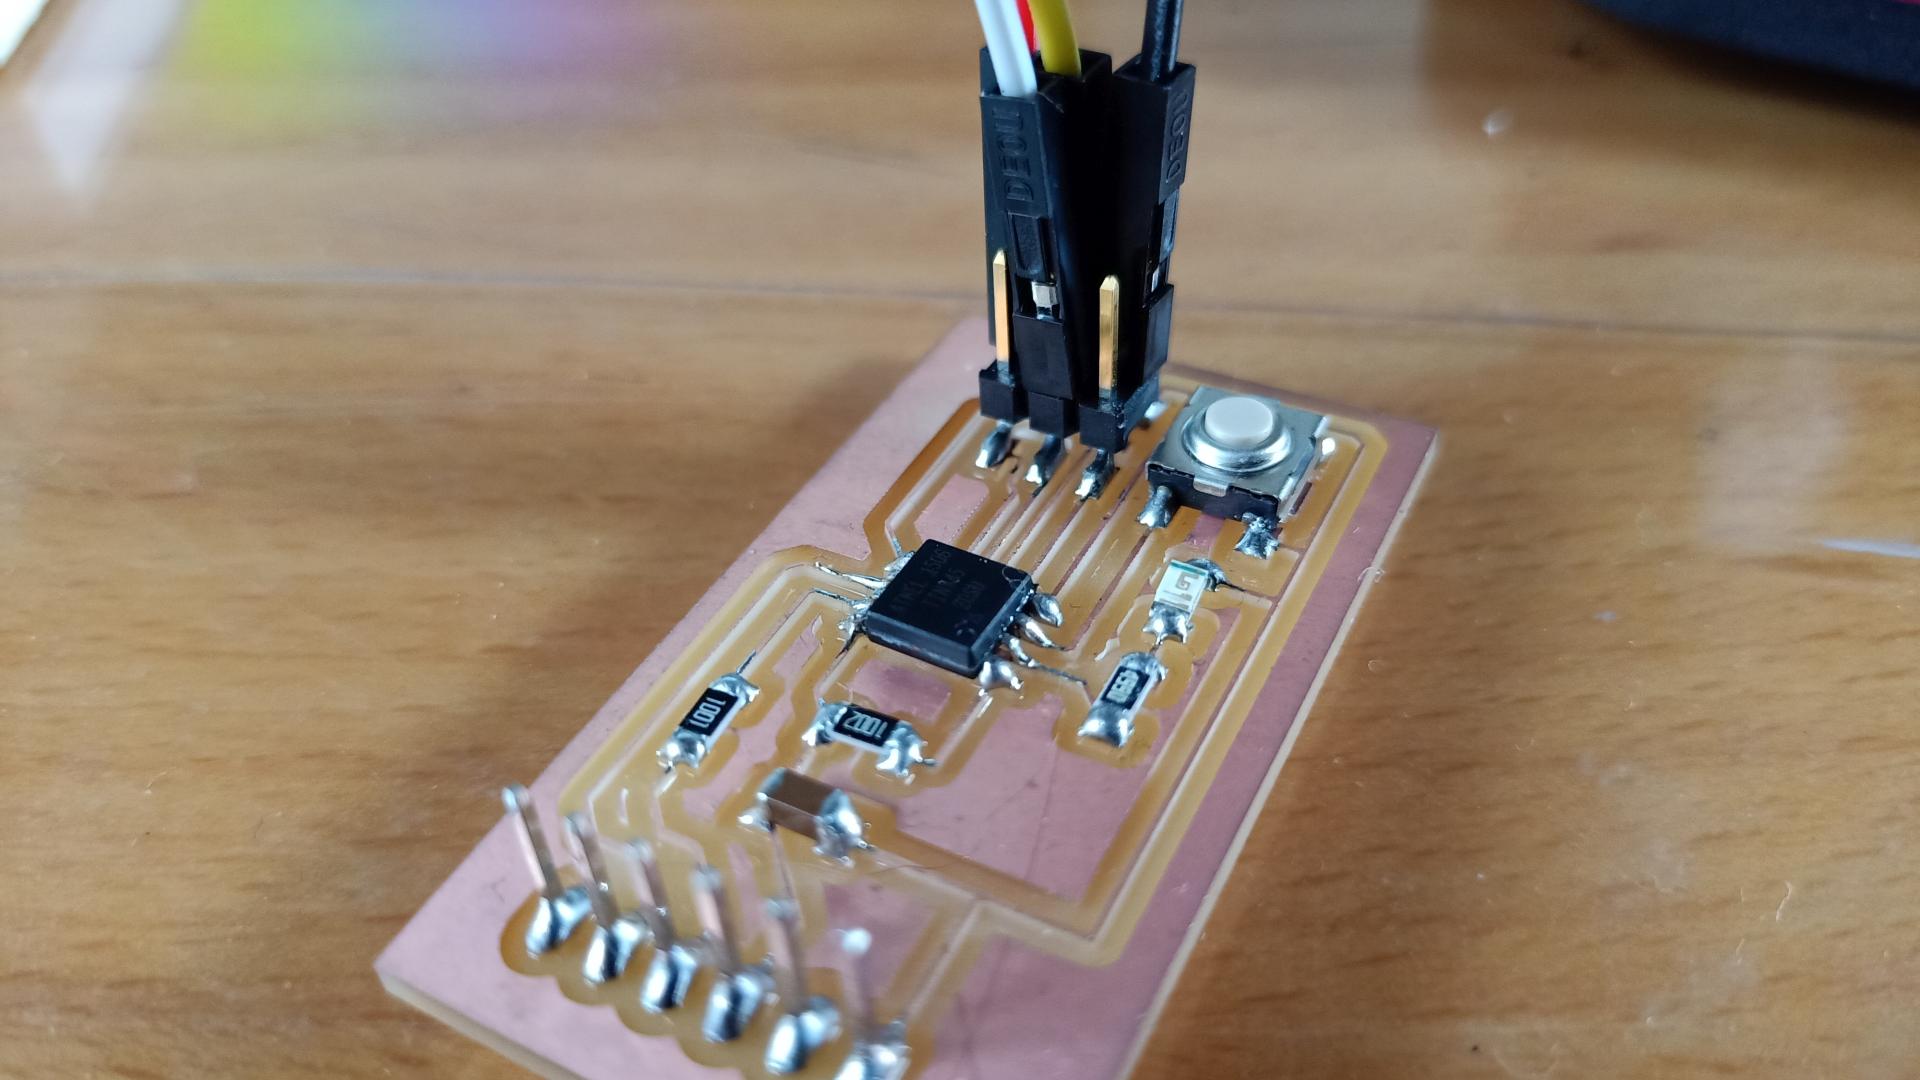
I decided to use two previously made boards: the hello45 board I made during Electronics design week and the PCB made during Input devices week. The latter doesn’t have a built-in led, so I connected one of the available pins to a blue LED through the breadboard.
Since these boards have the ATtiny45, I used the TinyWireS library, available here, instead of the wire.h library used on the Arduino Uno. The syntax in this library is very similar to wire.h, so I did not find it too difficult to understand. I had to struggle, as always, with the delays. After a couple hours of desperate attempts, this are the codes I loaded on them, as staff boards:
Blue LED Staff PCB
#include <TinyWireS.h> // Including the library for staff boards with ATtiny45


void setup() {
  TinyWireS.begin(3); // start wire library, with address 3
  TinyWireS.onReceive(Event); // set to receive variable

  pinMode(3,OUTPUT); // set pin3 as output pin
  digitalWrite(3,HIGH); // set output pint to high
}
void loop() {
  delay(10); // setting a tiny loop in order to make the code flow downwards
}
void Event(int number) // start an event
{
  while(TinyWireS.available()) // if wire is available
  {
    uint8_t state=TinyWireS.receive(); // state reads the received command from manager, high or low

    if(state==HIGH)// if state reads high from manager
    {
      digitalWrite(3,HIGH);// staff will do what manager says and set output to high
    }
    else if(state==LOW)//but if state reads low from manager
    {
      digitalWrite(3,LOW);// staff will obey and set output to low.
    }
  }
}
Green LED Staff PCB
#include <TinyWireS.h> // Including the library for staff boards with ATtiny45


void setup() {
  TinyWireS.begin(2); // start wire library, with address 2
  TinyWireS.onReceive(Event); // set to receive variable

  pinMode(3,OUTPUT); //set pin3 as output pin
  digitalWrite(3,LOW); //set output pint to low
}

void loop() {
  delay(10); // setting a tiny loop in order to make the code flow downwards
}

void Event(int number) // start an event
{
  while(TinyWireS.available()) // if wire is available
  {
    uint8_t state=TinyWireS.receive(); // state read the received command from manager, high or low

    if(state==HIGH) // if state reads high from manager
    {
      digitalWrite(3,HIGH);// staff will do what manager says and set output to high
    }
    else if(state==LOW)//but if state reads low from manager
    {
      digitalWrite(3,LOW);// staff will do what manager says and set output to low
    }
  }
}
The Manager board communicates with the other 2 PCBs and its buttons make the LEDs blink or not. This is how it works:
Group assignment
I wanted to create a I2C communication between my helloboard45 and the helloboard44 made by one of my colleagues during week 6.
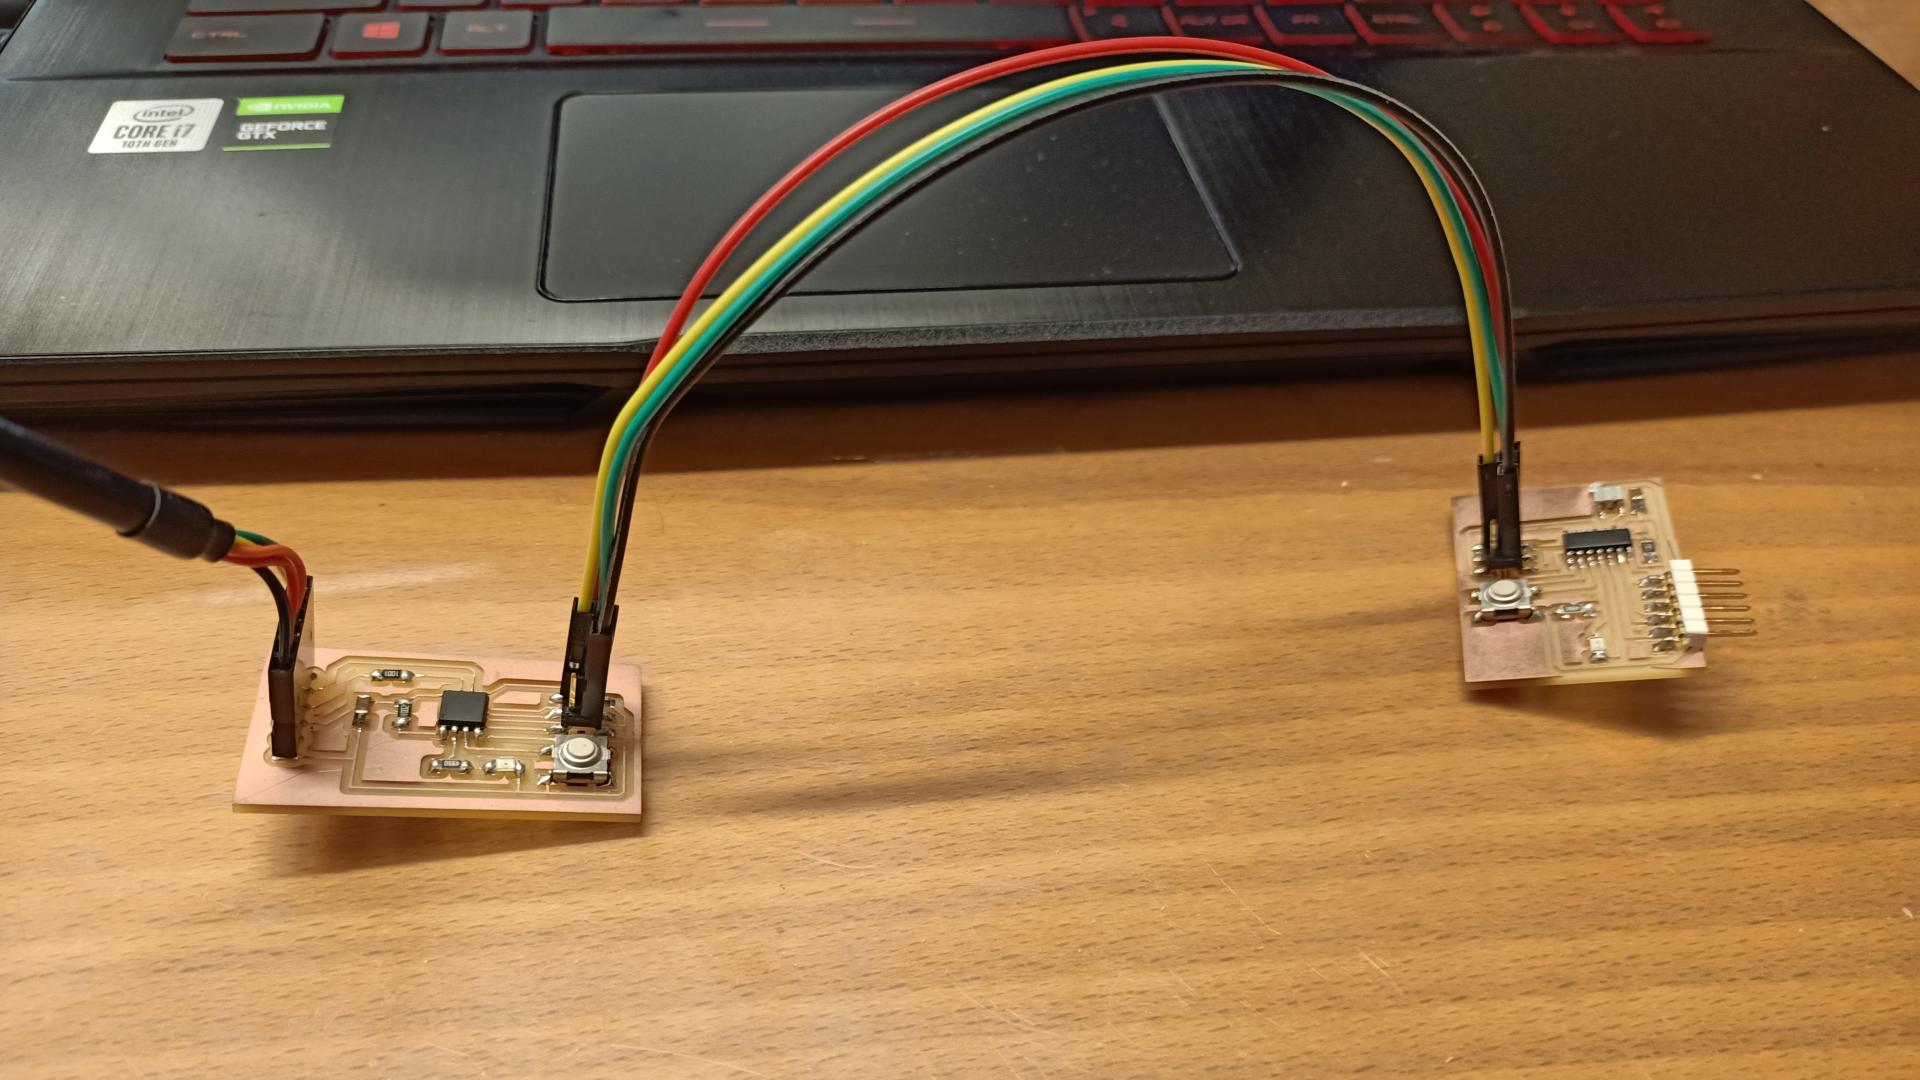
I want to make one board’s button blink the other board’s LED.
Manager board
So this is the code I used for the helloboard45:
#include <TinyWireM.h>
int state;//state of the pushbutton
int current;//current state of pushbutton


void setup() {
TinyWireM.begin();//start wire library
pinMode(4,INPUT_PULLUP);
}

void loop() {
   //setting the buttons state
 state= (digitalRead(4));// state reads the value at pin 4

   //button

  if(state==LOW && current==LOW)//if the state is low and current button is low
  {
   TinyWireM.beginTransmission(2);//begin transmission(force single output)
   TinyWireM.write(HIGH);//master writes a high value
   TinyWireM.endTransmission();// end transmission

   state=LOW;//set state to low
   current=HIGH;//current to high
  }
   else if(state==LOW && current== HIGH)//if state is already low and current is high too
  {
   TinyWireM.beginTransmission(2);//begin transmission
   TinyWireM.write(LOW);//master writes low value
   TinyWireM.endTransmission();// ends transmission

   state=HIGH;//set state to high
   current=LOW;//set current to low
  }

}
Staff board
This is the code I flashed on the helloboard44:
#include <TinyWireS.h>

void setup() {
  TinyWireS.begin(2);//start wire library, with address 3
  TinyWireS.onReceive(Event);//set to receive variable

  pinMode(2,OUTPUT);//set pin3 as output pin
  digitalWrite(2,LOW);//set output pint to low

}

void loop() {
 delay(10);
}
void Event(int number)//start an event
{
  while(TinyWireS.available())//if wire is avaliable
  {
    uint8_t state=TinyWireS.receive();//state read the recived command from manager, high or low

    if(state==HIGH)//if state reads high from manager
    {
      digitalWrite(2,HIGH);//staff will obey manager and set ouput to high
    }
    else if(state==LOW)//but if slave reads low from master
    {
      digitalWrite(2,LOW);//staff will obey and set output to low.
    }
  }
}
And this is how it works: