3. Computer Aided design
This week I worked on 2D and 3D softwares for CAD.
The softwares I used were Illustrator, Photoshop and Fusion 360
Vector Design
My background as graphic designer means I am already quite trained in utilising this software.
The first thing I did was working on the logo for a game clock I’ve been designing.

The font used is Microgramma, in it’s medium exteded and bold extended weights.
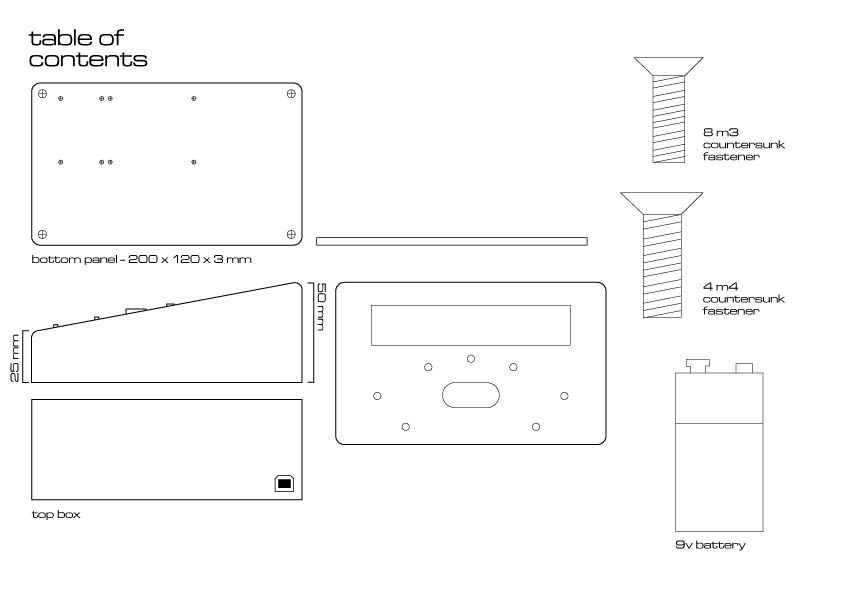
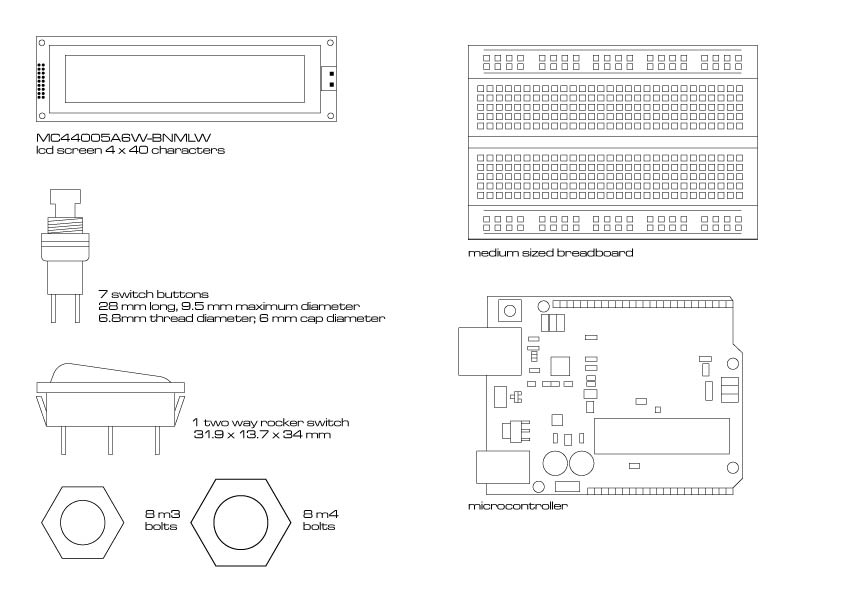
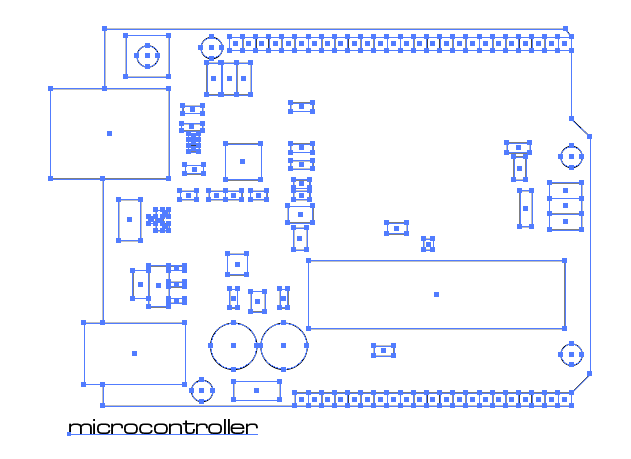
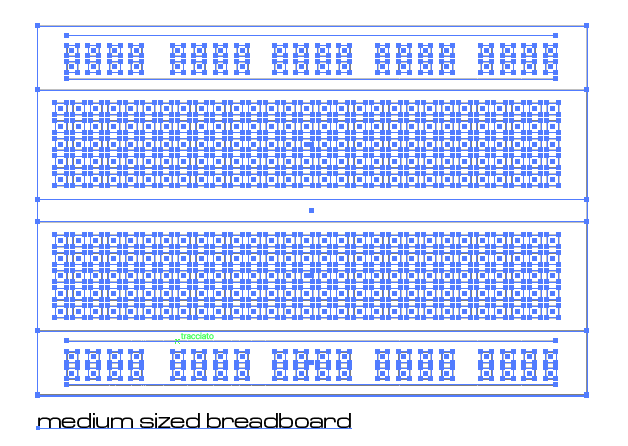
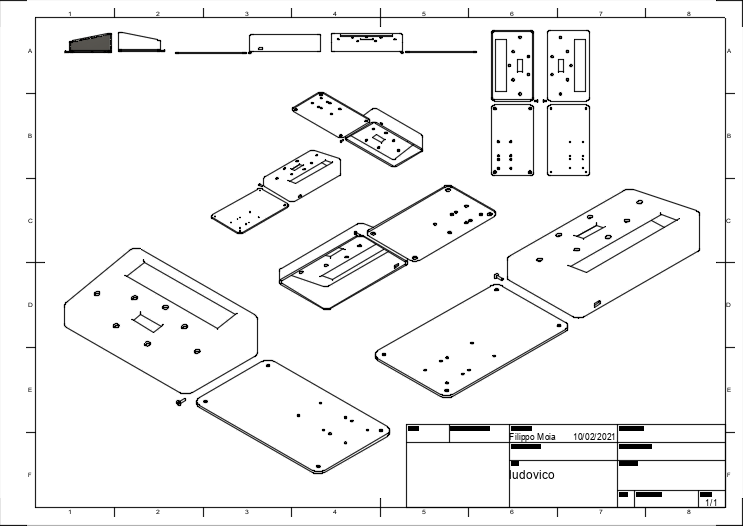
Subsequently I decided to draw via vector a “table of contents” of the parts that will constitute my game clock.
Vector Screenshots
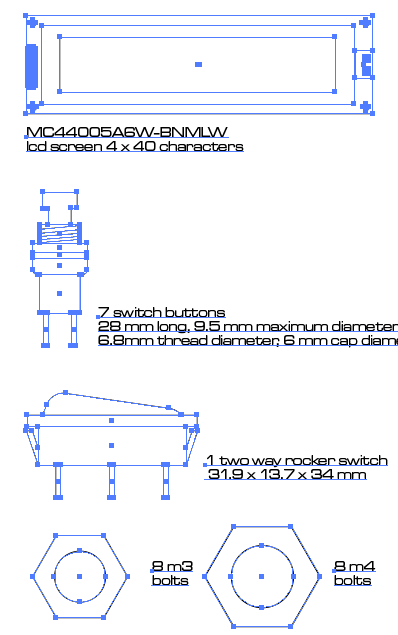
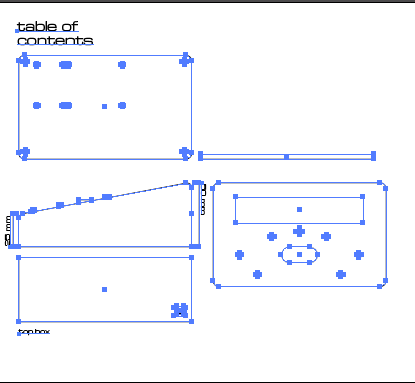
In order to sketch the table of content I used a variety of tools: - pen - shape (circle, square, etc…) - pathfinder - stroke - text
Raster Design
I used Photoshop to do the raster design I needed. As first thing I did an edit of the logo using the emboss options on level style. I then made it into a bitmap image, because I like it.

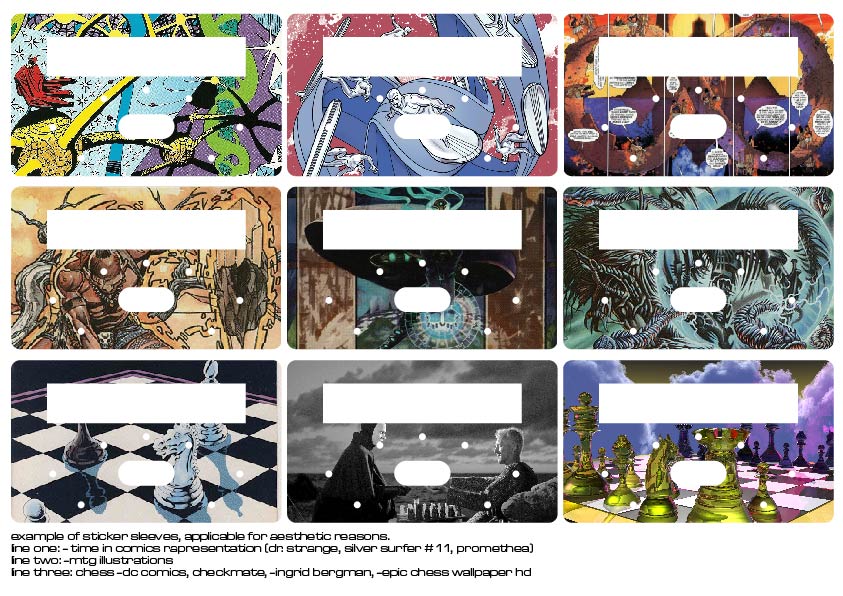
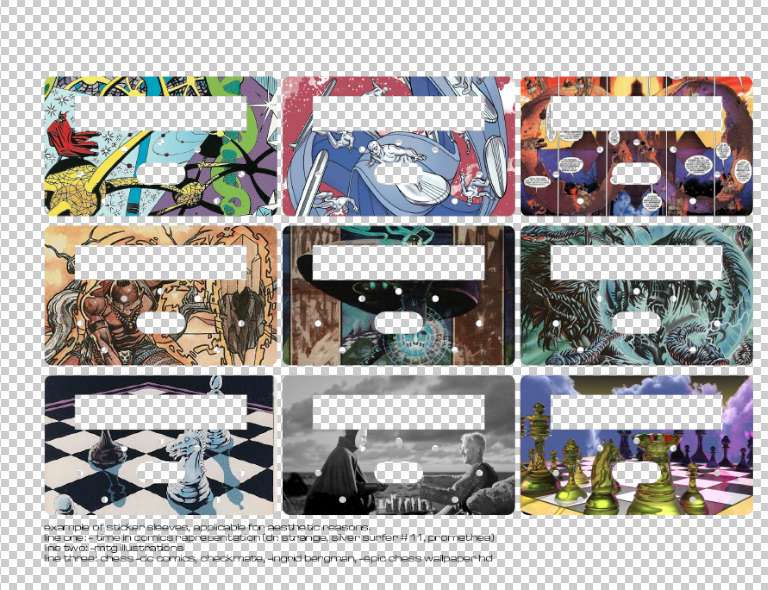
The second thing I did was mocking up a series of stickers one would place on the top face of the clock for aesthetic reasons.
Raster Screenshot
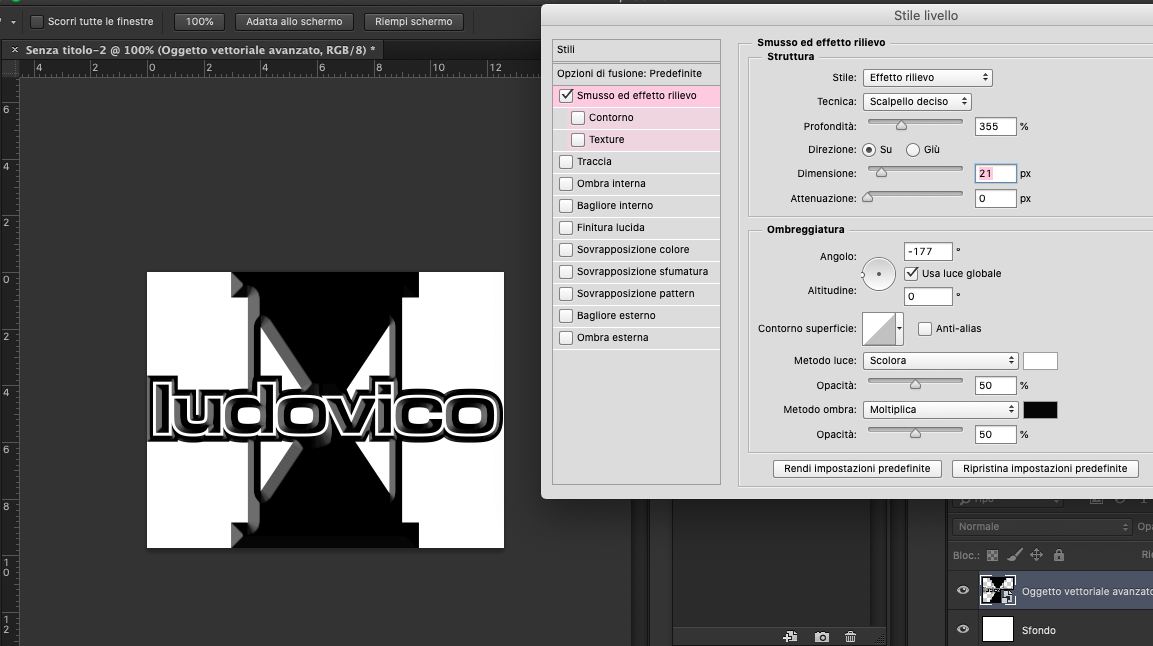
The main raster tools I used was emboss on the level style menu. I then switched to grayscale colour scheme, adjusted contrast and exposition and then made the image into bitmap.
For the stickers instead I just created a mask starting from a vector drawn on Illustrator and repeated that mask for each image\layer.
3D Design
This was the hardest part for me as I had never touched a 3D CAD software.
I used Fusion 360.
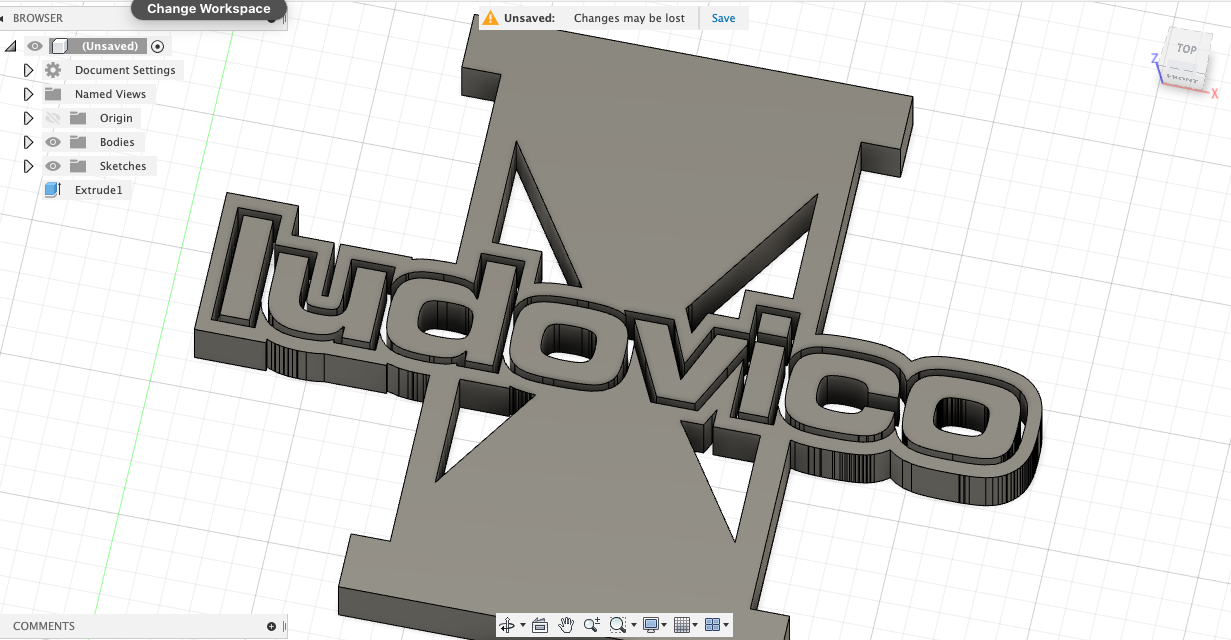
The first thing I did was testing the extrusion tool. I did this by exporting my clock’s name logo as an .xdf from Illustrator, opening it on Fusion and extruding it.
The second thing I did was defining a series of parameters based on what I had designed on Illustrator and real-life dimensions of components that I found on online stores.
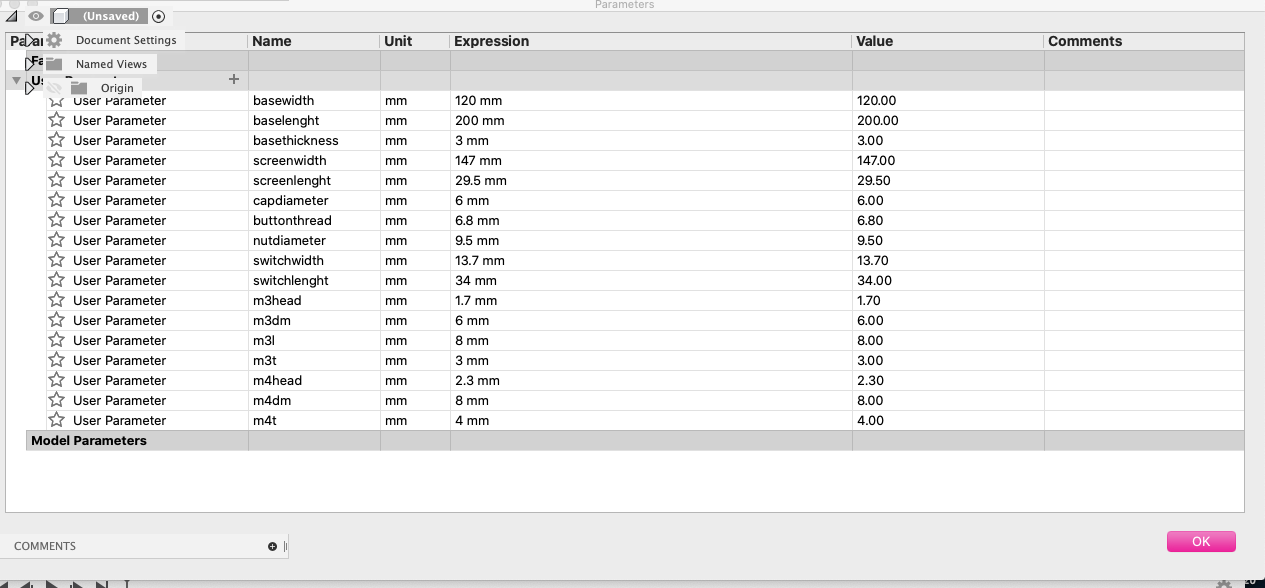
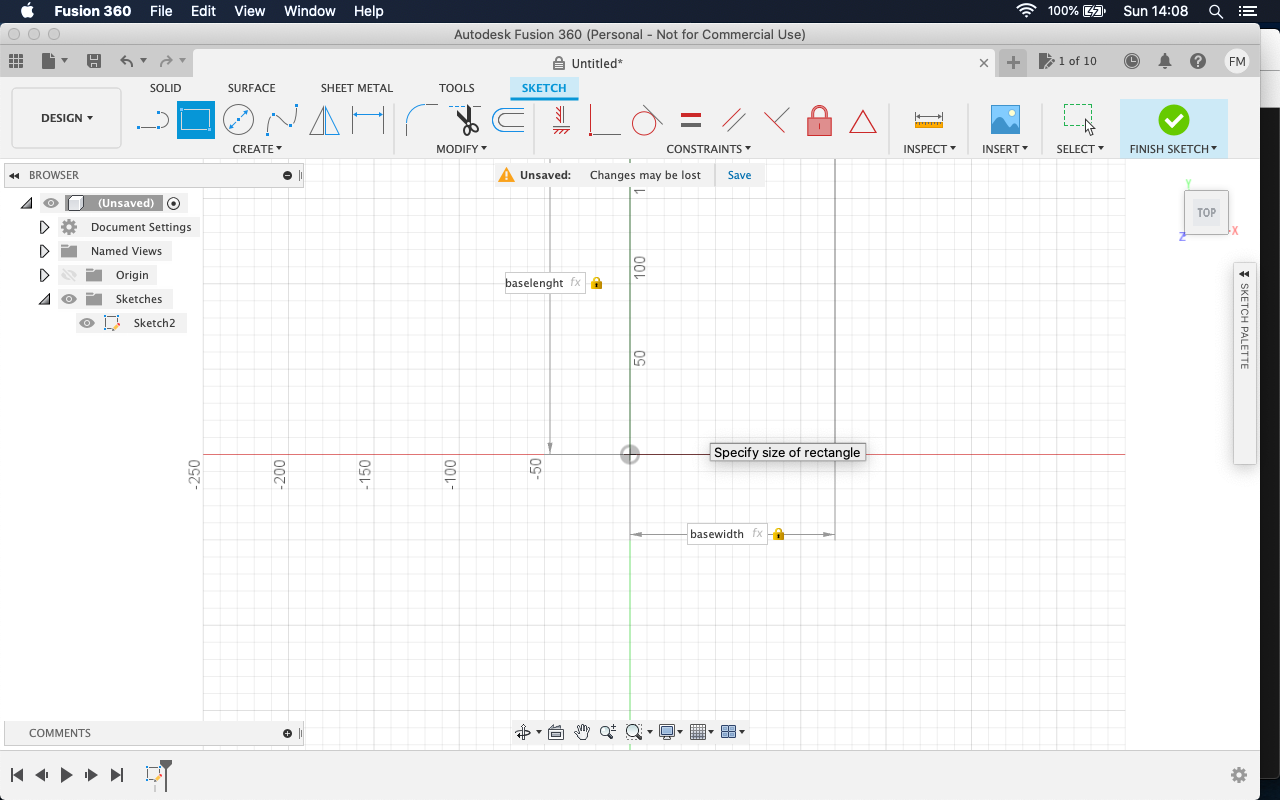
The sketches I started drawing were done by implementing the parameters I set.
This was done thoughout the whole of the project.

Wherever possible I also made sure I filleted every 90° sharp angle.
I also used constraints to make my life easier when drawing sketches.
Fusion360 Screenshots
The following list of screenshots follows the full development of my project.

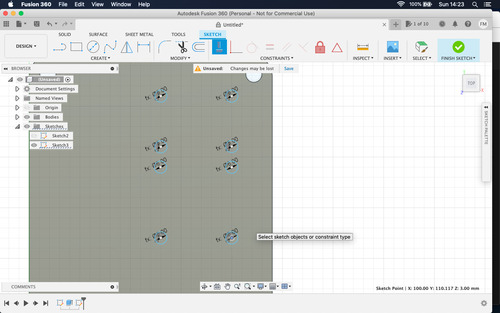
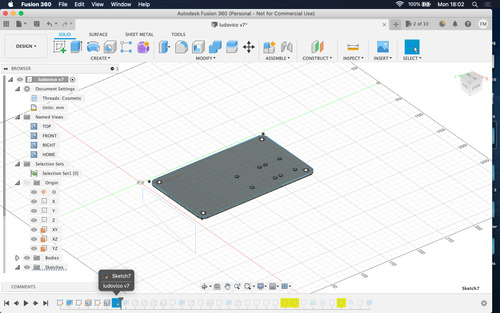
Initial sketch of my clock’s base.
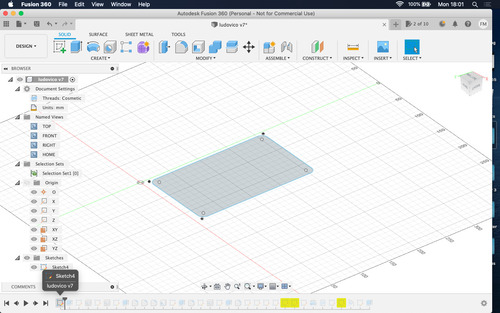
Base extrusion.
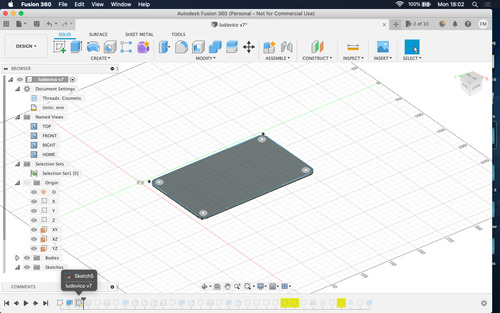
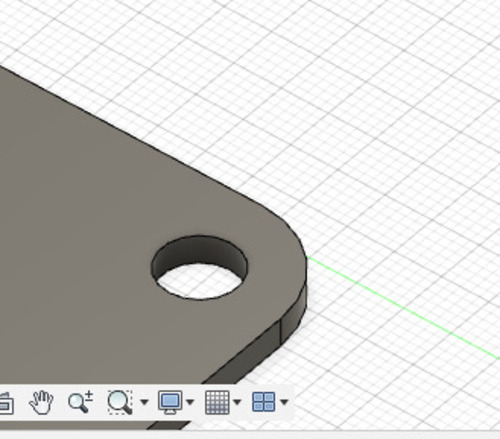
Sketched and extruded base countersunk holes.
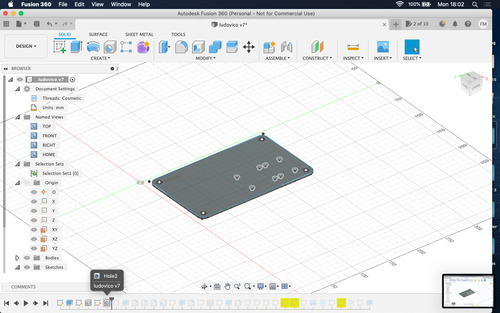
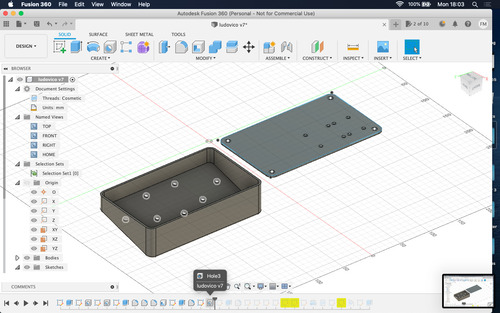
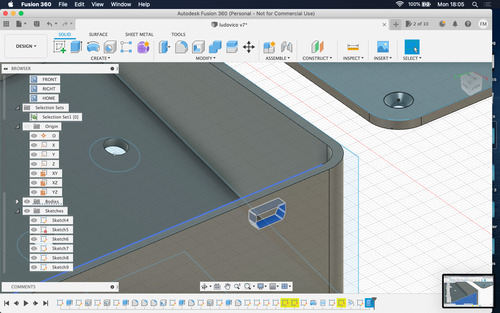
Pierced additional countersunk holes to hold microcontroller and breadboard in place. These holes were sketched using parameters and costraints.
Top box initial sketch.
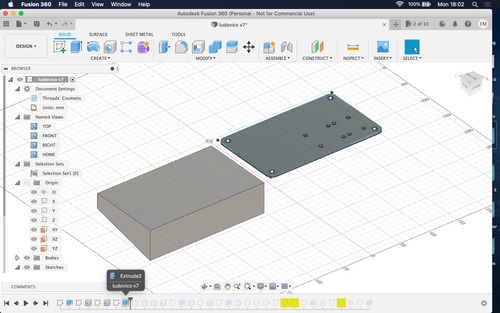
Top box extrusion.
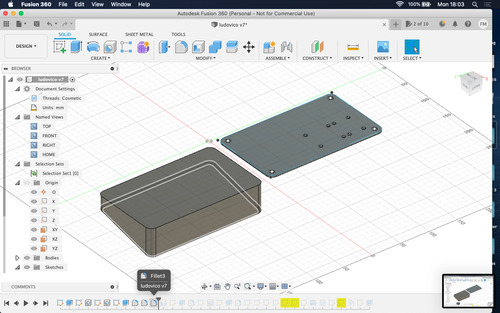
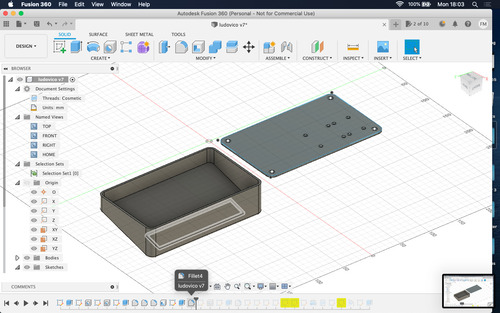
I took a moment to fillet all sharp angles so far.
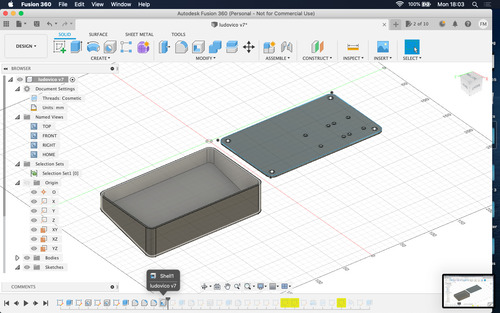
Shell the inside of the top box maintaing the parametric offset of side thickness.
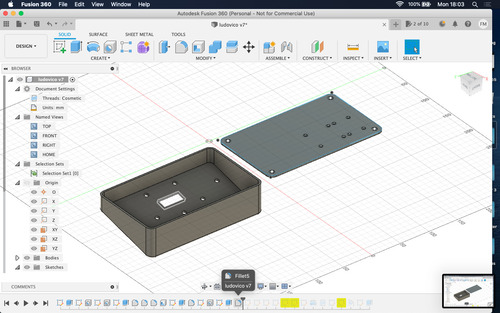
Sketched, extruded and filled the hole for the LCD screen.
Sketched and punched holes for the clock’s buttons.
Sketched, extruded and filled the hole for the 2way rocker switch.
Sketched and extruded hole for microcontroller USB port.
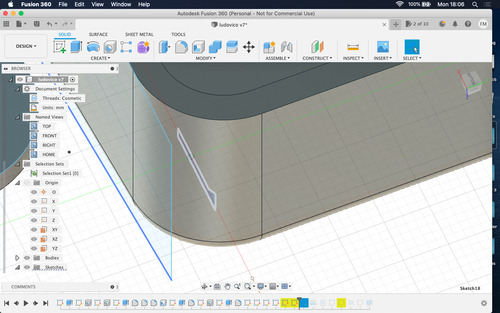
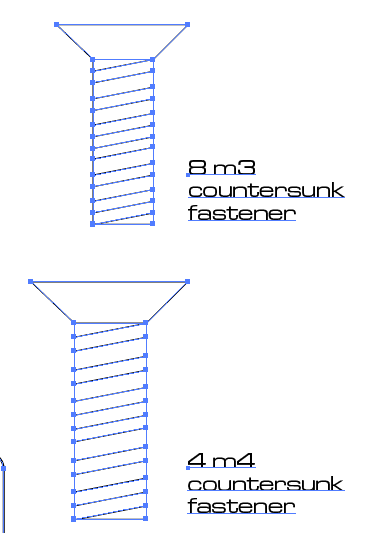
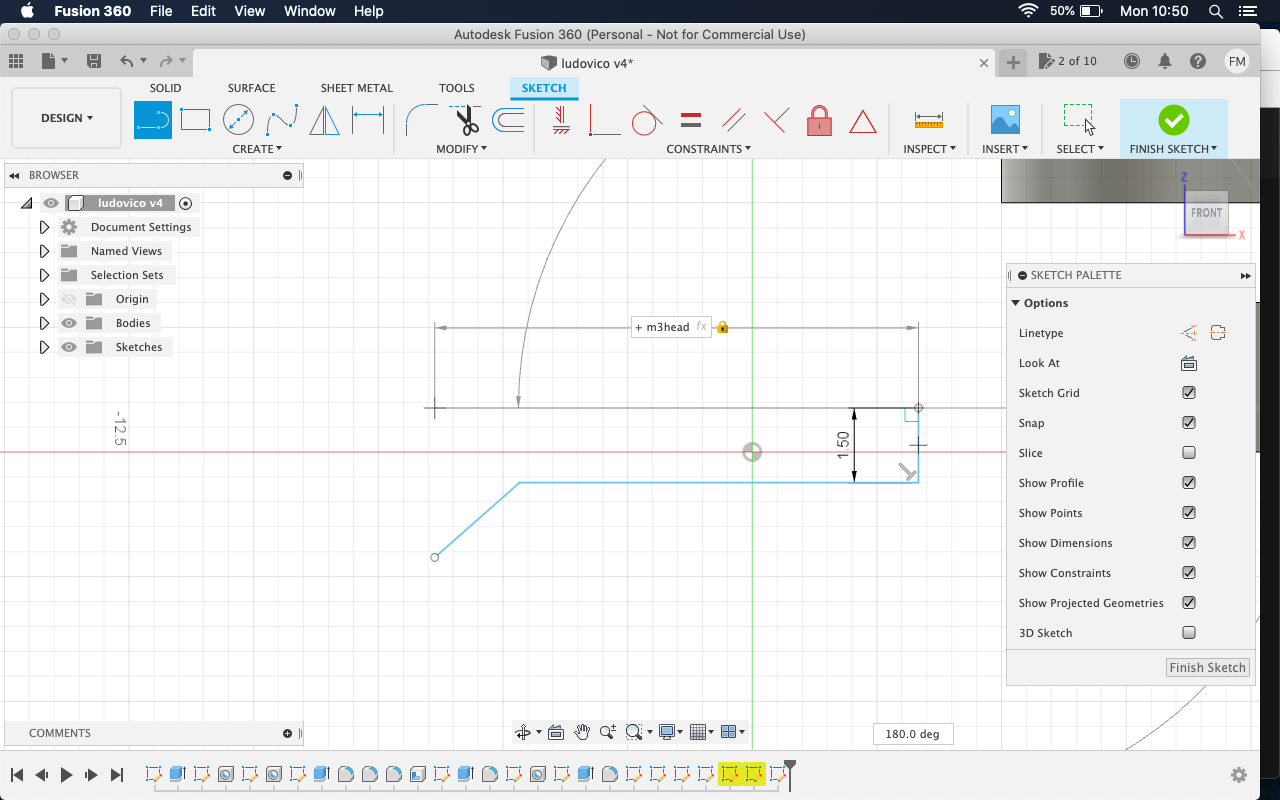
Initial sketch for M3 Countersunk fastener.
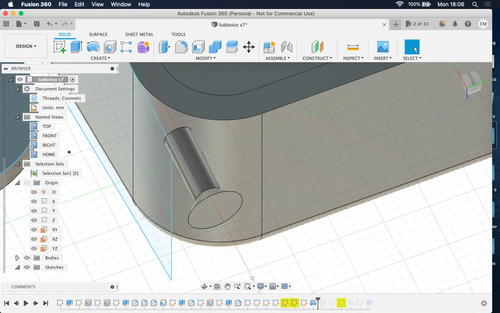
M3 Countersunk fastener revolution.
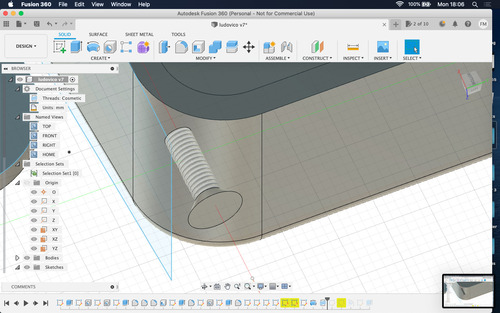
Thread test for M3 fastener.
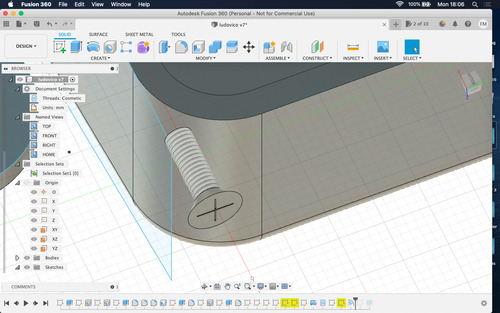
Emboss test for m3 fastener.
Batch convert \ Batch resize
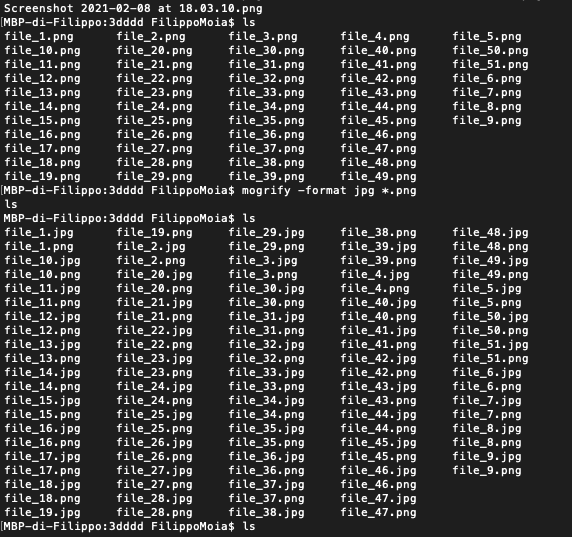
Since I was going to add and commit a large number of images I used ImageMagick to batch convert a series of screenshots from .png to .jpg.
I found it easier to batch rename them via finder.
After the conversion I decided to shave off a few more MBs by batch resize them.
The two command lines I used once in the right directory were:
- mogrify -format jpg .png
- mogrify -resize 500 .jpg

Fusion360 Notes
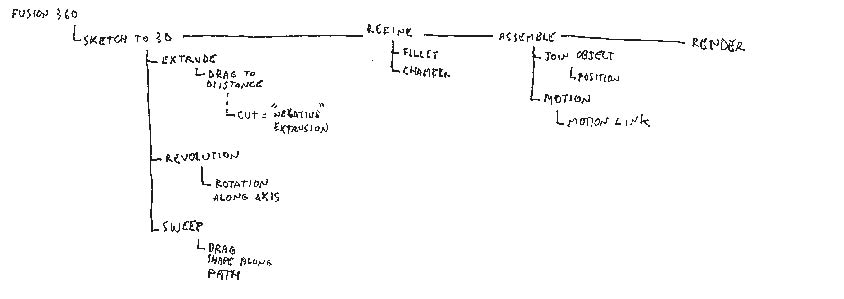
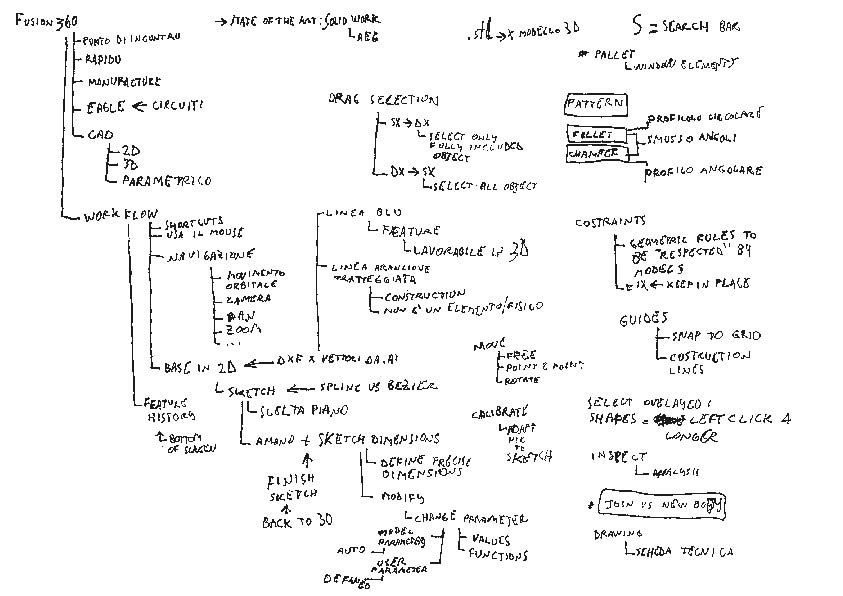
Further thoughts on CAD softwares
As a graphic designer I mostly had used the Adobe Suite for many years, during these months I also tried other softwares:
- Rhino 5/6/7, I mainly used this software to generate files for the laser cutter: any design I did in Illustrator or Fusion had to then be imported in Rhino, I often found that Rhino would scale my designs
- Inkscape, I did not like working on vector designs directly on Inkscape as I am very proficient in Illustrator, and Inkscape could only do some of the functions I use in AI if I installed extensions, as I do already have a vector design software that (as much as proprietary, not open source) is extremely versitile and powerful it did not make any sense to me to install Inkscape on my computer, I did use this software when generating CAMs for vinylin cutting as the Roland Cut Studio extension lived in our lab vinyl computer’s Inkscape.
- GIMP, I did briefly used Gimp on a collegues laptop, just to see how the interfce was, but, once again, I used Photoshop for over 7 years, which is a powerful software, so it mae no sense to me to fill my harddisk with one more software I would basically never use
I do understand the usefulness of trying out different softwares as each software might feature a more convenient set of tools or workflow that are better for one individual, at the same time I also appreciate investing more time in mastering one set of softwares, especially when my academic and professional background were focused mainly on utilising the Adobe Suite.
So, a few comments:
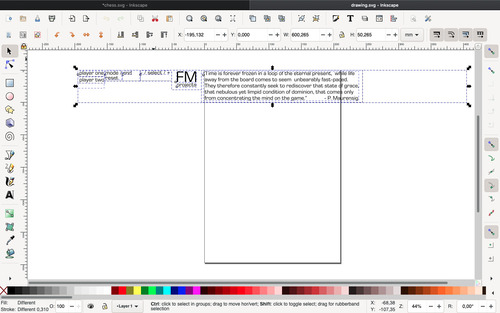
Example for how I used Inkscape to generate vinyl cutter files.
- Inkscape does not features naturally some important features such as designing directly on multiple pages
- I don like the crowded interface
- I love that is for free
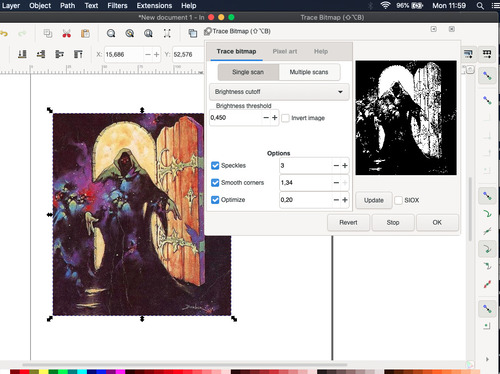
- I quite enjoy its bitmap tracing feature, as it can be seen on my work profile on IG, I often use bitmapped images, to have a deeper level of control on bitmaps can be very useful in my practice.

- I really love how you can type commands in Rhino as it speeds up the workflow immensely when performing repetitive tasks such as scaling, or assigning levels
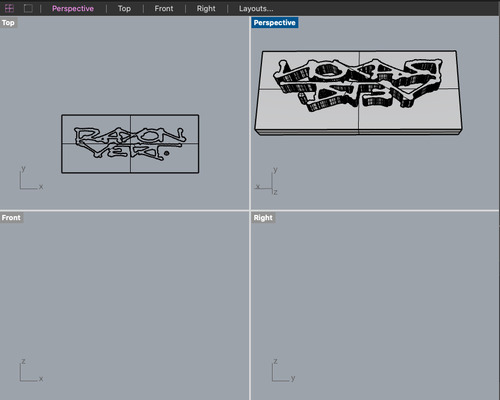
- I also liked a lot the way the different views\layouts are easily navigated and customized
Files
Useful Links
Task List
- [x] Modelled experimental objects/part in 3d
- [x] Modelled experimental objects/part in 2d (vector)
- [x] Modelled experimental objects/part in 2d (raster)
- [x] Documented steps with screenshots
- [x] Uploaded files