16. Wildcard Week
During wildcard week I wanted to experiment with different means to produce mould and stamps.
I experimented with the vacuformer during the moulding and casting week as an extra, which I could document again as it was enough for the wildcard week. But there are so many options so I wanted to explore further. This time however, I used a laser cut form as a base instead of a 3D-printed or milled form.
Dragonskin silicone
During the moulding and casting week I used poured silicone to make a mould. This week I wanted to see whether the dragonskin brush-on mould making would suit me less or more.
I made a starfish drawing. On paper. As always.
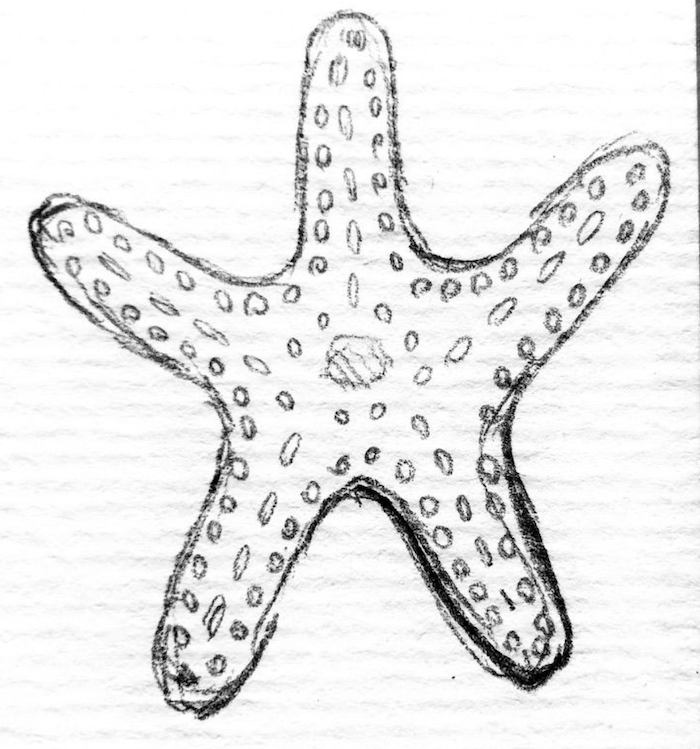
I used Illustrator to vectorise the drawing.

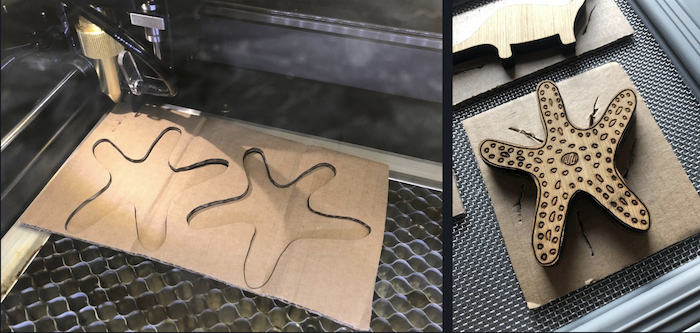
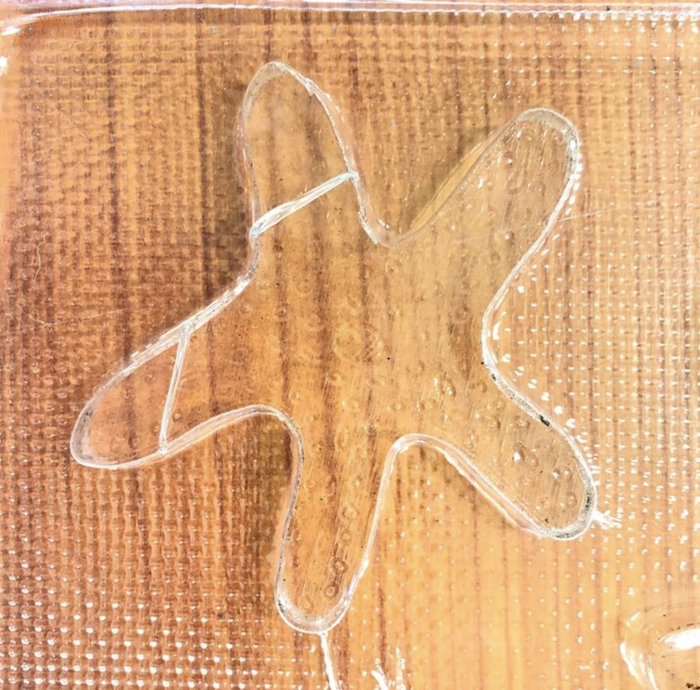
I wanted to have a mould going both ways, I vacuformed the starfish. (Poor thing…) This allows me to use the mould for both pouring in the mould with e.g. chocolate and make a mould on the outside of the vacuum formed mould.
To make the mould high enough, I cutted extra cardboard shaped without the engraving. The engraving is a test to see if I can transfer this easily in both the dragonskin mould and the vacuformed mould.
With everything in place, it’s time to heath up the PET and mould away.
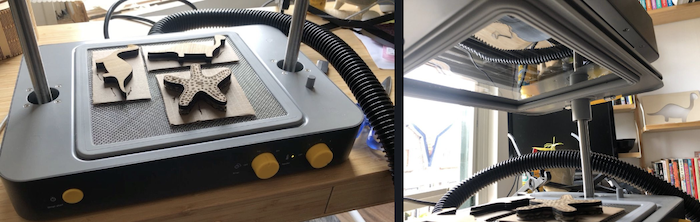
The result was ok for now, but it needs to be improved for a next time. The mould isn’t completely flat.
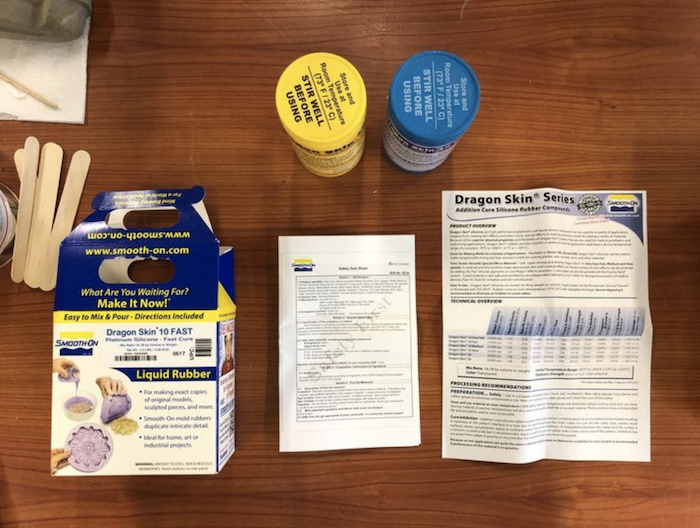
Dragonskin is a silicone made out of two components that should be mixed in the right order. It’s easy to colour and as a starfish belongs in the blue sea, I went with blue.
Before you start mixing, make sure the B components has been thoroughly stirred!
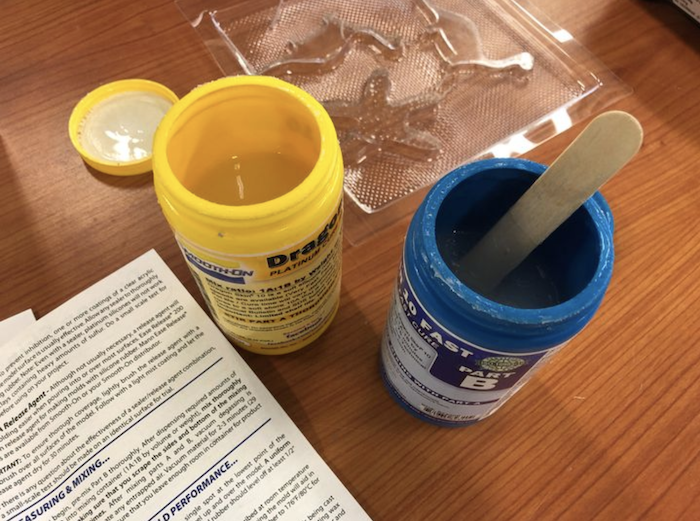
Carefully measure all the parts and add the colour pigment.
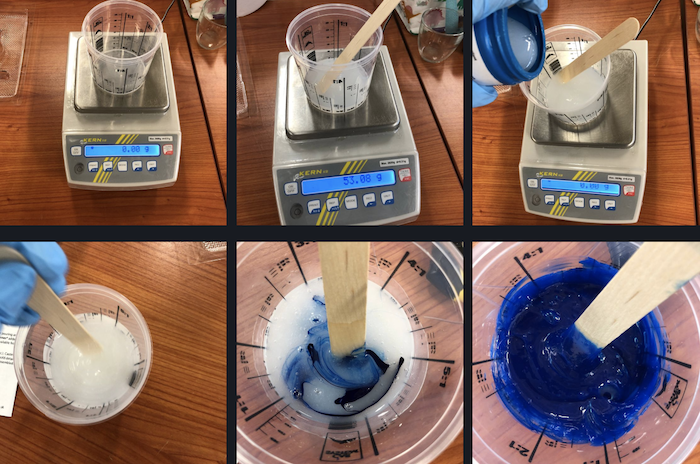
Stir for a good five minutes, make sure not to whisk! Whisking makes bubbles and we don’t want those in our silicone 🙂
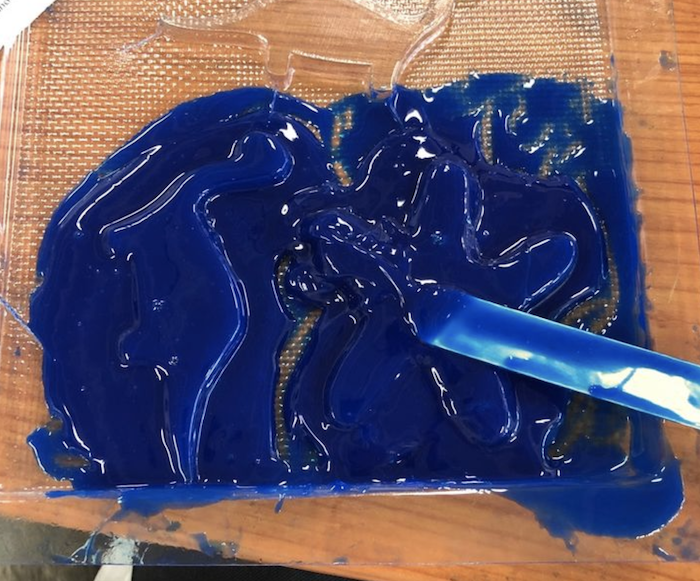
As I wanted to test the brush-on method, it’s time to brush.
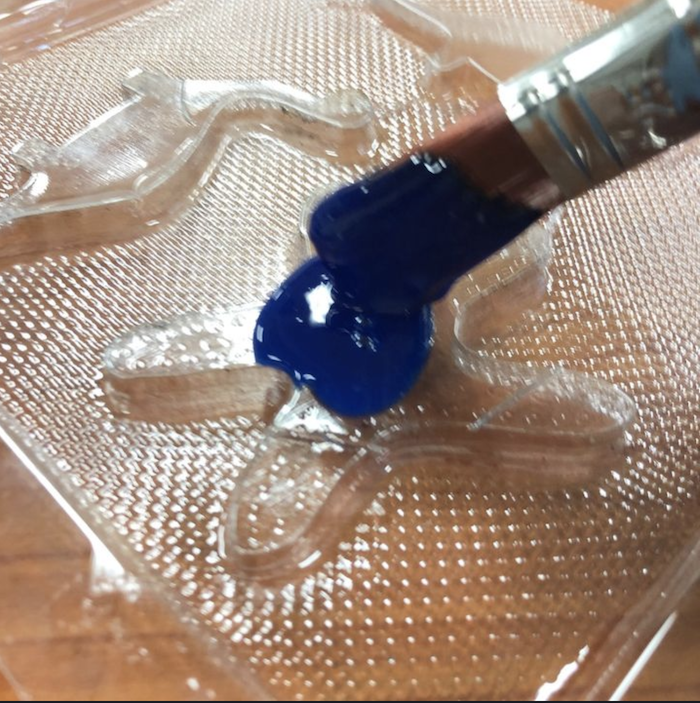
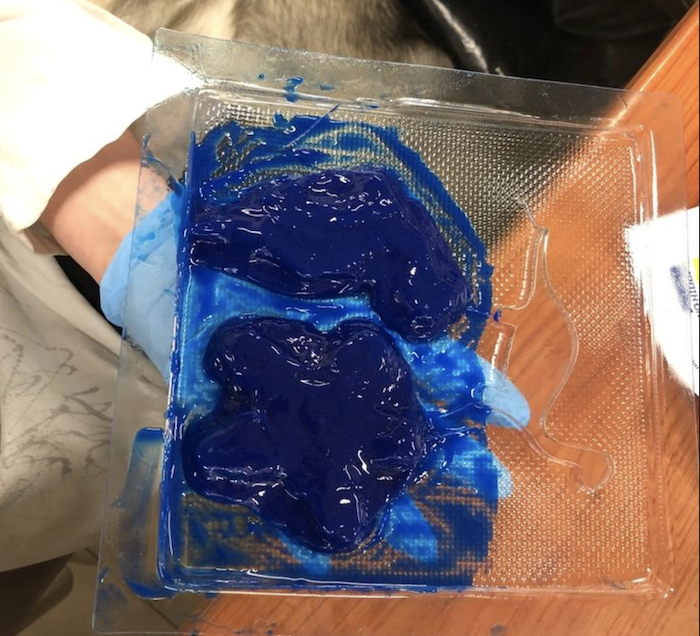
I went a bit to quick at first in between the layers, so I used a spatula in order to keep the dragonskin in place.
After half an our it was time to leave the dragonskin to dry. Luckely Mysa needed a walk ;-)
It takes about two hours for the dragonskin to dry completely, which is a major difference with the silicone I used a couple of weeks ago which needed to dry for up to a day!
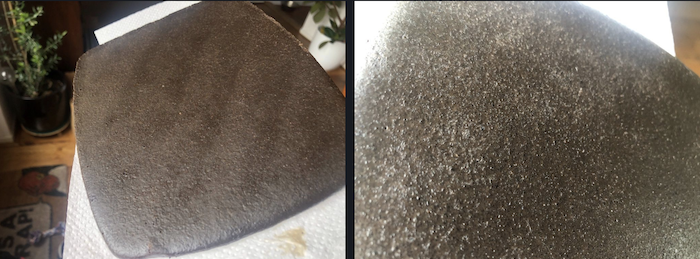
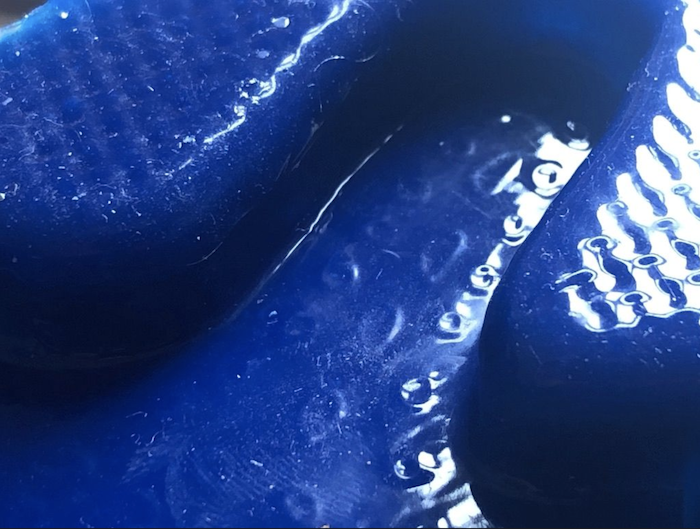
I carefully lifted the dragonskin off the mould and it looks great. Very blue, very firm. Ready to use!
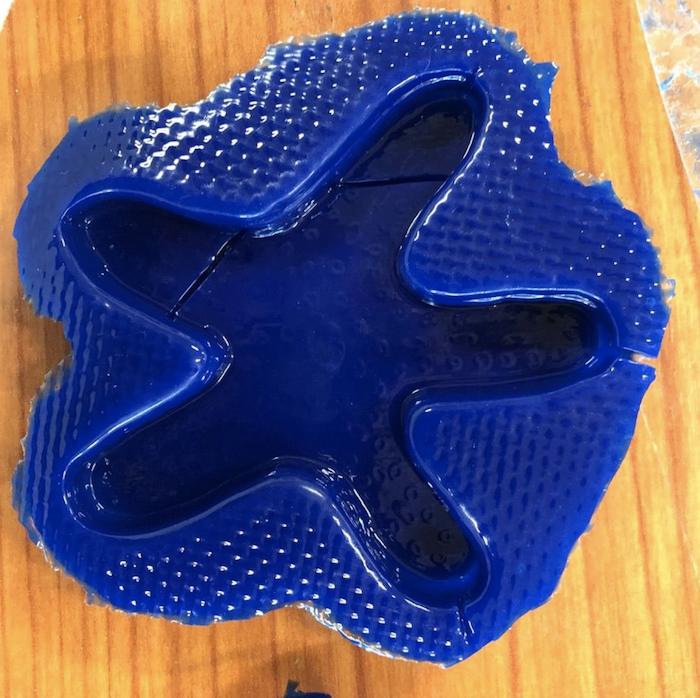
When looking at the mould in close-up, you can see the engraving came through very well! I’m happy with this result and this makes me hopeful you will be able to transfer it into the cast as well.
Bio-based epoxy in a dragonskin mould
As I live part of my time next to the sea, I wanted to make a stamp in expoxy using bio-based epoxy as a base.
Starfishs eat, amongst other things, shells to survive. I wanted to make this a double test by casting shells into the resin.
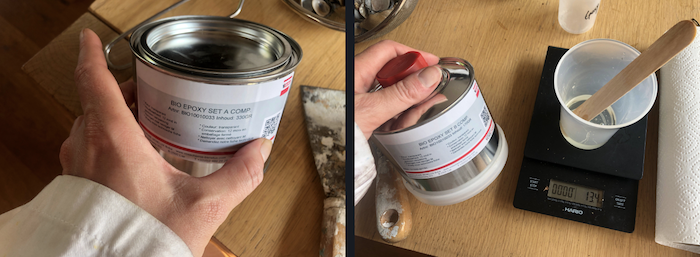
First, as always, measure carefully!
This bio resin from Vosschemie needs 2 parts of component A on 1 part of component B.
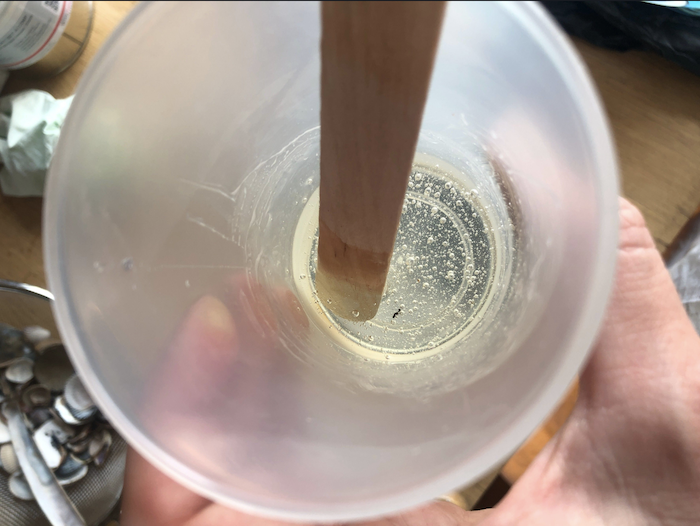
After joining the parts, stir them gently until they’re combined and sea through 😉
Cast them into the mould, if needed move the shells around a bit to keep them in their right spot.
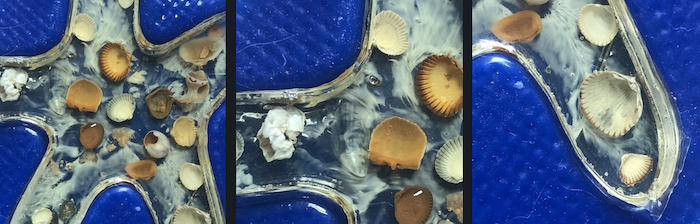
Leave the resin to dry and set, it takes about a day. Carefully take the cast out of the mould.
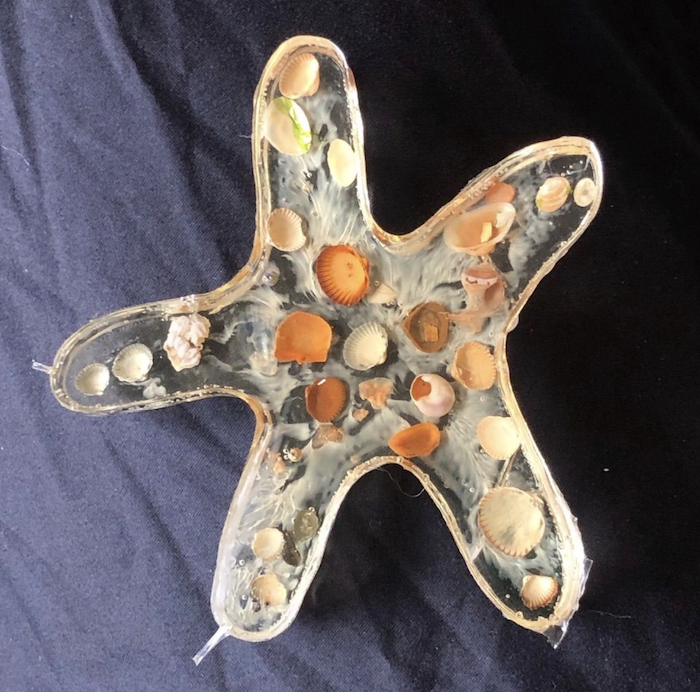
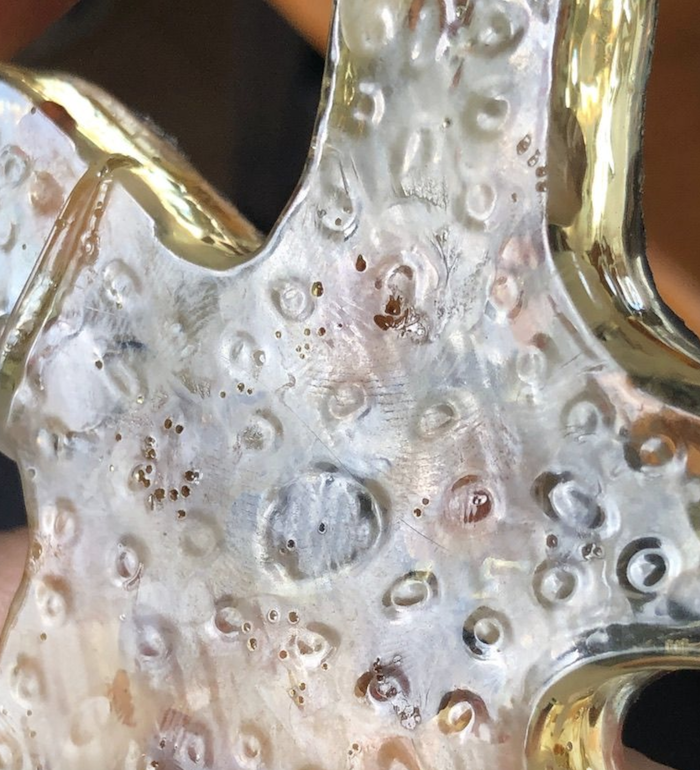
The goal was to check whether the engravings would transfer to this point as well and they did! I couldn’t be more happy with the result.
The goal is to test whether I can use bio-based resin stamps to make stamps or for etching. This way I will be able to use them in combination with the pressing machine I’m making as a final project.
Coffee plastic to make stamps
As an extra, I wanted to make coffee plastic poured in the vacuformed mould.
However, the mould was still in use, I did make the coffee plastic to be able to see wether it could be used a stamp.
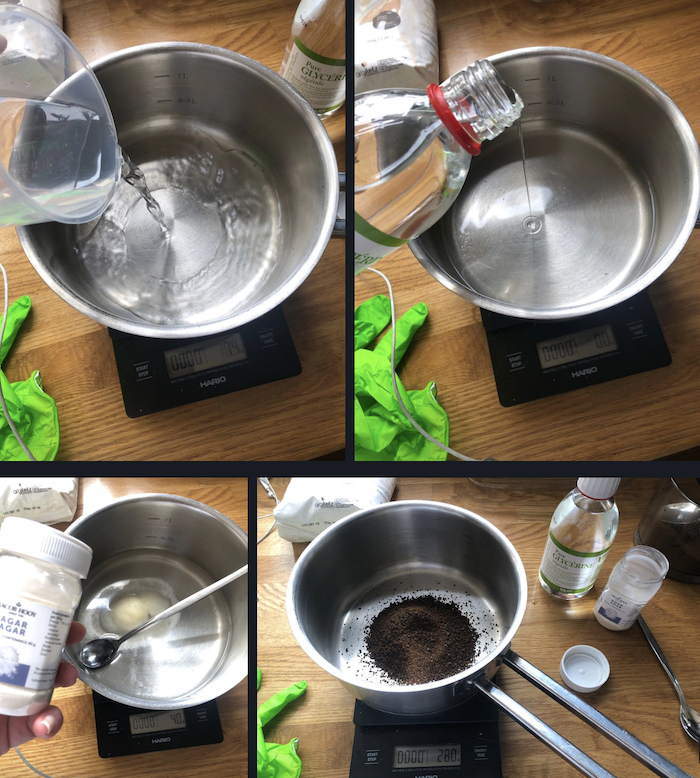
I used the following recipe:
- 150 ml water
- 32 g coffee
- 2 teaspoons of white clay
- 50 ml glycerine
- 4 g agar agar
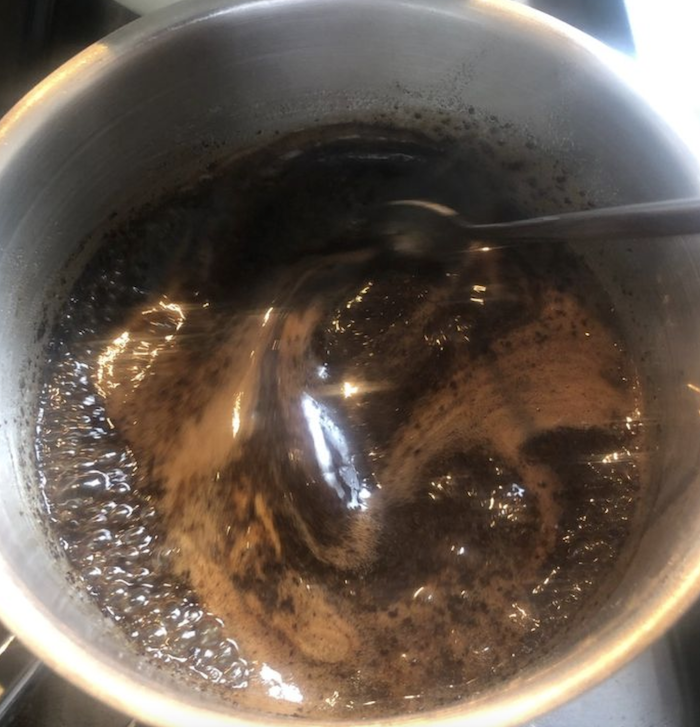
The following steps:
- Heath the water on the cooker, once it boils add the clay and coffee
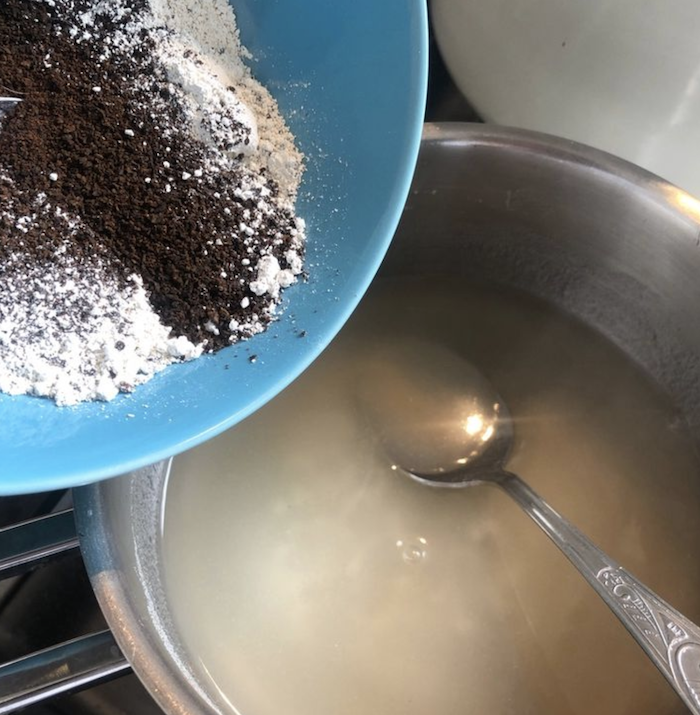
- Add the glycerine and agar agar
- leave to boil for at least five minutes while stirring until the mixture thickens
- pour into a mould
- leave it to settle and take it out of the mould
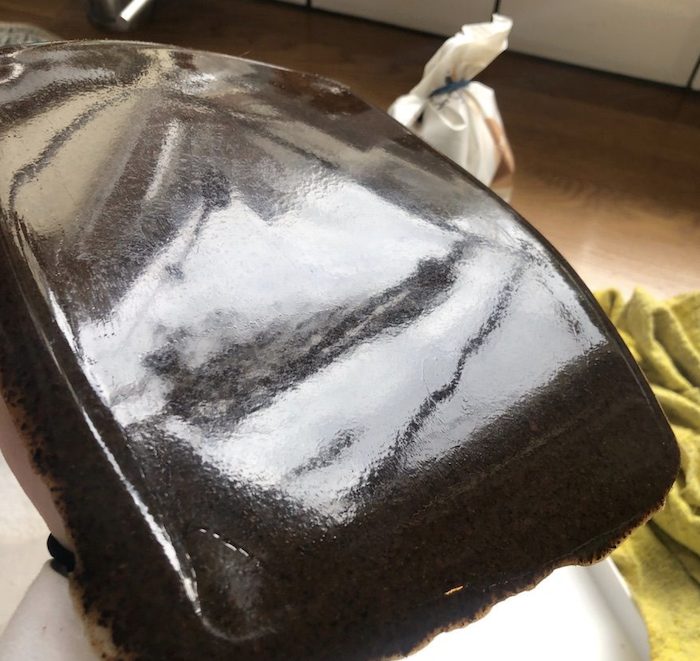
- dry it until it stops emitting grease from the coffee beans (if needed you can drip it dry in between the drying process using a cotton cloth)
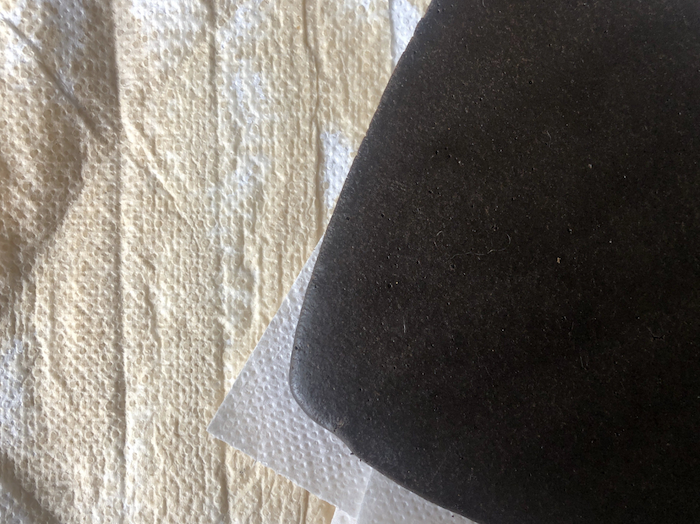
Mine has been drying for over two weeks and still emits grease. I will test engraving it later on.