8. Embedded programming
While designing my ATTiny45 board for the electronic design part, I looked up the datasheet for the ATTiny45 as I was super curious about the microcontroller and it’s possibilities. A lot of information.
As it’s all rather new to me, I looked up extra information online and stumbled upon this page on Instructables. It explains rather well and in a simple manner how the datasheet is divided and it’s sort of a guideline to run through it.
By now my board has been finished and with the board in place, it’s time to start programming.

Ready, set, go!
Get some code running!
1. Arduino
I’ve been using arduino for a while now and it’s always the easiest to start with something you know works. After all the issues with getting the programmer running, I didn’t want to waste a bunch of time.
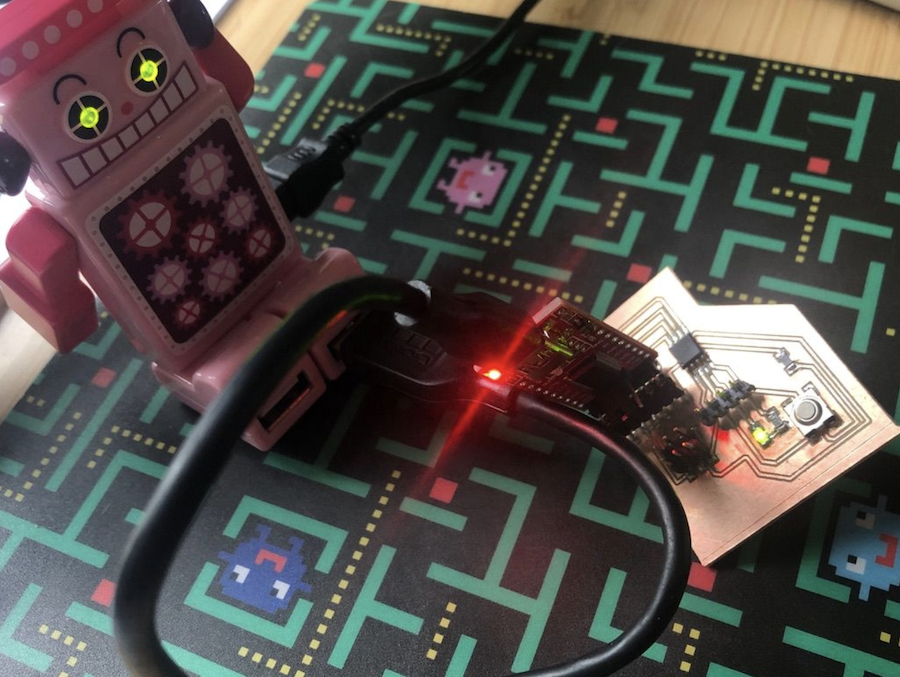
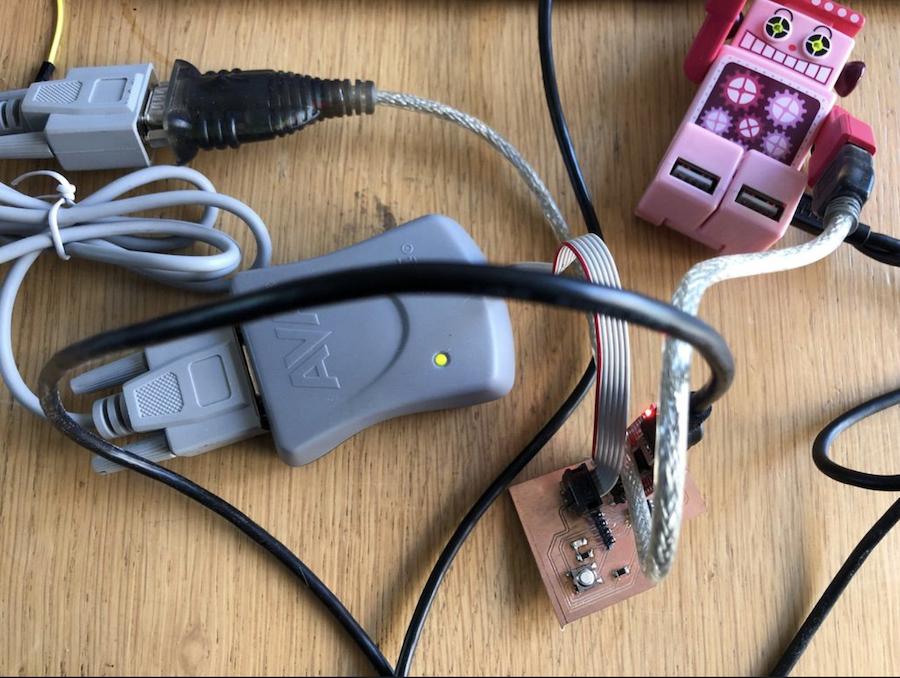
I used the AVR programmer from Kurt and attached the board to my computer. The power came via the FTDI as the programmer itself doesn’t provide power.
As there’s a lot more coding to be done in the next few weeks as well, I kept it relatively simple and used the blink example that is embedded in arduino and adapted to code to my own board.
This gave me the following:
const int ledPin =  4;
// the setup function runs once when you press reset or power the board
void setup() {
  // initialize digital pin LED_BUILTIN as an output.
  pinMode(ledPin, OUTPUT);
}

// the loop function runs over and over again forever
void loop() {
  digitalWrite(ledPin, HIGH);   // turn the LED on (HIGH is the voltage level)
  delay(100);                       // wait for a second
  digitalWrite(ledPin, LOW);    // turn the LED off by making the voltage LOW
  delay(100);                       // wait for a second
   digitalWrite(ledPin, HIGH);   // turn the LED on (HIGH is the voltage level)
  delay(100);
   digitalWrite(ledPin, LOW);    // turn the LED off by making the voltage LOW
  delay(100);                       // wait for a second
   digitalWrite(ledPin, HIGH);   // turn the LED on (HIGH is the voltage level)
  delay(100);
  digitalWrite(ledPin, LOW);    // turn the LED off by making the voltage LOW
  delay(1000);
}
With the following result:
Blinking the led is the easy part. The second step was to have the led go on and off when the button on the board was pressed.
To do this, I changed the code in arduino a bit:
// constants won't change. They're used here to set pin numbers:
const int buttonPin = 3;     // the number of the pushbutton pin
const int ledPin =  4;      // the number of the LED pin

// variables will change:
int buttonState = 0;         // variable for reading the pushbutton status

void setup() {
  // initialize the LED pin as an output:
  pinMode(ledPin, OUTPUT);
  // initialize the pushbutton pin as an input:
  pinMode(buttonPin, INPUT);
}

void loop() {
  // read the state of the pushbutton value:
  buttonState = digitalRead(buttonPin);

  // check if the pushbutton is pressed. If it is, the buttonState is HIGH:
  if (buttonState == HIGH) {
    // turn LED on:
    digitalWrite(ledPin, LOW);
  } else {
    // turn LED off:
    digitalWrite(ledPin, HIGH);
  }
}
Hooray, when I press the button the led blinks on and off.
Great 🙂
2. PlatformIO via Atom
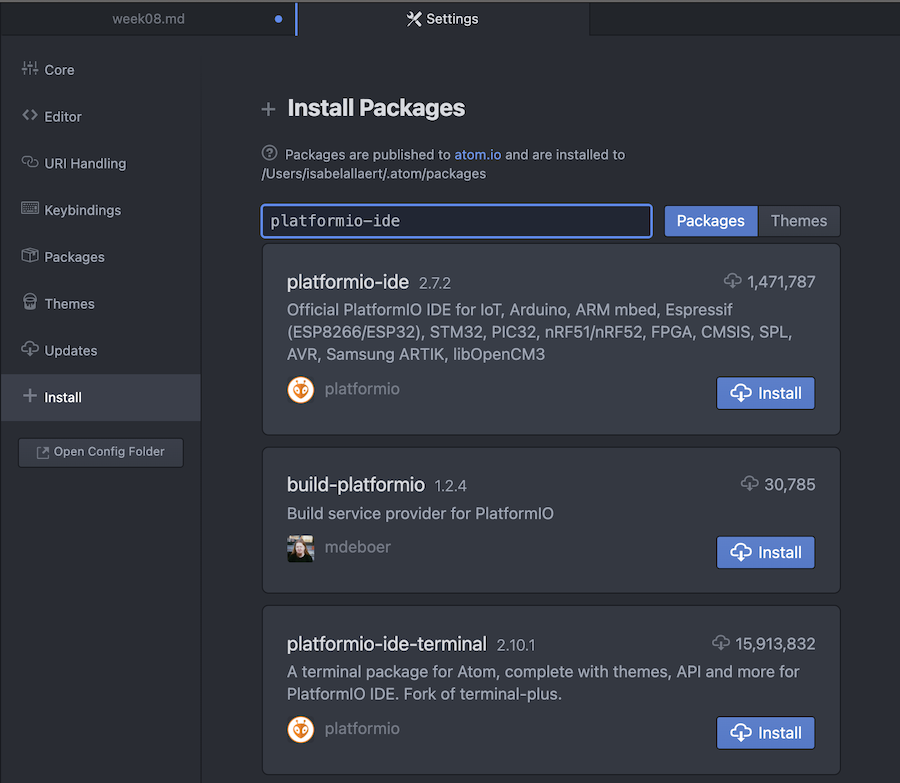
As I wanted to explore with C, I decided to install PlatformIO via Atom using the following tutorial. Atom had been my go to programming tool ever since the academy started so it only makes sense to explore more of it’s possibilities.
In Atom on Mac OS go to Preferences > Install and search for the Platformio-ide module. Press install and wait. After installing, Atom needs to be rebooted before you can start.

After installing and rebooting, the PlatformIO in Atom looks like this.
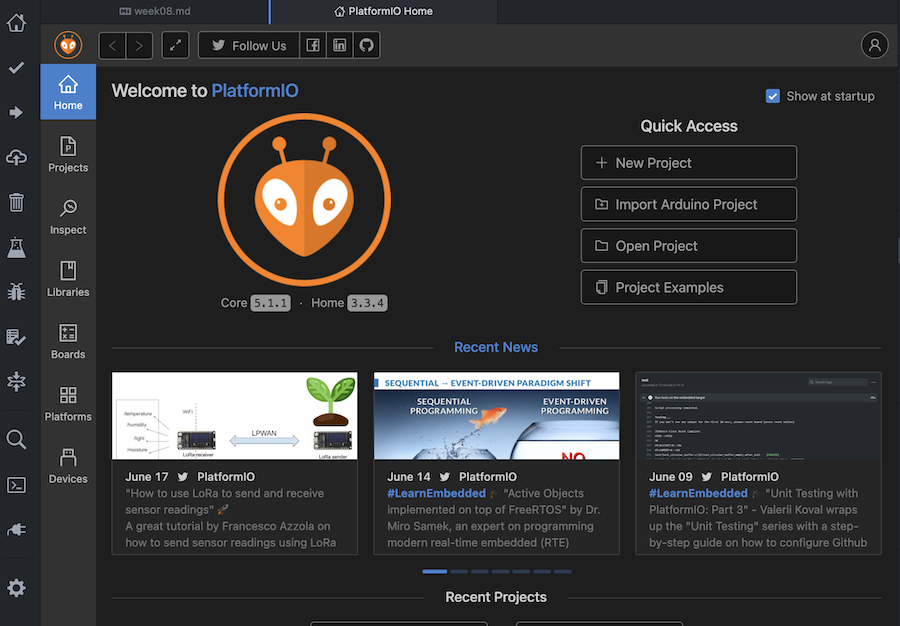
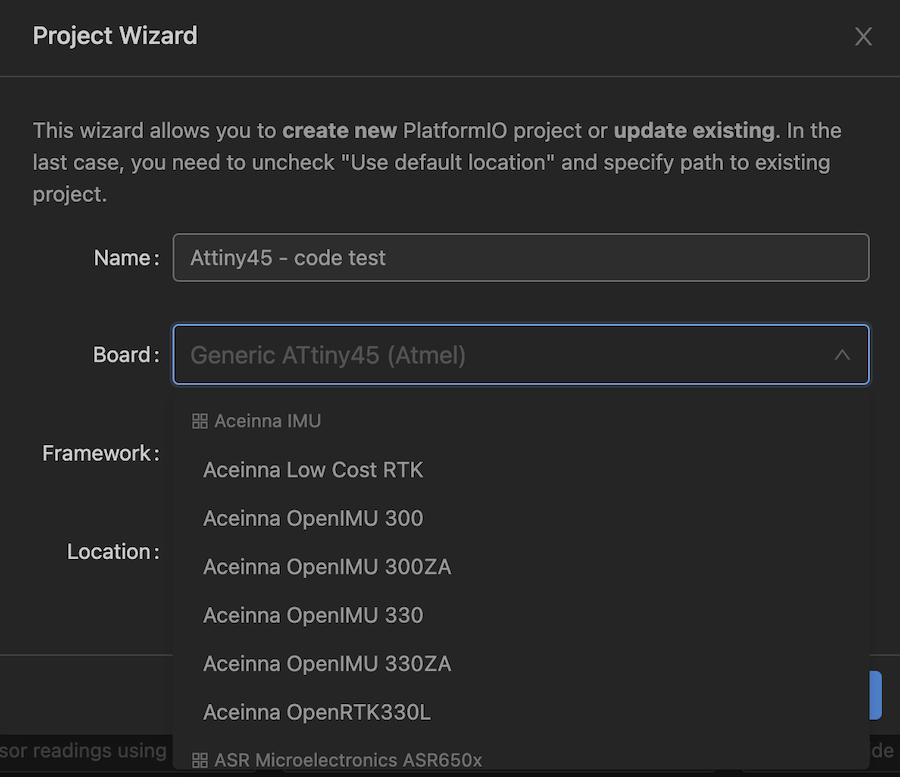
Time to start a new project 🙂
I named my project “Attiny45 - code test” and selected the ATtiny45 chip from the endless list of possible boards. Make sure to choose the right one!
Configure your project
In PlatformIO you need to configure your project in the main “platformio.ini” file. When using the attiny45 it needs to be like this:
[env:attiny45] platform = atmelavr board = attiny45 framework = arduino
- the type of chip: platform = atmelavr
- the chip model: board = attiny45
- the operating framework: framework = arduino
- the programmer used: upload_protocol = AVRISP
-
the serial port = (depends on your computer)
[env:program_via_AVRISP] platform = atmelavr framework = arduino upload_protocol = custom upload_port = SERIAL_PORT_HERE upload_speed = 19200 upload_flags = -C ; use “tool-avrdude-megaavr” for the atmelmegaavr platform $PROJECT_PACKAGES_DIR/tool-avrdude/avrdude.conf -p $BOARD_MCU -P $UPLOAD_PORT -b $UPLOAD_SPEED -c stk500v1 upload_command = avrdude $UPLOAD_FLAGS -U flash:w:$SOURCE:i
In Atom you can go to PlatformIO > List serial ports to get an overview.
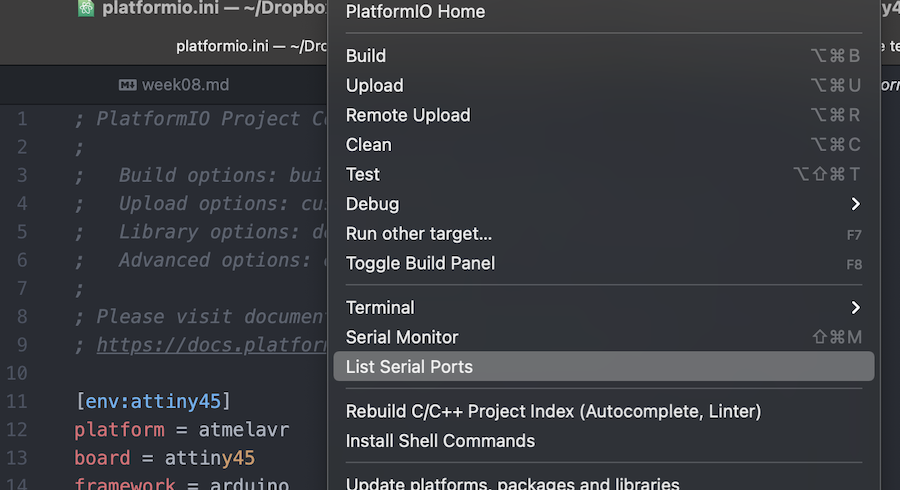
You can find more information here and here.
Make sure to have your bootloader loaded correctly on your board before starting to programme it via PlatformIO, otherwise it will not work.
Time to build your arduino code. Under your project name, you find a folder names “SRC” which contains the source code in a file named “main.cpp”. This is the file you need to change with your code in order to be upload it to your board.
I used my arduino code and included the arduino library and performed a debug to check the code.
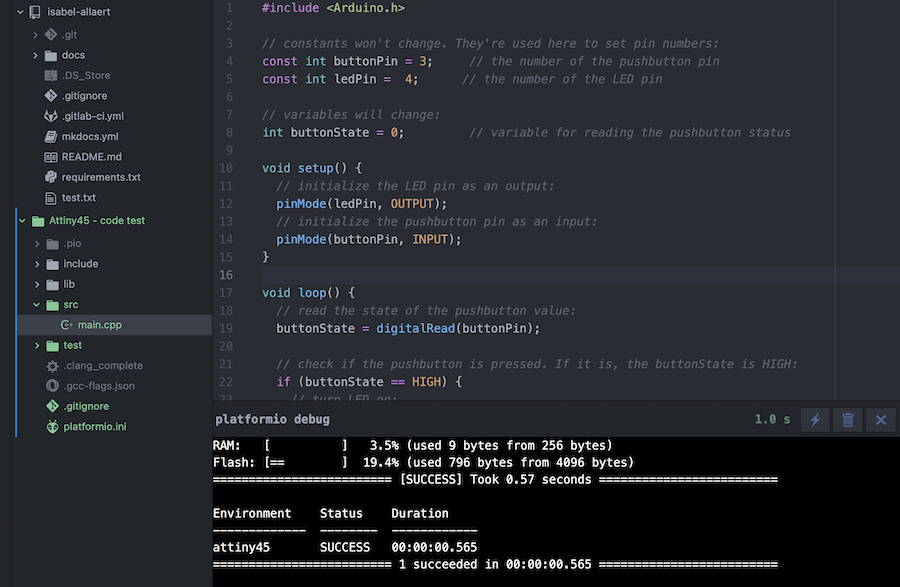
With a debug done, it’s time to upload the code to your board.

Good luck!
Files
Conclusion
I will continu to programme and code in the following weeks on different boards as well, so I believe this was enough for now.
In the lab I’ve been using multiple languages and platforms to code during our workshops with children in the past seven years, such as microbit and micropython, scratch, blockly, … all have their pro’s and con’s but I believe that for myself arduino will always remain my go to in case of embedded programming.