11. MOLDING AND CASTING
This weeks task is to Design a 3D mold, machine it, and cast parts from it.
Group assignment:
Review the safety data sheets for each of your molding and casting materials, then make and compare test casts with each of them.
Individual assignment:
Design a mold around the stock and tooling that you’ll be using, mill it (rough cut + (at least) three-axis finish cut), and use it to cast parts.
Molding
Ideas for the mold:
-
Plant root growing box
-
Simple dice
-
Disney character keychain
-
Name stamp
This page helped me in understanding molding and casting process.
Designing the mold
After brainstorming, I decided to make a mold of a panda. I imported an STL file from thingiverse and inserted that file in fusion to create a mold for it.
STL file consists of many meshes so it has to be converted to a solid body to make a mold around it.
This video has helped me in understanding the process to convert a STL file to a solid body in fusion 360. The number of faces should be reduced in the mesh file to convert that into a solid body.
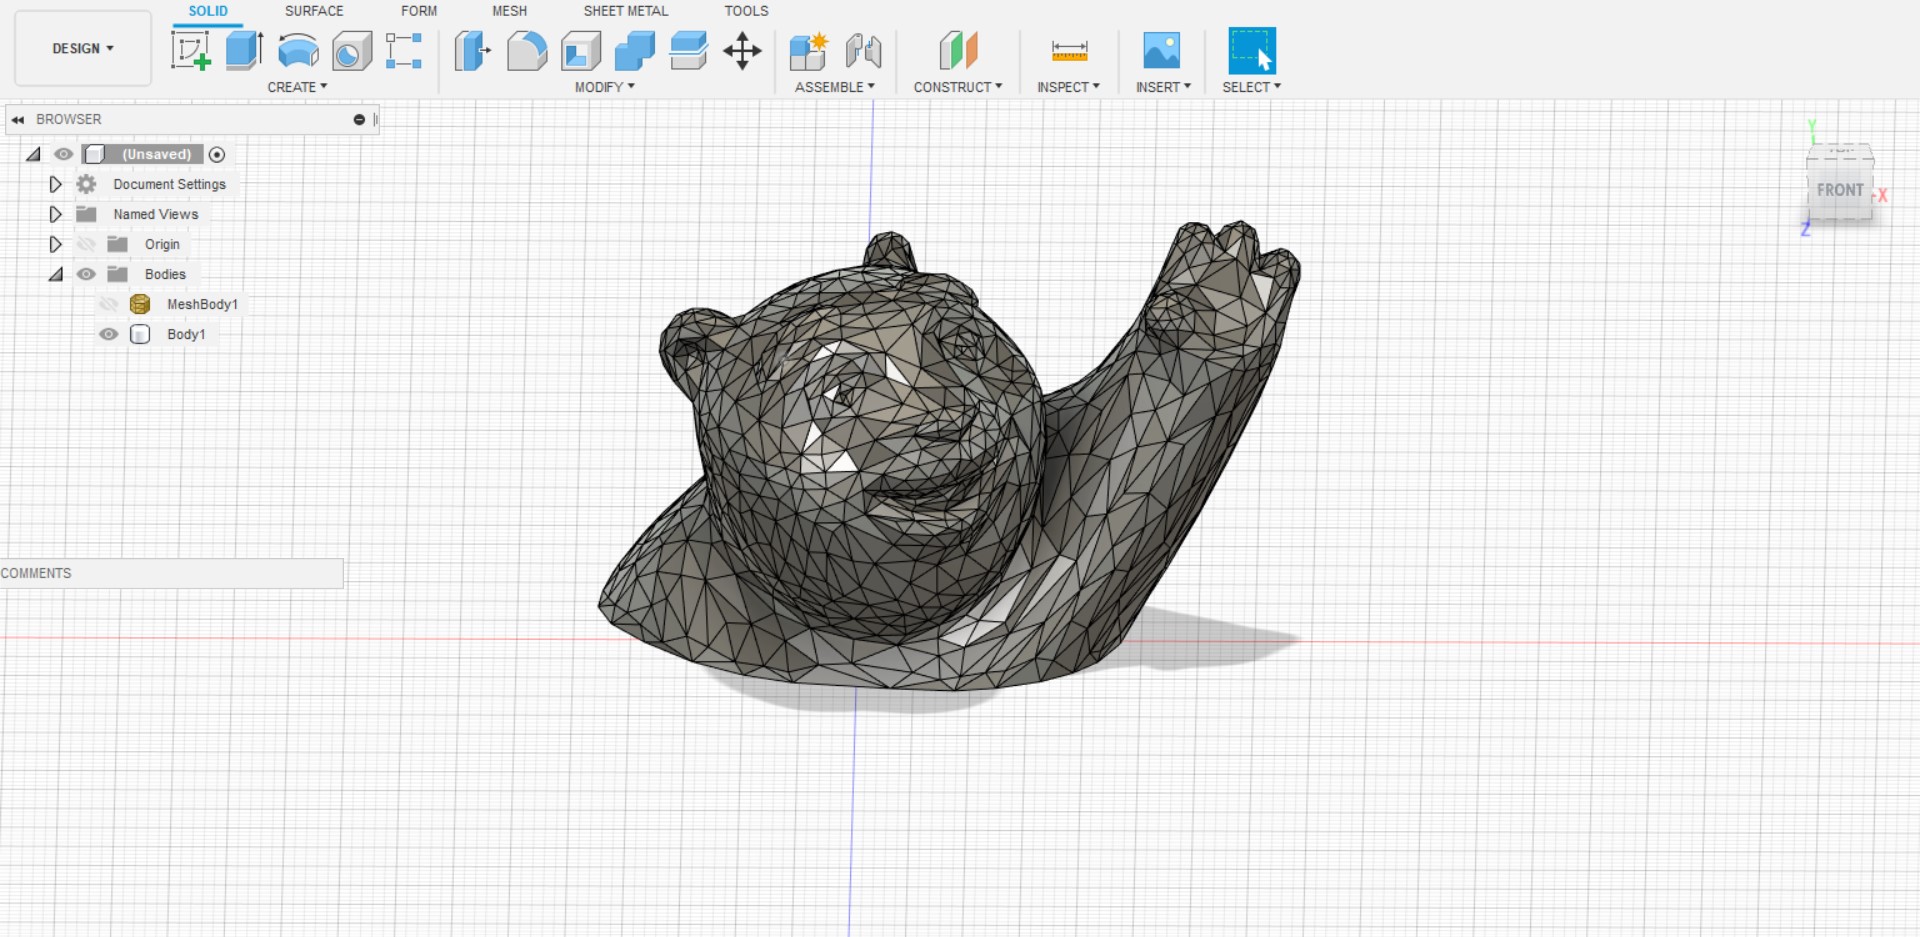
I imported the panda STL file into fusion360.
This is a complex STL file with many mesh faces. It was slightly challenging process to convert it into solid body.
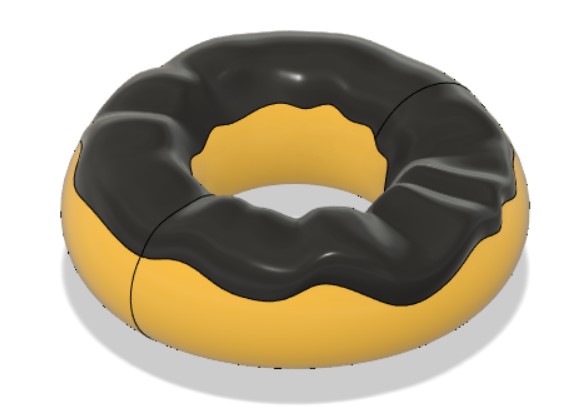
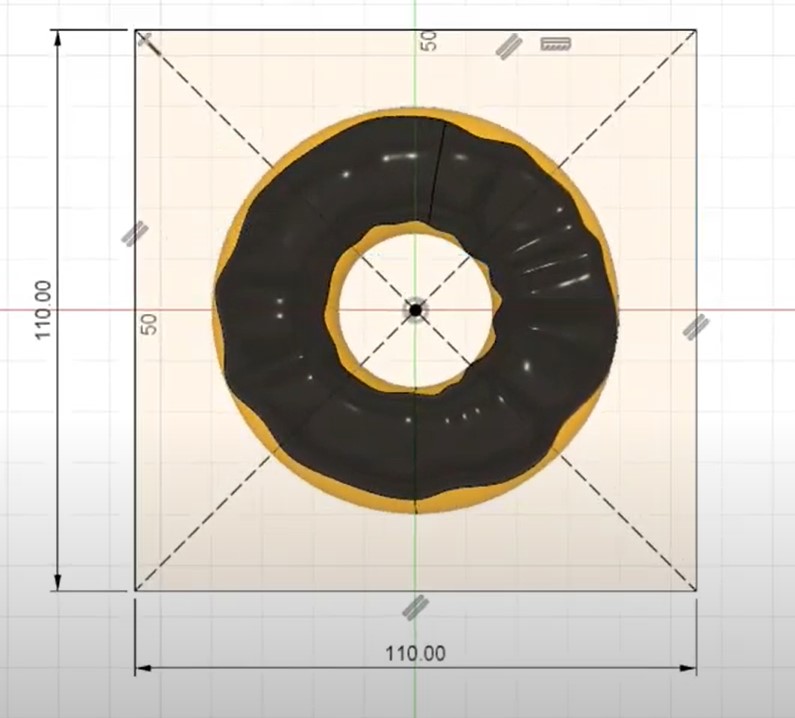
So, I decided to start off with something simple. I decided to design a donut mold.
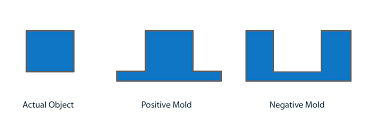
A donut model has a hole in the centre. A 2 part mold is a good technique to successfully cast the donut shape.
Some examples of models that require two part molds:
-
Have holes going all the way through them (i.e.: a donut!)
-
Thin and floppy and can’t stand up on end (like a fish)
-
Are thin and top heavy and can’t stand up on end (like a mallet)
-
Are completely in the round, with no flat bottom (like a sphere)
2 part mold design
Step 1: I imported the doughnut file to fusion360
Step 2: Creating a rectangle around the donut.
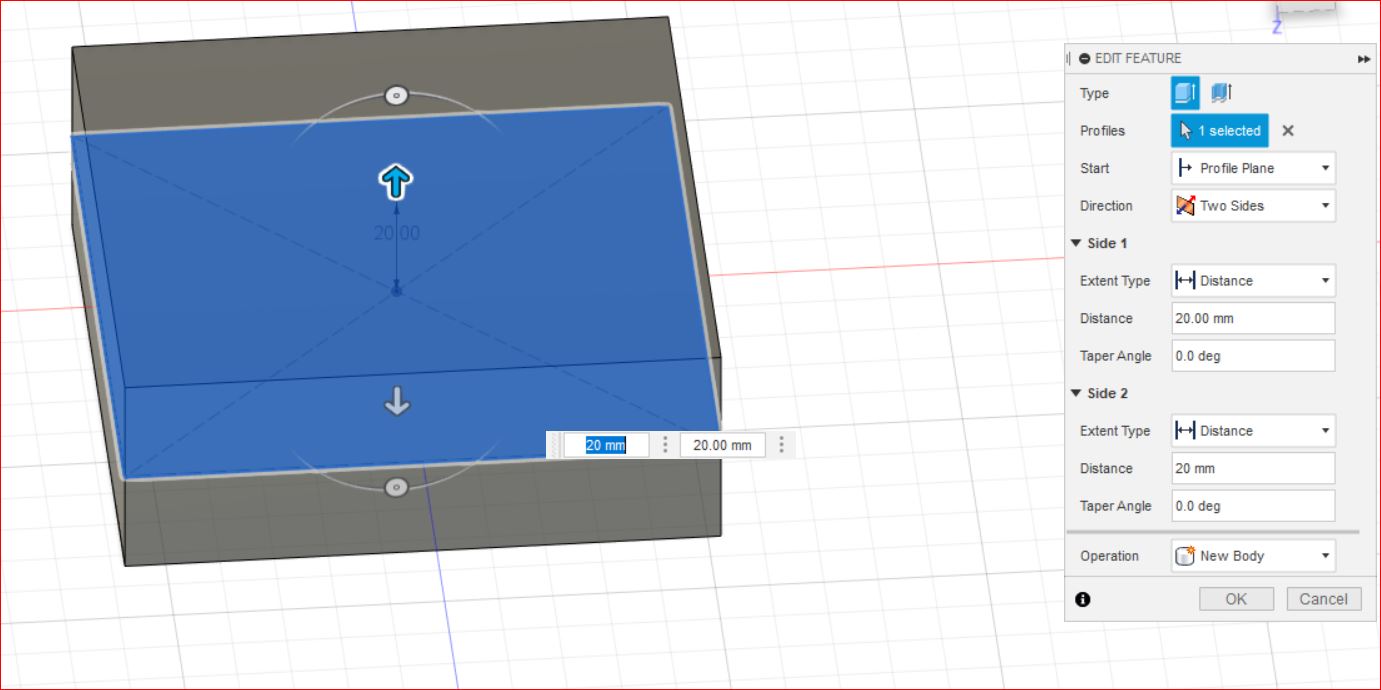
Step 3: Creating a box of 20mm on each side around the doughnut using the extrude option.
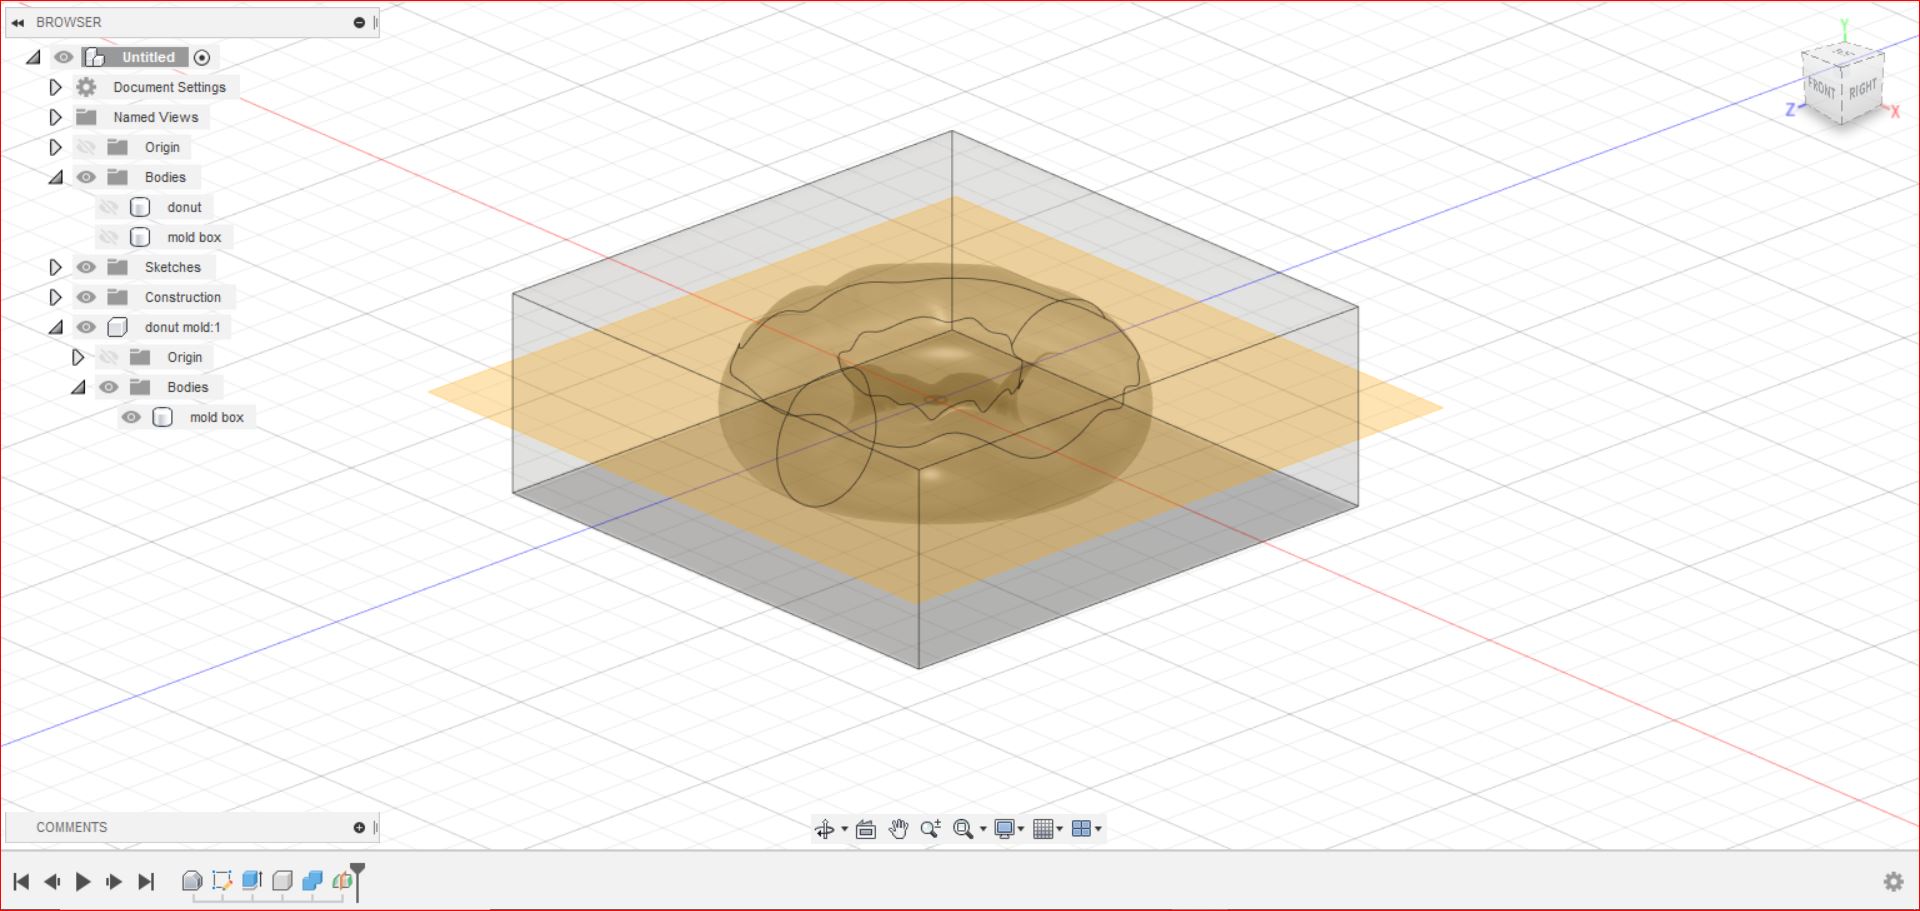
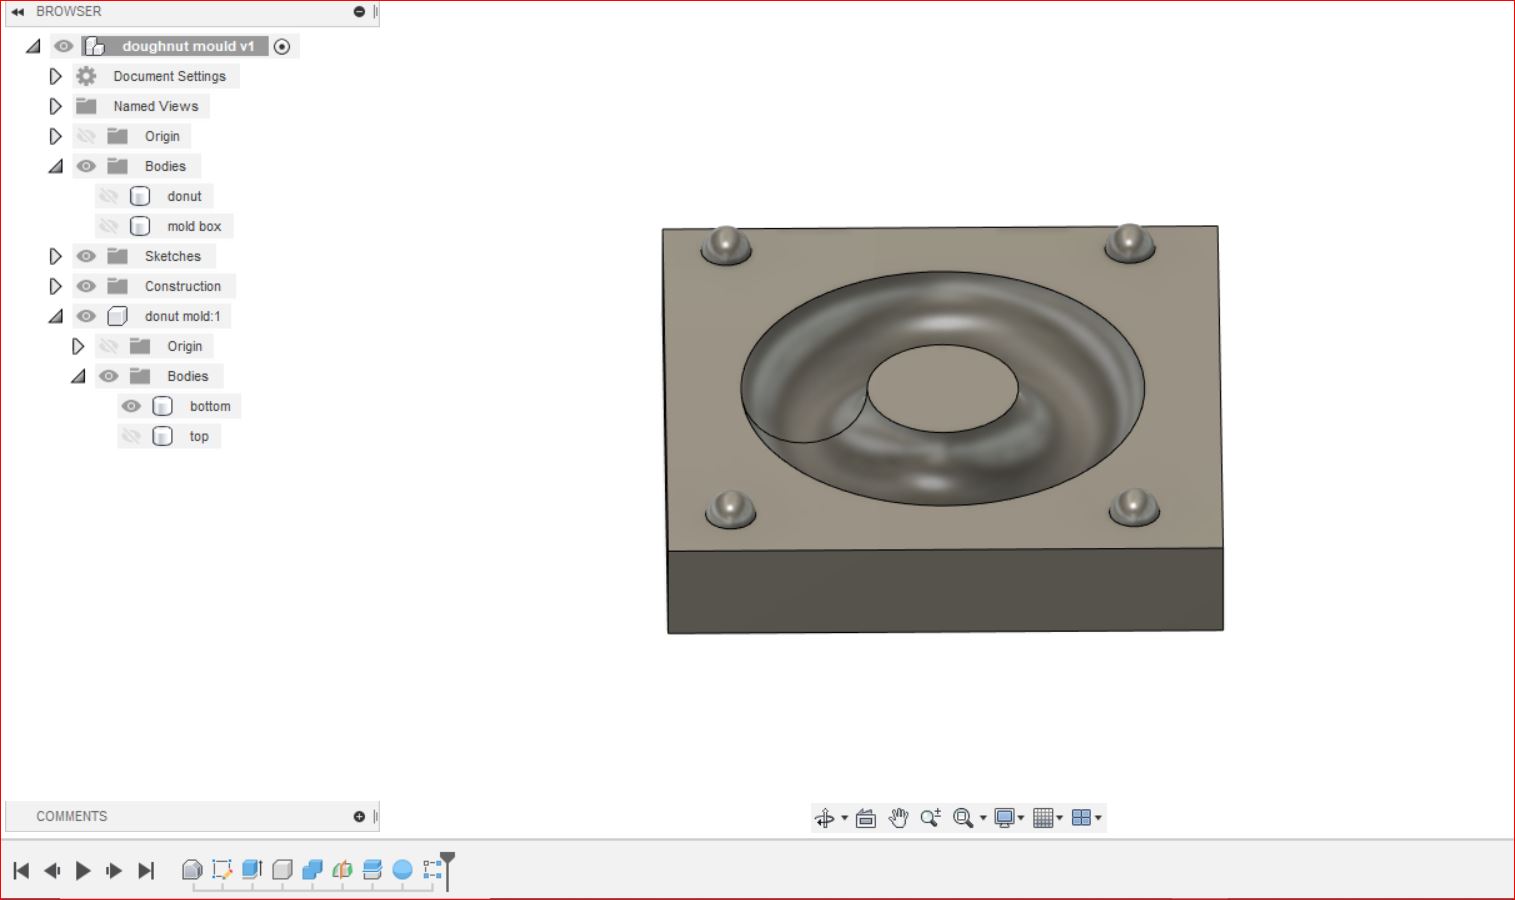
Step 4: Creating midplane in the centre of the box.
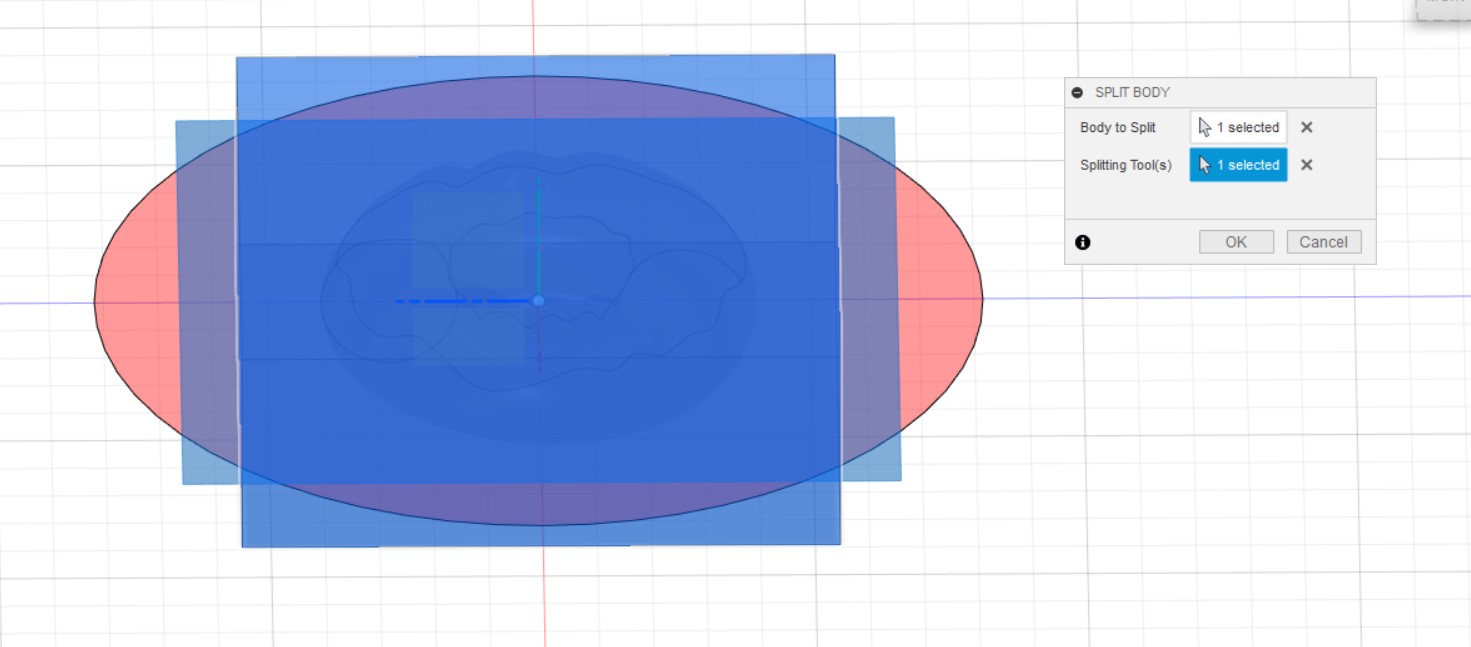
Step 5: Splitting the body into 2 equal halves.
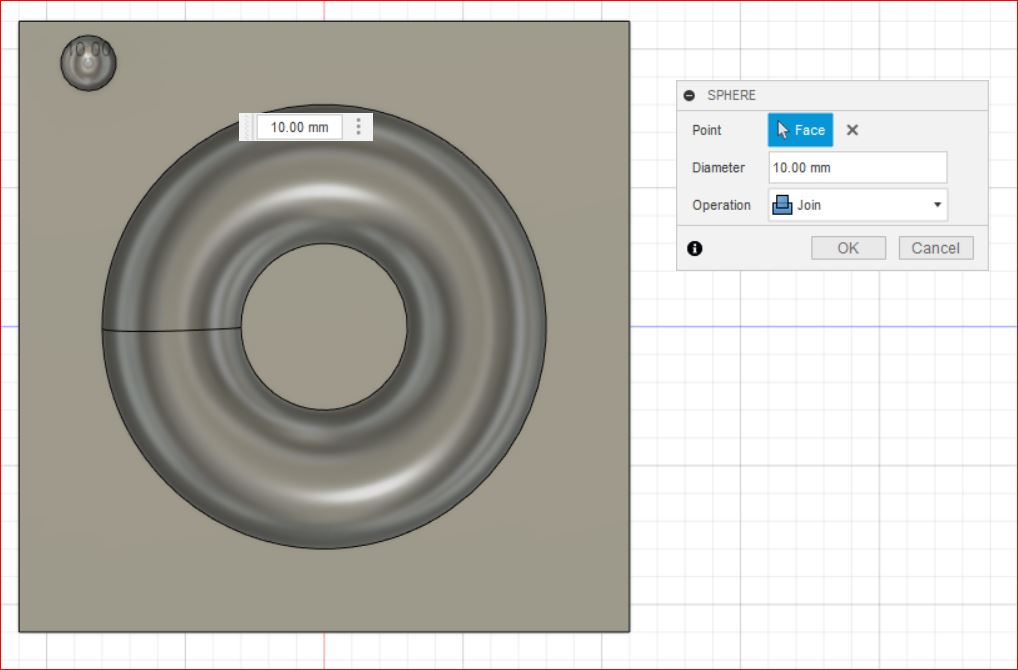
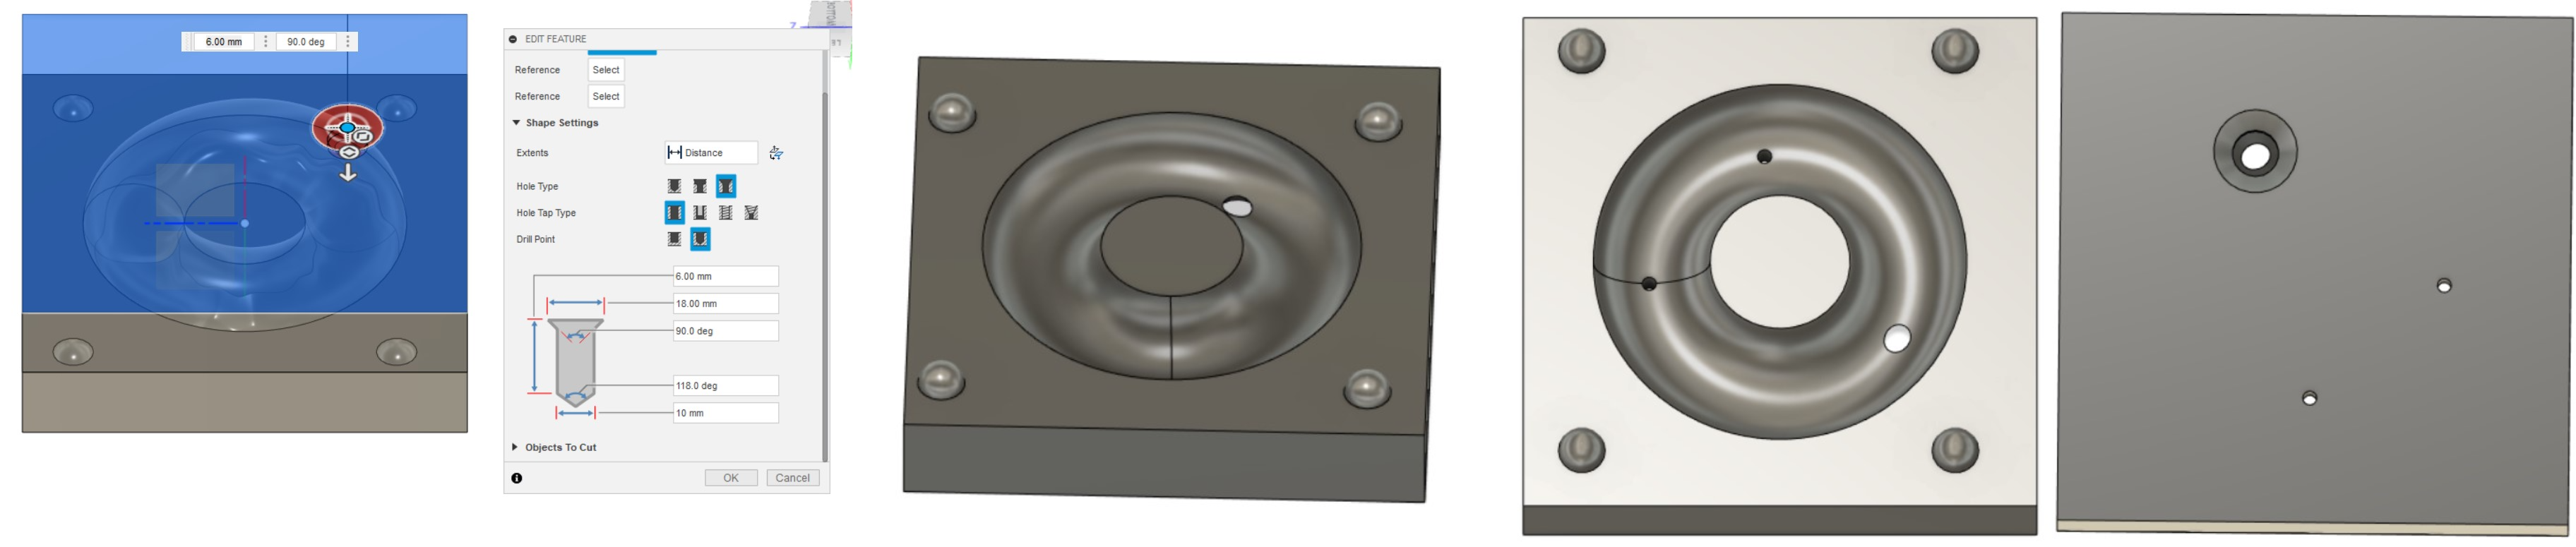
Step 6: Creating registration pins on one part.
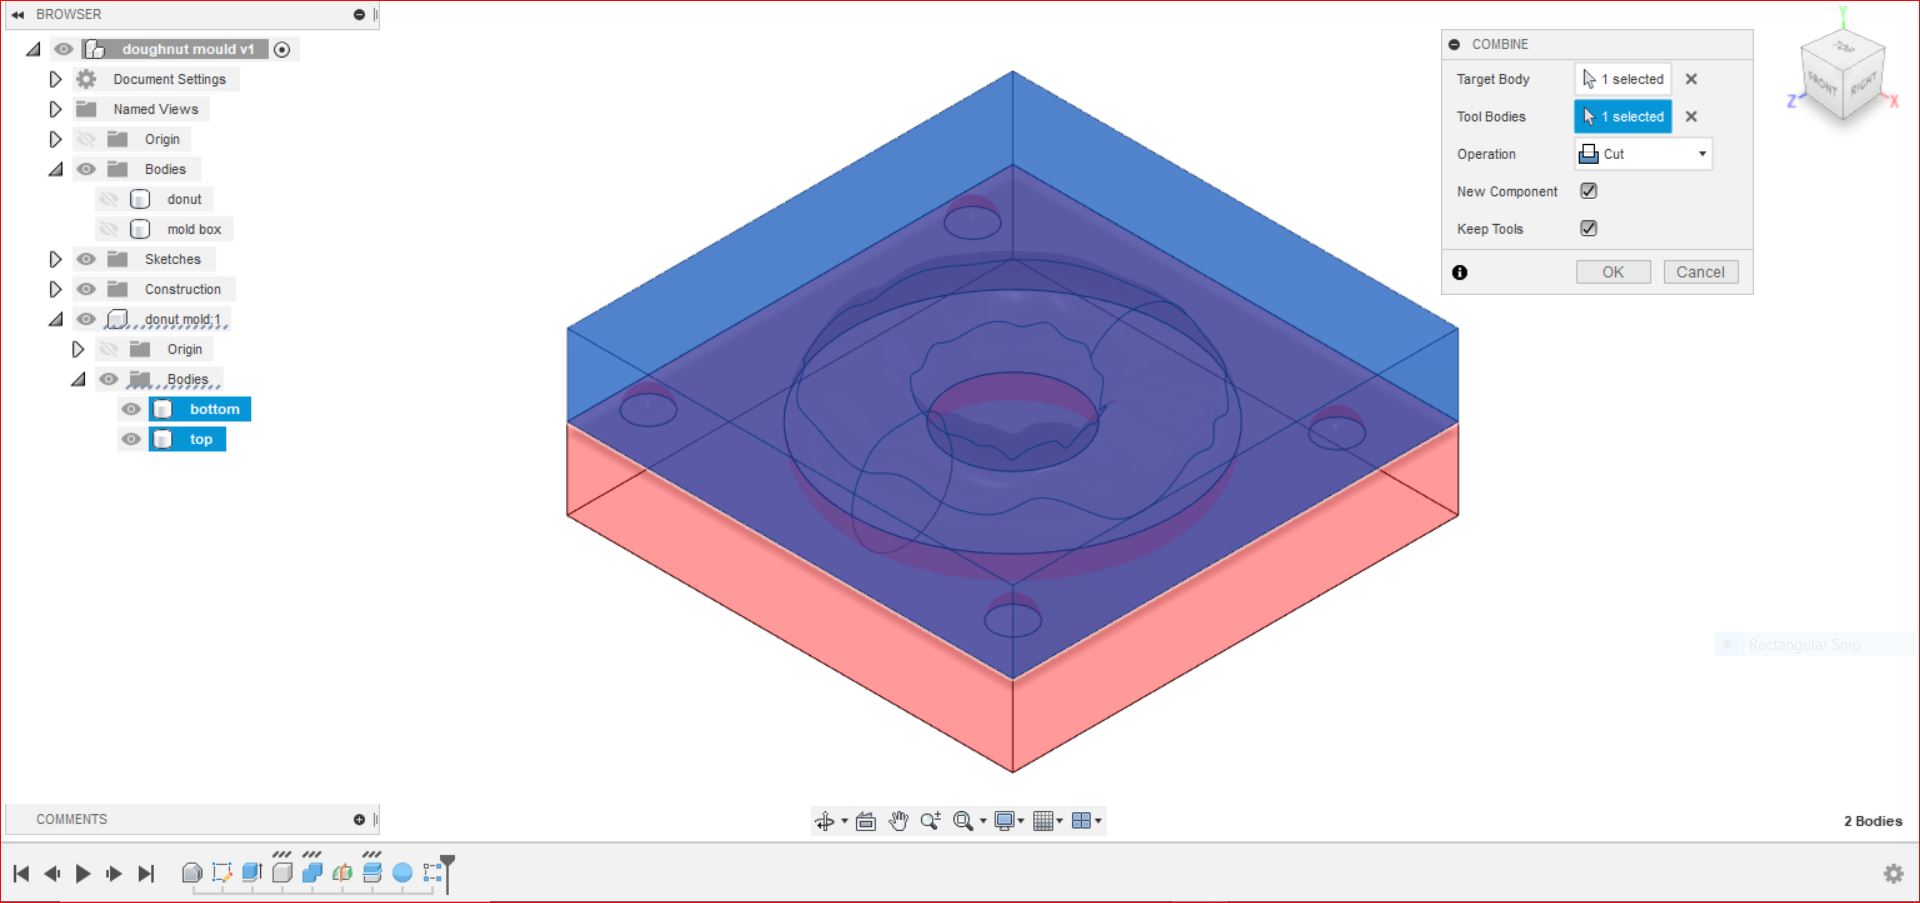
Step 7: Subtracting the registration pins on the other side [top side] of the mold.
Step 8: Creating gate and vents for casting
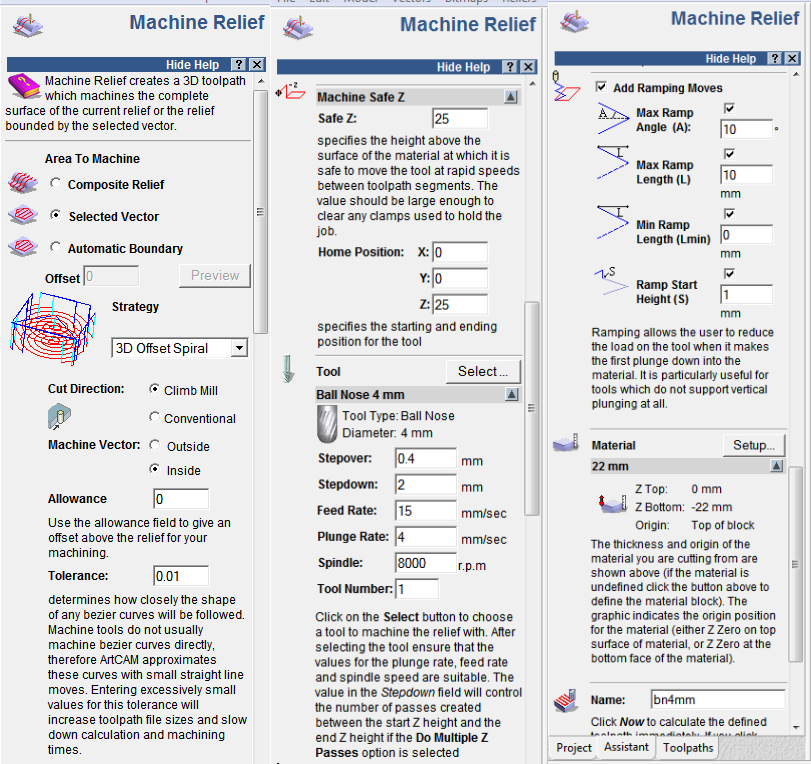
Preparing the file for milling in artcam [Mold Top]
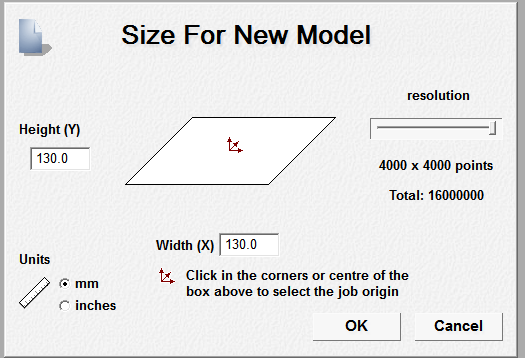
Step1. Creating new model in artcam based on the size of our model. The size of my model is 110 by 110mm. The centre of the page should be selected while creating a new model.
Step2. Importing the 3D model in art cam. For that go to relief > import 3D model. Next, the model should be pasted on the plane. The axis values should be adjusted accordingly.
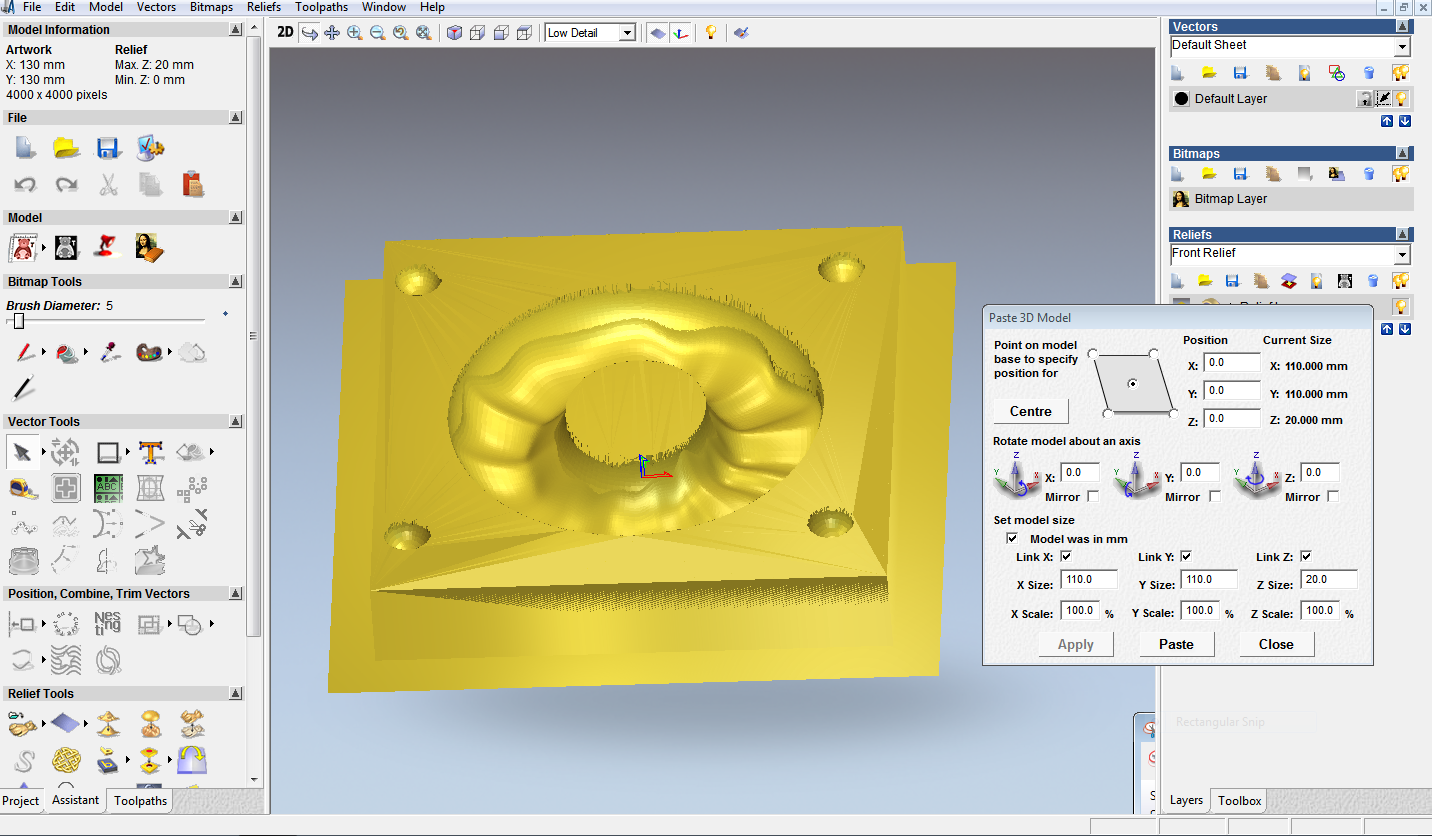
Step3. Creating a 130*130 mm boundary box around the model.
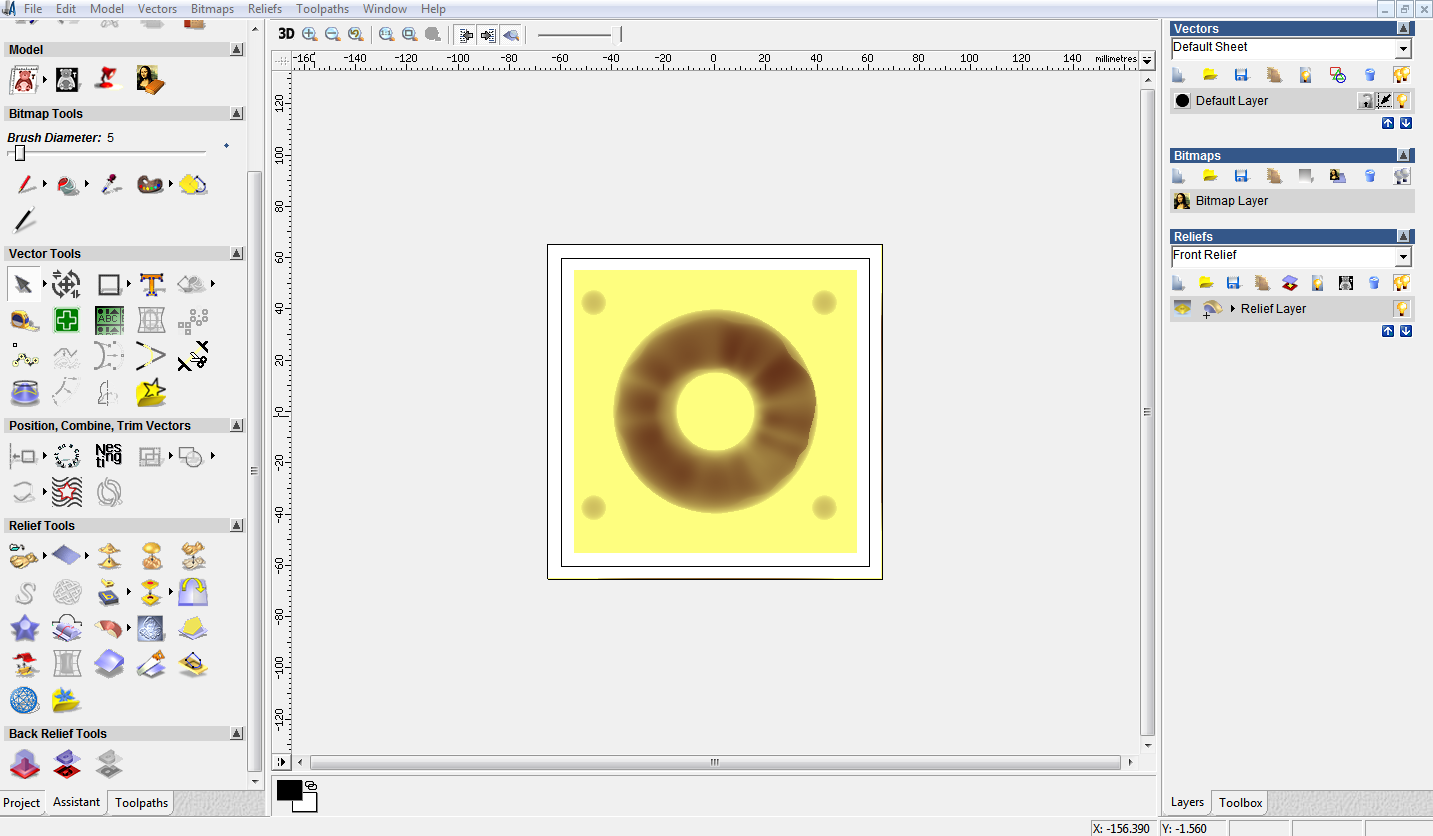
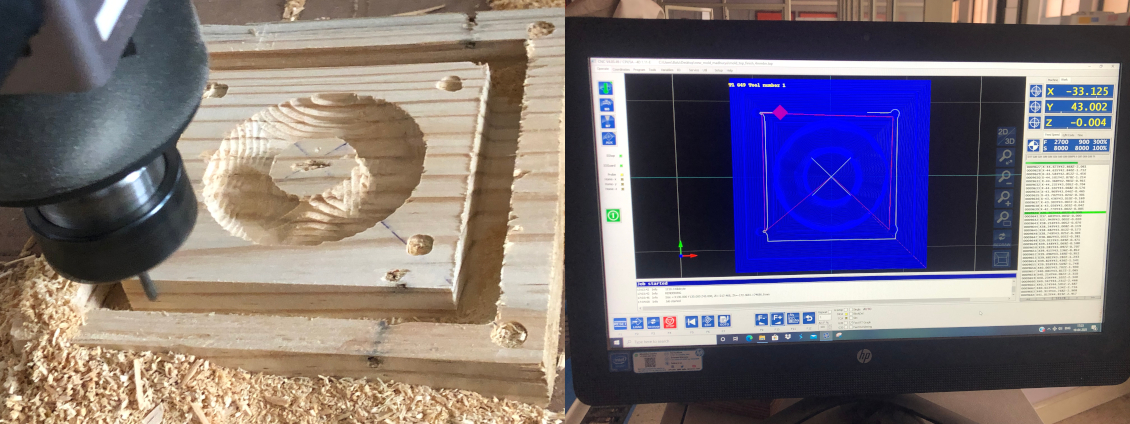
Step4. Creating 3D toolpaths
a] Used 6mm end mill for roughing.

b] Used 4mm ball nose tool for finishing.
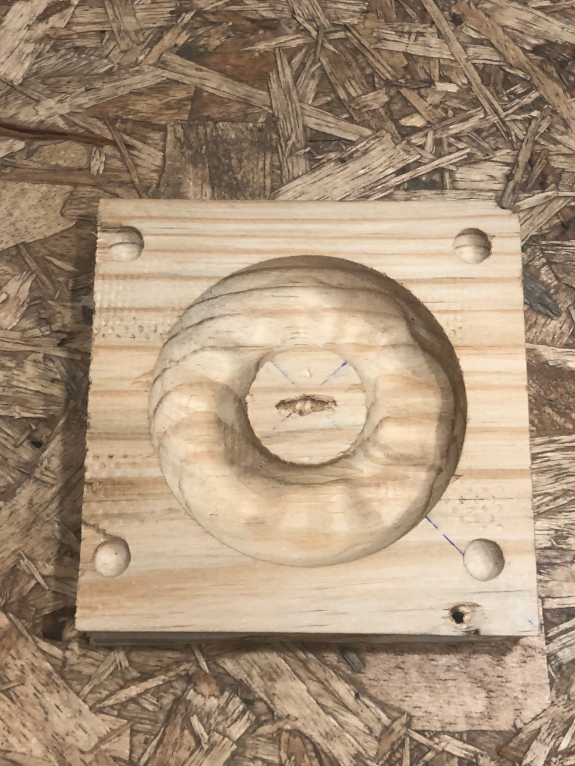
Milling the mold
I used a 27mm pine wood for milling my mold.
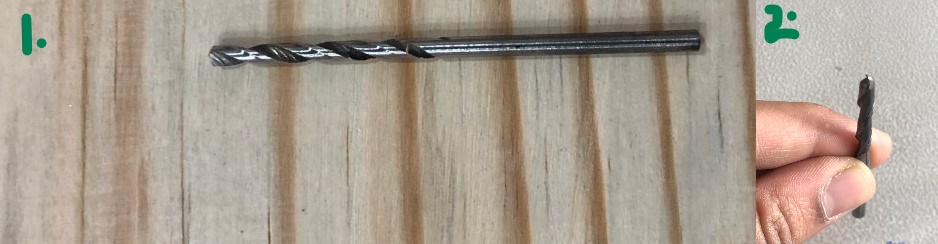
a] Used 6mm tool for roughing. b] Used 4mm tool for finishing.
The centre is marked on the work piece.
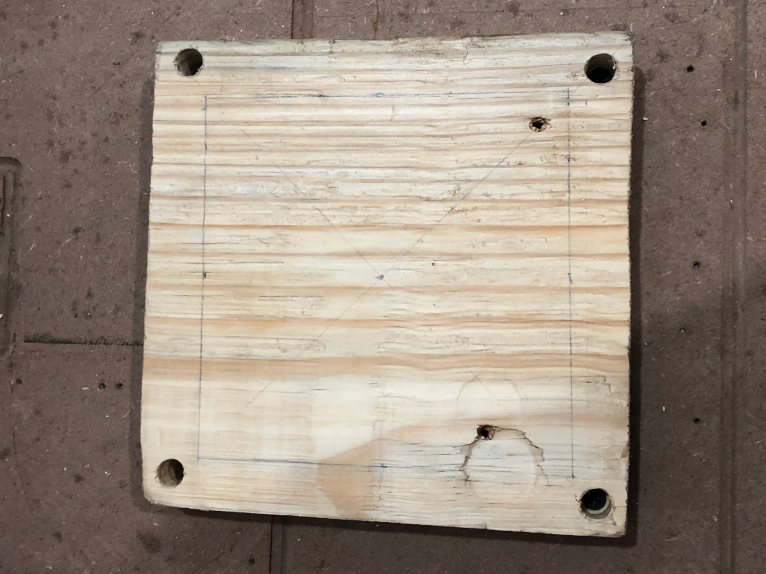
The work piece is levelled to ensure smooth milling. This process is called facing.
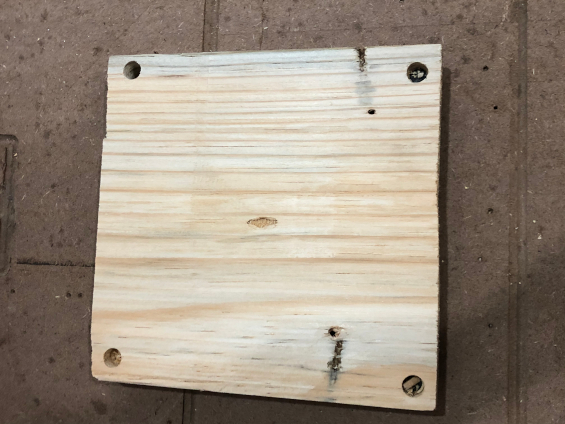
Roughing using 6mm endmill.
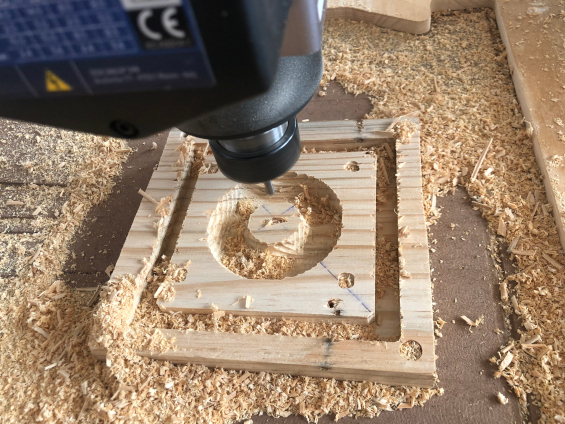
Finishing using 4mm ball nose bit.
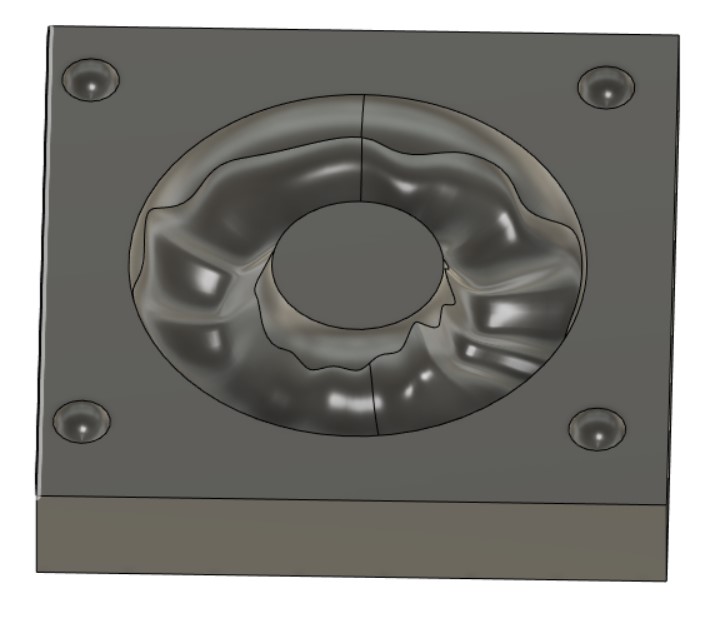
Final mold top