5. 3D SCANNING AND PRINTING
This week I worked with 3D printers and 3D scanners. It’s a creative week.
Tasks for this week :
Group assignment:
Test the design rules for your 3D printer
Individual assignment:
-
Design and 3D print an object (small, few cm3, limited by printer time) that could not be made subtractively.
-
3D scan an object (and optionally print it)
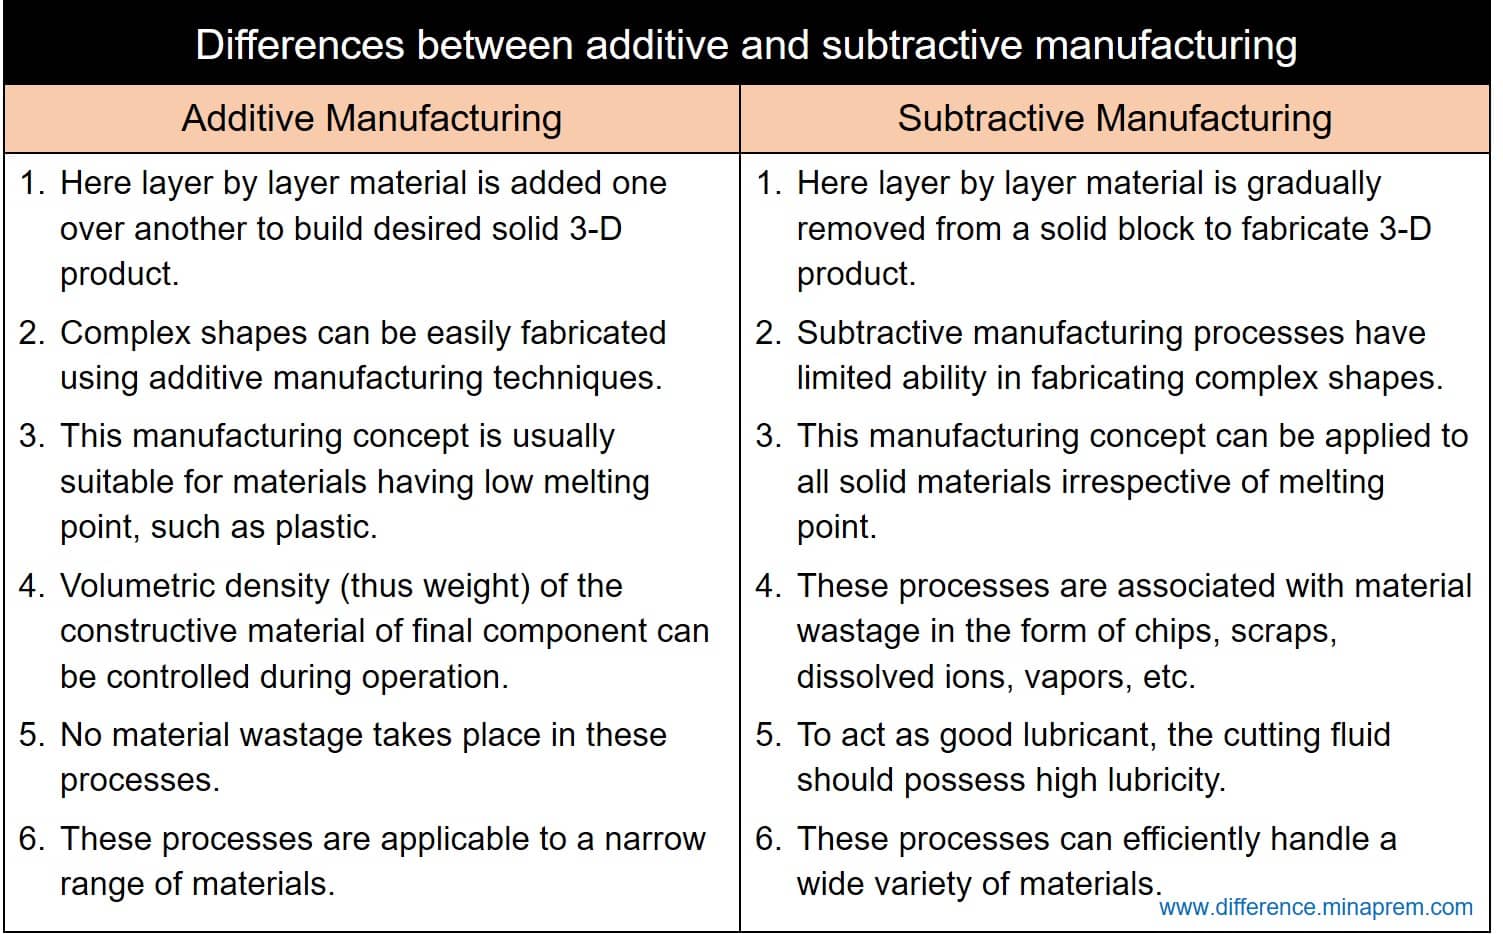
Difference between additive and subtractive manufacturing
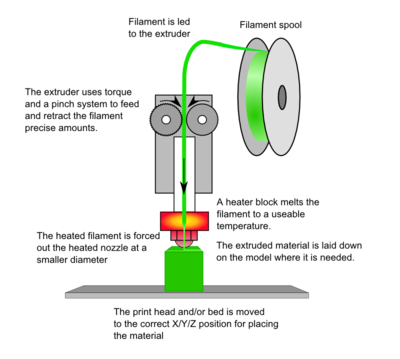
Working principle of 3D printer
Steps included in 3D printing
1] 3D software
The CAD design has to be made in a 3D modelling software like fusion360,Tinkercad, solidworks, blender etc. These softwares have built in features to export models to printable formats like .STL, .OBJ
2] Slicing the model
Slicing softwares help in slicing up a 3D model into hundreds and thousands of layers and helps in G-code conversion for machine understanding.
This page helps in understanding the 3D printing process and its applications.
Different types of 3D printing filament and their applications
This page has a detailed explanation about different 3D printing filaments , their uses and print temperature range. Filament type plays a huge role in the product quality.
3D printer in our lab
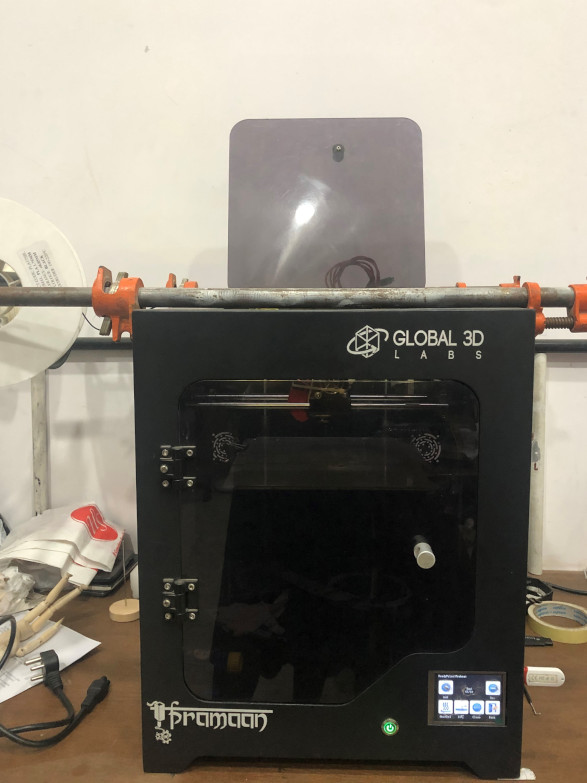
▪Maximum Object Build Volume: 200 mm x 200 mm x 200 mm (Single Nozzle)
▪ Filament Diameter: 1.75 mm
▪ Operating Temp: 15˚C- 45˚C
▪ Max Nozzle Temp: 265˚C
▪ Max Bed Temp: 150˚ C
▪ Printable Materials: PLA [Polylactic acid]
▪ Nozzle Diameter: 0.4 mm
▪ Number of Extruders: 1
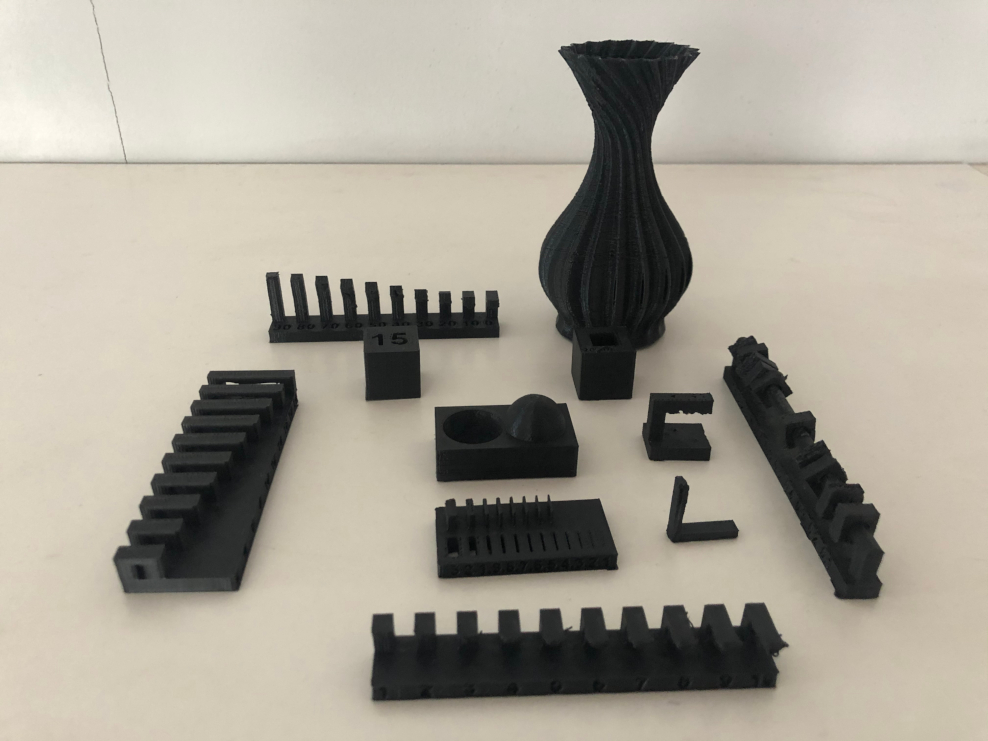
Testing the design rules of the 3D printer in our lab
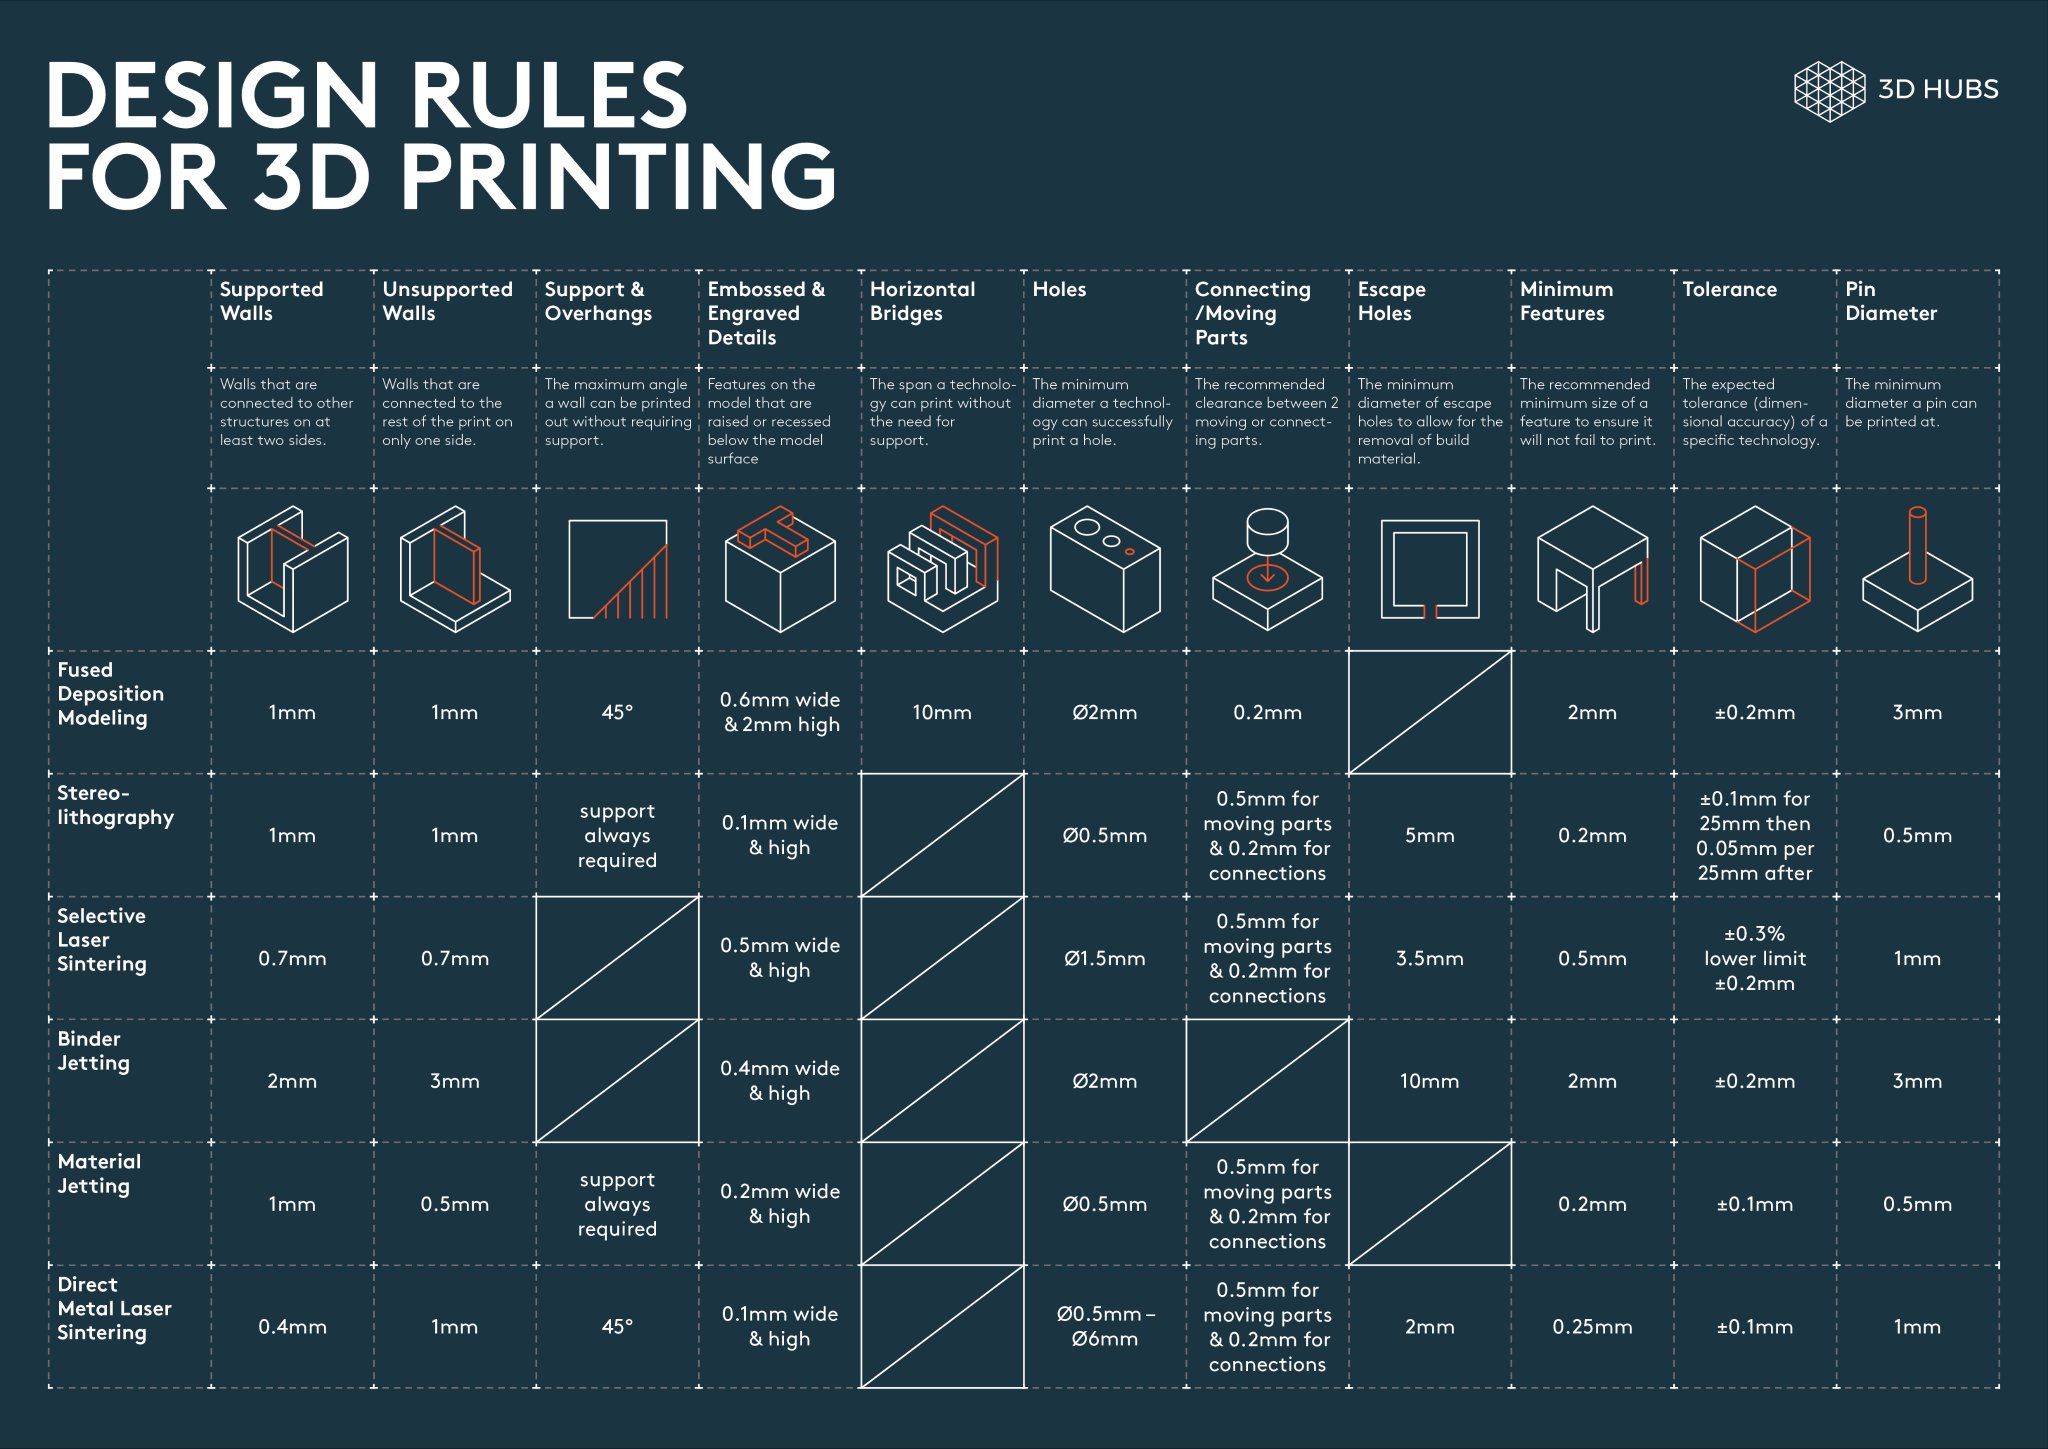
This fab academy documentation helped me in understanding the different design rules terms and their purpose.
Supports
Cura settings
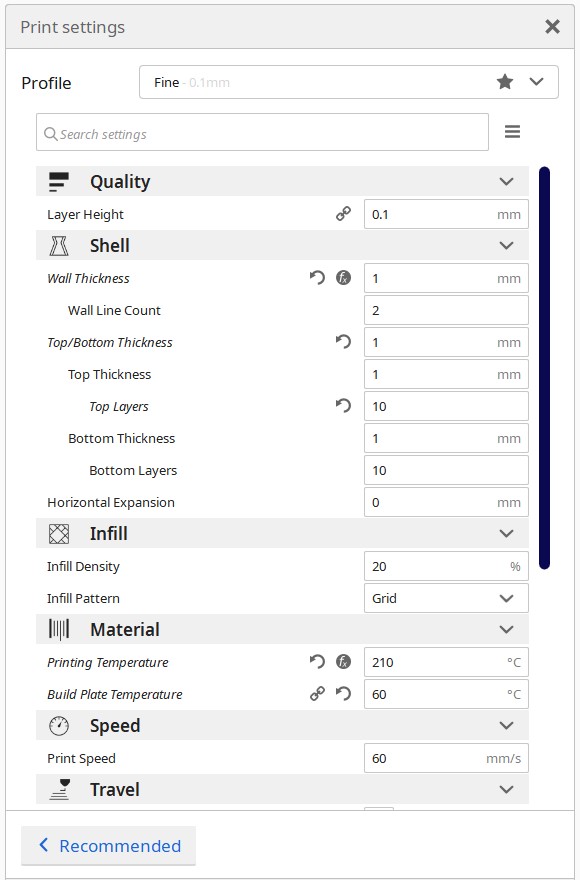
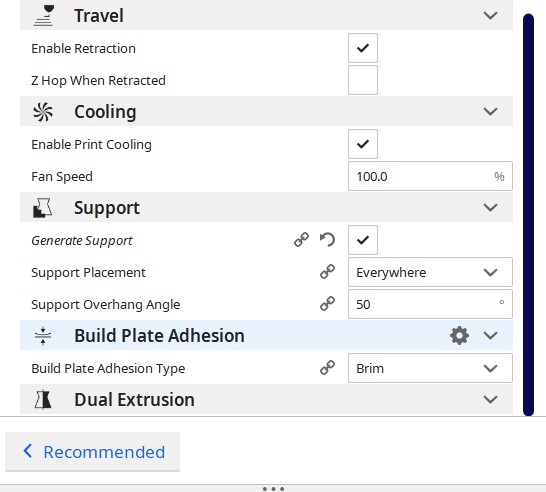
Cura settings is same for all ‘support’ STL files. All are mostly the default cura settings for print. For ‘supports’ , the generate support option should be selected.
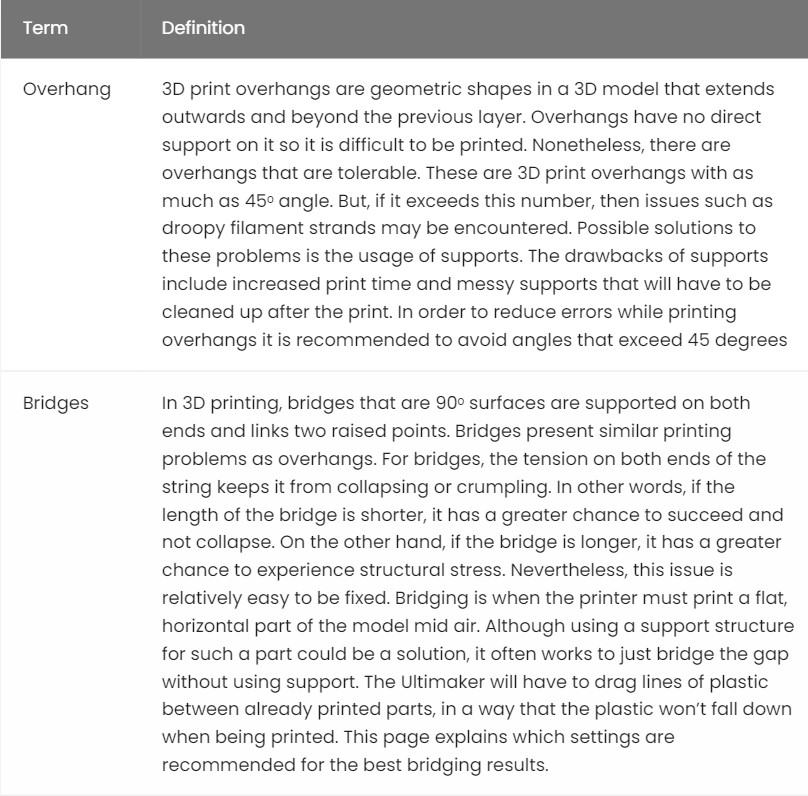
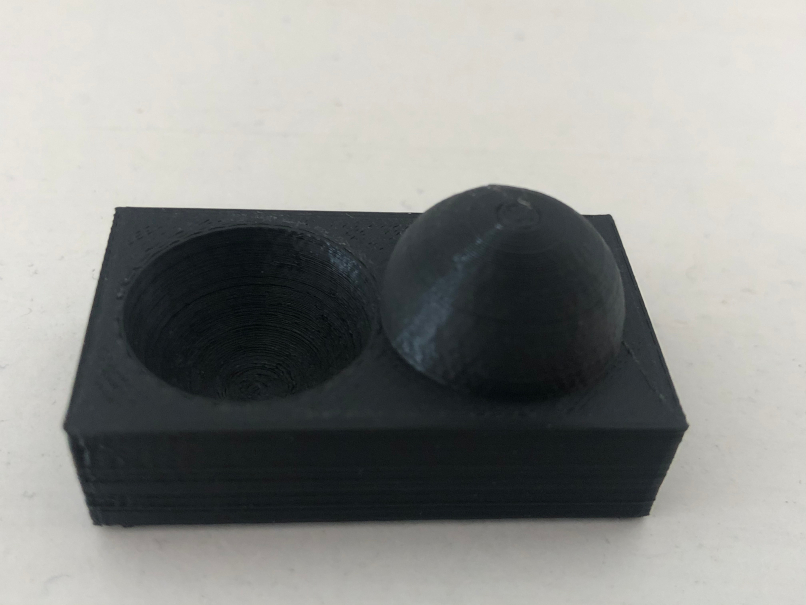
1. Overhang
The bottom part of the overhang is not that smooth after removing the support material.
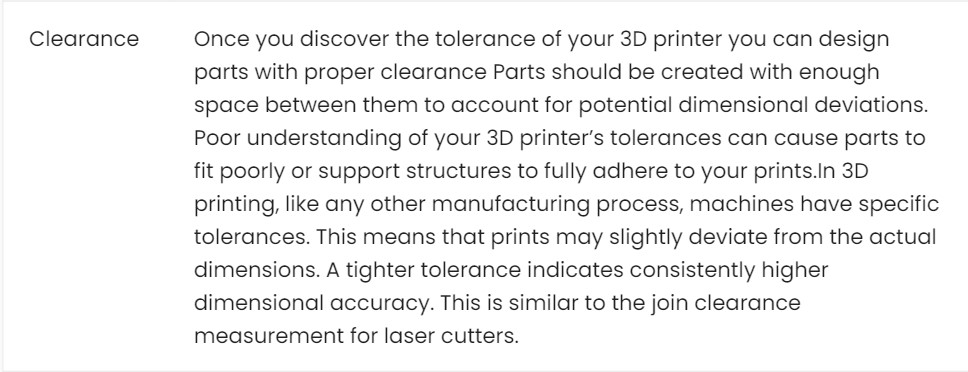
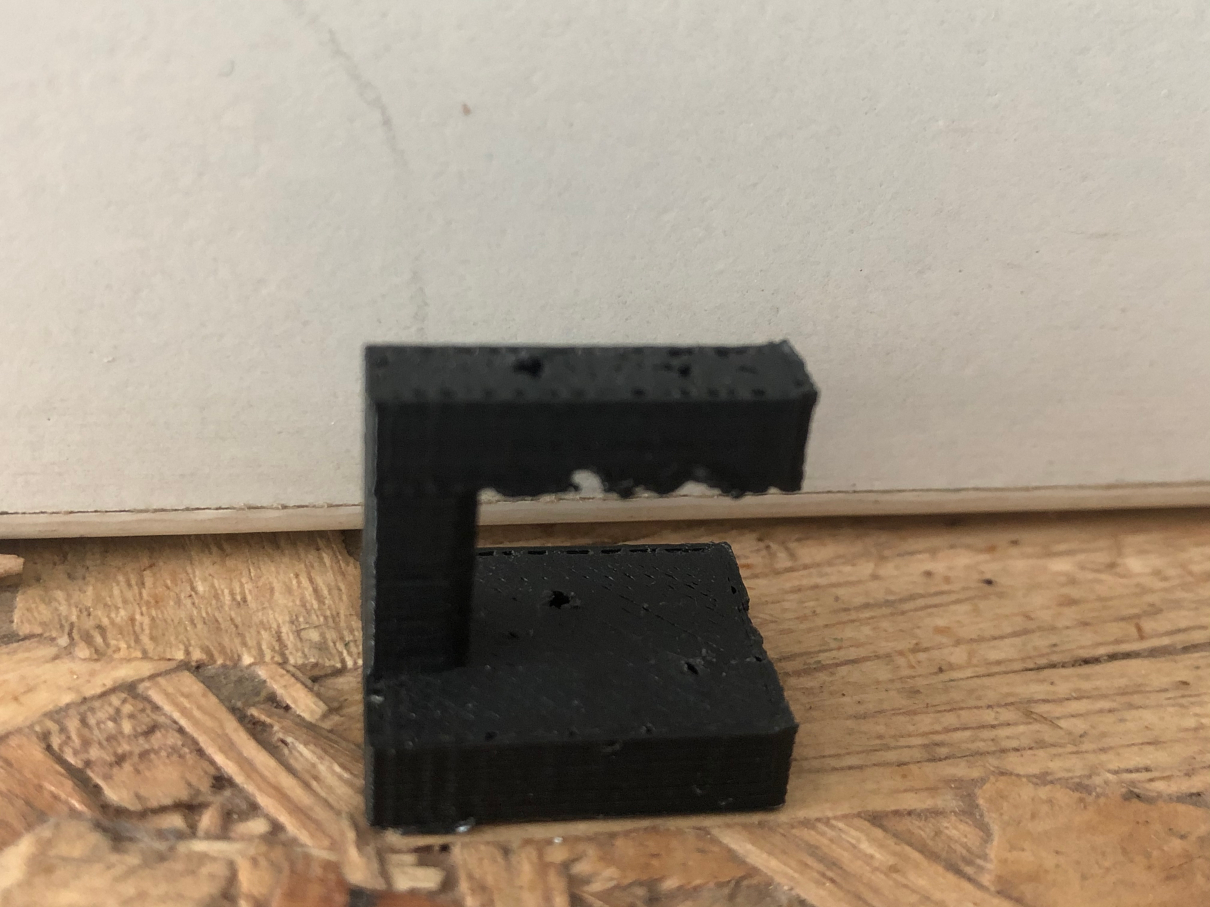
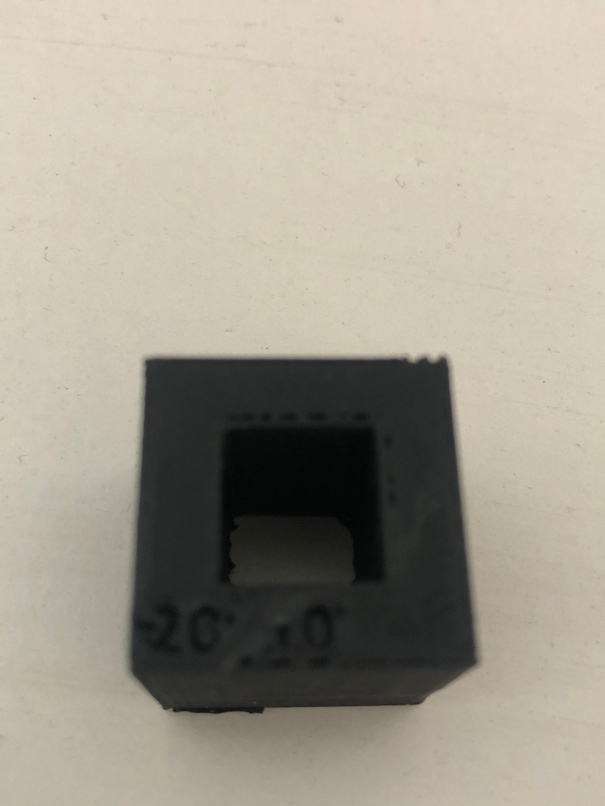
2. Clearance
![]()
The minimum clearnace is 0.2mm . Lesseer than that , the part won’t move and is attached to the beam.
Unsupports
Cura settings
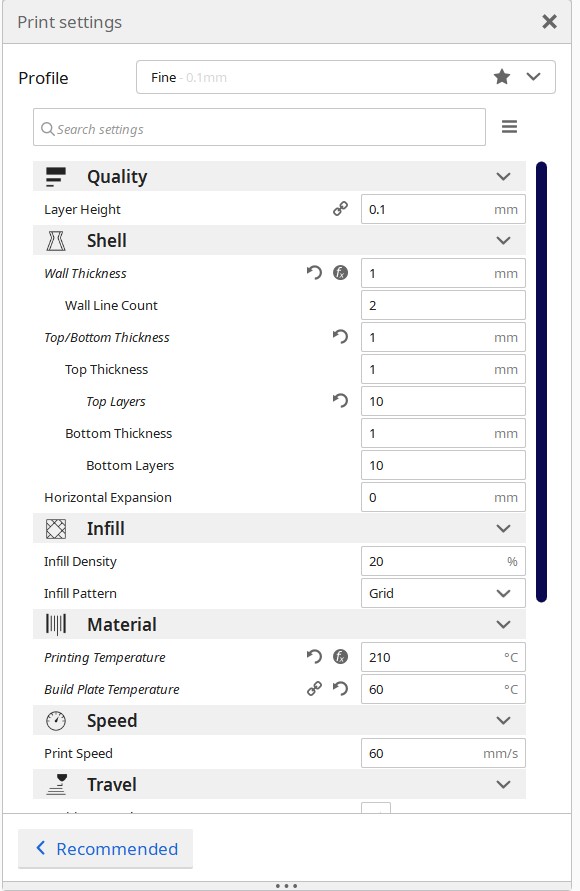
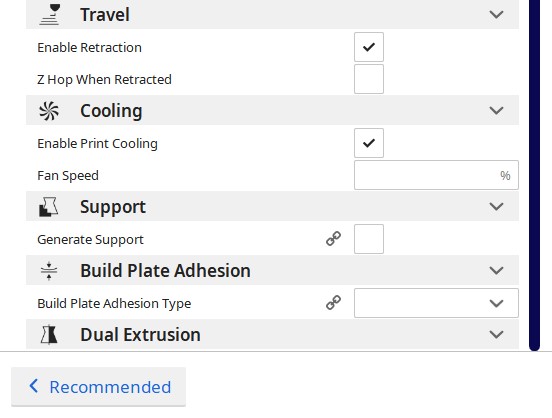
Cura settings is same for all ‘unsupport’ STL files. All are mostly the default cura settings for print. For ‘unsupports’ , the generate support option should be deselected.
1. Bridging
Unsupported bridging model came out well. It shows good results for all lengths. There is not much sagging even if the length is increasing.
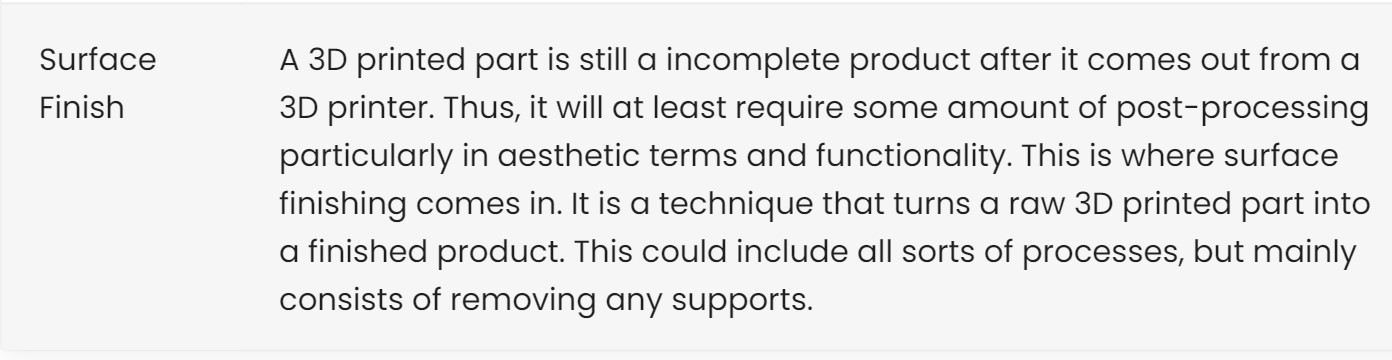
2. Finish
The surface finish is smooth . The overall surface finish quality is good.
3. Thickness
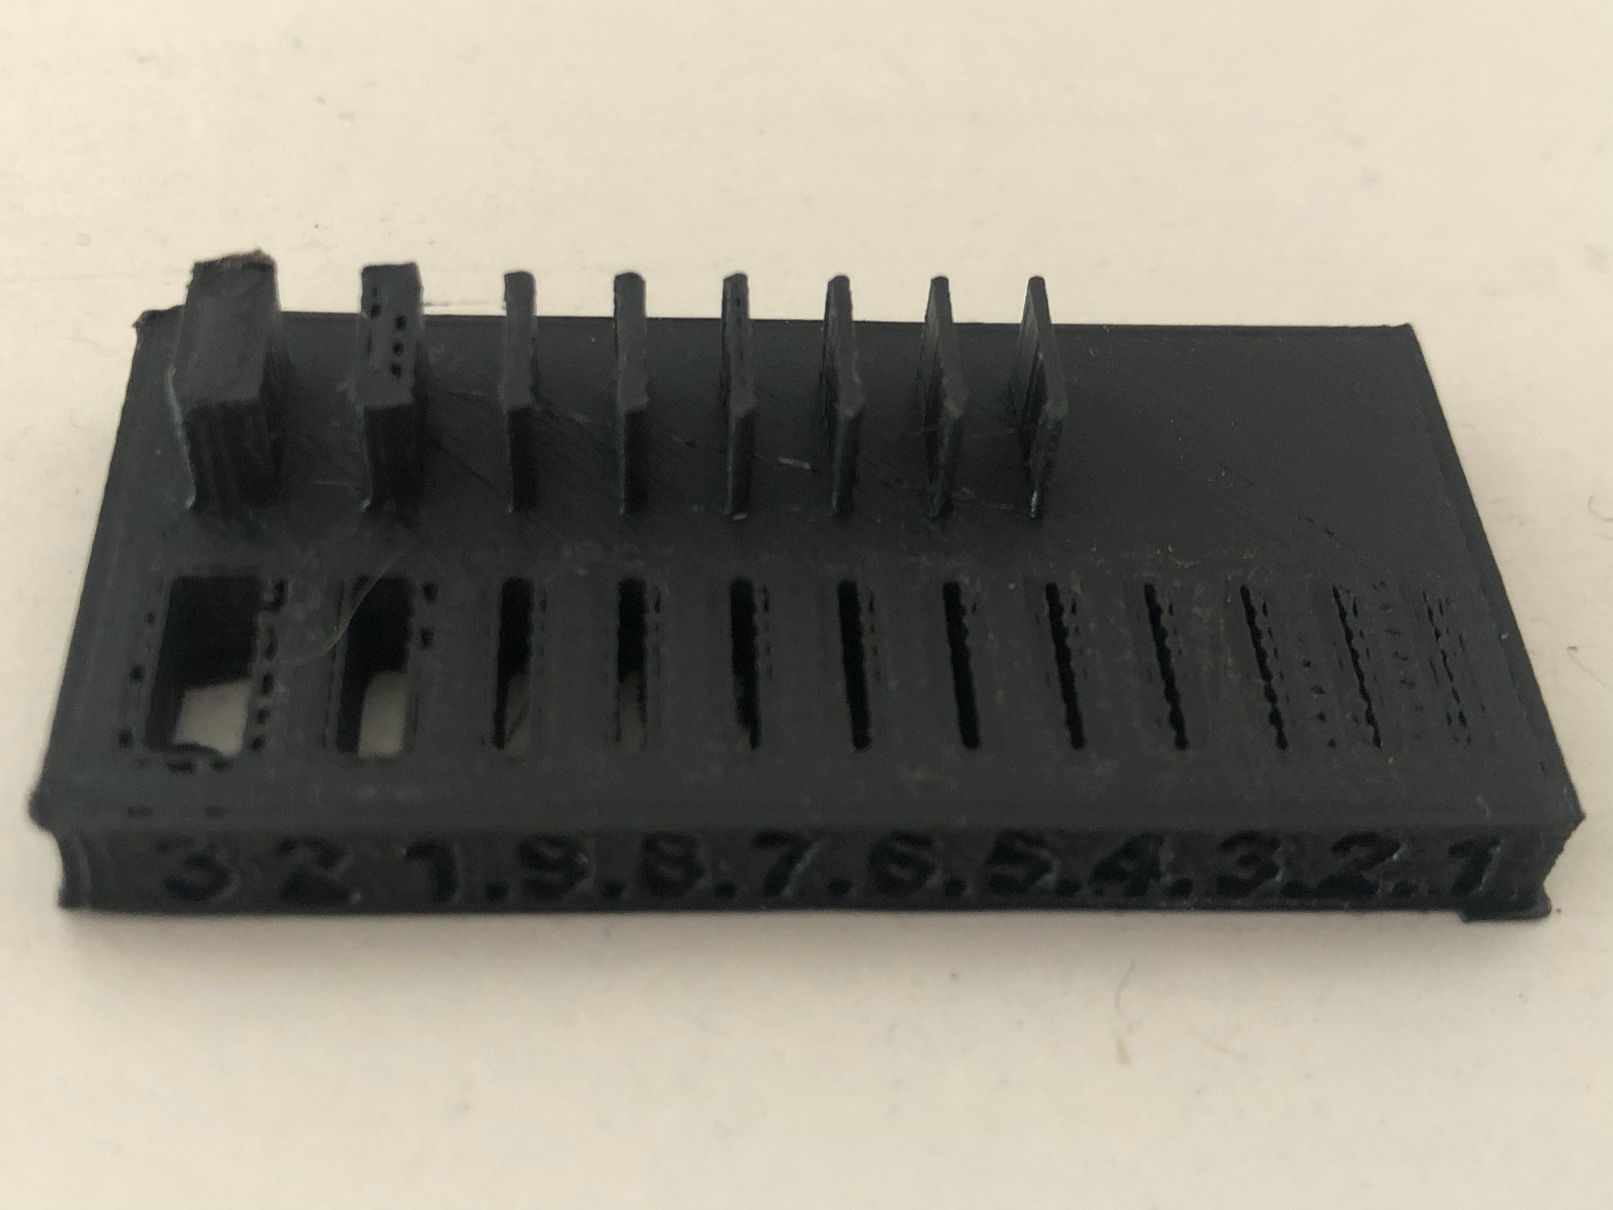
Wall Thickness : Minimum 0.5mm
Wall thickness less than 0.5mm were not printed. Therefore, minimum wall thickness to print should be 0.5mm
Slot Thickness : Slot thicness minimum 0.2mm
4. Angle
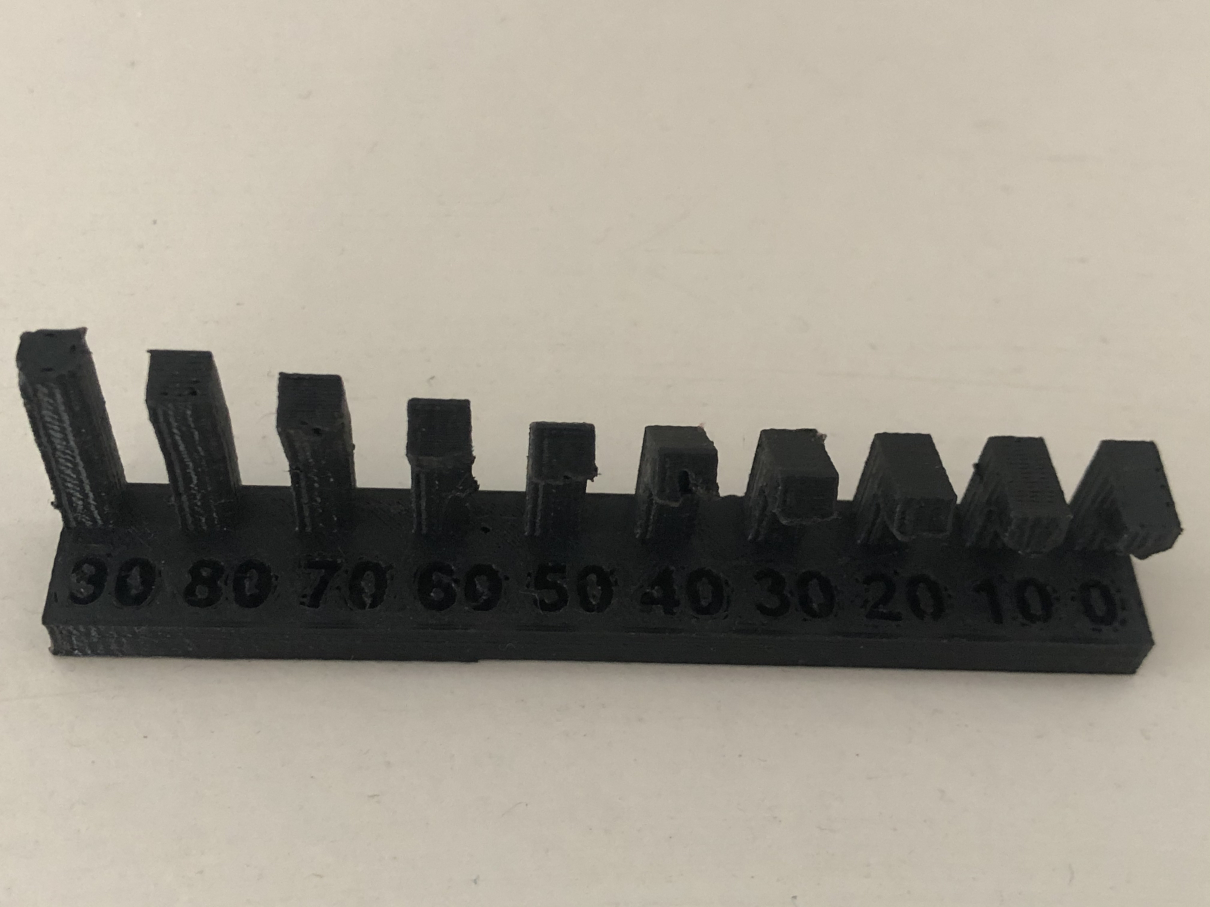
Requires support material from 0 to 40 degree. Unsupported angles show good quality at angles greater than 40 degree.
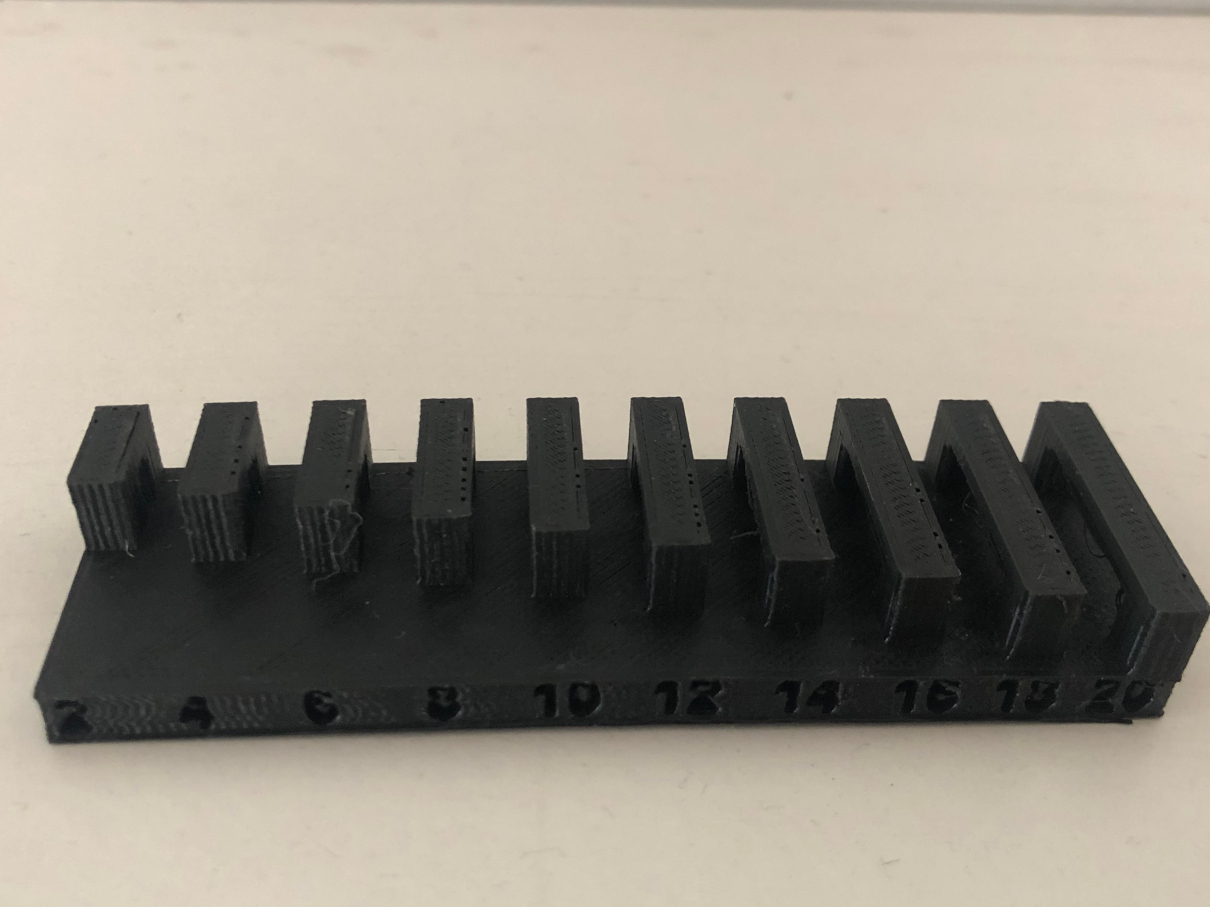
5. Free
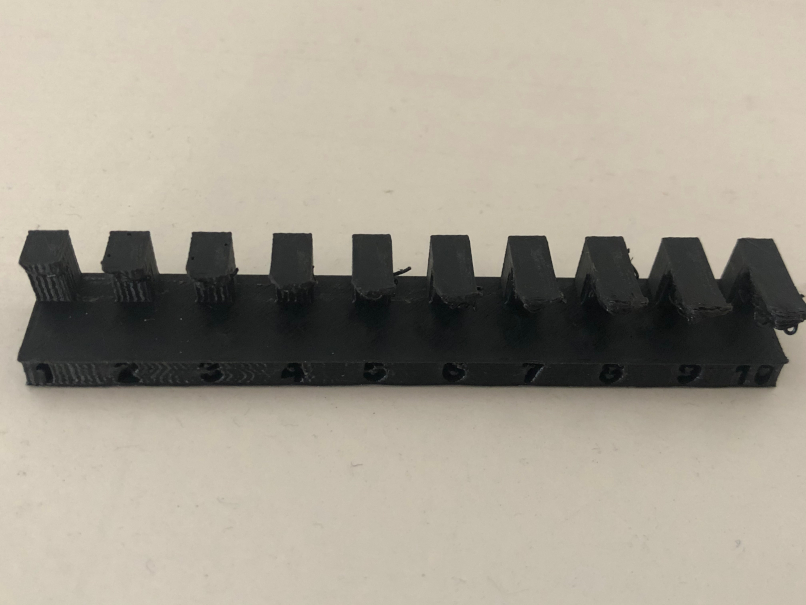
This model shows the length of the overhang . Support material is required from 5mm. That means support is not required when the length of the overhang is upto 4mm.
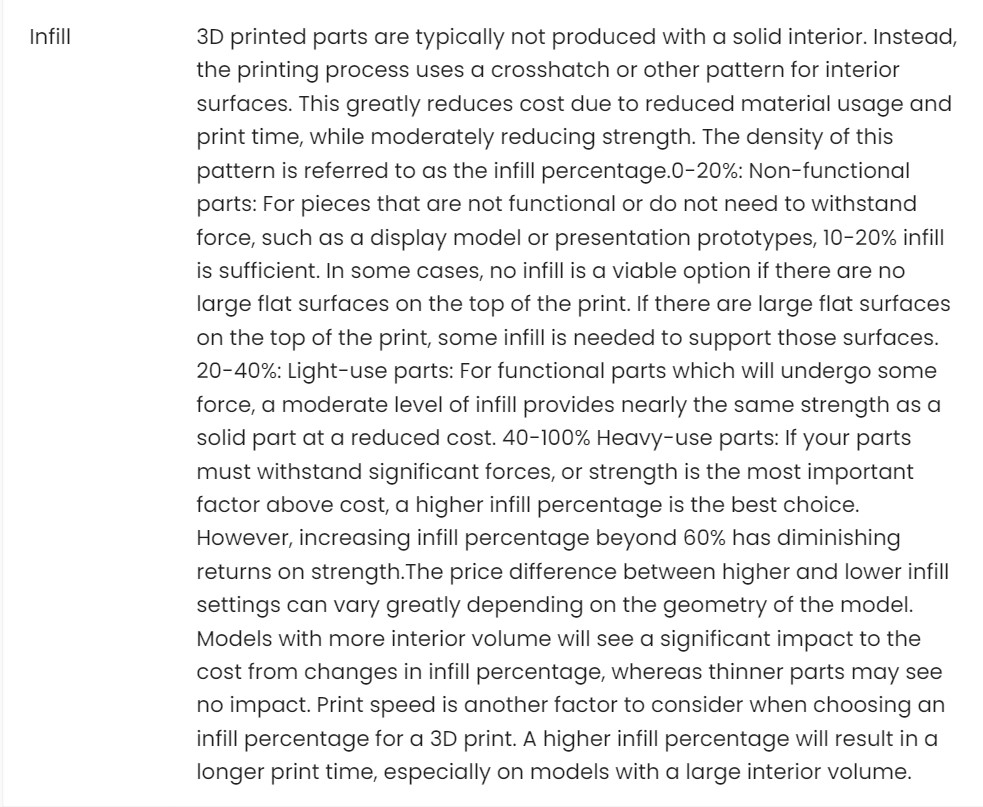
6. Infill
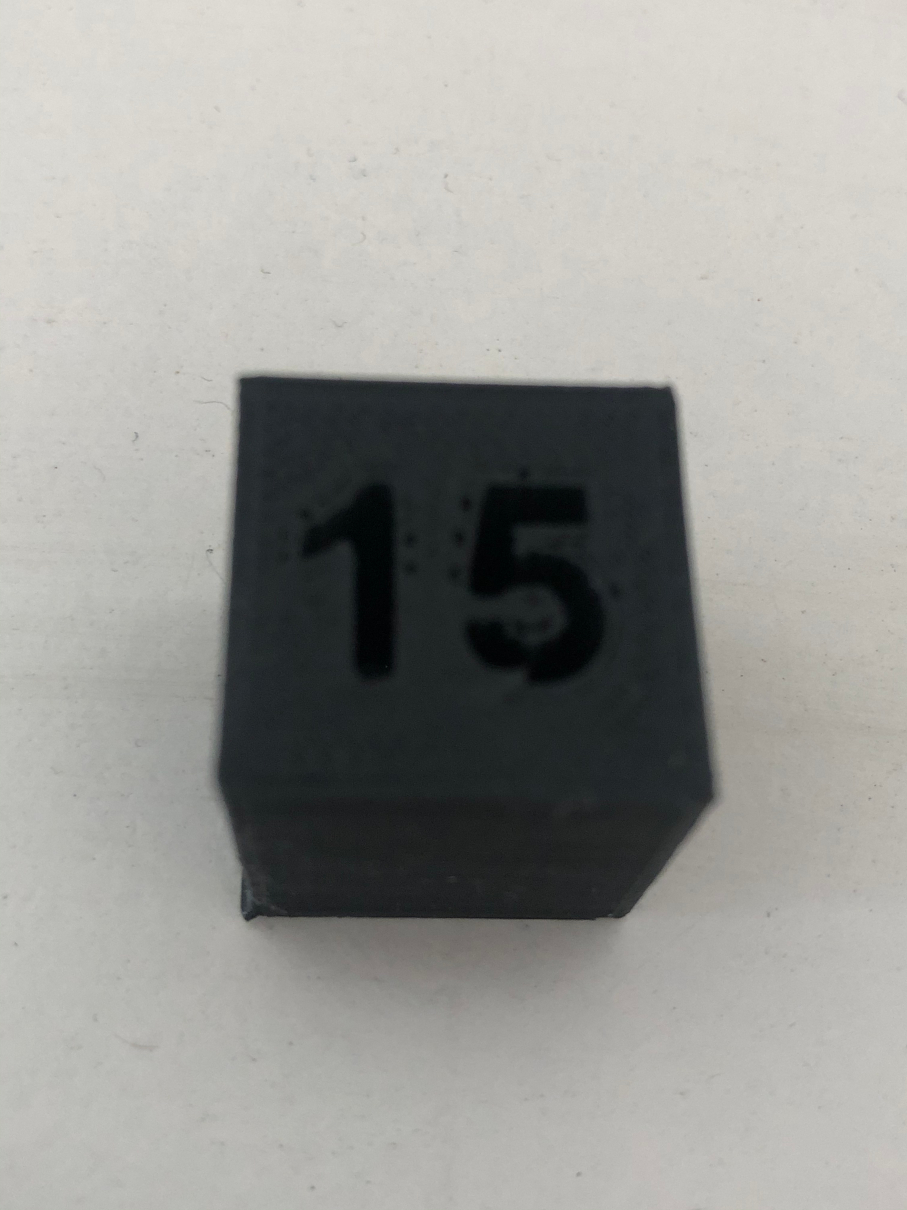
Shows 15% infill.
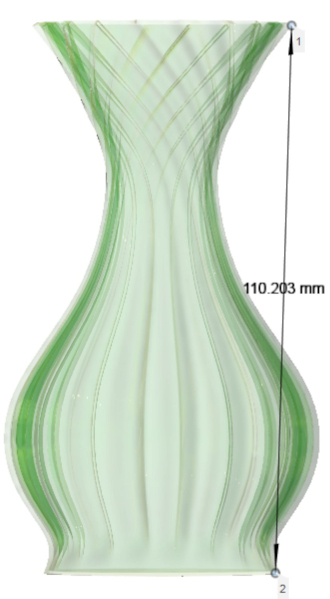
7. Dimension
Individual Assignment
Design that could not be made subtractively
The challenge for this week was to come up with a design which could not be made through subtractive methods. [For ex: CNC machine, waterjet cutter, laser cutter etc]
Ideas of designs
1.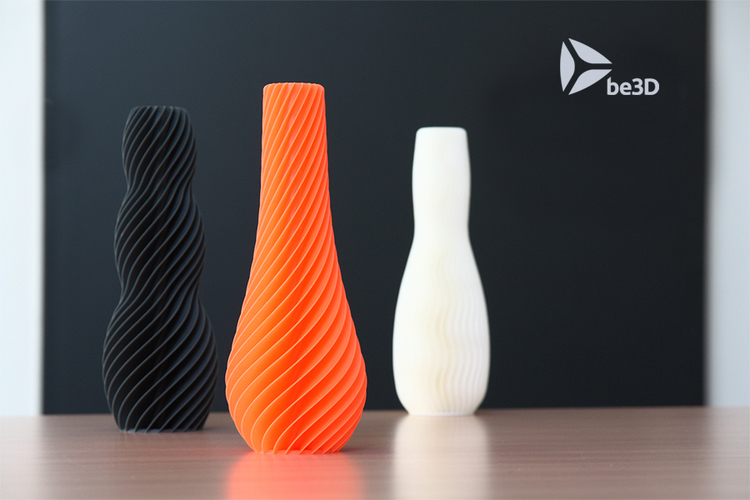
Complex designs like spiral designs cannot be done subtractively. It needs to be done through additive process because the spiral layers can be made easily with a 3D printer.
2.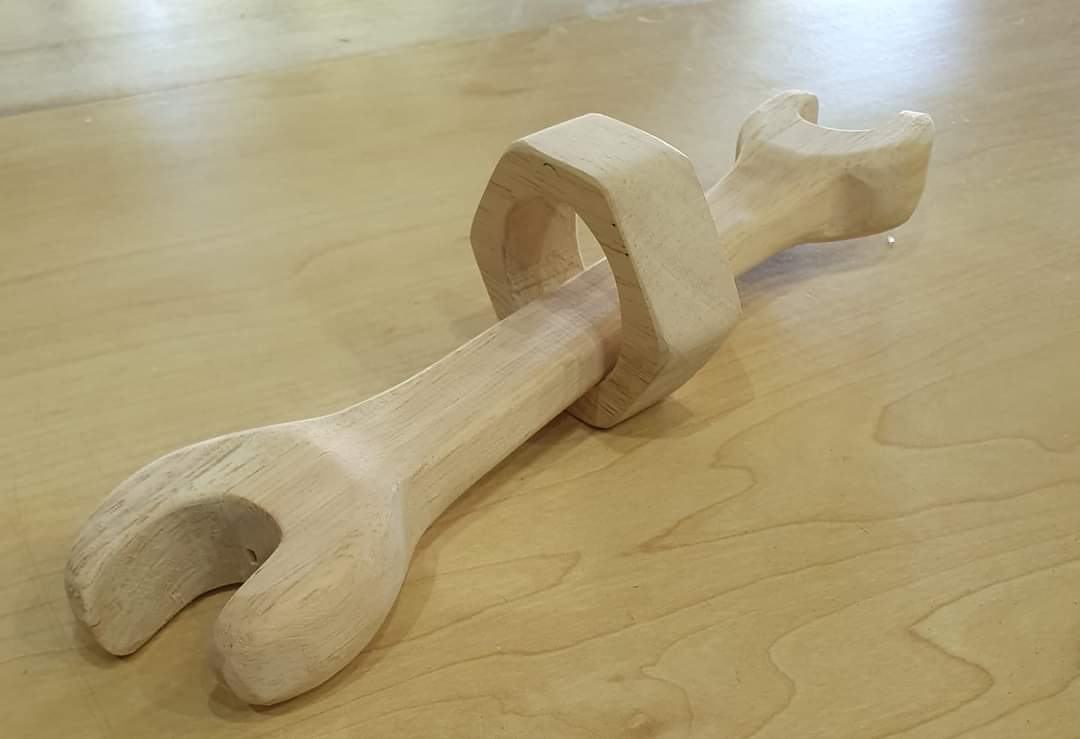
The above model cannot be made through subtractive methods that easily. 3D printer generates support material around the linkage area. These kind of linkages can be easily made with a 3D printer.
Spiral Vase
I was really keen on designing and printing a spiral vase. I always wanted a 3D printed spiral vase to keep my stationary.
-
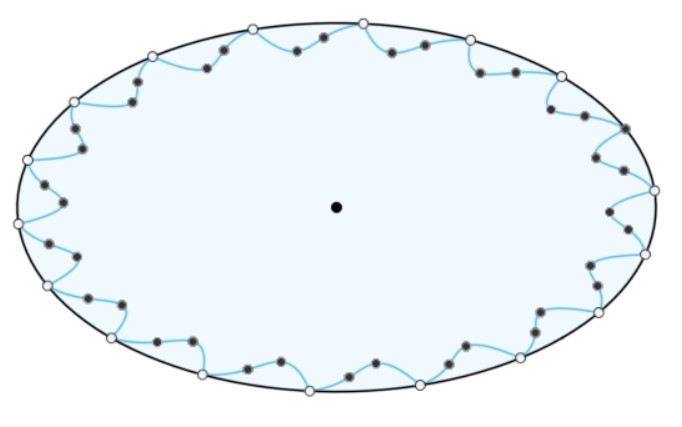
Sketch of spiral vase
-
Creating form out of the sketch. The form tool in fusion is really useful for creating bodies out of sketch. It’s really helpful for creating my spiral layers for the vase.
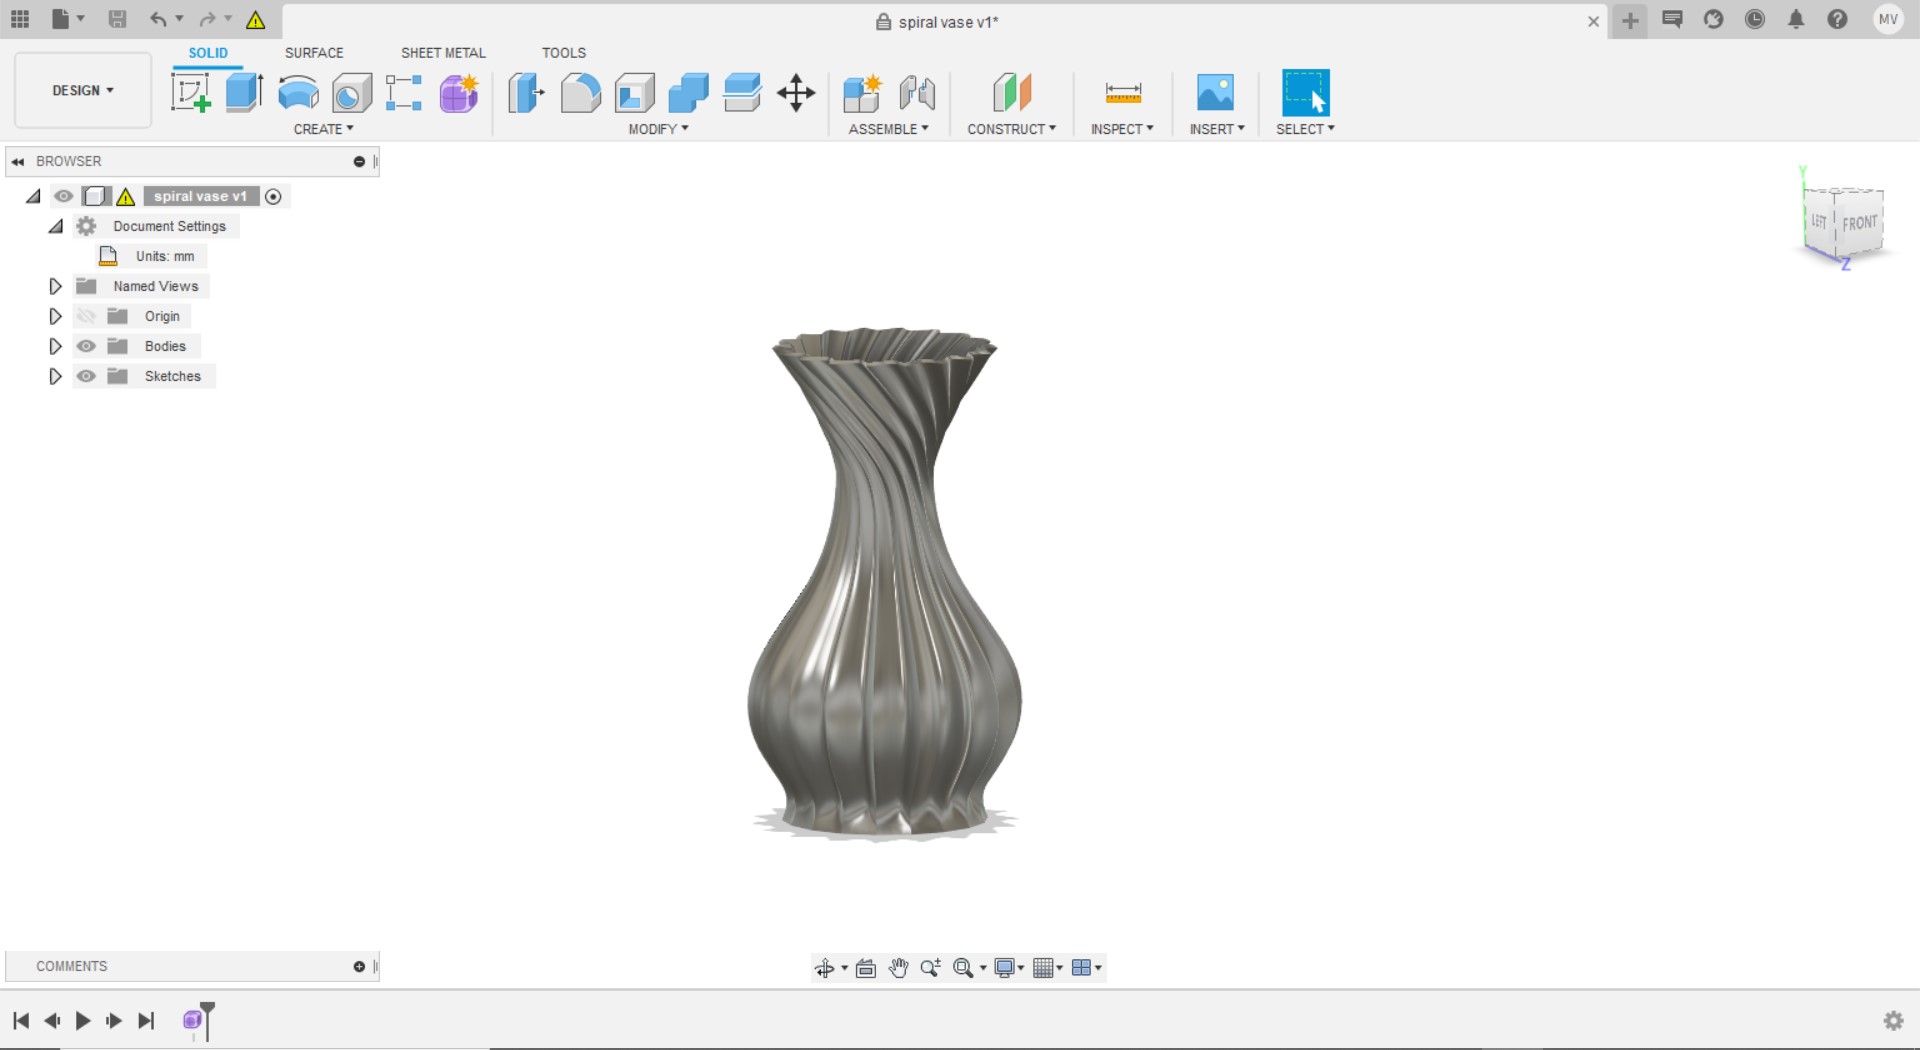
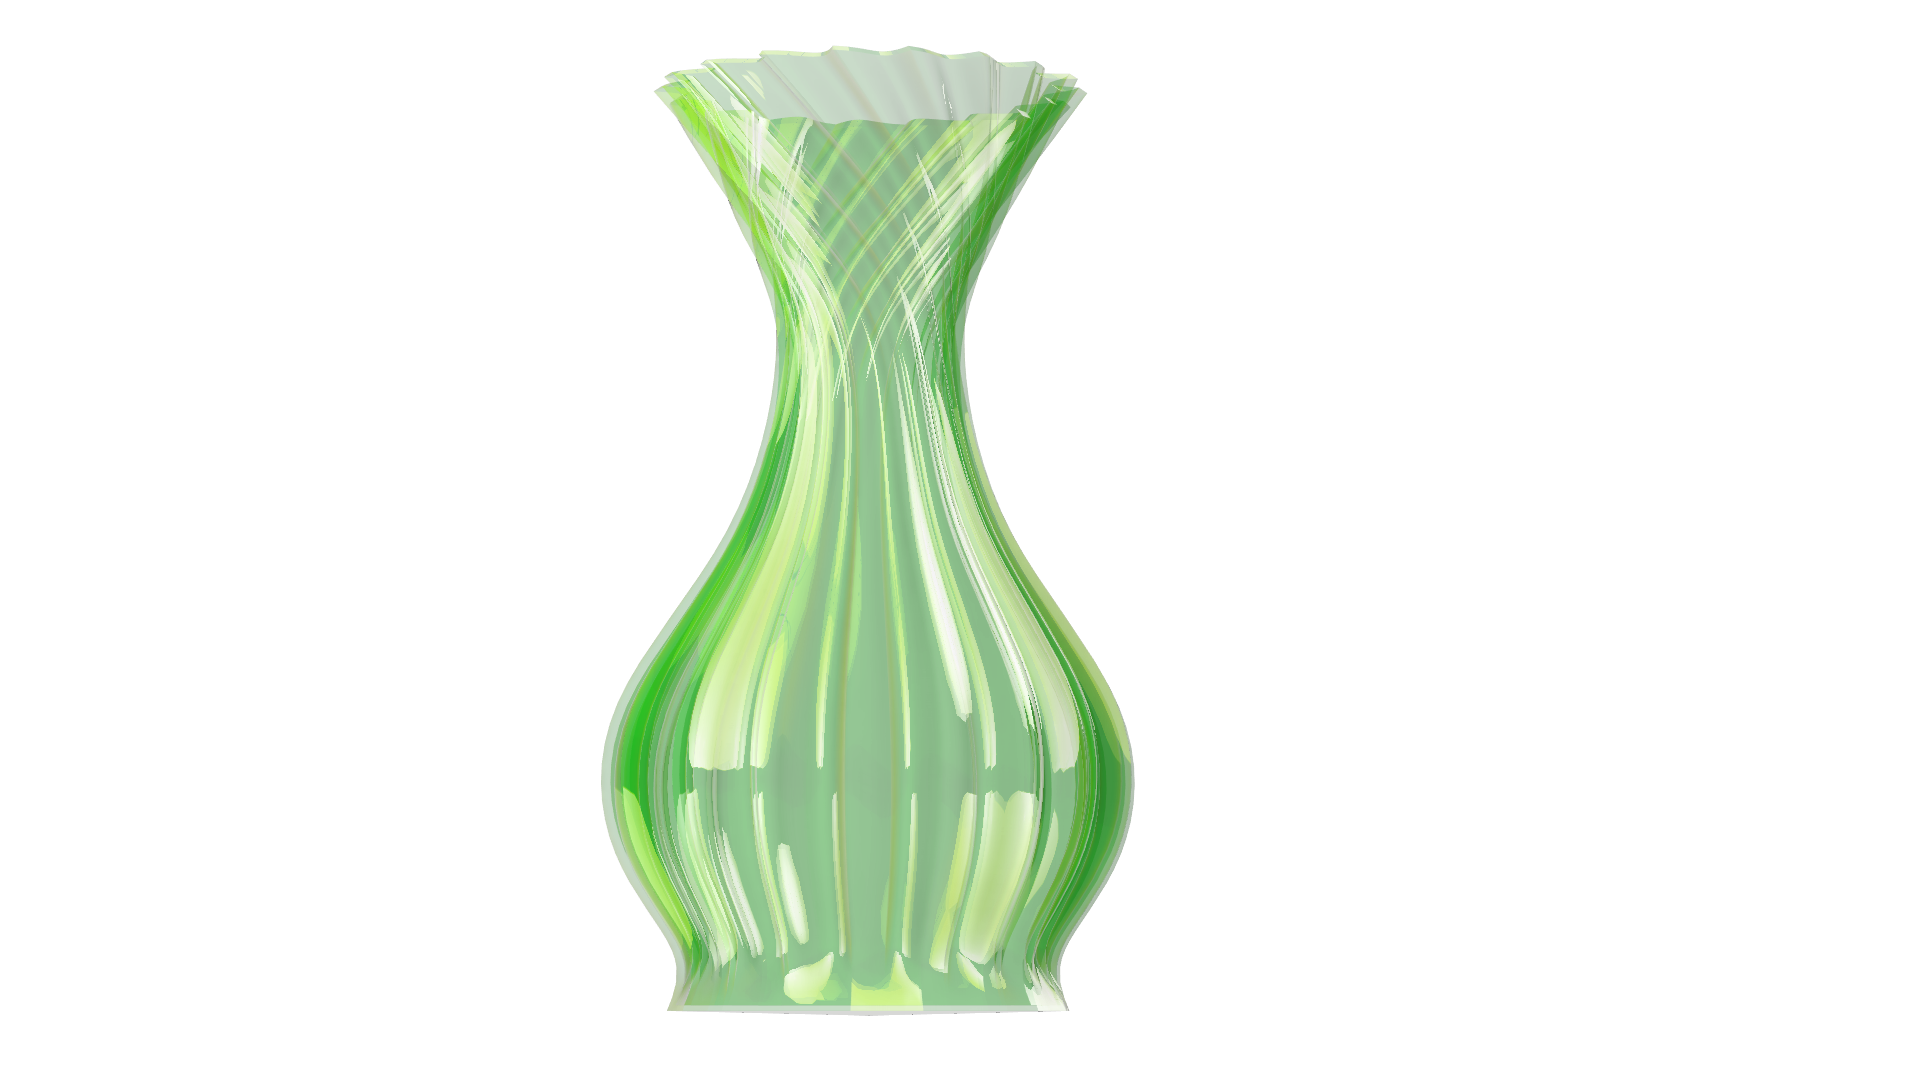
- Final spiral vase design
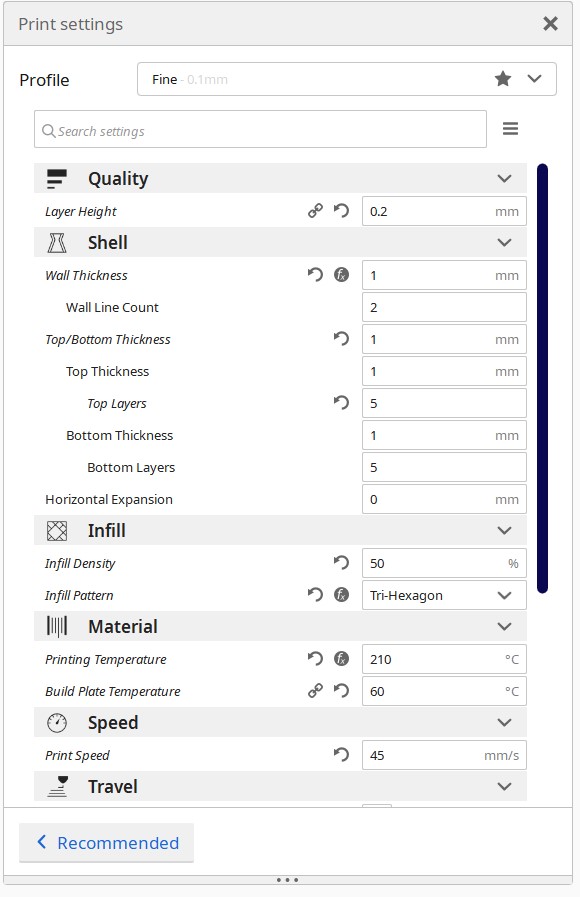
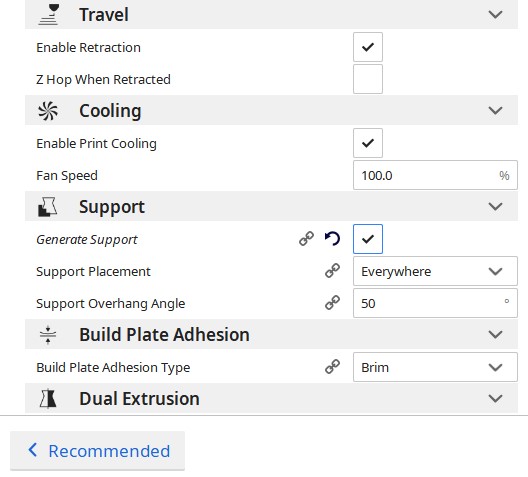
Cura settings
Adjusting the print settings and checking the slicing time in cura.
video explaining different infill patterns
Cura manual This manual has clear instructions about cura software.
Setting up the 3D printer
Setting up the print temperature for 3D printing
Loading file in 3D printer
Final 3D printed Vase
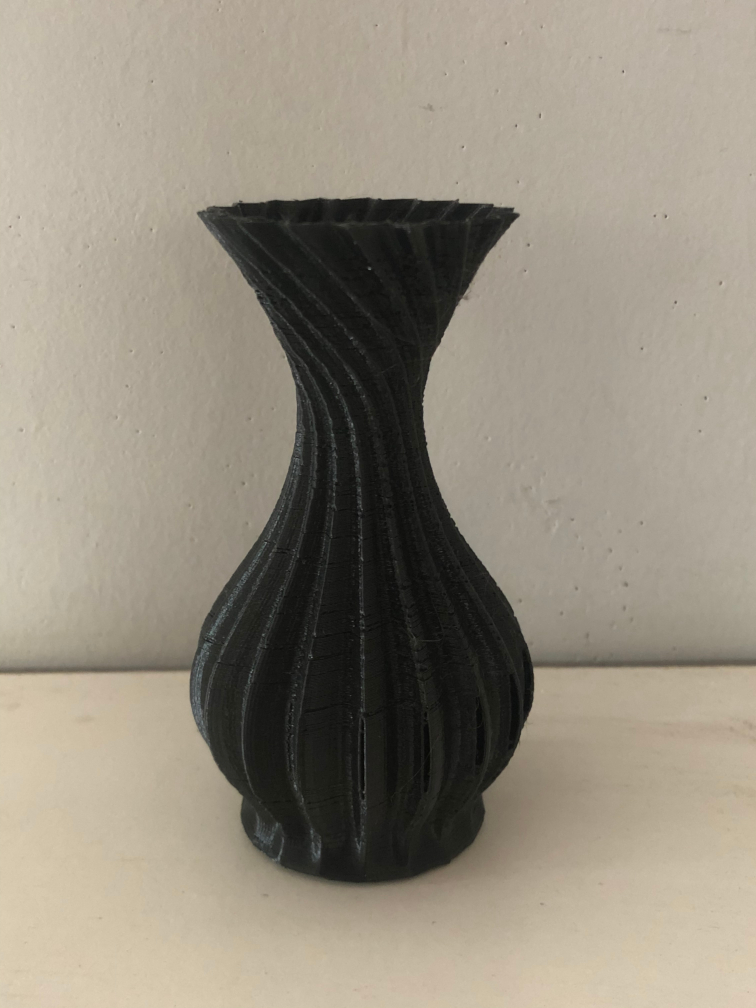
Hero shot
3D Scanning
This page helped me in understanding 3D scanning technology , 3D scanner working and its applications in the industry.
Parts of a 3D scanner
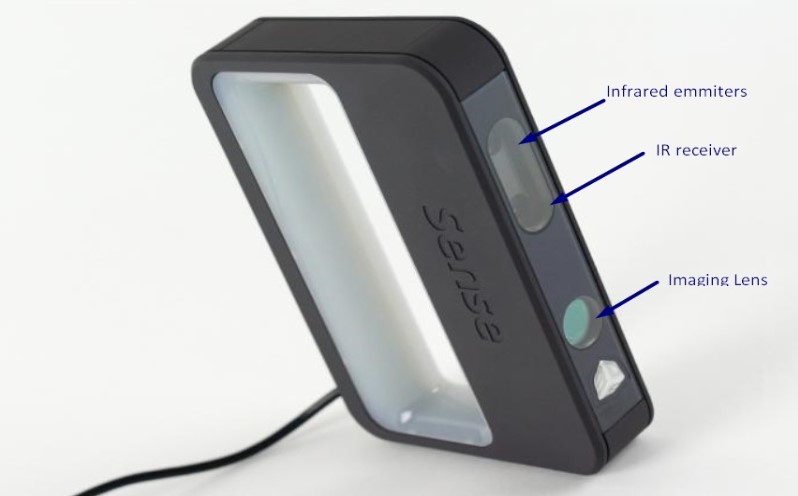
We have a sense 3D scanner in our lab.
Software used is Sense3Dscanner
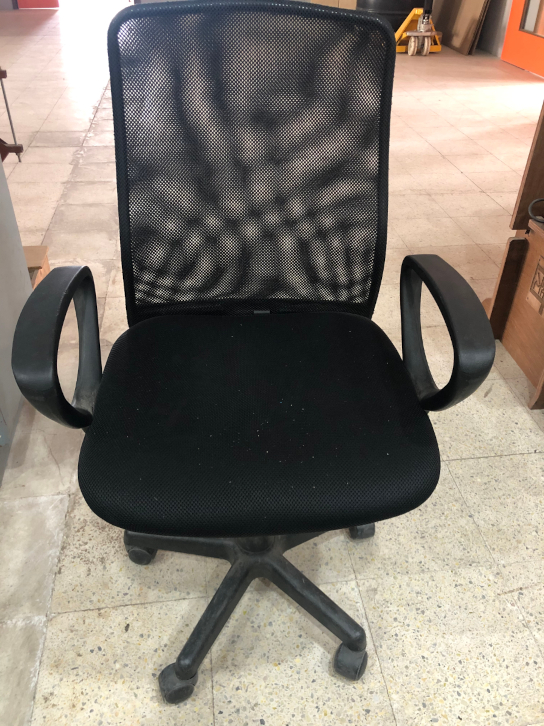
Object that I scanned
Attempt 1

Attempt 2
Challenges faced:
- Ambient light is very impotant while 3D scanning.
- Line of sight. Often I lost tracking. It was really a challenge to maintain the tracking.
- Reflective surfaces were not scanned properly due to its glossy surface.
I also scanned a desktop, along with the chair.
