4. Computer controlled cutting
This week our assignment was to create a parametric construction kit using the laser cutter and use the vinyl cutter to cut a vector graphic.
Group Project:
Machine: Full Spectrum Material: 3mm Acrylic
For the group project, our assignment was to characterize our lasercutter’s focus, power, speed, rate, kerf, and joint clearance. I will be testing the Full Spectrum lasercutter’s power, speed, and kerf using acrylic.
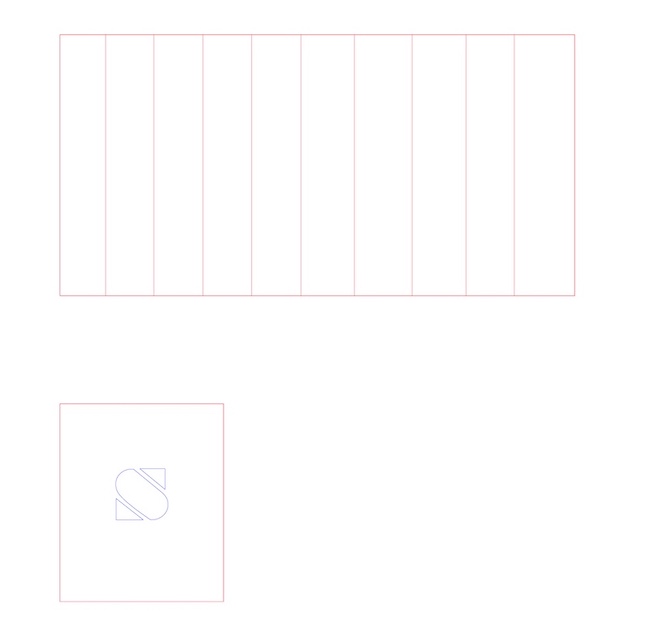
- Kerf:
For the kerf calculation, I created a rectangle in Illustrator with 10 section. After cutting, I used a digital caliper to measure the length of all sections in order to find the kerf value.
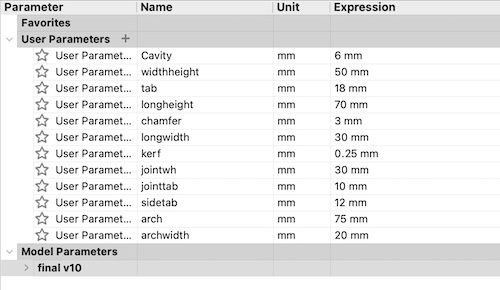
- Cutting and Engraving (power and speed):
I created a square to test cutting, and added a letter in the middle to test vactor engraving. The cutting color was RGB red, and RGB blue for engraving.
Note: The line width should be set 0.025 before exporting the SVG file.
I then imported the .SVG file to Retina Engrave by opening it first in Inkscape > Go to file > Print > Choose Full Spectrum Engineering Driver > Print. This opens the file in the program used for our lasercutter (Retina Engrave). I had an issue in the beginning with the settings, after opening my Illustartor file again to check for errors, I found that all my shapes were filled with a white background. I changed that to no fill and repeated the same importing process.
In Retina Engrave, I adjusted the placement of the designs based on where I wanted the cuts to be on my 3mm acrylic sheet. In the Fill and Stroke tab on the right side of the screen, I changed the fill option to (No Paint), changed the stroke style to 0.035 (Stroke width), and the stroke pain to RGB red 225 for cutting, and RGB blue 255 for engraving.
I arranged the layer order to cut then engrave, this setting didn’t cause an issue this is case. However, I recommend starting with engraving before cutting to guarantee the sheet is stable when engraving.
The settings I used were: Vector engrave: Speed 60 and power 100 Cut: Speed 20 and power 100

Kerf Equation: Kerf: (Theoretical length - measured length) ÷ by number of sections
My kerf values are: (148 - 147) ÷ 10 = 0.1
Laser Cutter (Individual):
I used these as starting point and added additional shapes to add variety to my construction kit.
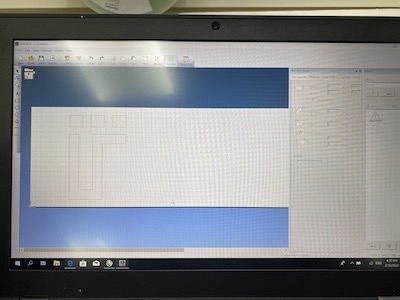
In Fusion 360, the first step was to add my parameters:
I sketched a square and used rectangles to create tabs.
I extruded the closed sketch and added chamfers - this is to avoid sharp edges and have a more stable fit
I then applied the same process to different shapes.
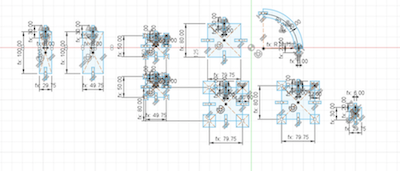
Final shapes (Red boxes are for the ones used in this assignment):
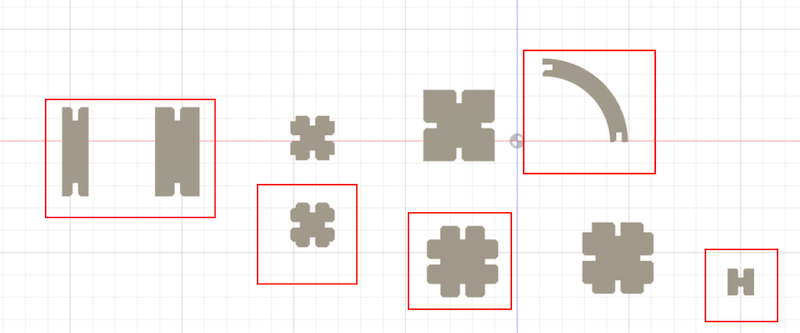
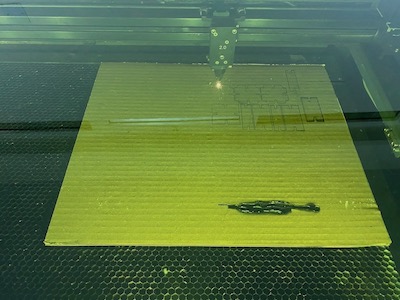
After exporting the DXF file, I inserted my files to CorelDraw to use the Universal Laser machine. I selected cardboard as my material, set the power to 80%, speed 7%, and frequency at 300 PPI.
Below are the final cutouts:
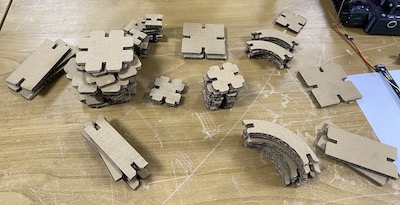
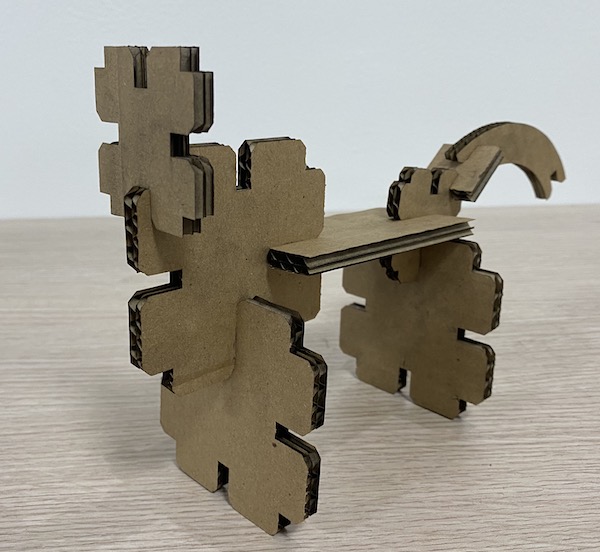
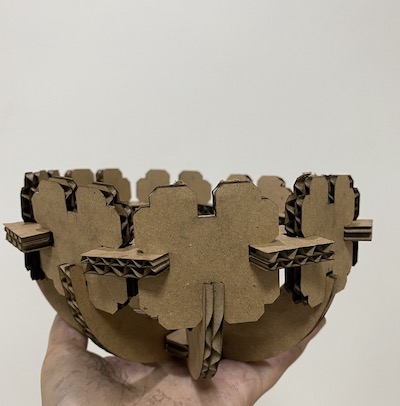
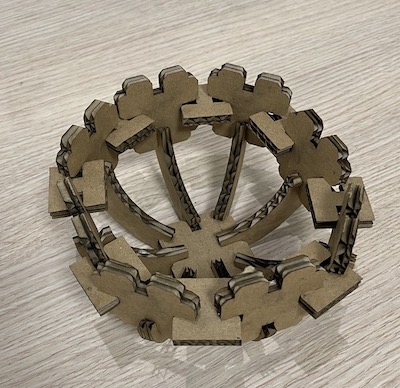
I had no specific final shape I wanted when choosing my geometry, and I really enjoyed the the process of experimenting with different fits to come up with shapes:
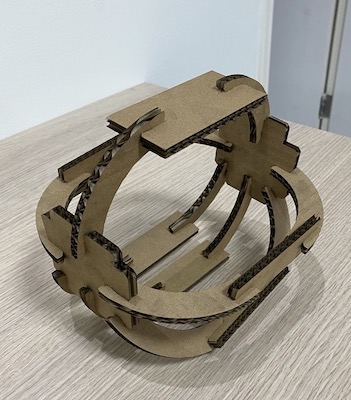
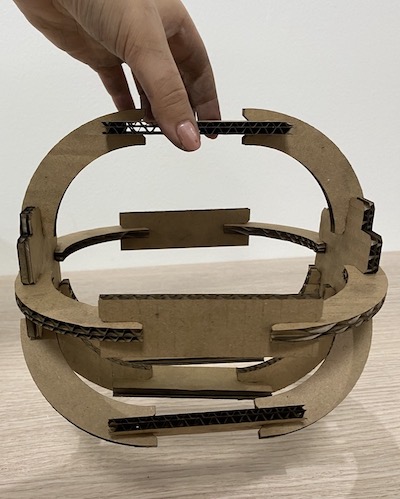
1. Basket:

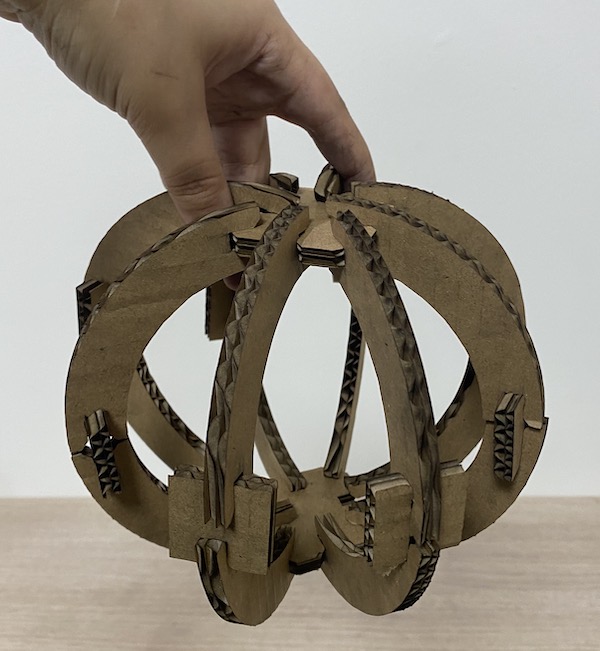
2. Ball:
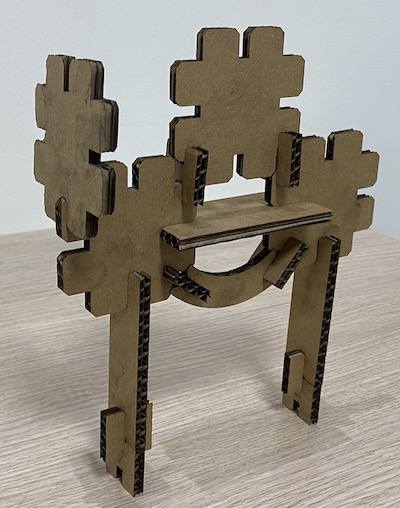
3. Camel:
4. Cat:
5. Bowl:
Fusion file:
Vinyl Cutter (Individual):
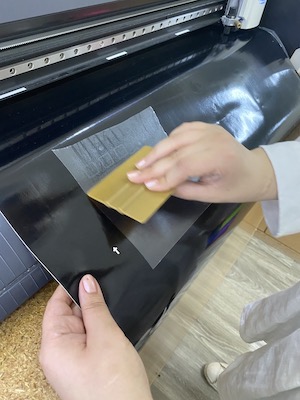
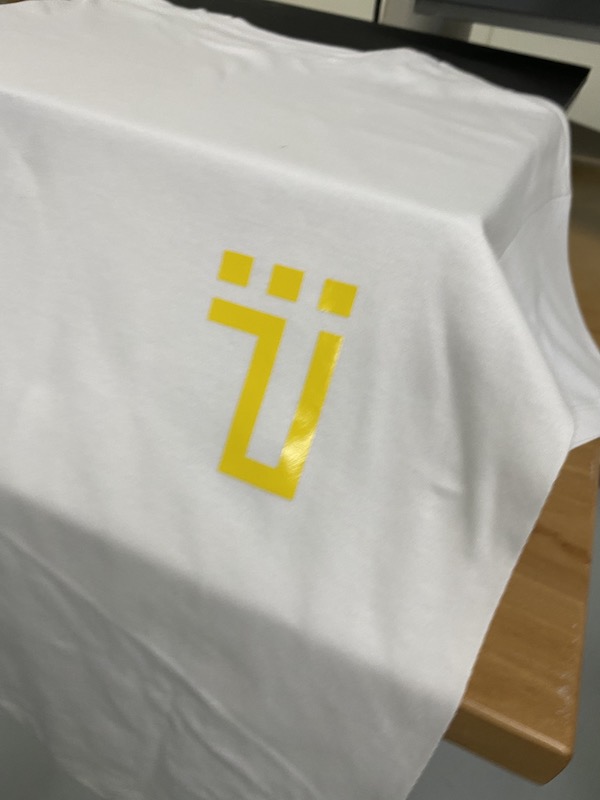
For this assignment I used the logo I worked on last week. I opened my png vector file in CorelDraw and adjusted the settings accordingly.
After the cutting was done, I tried to take it out using a masking tape and a flat card to transfer the sticker to the masking tape. The first time didn’t work, so I increased the strength of the cutter by 10 points and did it again.
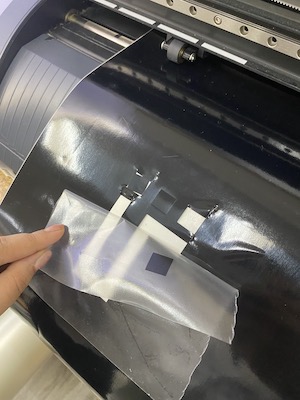
The second time was better, but I did have to manually remove the extra parts.
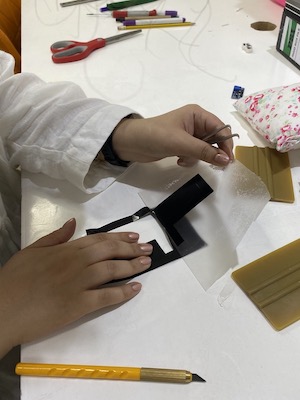
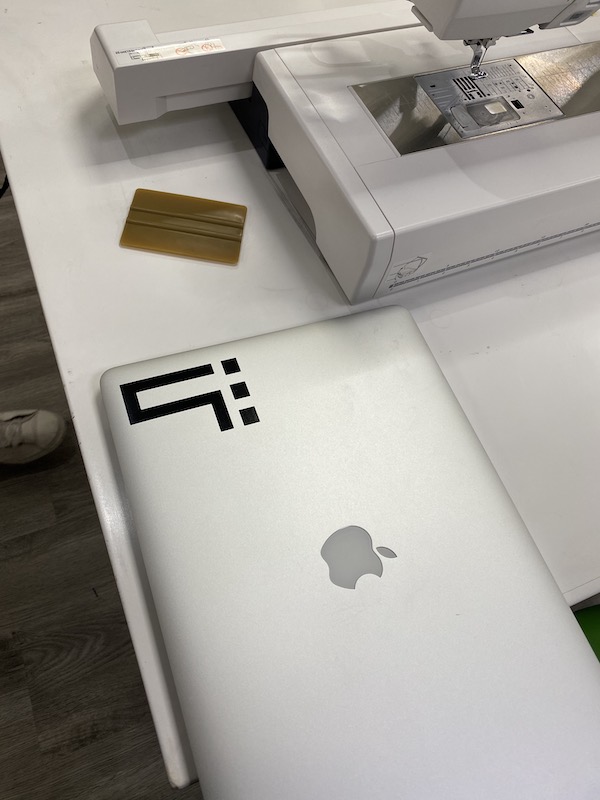
I then transferred it to my laptop and a made another one to use with the heat presser on a t-shirt.
Group Project:
For the group project I will be testing the kerf, power, speed rate of the Full Laser Spectrum using Acrylic.