2. Project Management
for the first week in FabAcademy we were introduced to Gitlab to manage our websites. The objective of the first week was to:
- Create a personal website and document our process using Gitlab and other programs used.
- Describe and sketch our final project and upload it to the website.
Step 1:
The first step was to create an account on Gitlab and download Git.
Step 2:
After installing Git and running Terminal on my mac, I linked my GitLab account to my computer using the following commands:
-
git config –global user.name “shadenhesham” and
-
git config –global user.email “shaden.almutlaq@gmail.com”
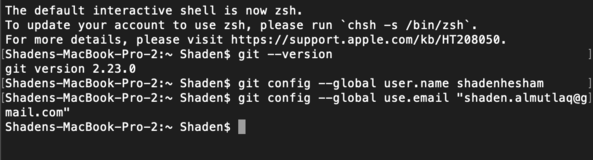
note: before running the user name and email, I used git –version to check that the correct version is installed in my laptop.
Step 3:
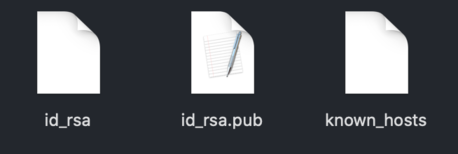
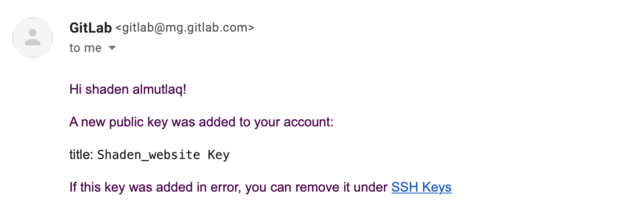
The next step was to generate an SHH key to avoid having to enter my password every time.
After typing the command ssh-keygen –t –b 4096 –c shaden.almutlaq@gmail.com an .ssh folder will generate with a file id_rsa.pud which I copied the text from.
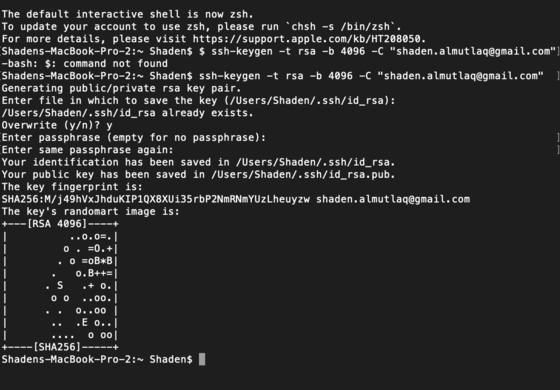
I went to Gitlab > settings > ssh keys and pasted the key and saved it. An email confirmation was received that a new key was added to my account.
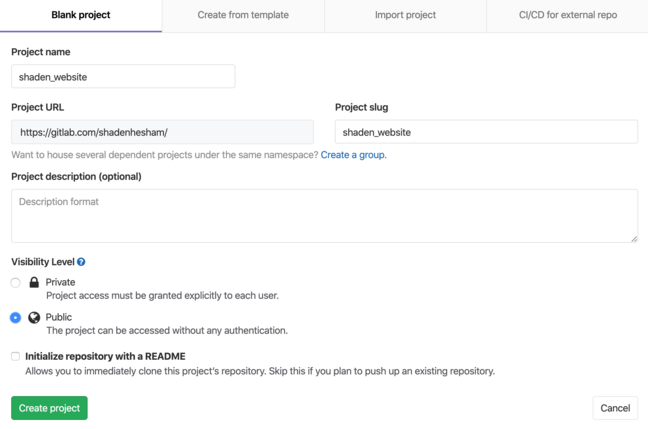
Step 4:
I created a new project on Gitlab
Step 5:
To transfer my project from GitLab to my desktop, I cloned my git lab project using the following steps:
- Copy the SSH link under the clone tab in my project folder: git@gitlab.com:shadenhesham/shaden_website.git
- Select repository

- Paste the link to Terminal as follows: git clone git@gitlab.com:shadenhesham/shaden_website.git

- Type “yes” in terminal to confirm connecting Gitlab to my desktop.
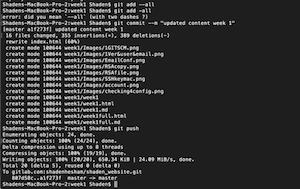
Step 6:
To link my computer to Gitlab, I first select the local repository then use following commands:
-
git add –all: This command adds all changes included in the next commit.
-
git commit –-m “xxxx”: This command adds a message to each push.
-
Git push: This command pushes all local files to GitLab.
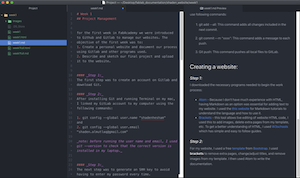
Creating a Website:
Step 1:
I downloaded the necessary programs needed to begin the work process:
-
Atom - Because I don’t have much experience with HTML, having Markdown as an option was essential for adding text to my website. I used the this website for Markdown tutorials to understand the language and how to use it.
-
Brackets - this tool allows live editing of website HTML code, I used this to add images, delete extra pages from my template, etc. To get a better understanding of HTML, I used W3schools which has simple and easy to follow guides.
Step 2:
For my website, I downloaded a free template from Bootstrap.

To remove extra pages, change/adjust titles, and remove images from my template I used brackets:
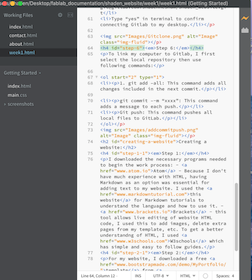
I then used Atom to write the documentation:
Step 3:
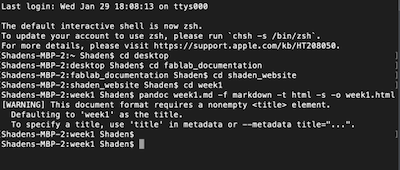
After adding the content on Atom, I converted the .md file to HTML to add it to my website using brackets. Because Markdown is a different language, I had to convert it to HTML to embed in my website. I typed the following command on my terminal:
pandoc week1.md -f markdown -t html -s -o week1.html
Step 4:
I then embedded my .HTML file in the index page under the first week’s tab, which will add and link the converted .HTML page to my website.
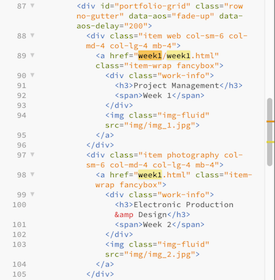
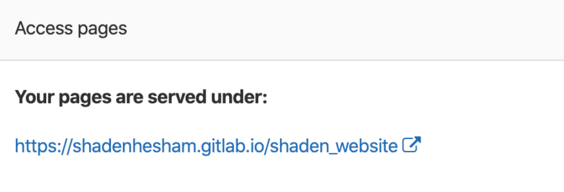
I then plugged in all the images using Brackets, saved my work and used the git push command to update my project on GitLab. To find the website link, I went to my project folder on GitLab > Settings > Pages and found the link to my website.
Accessing FabAcademy Cloud:
Step 1:
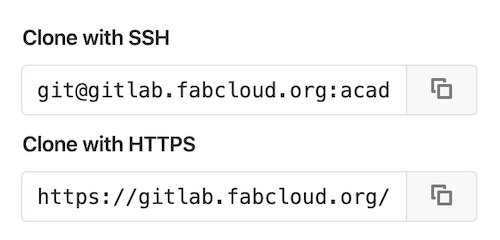
To access the Fab Academy cloud on GitLab, I followed the instructions received by email from the Fab Academy coordination: 1. Go to https://gitlab.fabcloud.org/ 2. Use the “forgot password” option to reset the password
Fab Academy created files that include a website template ready to use for students that can be accessed once the password reset has been done. To use the website, I cloned my project using the same steps as mentioned above:
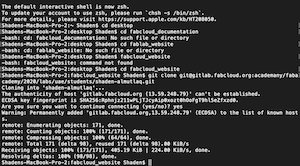
I then typed the command git clone “git@gitlab.fabcloud.org:academany/fabacademy/2020/labs/uae/students/shaden-almutlaq.git”
Step 2:
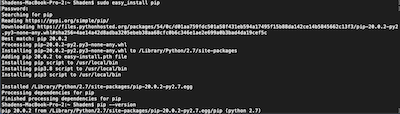
To run Mkdocs on my Mac, I downloaded Python then ran the following commands to ensure it was installed:
python –version pip –version pip install –upgrade pip sudo easy_install pip
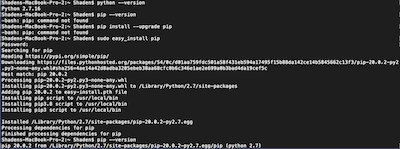
To install my Mkdocs pages after ensuring Python was installed, I ran the following command:
It was confusing to navigate in the beginning, my classmates Shaika and Fatima who are also using Macs helped me navigate the installments.
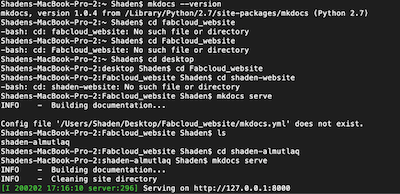
Step 3:
I then confirmed Mkdocs was installed using the mkdocs –version command. After it was confirmed that the installation was successful, I used mkdocs serve which allows a preview of the webpage while working on editing using Atom.
Issues I faced:
When configuring my user name and email, my email was not linking properly and I also did not receive a confirmation mail. I requested to received another conformation email but that did not work, so I followed the below steps:
-
My classmate Fatima shared this link which has tips on troubleshooting this issue.
-
I then searched for my email manually to ensure that an account was created using the below link: https://gitlab.com/api/v4/users?search=email@email.test
-
I replaced the email at the end with my email: https://gitlab.com/api/v4/users?search=shaden.almutlaq@gmail.com.test
-
I hit enter and got a confirmation that the account was created.
