Wildcard Week
Types of tasks each student has completed on the Wild Week
Jeonghwan - Composite
Seokmin - Composite
Hyunho - Embroidery
Jihwan - Embroidery
Yunjo - Inflatables
Composites
Epoxy resin
●Read the safety data sheet (SDS) and technical data sheet (TDS)for the resins that you’re using design
●Fabricate a 3D mold (~ft2)and produce a fiber composite part in it, with resin infusion and compaction.


ENPOXI BASIC and BASIC HARDENER
● Ratio : 100 : 13
● Work time : 30 minutes
● Cure time : 10 Hours
● Prepare protective glasses, ventilator facilities, and masks before working.
● If you come into contact with your eyes and skin during work, wash them with water for at least 5 minutes and go to the hospital for an examination.
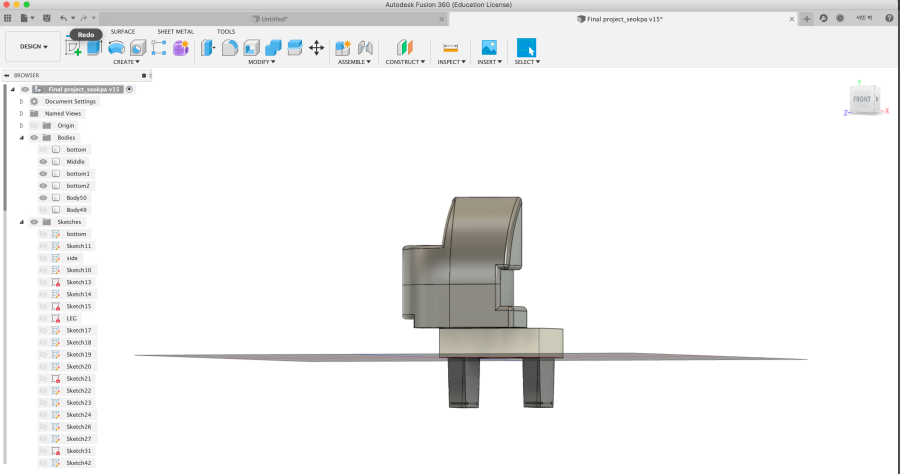
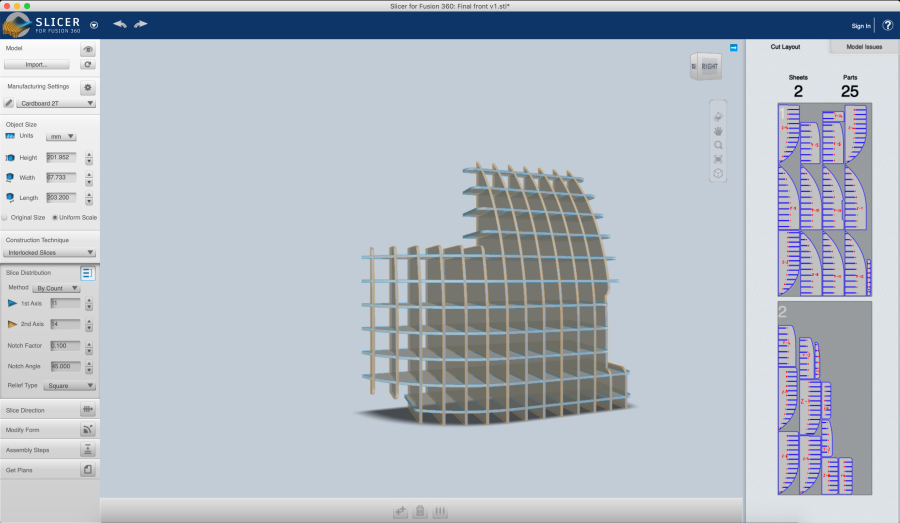
The front part for the project was made using laser cutters and Autodesk sliders.The material used cardboard paper 2T and interlocked slides option was used in the Slicer.
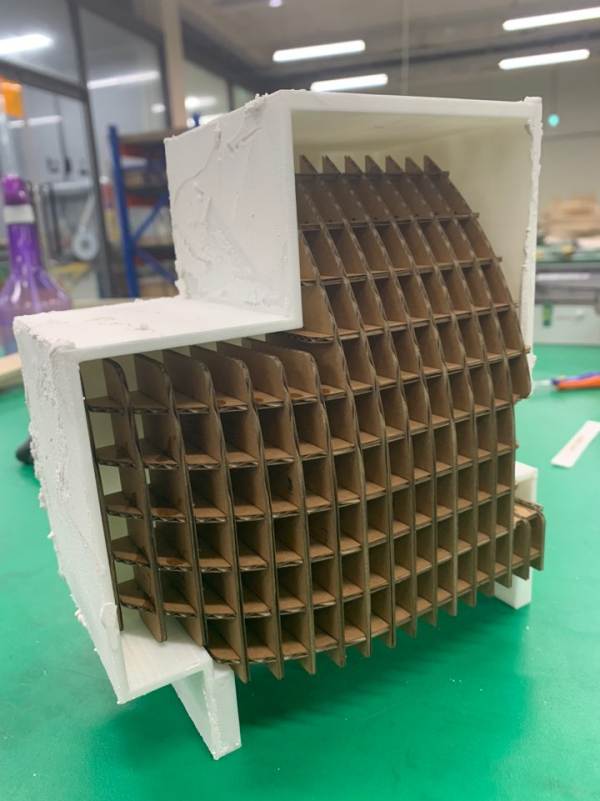
Use a cellophane tape to wrap the object well so that it does not adhere to the resin. At the same time, care must be taken to ensure smooth surfaces.
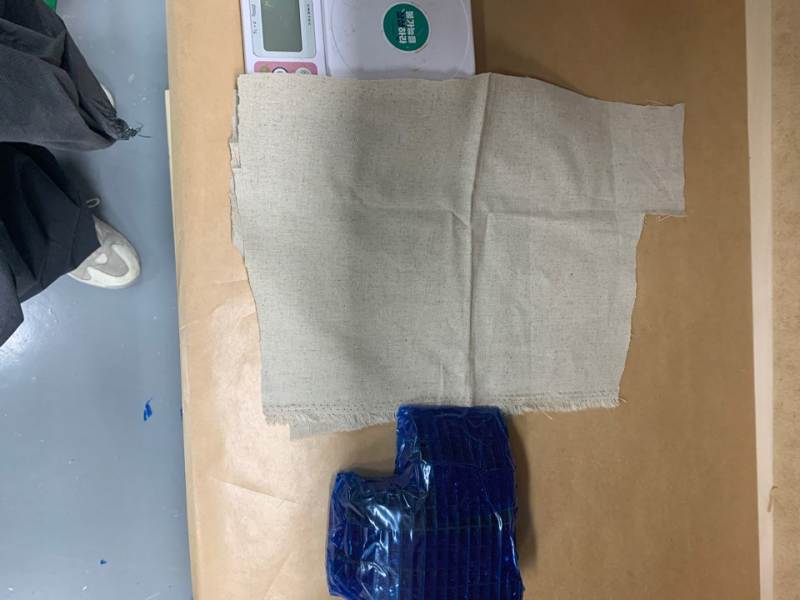
Then, draw a scale, a cloth, and set up the model in a good way.
The amount of resin I would use was 200g (a generous amount), and according to the ratio of 100 to 13g, I tried to put 26g of hardener.
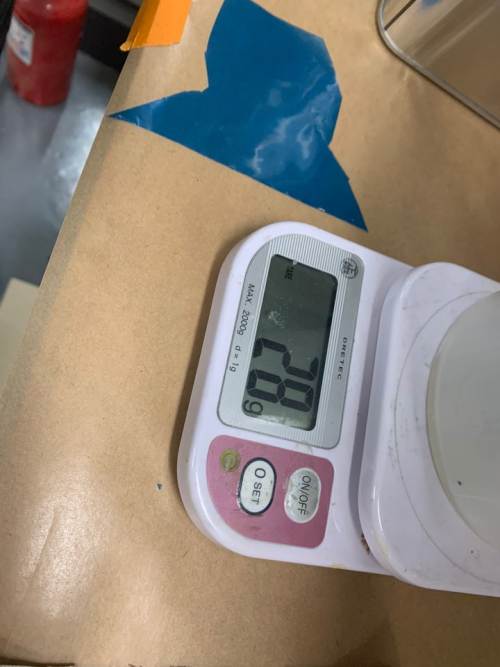
The hardener is over 2 grams! So I had to add a little more resin. About (15g)
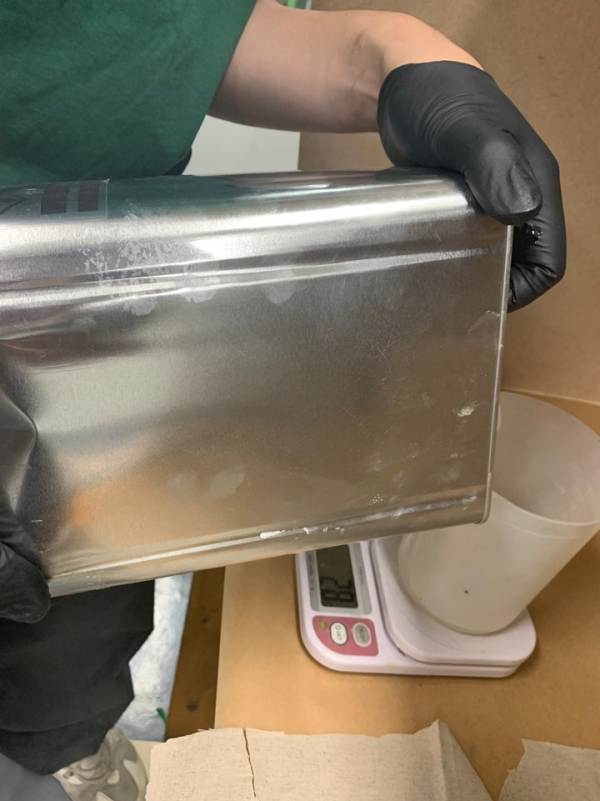
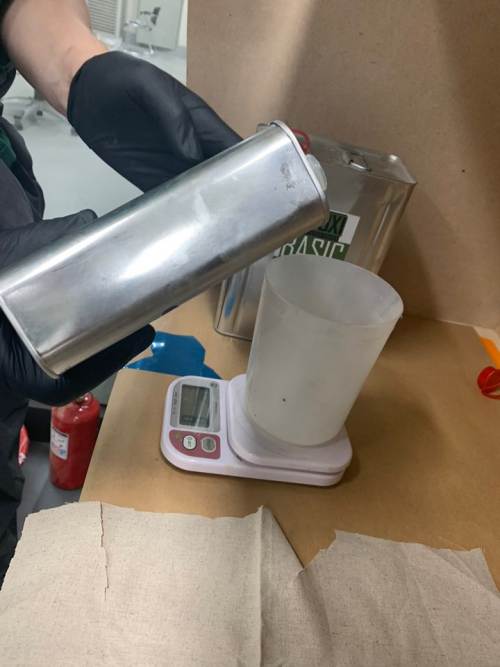
Press 0g of scale and pour epoxy slowly with a goal of 215g.
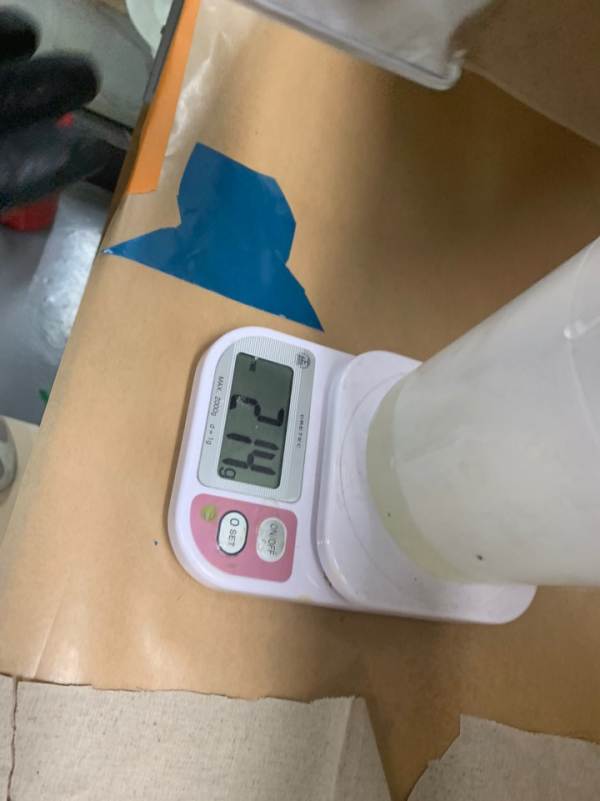
I filled 214 grams. From now on, we have 30 minutes left before applying epoxy to the material and vacuuming it, so check the time carefully.
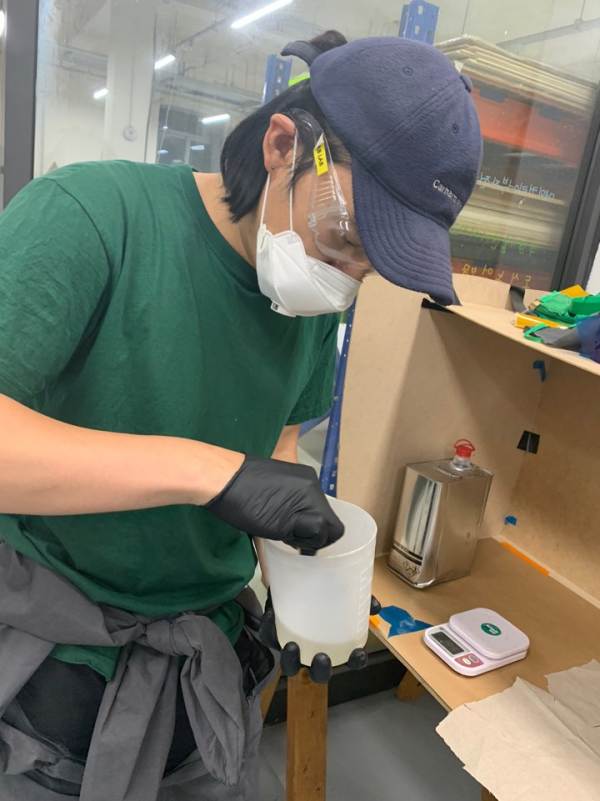
Stir well so that hardener and epoxy mix well. You can feel a little bit sticky by stirring.
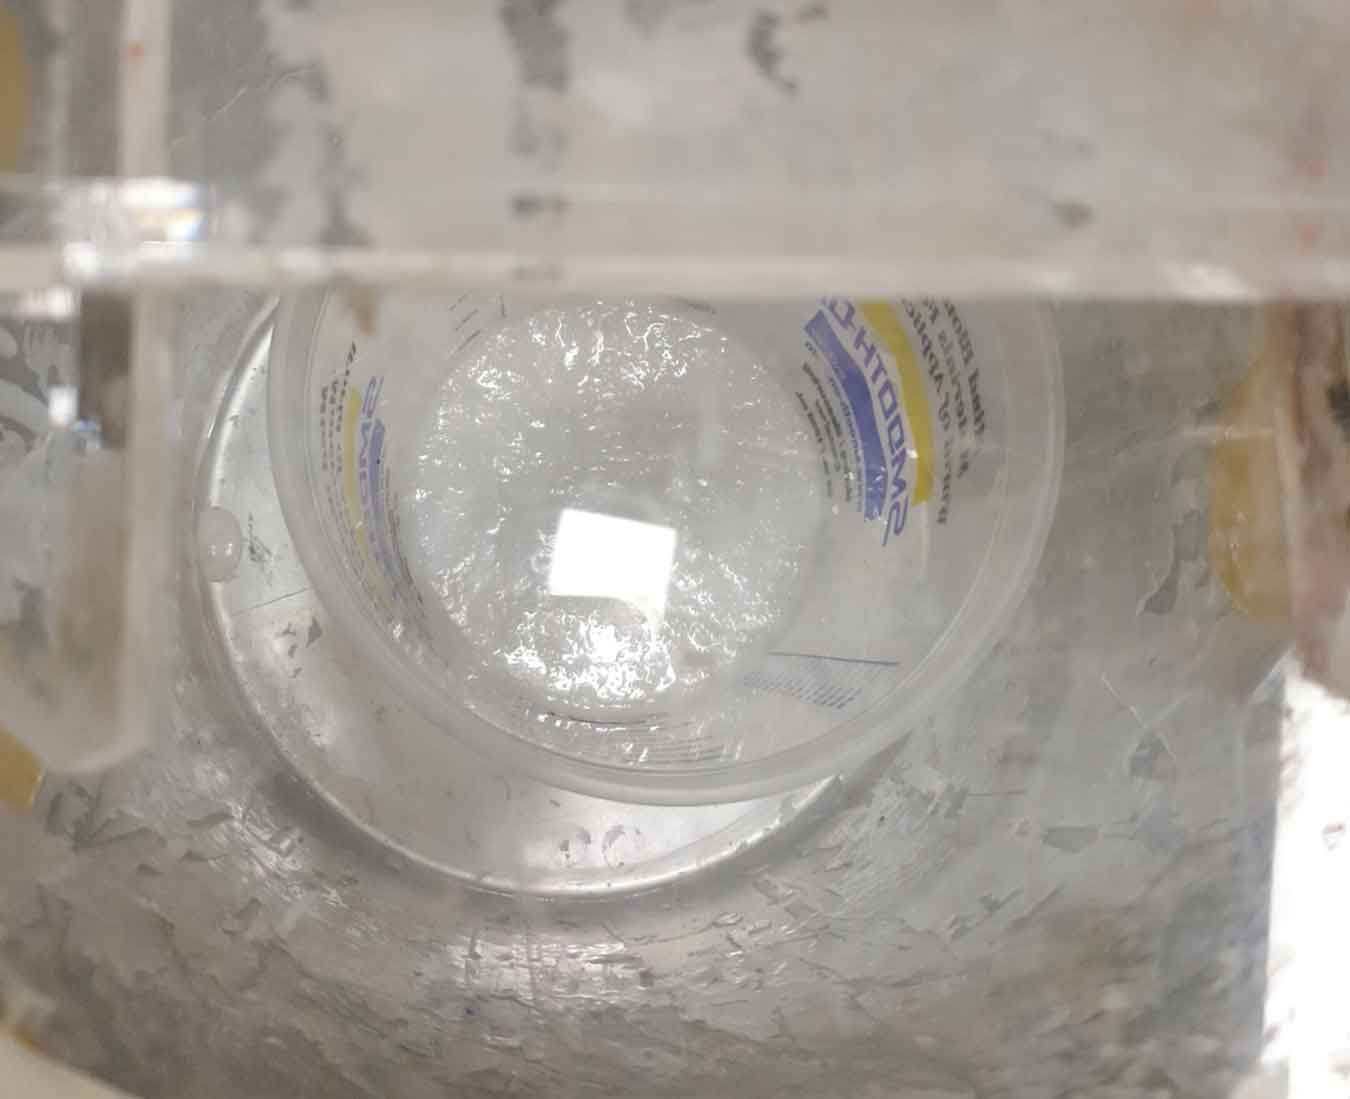
Put it in a vacuum and remove the air as you mix it. This process ensures that there is no extra air bubbles in the final product later.
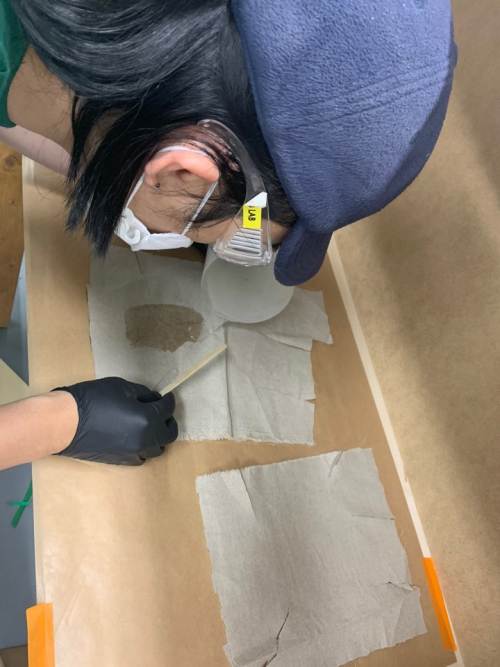
Stir well and apply plenty of epoxy to the ingredients. And I set the layer of the material to three levels. This is because it can produce some thickness and stiffness.
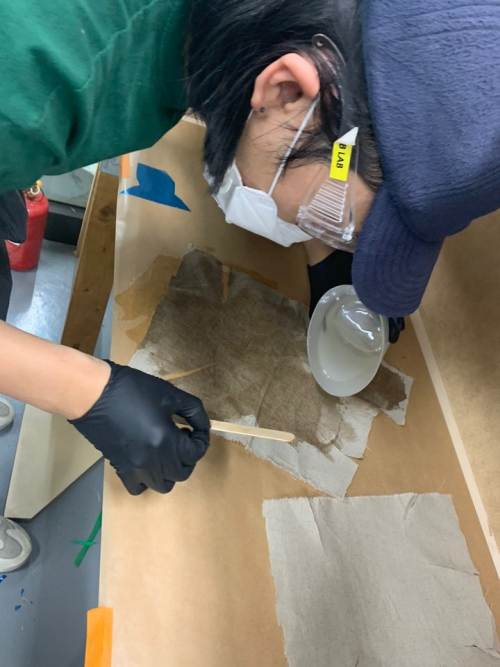
Apply enough on the next layer.
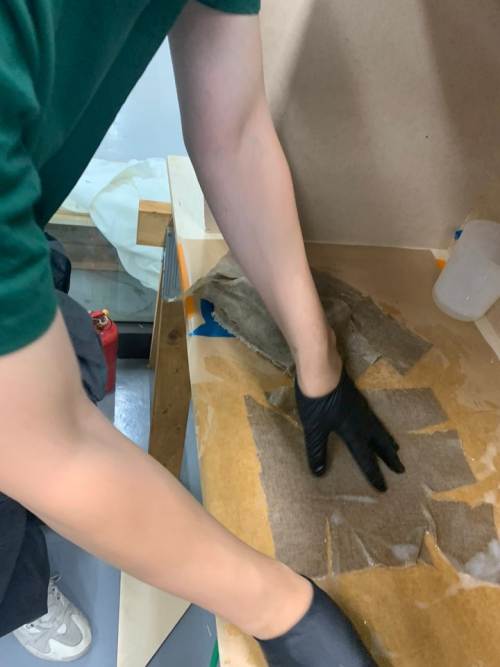
If you look at the picture above, there is a cut in the material. This was deliberately cut to some extent to ensure that the angular parts were well inserted into the model I was trying to composites. And cover the model with all three layers facing in the same direction.
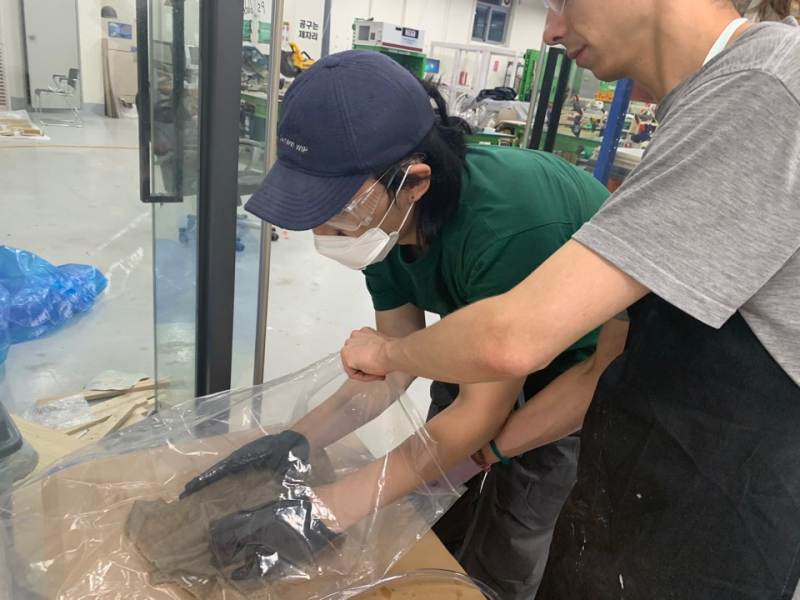
Now put it in plastic vinyl to vacuum. Instead of inhaling the air right here and waiting for the results, it is better to inhale the air slowly and make several corrections while checking whether the shape is likely to be intact or not. If there’s some time left for work!
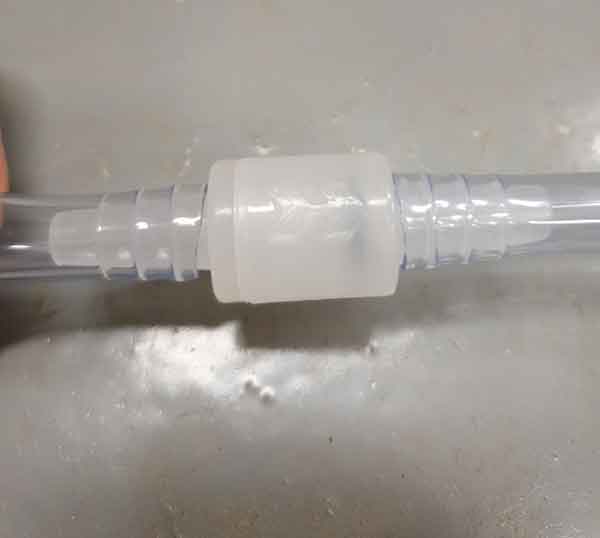
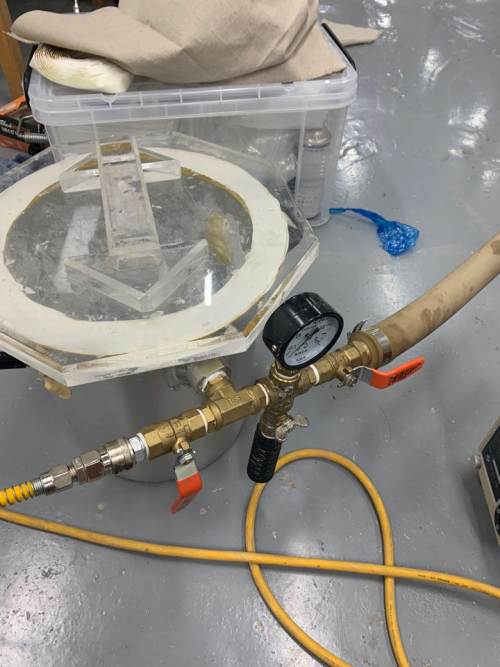
Connect the one-way valve to the vacuum tube and connect the extra tube. This is to prevent epoxy from entering with the air that the vacuum sucks in. The machine is safe.
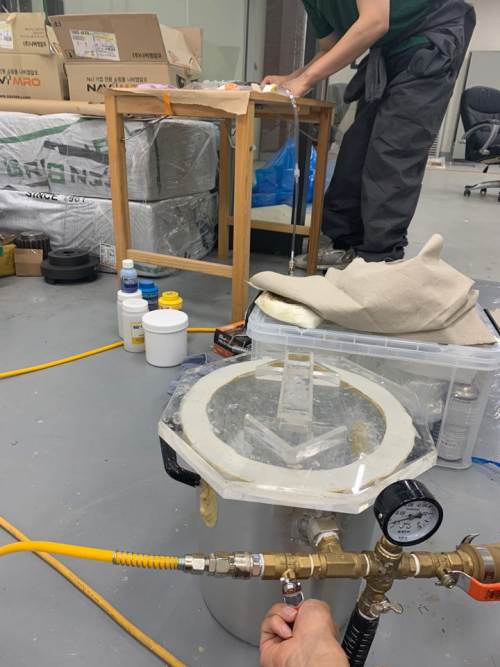
I repeated the process of slowly turning it on and at the same time watching if it expresses the surface well.
Allow maximum air intake and allow the equipment to be turned on for 2 hours until the epoxy is somewhat hardened.
Make sure that the surface and the right angle are well expressed, then turn off the equipment two hours later and wait until the end of the clean time.
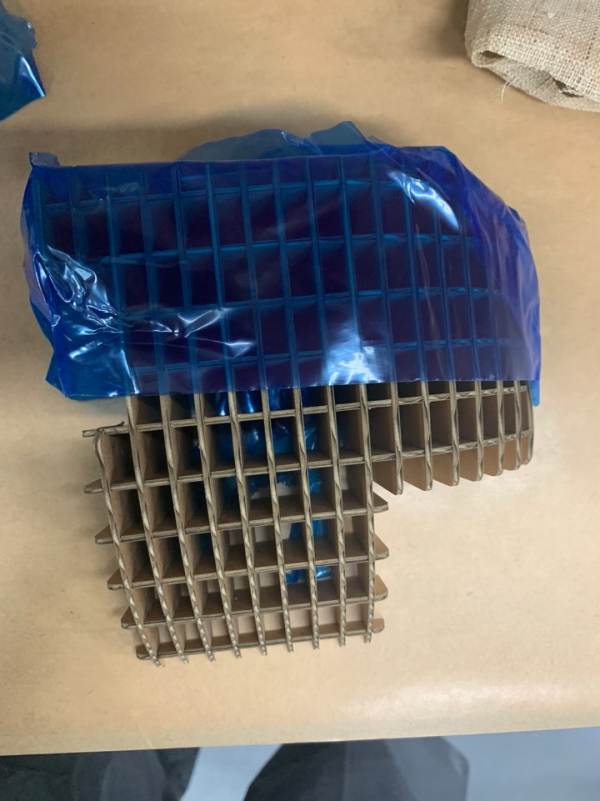
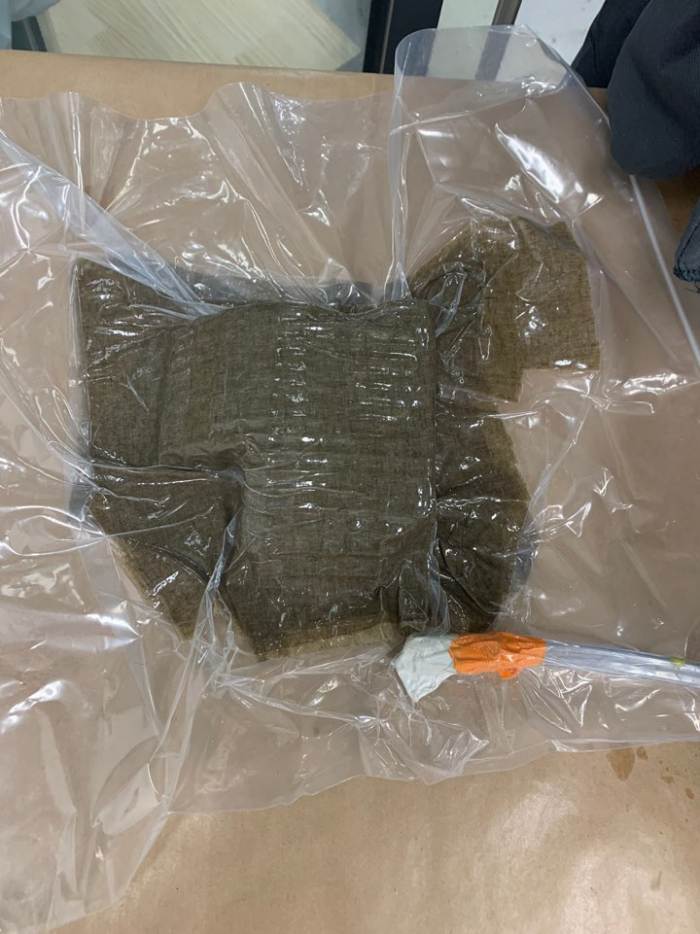
After 10 hours, it’s what it looks like when you take it out of the plastic bag. I saw a little bit of epoxy on the front surface, but I think the angle that goes in was good!
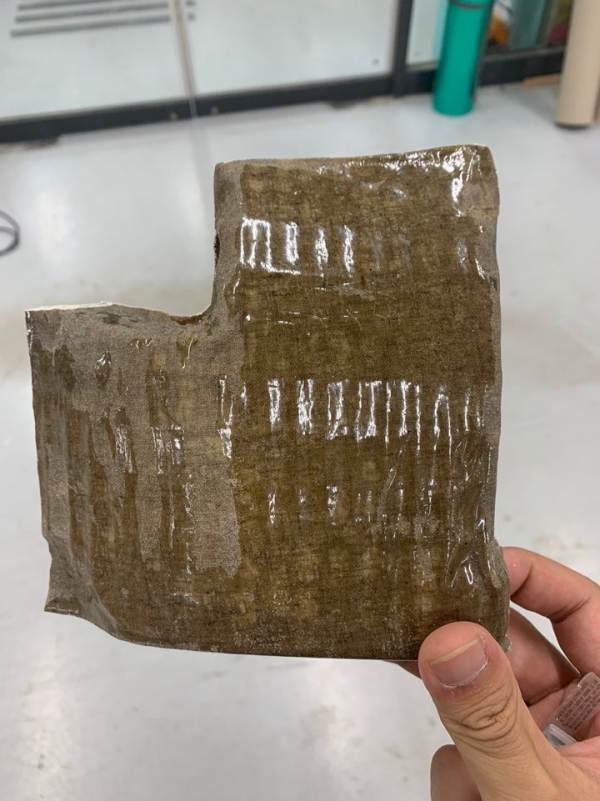
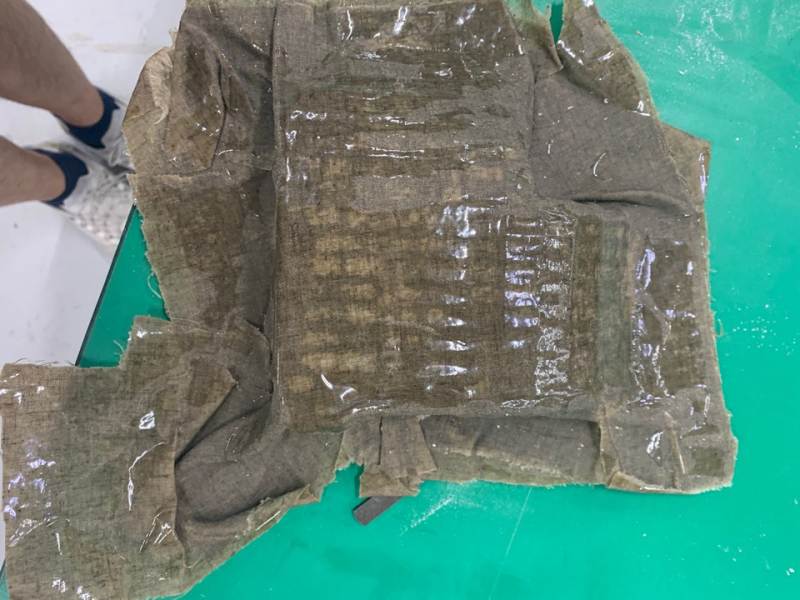
The results are not satisfactory. The part is not fully composited. I left the vacuum on for 2-3 hours, but it wasn’t enough. Next time, you have to turn on the vacuum until the composite is finished.