16. Wild Week
Assignments
- Design and produce something with a digital fabrication process (incorporating computer-aided design and manufacturing) not covered in another assignment, documenting the requirements that your assignment meets, and including everything necessary to reproduce it.
X. Individual Assignment
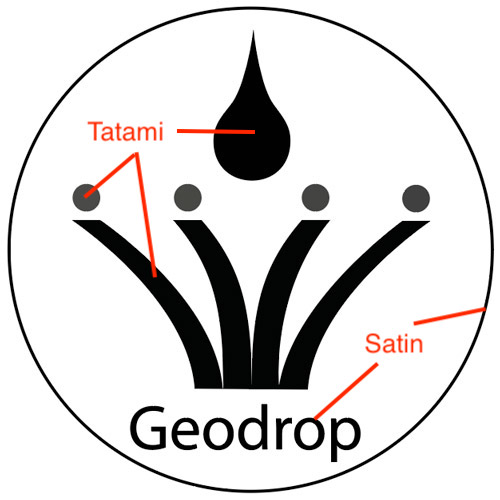
This week, I tried sewing the logo that I made at week 3 by using digital sewing machine.
The different thing is that it’s needed to change the way of sewing at each part of the logo. I need to understand the sewing methods and their features.
1. Understand the sewing methods
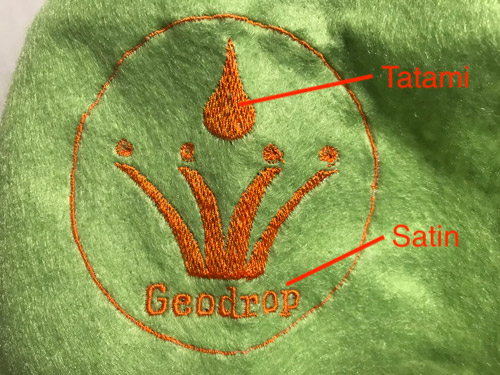
I used two ways of sewing in my logo. Satin sewing and Tatami sewing.
-
Satin sewing
Sating sewing is a method of sewing between the edges of the design. It gives a volume to the embroidery. Normally, this method of embroidery is more beautiful than Tatami sewing. Stitch width is from 1mm to 9mm, and in case of 9mm or more, use Tatami sewing. -
Tatami sewing
Tatami sewing is a method of sewing by dropping a needle into a fine line like a folded eye. It is mainly used when the width of the sewing line is over 9mm, or for overlapping embroidery. It is stronger and more durable than Satin sewing.
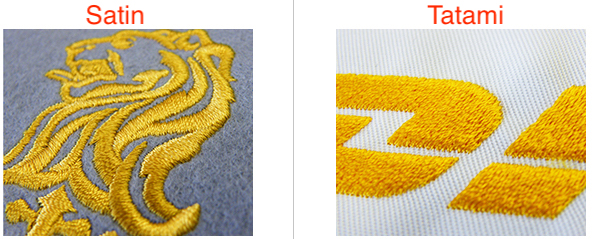
Referred the image from here
I used PR1050 which Fablab Kamakura has. Actually, I wanted to use many features of PR1050 but at this time, I only use the simple feature to save my time for my final project…
2. Revise the design of my logo
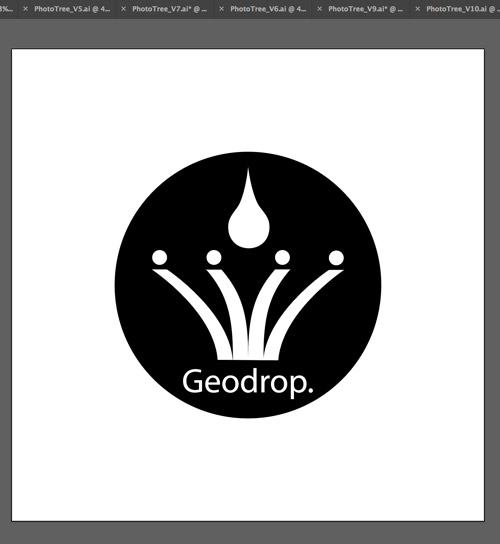
First, I revised the design of my logo using Adobe Illustrator so that the sewing machine identify each sewing line properly.
I reversed the fill. Filled the parts where I sew and no filled the parts where I don’t sew.
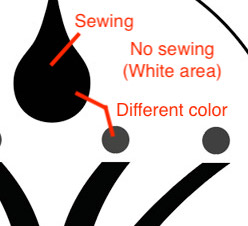
And changed the fill color by the part which has the sewing direction. The same color with the same embroidery thread. I changed the part you do Tatami sewing to “paint data” and the part you do Satin sewing to line data.
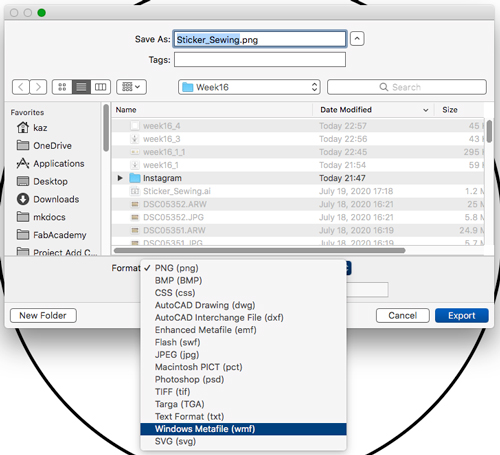
I needed to save the data by which you want to set different sewing methods. These data will be combined using the app.: Embroidery PRO NEXT.


Exported vector data as .wmf format so that the data can be edited with Embroidery PRO NEXT.
Tip
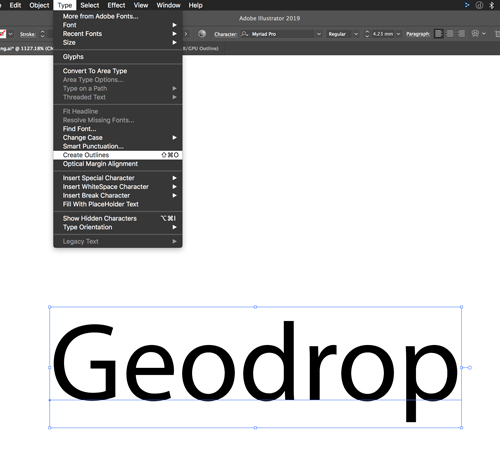
If you’d like to sew a word…
The word needs to be separated with each character.
For illustrator, you can separate it by creating Outline and then ungrouping it.
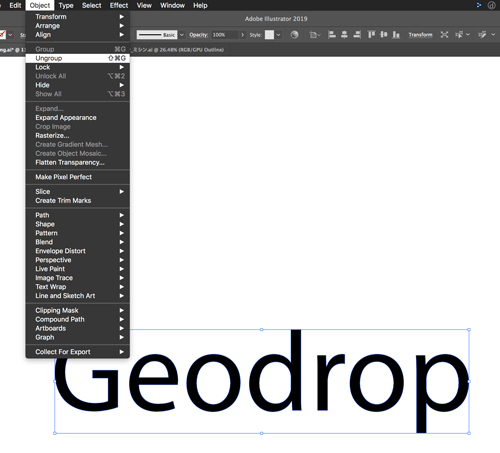
The word can be separated. You can move each character individually.
3. Edit my logo
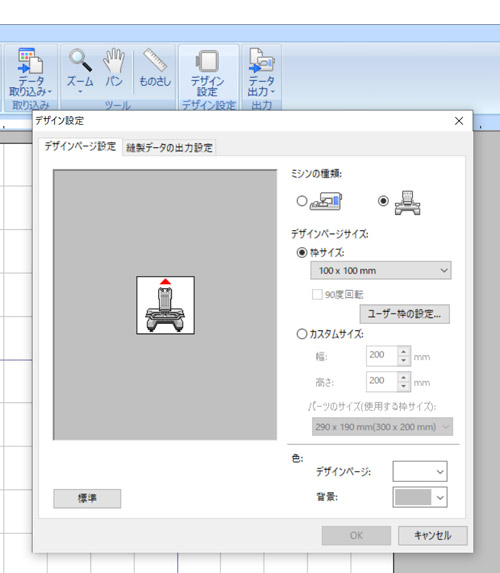
First, I set the size of the space which sew the design (for me, 100 x 100 mm).
Loaded .wmf file by clicking “Vector image file conversion” button.
Summarized the sewing conditions;
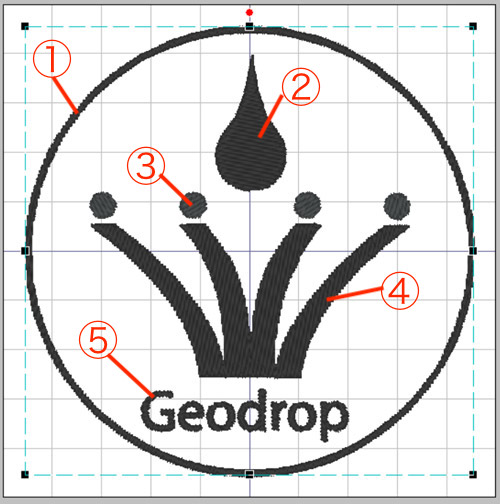
| Parts | Attribute | Direction | Density(Line/mm) | Width(mm) |
|---|---|---|---|---|
| ① | Satin | - | 6.0 | 1.0 |
| ② | Tatami | Vertical | 4.0 | - |
| ③ | Tatami | concentric circle | 3.0 | - |
| ④ | Tatami | Vertical | 4.0 | - |
| ⑤ | Satin | Vertical | 4.5 | 1.0 |
First, attribute (属性) means the way of sewing, Satin or Tatami sewing. Assigned the way of sewing to each part by clicking any part and then set the attribute.
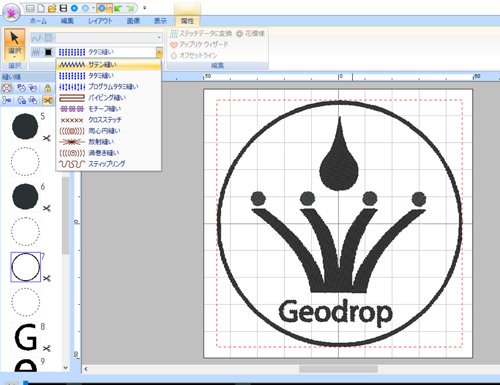
Next, I set the direction of sewing for Tatami sewing parts.
I set “Concentric circle” to the parts which has the circle shape and “Vertical” to the parts which has the non-circle shape.
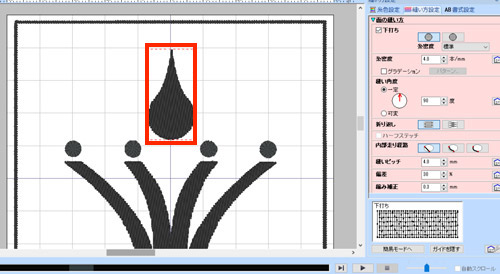
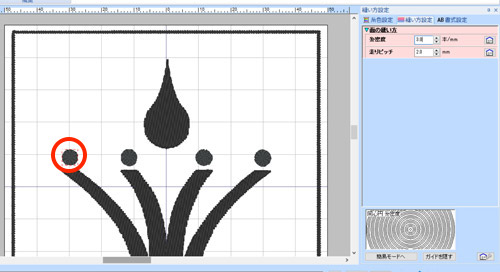
And then I set the width and density of thread (Satin sewing part only has a width value).
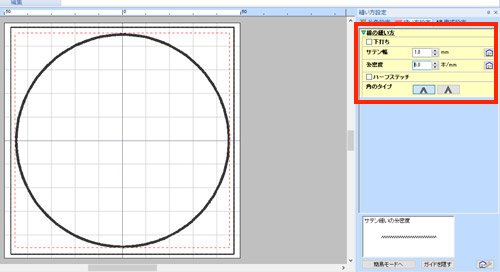
After all the process finished, I merged the embroidery data from “Fill data” -> “Line data” -> “Border data” -> “Character data”.
4. Sew my logo
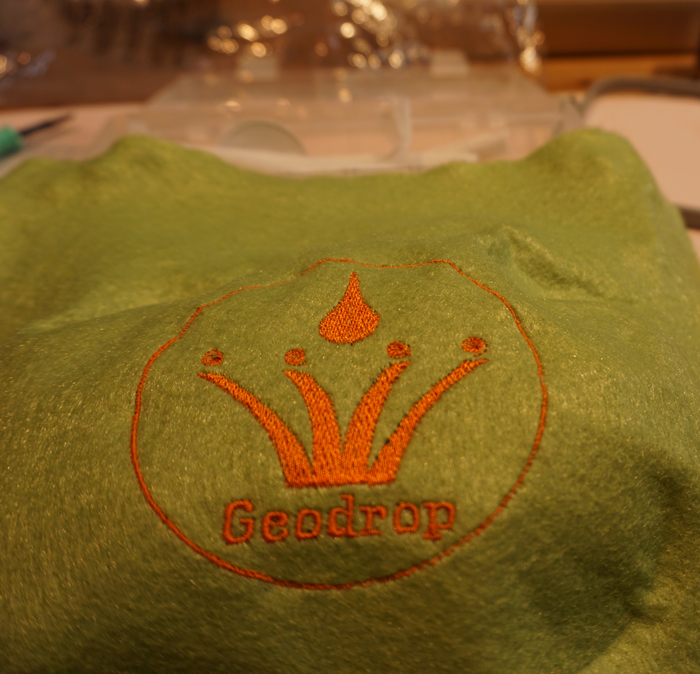
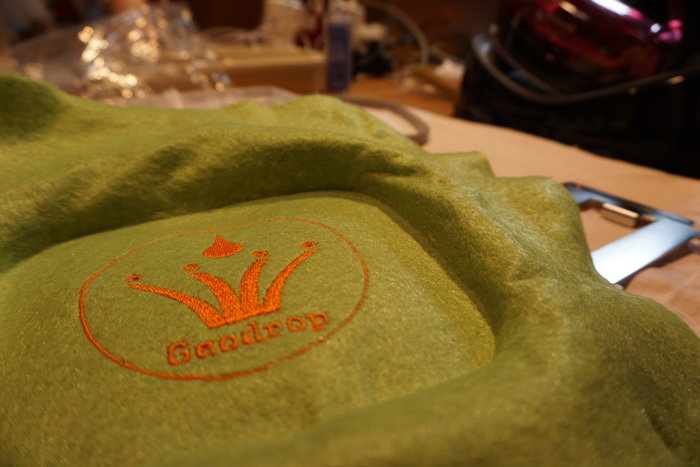
I tried sewing my logo on the felt cloth using the orange-colored embroidery thread for the Brother embroidery machine.
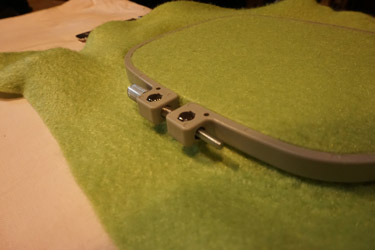
Set the cloth to the JIG before sewing it. You can fix the cloth to the JIG to tighten a screw.
Make sure that the cloth are stretched tight.
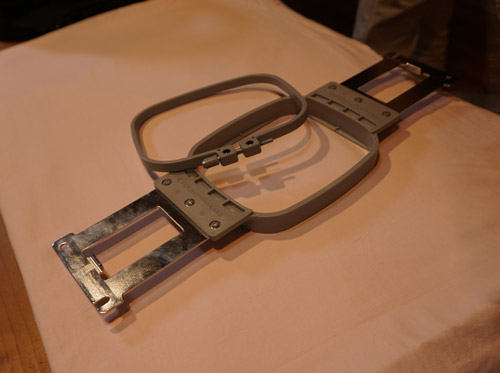
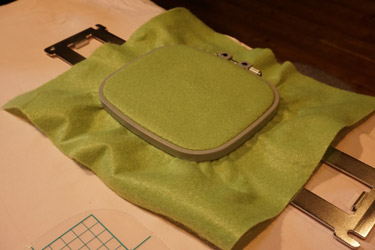
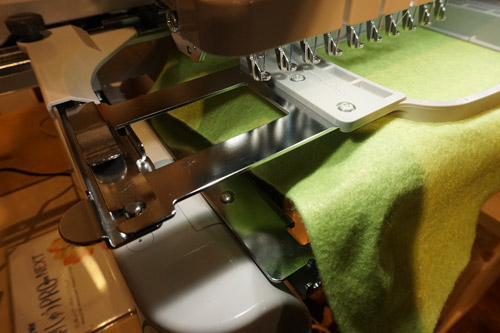
And then, inserted JIG to the sewing machine.
Inserted the USB memory into the operation panel and leaded the embroidery data which I made in the above. I selected the thread color: Orange.
If you’d like, you can change the size, position of the design, or rotate it on the panel.

Finally, start sewing!
Finished sewing.
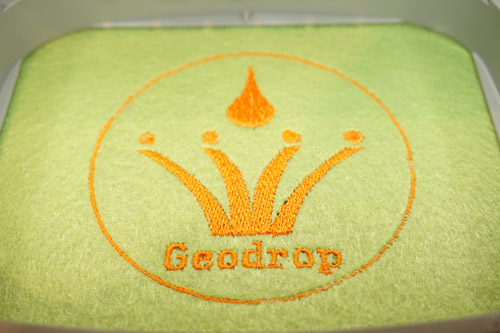
The difference between Satin and Tatami sewing were clearly seen.
Cool〜!!
X. Conclusions
Submission
MEMO
What I wanted to learn more
- Conductive thread