16. Wildcard Week
This week the individual assignment was to design and produce something with a digital fabrication process (incorporating computer-aided design and manufacturing) not covered in another assignment, documenting the requirements that your assignment meets, and including everything necessary to reproduce it. I chose to work with embroidery this week.
Embroidery
Embroidery is the craft of decorating fabric or other materials using a needle to apply thread or yarn. I’ve always love the look of patches on clothing, and I knew we had an embroidery machine, so I wanted to learn how to use it on a deeper level.
The first step was the design the embroidery file. I looked around at softwares I could use, and I found InkStitch, an open-source extension for InkScape. Luckily, there was a workflow provided by InkStitch. Alumna Katie Chai made a really helpful guide to InkStitch as well:
InkStitch:

- Inkscape Plug-in

Types of Stitch:

- Underlay - gives base, prevents fabric from bunching
- Fill Stitch - “coloring in area”
- Satin Column - cylinder that goes back and forth
- Straight Stitches
- Single Stich - Use dotted/dashed lines in Inkscape

Steps:

- Create Layers in Inkscape
- Hit plus sign to make new layer ex. background layer and border layer
- Can switch order of layers in menu
- Can hide layers if want to set specific parameters
- Move to layer - select layer

Files:

- DST file type (most basic file type - cannot scale)
- PES file type (“Top tier” - Dr. David Taylor)
- Output file format (DST) with file path to USB
I found this video on how to download and install InkStitch, and I made sure to follow it carefully. I found that the video was a little outdated in terms of what I should download, but I ended up downloading the inkstitch-refs-tags-v1.28.0-osx-en_US.zip file. After I set up InkStitch, I knew it was properly installed when it appeared in Extensions > Ink/Stitch.
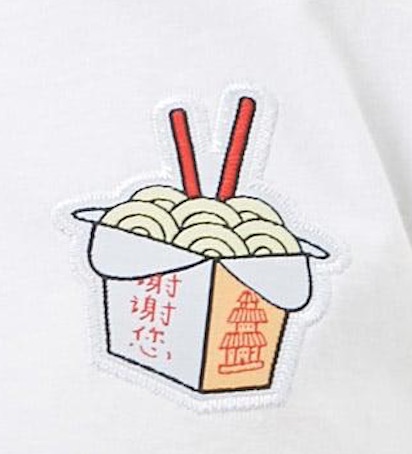
I wanted to design a little takeout noodle bowl. This was the image I took inspiration from.
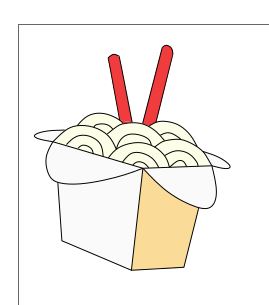
I first outlined all the lines in one layer, then went on to make a layer for each color. I made one layer for the white grey parts, one layer for the orange part, one layer for the yellow white noodles, and one layer for the red chopsticks. I made sure to make sure there was no stroke paint for the color parts. I placed the outline layer on top, with the rest of the color sections under it. This is what it looked like.
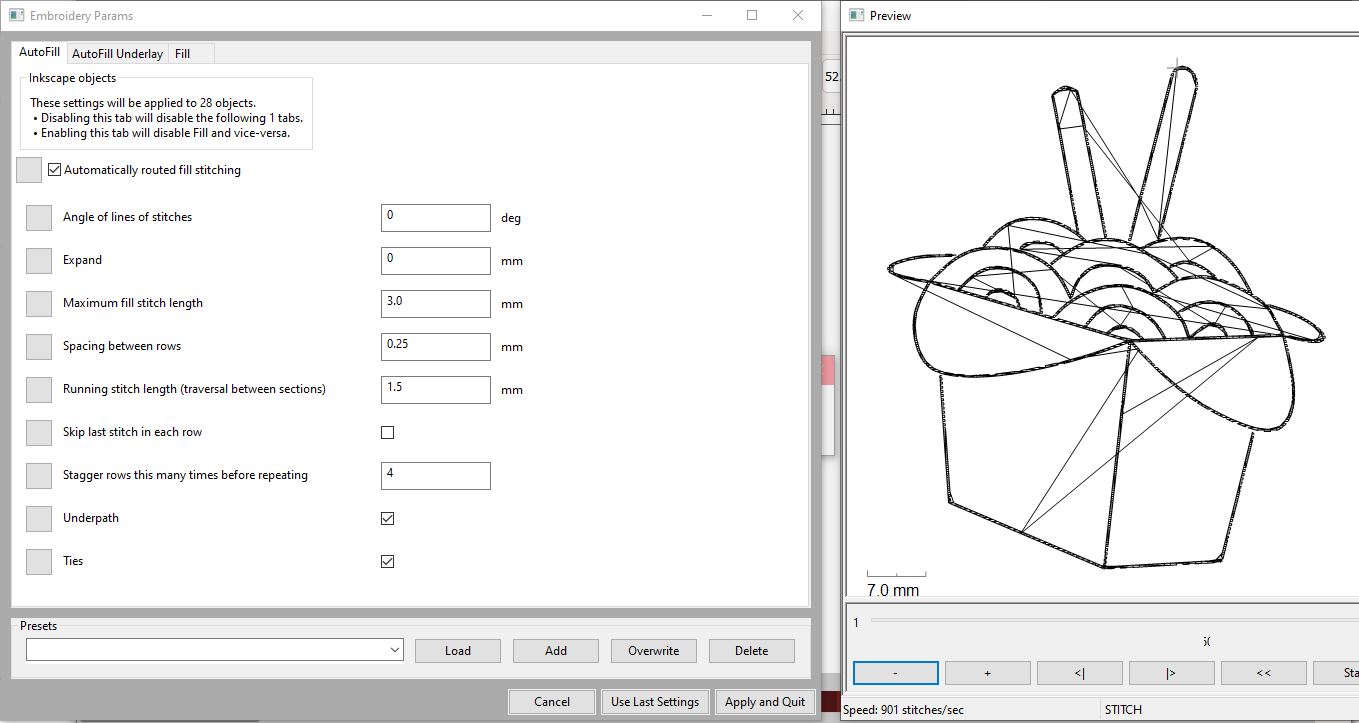
Then, I went through each layer and made the color sections Path > Object to Path and the outline Path > Stroke to Path. I then went to Extensions > Ink/Stitch > Params, and only the outline showed up:
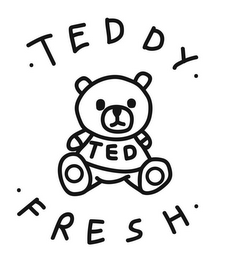
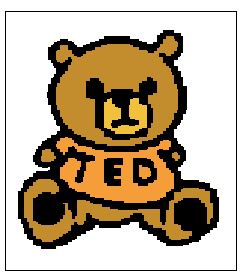
I couldn’t get the full design to work, so I decided to try another program Dr. Taylor had recommended called Sew Art. You can get the free demo for 30 days, so I tried it out. After downloading it, I found this tutorial video online and tried to follow it. I learned to use the Posterize Tool. I decided to look for a clear image (since there was none for my takeout noodle design). I found this logo of one of my favorite youtuber’s clothing line Teddy Fresh.
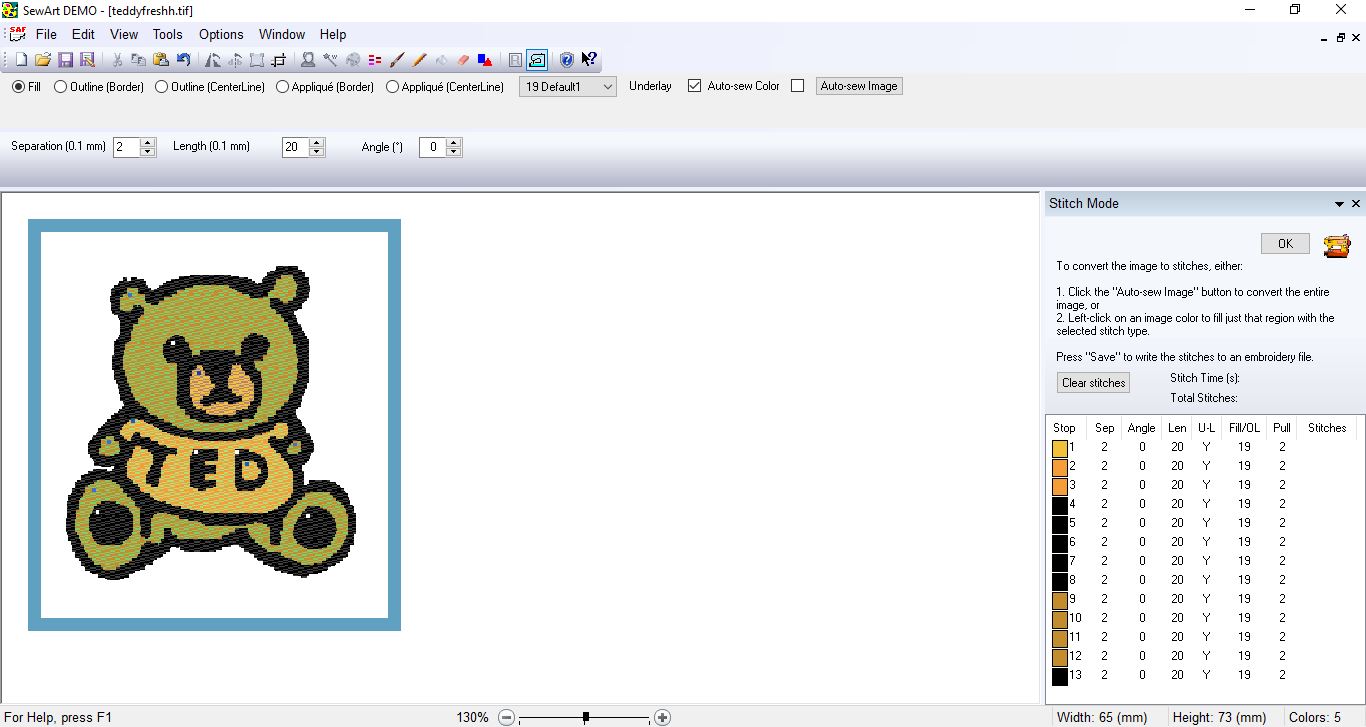
Following the tutorial, I made the image clearer and decreased the number of colors. I also decided to get rid of the words, as well as color in everything.
Then I went back using the Pencil tool to smooth out most of the curves. This is the final version I came up with. In stitch mode, I made Fill stitches, going from the inside parts to the outside. I saved the file aftewards as a .pes file.
Embroidering
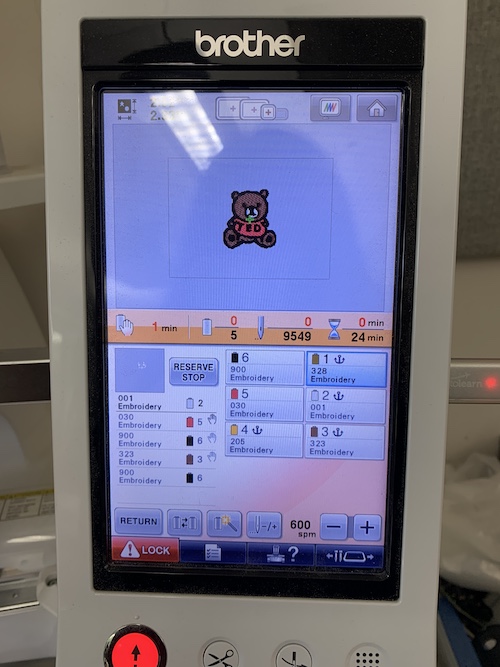
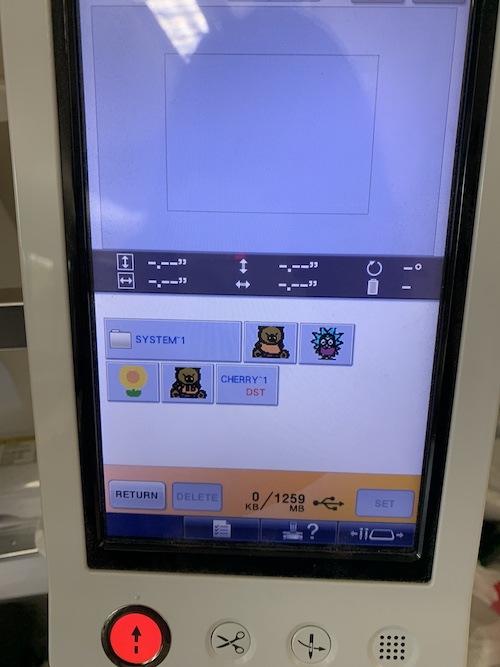
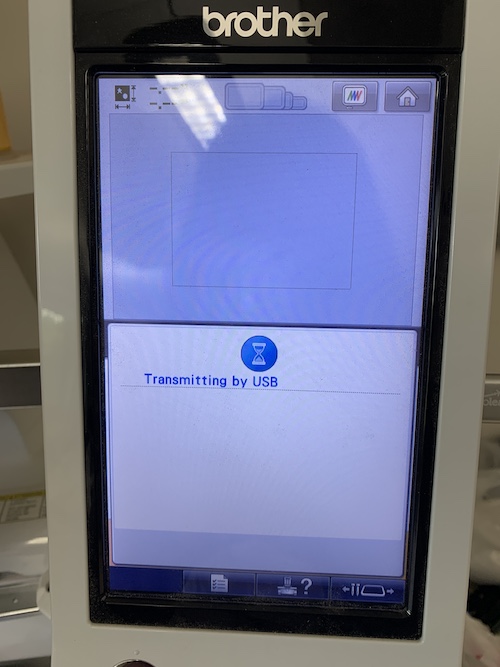
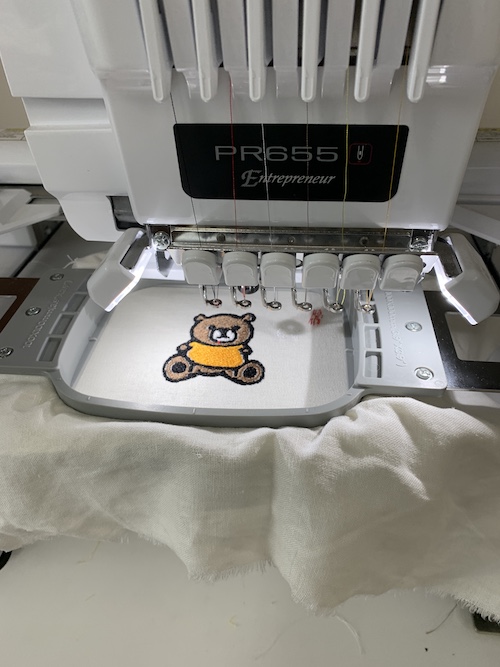
I uploaded the .pes file into a usb flashdrive, then stuck the flashdrive into the machine. Our machine is the Brother 6-Needle Home Embroidery Machine.
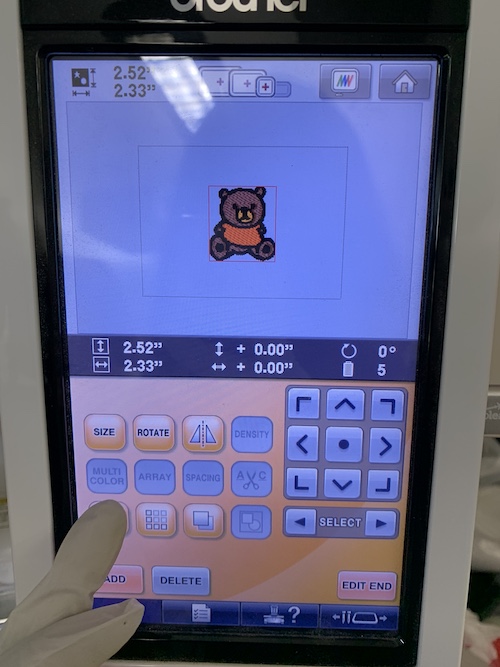
After I stuck in the flashdrive, I navigated to the main menu and tapped on the usb icon. My design showed up. I selected it, and clicked “Set.” Then I went to select the colors I wanted, clicking the icon with the spool of thread and four different colors. I decided to change the color of the bear’s nose area to white, since I thought it looked more aesthetically pleasing. I also changed the bear’s shirt to a reddish color.
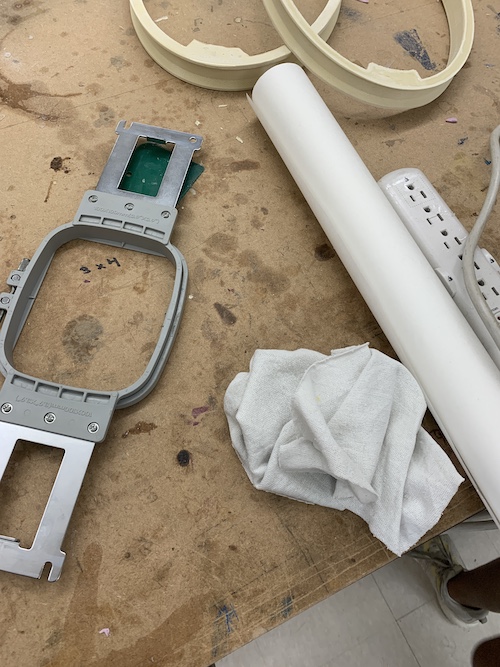
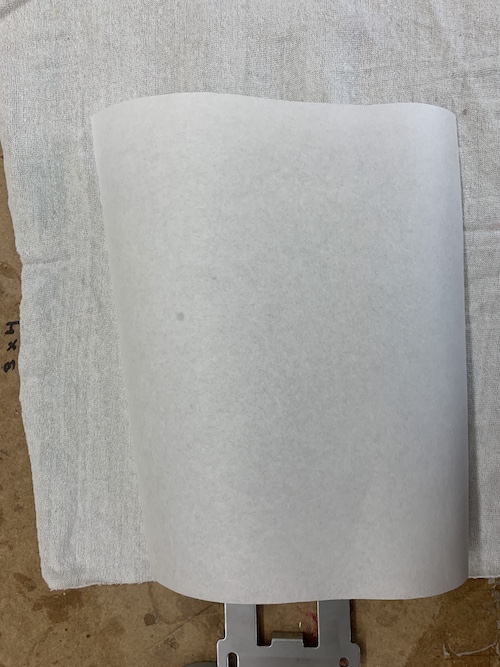
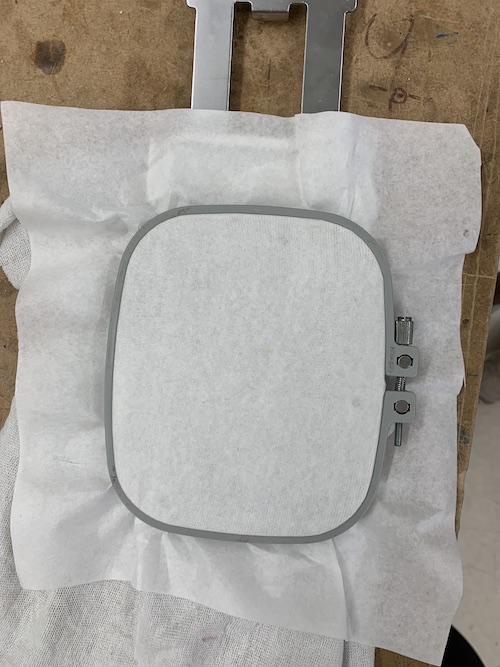
To set up the frame, I took the second to smallest hoop, some stretchy fabric, and trace paper. I cut the trace paper so that it was slightly larger than the hoop. I placed the frame so that the metal touched the table, then placed the fabric, then the trace paper. I placed the hoop over the frame and tightened it. Then I stretched the fabric and paper taut so that it would not move.
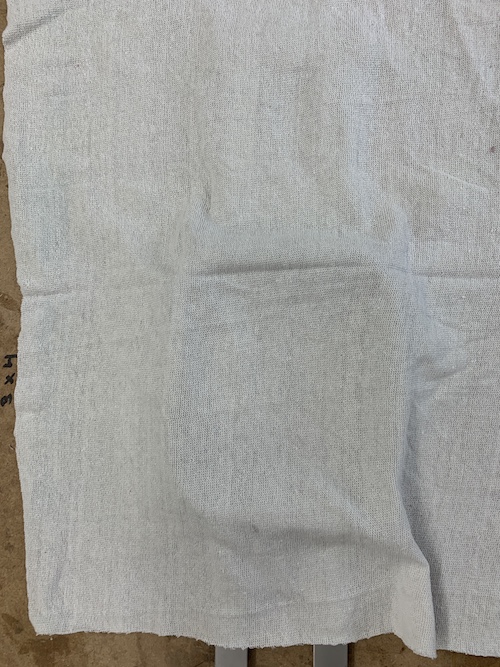
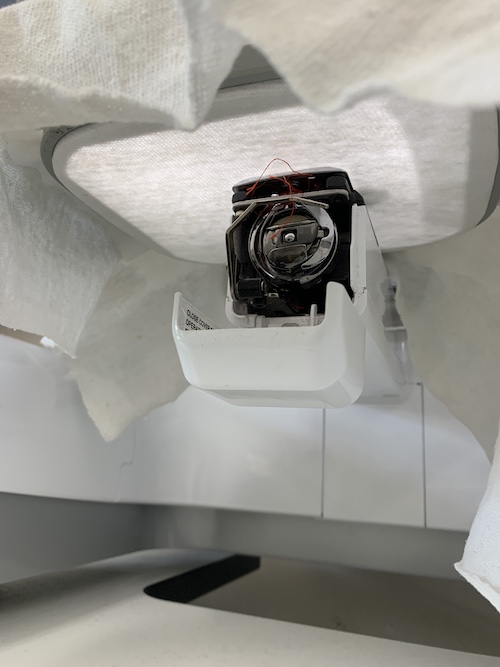
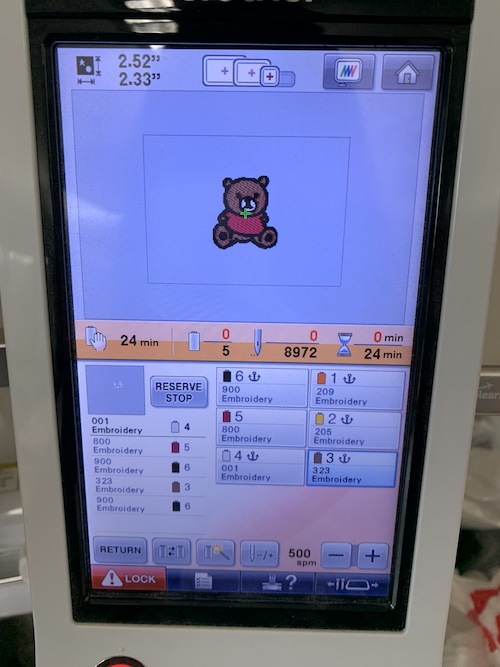
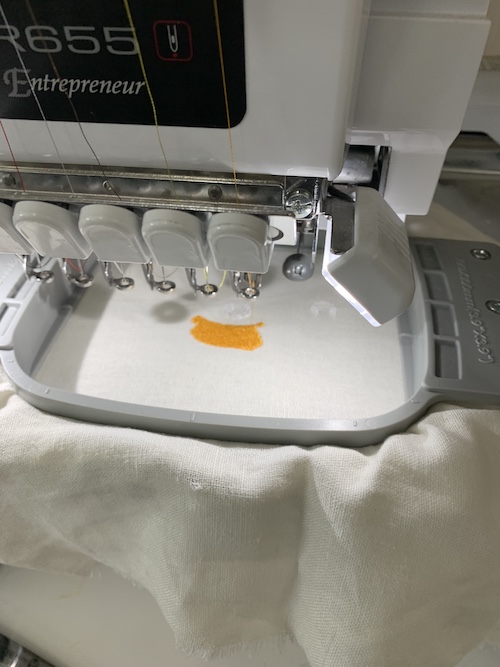
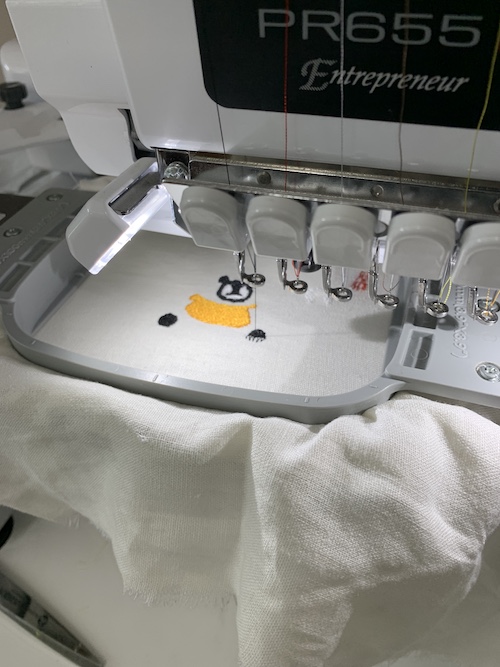
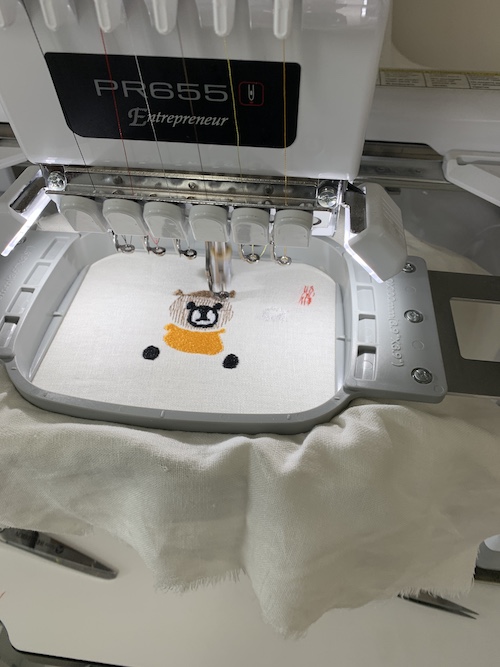
After I clicked Edit End, Lock, and the now-green up-arrow button, it started to embroider. However, after successfully embroidering the white nose part, things started to go haywire after the red malfunctioned. It seemed to have gotten stuck into the bobbin hole. We had to cut the fabric that got stuck in the hole, then use tweezers to pull out any red string in the bobbin area. Luckily, the bobbin thread stayed intact and through all three holes. I decided to make a few changes: change the fabric to a stronger, non-stretchy one, and get rid of the letters TED. Stylistically, I also decided to make his shirt orange.
Then I went through the process of re-putting on the fabric on the frame and setting up my design again. I made sure all the colors matched what I wanted and the actual spools on the machine.
This time, it worked!

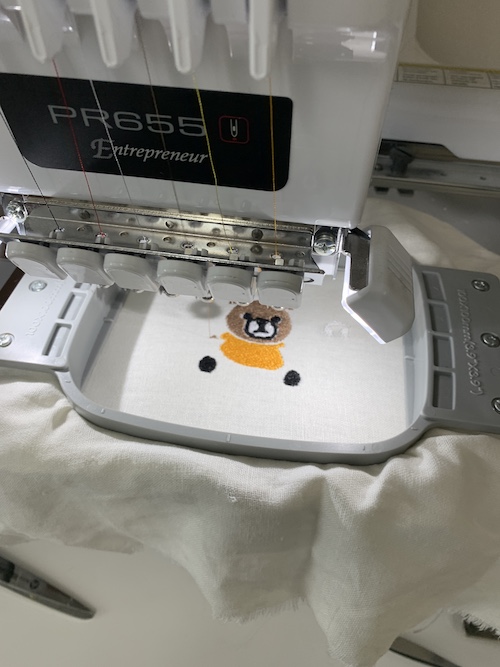
I cleaned up the fabric around the patch, and this is what I got!
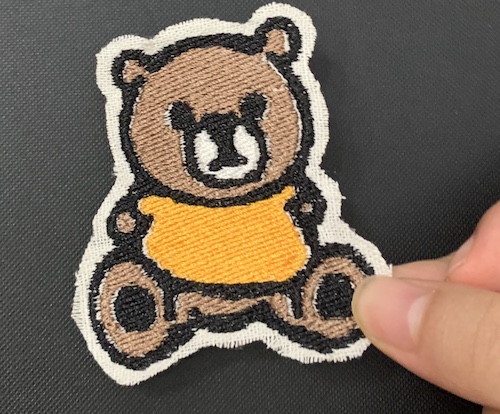
This week was really fun to complete– I learned that despite all the frustrations that come with fabric getting stuck in the bobbin hole, embroidery and materializing a design is really, really enjoyable. I also learned that no matter how frustrated I get I should always keep going. Seeing my design fail was disheartening, but getting to have a cute teddy bear patch at the end of it was great:) .
These were the embroidery files for this week: Week 14 files