13. Interface and Application Programming
The objective of this week is to first, with a group Compare as many tool options as possible., second to Individually, to Write an application that interfaces a user with an input and/or output device that you made.
Group Assignment
You can find our group assignment in this Link
Application Design
To fulfill this week objectives, I use the same circuit that I made in week 10.
Application design
To design my application and write my code I used MIT APP INVENTOE
- Open the link provided above >> new project, if you have an account it will sign you in directly otherwise you can sign in with you google account.

- once you select new project a new window will open you with phone screen in the medal.
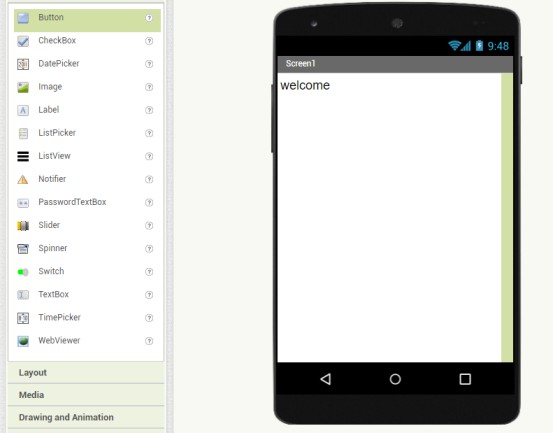
3.From the palette list go to user interface and drag the ListPicker to your phone screen and from properties list change the tittle of it to “LED Bluetooth” and the width to be fill parent
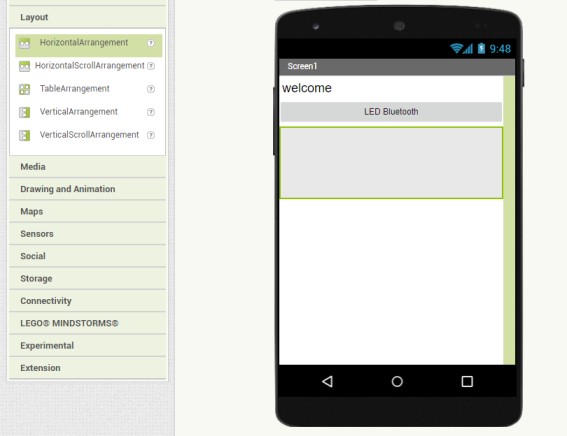
4.From the palette list go to Layout and drag the HorizontalArraignment to your phone screen and also change it is width to fill parent.
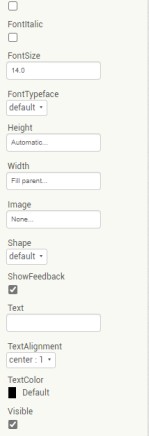
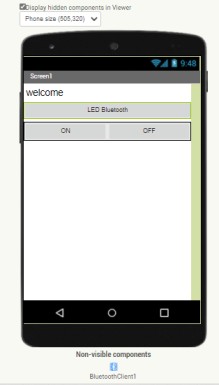
5.From the palette list go to user interface and drag two buttons and release them in the HorizontalArraignment and from properties list change the tittle of both of them one to “ON” and the other to “OFF” and also the width to be fill parent.
6.From the palette list go to Connectivity and drag the BluetoothClient to your phone screen you can see that the Bluetooth icon appear under the phone screen

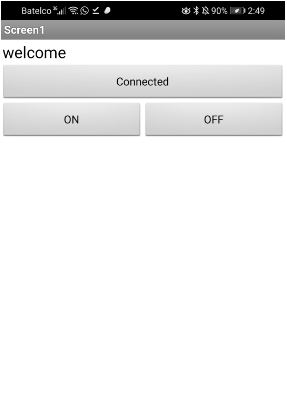
The final reslut of the design step is shown below
Application code
- click in block to start programming the application.

-
Once you select block a new window will the codes possible for the element that you select in designing.
-
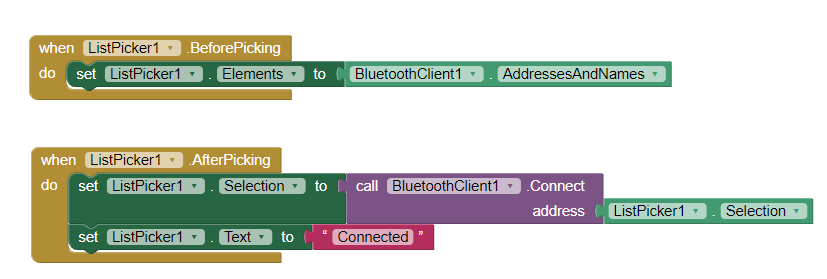
From the Blocks list select the ListPicker and bluetoothClinet insert the following blocks; the first block is before the selection of the Bluetooth device to show you the available Bluetooth devices. The second block is After selection to set that the application is connected to the desired Bluetooth.
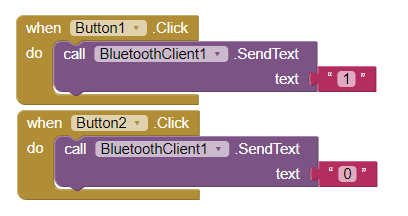
- From the Blocks list select the Button and insert the following blocks; the first block is to send one when we click on the ON Button from the phone to the PCB to turn on the LED light and the second block is to send zero when we click to the OFF button to turn of the light.
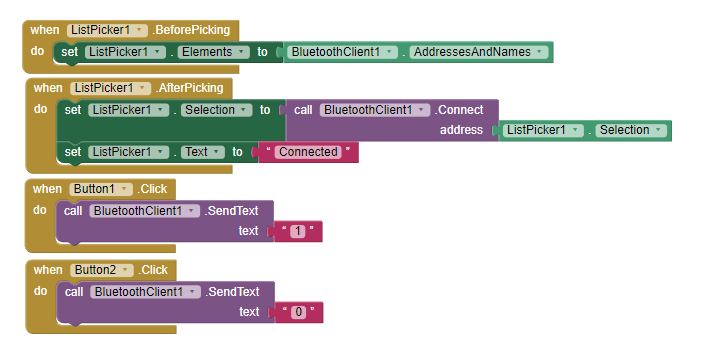
The final code is shown below
Download the app
- First download the MIT AI2 Companion app.
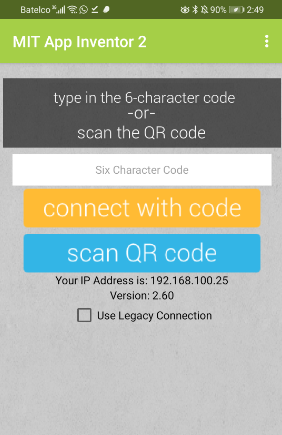
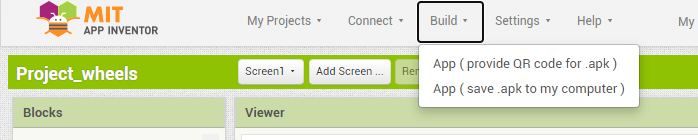
- from the MIT website go to bulit >> App (provide QR code for .apk).
- scan the code from the phone application.
- download the app that you made.
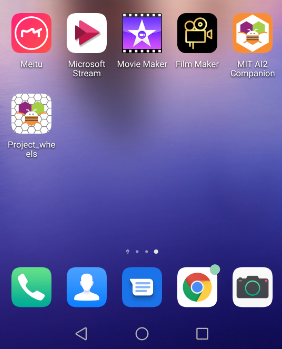
- open the App to check that is the same.
Hardware connection
The hardware that I used in this assignment are: 1. My PCB from week 10. 2. bluetooth module hc-05. 3. jumper wires. 4. bread board. 5. Arduino UNO as programmer.
To do the connection follow the these stepes 1. Connect the Tx from the blbluetooth module to the Rx in the PCB. 2. Connect the Rx from the blbluetooth module to the Tx in the PCB. 3. connect both the PCB and the blbluetooth module to 5v supply and GND.
Prgramming
To program the PCB I upload the following code:
I first defined the varable that will Come from the phone application via Bluetooth to be equal to zero. Then in void setup I use seria.begain because we will have a reserve that coming data from my phon application , then I defined the built in LED at pin 13 to be my output.
In void setup I started by if statement to check if the application is connected or not if yes we can enter inside the if statement and keep executing the code. Inside the if statement if we will save the reading coming from the application in the defined variable. If the reading is one the light in pin 13 will be on if zero the light will be off
char Incoming_value = 0;

void setup()
{
  Serial.begin(9600);
  pinMode(13, OUTPUT);
}

void loop()
{
  if(Serial.available() > 0)
  {
    Incoming_value = Serial.read();
    Serial.print(Incoming_value);
    Serial.print("\n");
    if(Incoming_value == '1')
      digitalWrite(13, HIGH);
    else if(Incoming_value == '0')
      digitalWrite(13, LOW);
  }
}
The final result of connetion and programming