Assignment 7: Computer Controlled Machining
Project Description
Test and Use CNC Machine
Assignment Details
- Group Assignment:
- Test runout, alignment, speeds, feeds, and toolpaths for your machine
- Individual assignment:
- Make something big
Background
I am using this week’s assignment to prototype parts of my final assignment to build a CNC pumpkin lathe. As part of the assignment, I used several different CAD to CAM (Design to Manufacturing) tool chains. I have a small CNC that I documented building in week 4, my Makerspace has a 2’x2’ and a larger 4’x4’ CNC (that is currently not working) and I have a friend that has a 3’x5’ mill that also has an attached lathe. My focus this week was not on the size of the object that I was creating but on learning the right tool chain for each of the various CNCs. I have found that having the option to use several CNCs lessens the impact of folks queueing up for one machine. Smaller machines can be used for smaller parts and for prototyping before long jobs on the bigger CNCs. Having a job fail half way through a long job is a painful experience.
The documentation for this week is divided first into a section on strategy and design, and then into sections that cover the tool path for each kind of CNC.
Strategy and Design
There seem to be two schools of thought for the MIT/Fab Academy CNC designs. One led by Jens Dyvik's "Chamfer Rail" uses a rack and pinion with a beveled side sliding in a low friction face to face joint. The other led by Jake Reed, nominally called RCT (Roller Coaster Bearing) uses a timing belt over a toothed pulley to move the gantry back and forth. Roller coaster bearings are used to manage the friction.
Vertical vs Horizontal Milling
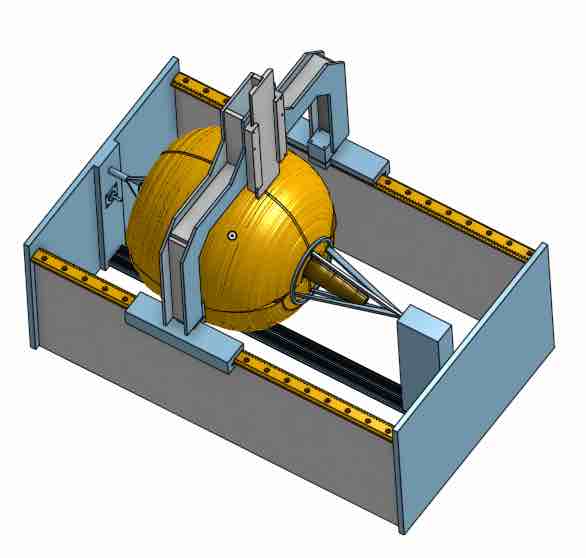
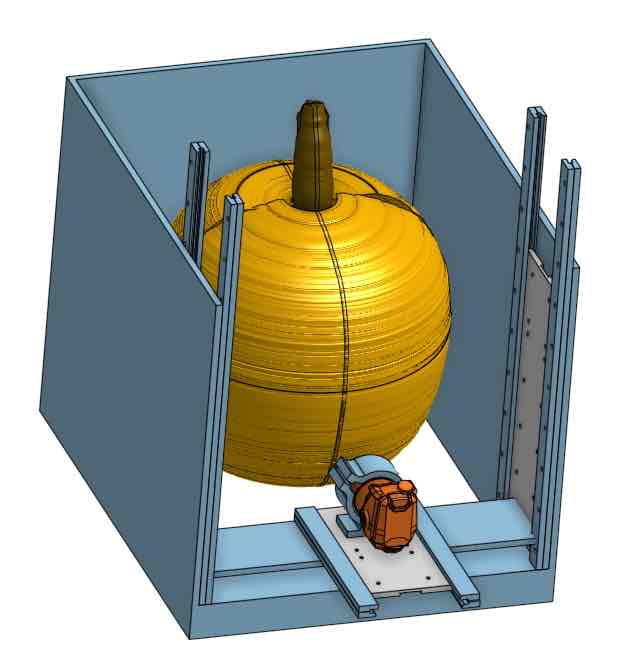
My original design for the CNC Pumpkin Lathe used a “traditional” horizontal rotation lathe with the primary CNC axis moving horizontally on the top of a box holding the rotation axis and a router spindle attached to the z-axis. This was the pattern that was observed for many of the CNCs using Jens' Chamfer Rail. The rack was attached to the top of the box. The motors were attached to the gantry and drove the pinion which moved along the rail along the x axis. This led to having to design a mechanism to hold the pumpkin while rotating. The possibility of a long stem led to having to a long cone shaped head stock chuck. After reflection, I decided to prototype a vertically oriented lathe where the primary is the vertical z axis, the router is attached to the x axis, and the pumpkin sits on a rotating platform attached to the base.
Alternative Approach to Gantry Movement
I modeled the pumpkin in the second week assignment and it served as the basis for the dimensions of the rest of the machine. The traditional option that most CNCs using Jens rack and pinion use is for the rack to be fixed and have the motors on a gantry that moves back and forth (in this case up and down). (Note: the motors are removed from the figure. Two motors rotate the pinion against the fixed rack and move the gantry up and down along the z-axis, one moves the x-axis in and out)
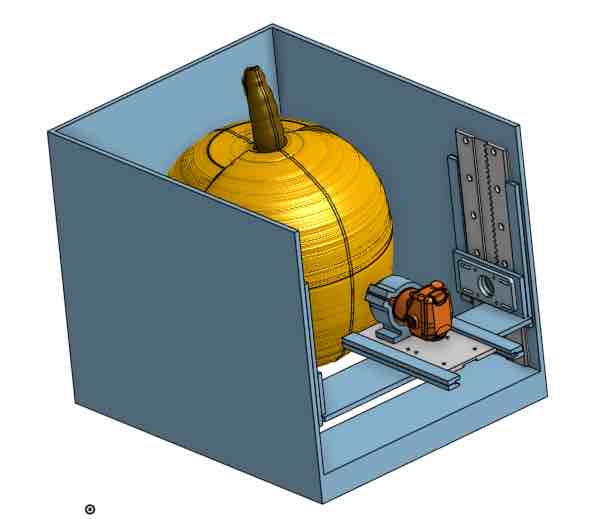
Each stepper weighs about 2 pounds, so with 3 motors moving there would be about 6 pound of motors that would need to move. I looked at another option for the rack and pinion design. The new option fixes the motors and moves the rack. The teeth on the rack face the CNC case. The motors and pinion are fixed to the case and move the rack up and down. The Z axis gantry moves up and down attached to the rack rather than sliding on the rack. Fixed motors reduces moving motor weight from 6 pounds to 2 pounds (just the x-axis stepper) (Again Note: The motors are not shown on this diagram.).

Prototype Objectives - Test alternative drive and friction reduction systems
One of the objectives of the prototype was to validate the rack and pinion system and then investigate binding due to torsional force. The force by the weight of the router and x stepper and force of the end mill against the pumpkin against the binding force of the z rack attachment. One of questions to be answered was width of the z axis rail and if roller wheels would be needed. There also are two alternatives for the size of the teeth on the pinion.
Small CNC - CAM Tool Chain
My small CNC uses Grbl running on an Arduino. Grbl only supports a subset of G-Code, so any CAM software is limited in cutting options. For example M6 is not supported, so no single file can use two different tool types.
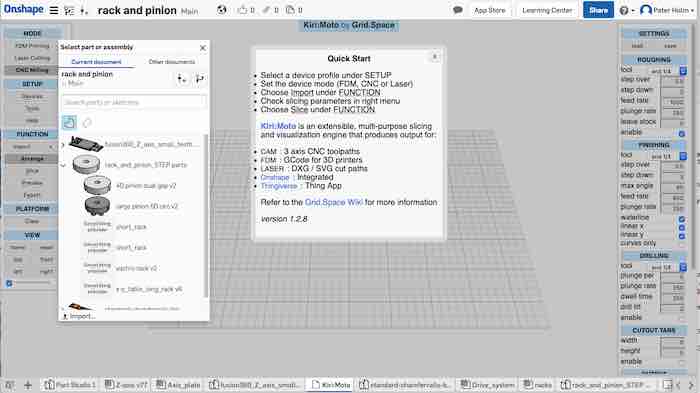
I am using OnShape for my CAD tool and it provides a plug-in app for the Kiri:Moto CAM software. For simple designs, this makes it easy to go directly from a CAD part to G-Code (or it even has runtime support to connect directly to the machine). Kiri:Moto provides settings for a rough cut and a finshing cut. Again without M6, I have to use the same end mill for both the rough and finishing cuts. There is also a limitation that the entire part is cut with with each tool path. There is no ability to select different parts of the part to cut with separate tool paths. Again for prototyping and small parts this works fine for free tooling, but tools like V-Cut and Aspire provide much more flexibility at a much higher cost.
Detailed description: Small CNC Tool Chain
The figure shows the Kiri:Moto plug-in within OnShape. In this view you select the part to be machined. This CAD file is based on an imported step model from Jens' GitHub repository. The feeds and speed are shown on the right side of the screen.
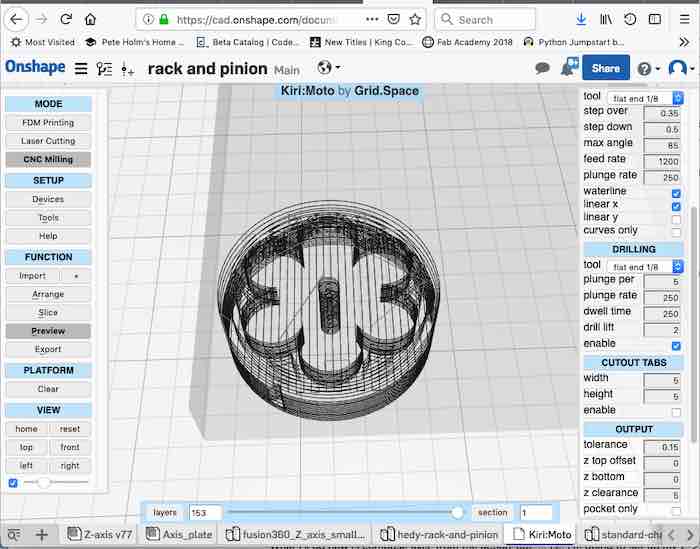
This figure shows the part after the slice and preview command. The next steps are to apply double sided tape to the back of the HPDE and attach the HPDE to the base plate in the CNC. The G-code is exported from the Kiri:Moto and loaded into Universal G Code Loader (UGS). UGS is then used to mill the part.
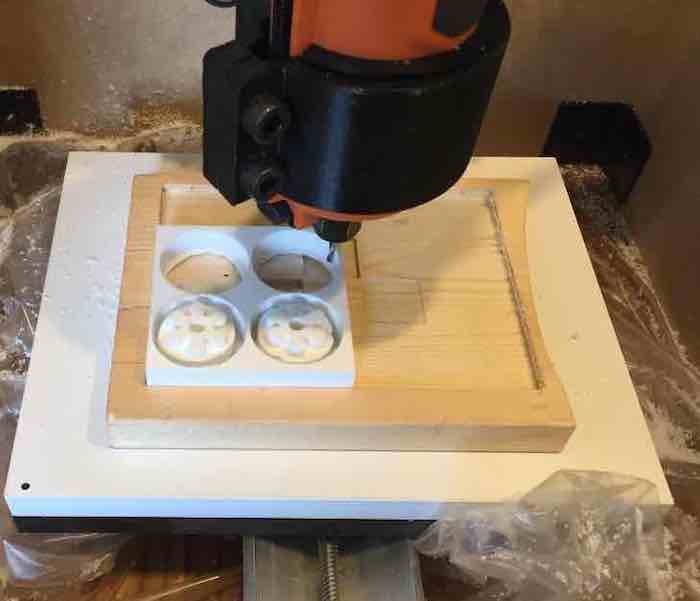
After the machining finishes, a putty knife is used to pop the part off the build plate.
Test Runout and Alignment - Small CNC
This was the CNC that I have been using for the PCB milling exercises. It is based on a lead screw design with half stepping 200 step motors. So far I have been able to get precision within the tolerance for the 1/64” bit, so this is repeatable around 0.015” accuracy and precision on the x/y axis and I have been able to use 0.3mm (0.11) accuracy and precision on the z axis.
Large CNC Tool Chain
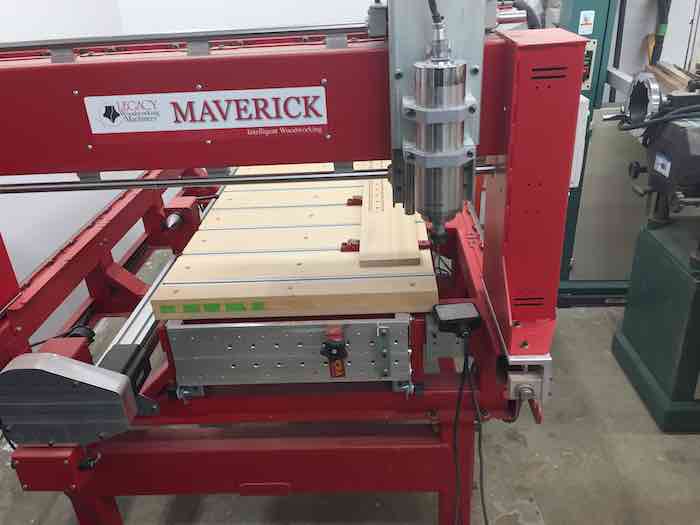
This figure shows the large CNC used for the assignment. It combines both an X/Y/Z cutter with a rotational axis. The nominal bed is 3x5, but smaller when using the rotational axis.
Aspire was used for the CAM tooling and Mach3 to execute the G-Code the large CNC. Aspire can take a STL (a part) as input, but exporting a DXF from OnShape and importing it into Aspire, gives the most flexibility. The process is to select features from the DXF and then indicate the cut tool and depth of the cut. Aspire and Mach3 support M6, so multiple tools can be specified in the set of tool paths. For example to cut the pinion with small teeth, a 1/8” flat end mill was used for the initial tool path and then the finish path was made with a 1 mm flat end mill. Using 2 different end mills gives the flexibility to remove material faster and still make the fine cuts into the small teeth.
This section provides an example tool chain from CAM though CAM to milling that how the large and small tooth rack and pinion were created. The same process was used for the remaining parts, but is not described in this document.
Started by exporting dxfs from OnShape for the 2 pinions and 2 racks (different number of teeth. The DXF’s were created with both the teeth and the part outline. These outlines served as the end mill cutting paths. The DXF used a 1:1 scale of the top view.
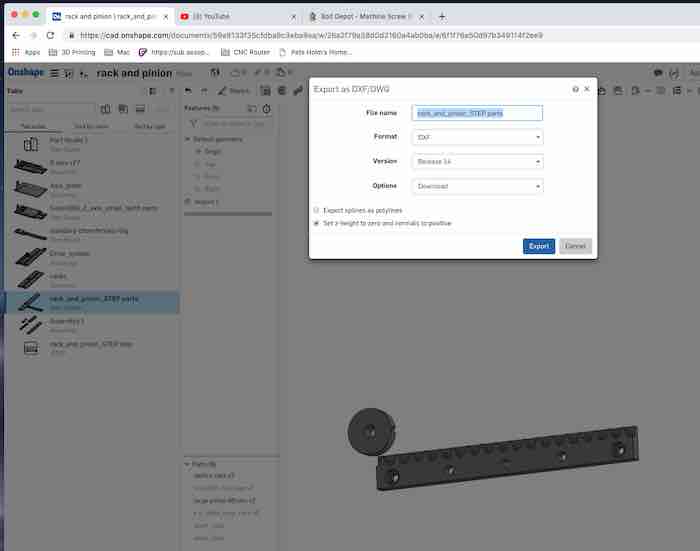
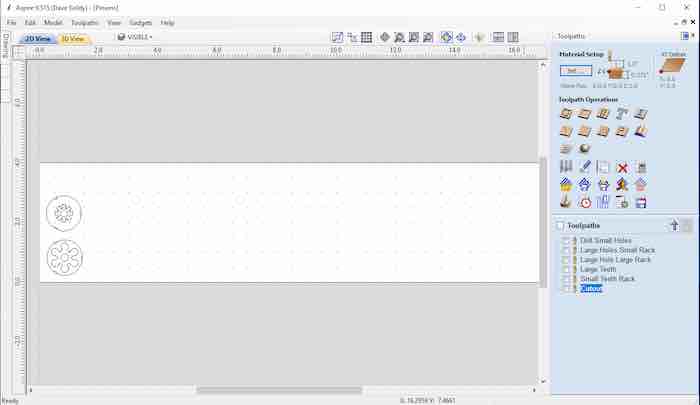
The dxf files were imported into Aspire 9.5. The lines were combined to form closed curves. These curves were then associated with a tool path to cut to specified depth on a specified side of the part with a specified direction
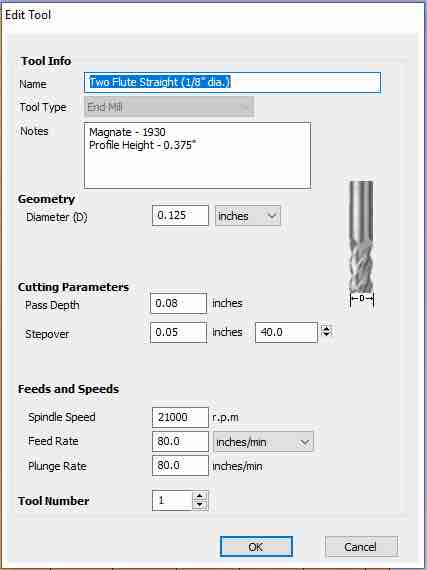
The figure above shows the feeds and speeds for the 1/8" end mill used to cut the parts, selected while creating the tool path.
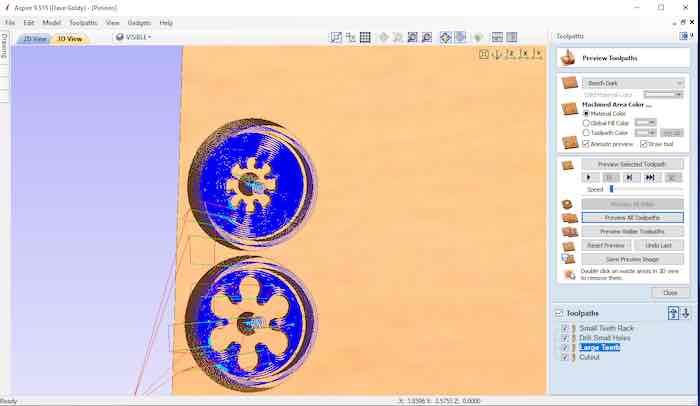
The figure above shows the resulting example tool cut path simulation for the large and small pinions. The other parts had similar processes to generate the cuts paths.
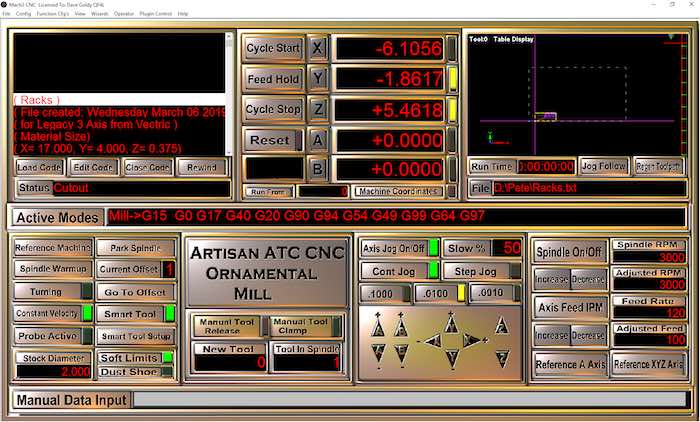
G-Code was exported from Aspire and moved to the PC connected to the CNC. Mach3 was used to control the machine. The G-Code was imported into Mach3.
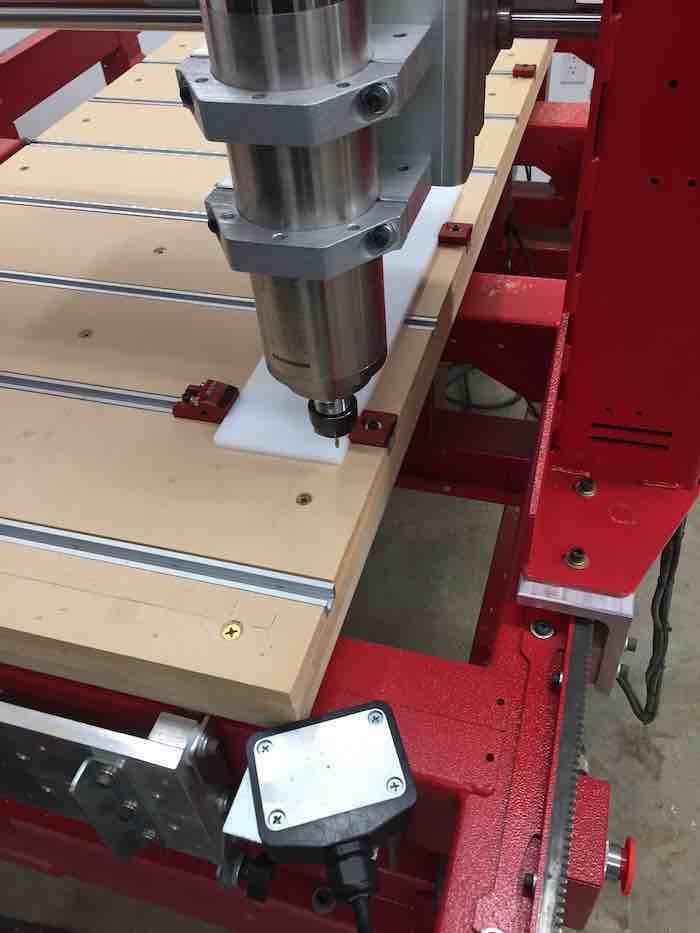
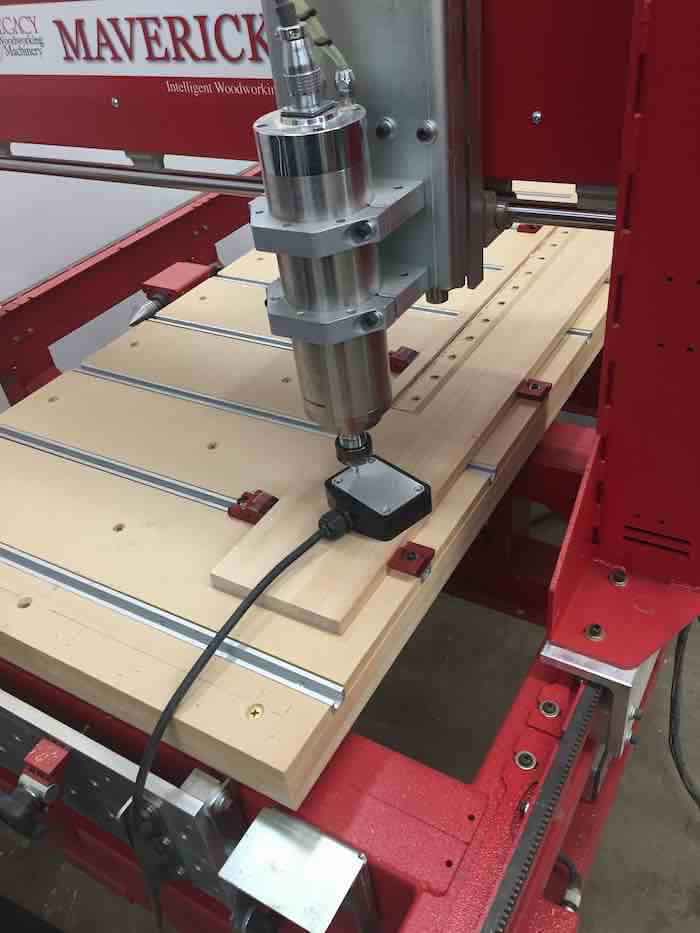
The spindle was moved to the edge of the part and the x and y axis were set to 0. Then a touch sensor was used to zero the z axis.
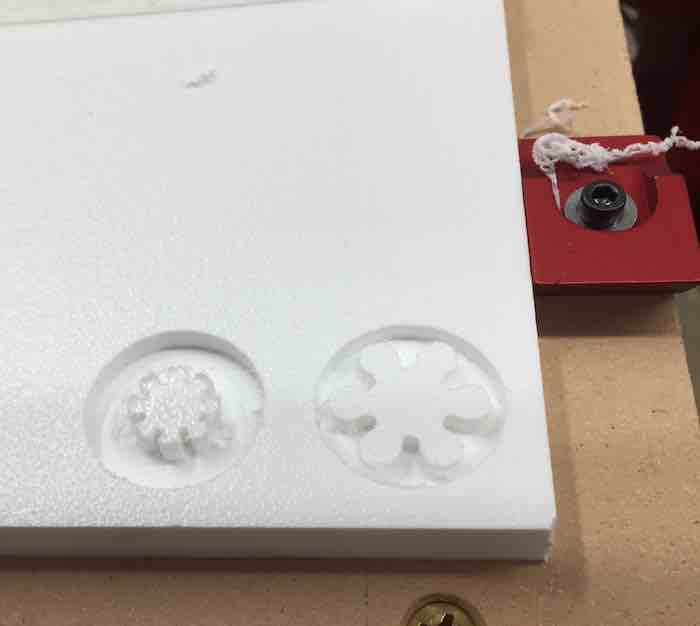
This figure shows the resulting part. In this case the parts were the two sizes of pinions.
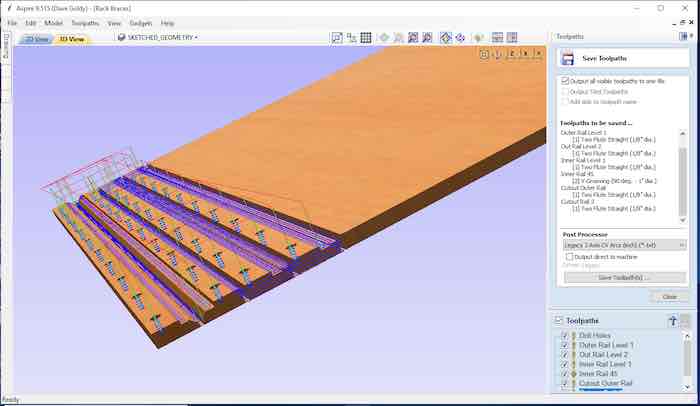
This figure shows the simulated cut path for the rails that hold the rails.
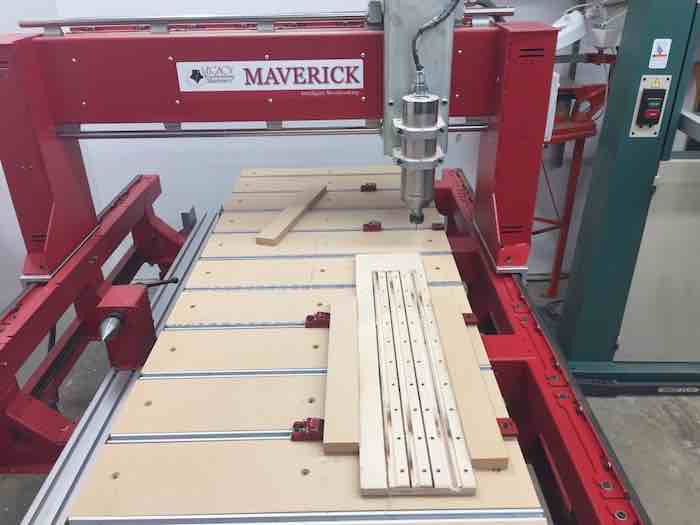
This figure shows test cutting the path on a wood sample.
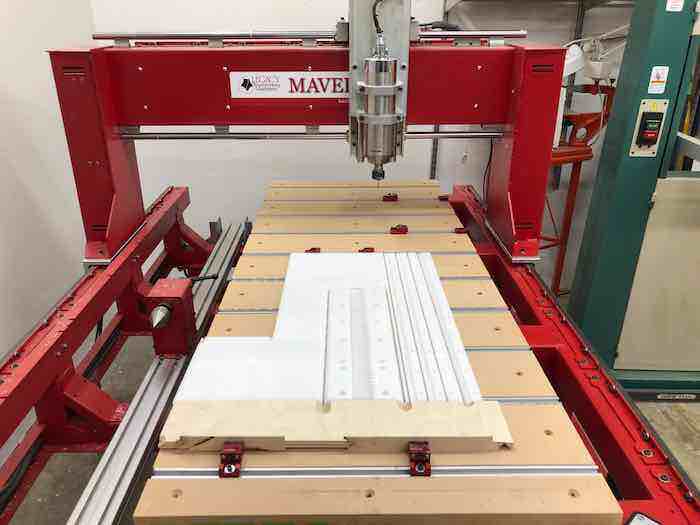
This figure shows same cutting path on HPDE.

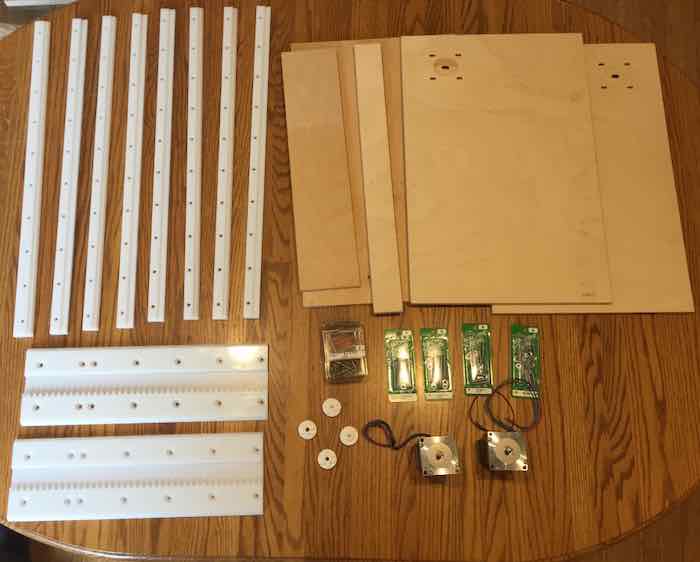
Here are the set of parts that were created for the Pumpkin CNC.
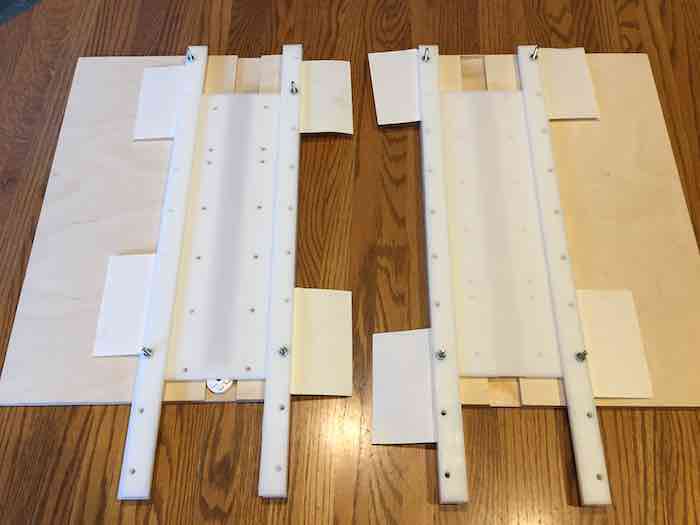
This figure shows the assembled rails holding the racks on the sides of the Pumpkin CNC case. Note: when the rails were tighted, there was some binding on the rack. I inserted several index cards between the rails to provide small shims to open space between the rails. This allowed the rack to slide smoothly in the rails.

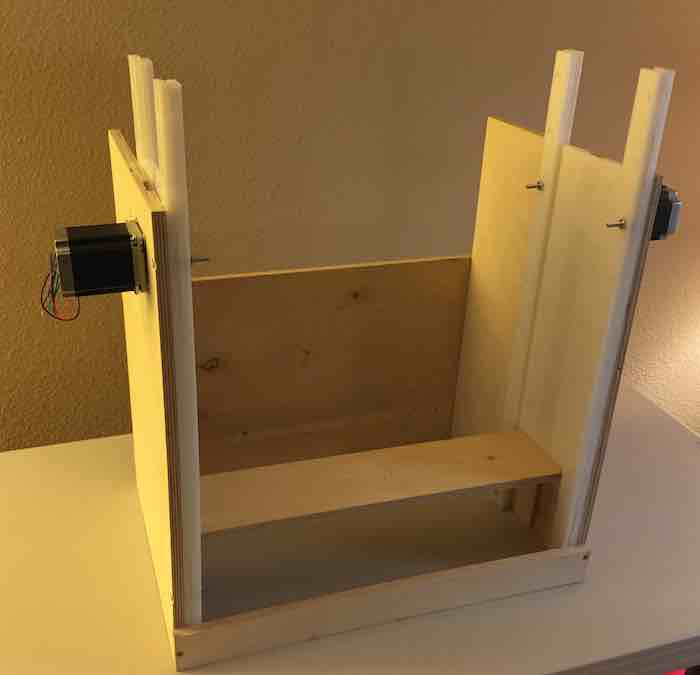
This figure shows the prototype Pumpkin CNC.

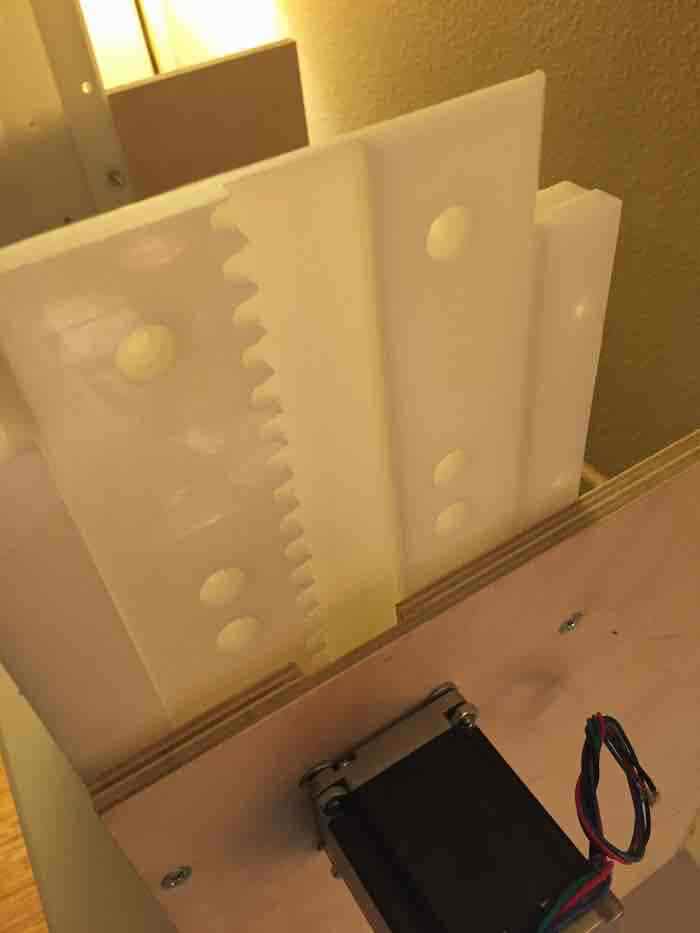
This figure shows a close up of the rack pulled up to expose the rack teeth that interface with the pinion.
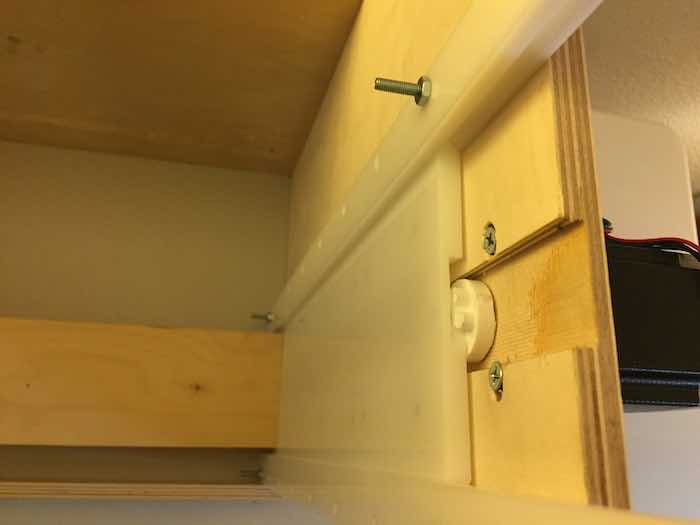
This figure shows the pinion attached to the stepper that moves the rack.
Prototype Results
Overall this assignment took much longer than expected. I didn't expect the amount of effort required to move from CAD through CAM to cutting. This resulted in running out time to mill joints between the sides of the case. Overall, I was very impressed with the smoothness of the rack travel through the rails. Based on this finding, I don't see any need to look at the RCT mechanism. This will work fine for the Pumpkin CNC. I also decided to use the pinion with the larger teeth. This option was easier to machine and appears to be strong enough for this application.
Special Thanks
I am giving special thanks to Dave Goldy for Mentoring and use of his personal CNC. My large Makerspace CNC was not working and Dave stepped up to let me use his machine for the assignment. He was also a huge help in completing the assignments. My hope is that he had as much fine as I did this week.
Reference Files
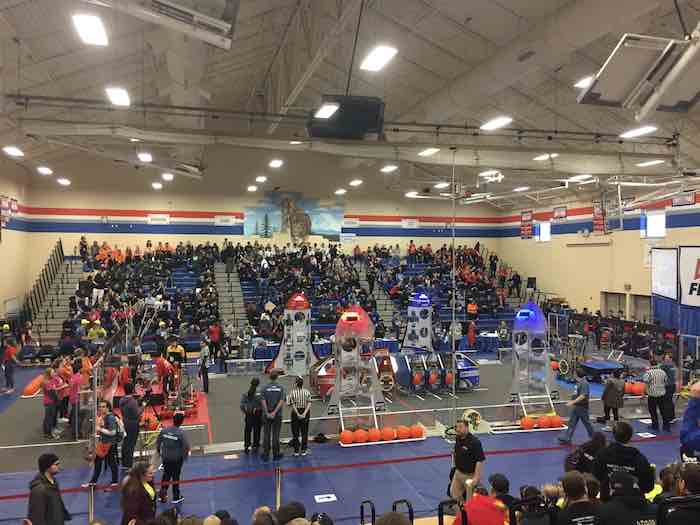
The FRC Robotics team competed in the Pacific Northwest Auburn Mountainview Robotics Competition. The team finished in 4th place after qualifying rounds. It was the captain of the 3rd seeded alliance and they finished the elimination rounds tied for third.
