Assignment 17: Wildcard Week

Project Description
Design and implement a something not covered in a previous class
Assignment Details
- Group Assignment:
- Actuate and automate your machine
- Individual assignment:
- Design and produce something with a digital fabrication process (incorporating computer-aided design and manufacturing) not covered in another assignment, documenting the requirements that your assignment meets, and including everything necessary to reproduce
- Possibilities include (but are not limited to) composites, textiles, biotechnology, robotics, folding, and cooking.
The most expensive CNC machine in my household is a sewing machine. This week was an opportunity for my wife to share her passion for embroidery with me. Initially, she was reluctant to let me touch her "baby". I wanted to visit the FabLab in Vancouver once during the class, so I got the opportunity to learn how to embroider on someone else's machine.
I have have been around when my wife was embroidering, but wasn't aware of the toolchain and process. After completing the process several times, I see a lot of similarity to the CNC machining process.
The first step was CAD. In this case I found a bitmap for the Fab Academy icon. I used the trace function in Inkscape to generate a path from the bitmap.
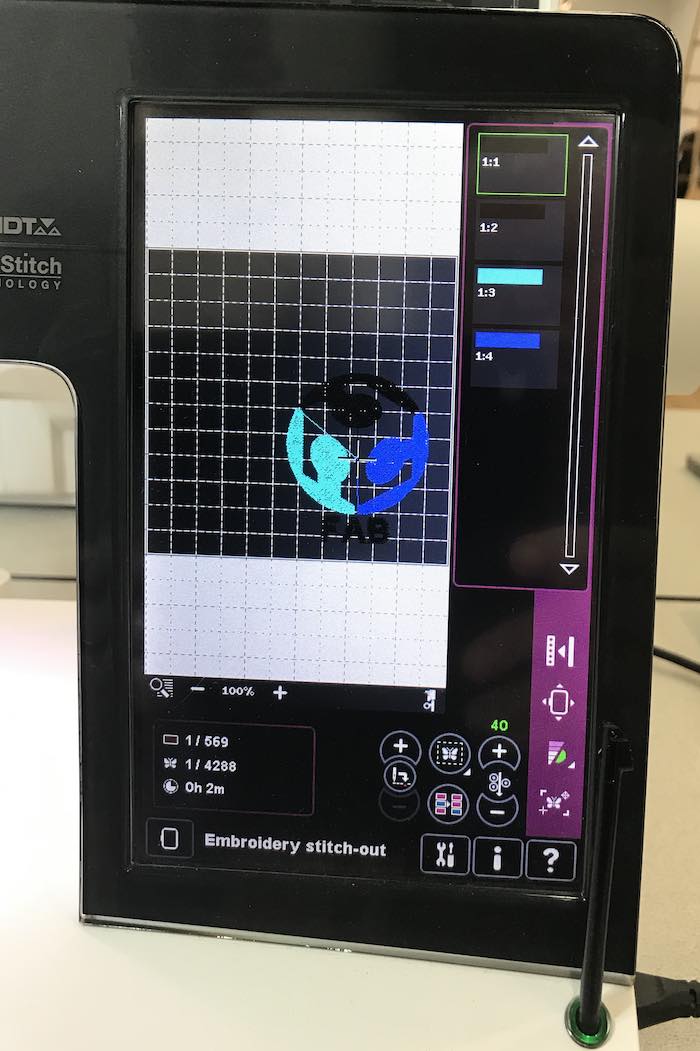
The next step was CAM. The path generated in Inkscape was saved to an .SVG file and read into a embroidery program called Hatch Embroidery Digitizer. This step was basically the same as what I have been doing with Aspire for CNC. The program is used to alter the design and set tool paths. In this case the tool paths were associated with each color in the design.
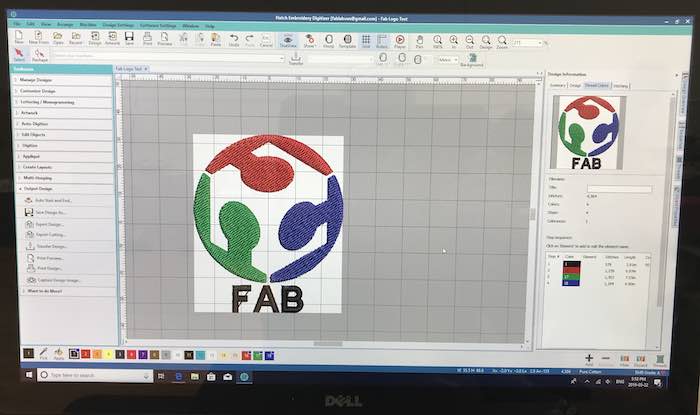
Some design elements such as lettering and outlines are better when added in the CAM software. The lettering from the .SVG file was replaced with a selection from the Hatch software. An outline was also added around the design. A stitch preview function was used to validate that the stitch order and execution matched what was expected. Again this was the same as what I do in Aspire to validate toolpaths before executing CNC machining.

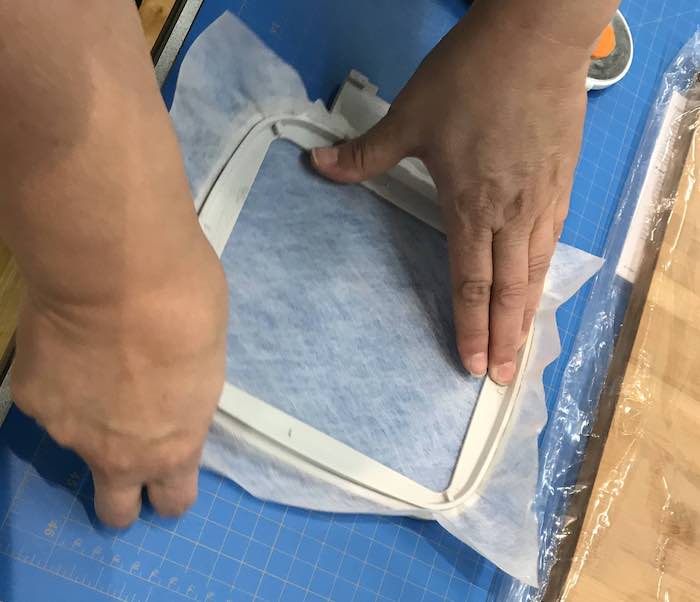
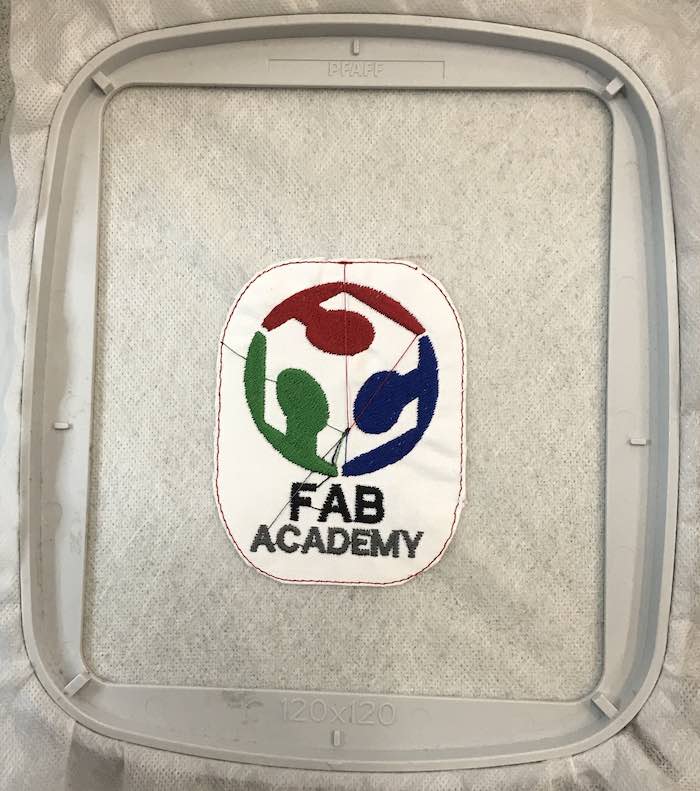
To give the badge some stiffness, 3 layers of stablizier were glued together. Two layers of Badge Master stablizier provided the stabilizing and the bottom wash away, water soluble, layer was the only layer which was attached to the loop. The two different types of backing were required to allow a satin stick around the outside of the badge. After the inner part of the badge was embroidered, a single width border was created. This thin border was used as a cutting guide for the top fabric and the 2 stiff layers while the bottom layer was still held in the hoop. Last a wider satin layer was stitched which extended slightly beyond the cut fabric. This gave a nice edge to the badge.
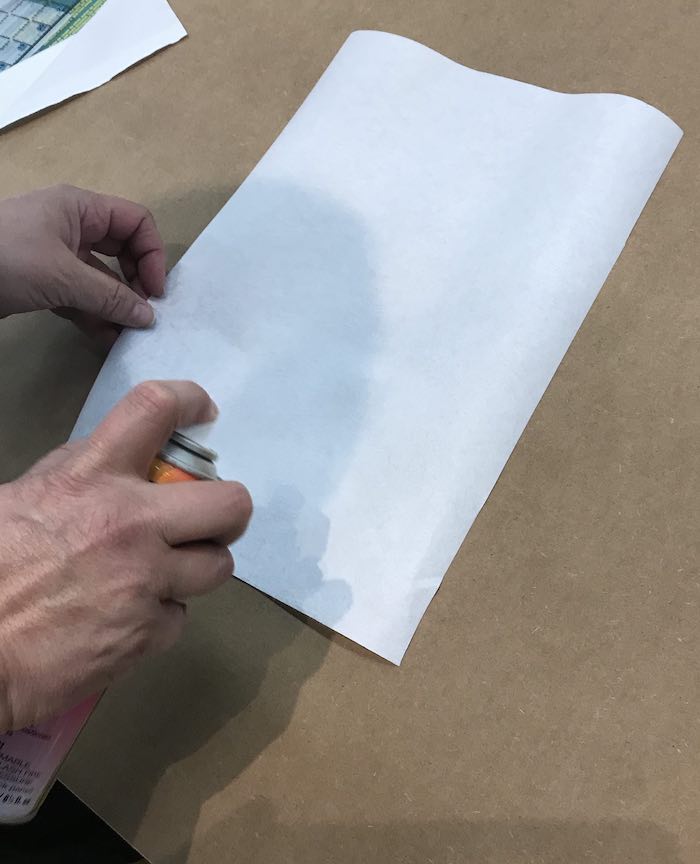
As described above, just the water soluble layer was held in the hoop. The fabric and stabilizing layers were glued together, but not held by the hoop.

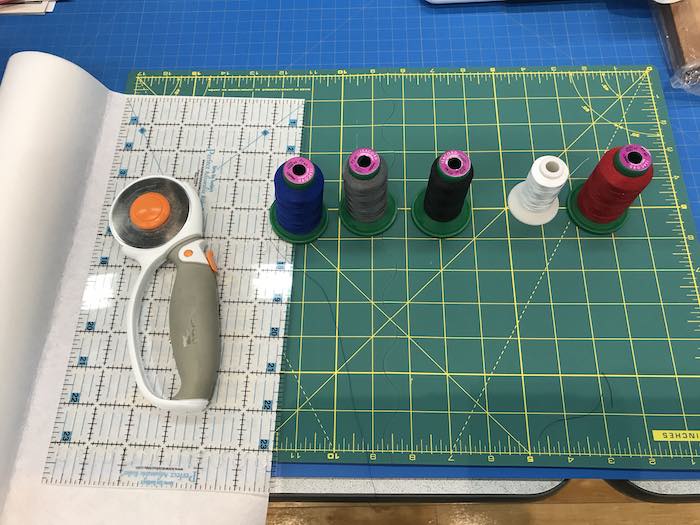
The next step was to arrange the thread in the order specified by the tool paths. This is just like organizing the end mills when CNCing.
The last step was to save the embroidery file on the computer and move it to the sewing machine.
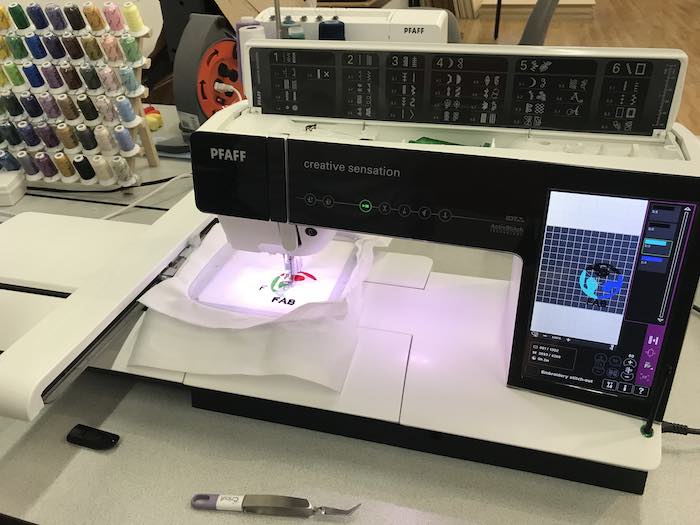
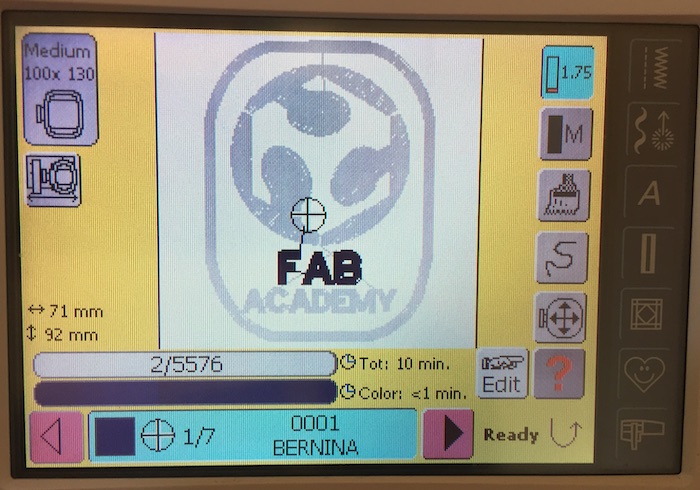
The machine runs a program similar Mach3 that manages execution of the embroidery file. The sewing speed and tension are set from this screen. Both needed to be adjusted to get the best result.
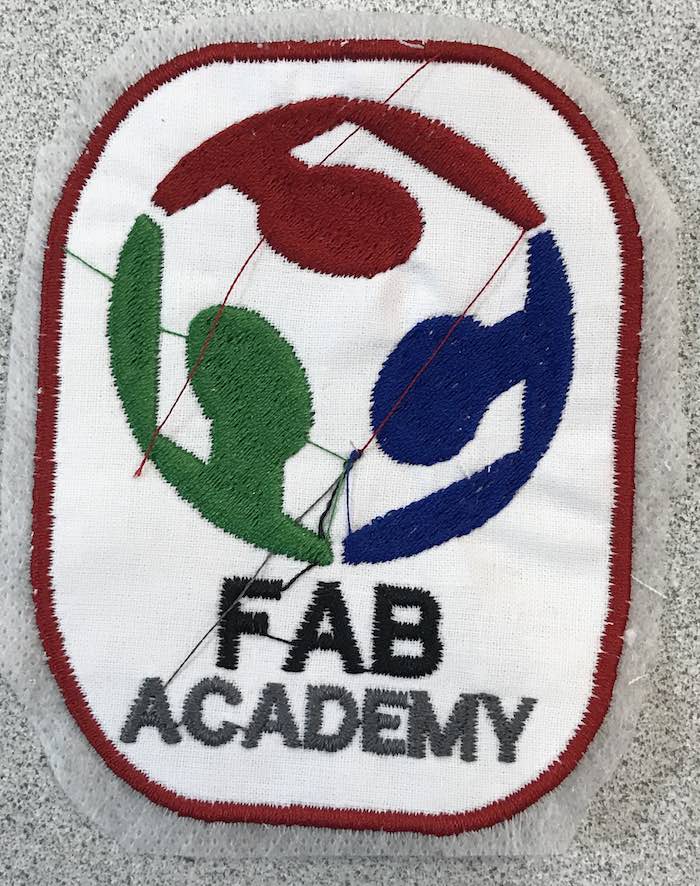
The figures below shows the badge still in the hoop with the 2 Badge Master layers cut away outside the single stitch width border.
The hoop was then put back in the machine and the satin stitch was made around the border to finish the badge.
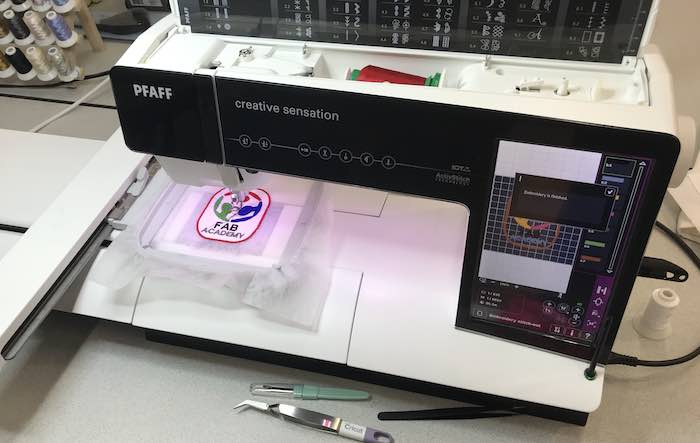
The figure below shows the completed badge after cutting it out off of the wash away layer. The jump stitches have not yet been removed.
The previous steps were done in Vancouver with the assitance of my mentor Jason Wang. To validate that I understood the process and that I could repeat it on a machine at home, I created another label on my wife's machine.
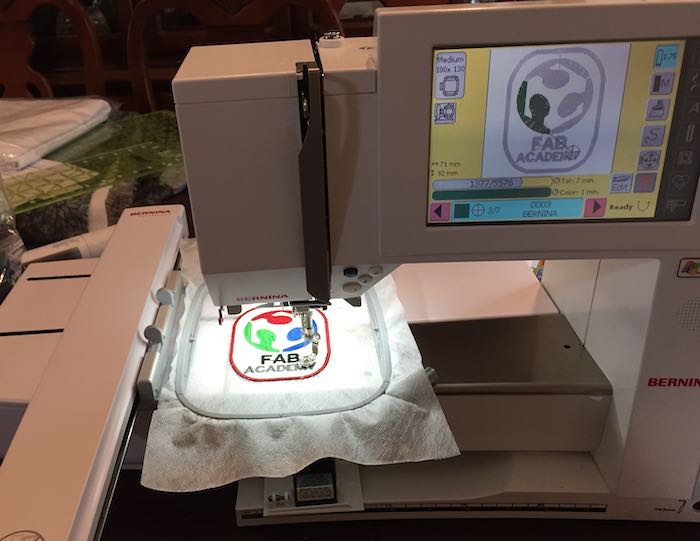
My wife has a Bernina 730, which is a little older than the Vancouver Pfaff. The UI does similar things, but in a different way.
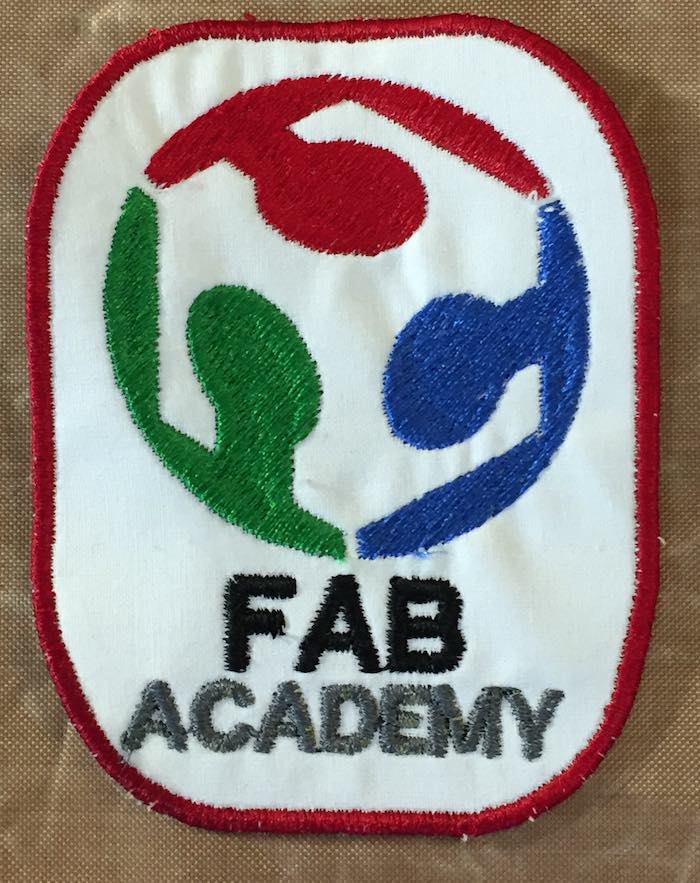
The following figure shows the completed badge with the jump stitches removed.
Reference Files
- Fab Academy Badge design file
- Fab Academy Badge design file
- Embroidery machine file
- Embroidery machine file