Molding and Casting
- Group - Review the safety data sheets for each of your molding and casting materials, then make and compare test casts with each of them.
- Individual assignment: Design a 3D mould around the stock and tooling that you'll be using, machine it, and use it to cast parts.
Model Design
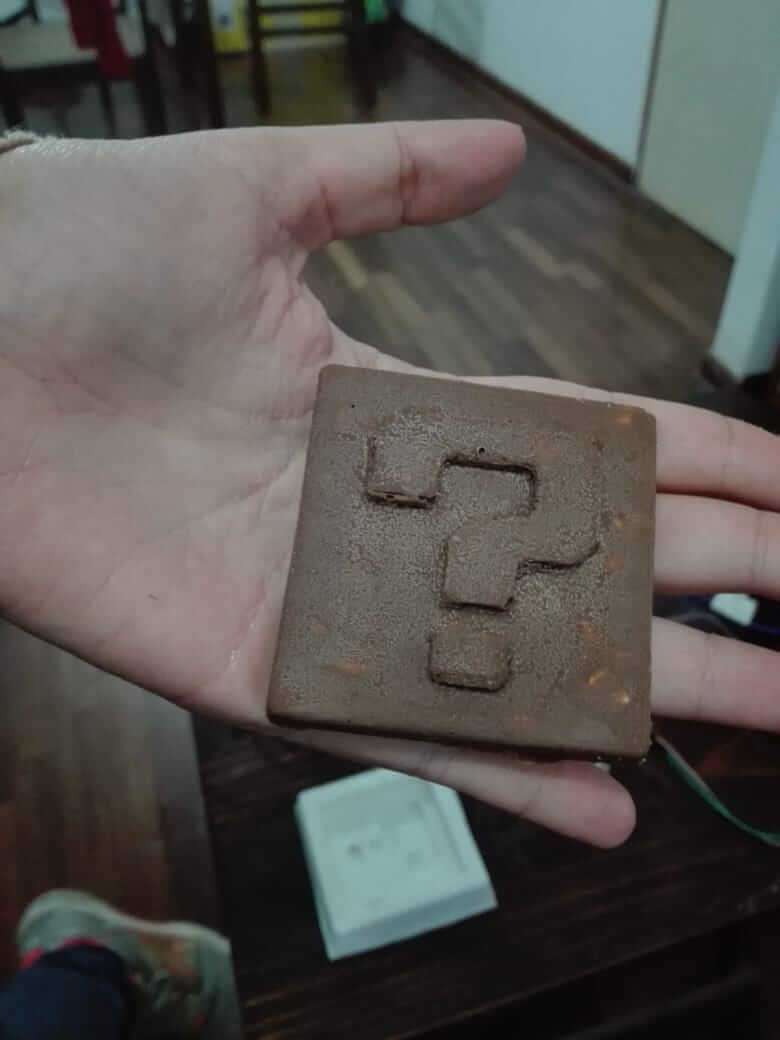
For this assignment I will be designing a little mold for chocolate cast. I will be creating a mold for a Mario Bros cube.
Using autodesk Fusion I will create the mold. On the left is the video for the creation.
Mold Machinning
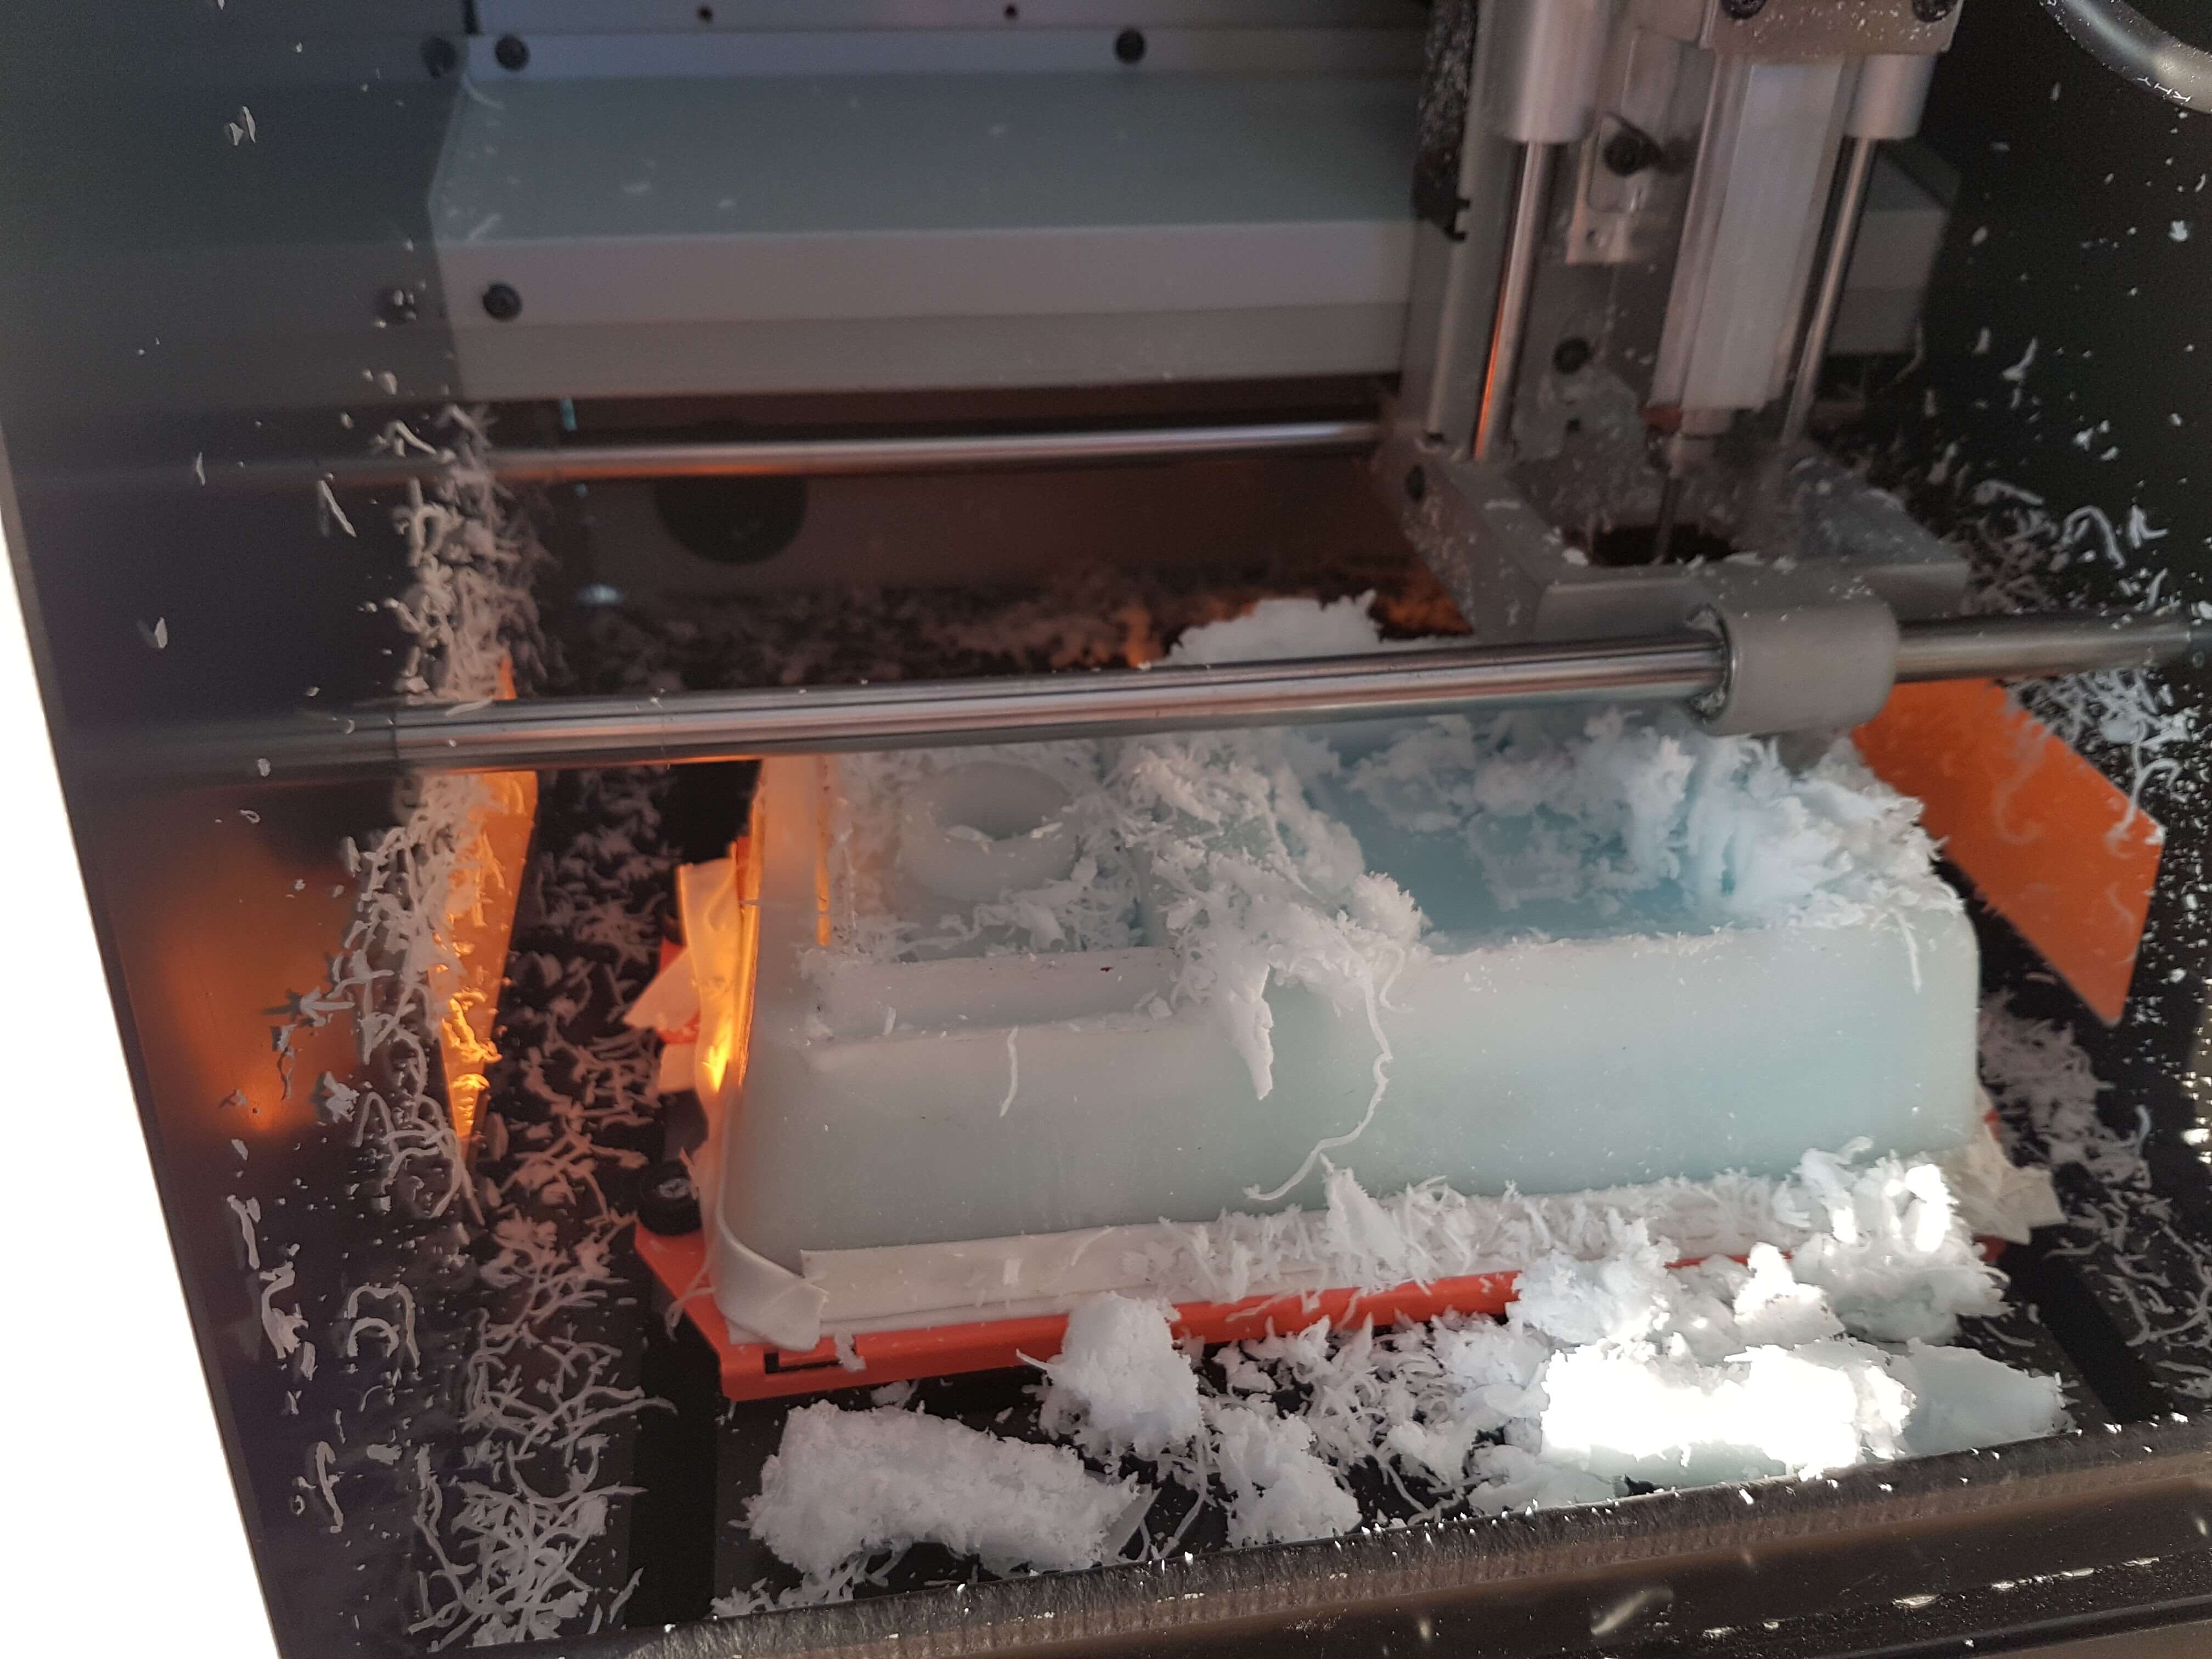
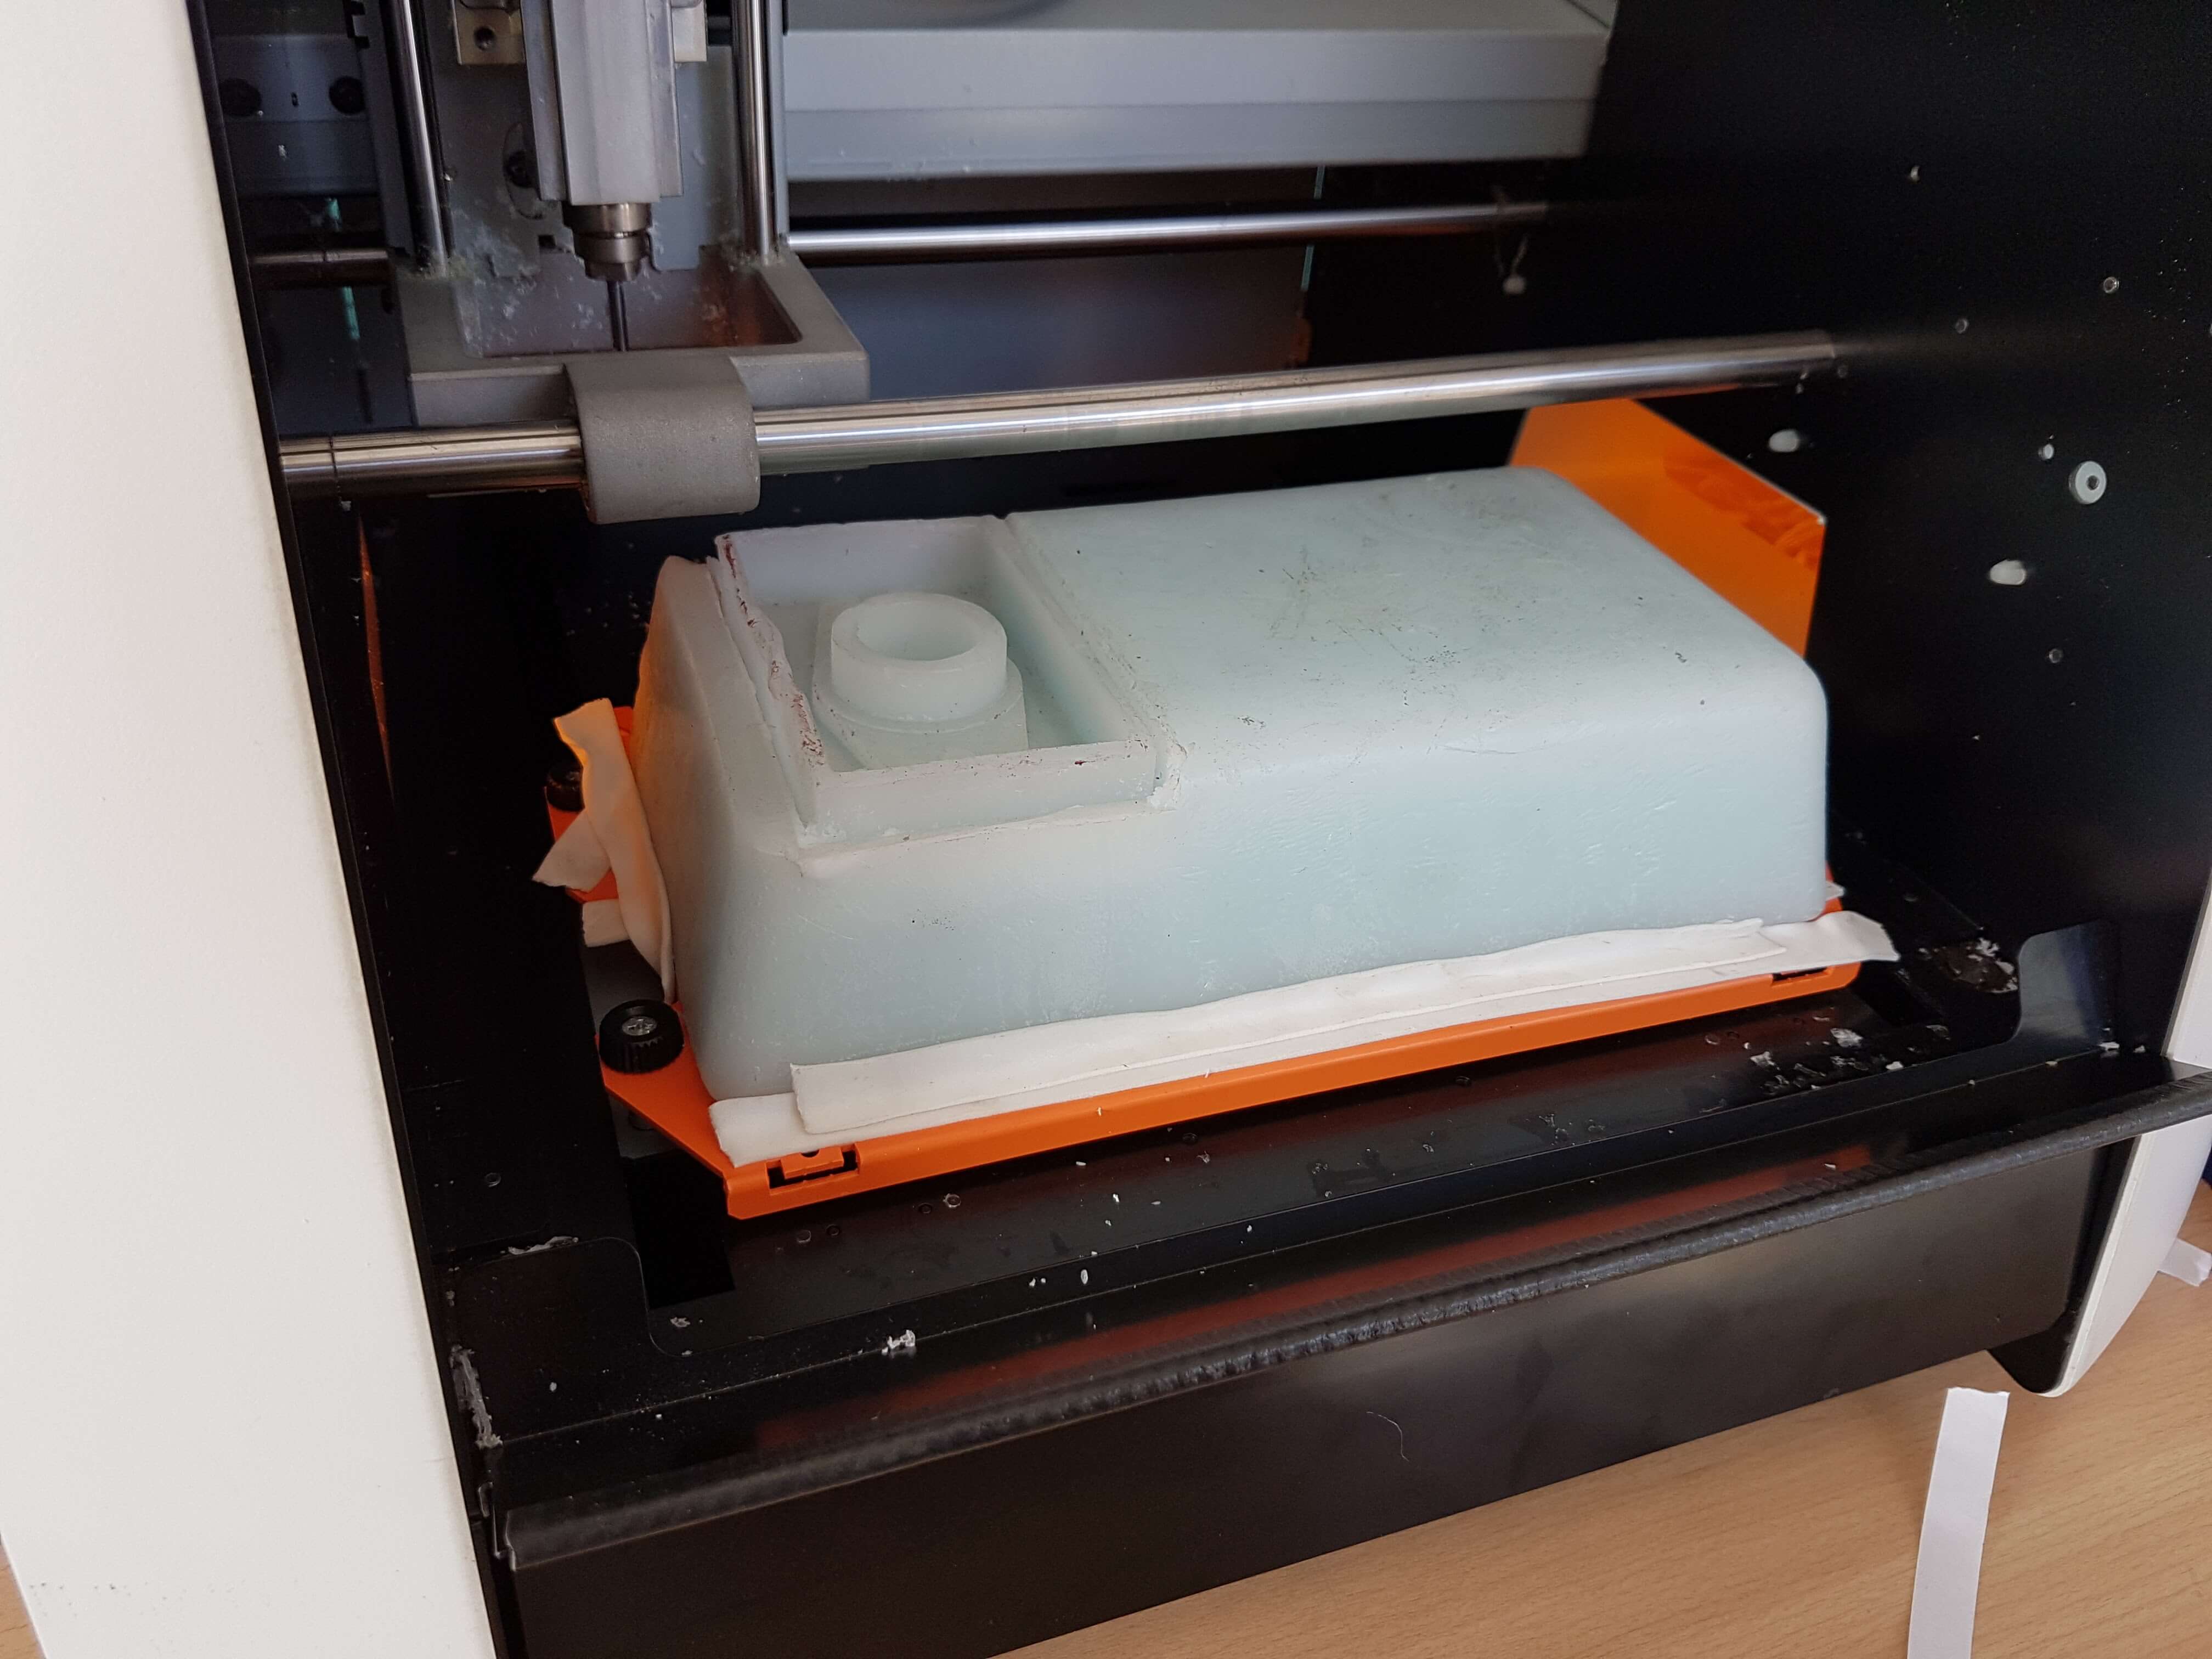
A will be using a Roland machine for milling my mould. I will be using flexible wax. Set all parameters waited.
Flexibe wax wasn't the best material for this, since can be damage easily, but was the only material available. With extra care still a usefull choice.
Mold Cast
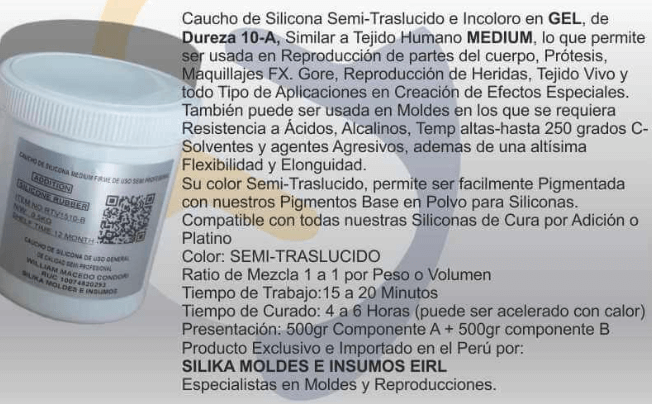
Since it is intended to be a food mould, I selected "food grade" material. It's a bi-component with a mixing ratio of 1:1.
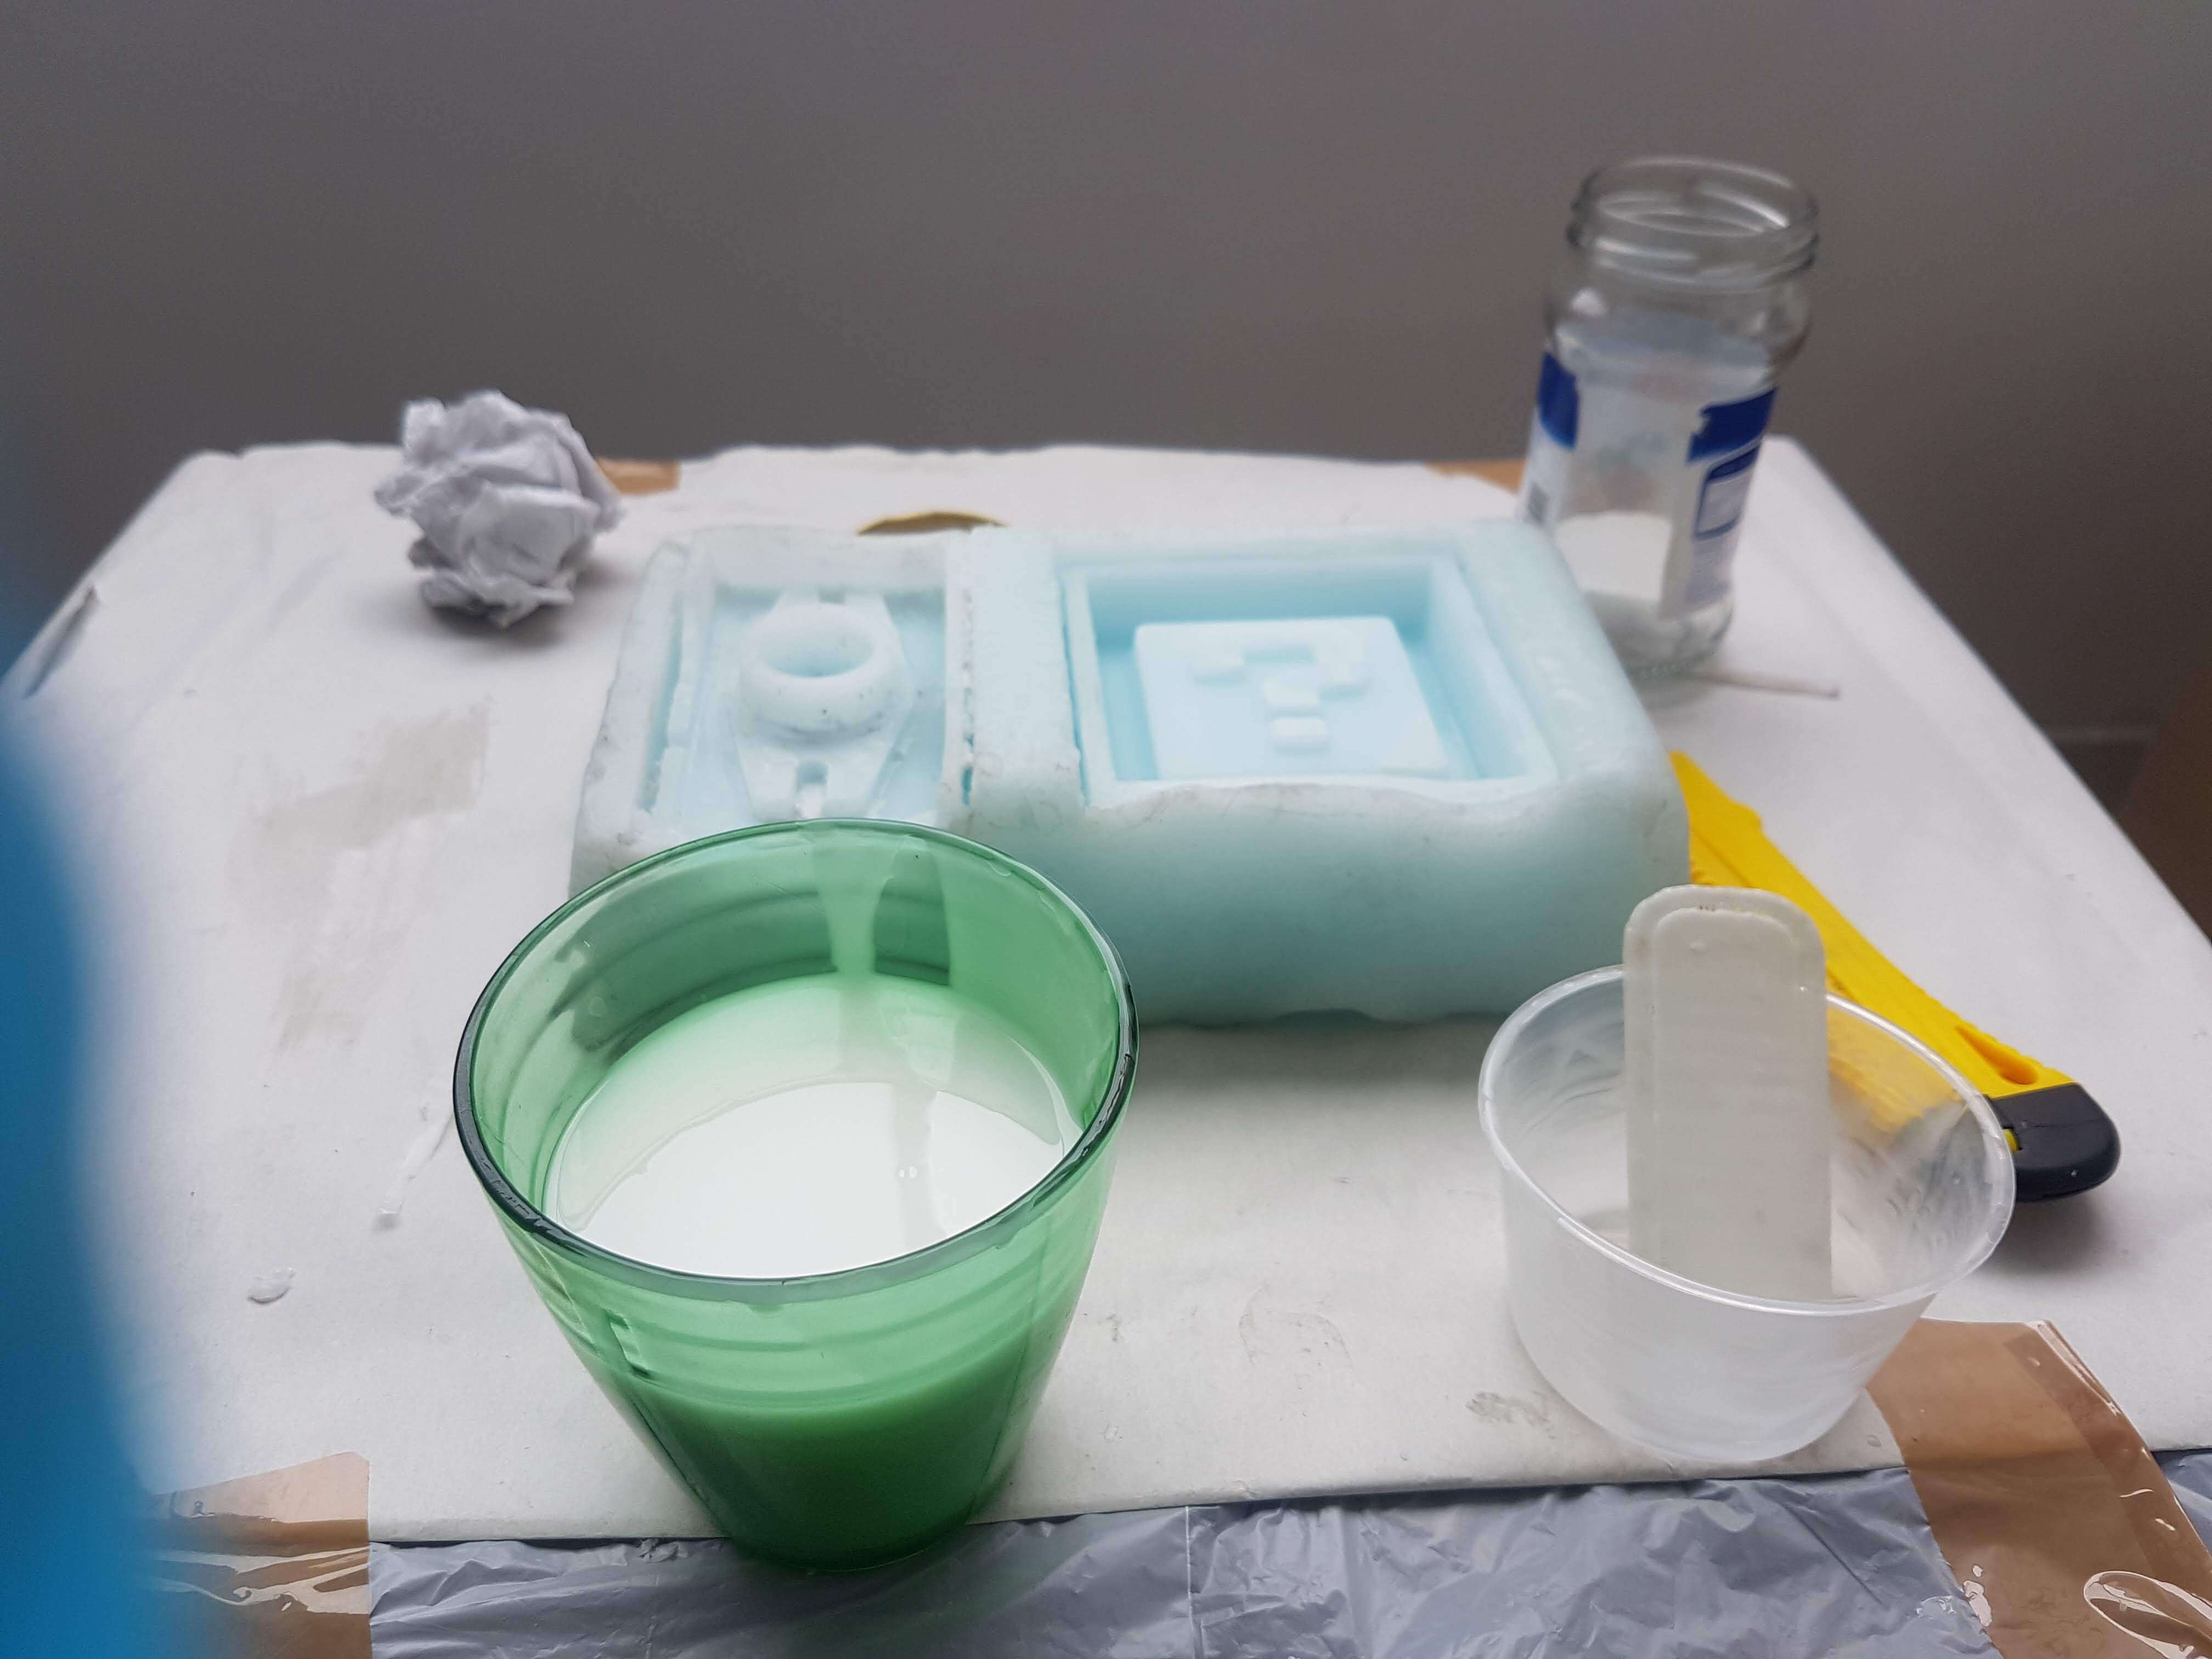
Used a scaled coup and added 80cc of each material. MIxed for about 5 min. Poured and left near a window to solid. Material data details that will harden faster with heat. Now it's really cold with high humidity, so will leave it overnight to make sure will solid completely.
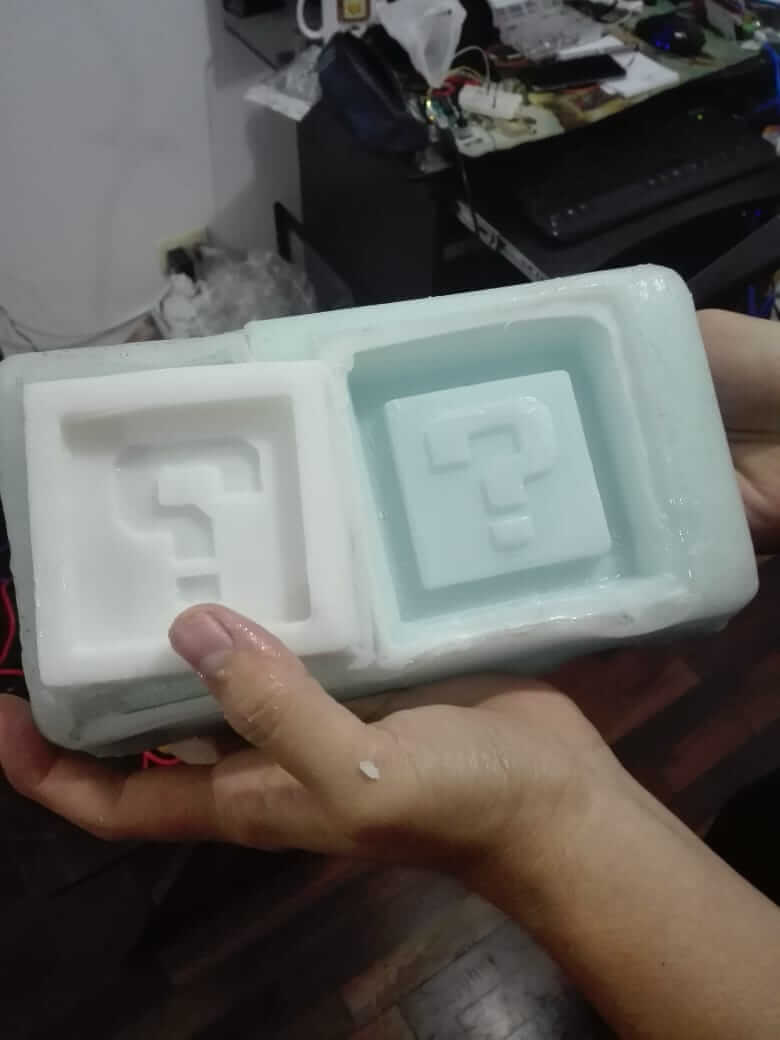
After all night, the mold looks great.
Casting
And now we have the mold ready to use with the design we choose.
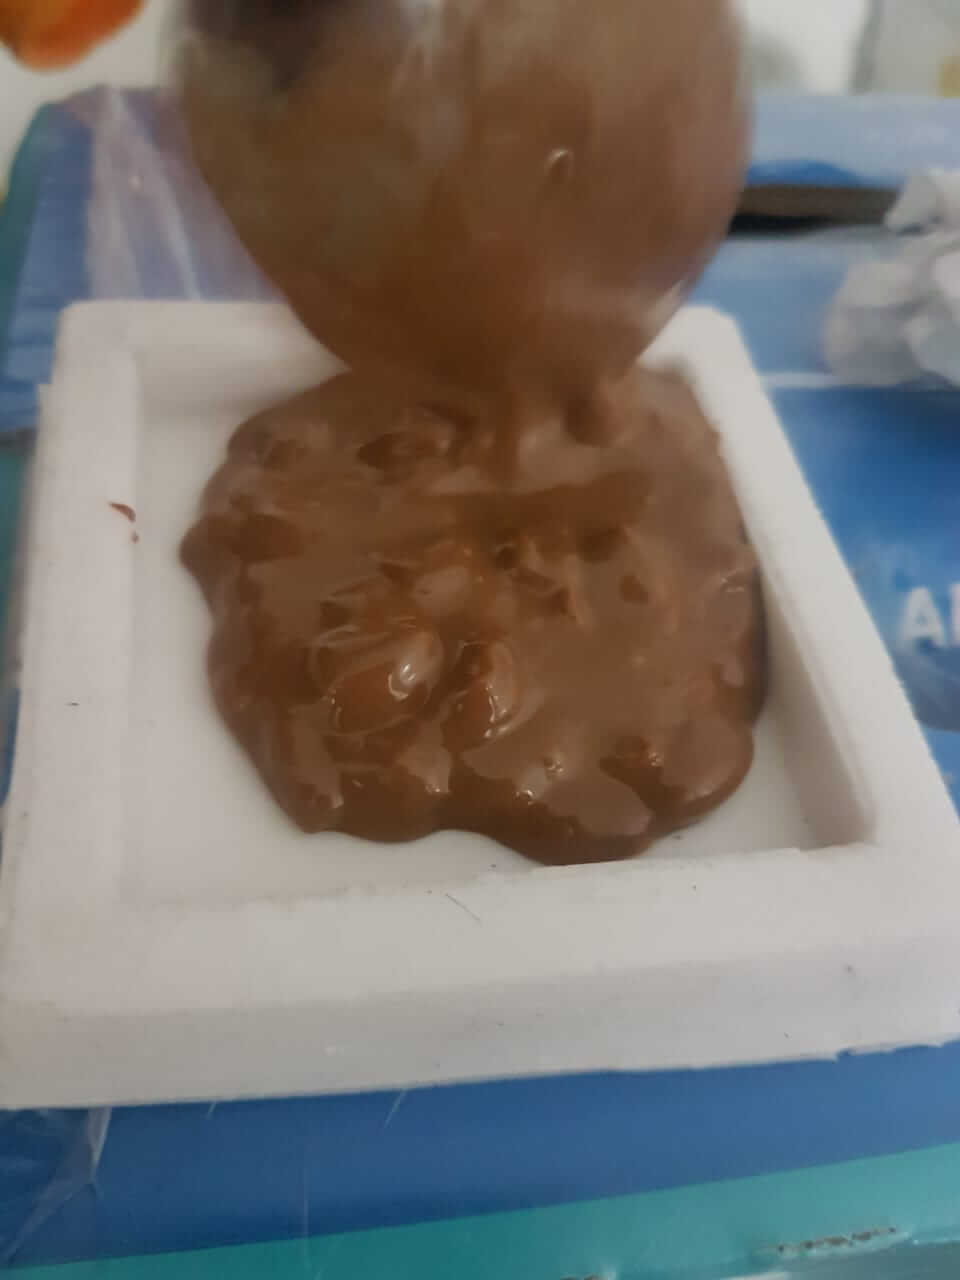
First, we prepare the chocolate by melting it. Then, we pour it into the mold beeing carefull to fullfil every space of the mold. And we take it to the fridge. We leave it there approximately 30 minutes. And finally we take it out and have a great chocolate to enjoy!
