15. Mechanical design
My Contribution
After much back and forth I was able to help get the group of remote students together for a call. On the call I volunteered to put together the mechanical part of the machine. Another person is going to make the boards to program the mechanism, another person is 3D printing the end affector and the final person is making the glockenspiel.
Moving Manually
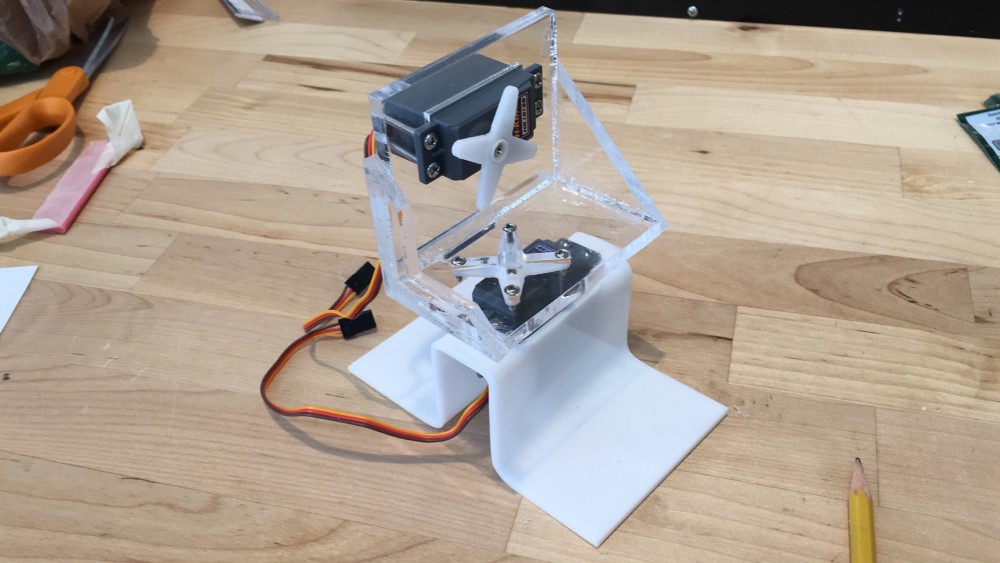
In the tradition of measure two cut once we Neil instructed everyone to move the mechanism manually by hand. This proved to be important for our mechanism too. The servo motors do not rotate freely around and around like a DC motor. Most servo motors will only move to a certain point before the motor binds. By moving the mechanism by hand I could ensure that the motor was faced so the motor would not bind over the the front of the machine. Also, the hammer needs to be able to move far enough down to touch the metal music keys. I cut a slot in the clear acrylic brace to allow the hammer to move all the way down.
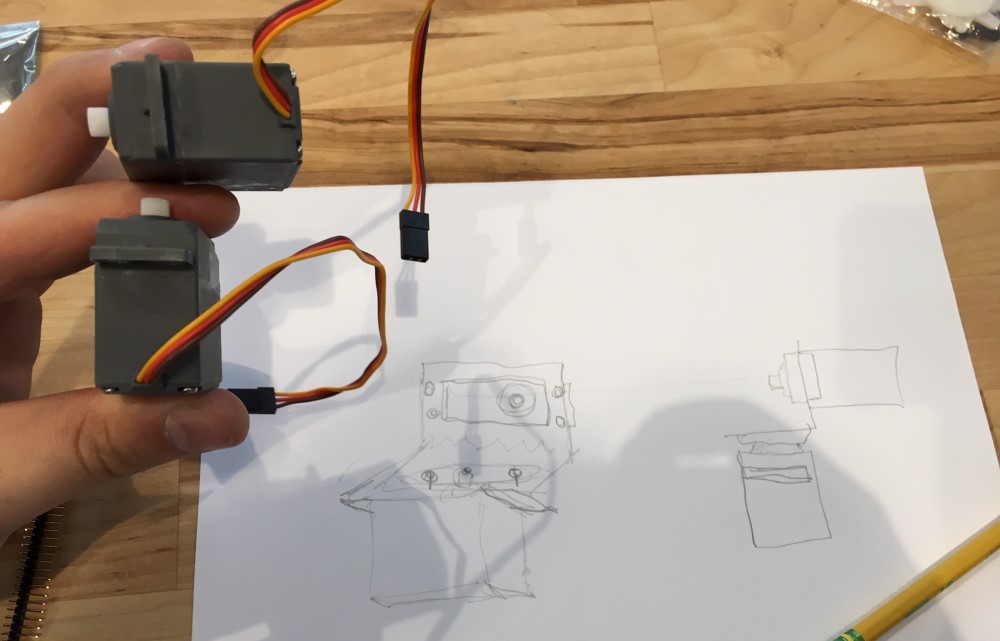
Mechanism Sketch
The music machine is a simple version of a robot arm.
Making that Mechanism
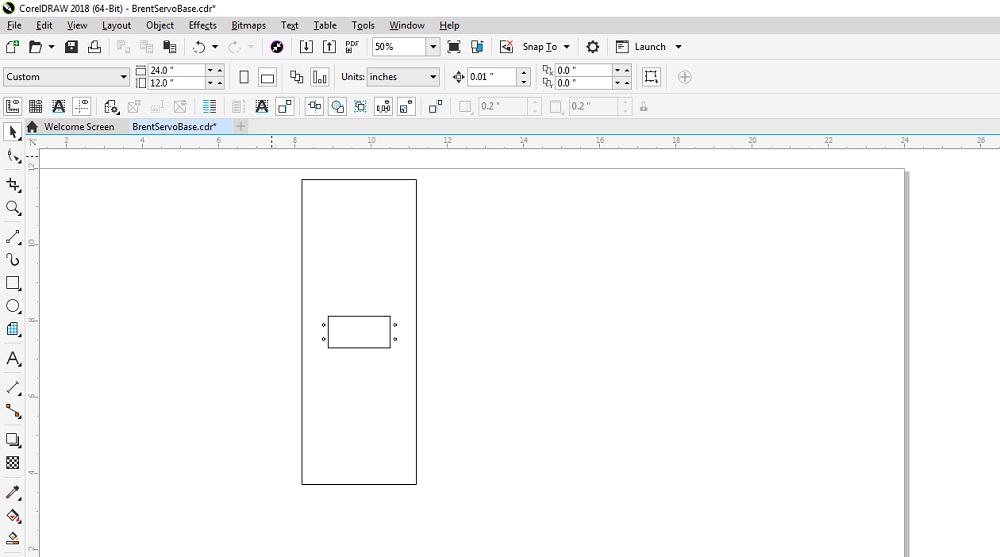
I started by drawing a few files in Corel Draw that match my sketch.
Laser Files

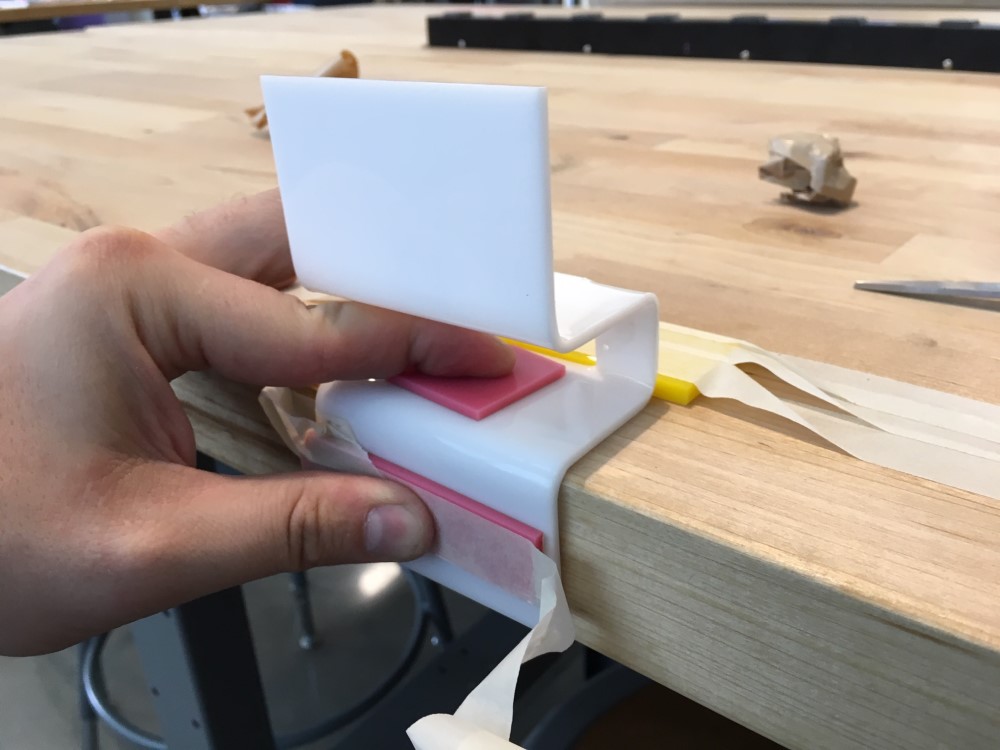
I used a heat gun to heat the 1/8” acrylic and bend it to match my drawings. The edge of the wooden table worked really well.

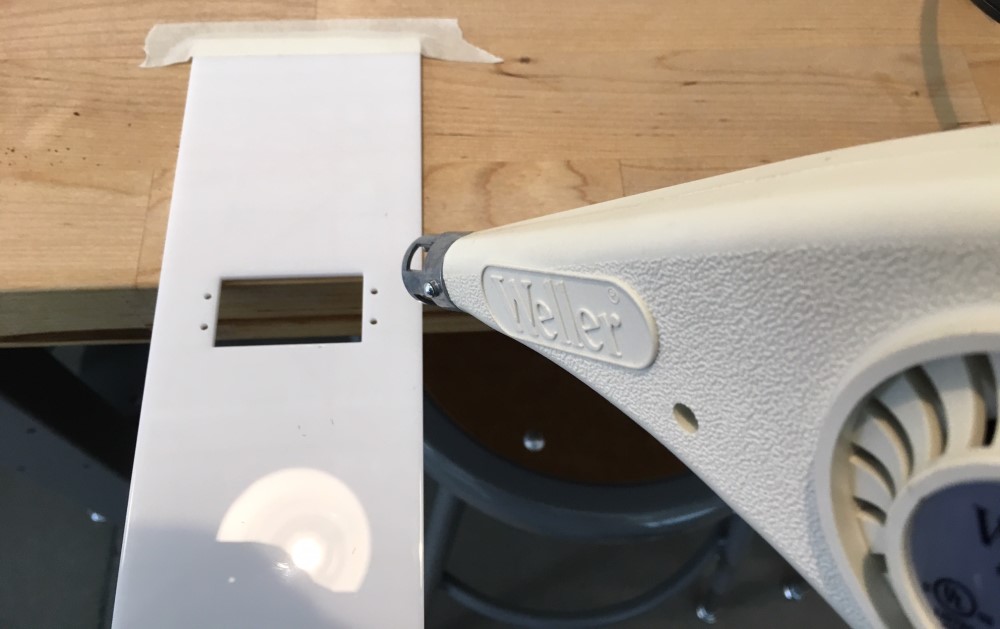
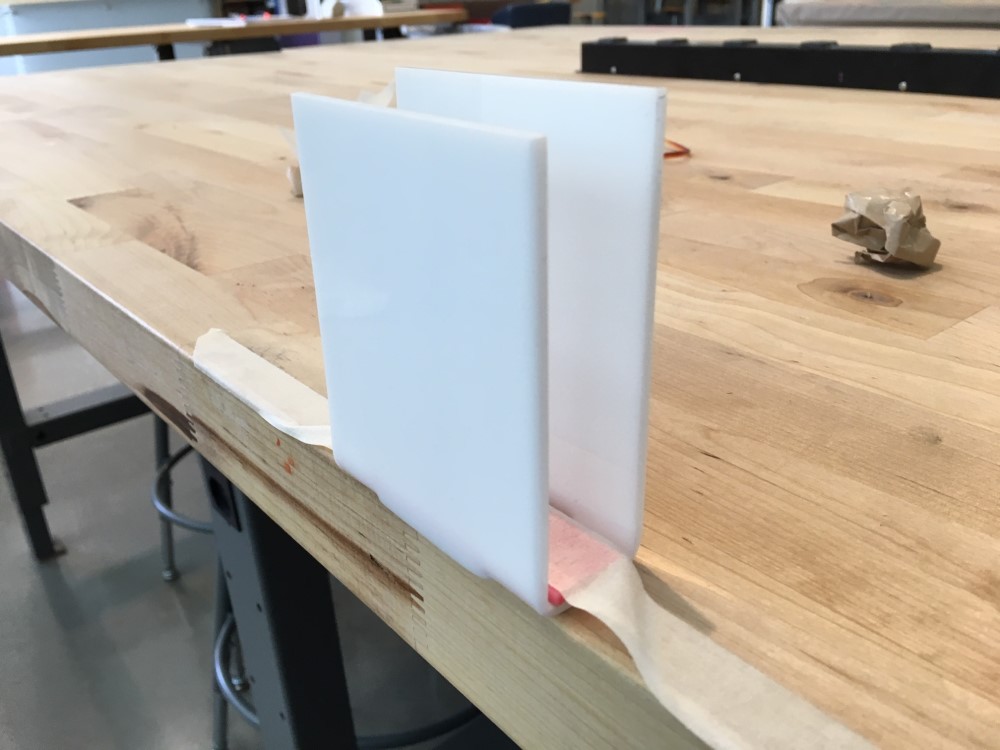
I had to really think through the order of bends to make it all possible. Plus, the plastic was hot enough I needed to use pink scrap arylic to prevent my hands from burning.
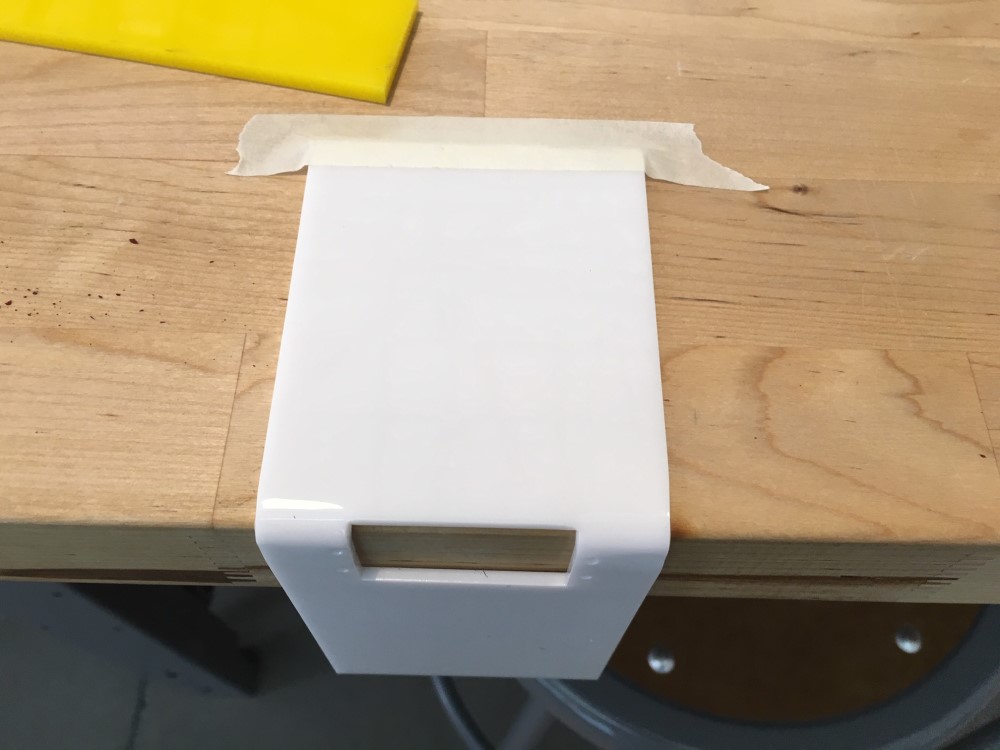
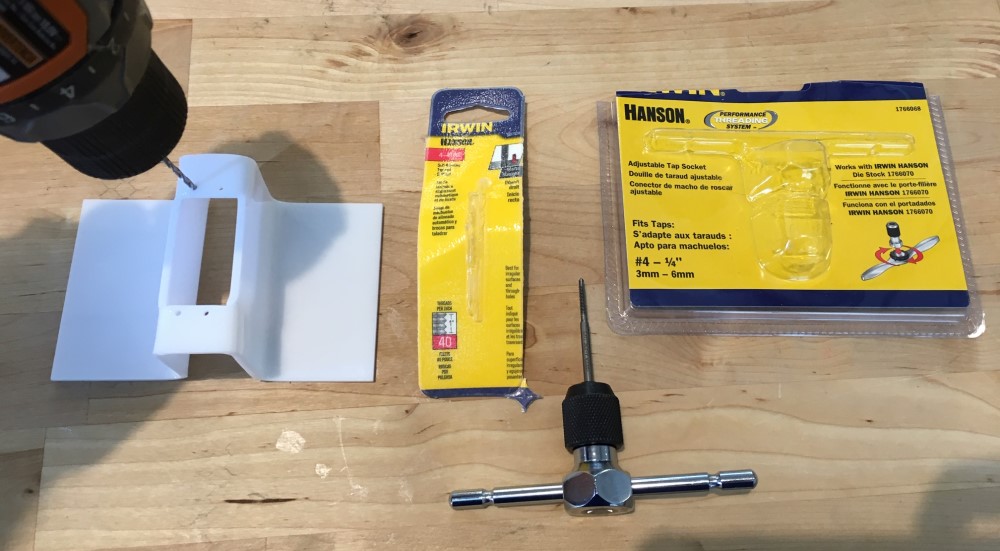
I a 4-40 tap set to thread the plastic to accept screws to hold the motor in the plastic hole. The motor fit like a glove. In the CAD file for the laser I made sure the holes where smaller than the drillbit that came with the 4-40 tap.
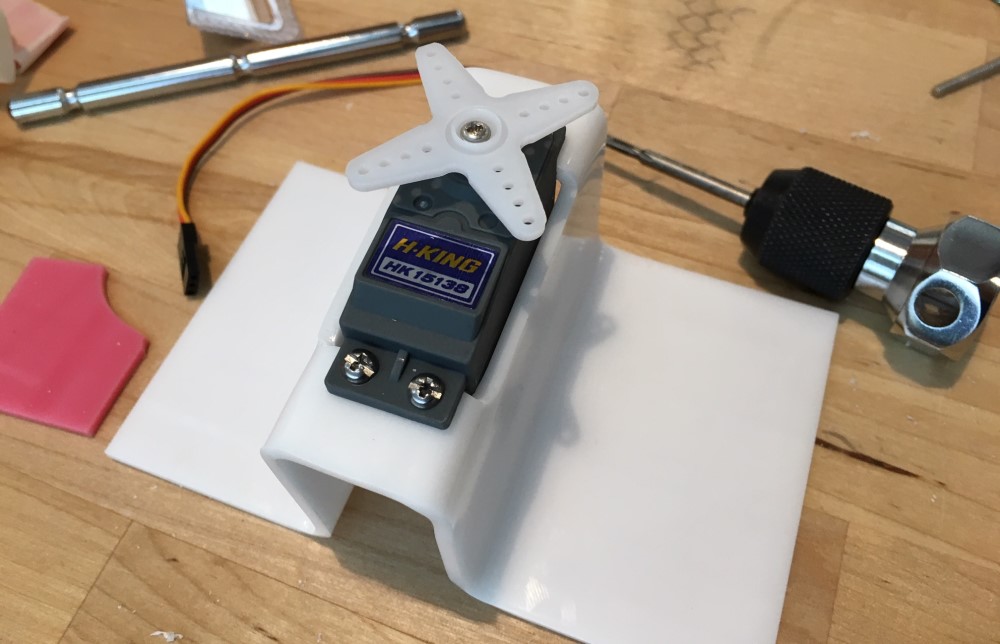
It came out really nice in the end and the 1/4” acrylic with the angle support was very secure once clued together.
