Individual assignment:
Write an application that interfaces with an input and/or output device that you made
Getting started with Arduino & Processing 3
My first introduction to Processing (website) was actually during the Networking & Communications week.
So I'm still a fresh newbie, but at least not completely lost on the process of connecting arduino with processing.
First off, let us download the IDE form here:Pick you're poison
After the download, we need to extract it on our computer and on Windows, I just extracted in my user folder (home folder for Linux)
At first glance I was familiar with the layout, because Arduino IDE is based off of this IDE, so I was not too overwhelmed.
But still new IDE new settings, so I started navigating the tuturials on their website and I highly suggest it to any new comer: Tutorials
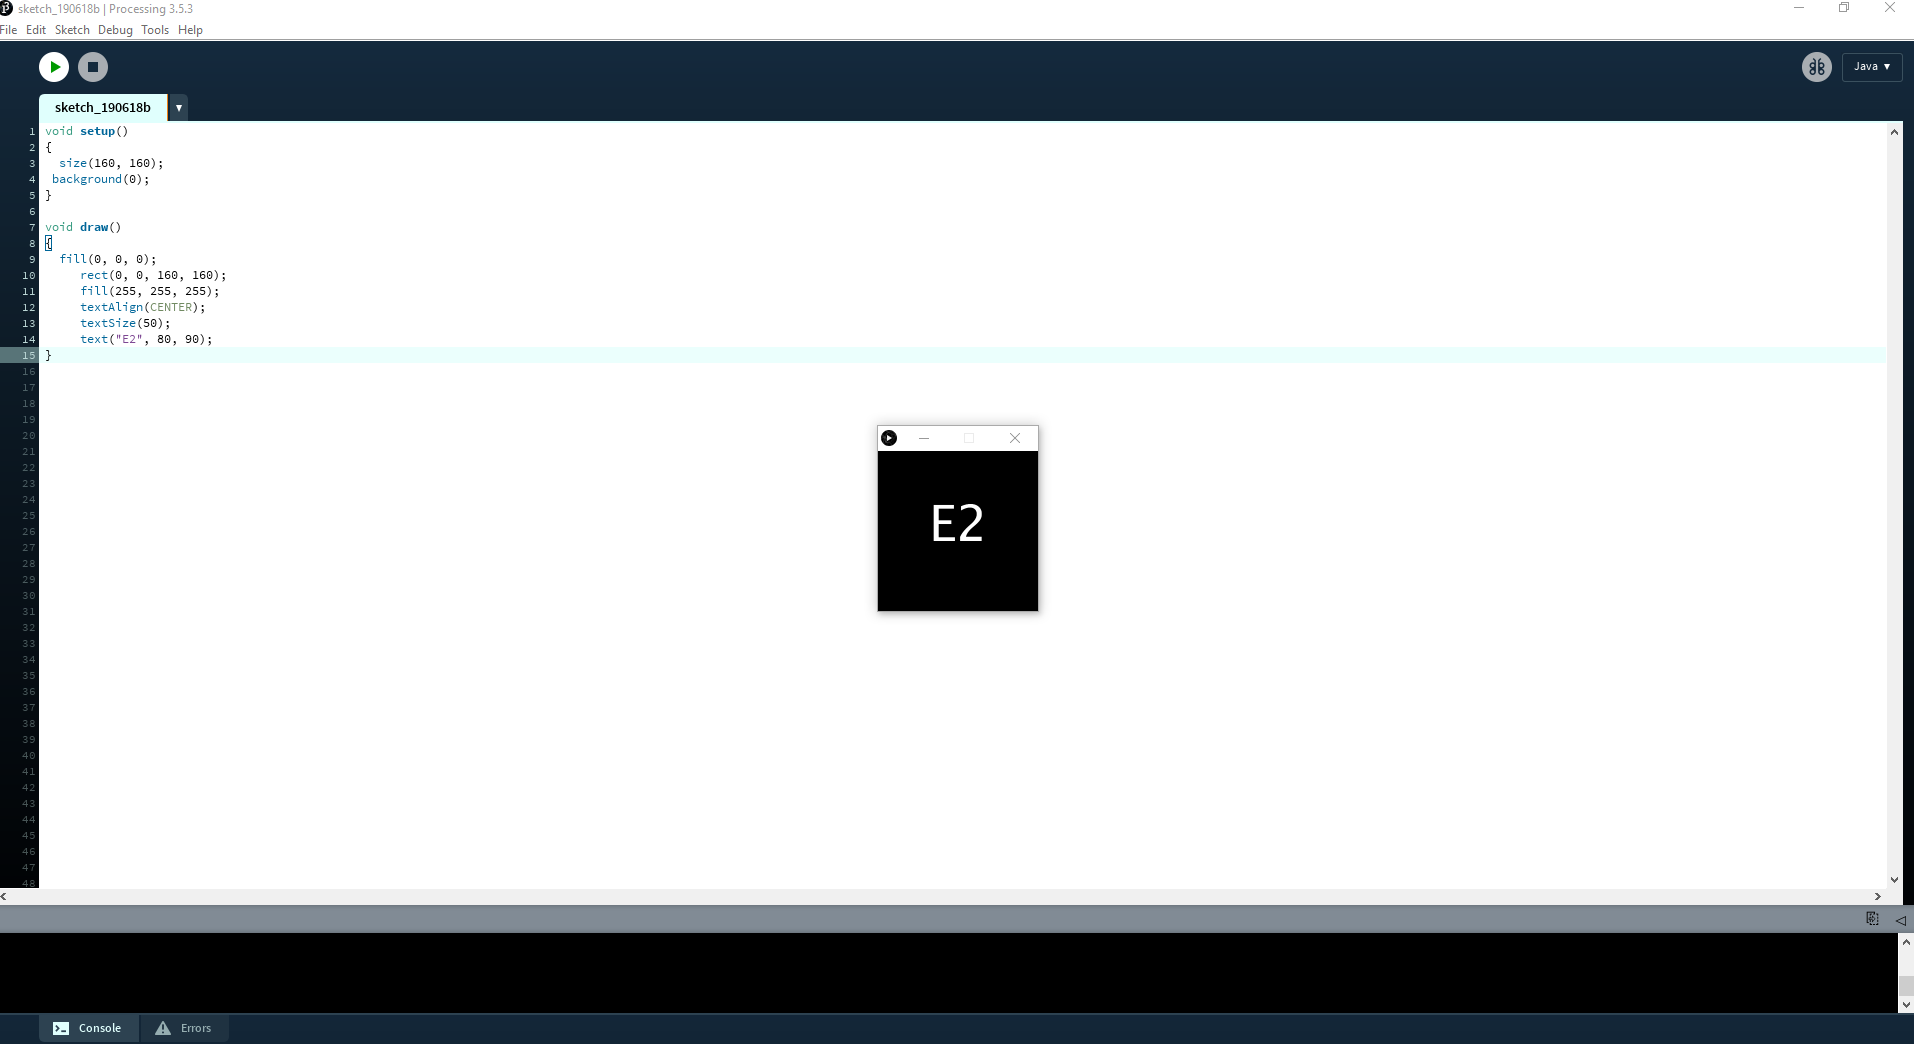
What I required from this software, however, is to be able to generate sounds for my Fabduino powered guitar.
I had already learned a bit of how the serial read works, but not good enough and time was running short.
To be honest I search engined to H*ll and back, just to see how Arduino capsense code could talk to Processing and generate a sound.
I found 2 libraries that run on the Java code side of things as well as python.
TheMIDIbus: URL
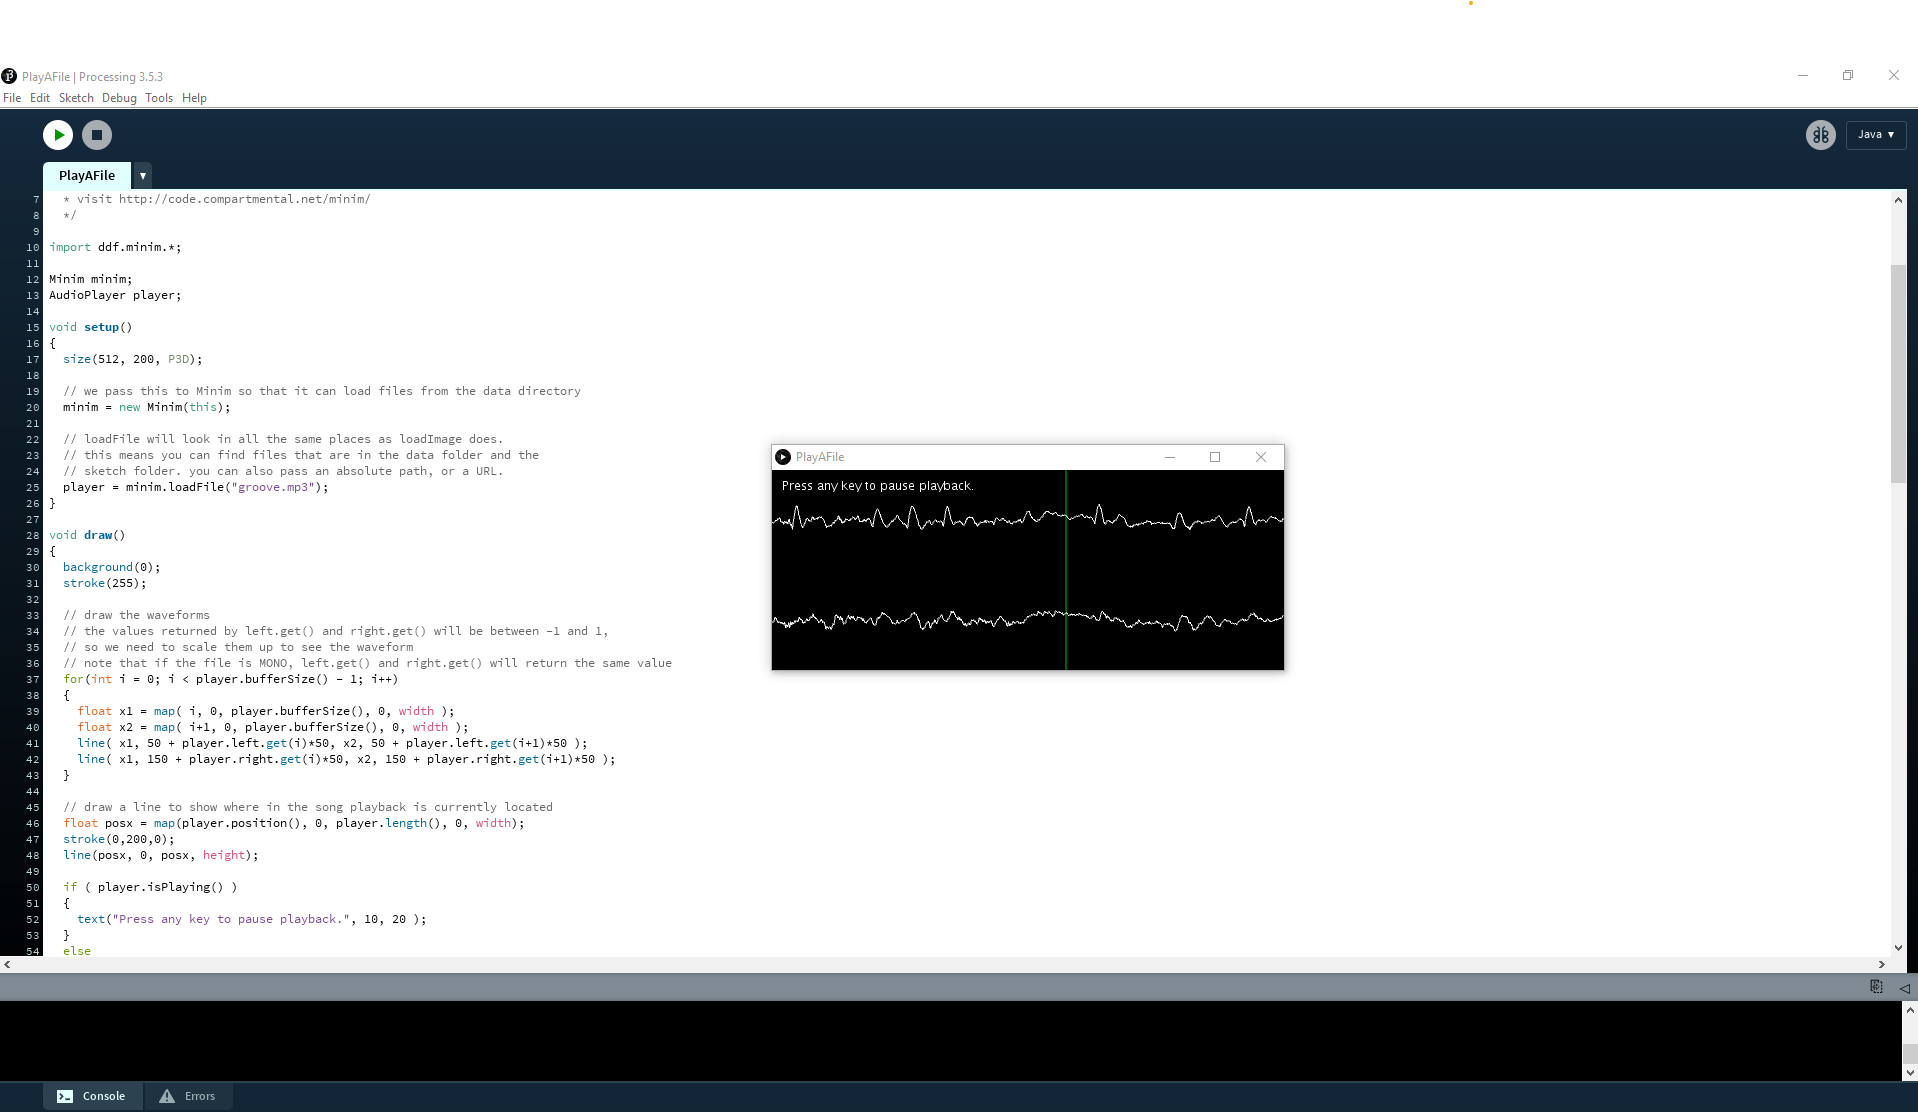
And Mini m: URL
And for learning more of the process and code examples I found on the Arduino Prject Hub, while searching for instrument. Here the Results.
The Paper Insturments project made by several makers. Seemed promising and was a good starting pint for learning.
Let's Get technical.
Alright! let's set up processing!
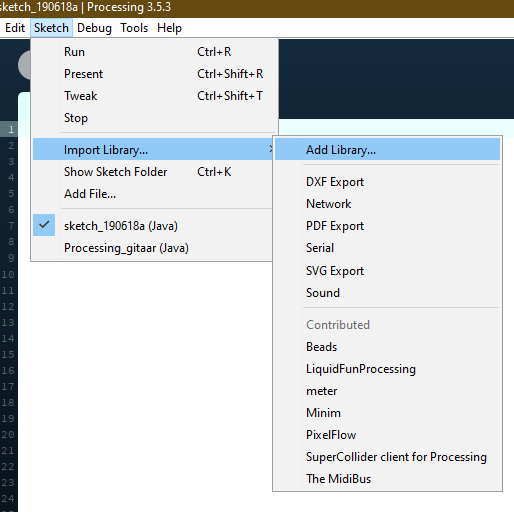
In order to install the required libraries we need to navigate to Sketch -> Import Library -> Add Library....I hav typed too much let me show instead:
Add new libraries jere
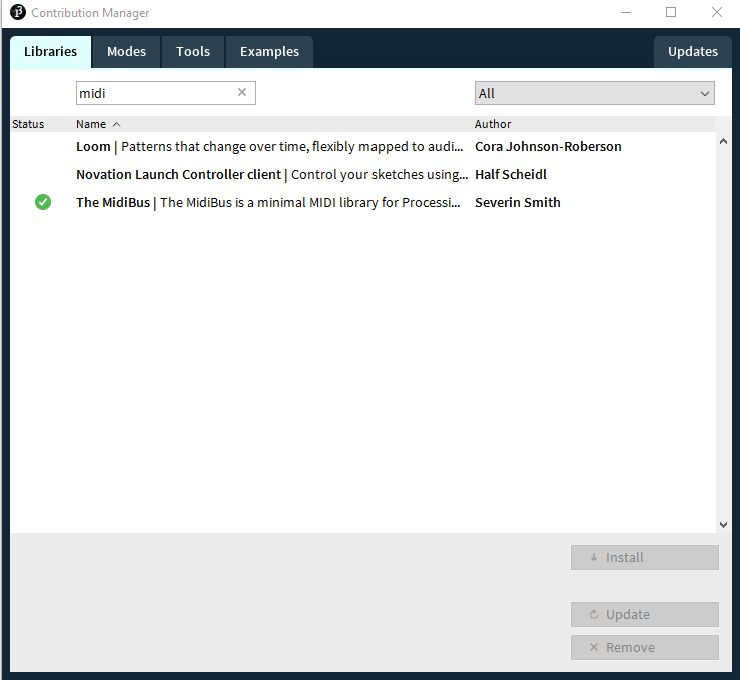
Filter the MIDI library by using the search
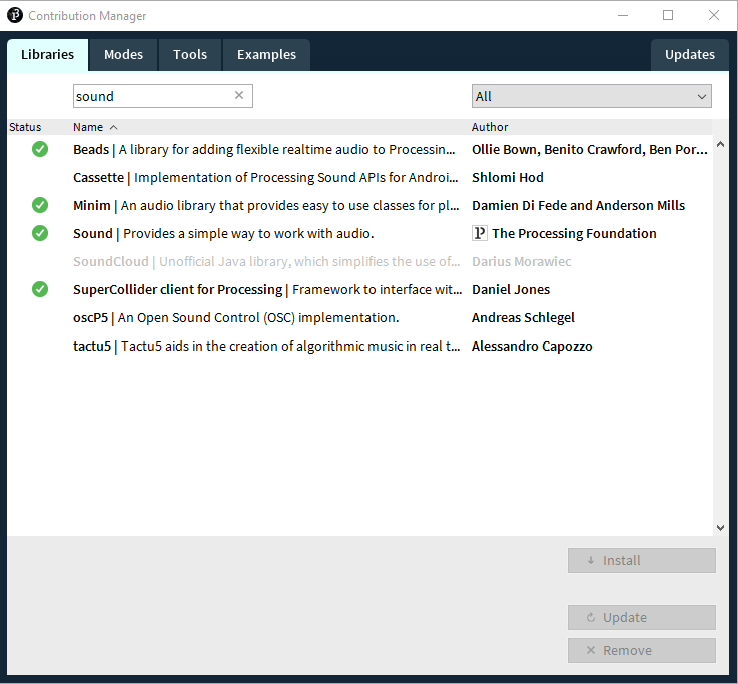
You know what let us add more libraries then origanally required.
Capacitive Sensor Arduino
Learning about capsense and it's library.
The way the capsense library works with the basics of capacitive sensors is as following (using the demo sketch code as explaination):
CapacitiveSensor cs_4_2 = CapacitiveSensor(4,2);
With this we declare the pins user for capacitive sensing. Pin 4 is used as the Control/Send Pin and pin 2 as the Sensor/Recieve Pin.
There is no need to declare more than one control pin, because only one pin can send dat for multiple sensor pins.
According to the library conventions: CapacitiveSensor(byte sendPin, byte receivePin)
cs_4_2.set_CS_AutocaL_Millis(0xFFFFFFFF);
This statement ensures that no re-calibration of the capacitiveSensor function occurs.
I do not fully understand this, but it tells the pin not to re-calibrate at intervals of (standard) 20 seconds
long total1 = cs_4_2.capacitiveSensor(30);
The above statement is declared in 'void loop ()'. When using a 1M resistor, total1 will less than or about ten. When touched, it becomes more than 60...
Serial.println(total1);
Sends the value of total1 to the Serial window of the computer...
We also need to consider the resitors we use
- Use a 1 megohm resistor (or less maybe) for absolute touch to activate.
- With a 10 megohm resistor the sensor will start to respond 4-6 inches away.
- With a 40 megohm resistor the sensor will start to respond 12-24 inches away (dependent on the foil size).
Common resistor sizes usually end at 10 megohm so you may have to solder four 10 megohm resistors end to end.One tradeoff with larger resistors is that the sensor's increased sensitivity means that it is slower.
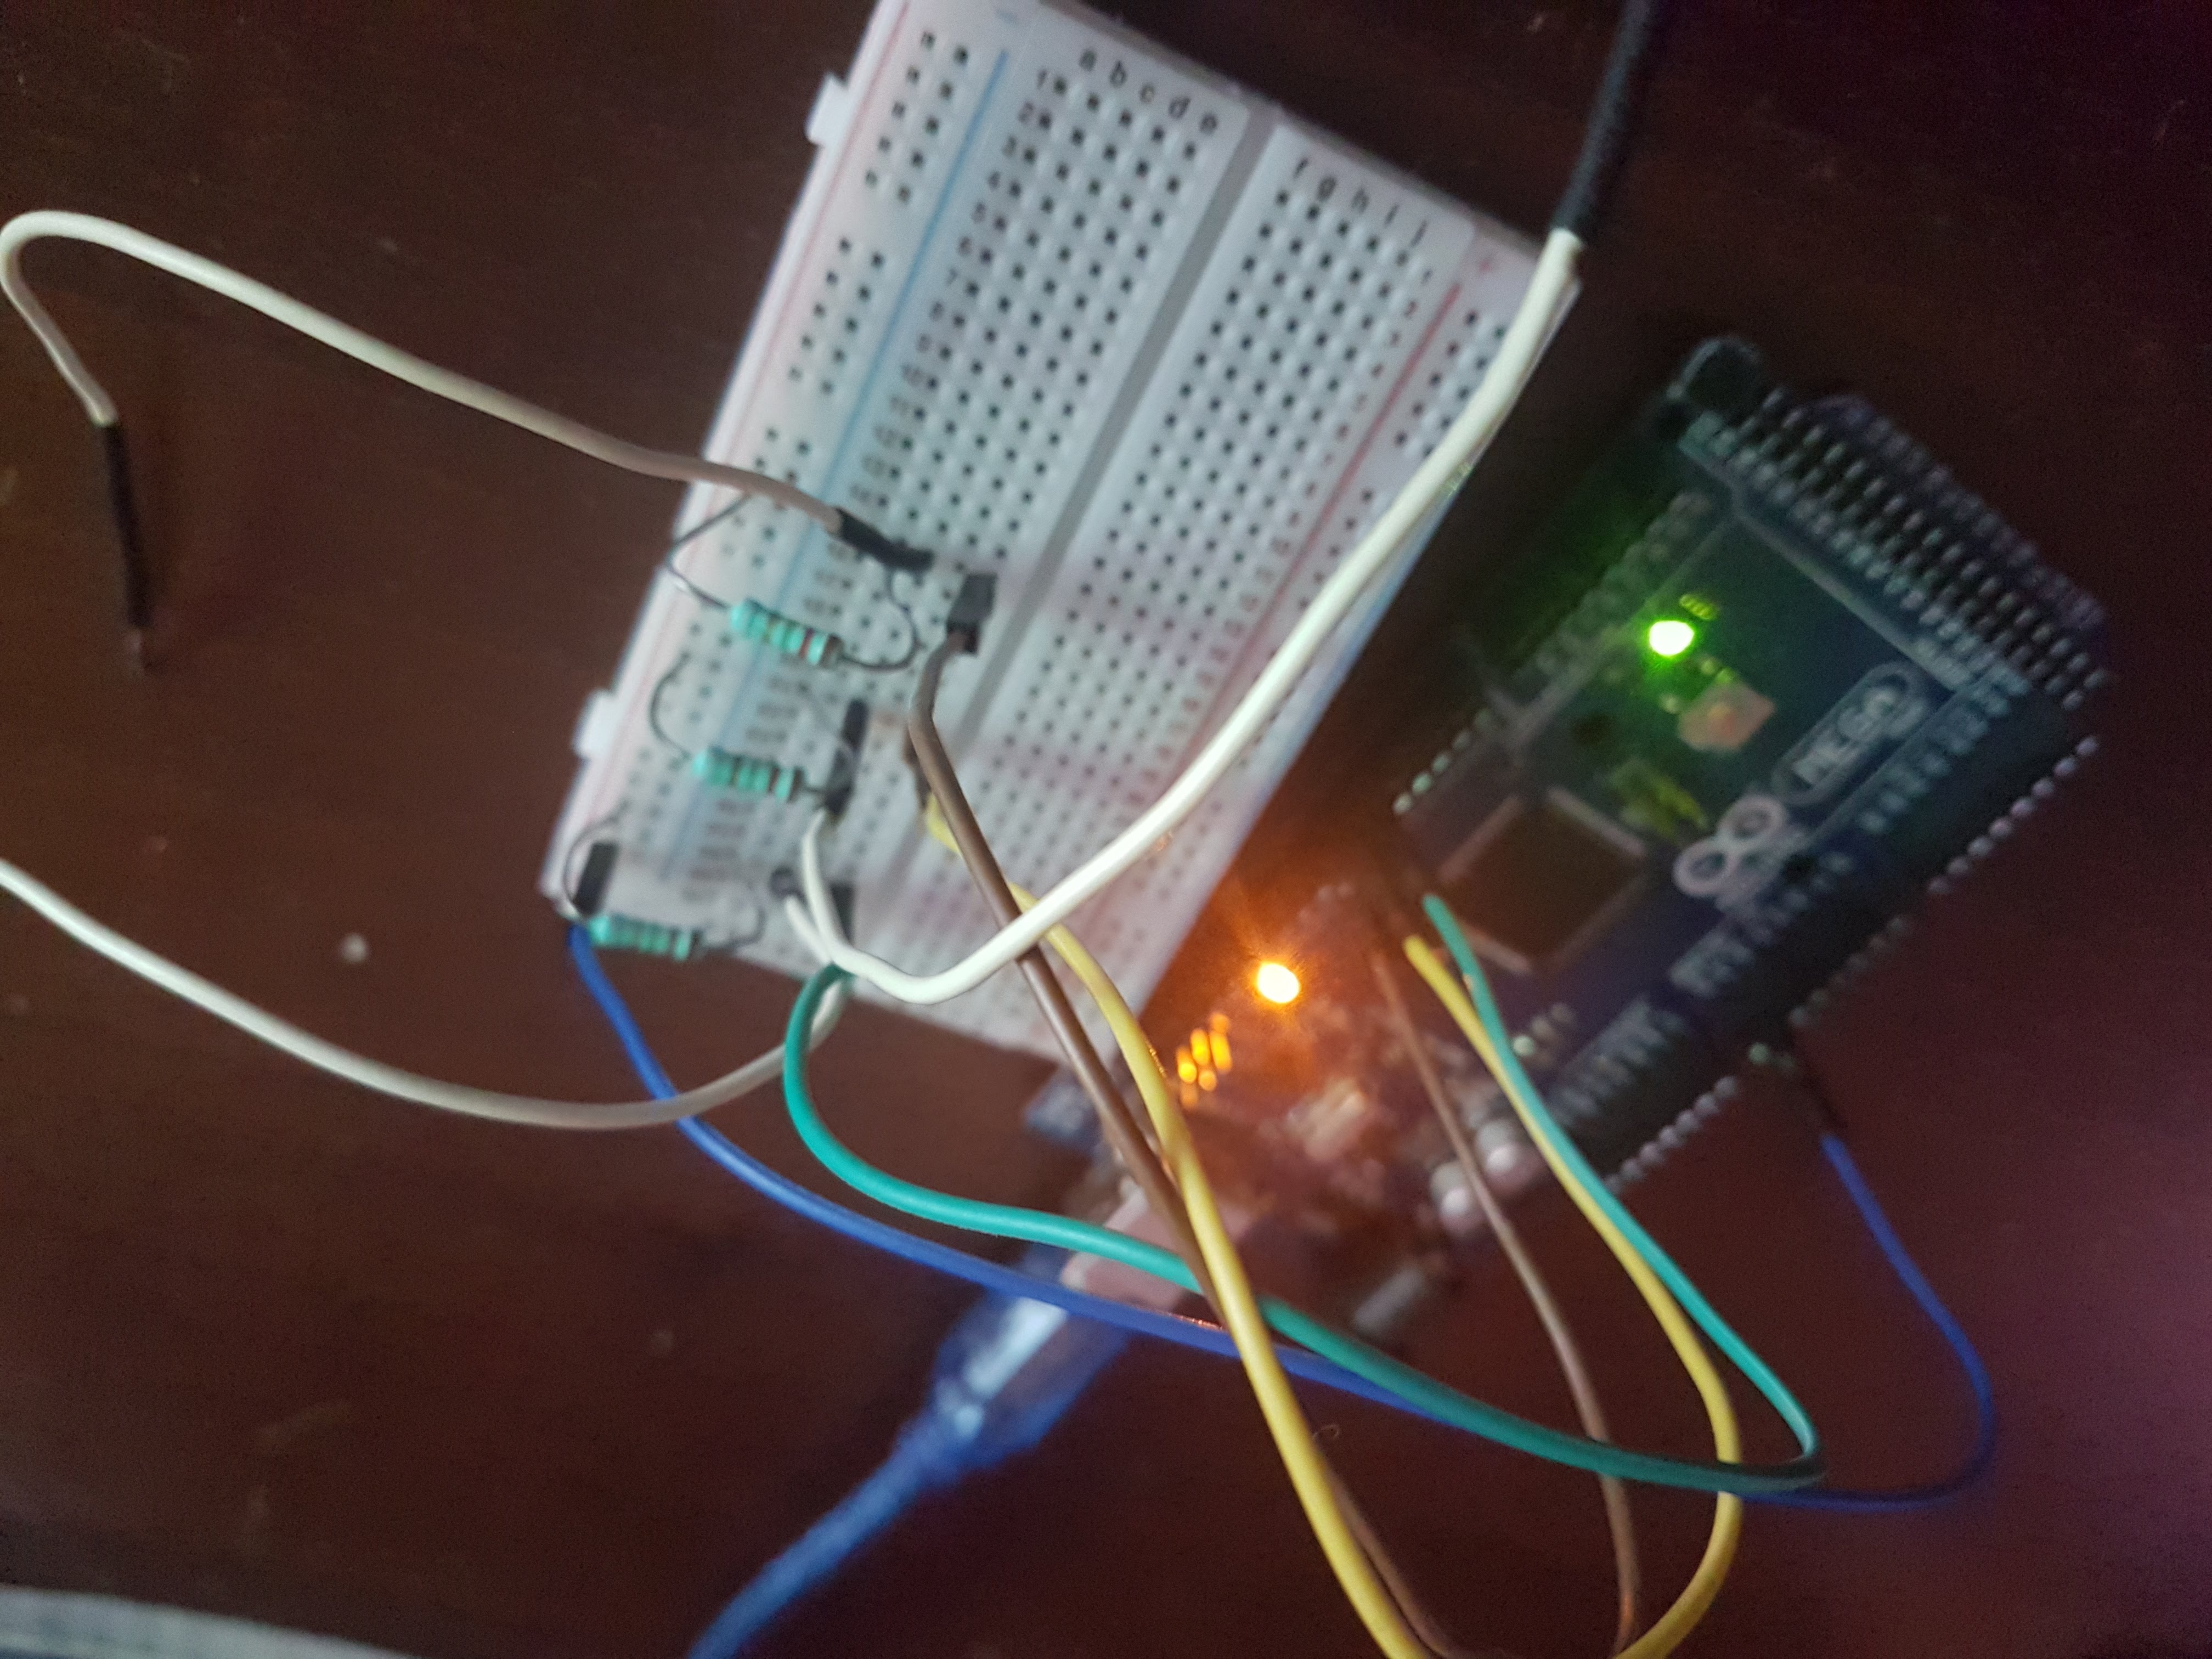
The setup for capsense testing.