Processes and Results
Summary
-
Computer Aided Design (Circuitry Container)
-
3D Printing (Circuitry Container)
-
Molding and Casting (CPR Dummy Body)
-
Electronics Design (Force Sensor Board)
-
Electronics Production (Force Sensor Board)
-
Input Device (Force Sensor Board)
-
Embedded Programming (Code)
-
Interface and Application Programming (Processing)
Circuitry Container
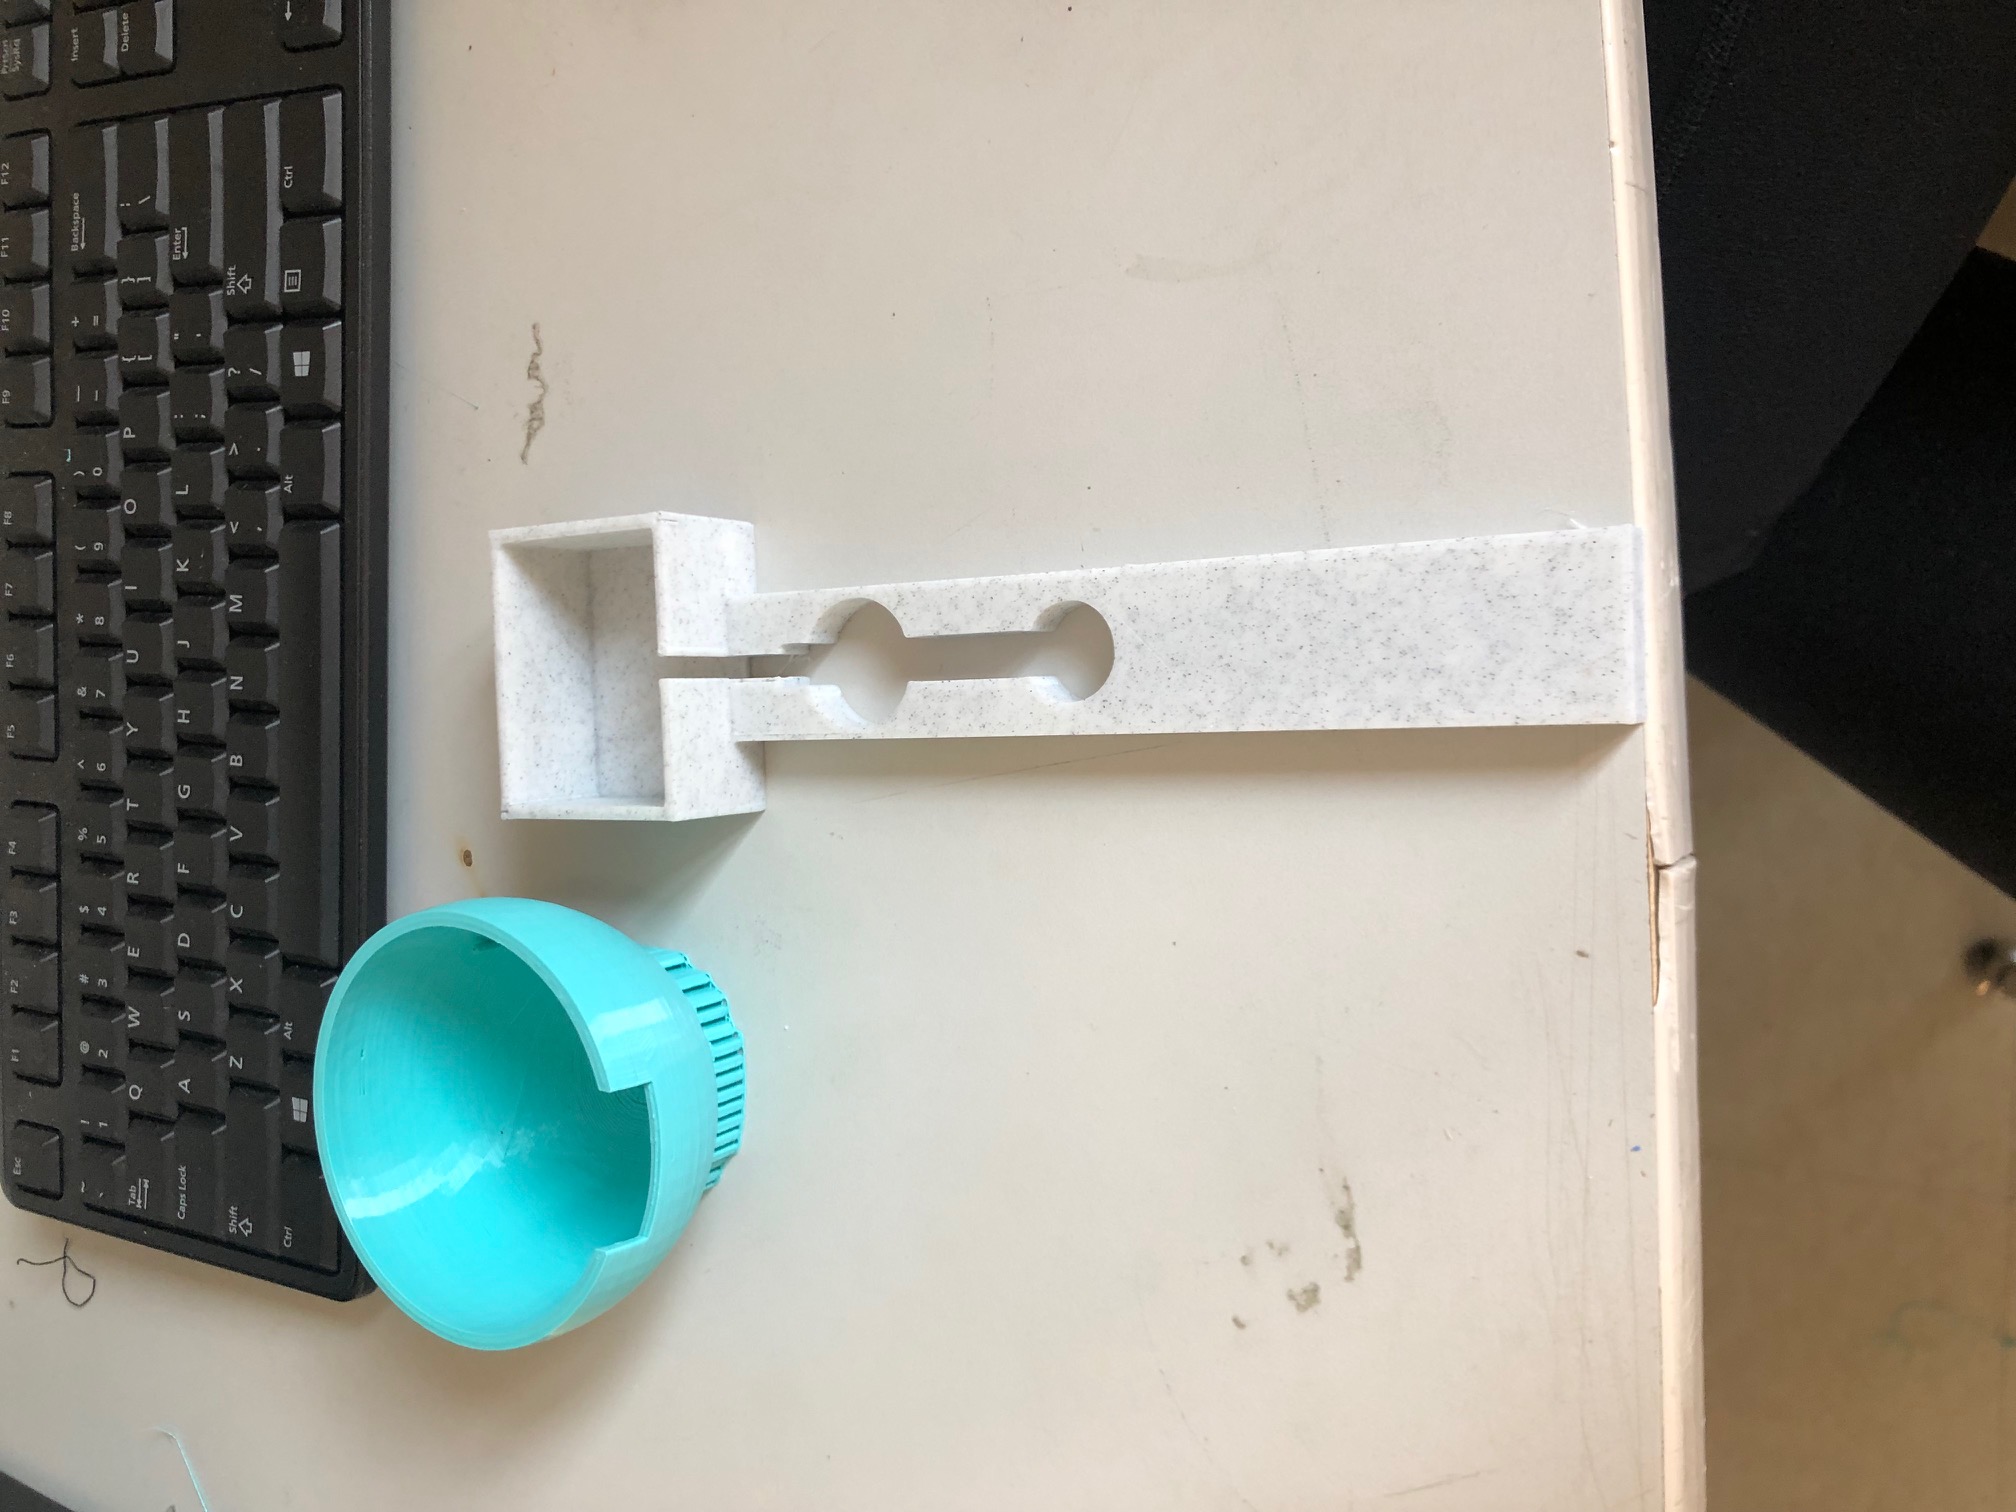
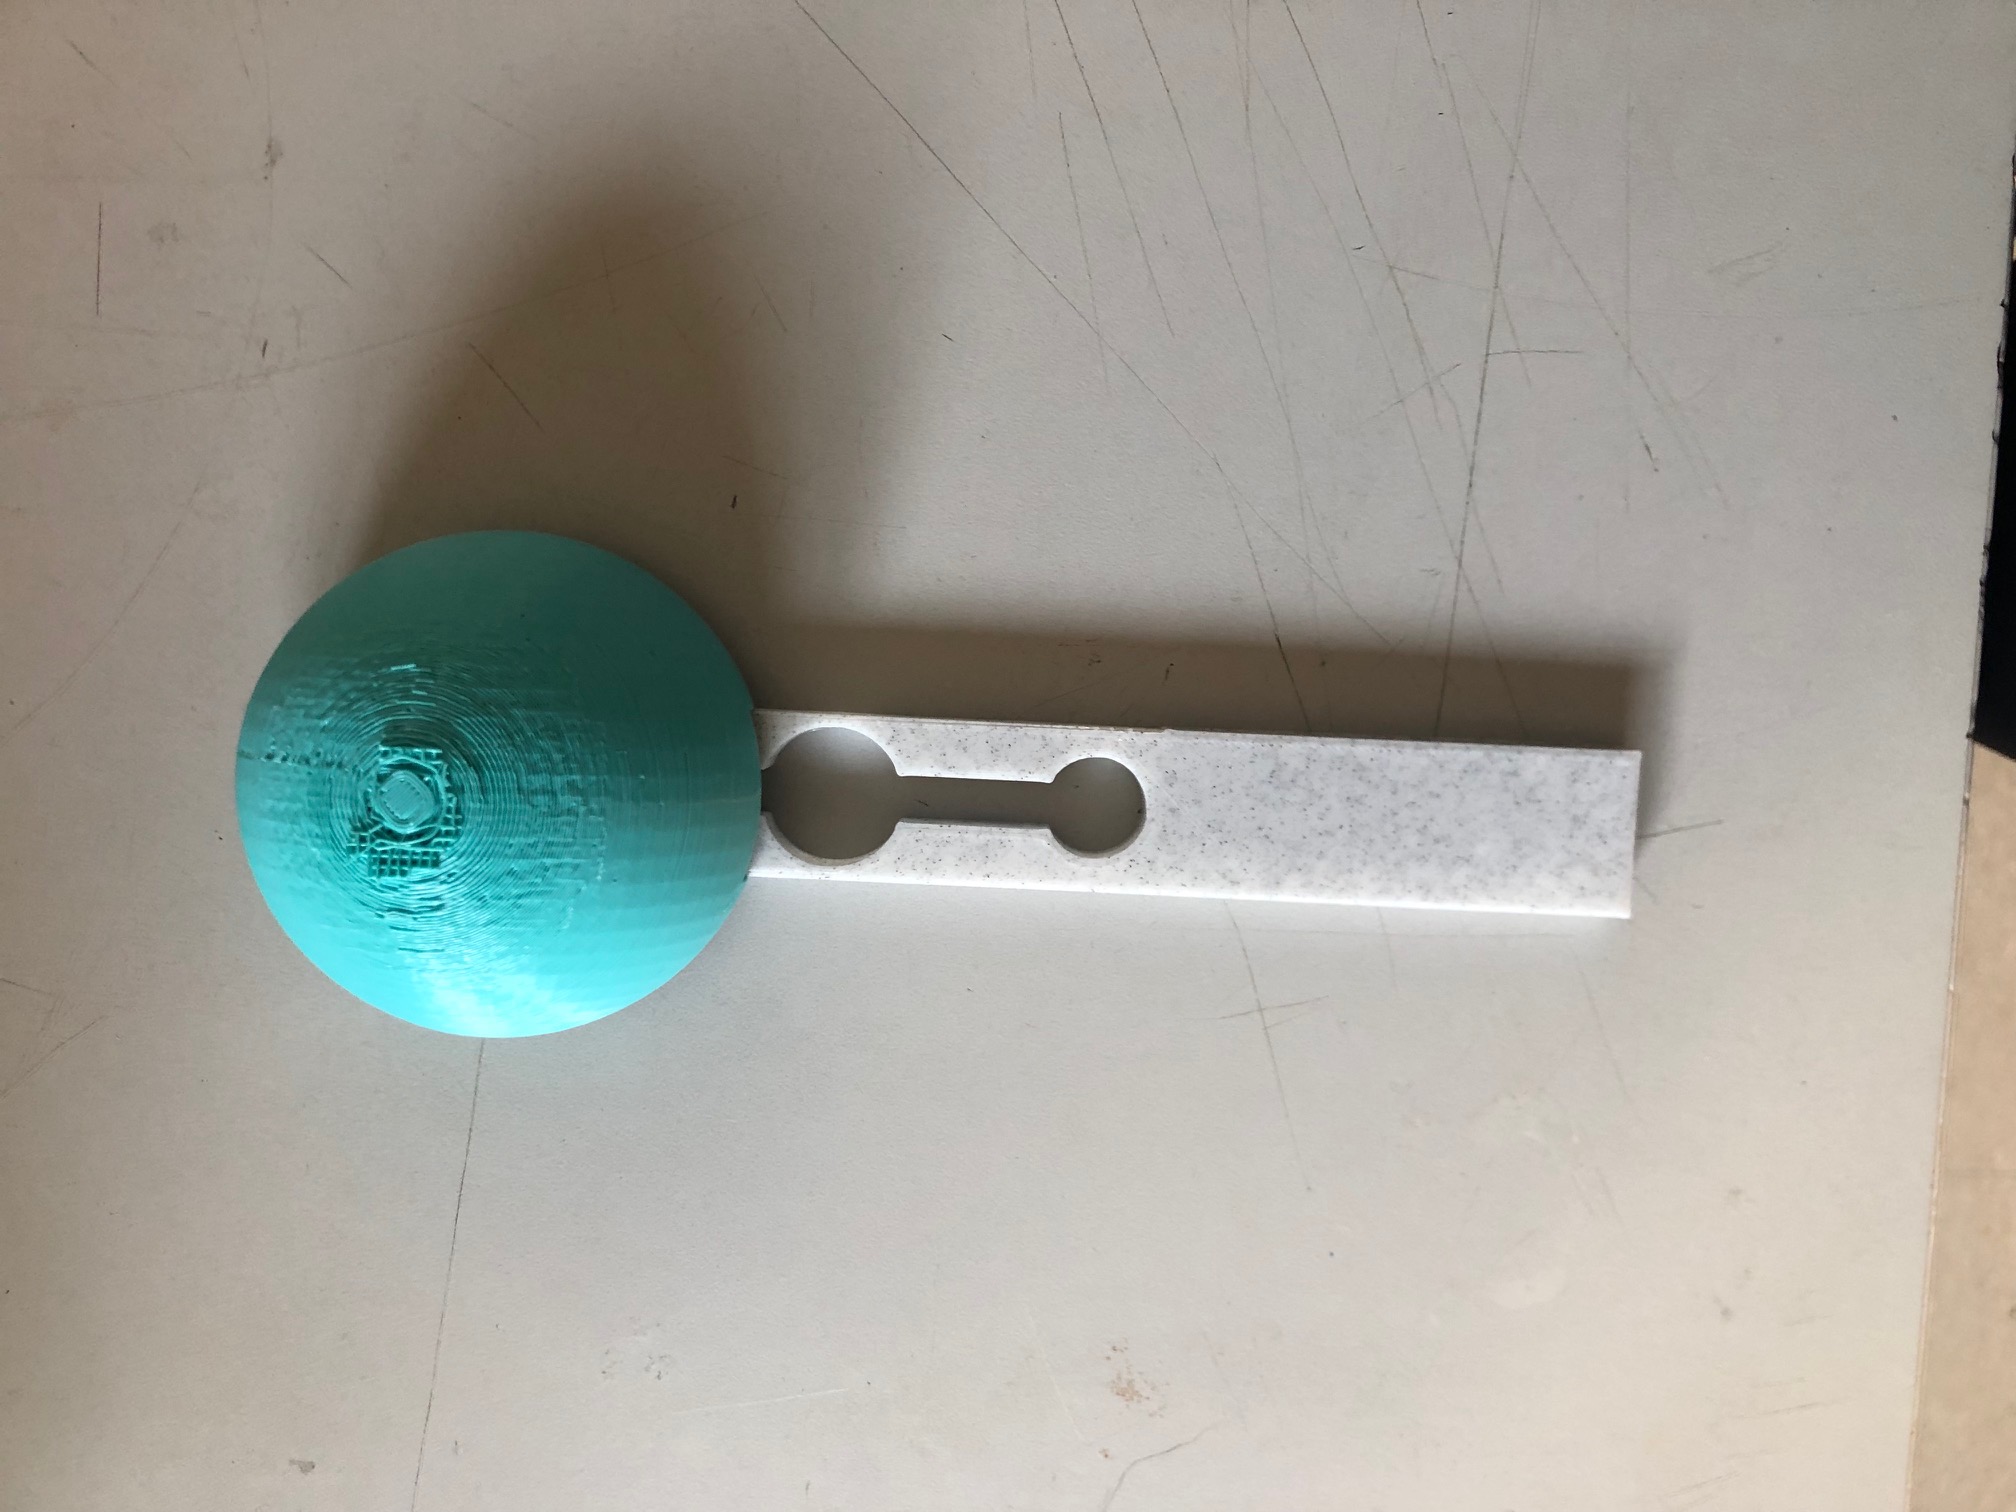
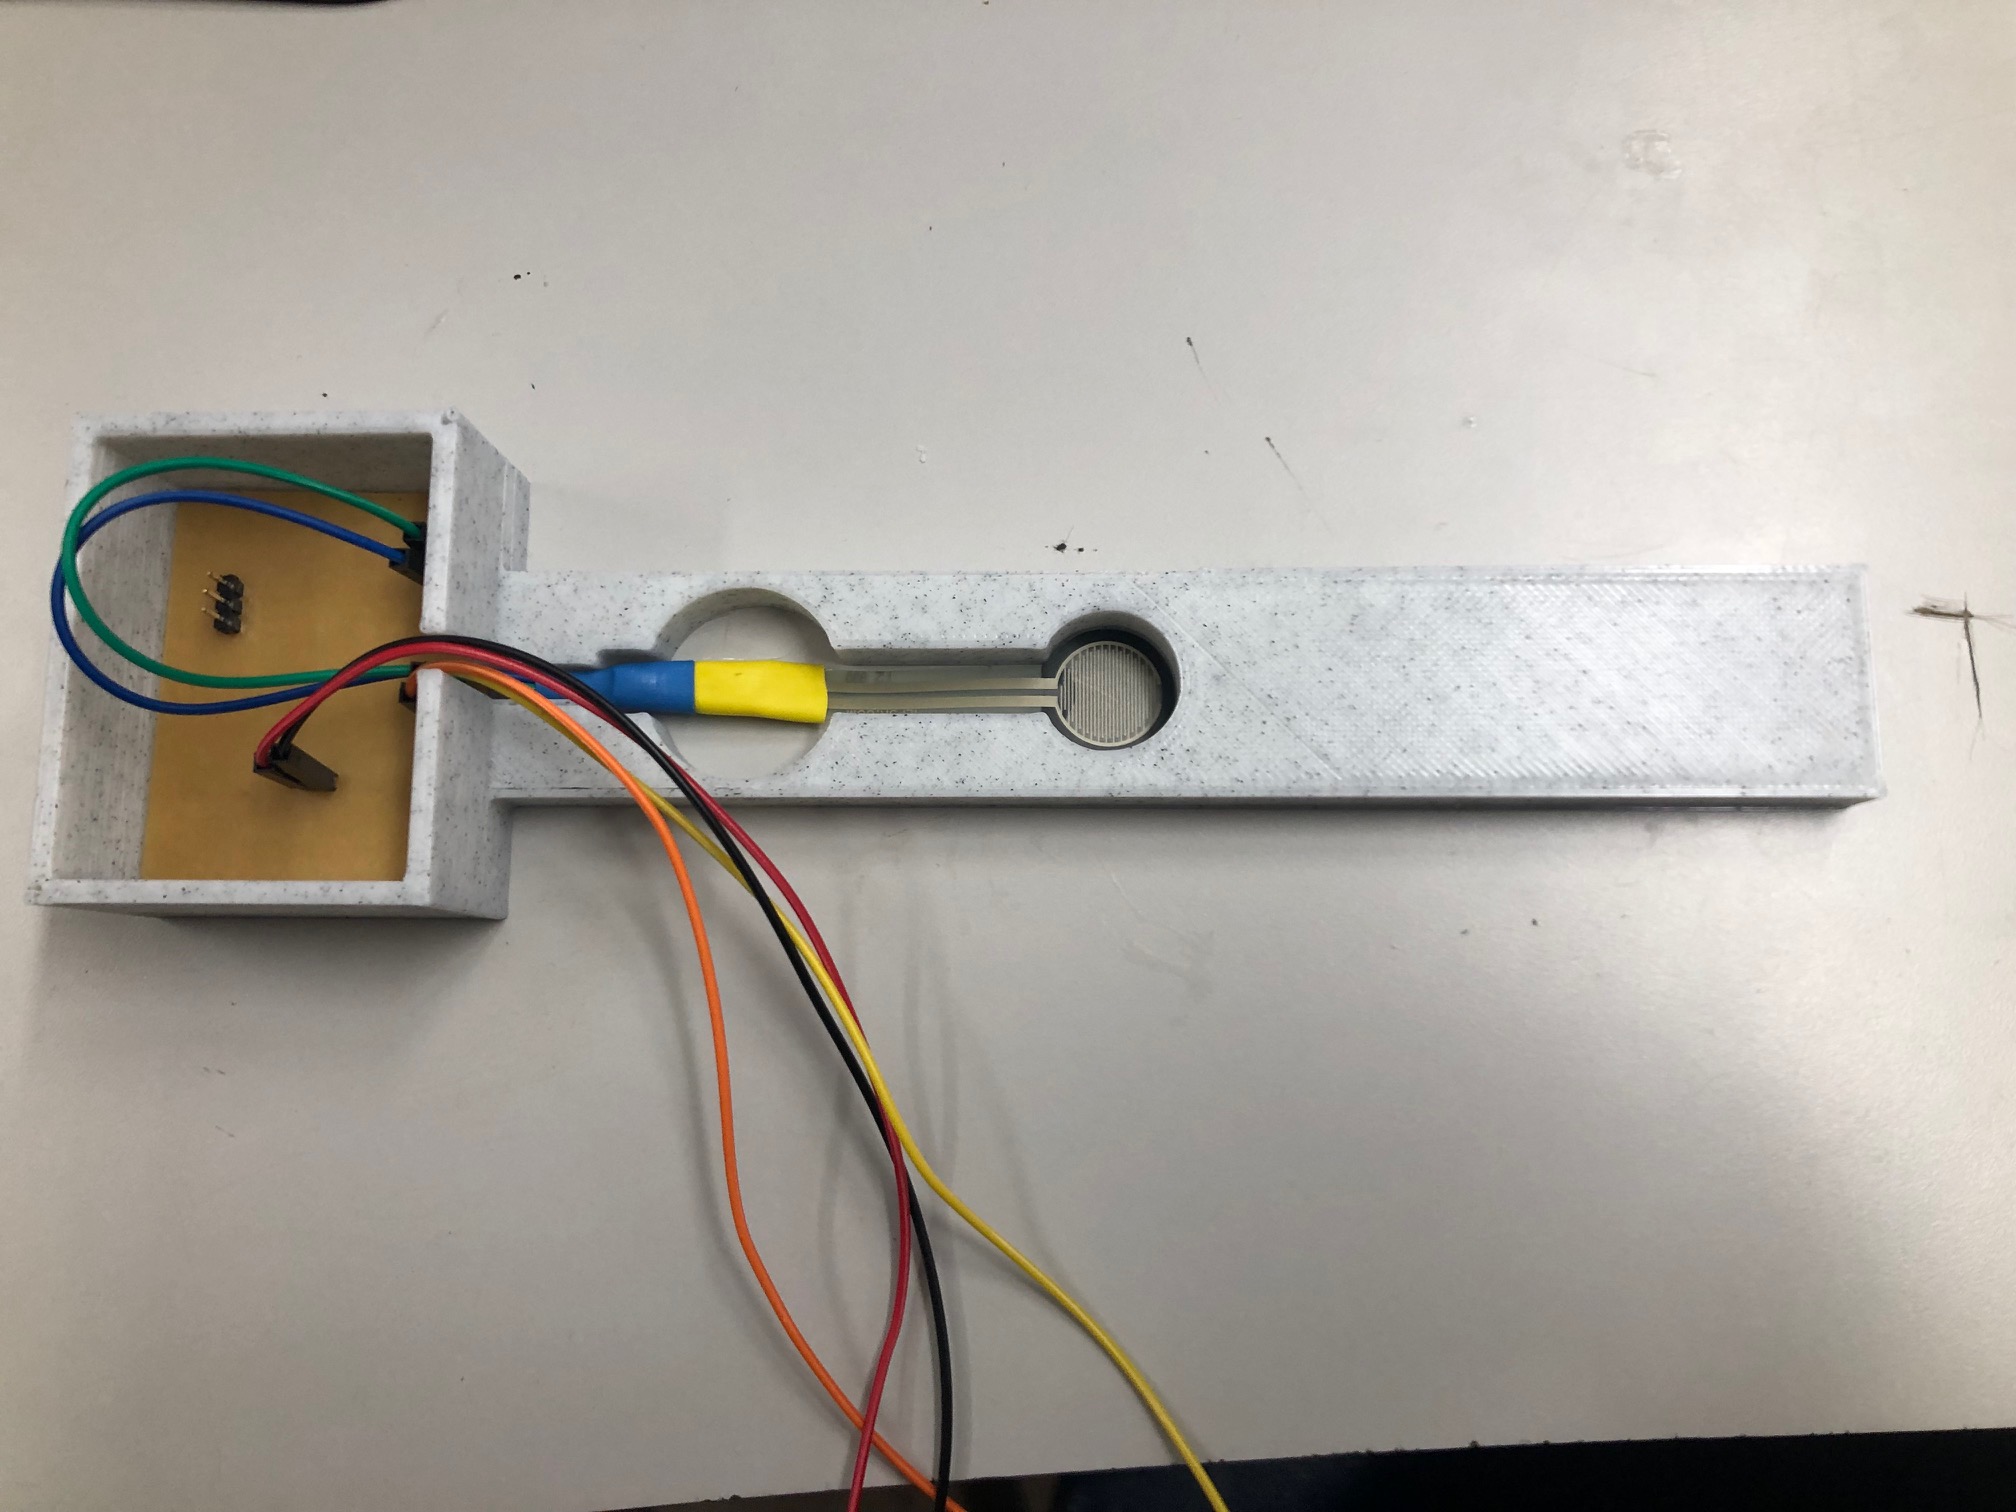
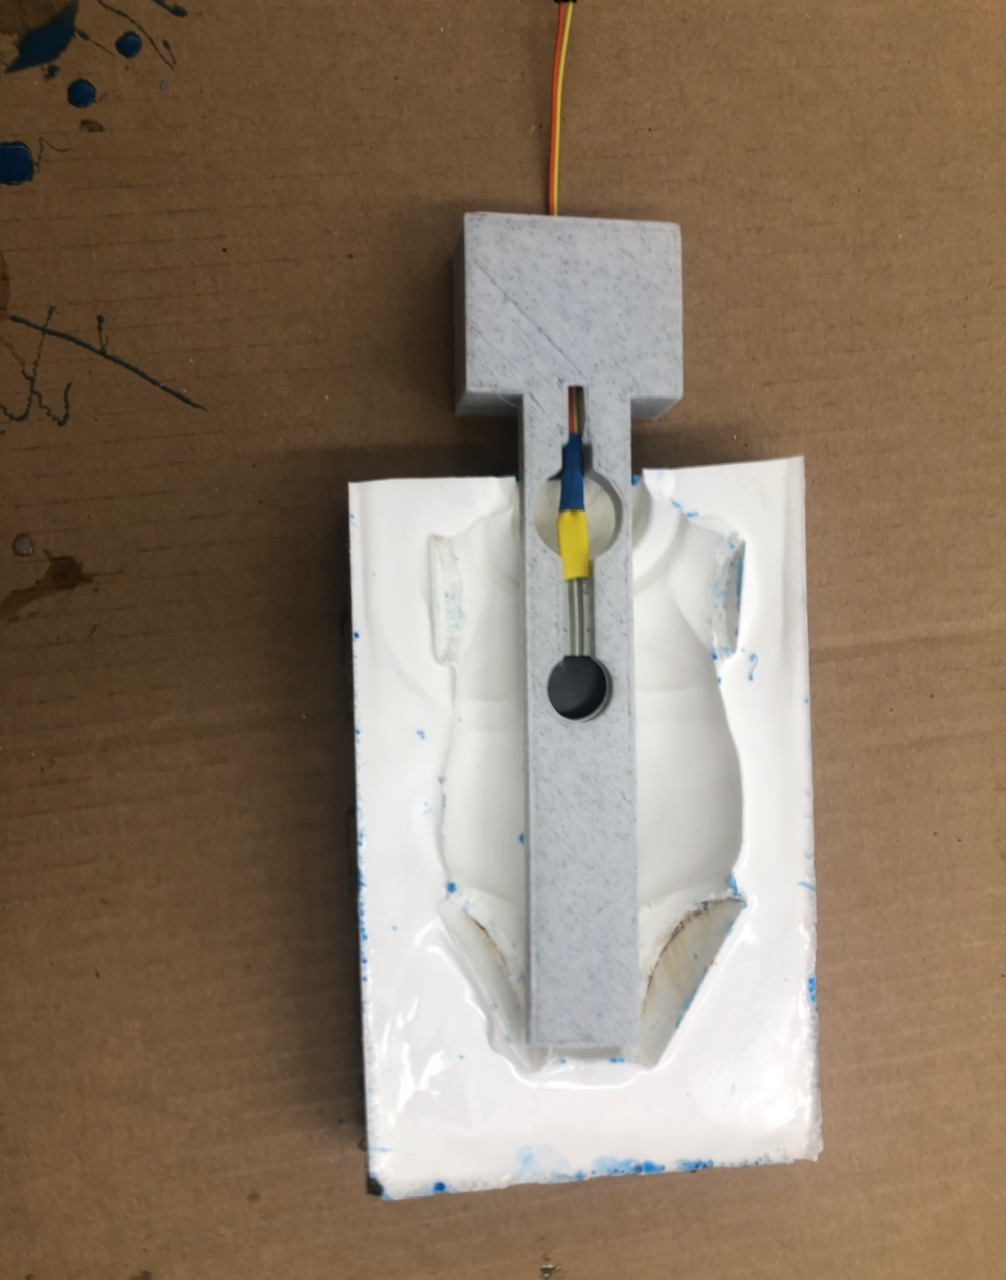
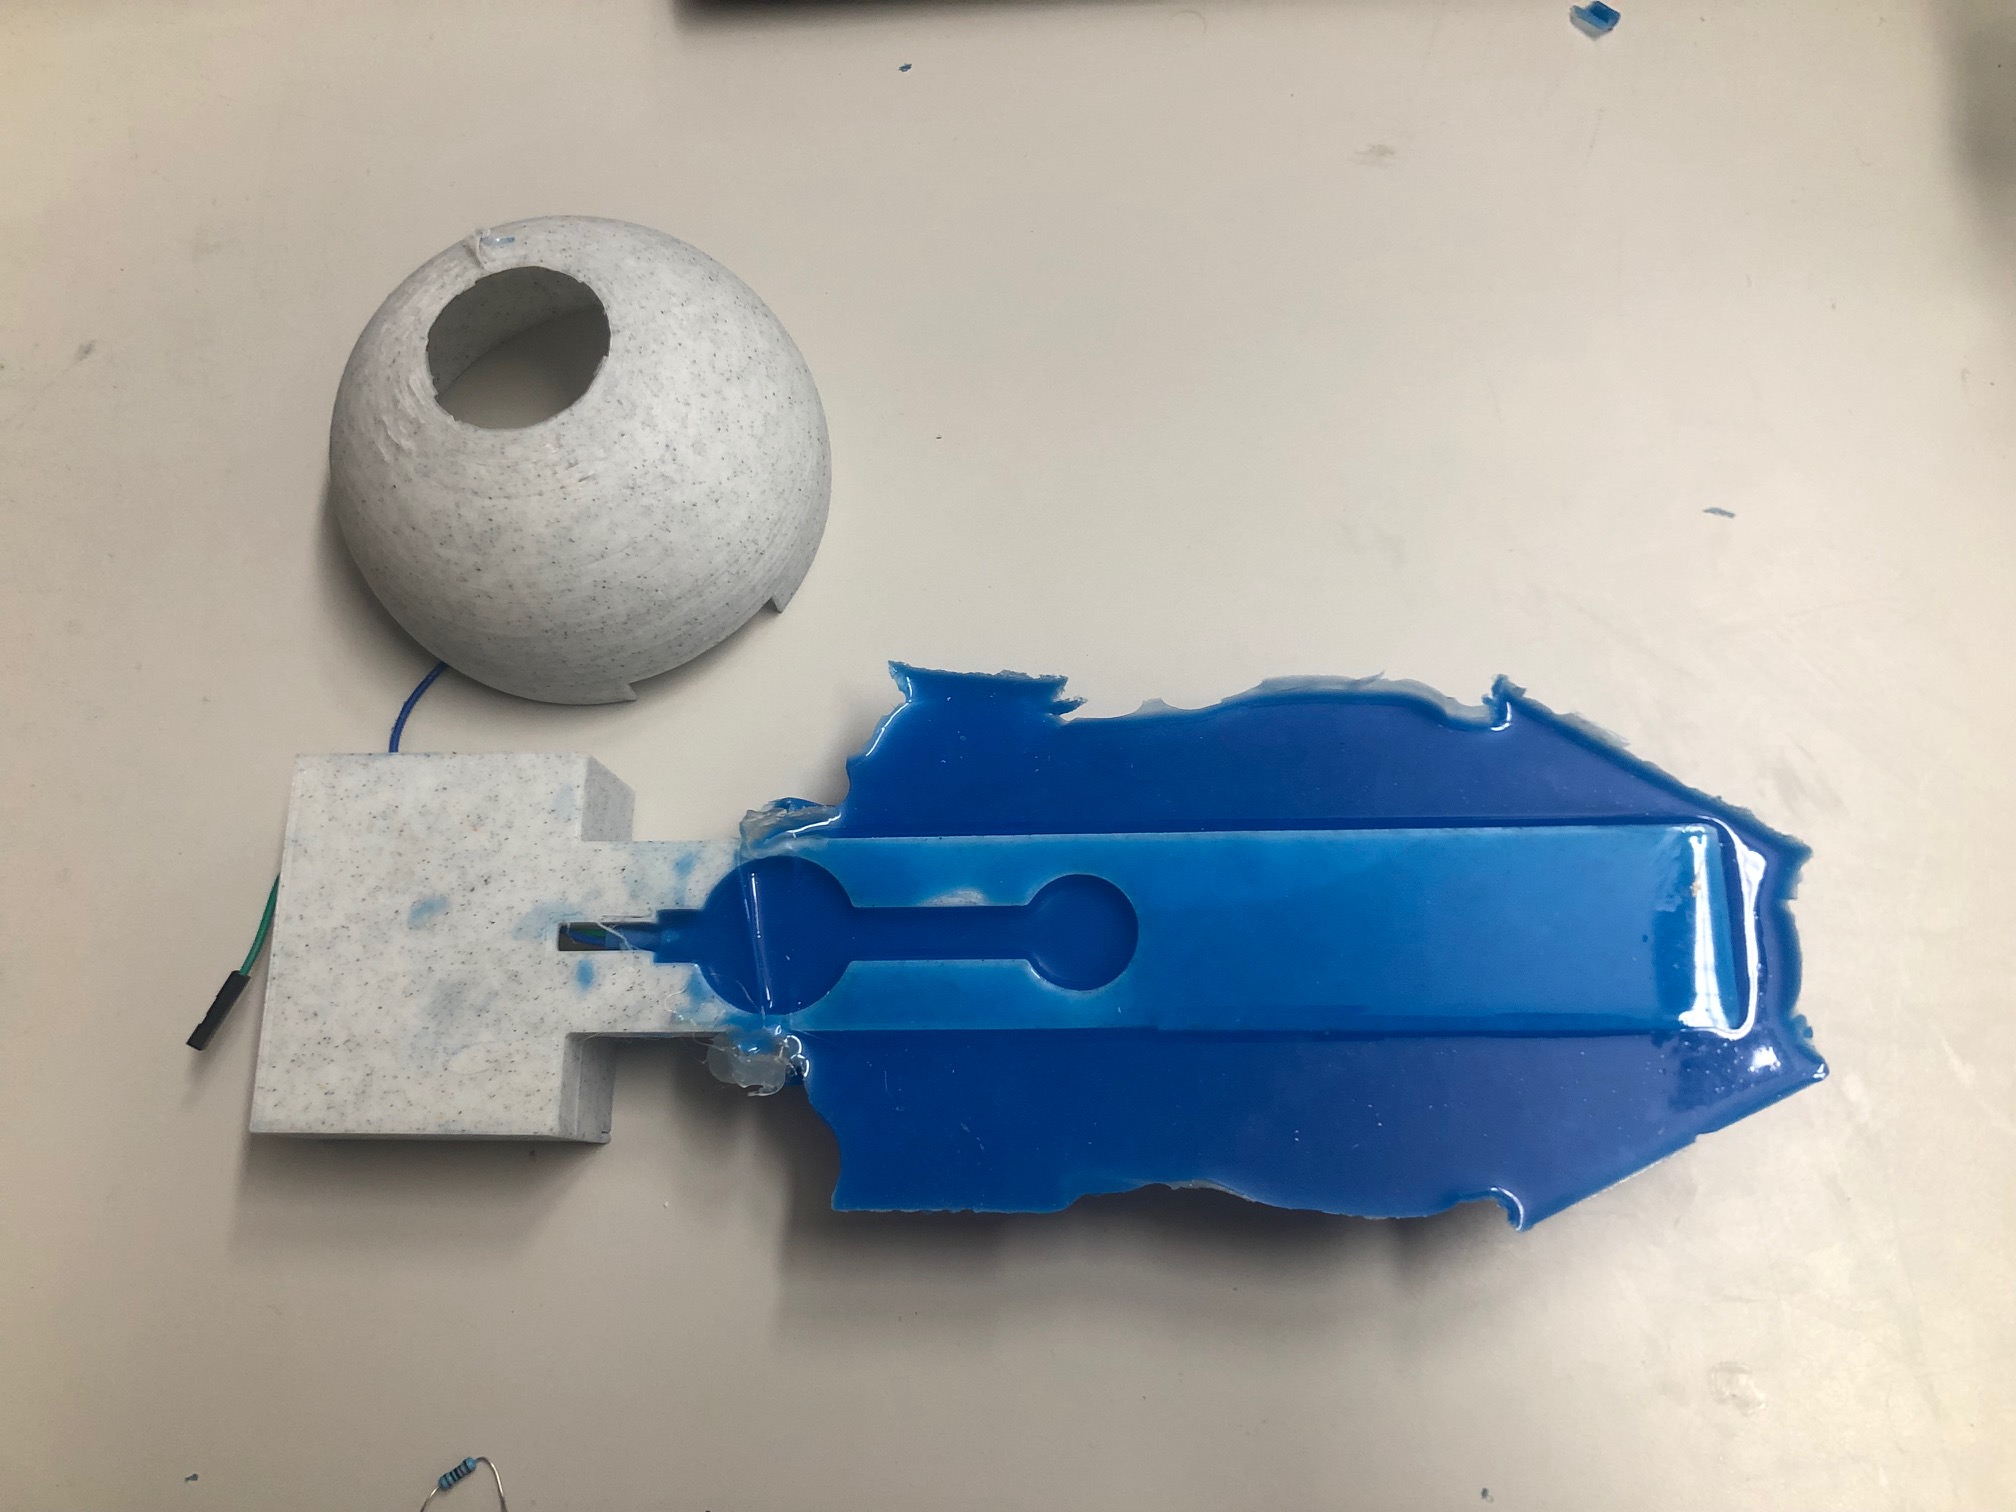
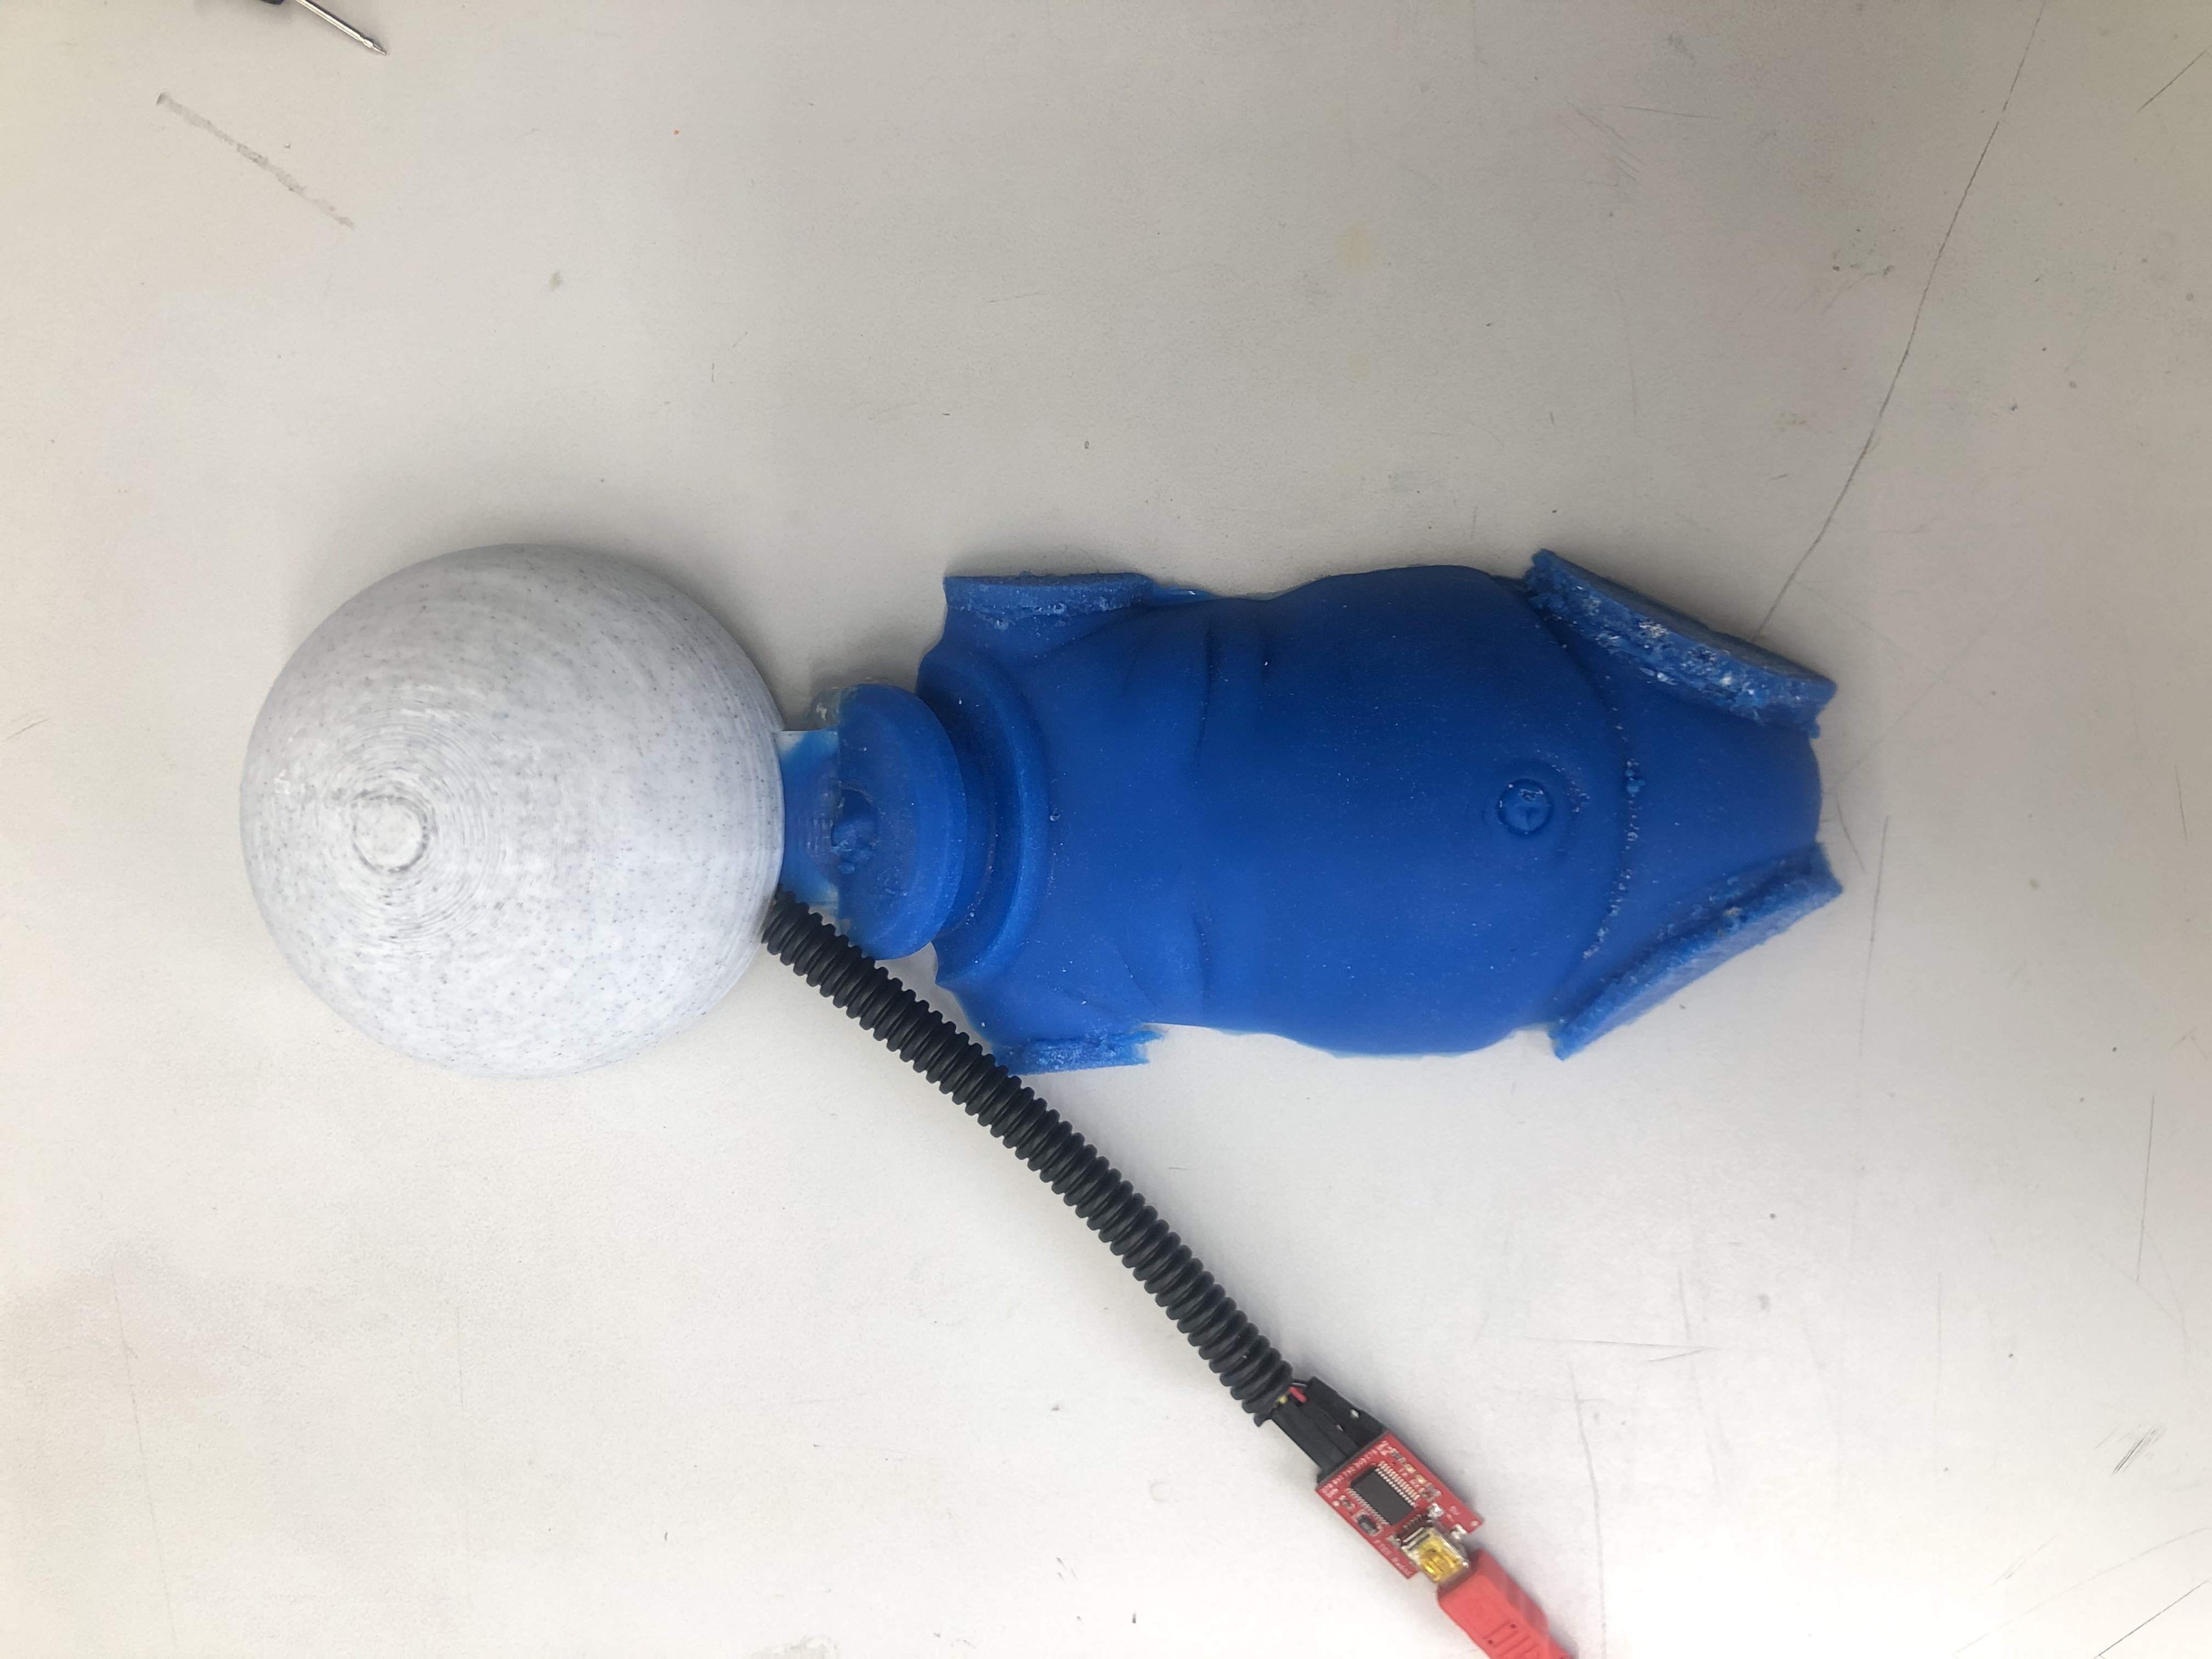
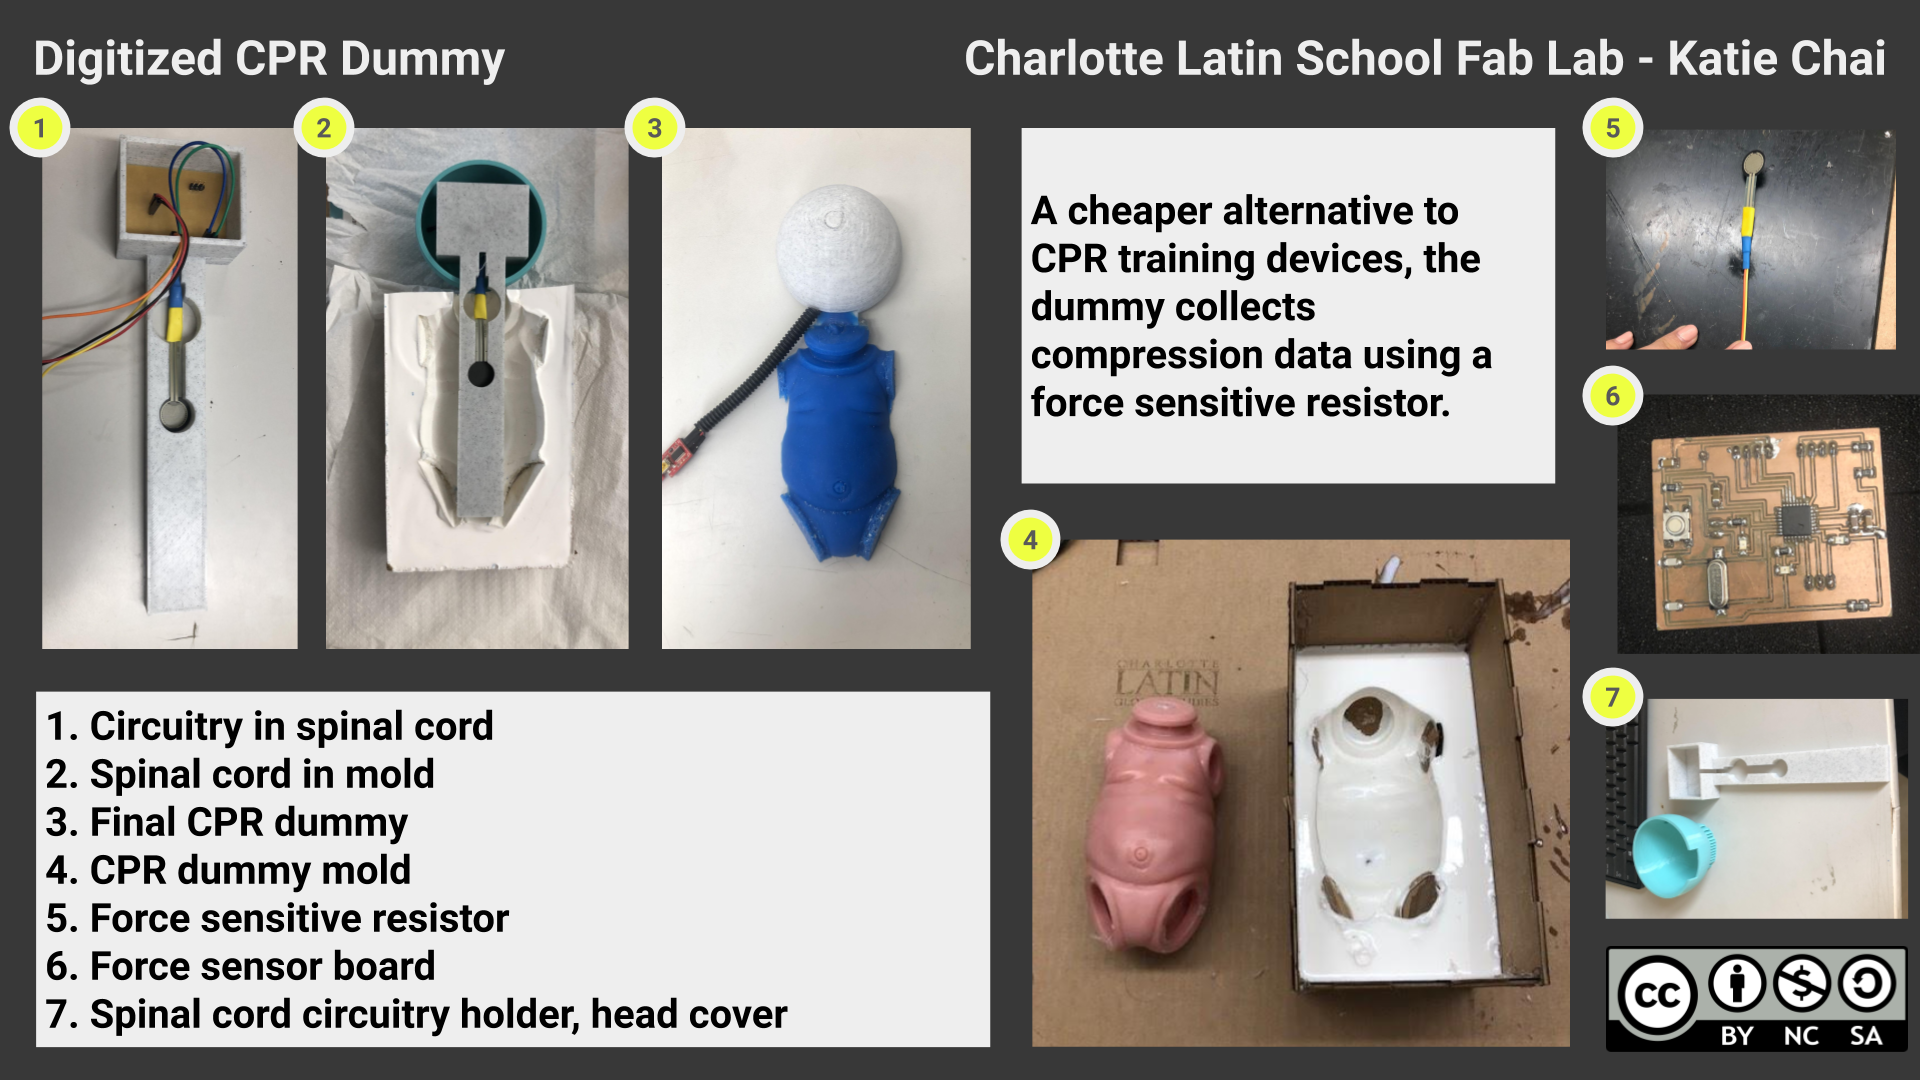
To organize and contain my circuitry, I created a “spinal cord” attachment that would sit inside my CPR dummy body. Along the longer portion of my spinal cord, I designed a slot for my force sensitive resistor to sit. I also designed a “head” cover for the box on my spinal cord. Both parts fit together snugly and had a hole where I could thread wire through.
Spinal Cord Attachment:
Head Cover:
3D Printed Circuitry Container Parts:
Circuitry Container in Mold:

For more information on these components see week 20.
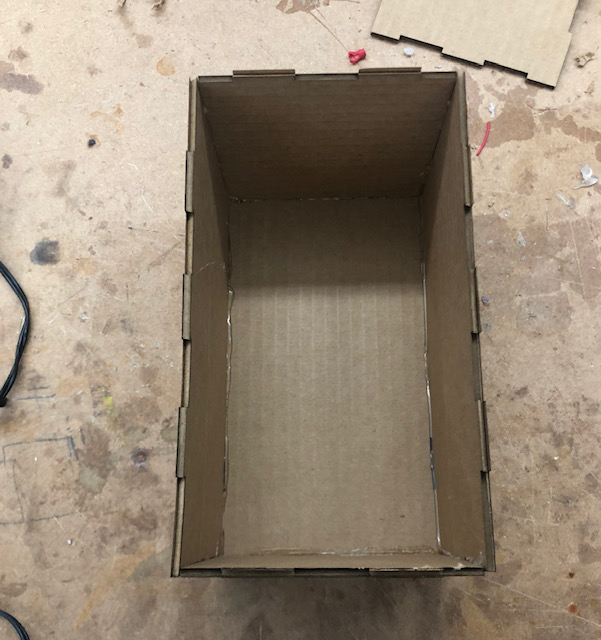
CPR Dummy Body
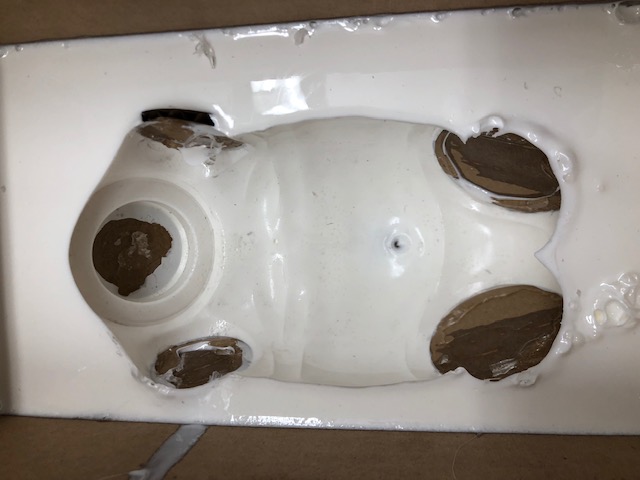
To encompass the different parts of my project, I created a baby doll mold using Smooth-Cast 300.
Mold:
Mold Next to Original Baby Doll:
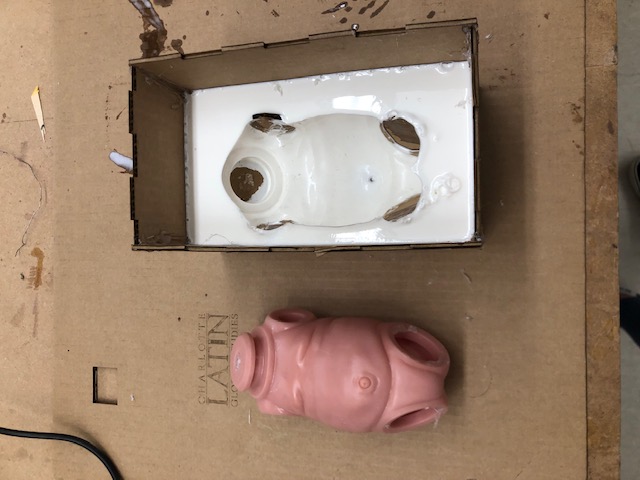
I cast my final project with Mold Star 30. Cast:

Mold Box
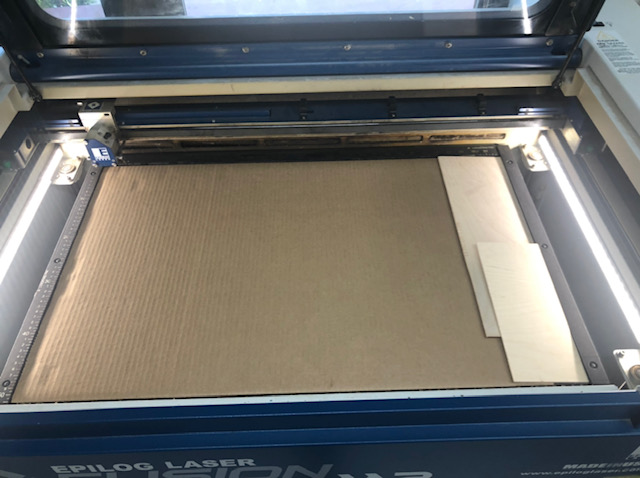
To contain my mold, I laser cut a tabbed box. To create the design file, I experimented with a digital rendering website called MakerCase. This tool would take my measurements and produce a tabbed box design!
Here are my files for my tabbed box. Included in this file are several circles which I used to plug the arm/leg/head sockets on my baby doll.
After I designed my mold box, I laser cut it!
Assembled Box:
For more information on my mold see week 10.
For more information on my cast see week 20.
Force Sensor Board
For my final project circuit board, I adapted Daniele Ingrassia’s Satshakit. I reduced the amount of pin headers and added 10k ohm resistors on the pins that would be connected to my sensor.
Updated Board:

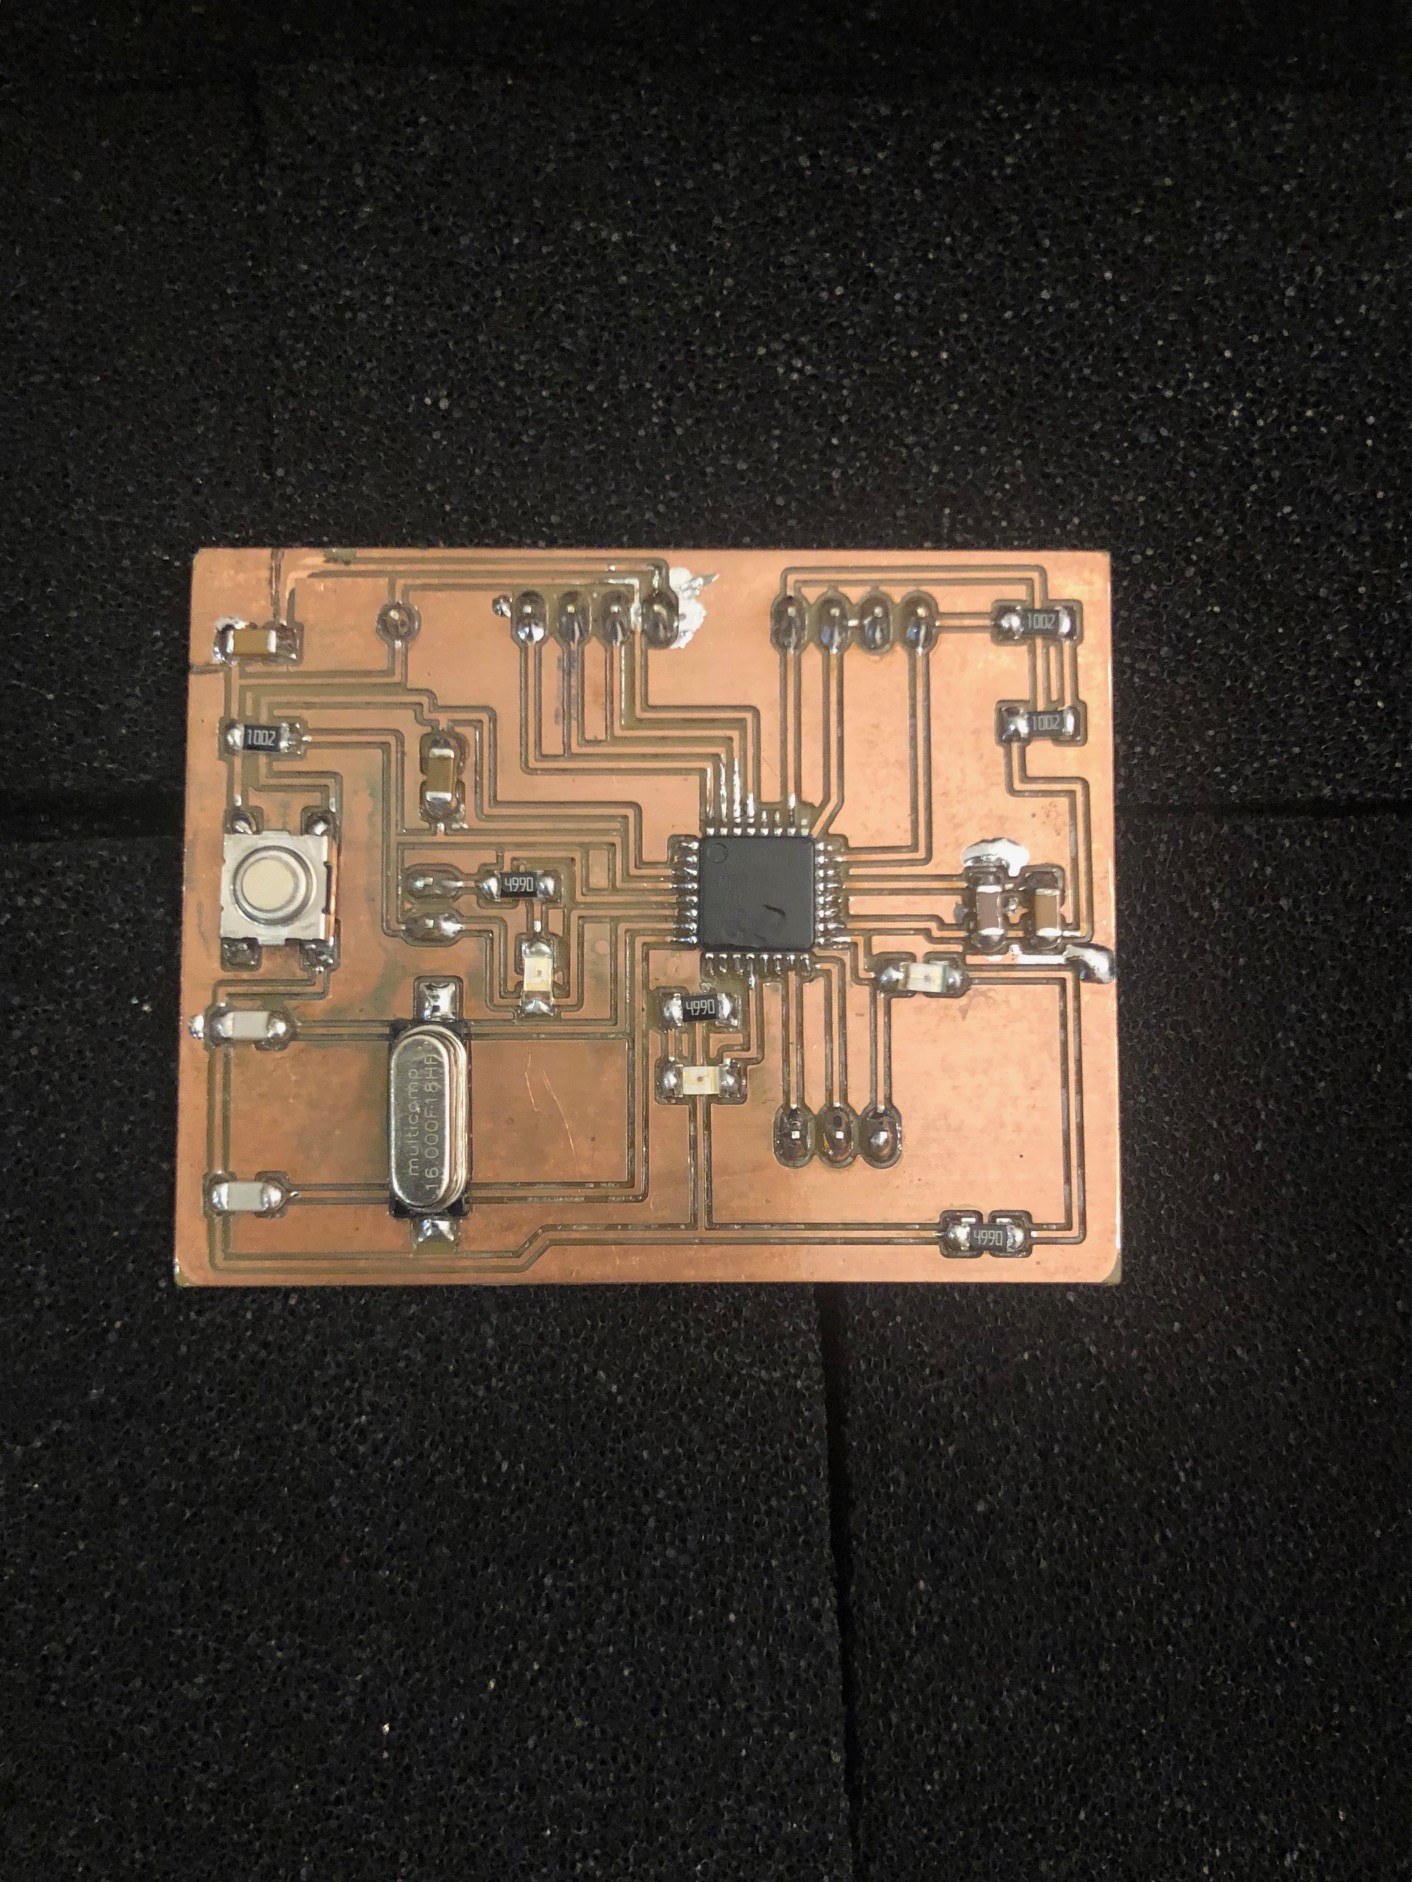
For more information on my board see week 11.
Code
I collected compression data using a force sensitive resistor. This is the code that I wrote that printed the data with the serial monitor.
const int  force = A0;
int reading;

void setup()
{
Serial.begin(9600);
}

void loop()
{
reading = analogRead(force);
Serial.println(reading*100);
delay(100);
}
For more information on my code see week 11 and week 16.
Processing
To create a visual that would display the compression data my force sensor had collected, I developed a processing program based off of Deepankar Maithani’s graph program.
Code:
//import Serial communication library
import processing.serial.*;
//init variables
Serial commPort;
float force;
int yDist;
float[] forceHistory = new float[100];

void setup()
{
//setup fonts for use throughout the application
//set the size of the window
 size(240,200);
//init serial communication port
 commPort = new Serial(this, "COM26", 9600);
//fill tempHistory with default temps
 for(int index = 0; index<100; index++)
 forceHistory[index] = 0;
}

void draw()
{
 //get the temp from the serial port
 while (commPort.available() > 0)
 {
 force = commPort.read();
//refresh the background to clear old data
 background(95);

 //draw the temp rectangle
 colorMode(RGB, 130);  //use color mode sized for fading
 stroke (0);
 rect (49,19,22,162);
 //fade red and blue within the rectangle
 for (int colorIndex = 0; colorIndex <= 160; colorIndex++)
 {
 stroke(160 - colorIndex, 0, colorIndex);
 line(50, colorIndex + 20, 70, colorIndex + 20);
 }
//draw graph
 stroke(0);
 fill(255,255,255);
 rect(90,80,100,100);
 for (int index = 0; index<100; index++)
 {
 if(index == 99)
 forceHistory[index] = force;
 else
 forceHistory[index] = forceHistory[index + 1];
 point(90 + index, 180 - forceHistory[index]);
 }
//write reference values
 fill(0,0,0);
 textAlign(RIGHT);
//draw triangle pointer
 yDist = int(160 - (160 * (force * 0.01)));
 stroke(0);
 triangle(75, yDist + 20, 85, yDist + 15, 85, yDist + 25);
 }
}
For more information on my code see week 16.
Copyright
I am publishing my project with an open source, Creative Commons-Attribution-NonCommercial-ShareAlike license (CC BY-NC-SA).

For more information on my licensing see week 19.
Final Project
Slide and Video
Here is my final project slide!
Here is my final project video!
Files
Here are all my files!
Thank you to Mr. Dubick, Dr. Fagan, Dr. Harris, Mr. Knight, Mr. Rudolph, Miss Tan, Dr. Taylor, and Mr. Vincent for helping me with both my final project and this entire course!