Laser cutting is a technology that uses a laser to cut materials. This machine is typically used for industrial manufacturing, but now is starting to be used by schools, hobbyists and small businesses. Laser cutting works by directing the output of a high-power laser cutting materials, resulting in high quality, dimensionally accurate cuts. The process works by directing the laser beam through a nozzle to the workpiece. A combination of heat and pressure creates the cutting action.
At first I did not know what I wanted to make for the laser cutter project. But then I thought about my favorite animal. I had love butterflies since I was little.
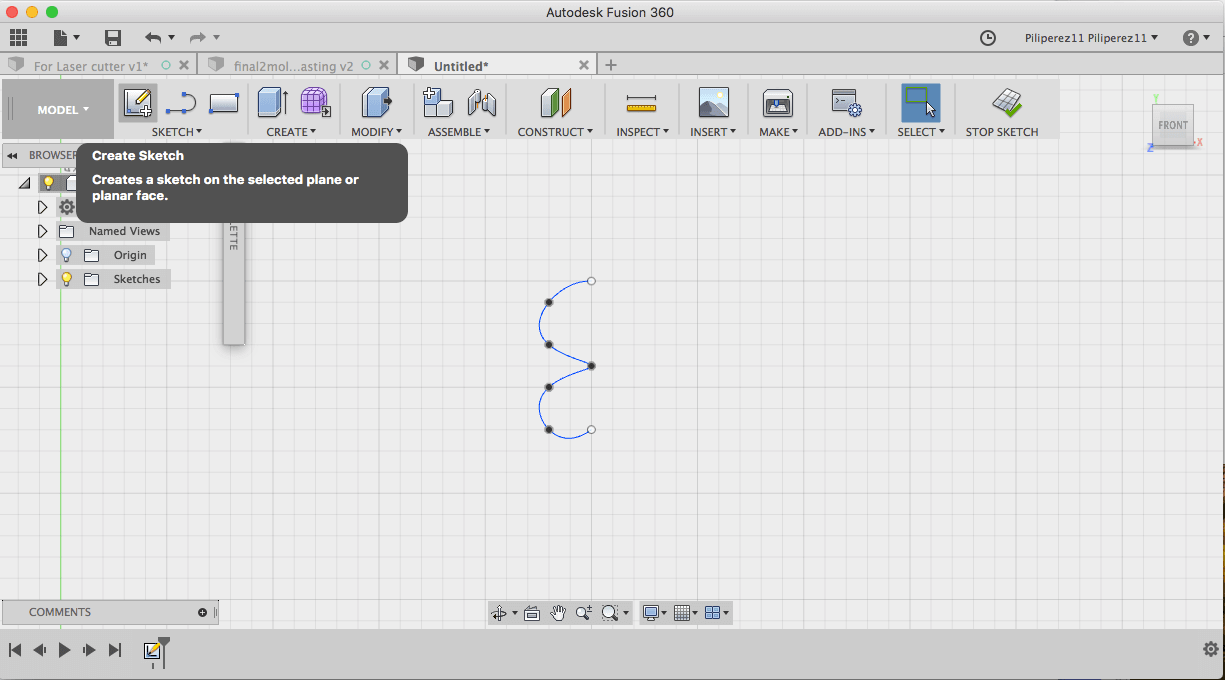
I started with a spline line as is shown in the picture. After editing the my spline line this is the shape that I like.

In order for me to have the same wing in the other side. I mirror my wing to the other side. First I drew a line next to the wing. Then a menu comes up asking you to select objects and then to select mirror line. It looks like mirroring is an easy thing to do but was not easy I had to watch a few tutorials to get this done.
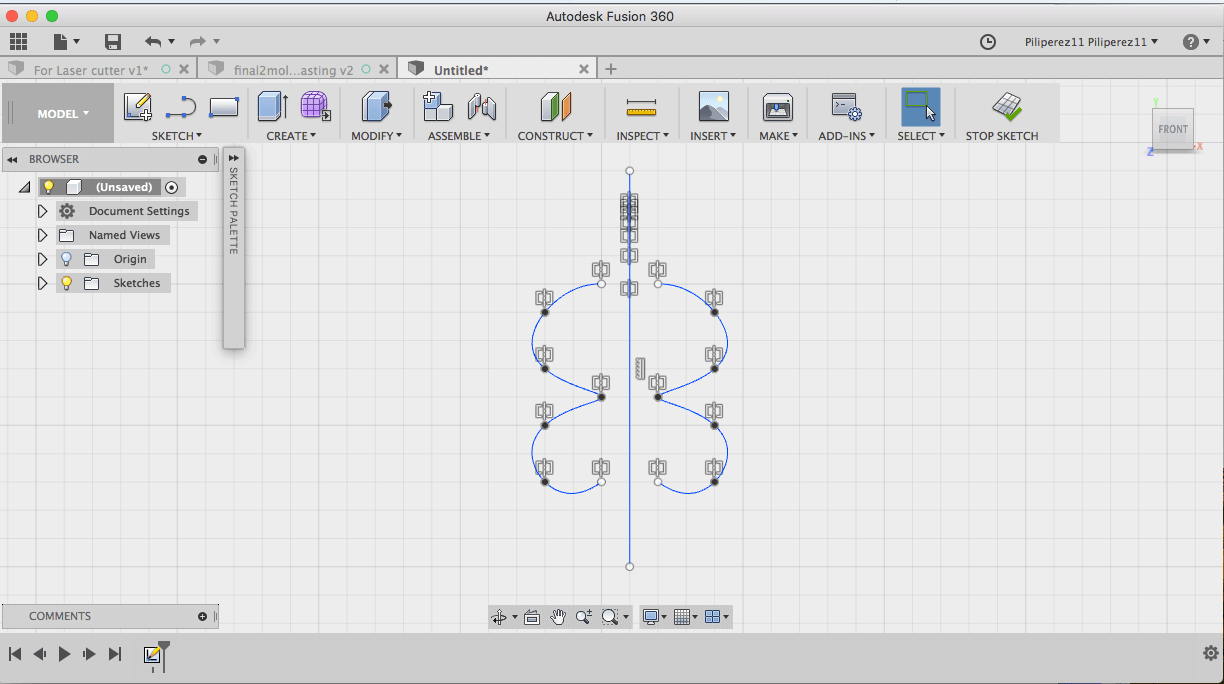
In my shape not all the line were connected,so I watch a tutorial in youtube and they recommended to add this libraries in my add ins. I downloaded this libraries from github.
Here Conect the dots libraries.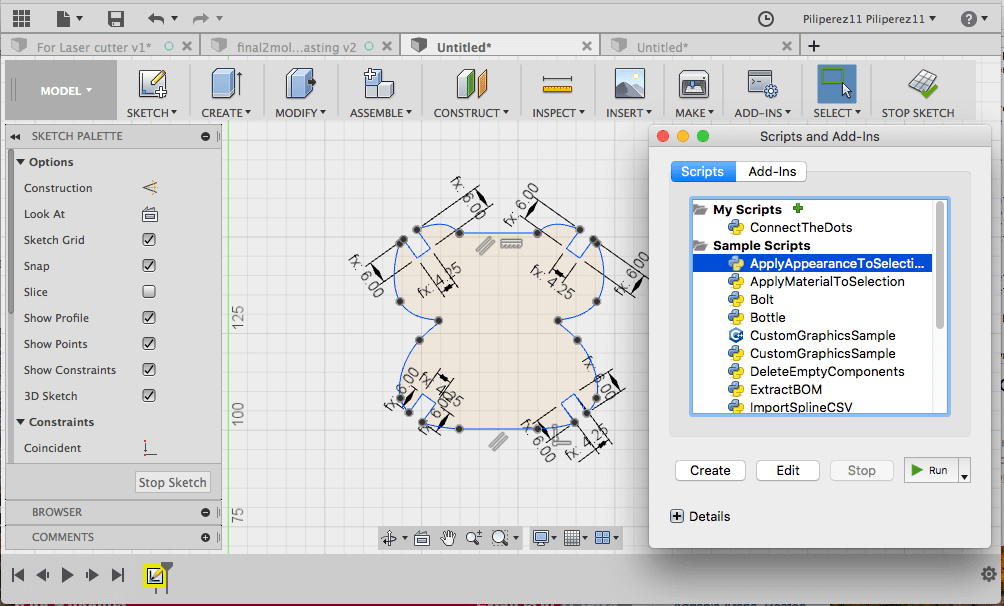
I finally have complete my shape, with the joints so the shapes can interlock with each other. The measurement for the opening of the joints is 4.25 mm. This week the assignment specifically ask to put parameters in my drawing. Parameters are design contraints that the user sets to manipulate the design. For example if I change the measurement in one of my joints its gonna change for all of them. Parameter : setting values for particular a set that defines a system or sets the conditions of its operation.
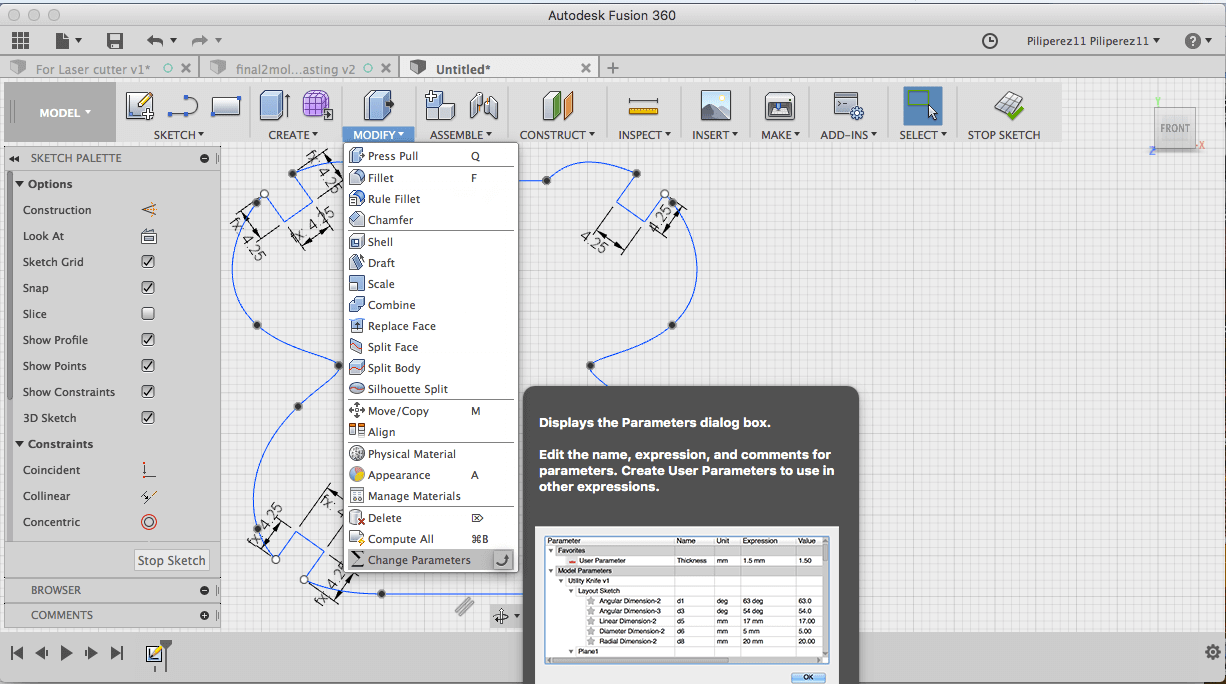
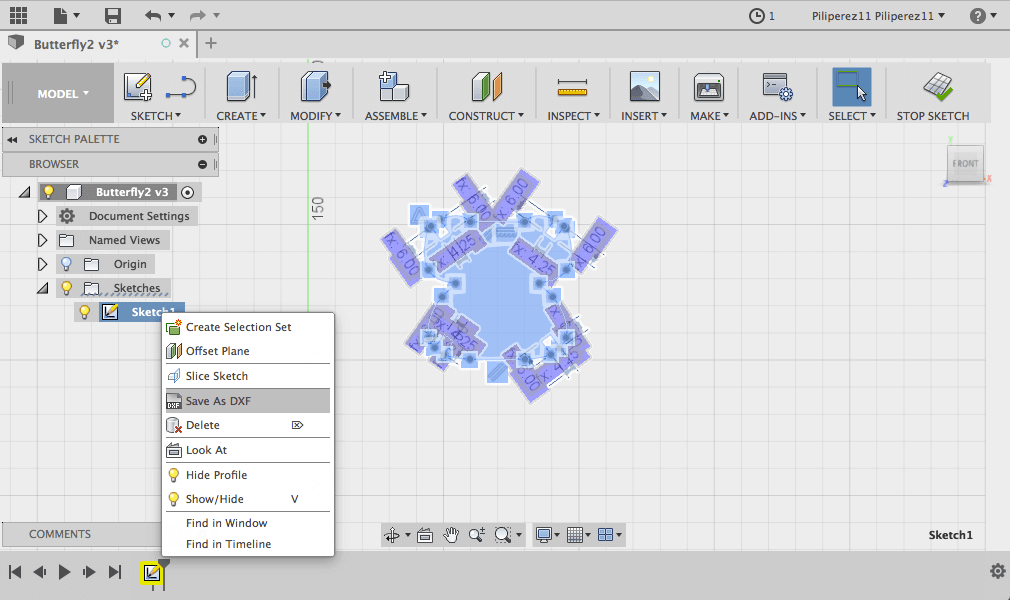
To save my file in Fusion 360 I selected the sketch, I made a right click and options appear. I selected save as DXF and now I’m ready to cut in the laser cutter.
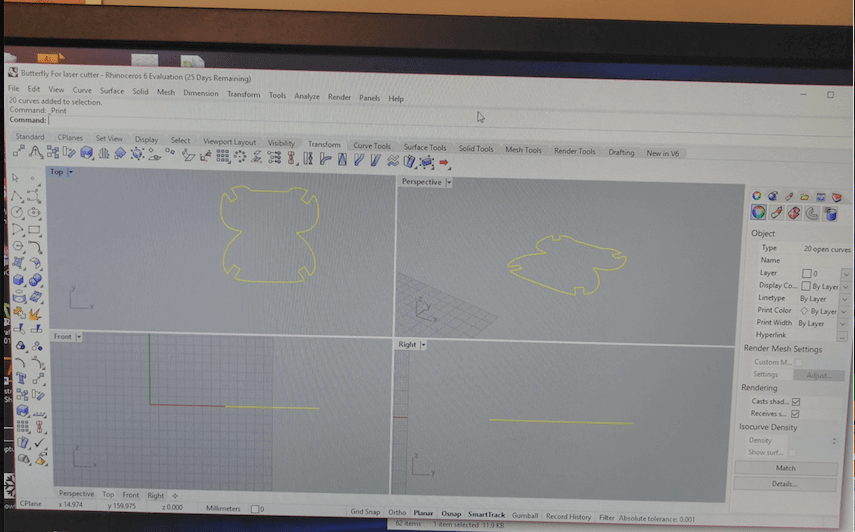
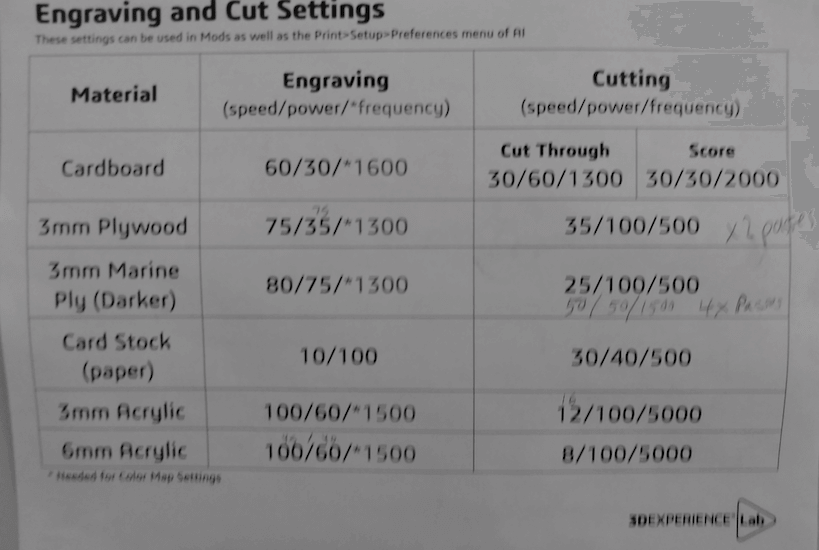
I load my file to the computer where we run the laser cutter. I open the file on Rhino software. I choose the option cut. The settings are; speed, power and frequency. In the chart says to cut all the way to cardboard is 30 for speed, 60 for power and frequency 1300.
In the manual it shows the materials that you can cut or engrave there are way more then that. You can look at the manual book and it has more options of materials that you can cut. I also learn the safety protocols. For example what materials not to cut because they might cought on fire
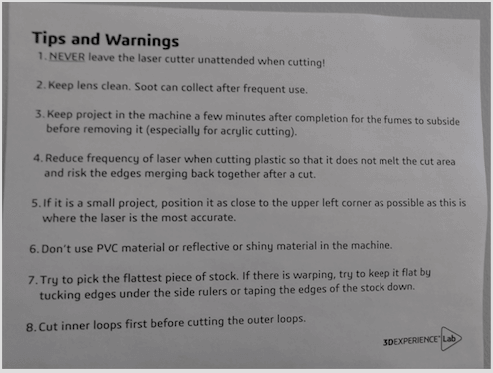
This pictures is showing steps of what things should I turn on. Also it shows safety protocols.
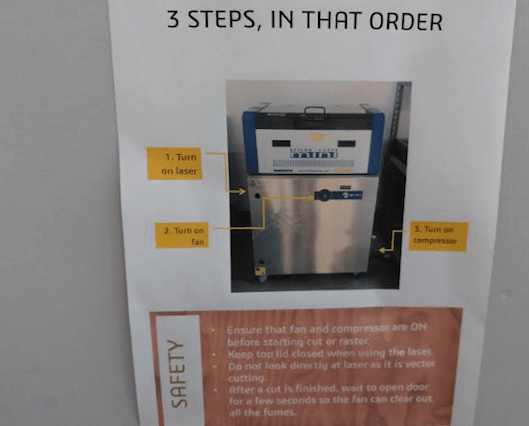
Tips and Warnings to use the laser cutter.
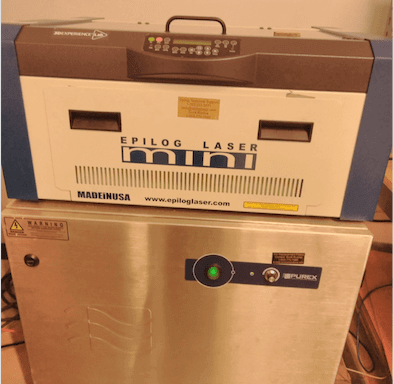
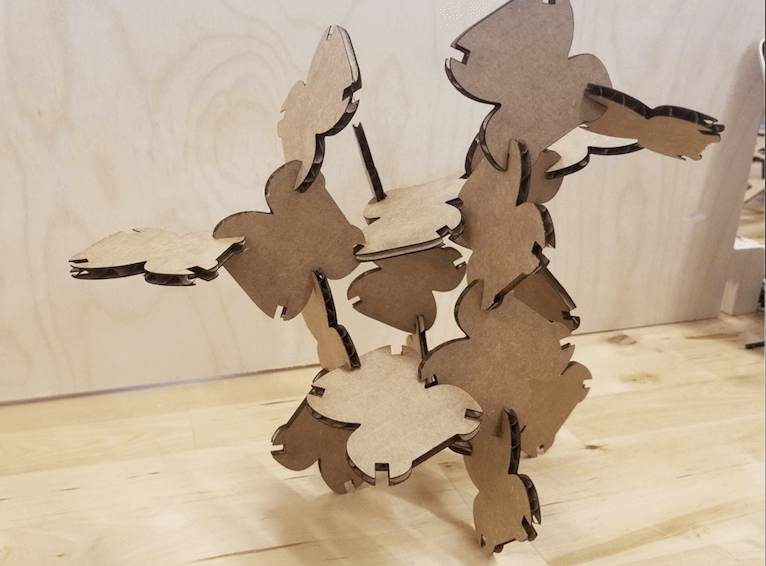
I'm ready to used the laser cutter to cut my shape.
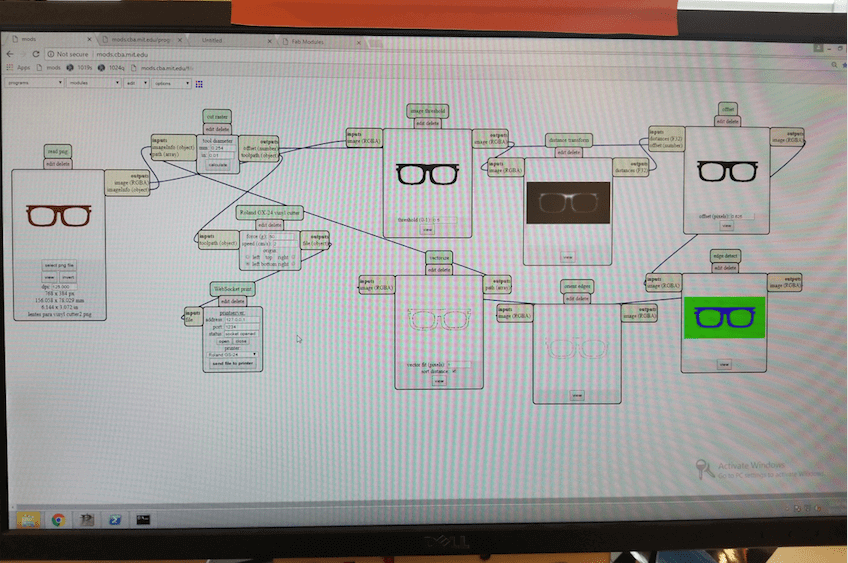
This are all the steps that I used, to vinyl cut my sticker.I used the same design that I’m using for my final project, glasses. The program that we used to cut in the vinyl cutter is called Mods. Open Mods in the internet browser make a left click choose the option programs then open server program. Then to used the vinyl cutter choose the option; vinyl cutter, GX-24, and cut png.
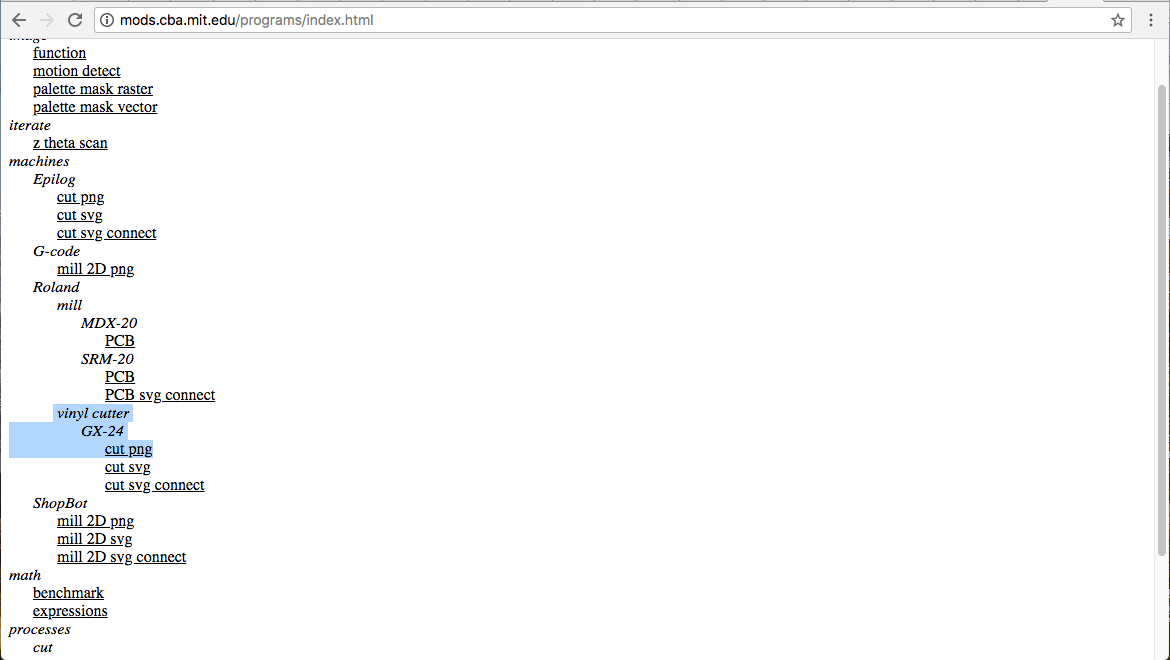
A window like this comes up when you are done choosing all the previous steps. This is the very first time that I got introduced to Mods.
I had trouble printing my first file. This is the problem that came across, the first picture I did not left enough white background on my image. So, this was creating an error on Mods because it did not see a complete image. The picture below is the file that I try to print at very first.
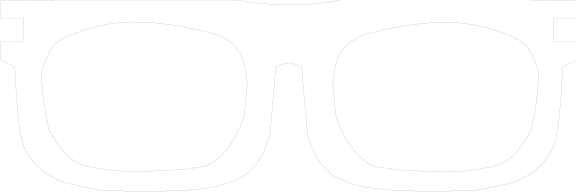
Now I have upload my file to Mods and this how it looks like. Before this So, I change the file on inkscape and I gave more background to my file. Now that I upload my image, I’m ready to cut. In Mods the steps are very simple. You click on select png and the picture uploads. Second you select calculate, the software runs all this different setting that they give you a review of how is gonna get cut and other things. Third you send the file to the machine.
Roland CAMM 1 GS24
The steps that you need to do in order to cut your file. Select Sheet then you select, Piece. Enter and when you hit enter it measures the size of the piece that you put in. This video shows how I am cutting my sticker in the vinyl cutter.
My instructor showed as how to used the transfer tape for vinyl. So when my sticker was done cutting I used the transfer tape to get my sticker ready. Now I found a place for my sticker. I realize that I have never put any sticker on my computer so I put my sticker on my computer. As is shown in the picture.
