This week we learned about machine building. We learn about different vendors, so we know where to get parts we need. Things that you need to take in a count when you are building a machine. 1;principles, 2;materials, 3;adhesives 4;fasteners 5;pins 6;framing 7;drive 8;guide 9;couplers 10;bearings 11;rotary 12;lubricants 13;cables 14;liquids 15;conveyors 16;springs 17;mechanisms 18;modules.
This picture is showing the different sketches and ideas for our machine. How are we going to place the motor and if is going to rotate. Also if we wanted to replace the knobs with gears. The decision is that we are not replacing the gears with the knobs, the idea is that any sketch can fit in this frame.

This picture shows an sketch idea for the frame to hold the sketch. In the middle of the frame we will have a motor that will turn 180 degrees back and forth to clean up the sketch.

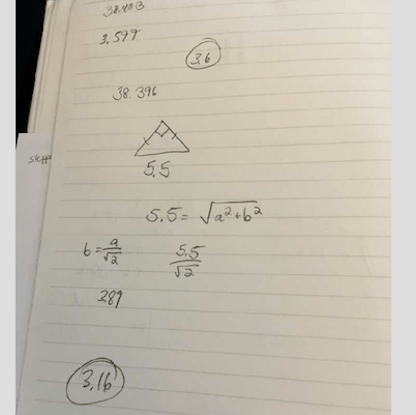
This are all the calculations that people from the team were doing. All this math are an sketch of calculations for our machine.

We were turning on some motors and holding it next to our machine to see if the motor was strong enough. Also to see if the knobs will turn with the motor.

^ This is a code that we were editing to drive the motors
In our group meeting we made some decisions. For example we mention possible materials. We also divided jobs for people to do Oye and Emely we working on the base of our machine. Greg is working on editing the code to drive our machine. Saul’s is At this point Emely and I took Saba’s design and to designed to be curtable in the shopbot or laser cutter.

We downloaded the drawing of Saba’s design. In this picture is showing how are we adding some color. We added color to have a better visual of the parts that are in the drawing.

Color added

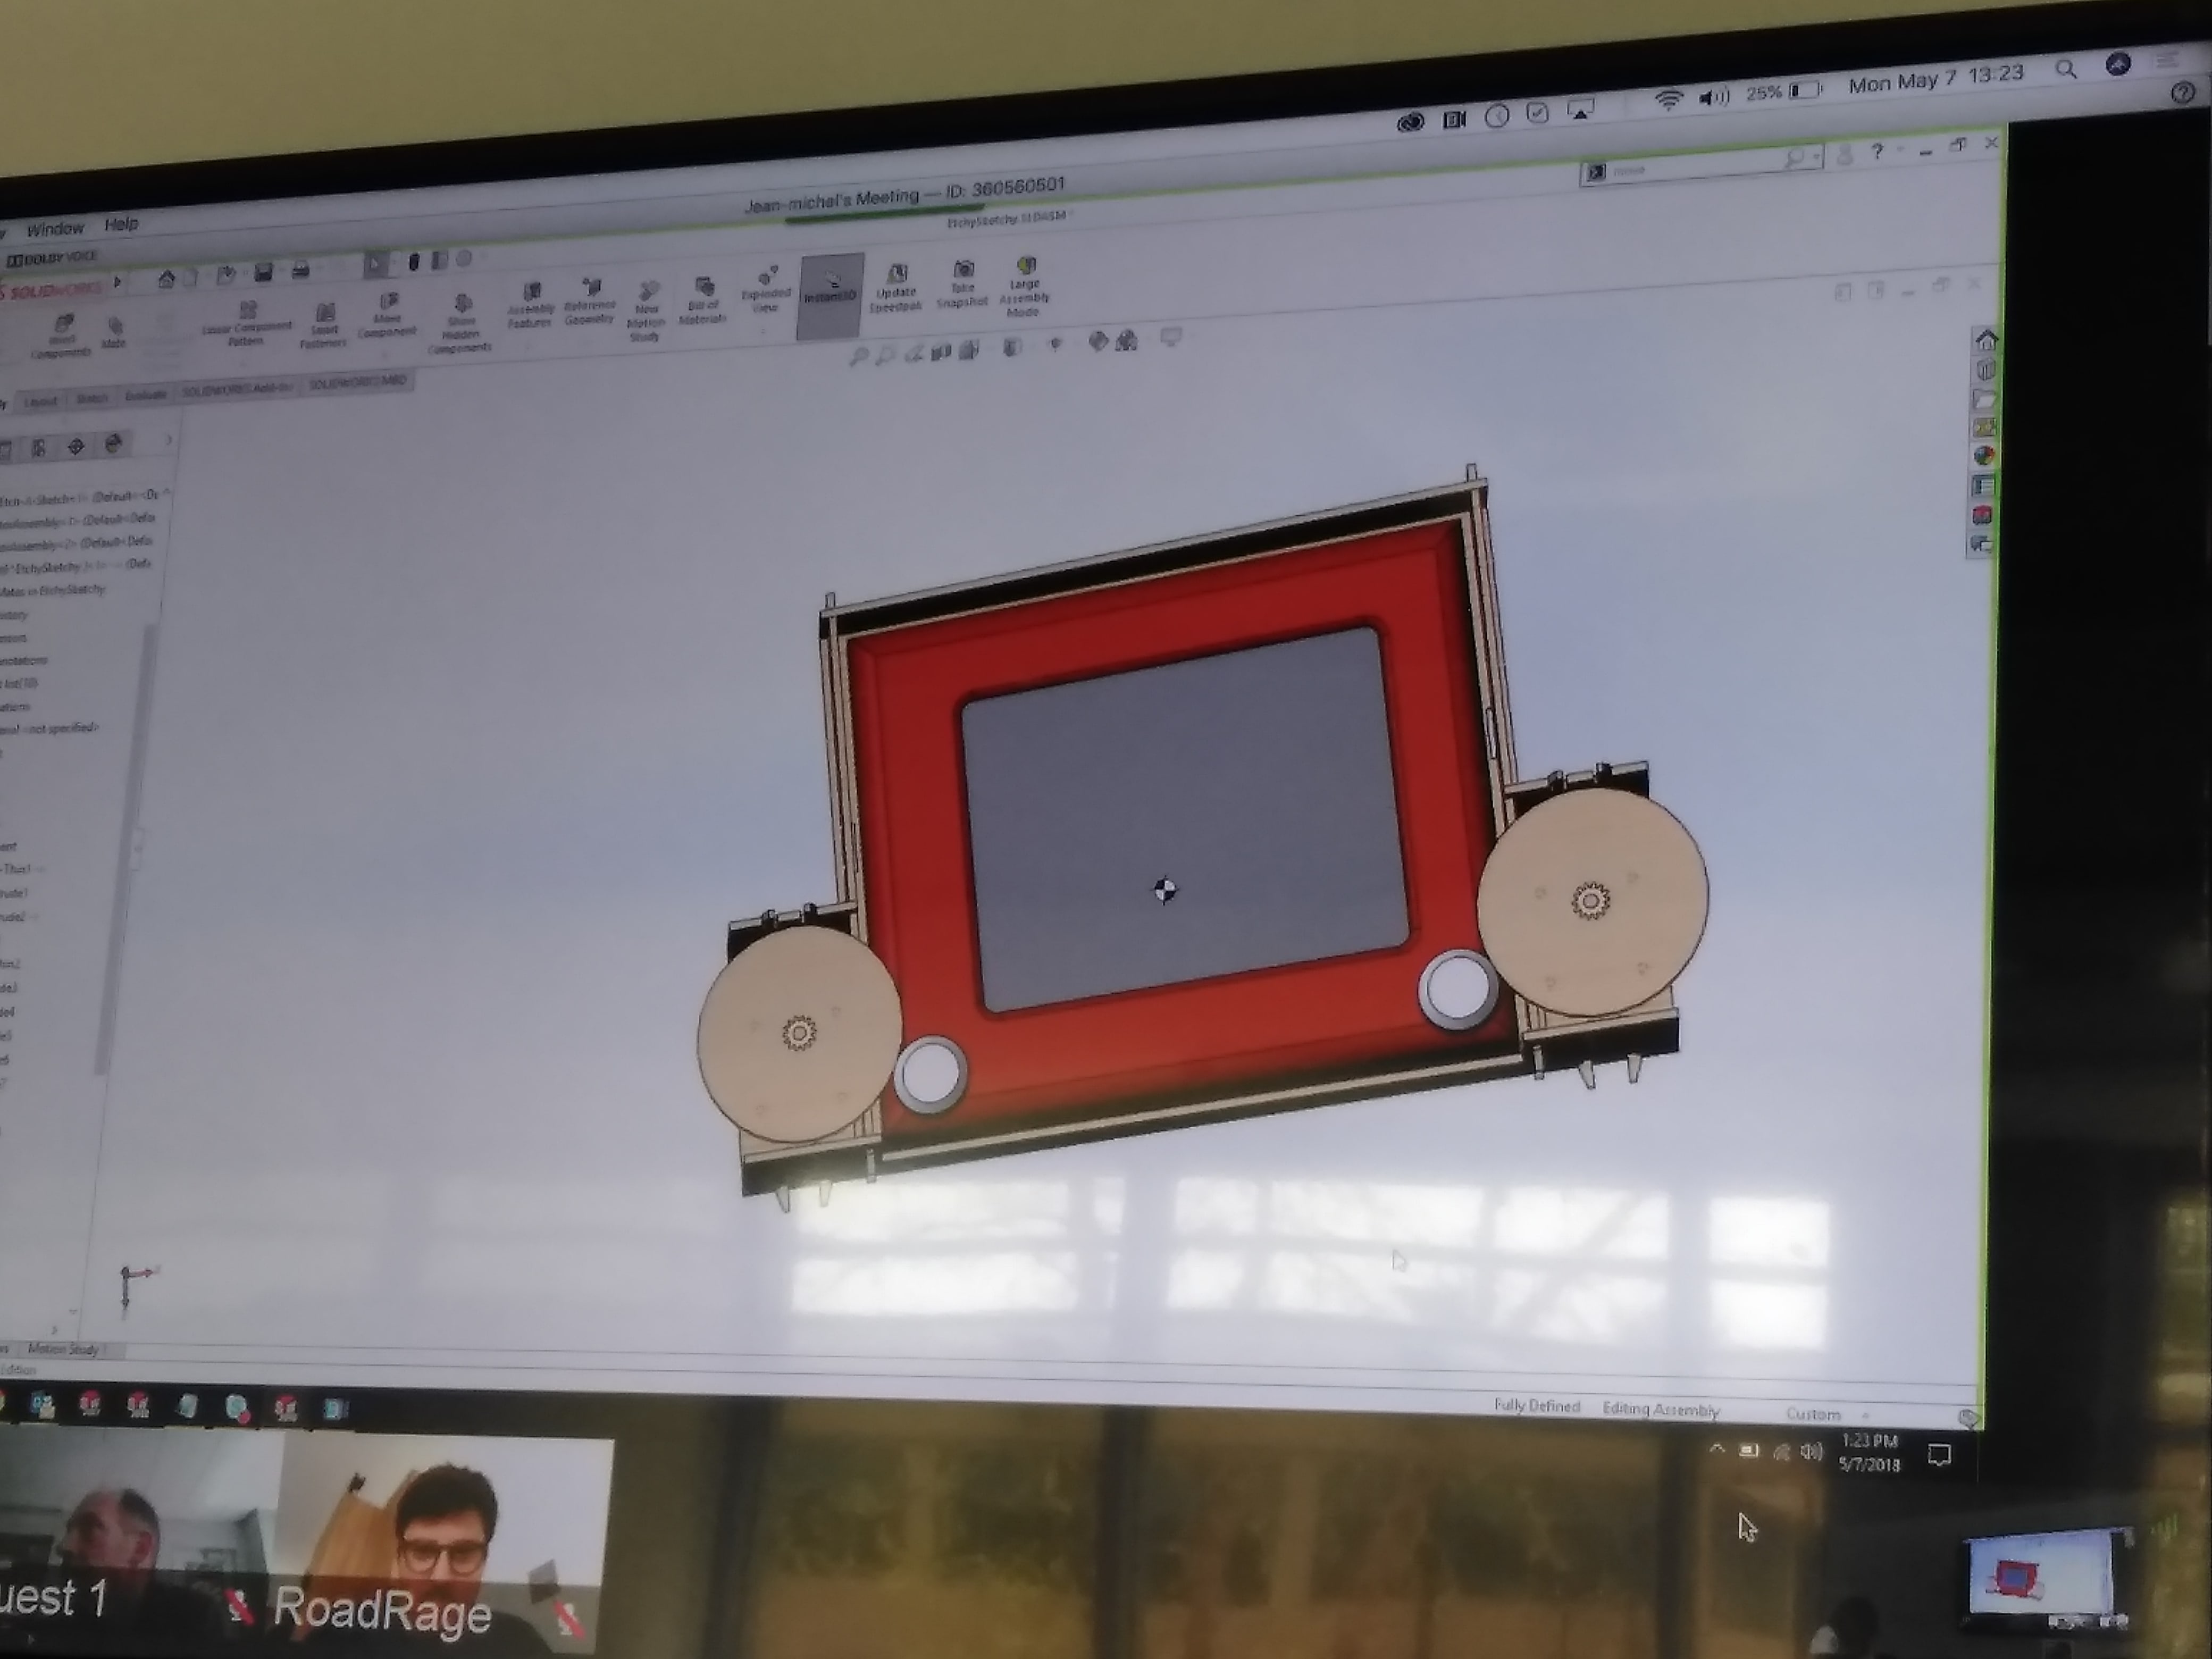
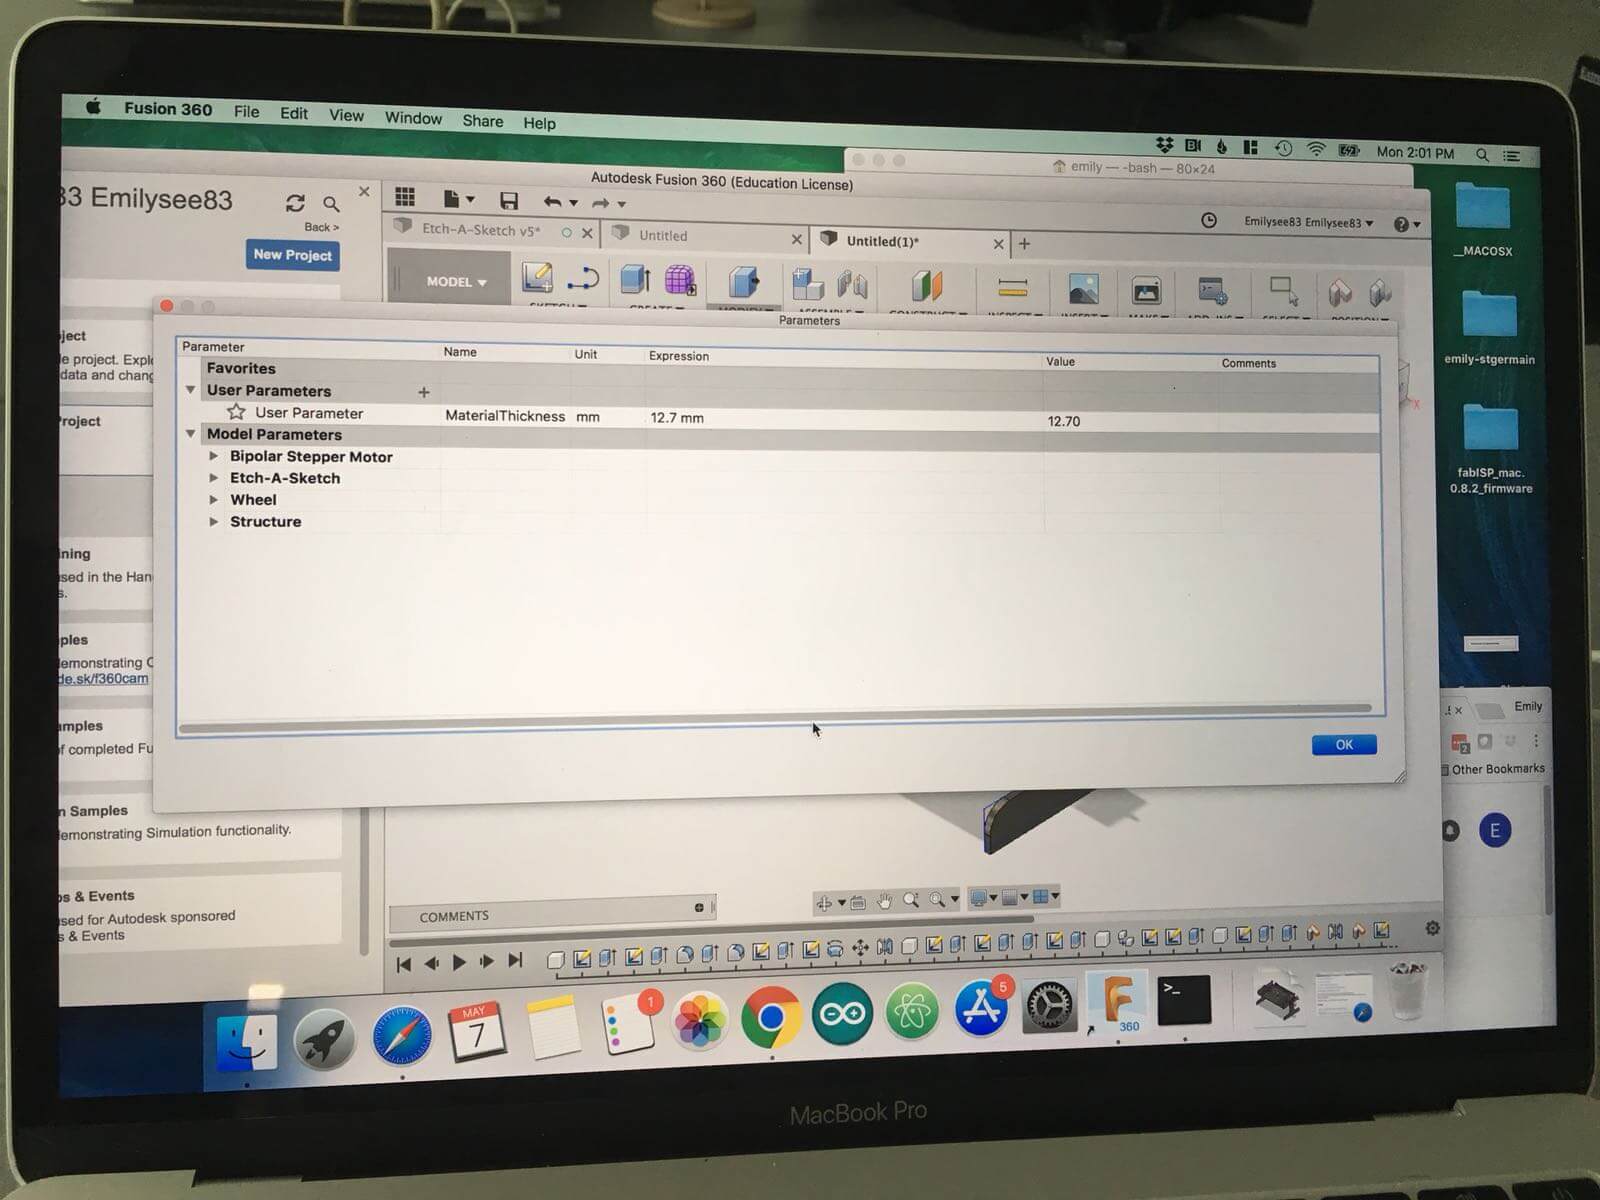
Now that we have a better visual of the frame. We are going to draw plans to be cut in the laser cutter or shopbot. We look at the body of the frame we took measurements to make the plans. Something that were a little bit hard for as at the beginning where counting the thickness of the material for as to cut the gaps. We are trying to use 6.35 of an inch acrylic.
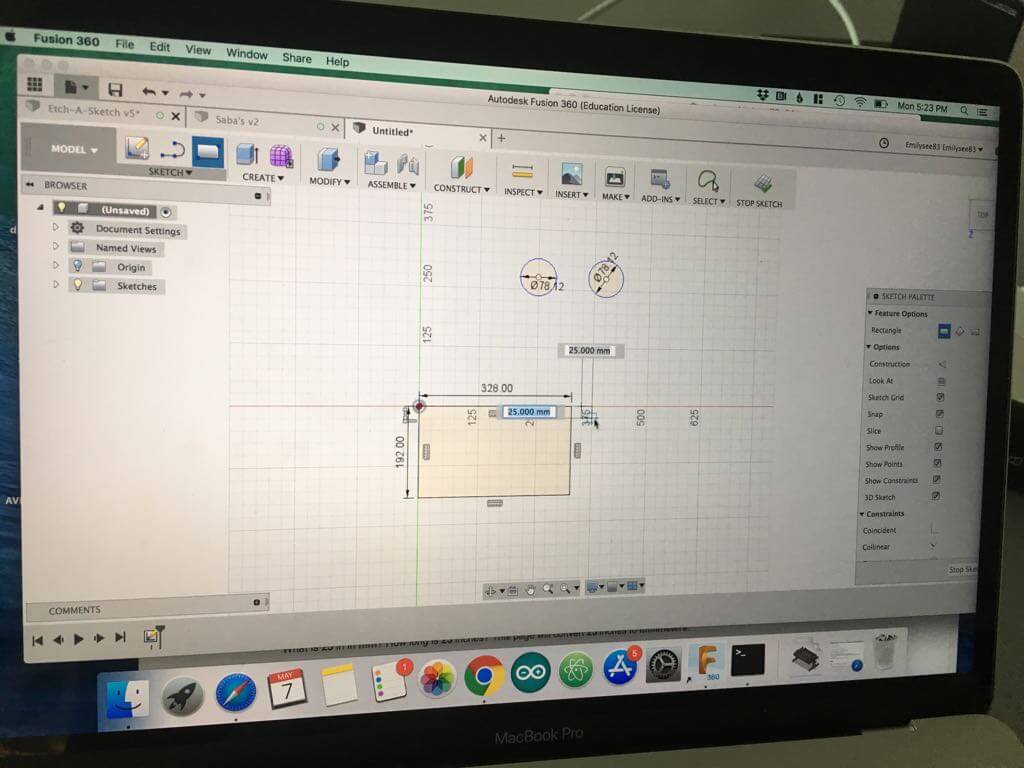
Calculations
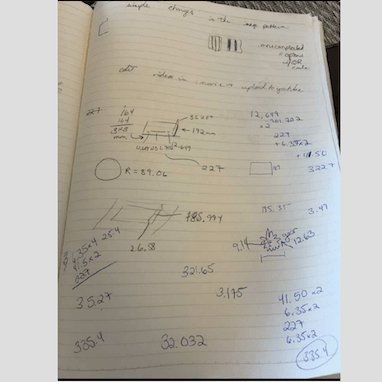
Calculations for the whole of the wheel that is gonna be attached to the motor, is the wheel that is gonna spin the knob in the sketcher.
Adding Parameters to our drawing
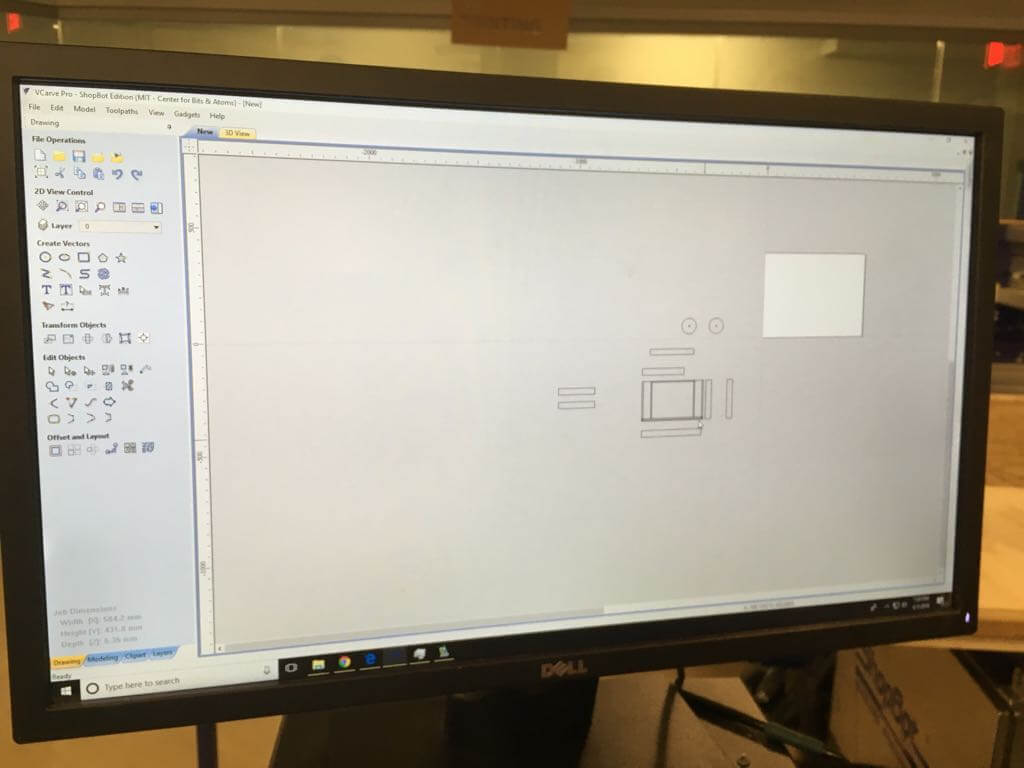
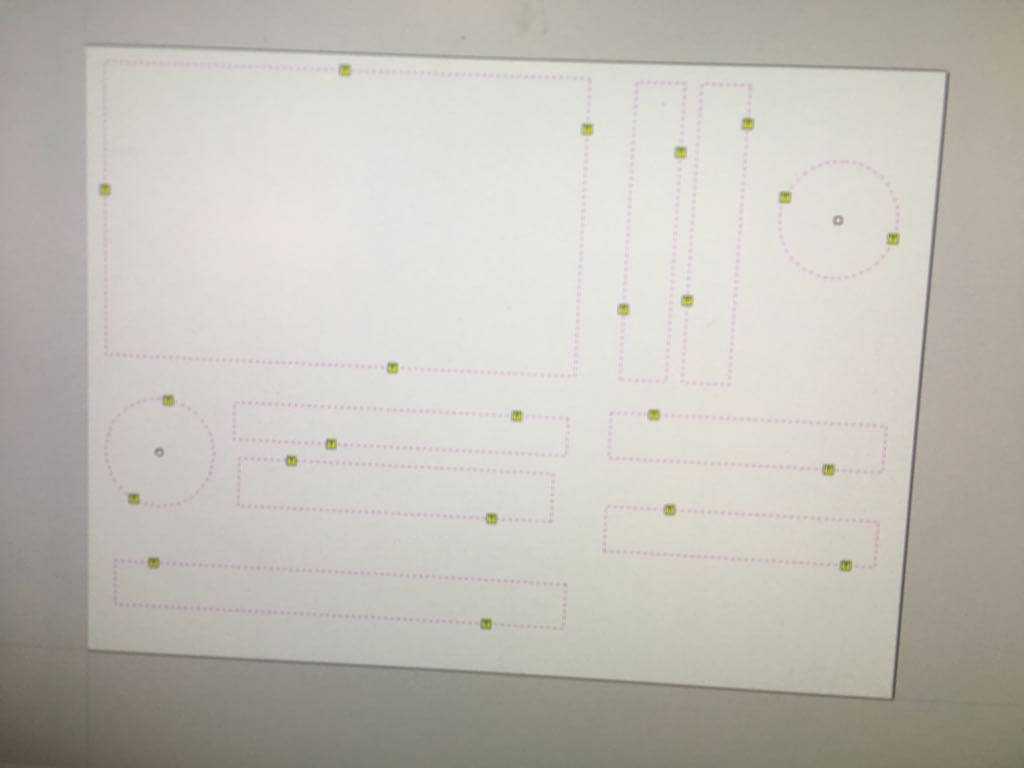
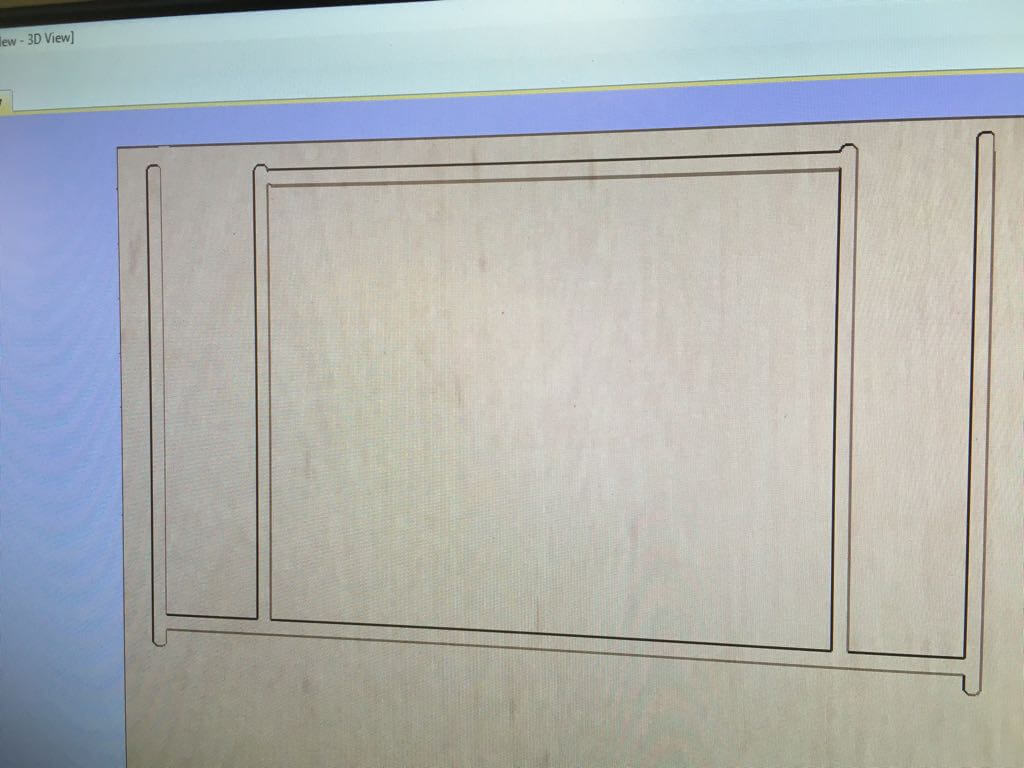
Our sketch is finally transported to Vcarve. First we had to delete some lines because for some reason Vcarve is able to see any construction lines that we draw in our design. After doing our final editings our file is ready to be cut.
