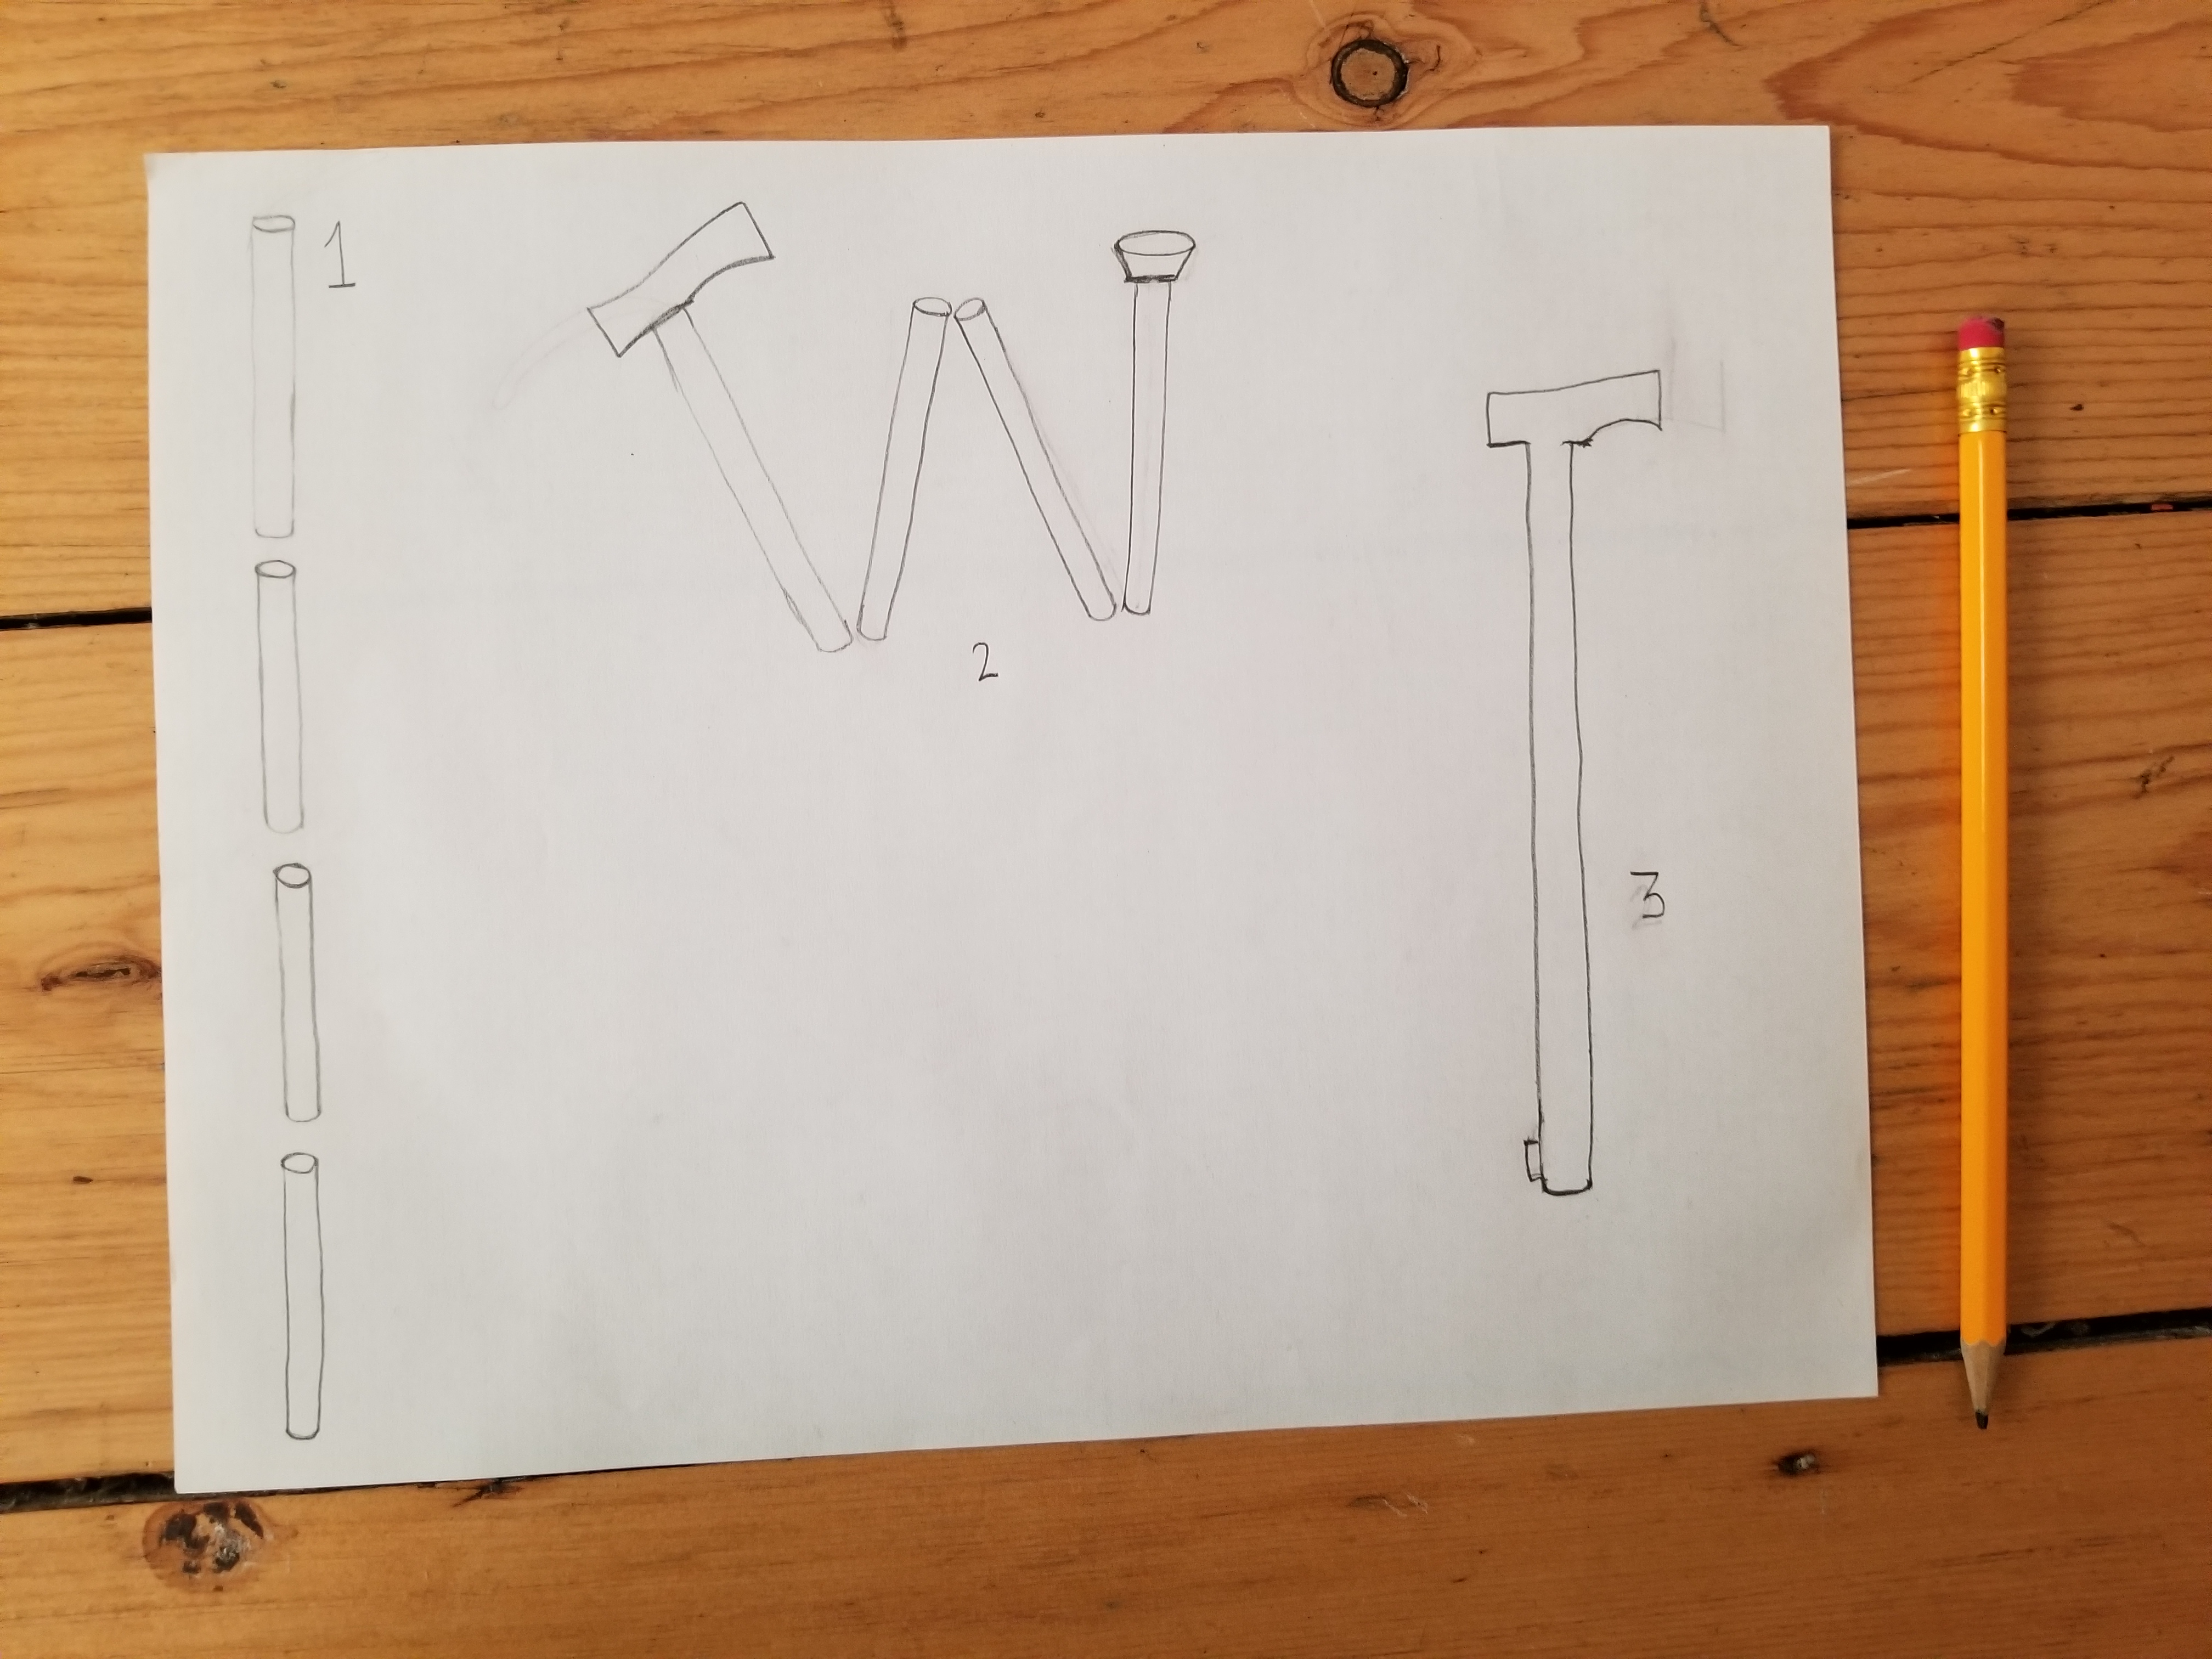
I did not get the chance to sketch the idea for the dog feeder, but I wrote about it. My idea was to create an auto feeder with camera. This feeder will have a camera, with this you can track your dog from everywhere and from all over the world if you wanted to. The camera will be connected to an application or web that you can simply view by using the internet. Also it will have a sensor that it will feed the feeder.
I decided that I'm going to create a blind stick. But this time it would not be a stick it would be glasses. I want this glasses to have GPS and headphones. Also a program that can tell the blind people when to cross the street lights. Also is going to detect when things are near the person.

Glasses Sketch
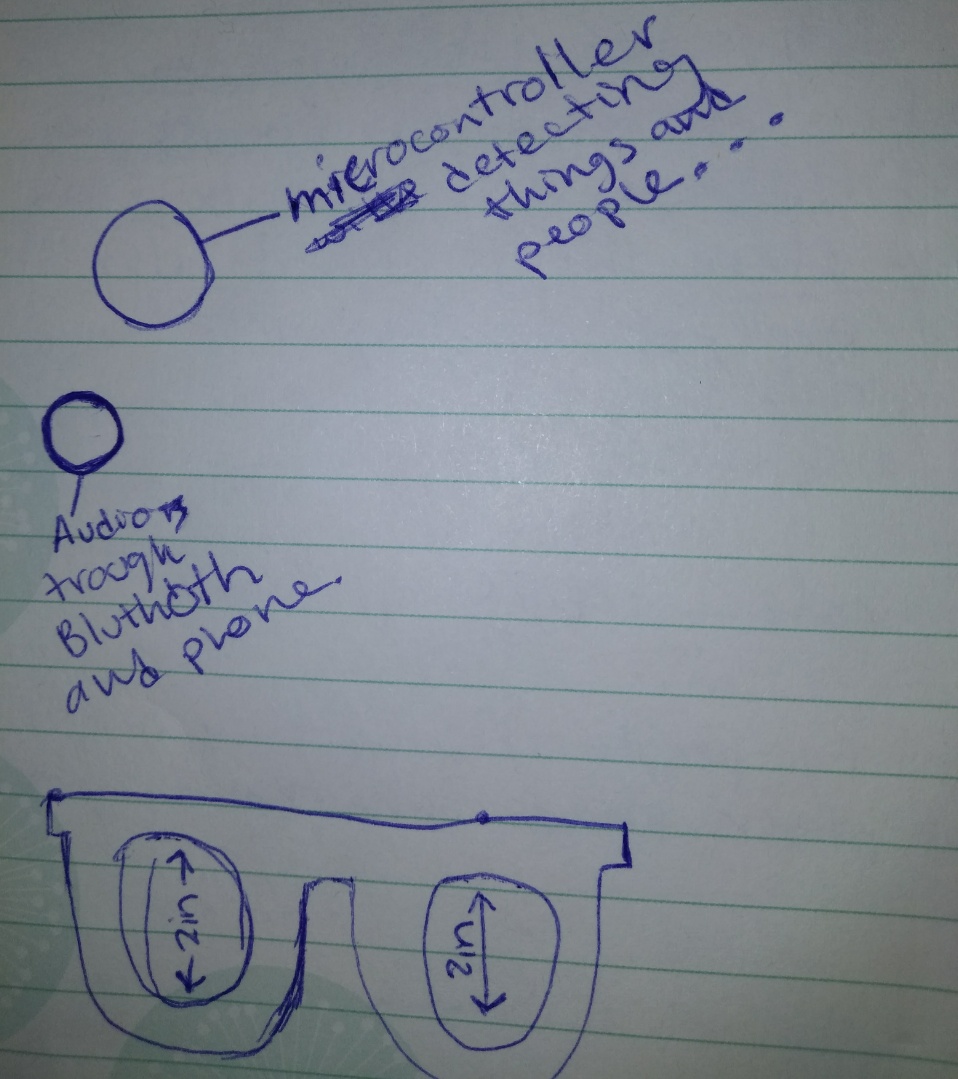
So first I search on what other people was making out there. Also I was looking at examples of what my glasses could possibly look.
In the input devices week make me realize that I need it to used a different kind of sensor and find the right sensor if I wanted to do a blind cane. So this week brought me this challenge, what I did is that I change my ideas of how I was going to make the project, because it was not gonna be enough time if I wanted to make more research to make the glasses.
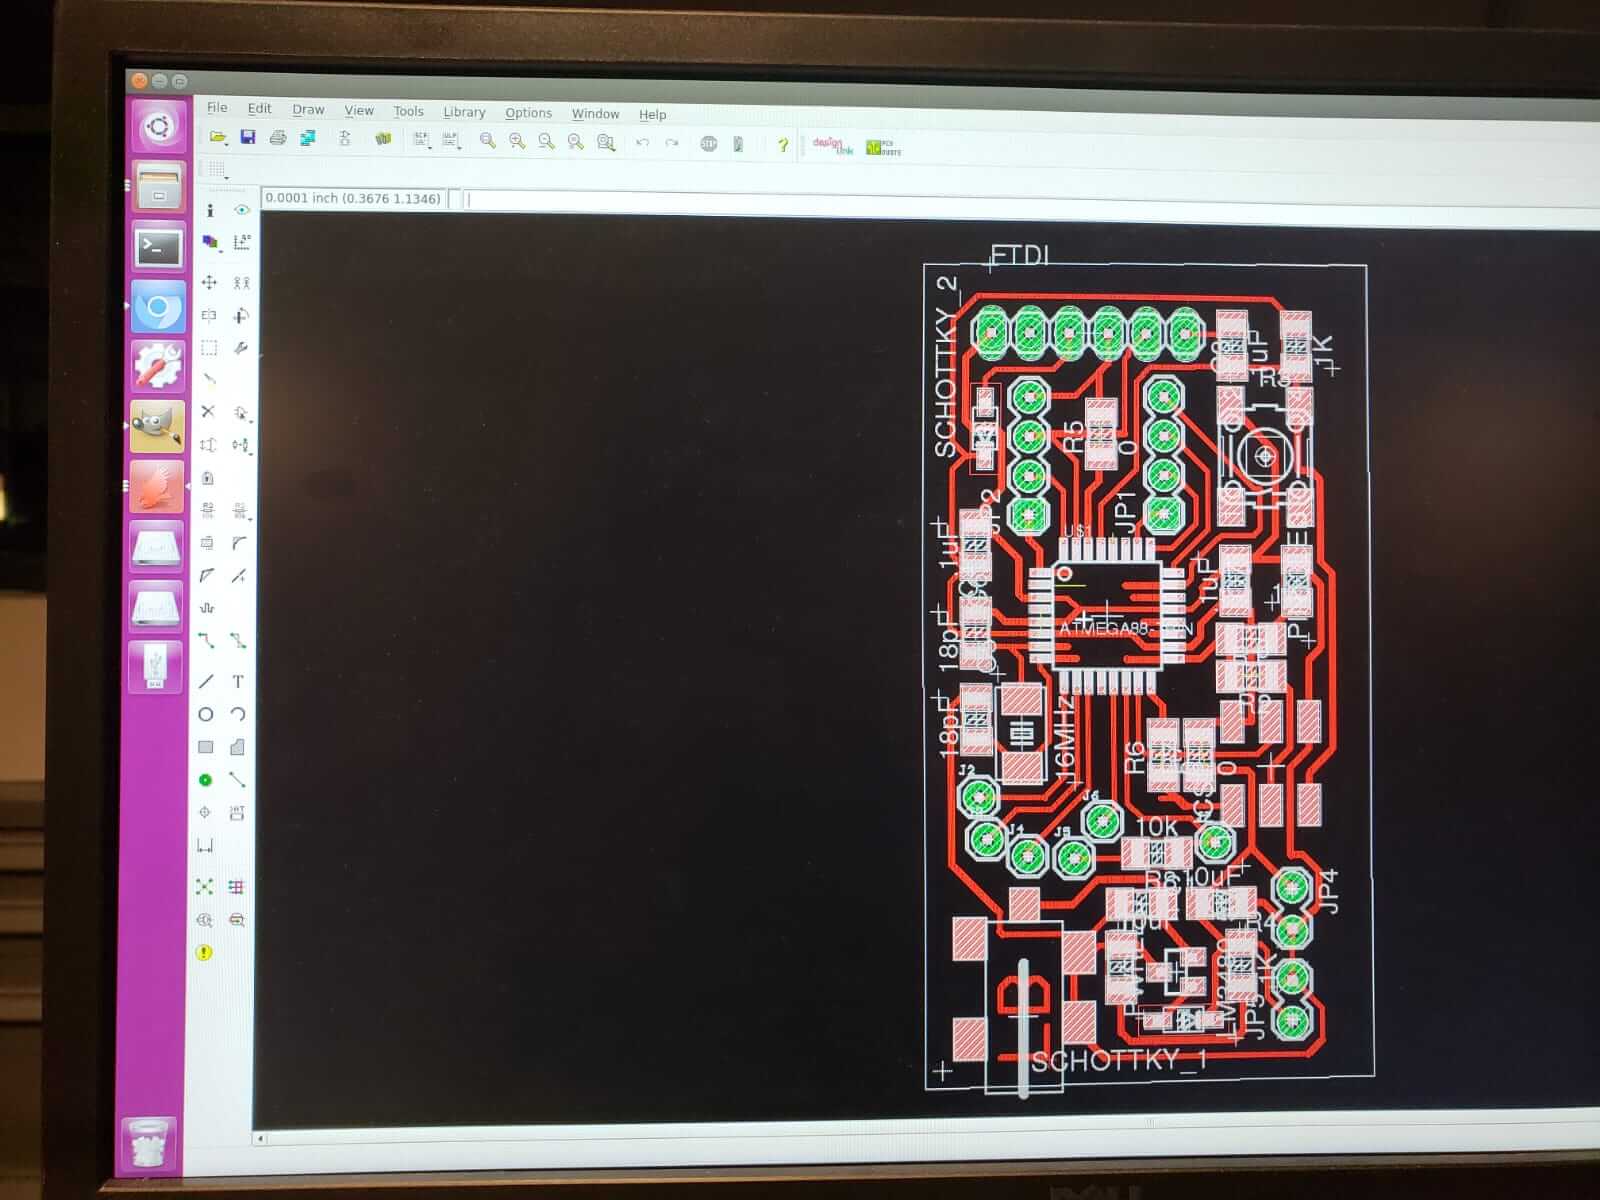
In week 11 for my output I modify the satshakit and I thought I will used that for my final project, but it did not work out because the board is a little bit big for my Electrobath-Cane. So I end up updating another board. So I add the components that I need it for my cane to work. Even Neil ask me about my board he said if I modify or if I just used it the way it was designed. I told him no I modify the board so it could work with my blind stick and I mainly modify it because I wanted to fit in a small box to attach in my cane. Is like with technology this days the smaller you make it the better it is.
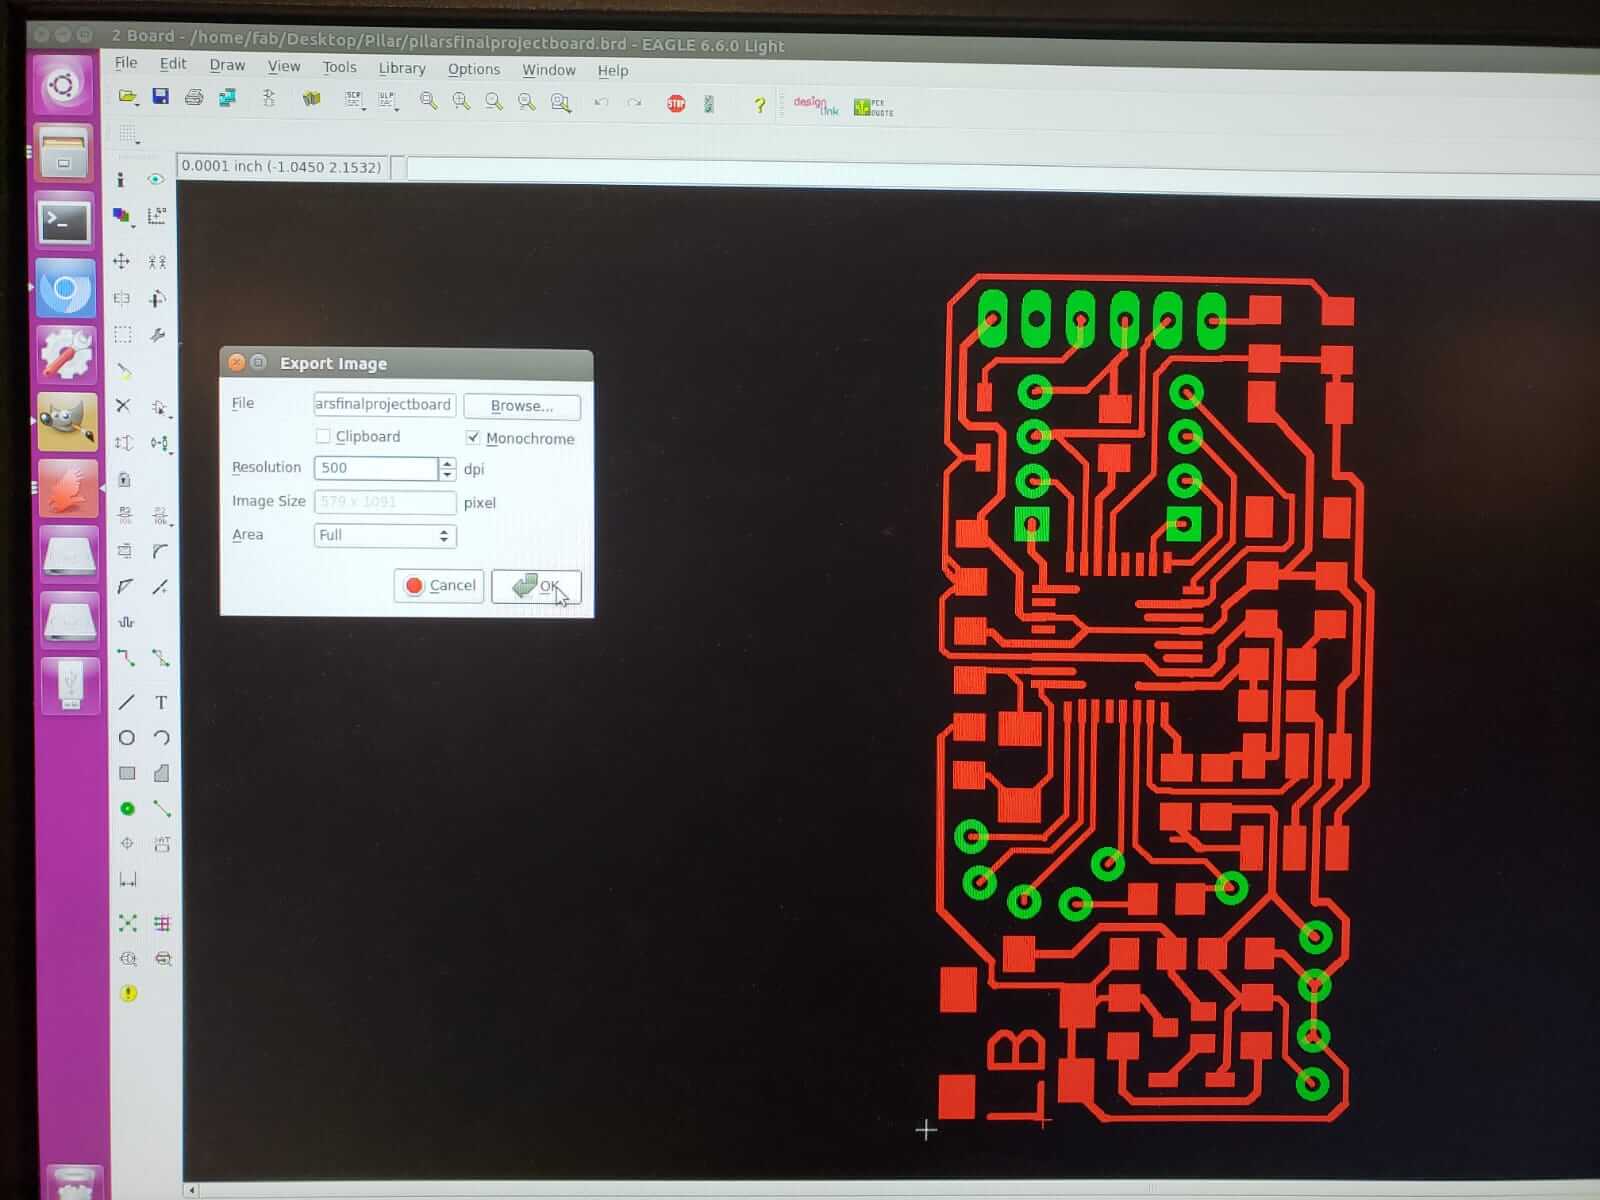
This is the other board that I modify. I modify the board in eagle.
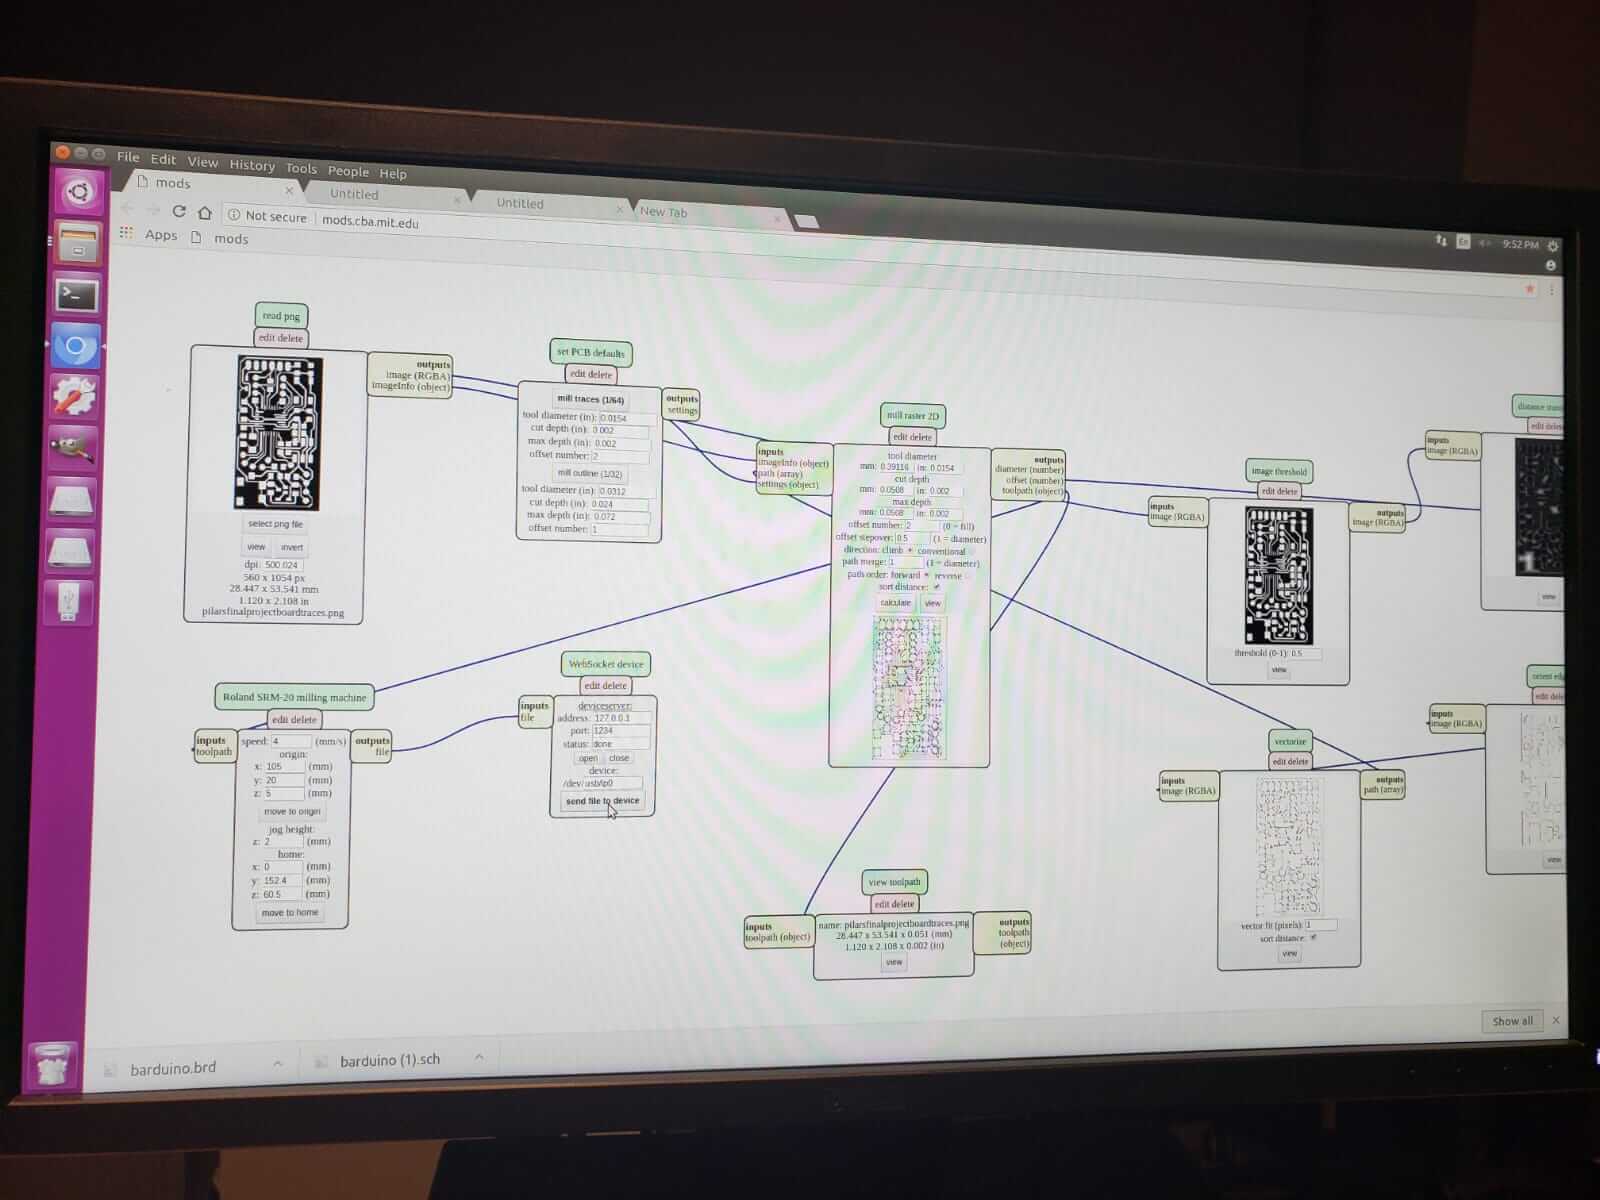
Then I export my board, I choose in which folder I wanted to save it, then click on monochrome, last step change the dpi to 500.
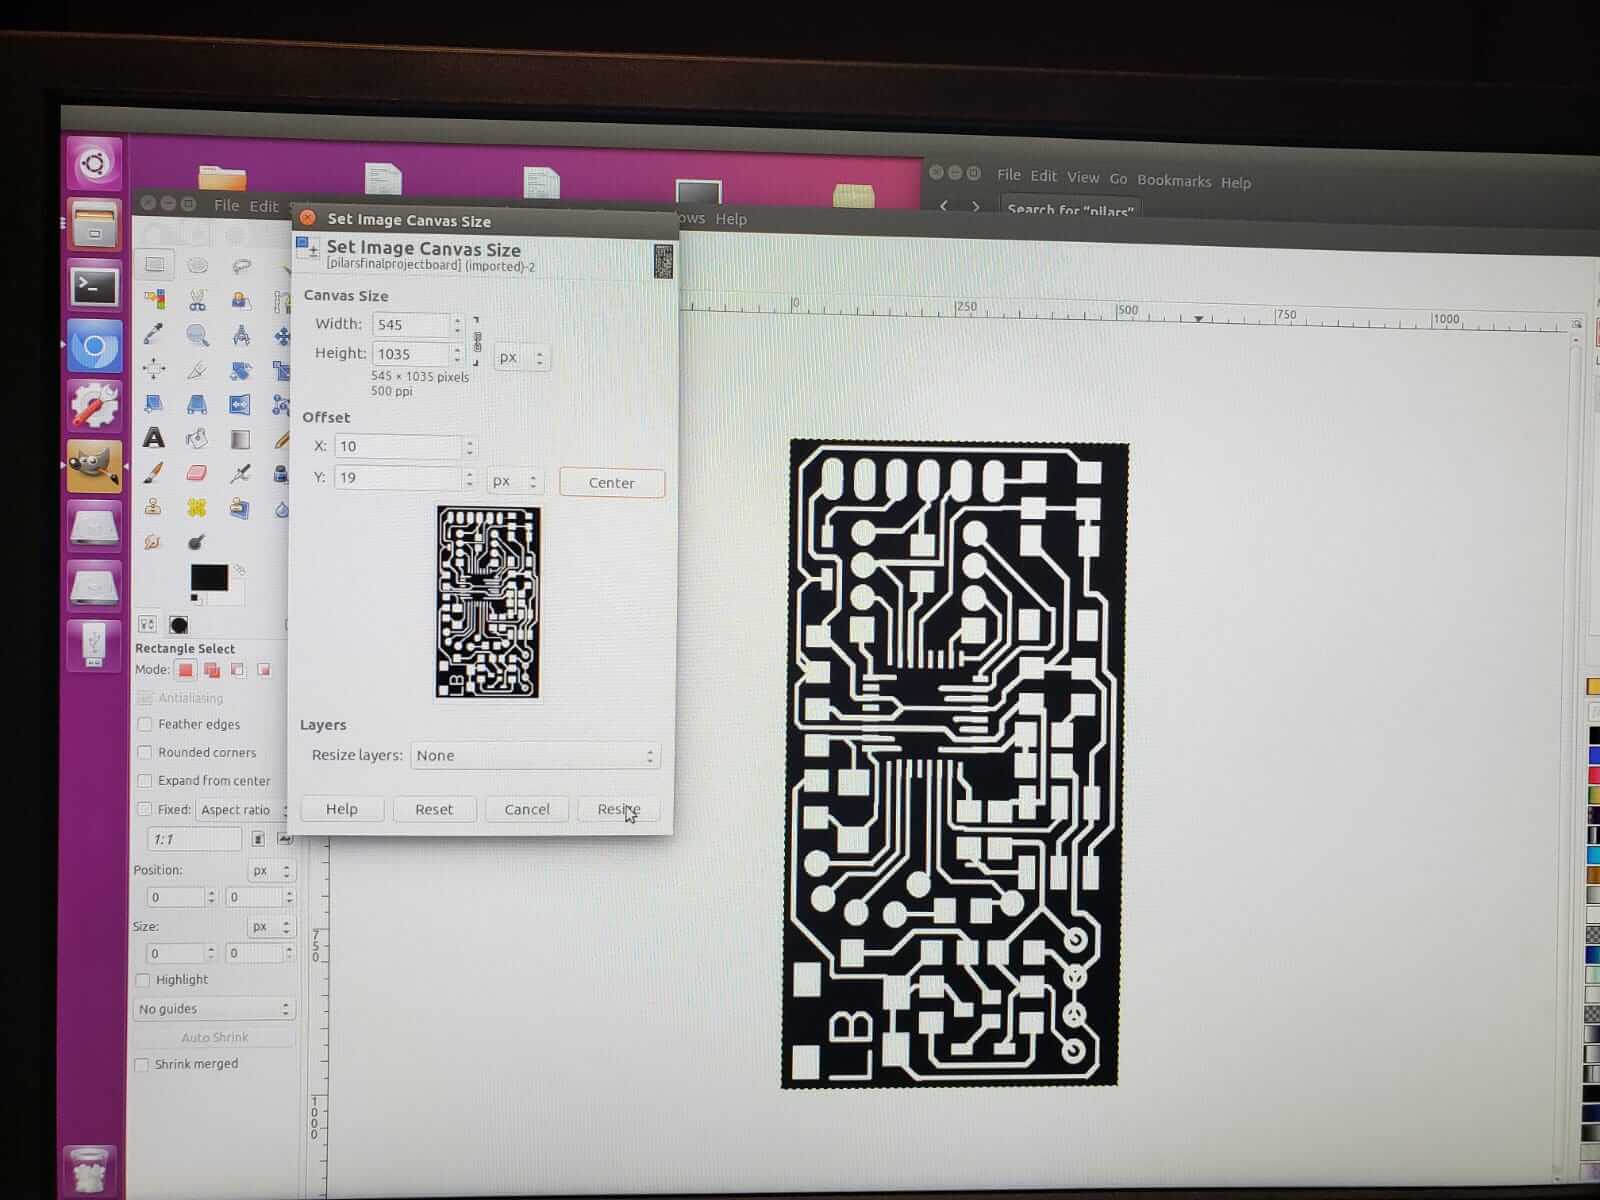
In this image Im preparing the border of my board. I clicked on image, canvas size, added it 20 then center and lastly clicked on resize. Go to export choose png and that's your image of your traces.
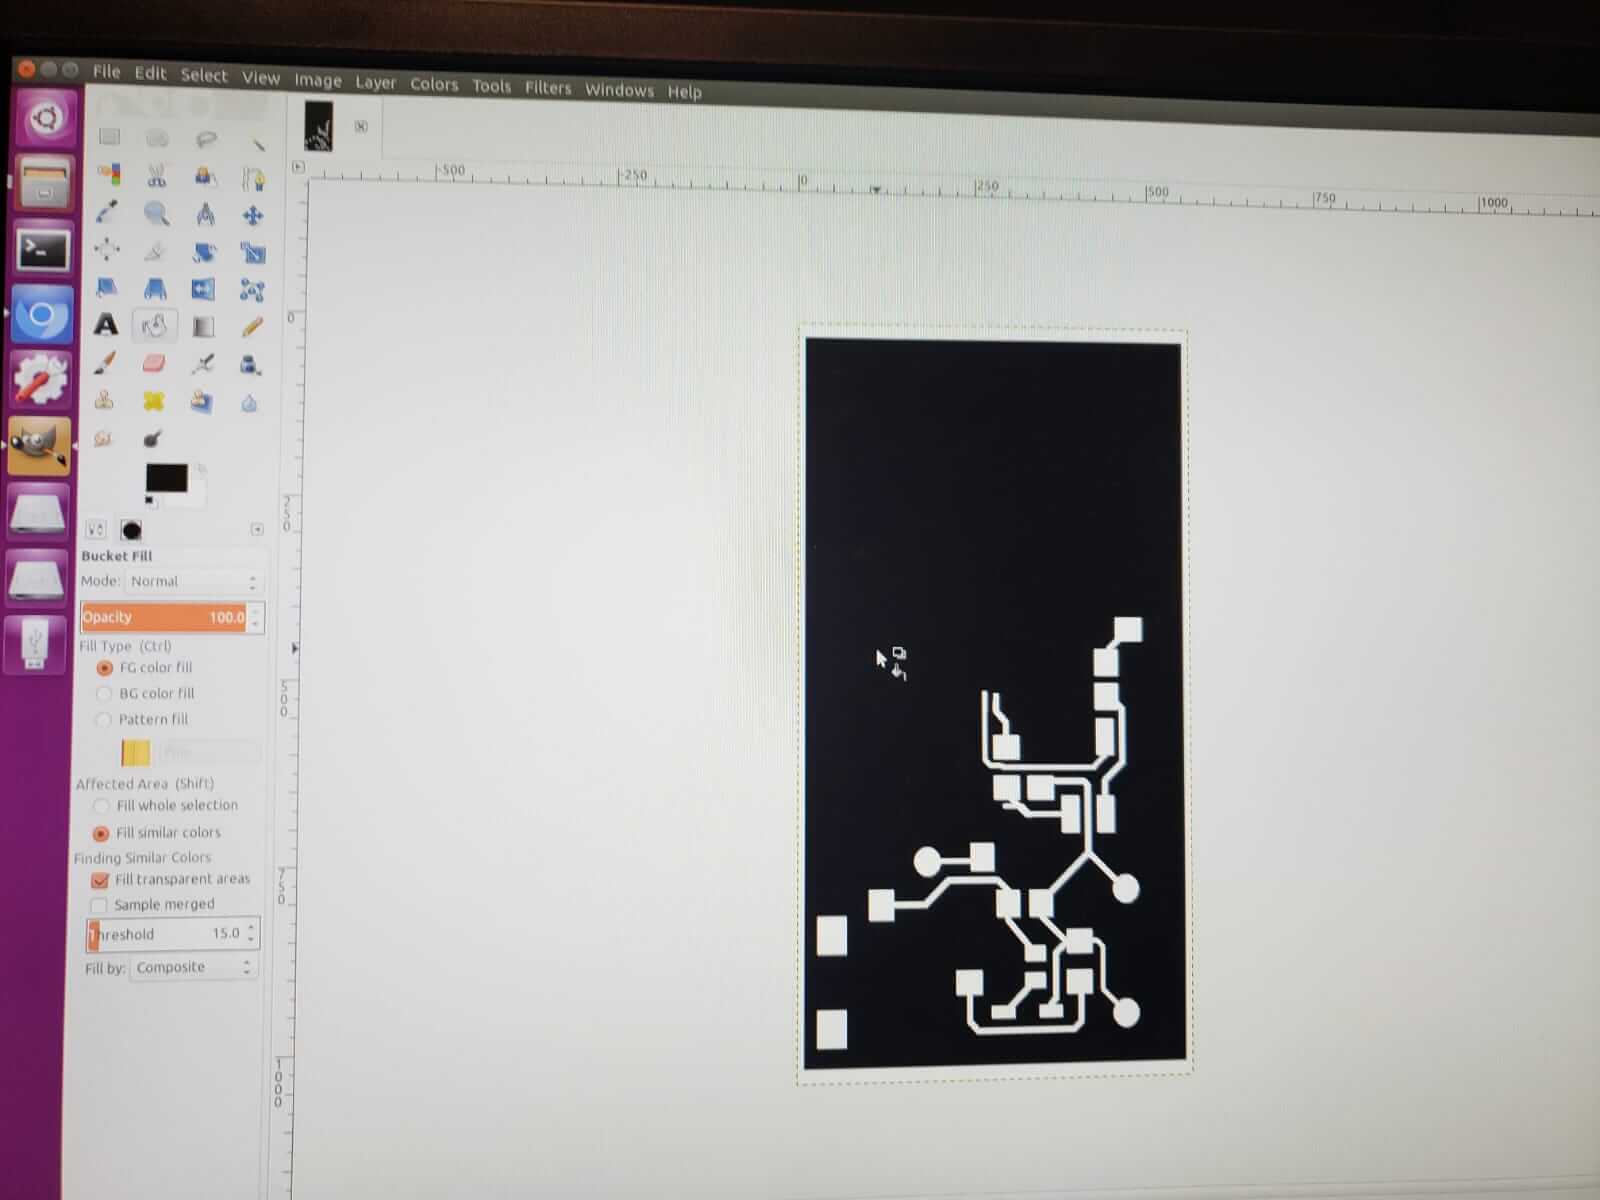
Now I'm gonna cover all the traces because we want the outer trace to cut the board. Click on the bucket and just filled all the traces. Go to export choose png and that's your image of your traces.
Lastly ssave your image.
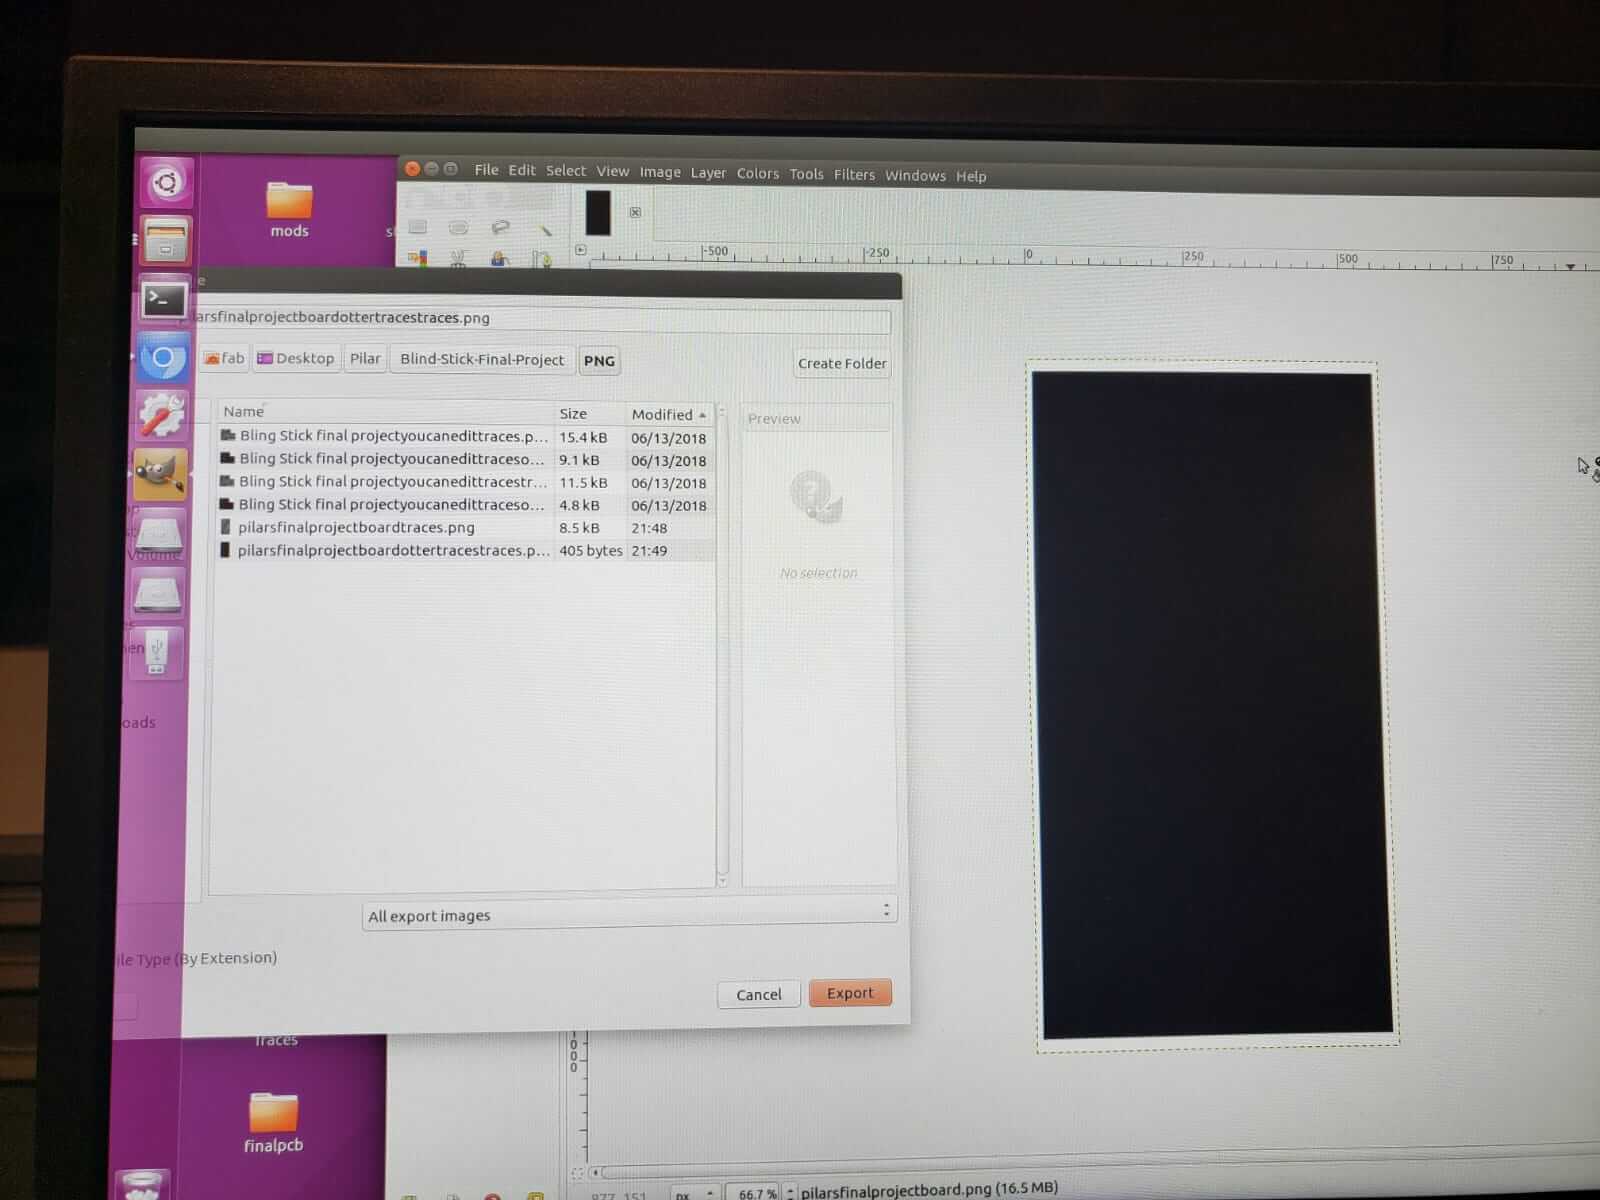
We are ready to cut.
So I bought a copper pipe. I cut the copper pipe in order to be ready.
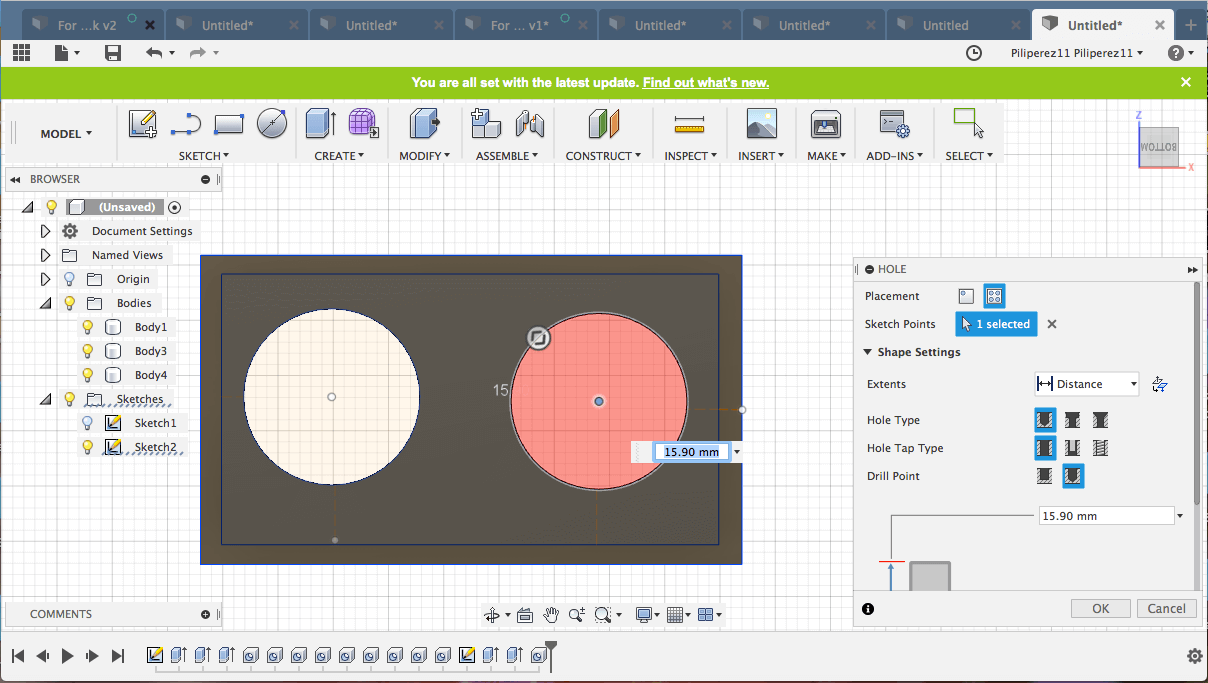
Designing my 3Dpieces for for Electrobath-cane
Designing my 3Dpieces for for Electrobath-cane
Designing the 3D print piece to cover the sonar sensor.
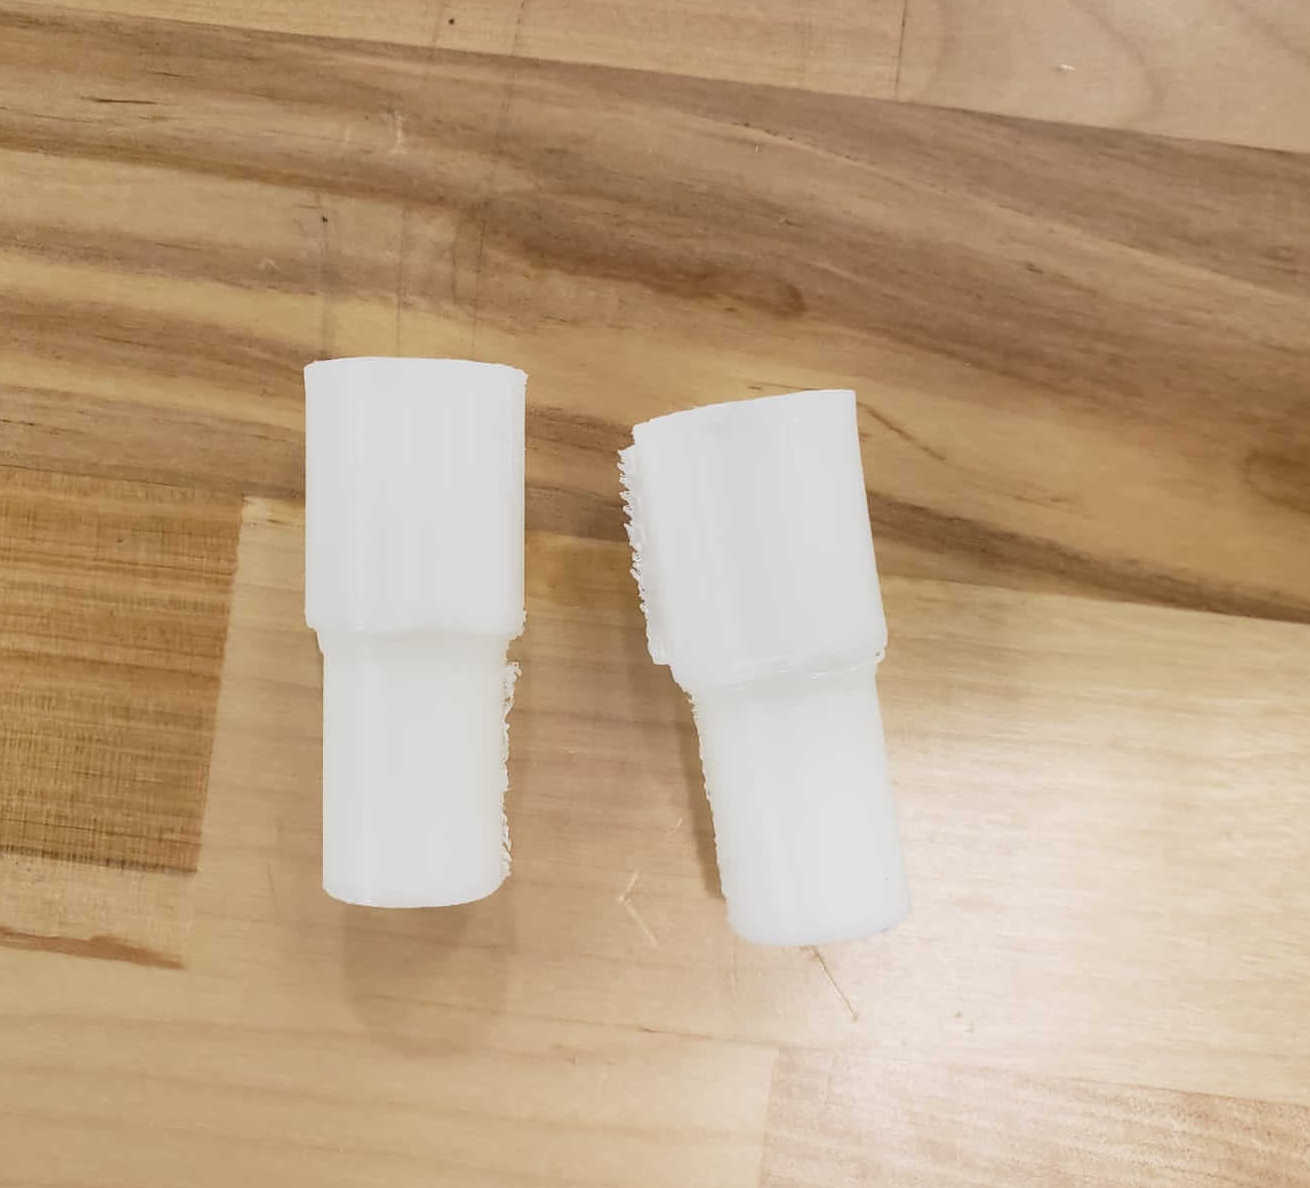
Pieces are printed and ready to use. This pieces were trial an error because the printer did not printed so round, it was kind off printed as an oval shape. But I finaly got one to work and strong enough. I put epoxy on all my pieces. The epoxy can hold on up to 5000 pounds
Now that my board is made pieces are design and pipe is cut lets put everything together.
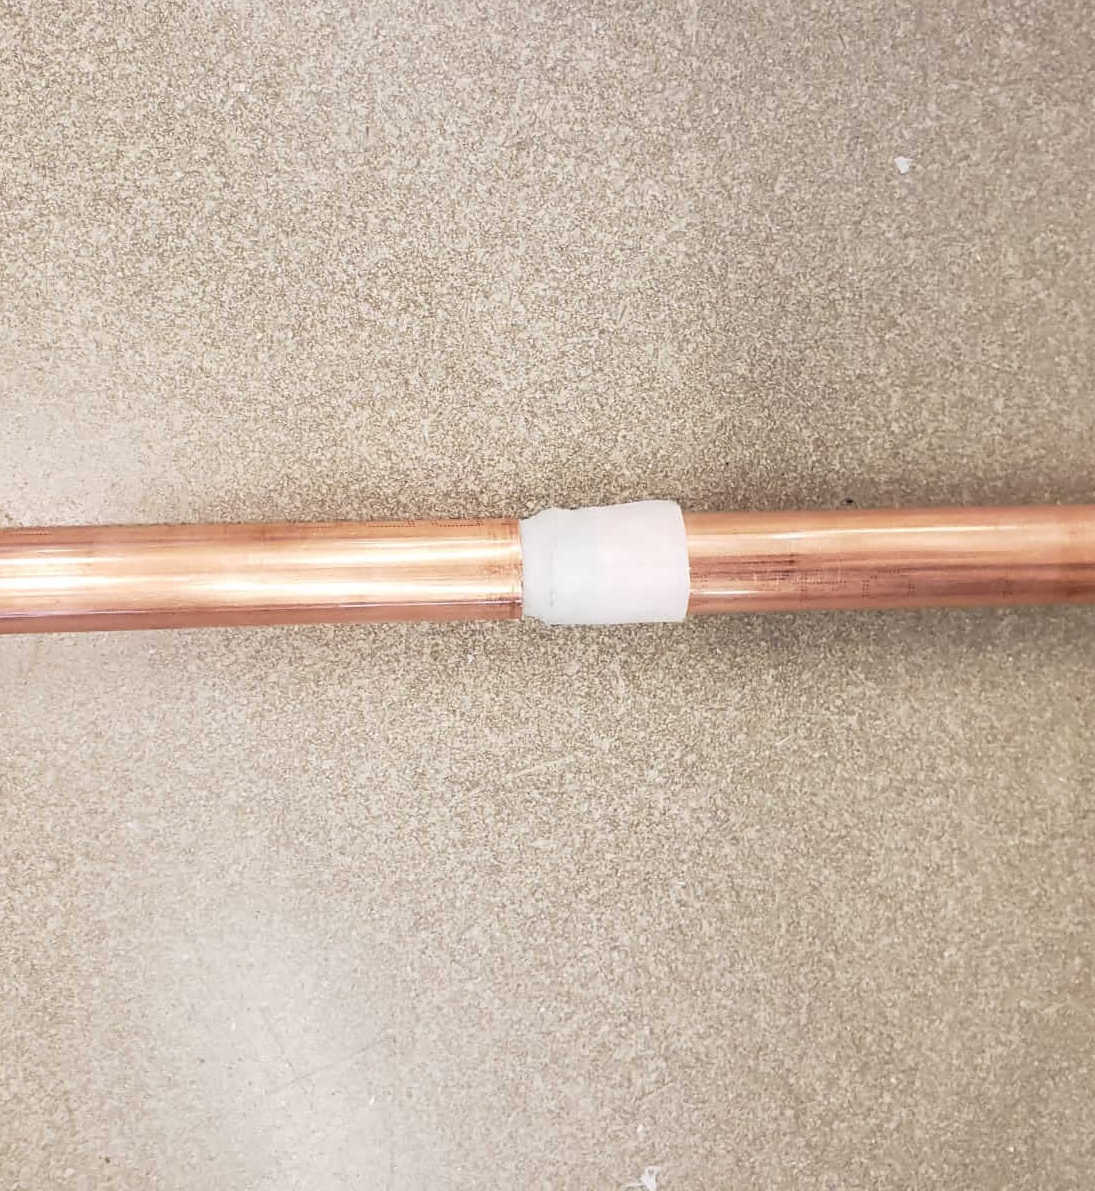
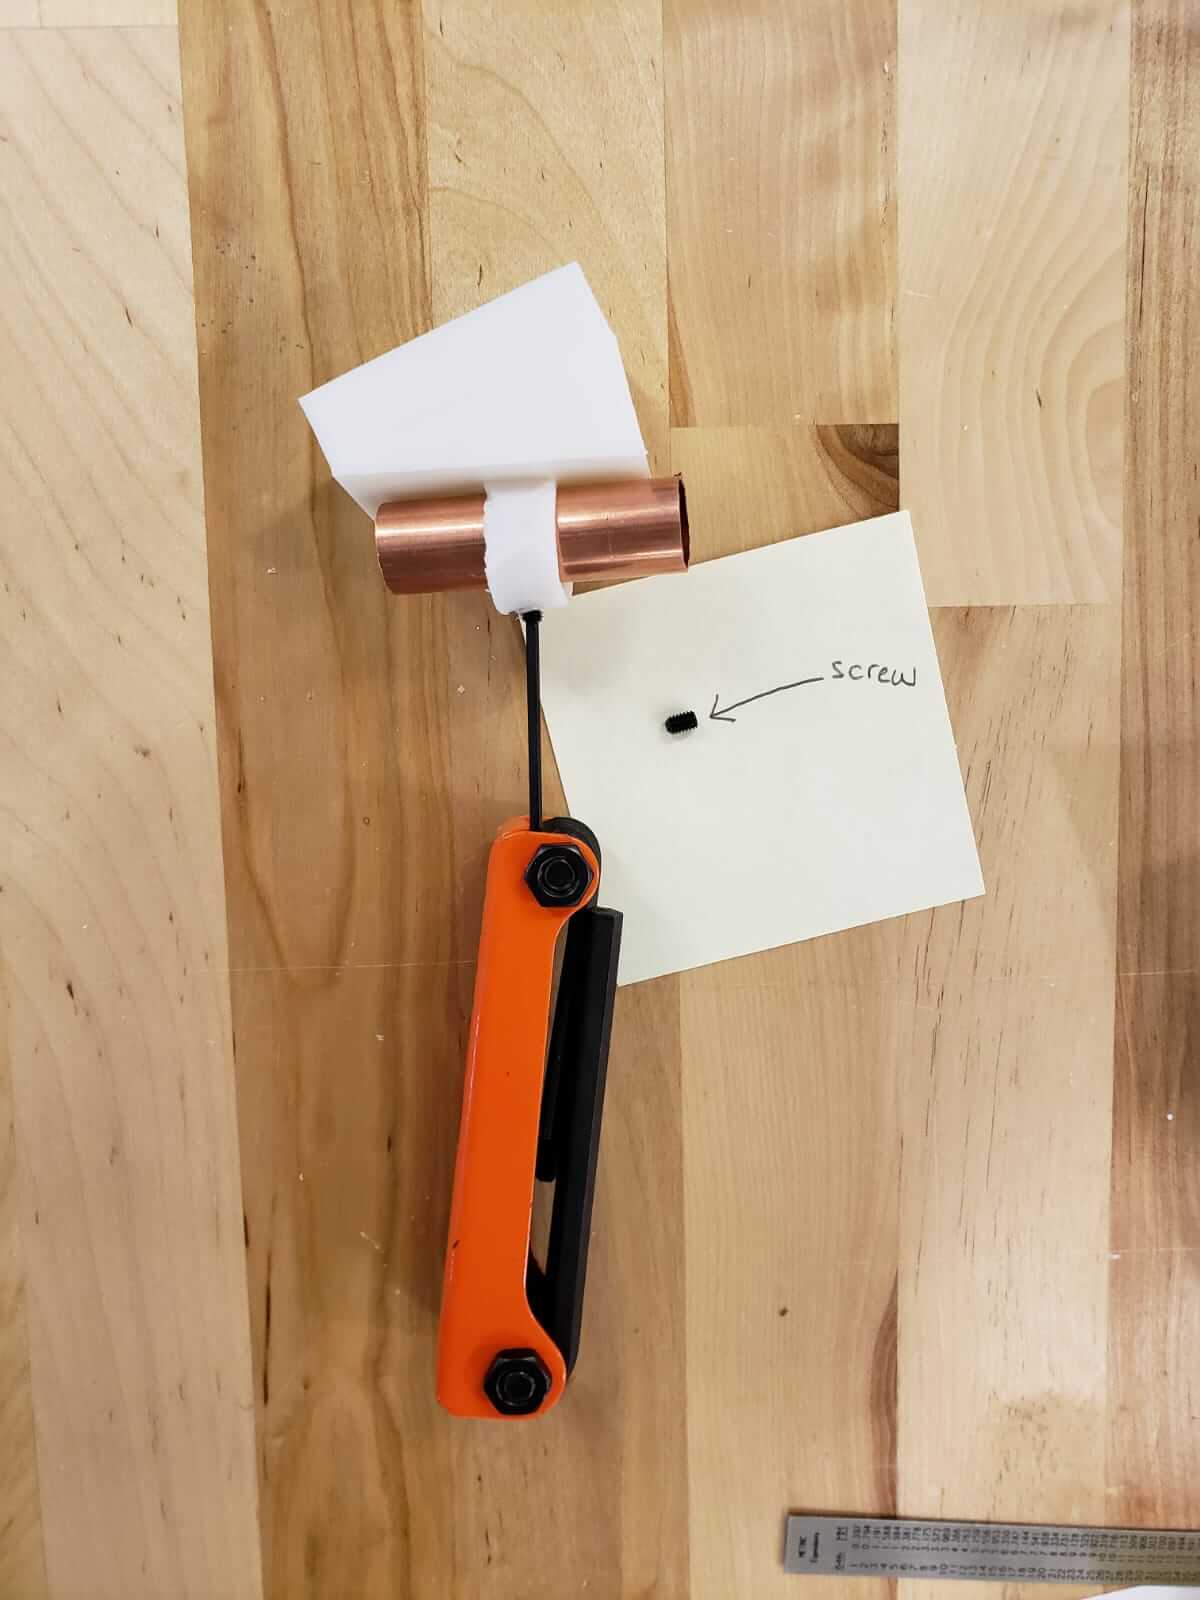
In this image I was looking for alternitives to keep my pieces stay together but also in a way that they will be able to take it off so I use a 3mm screw. This way I made all my pieces stay in the copper pipe.
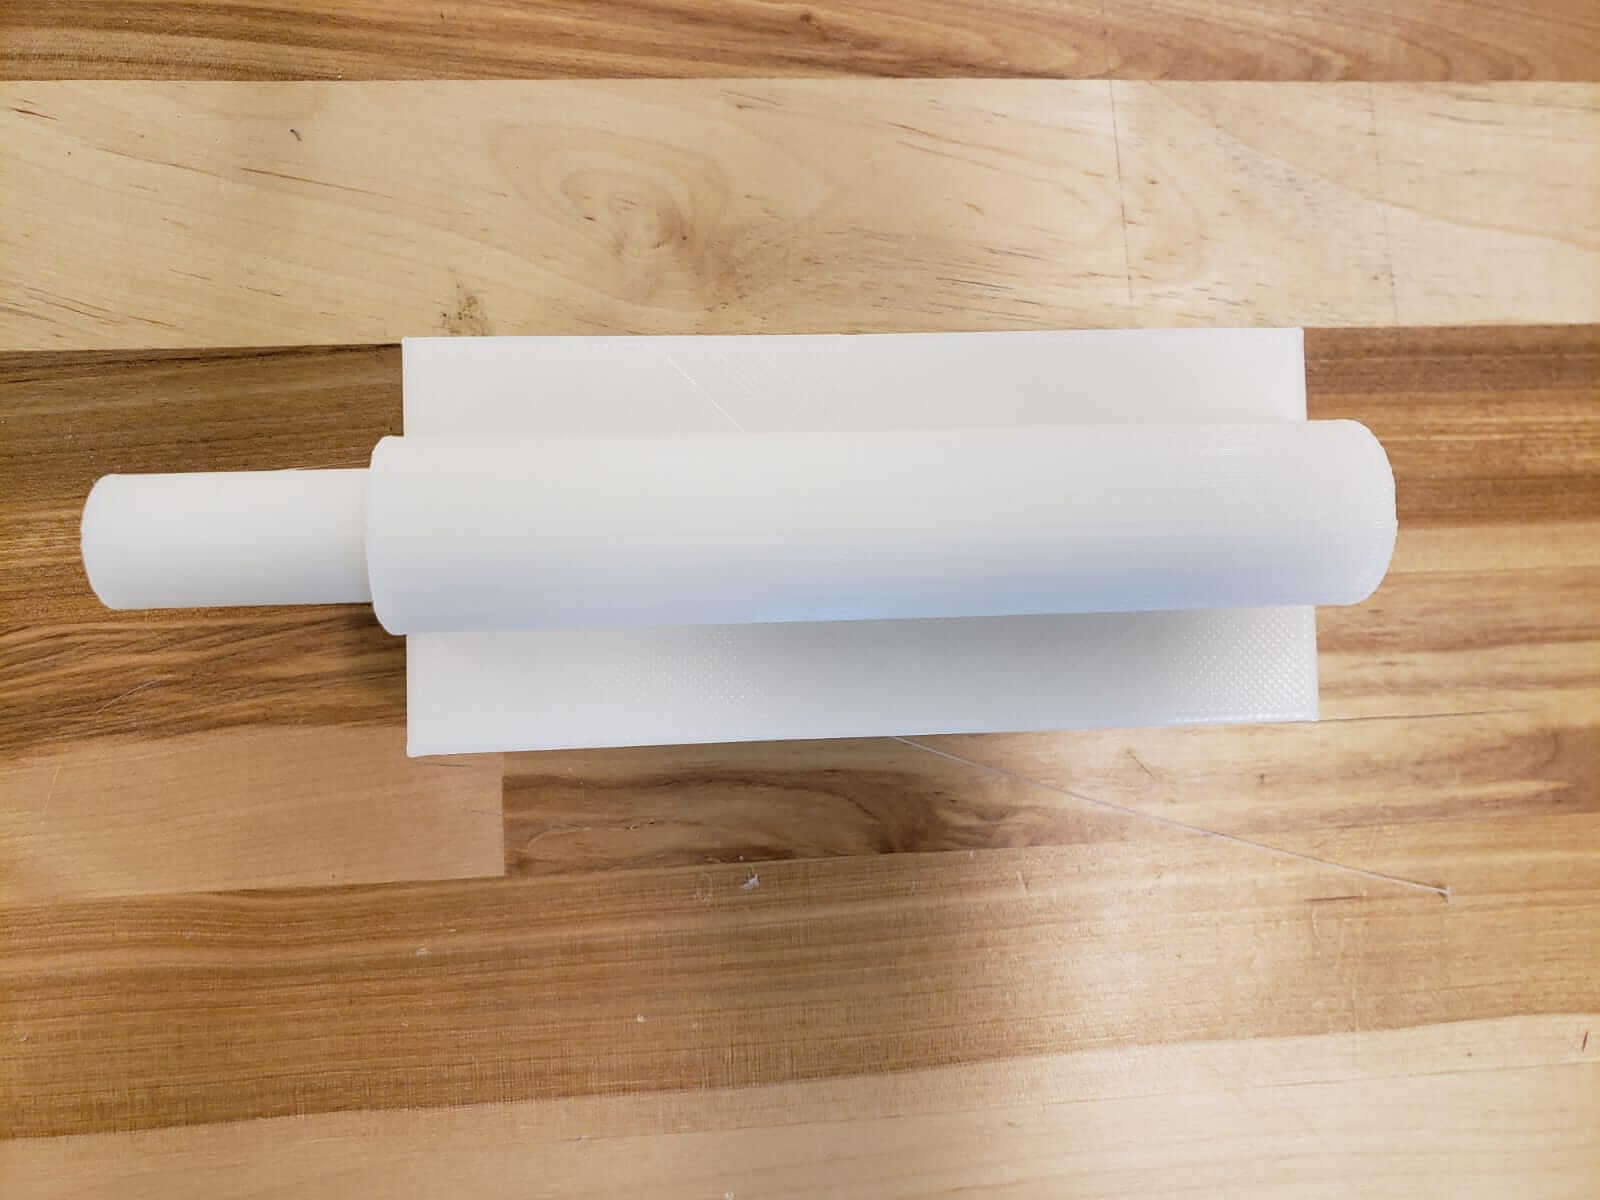
All my electronics are gonna go inside of this box that I designed.
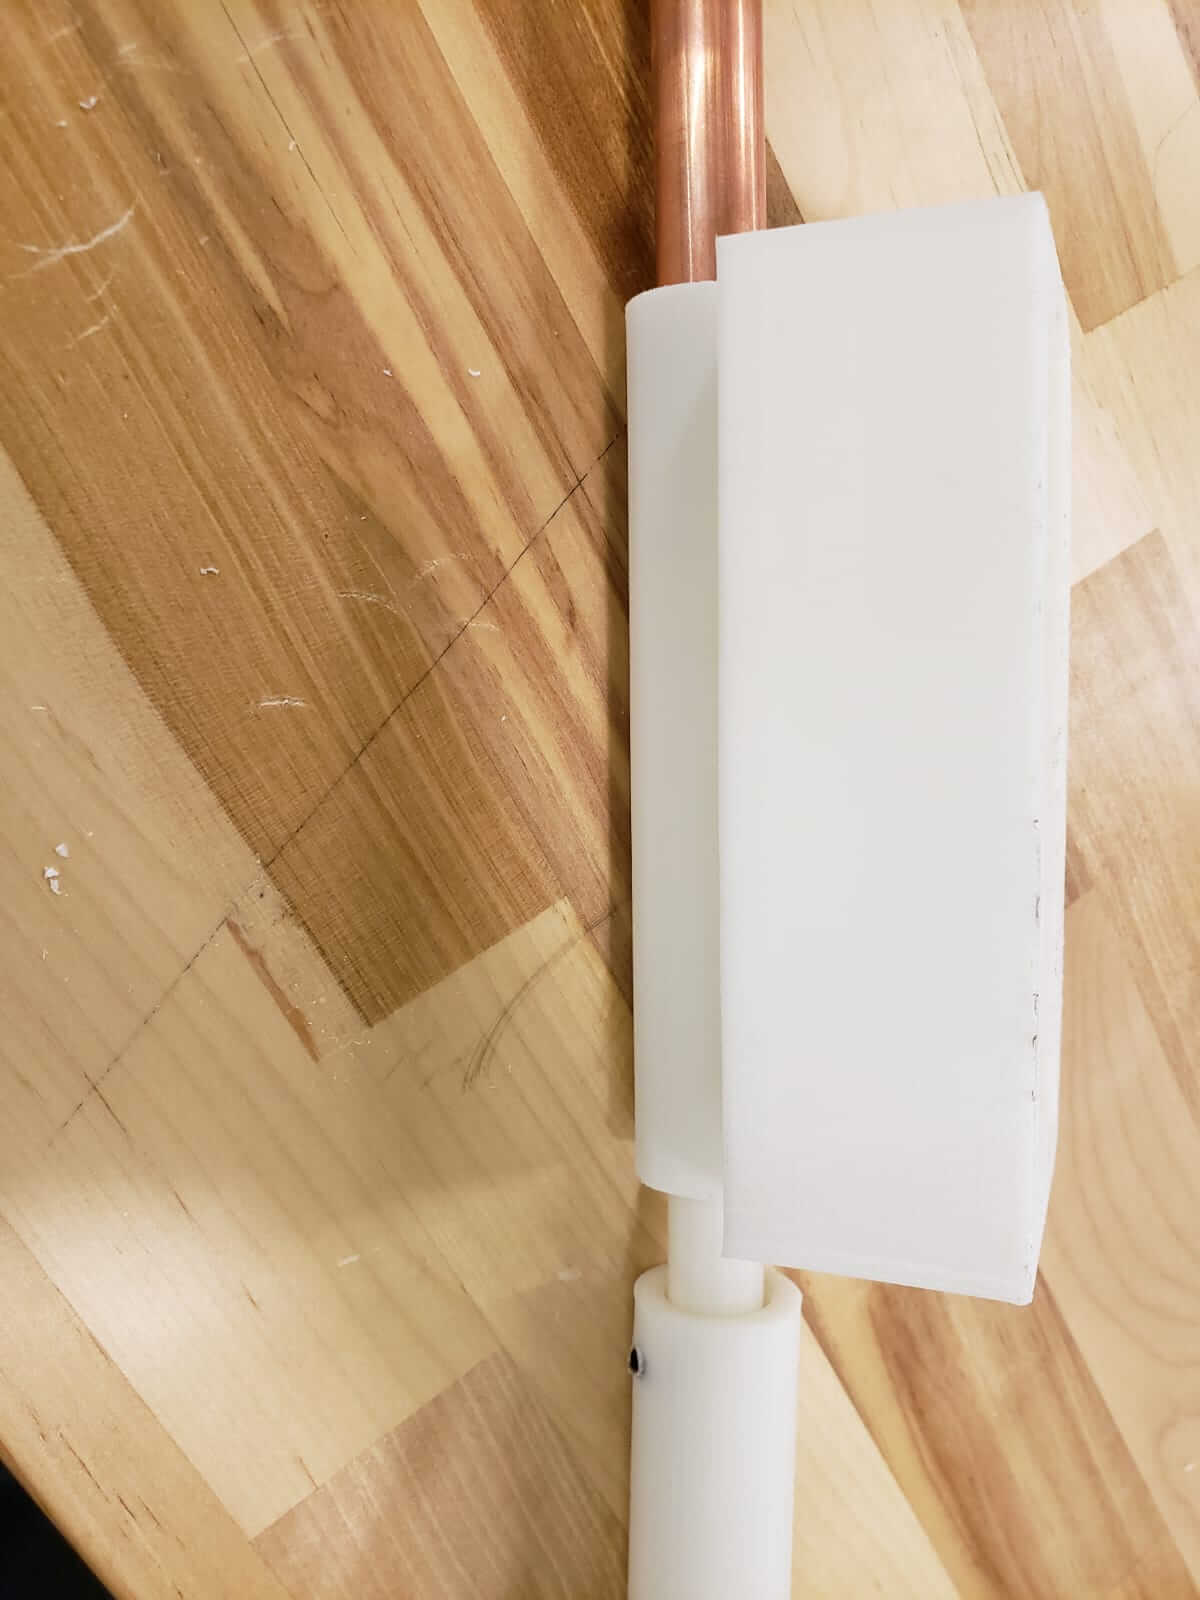
This is the handle and the box attached together. You can notice is like small dot im using screws to hold both pieces together.
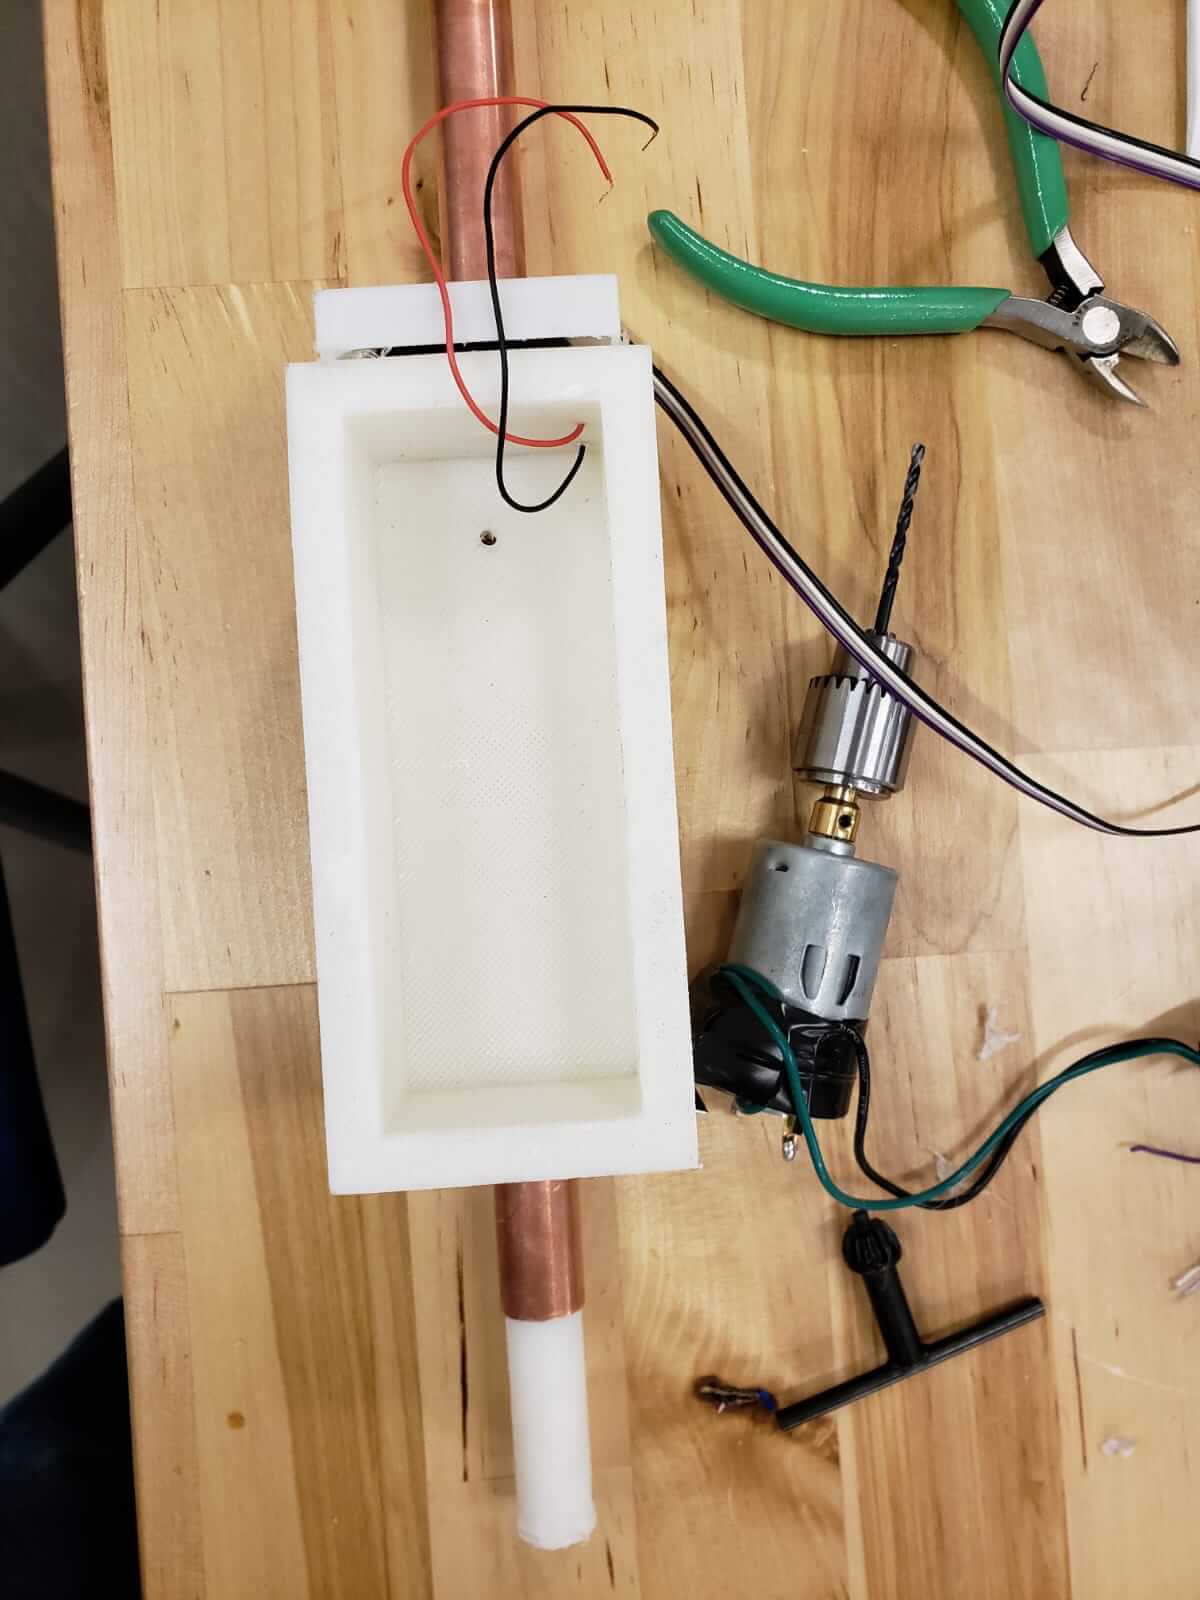
Box is install in the pipe so now I had to make wholes to run my cables to the sensor and to my speaker.
Preparing and testing all my electronics before I put them into my Electrobath-Cane
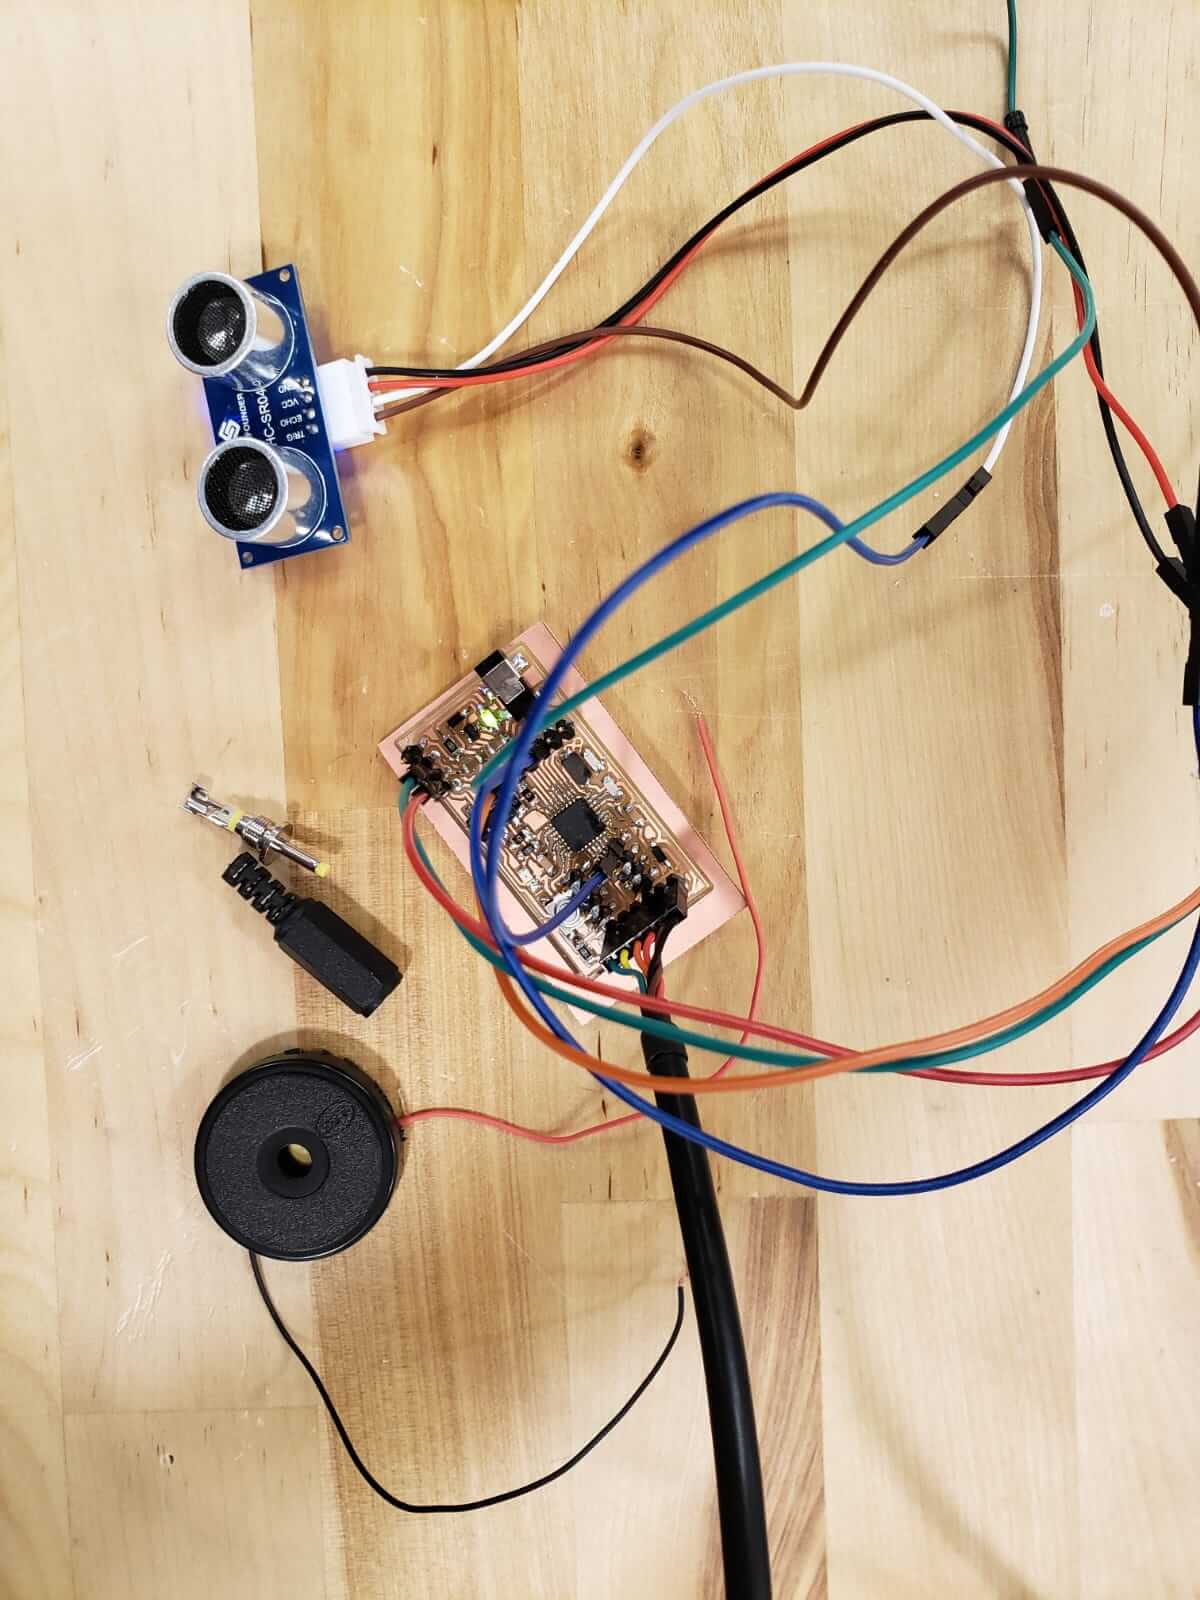
Im measuring my speaker and putting it together. Here I had a problem bacause I wanted to used the speaker that is here in this picture but it was a little bit to beig for the box I made. So I end it up using the one that is in the picture above. I ended up using the one above because it was more loeder anyway.
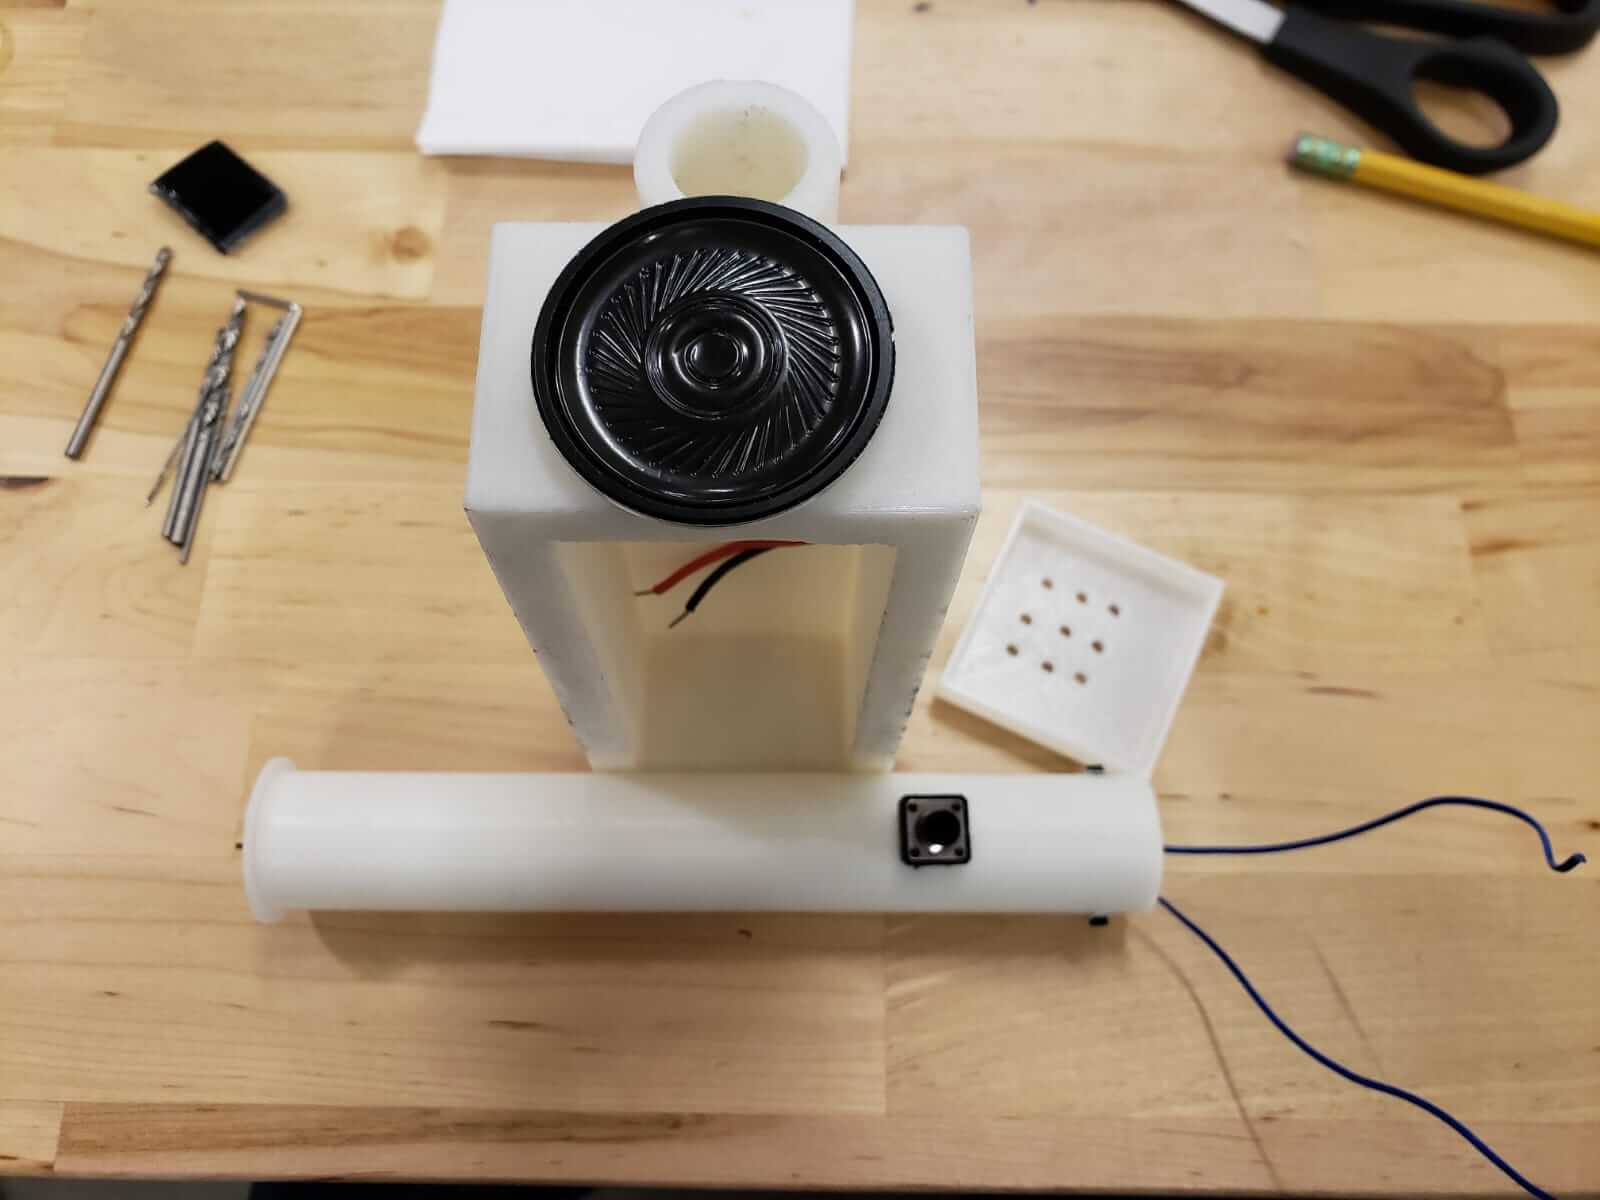
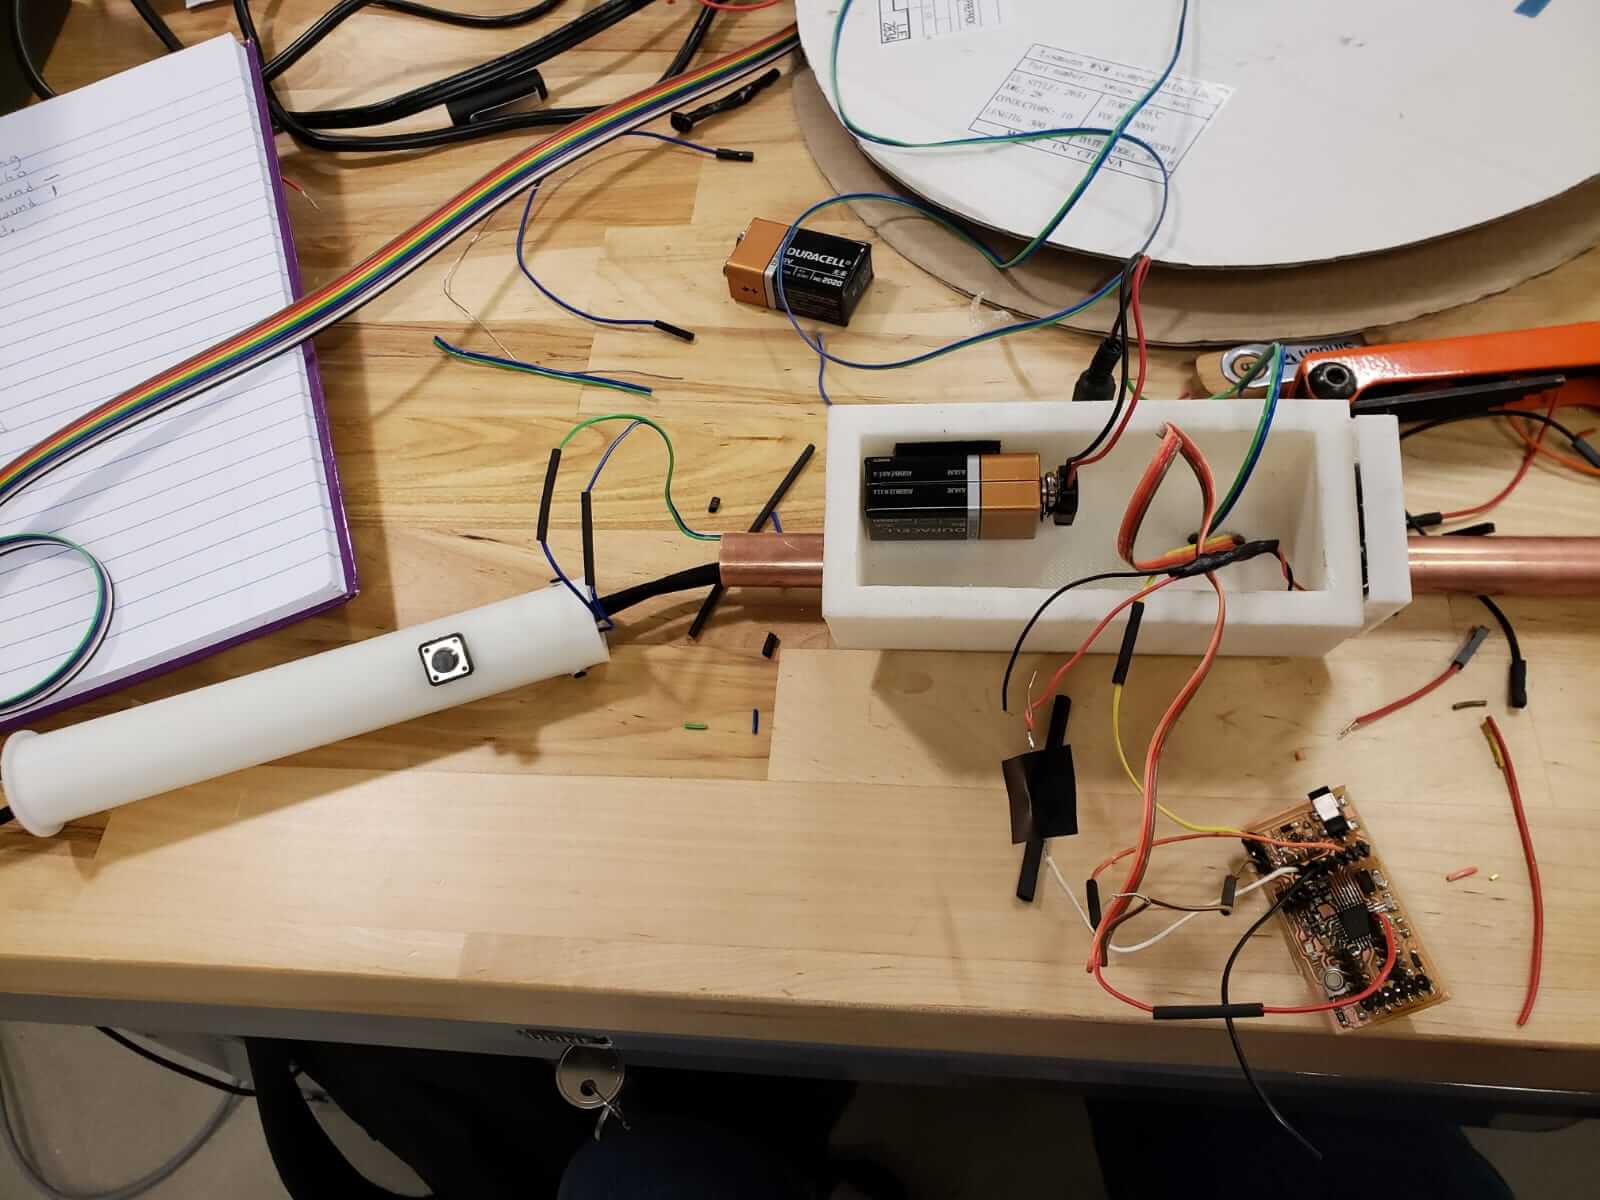
Wiring everything together.
Sonar sensor attached.
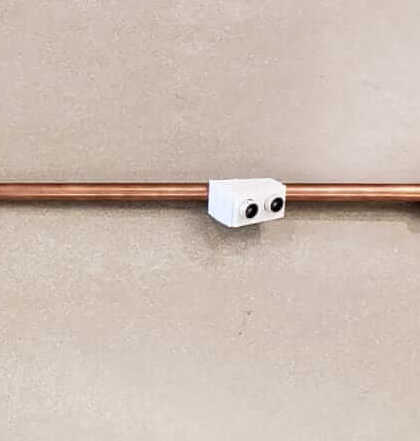
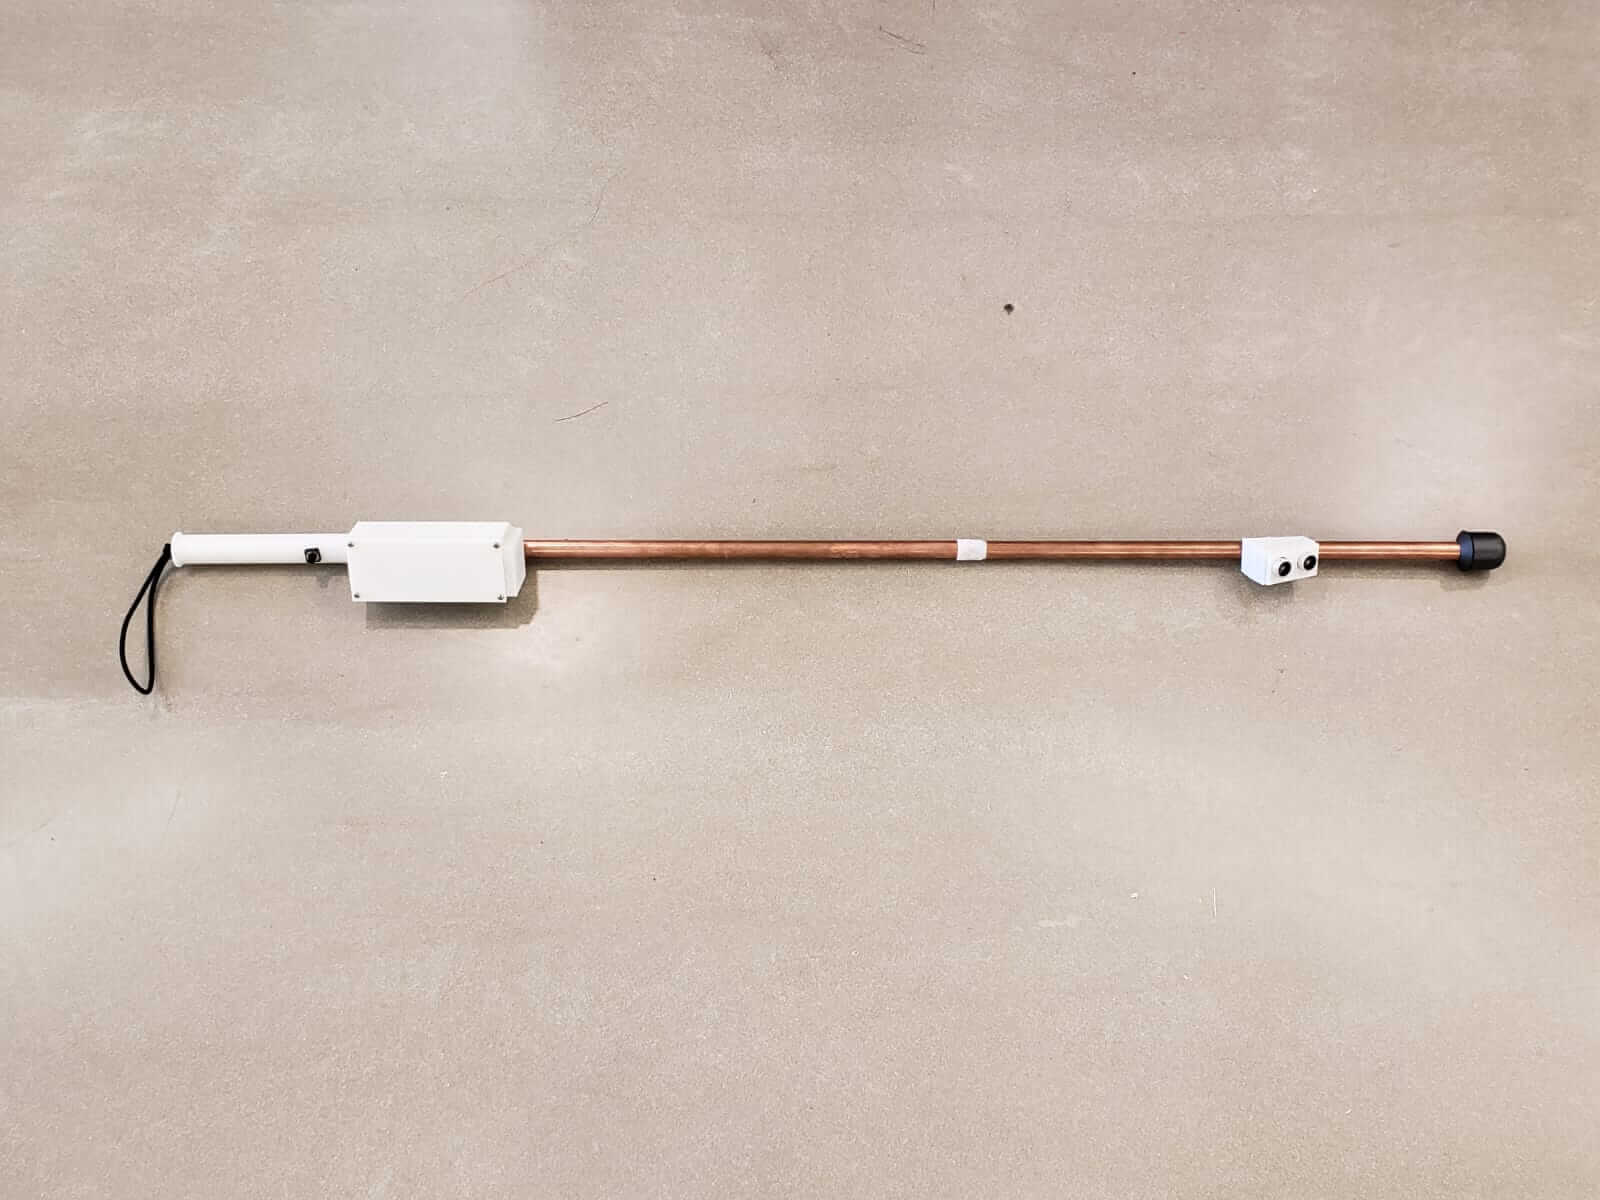
Now that I wire up and put together this is what I ended up having.
