Molding and Casting
Assignment: Design a 3D mold, machine and cast design.
 |
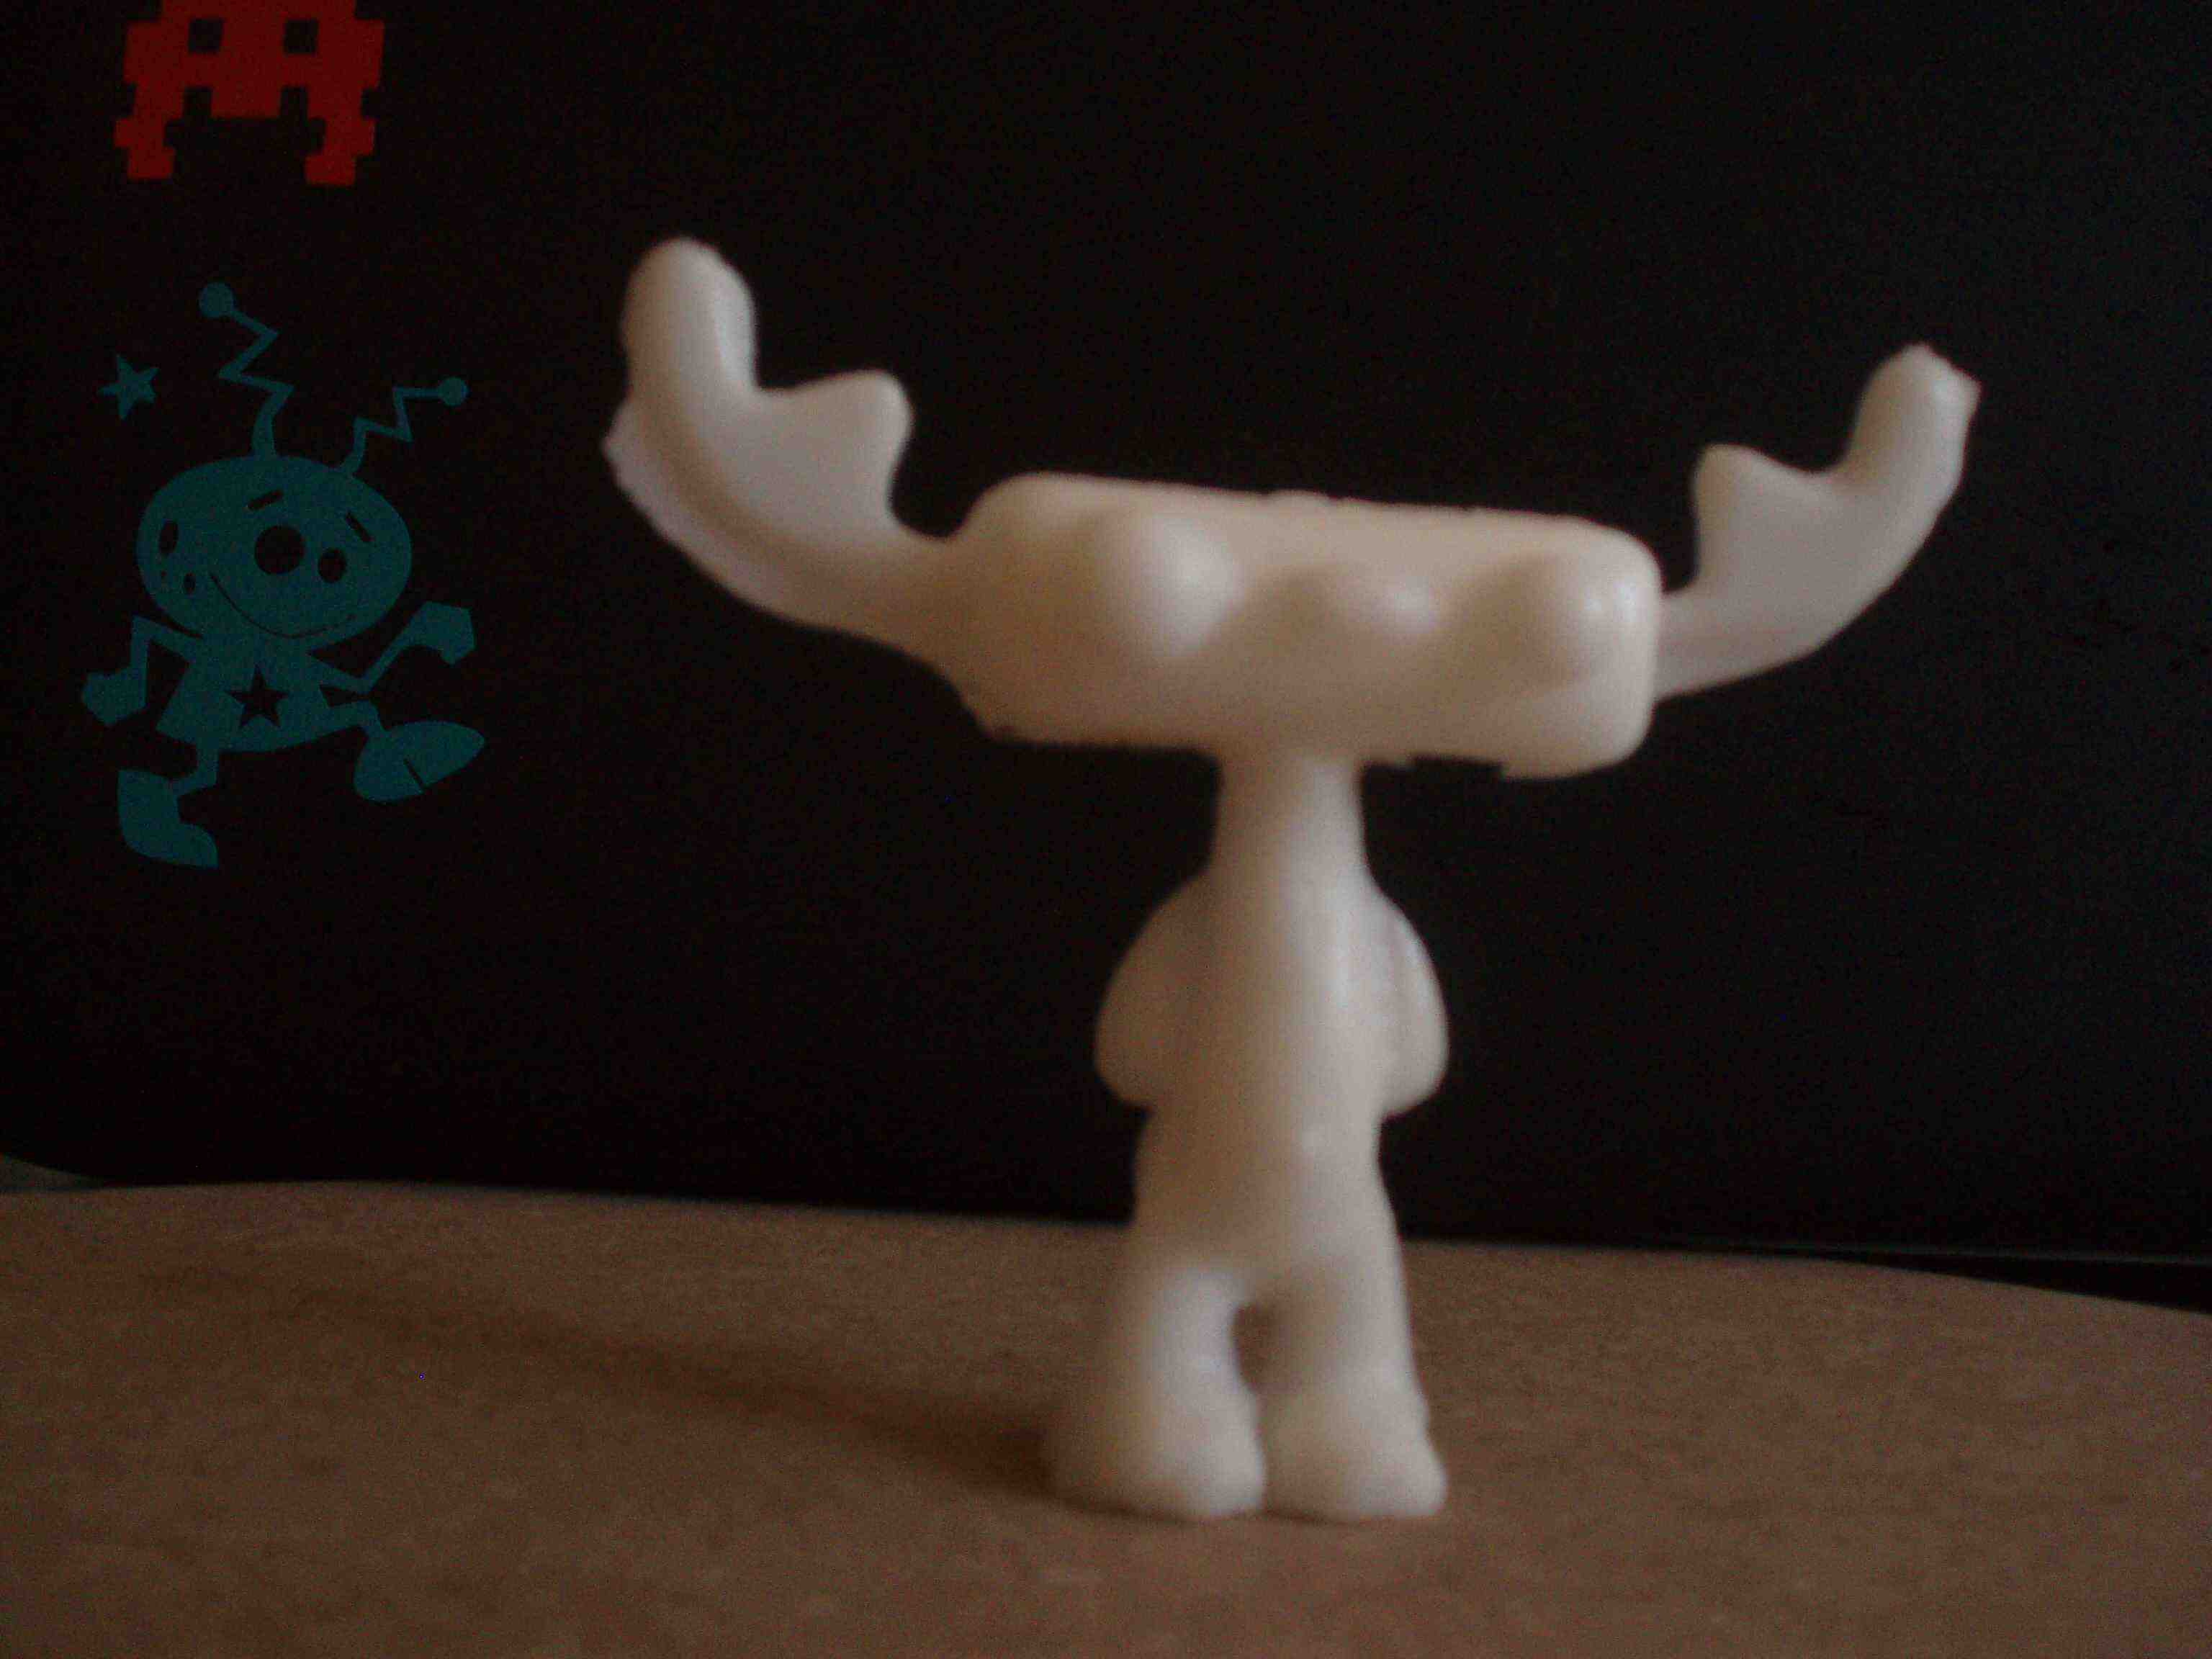
| Final cast with Smooth-on 325 |
 |
| click image to enlarge |
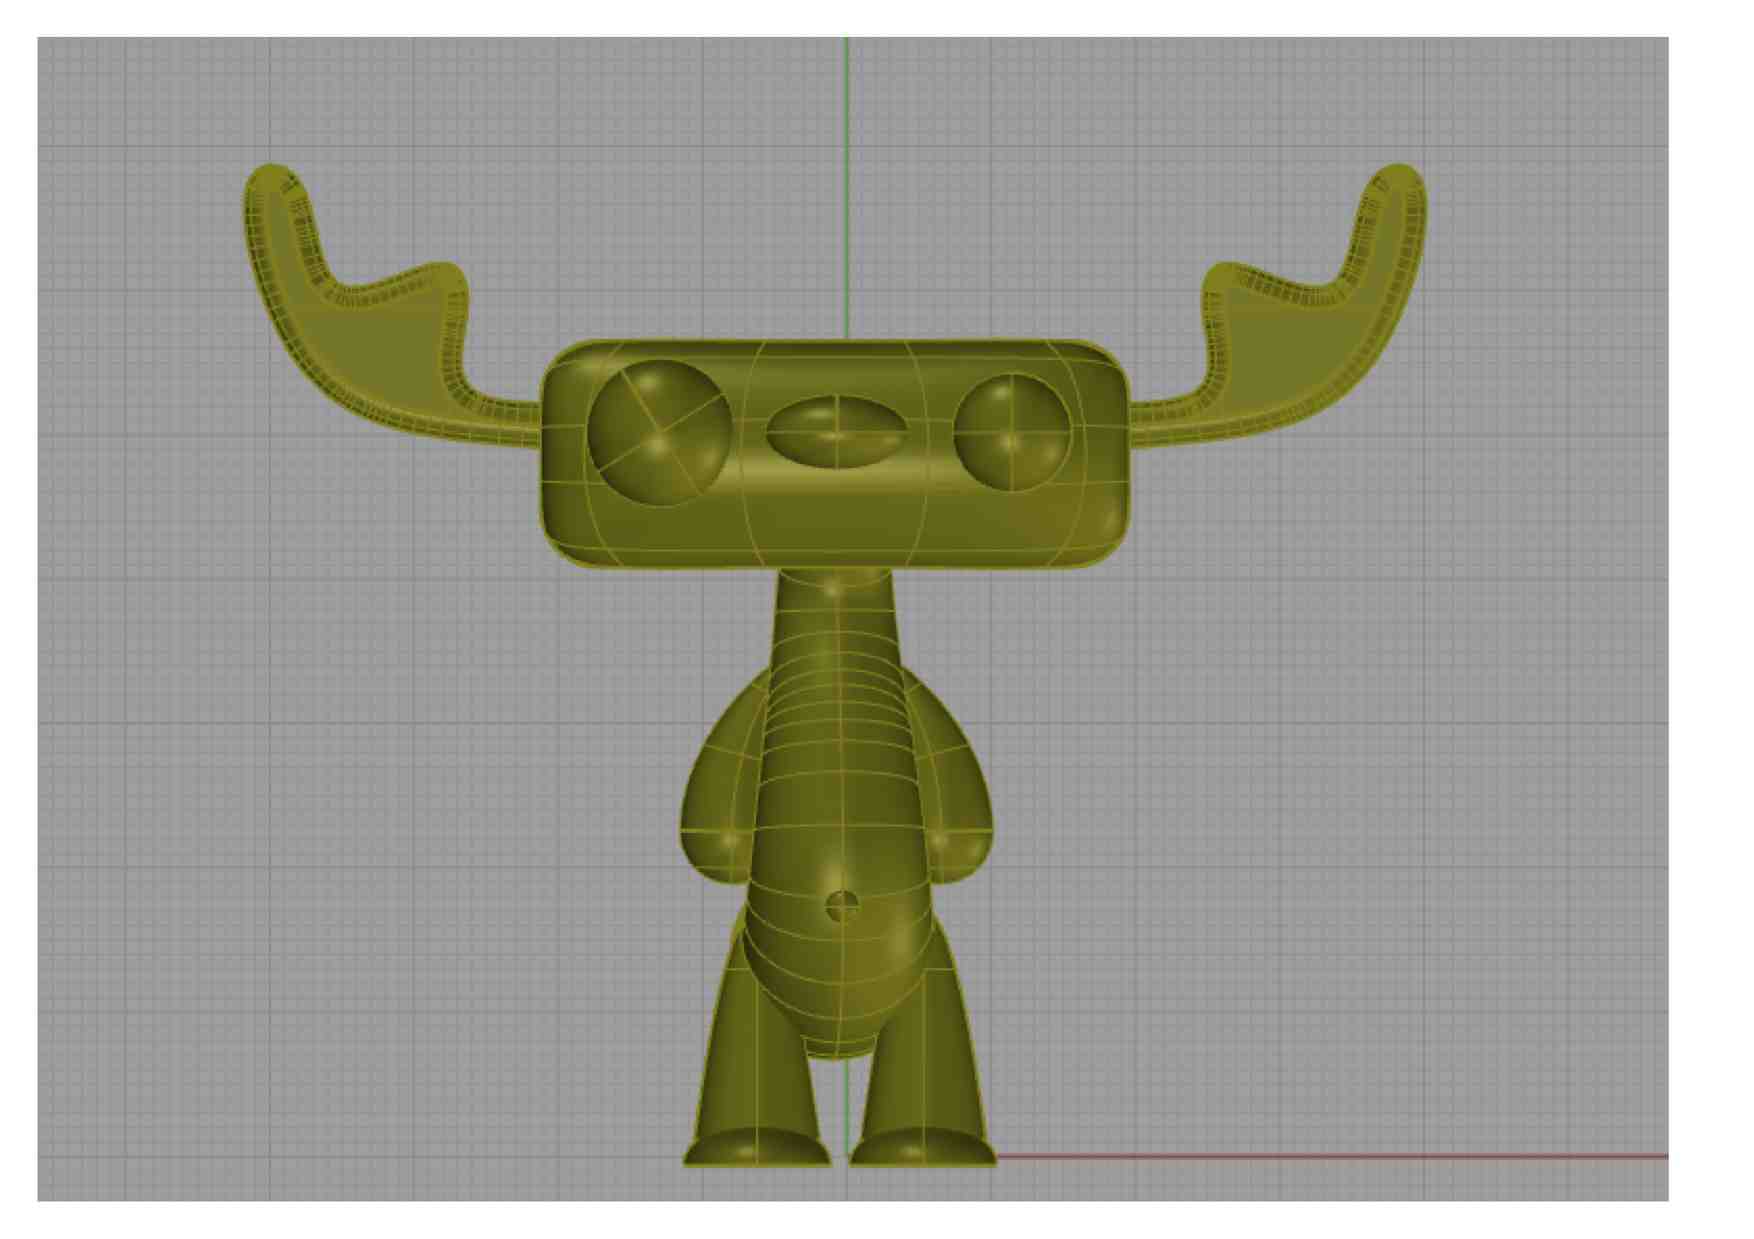
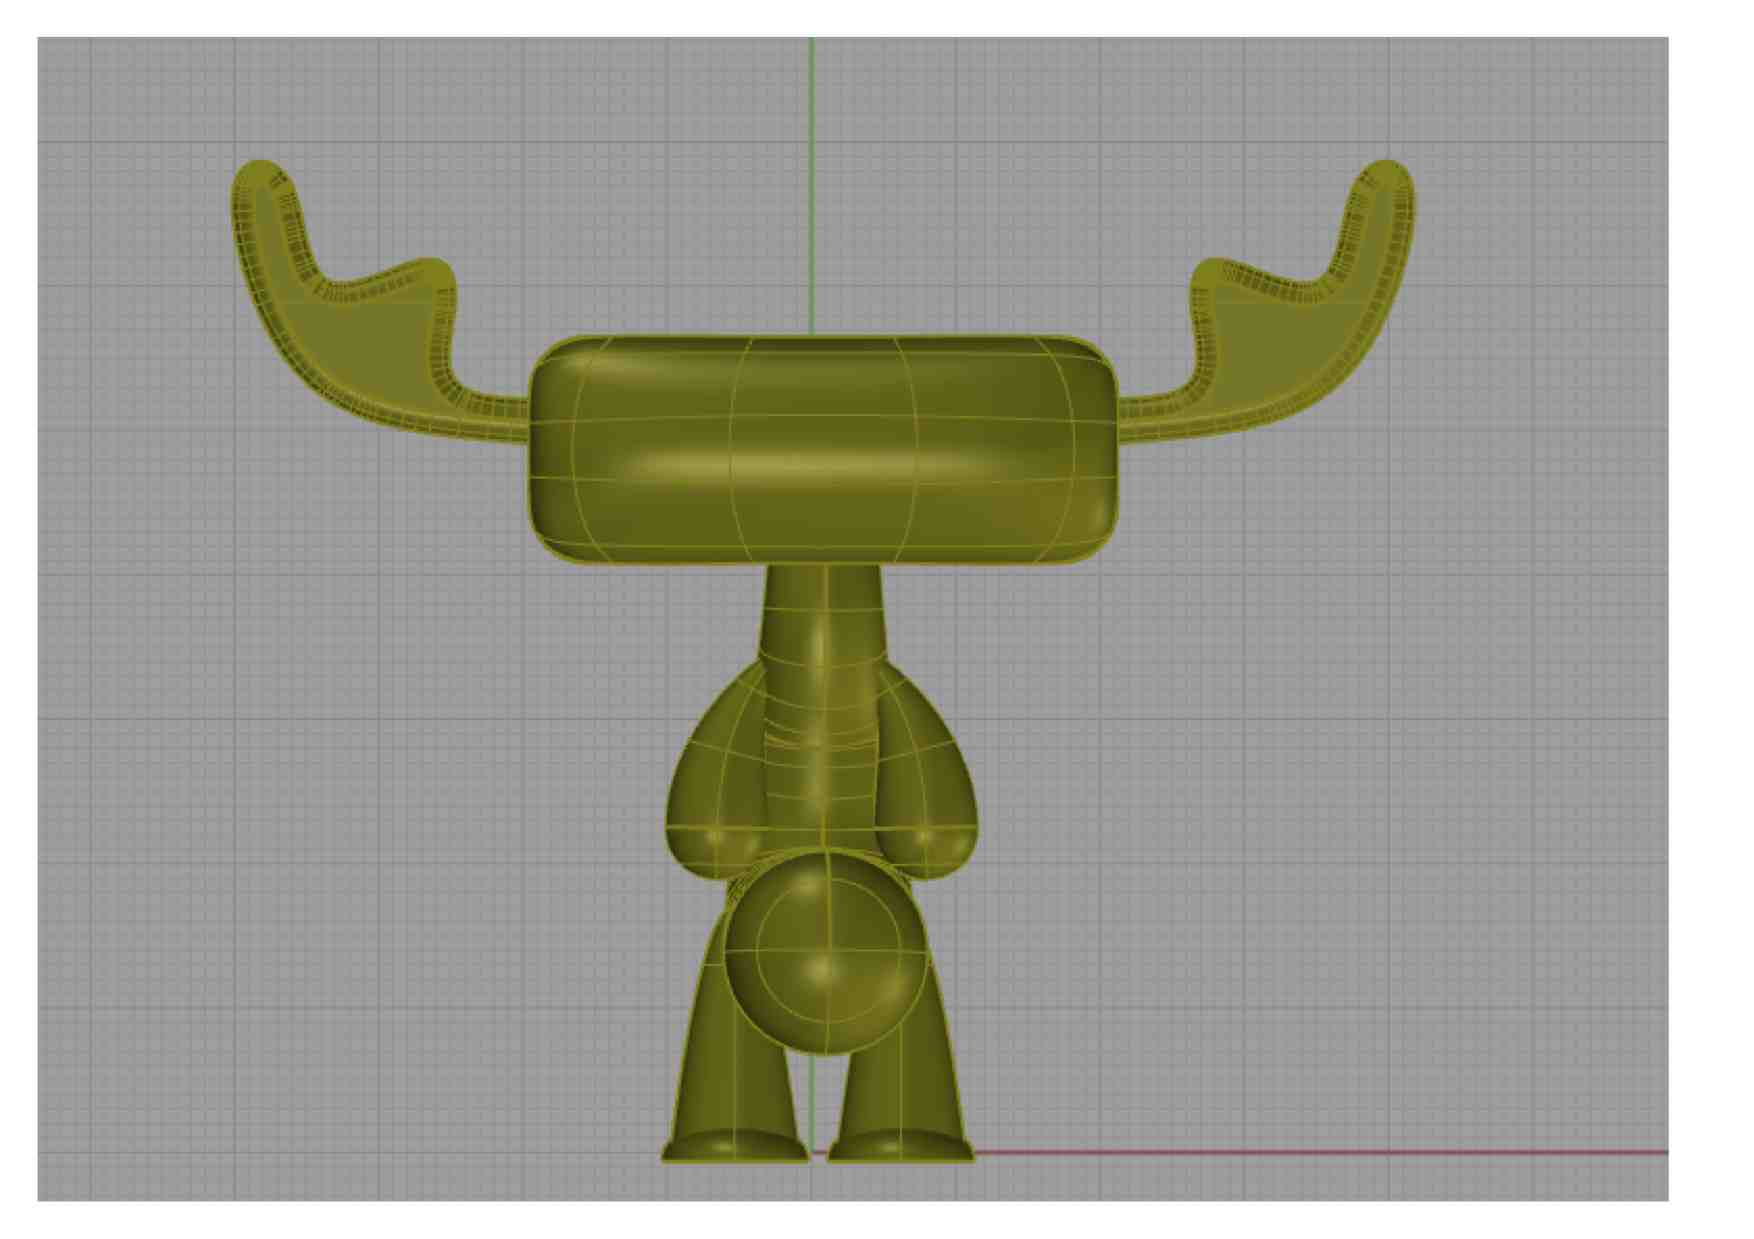
3D image
Character design
Used Rhino3d to draw character within mold box.
- Character should have strong corners perhaps deeper then looks good in a render. This character's antlers weren't thick enough making them very weak with some of the casting materials.
- Draw a complete character, place in box, add long cylinders for mold matching pegs, then finally add plane through center and do a number of Boolean2d to make the front and back of mold.
 |
 |
 |
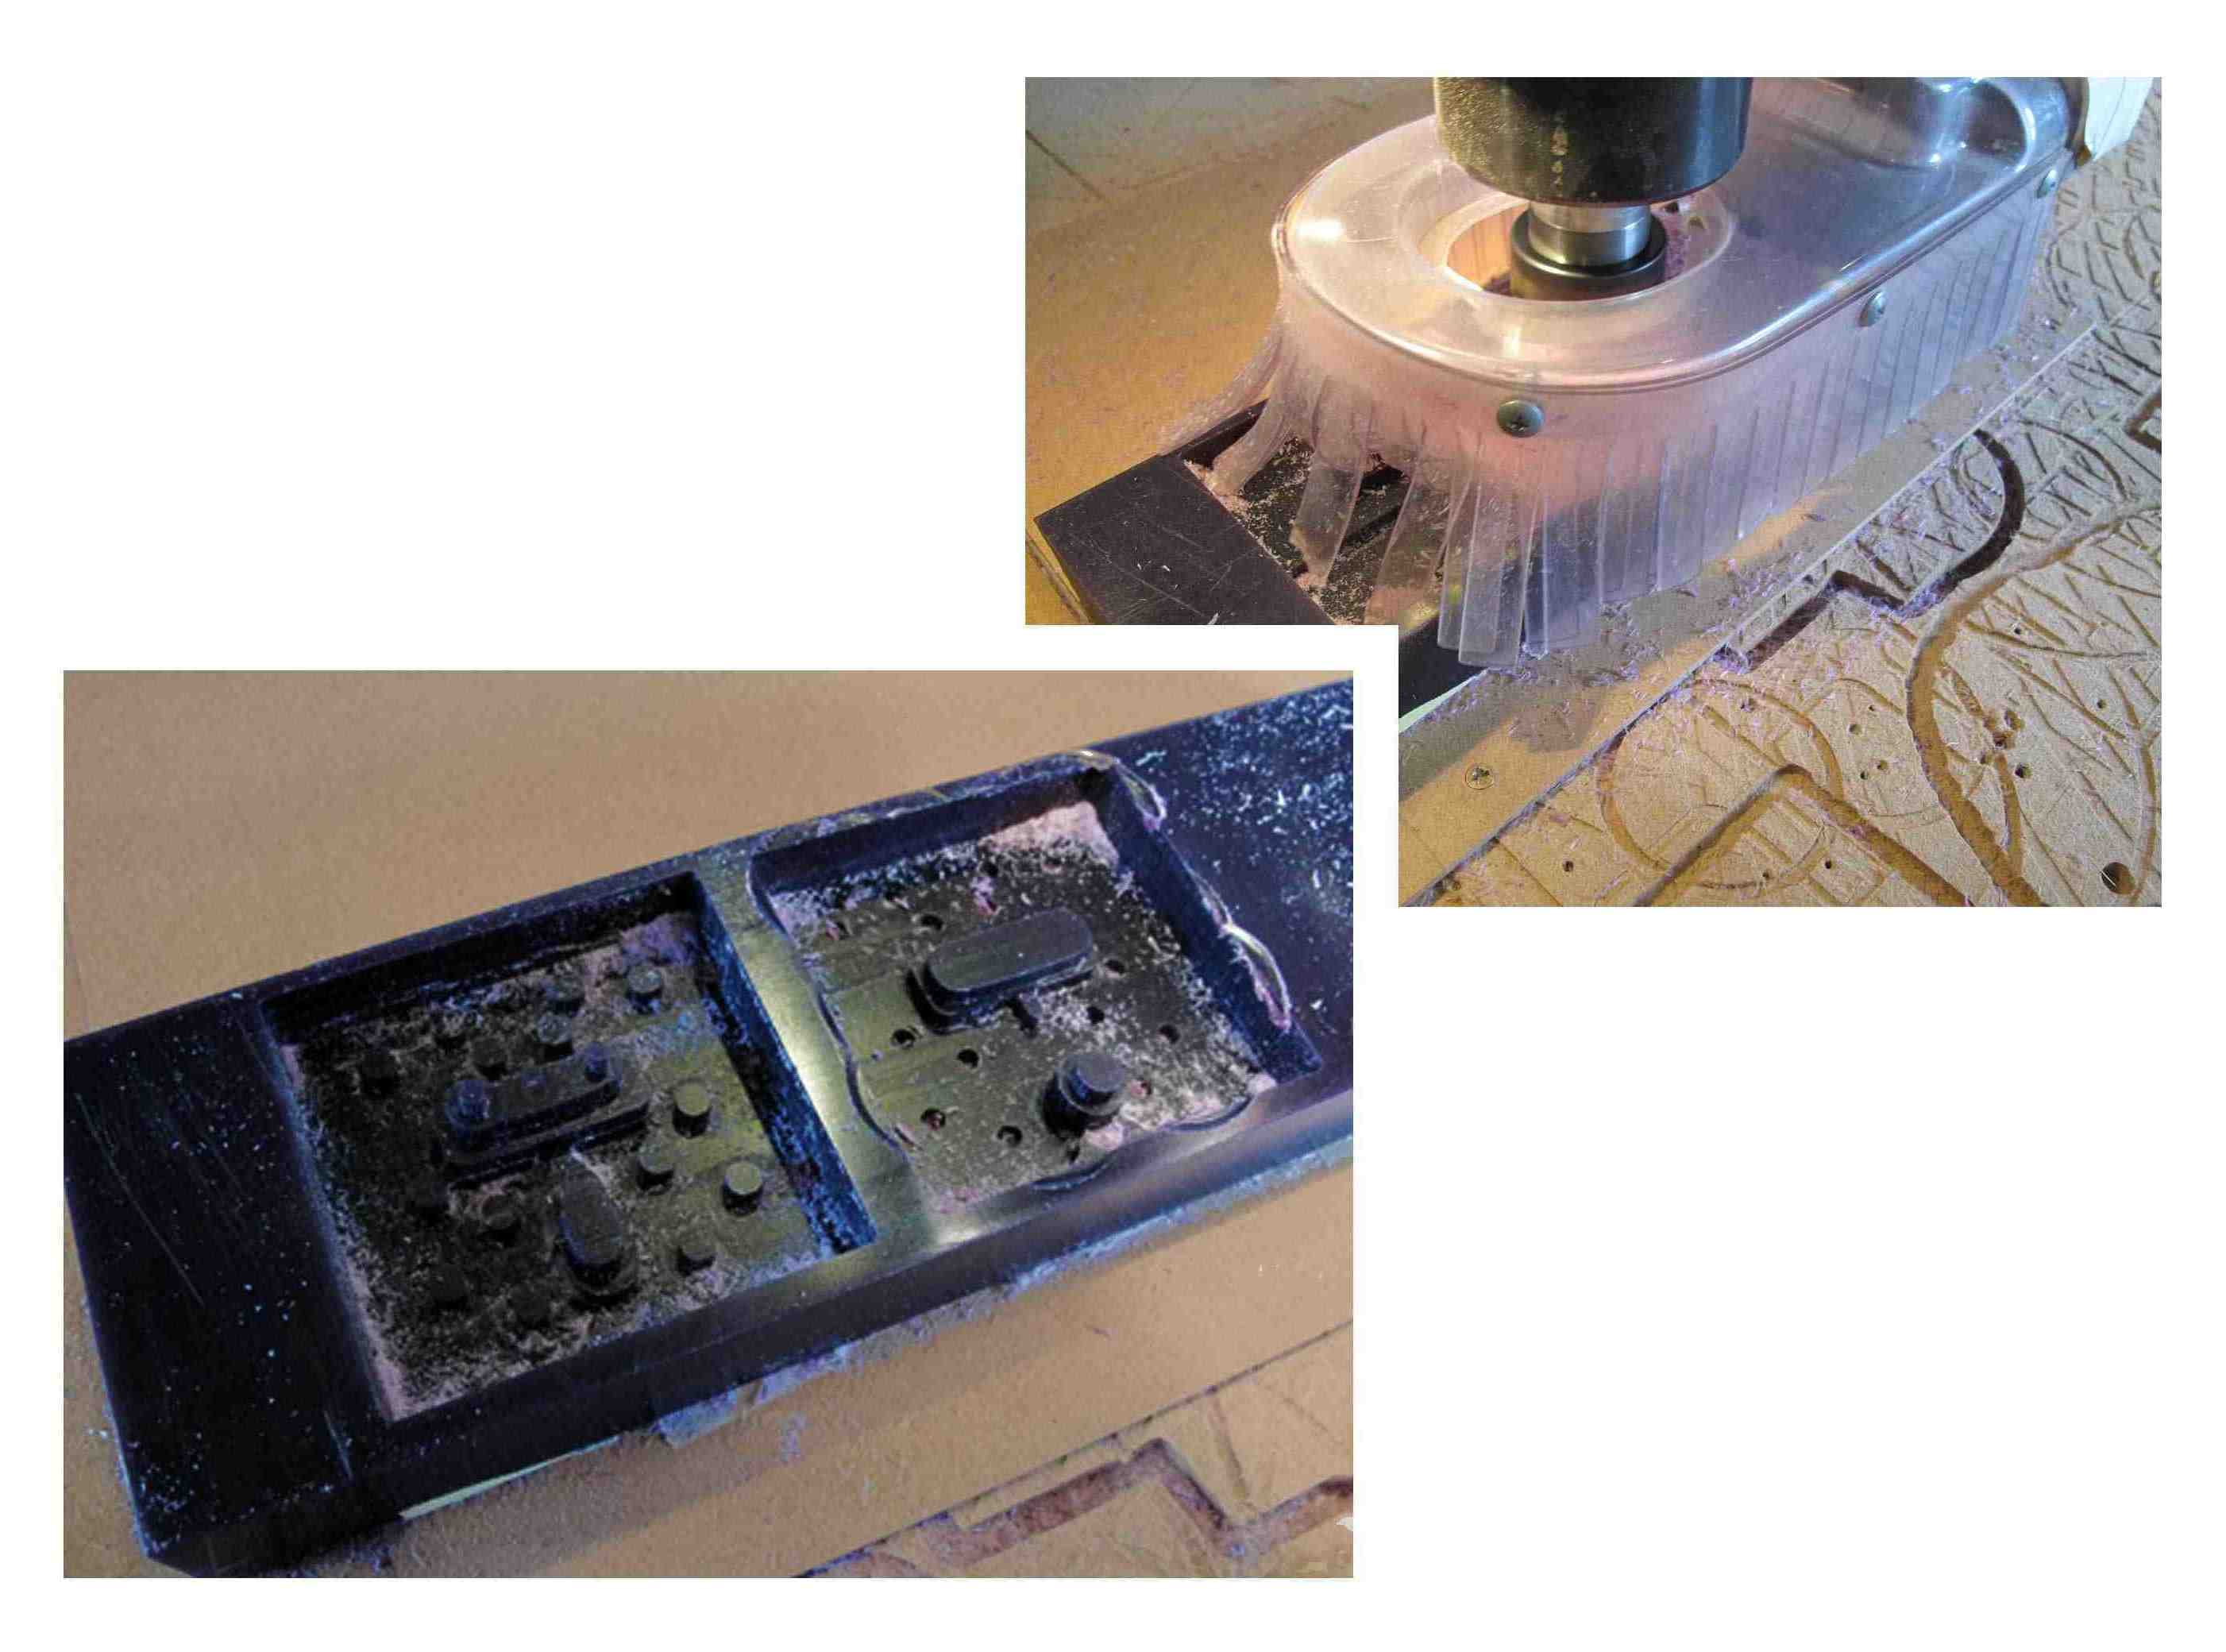
ShopBot
Material used for mold was Machinable wax
 |
 |
PartWorks 3D
Preparing design
- Save drawing as a STL
- Open PartWorks 3D on ShopBot
- Load the STL file
- Enter units and tool size because STL file does not contain units
- Enter scale, for example, 70%
- Enter material size
- Set zero on surface that isnt moving
-
Rough cut
Tooling: 4 (four) fluted .125 inch endmill
Cutting Parameters: Passdepth: 4.0, Stepover: .635, SpSpeed: 12000, Feed: 60, Plunge: 10
Toolpath: Rapid: 2.0 mm, M-Allow .5, ZLevel: Raster X 4.0
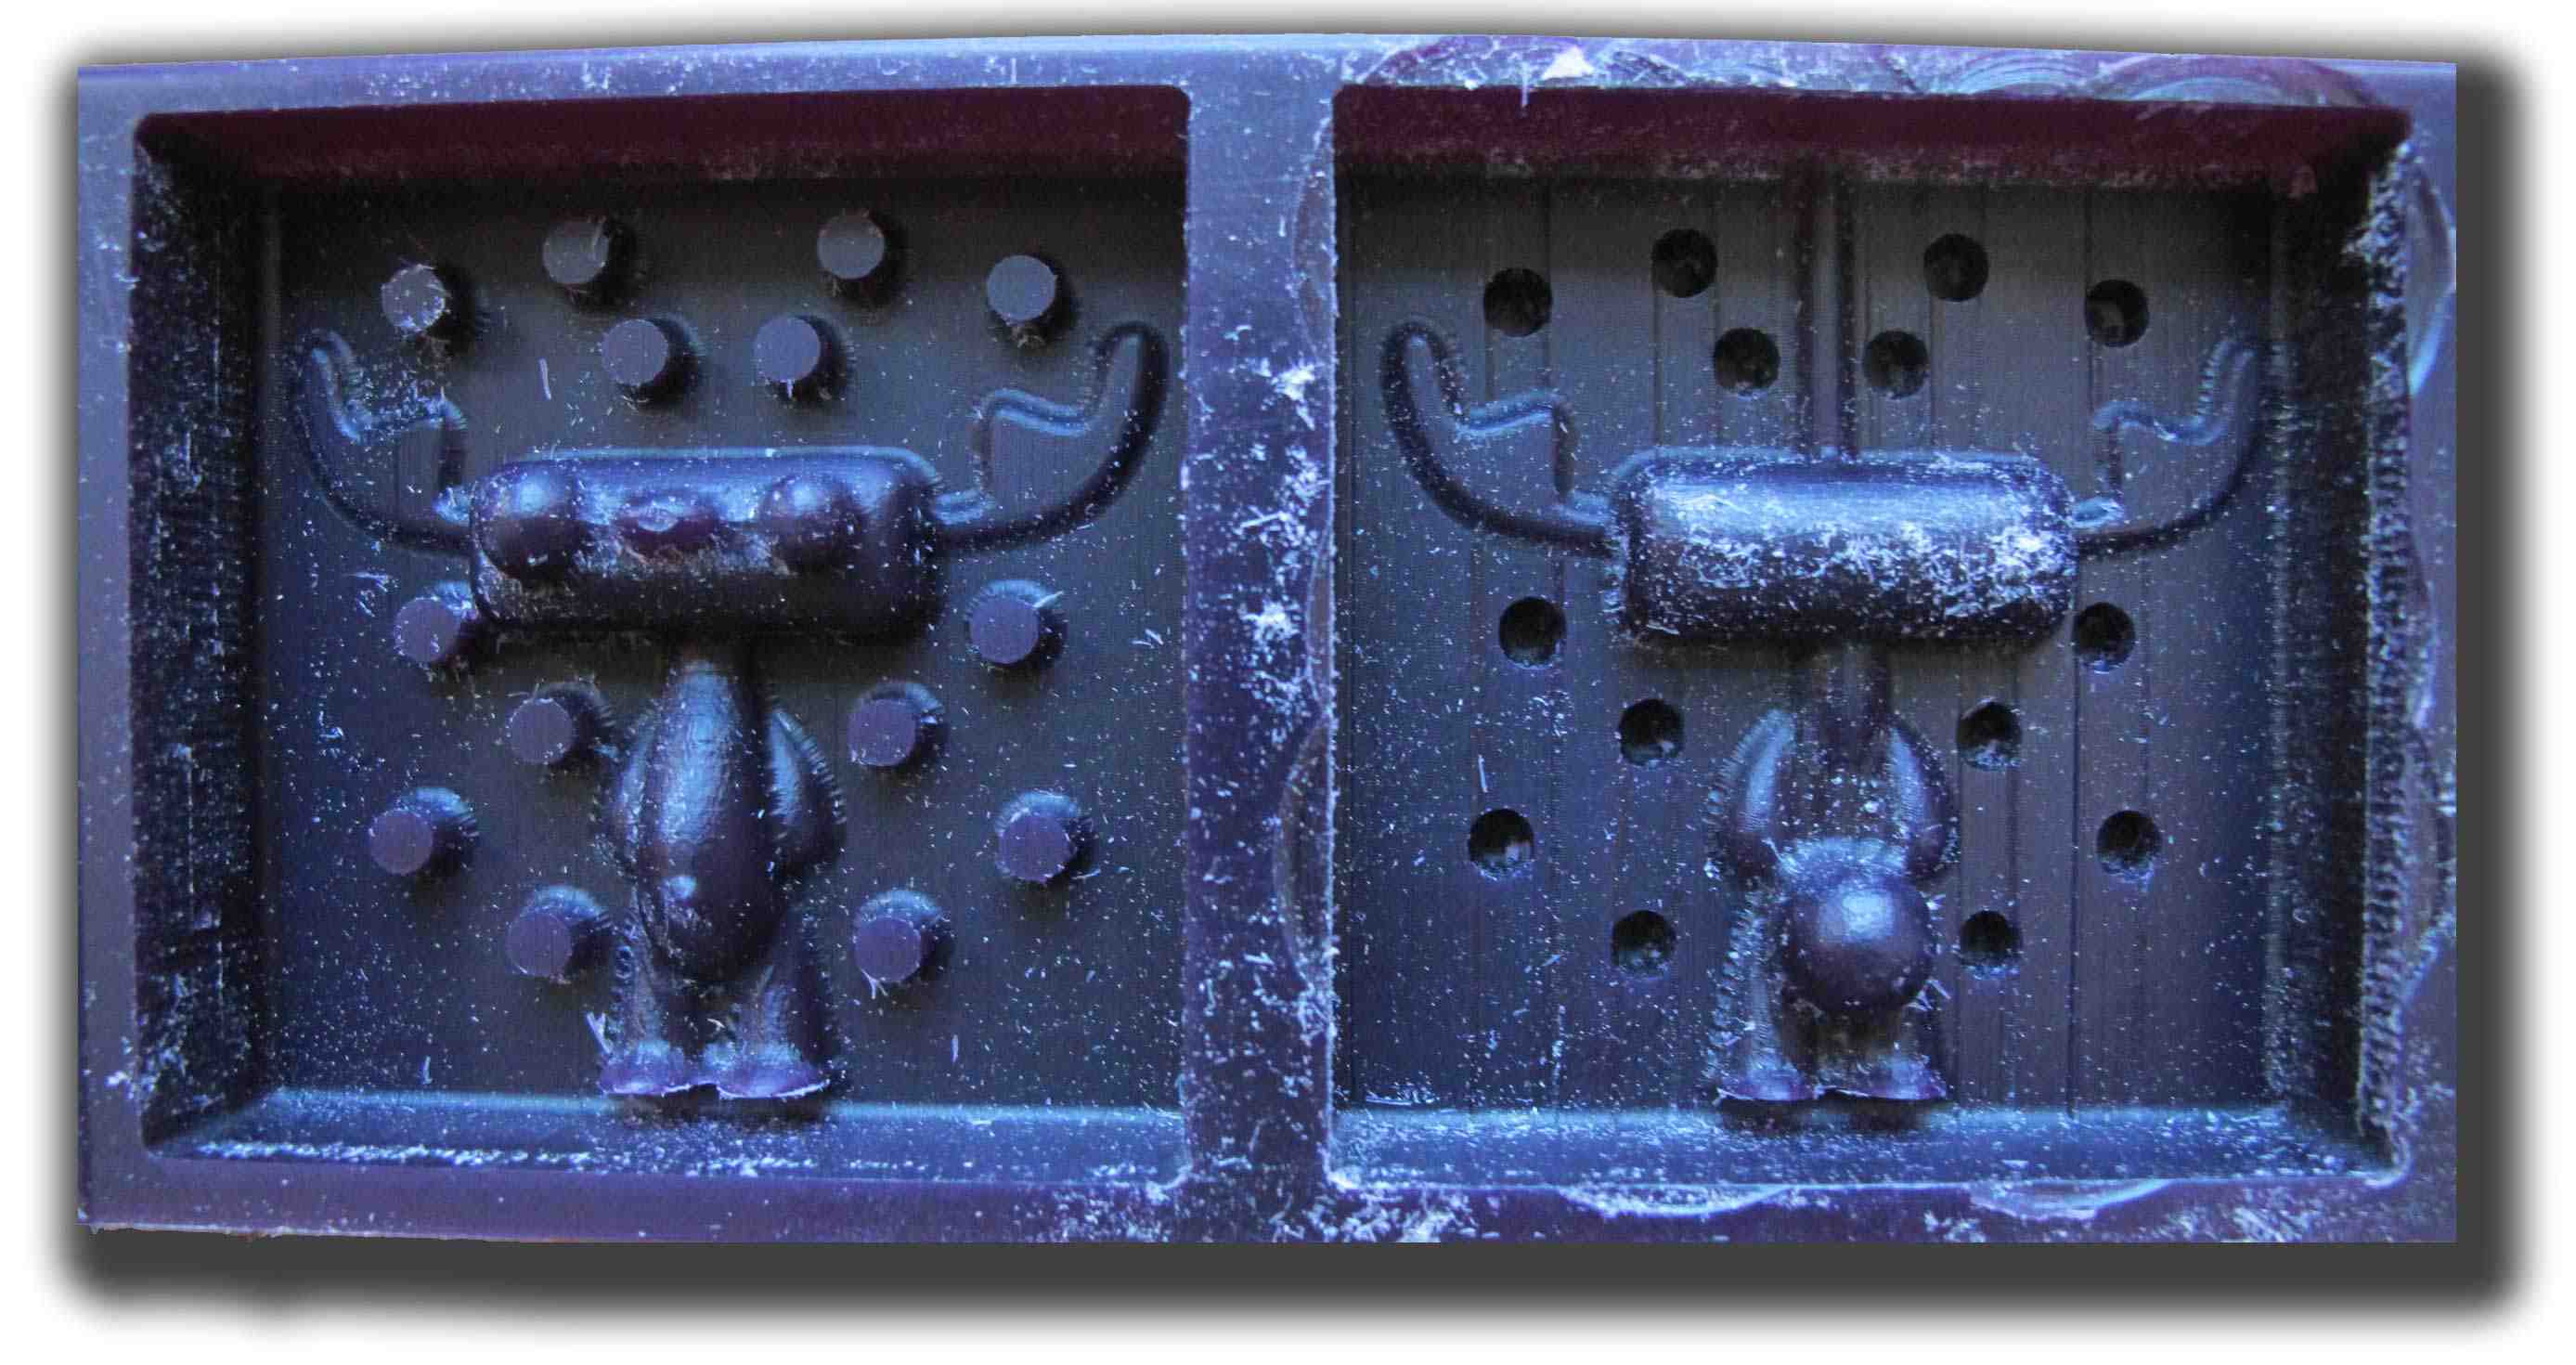
Finished cut
4 (four) fluted .125 inch ball endmill
Cutting Parameters: Passdepth: x.x, Stepover: .xxx, SpSpeed: 12000, Feed: 60, Plunge: xx
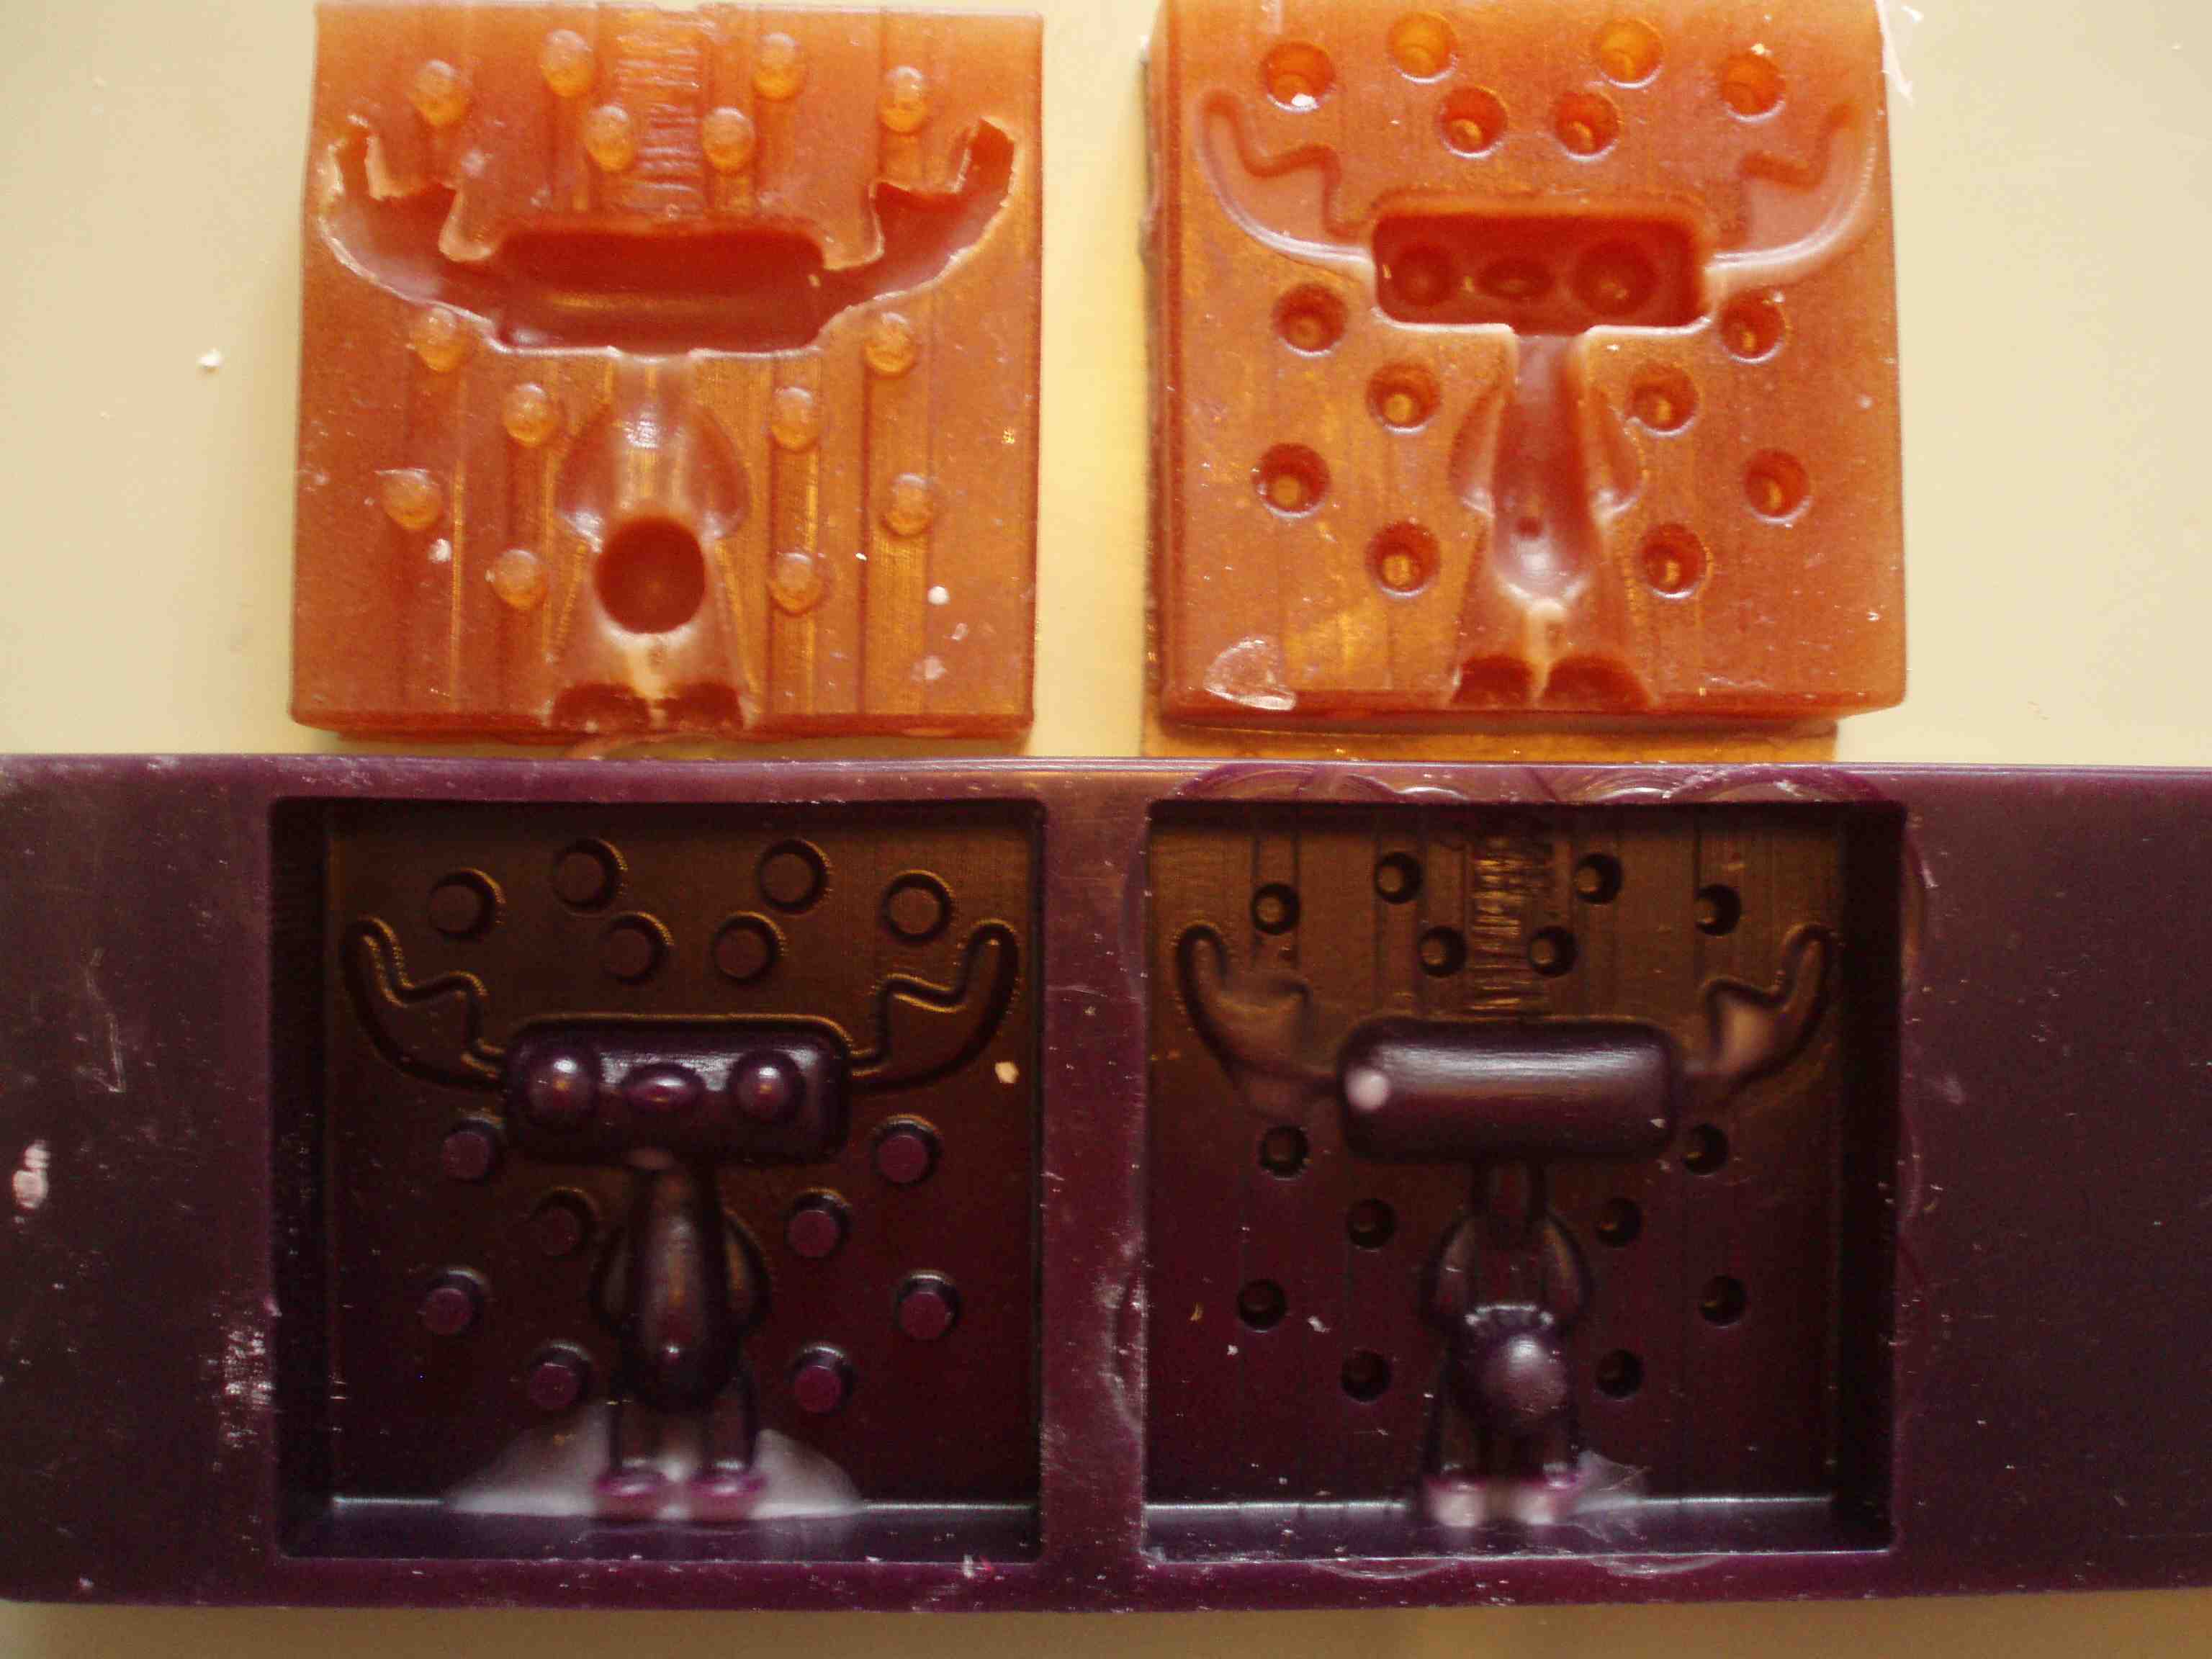
Molding
How much mold rubber do I need?
Example calculation:
- Using PMC® -121-30 Dry - Easy To Use Urethane Rubber
- h * w * d = VOLUME (rubber needed to make the mold). Then divide the VOLUME by the specific volume yield of the mold rubber (constant 963 cm3)
- (h * w * d)/ 963 cm3 = Weight in kg of PartA and PartB need to make mold
- (8.8 height x 9.0 width x 2.0 depth) / 963 cm3 = Approximate Weight of Product Needed 0.16 Kg of Part A and 0.16 Kg of Part B
Other calculation options:
Smooth-on has a free iPhone applicationto calculate how much PartA and PartB you need.
Smooth-on has the same calculatoron their site
Smooth-on has an explanation of this calculation on their FAQ
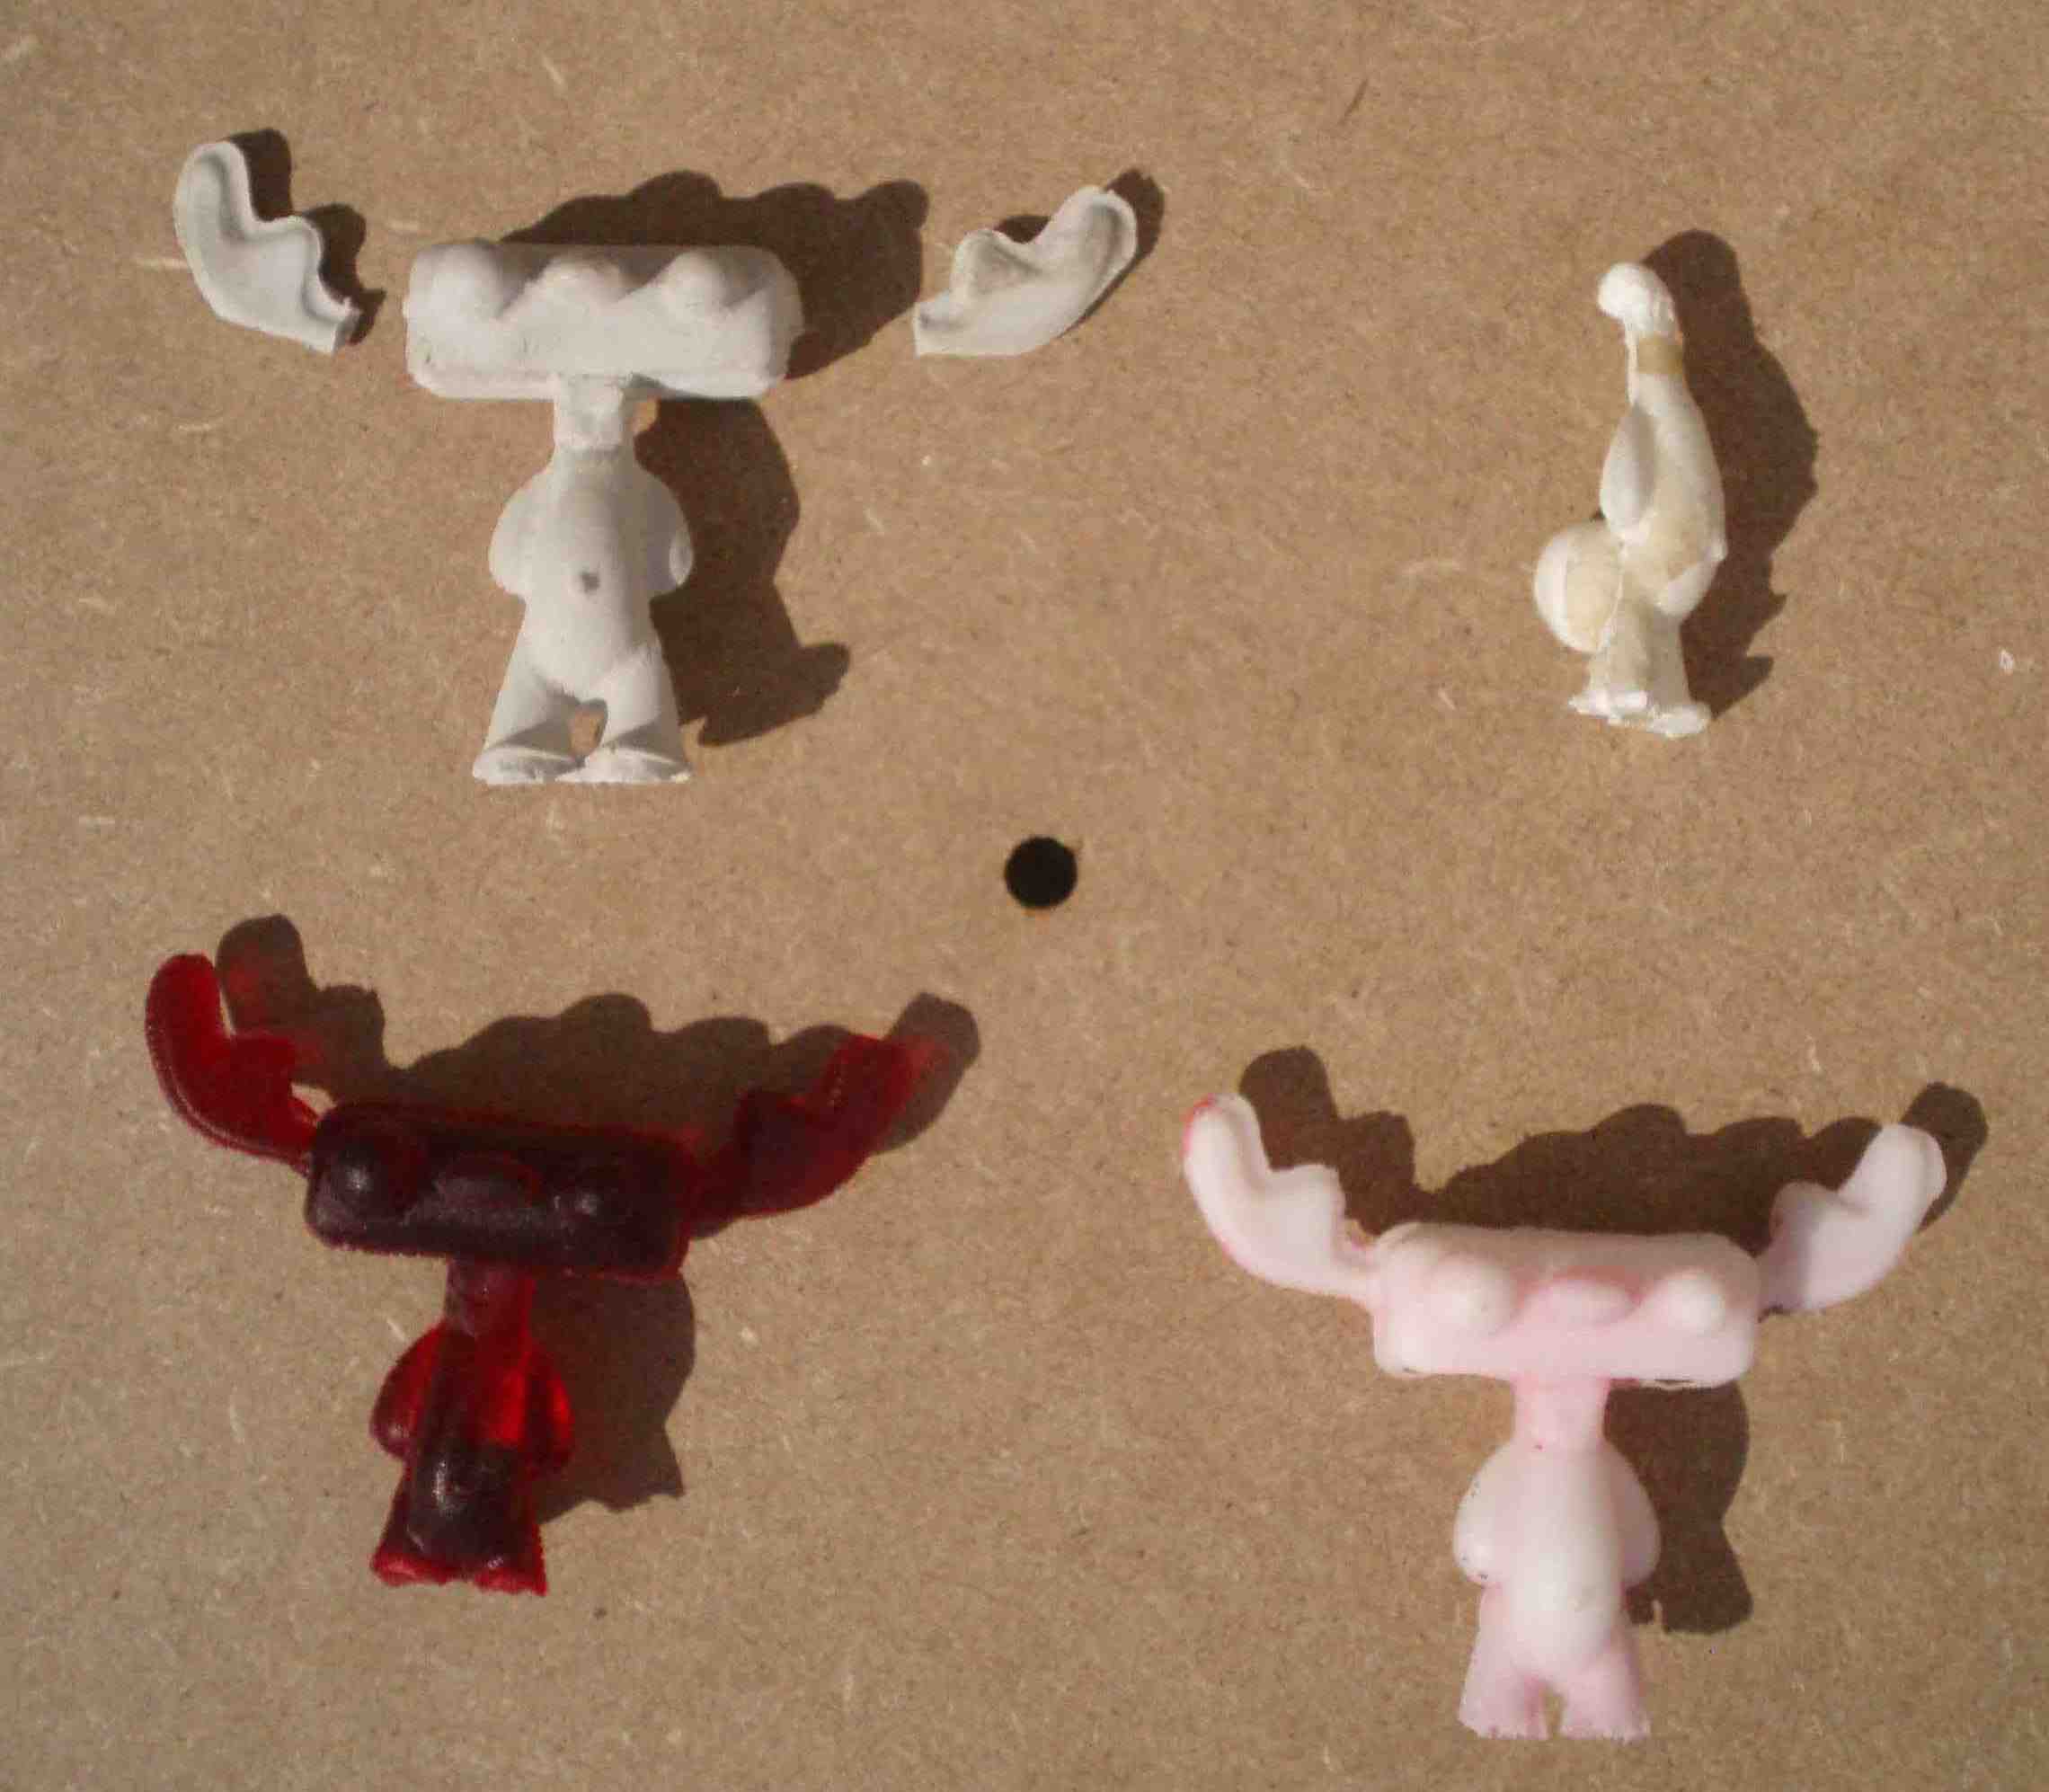
Casting
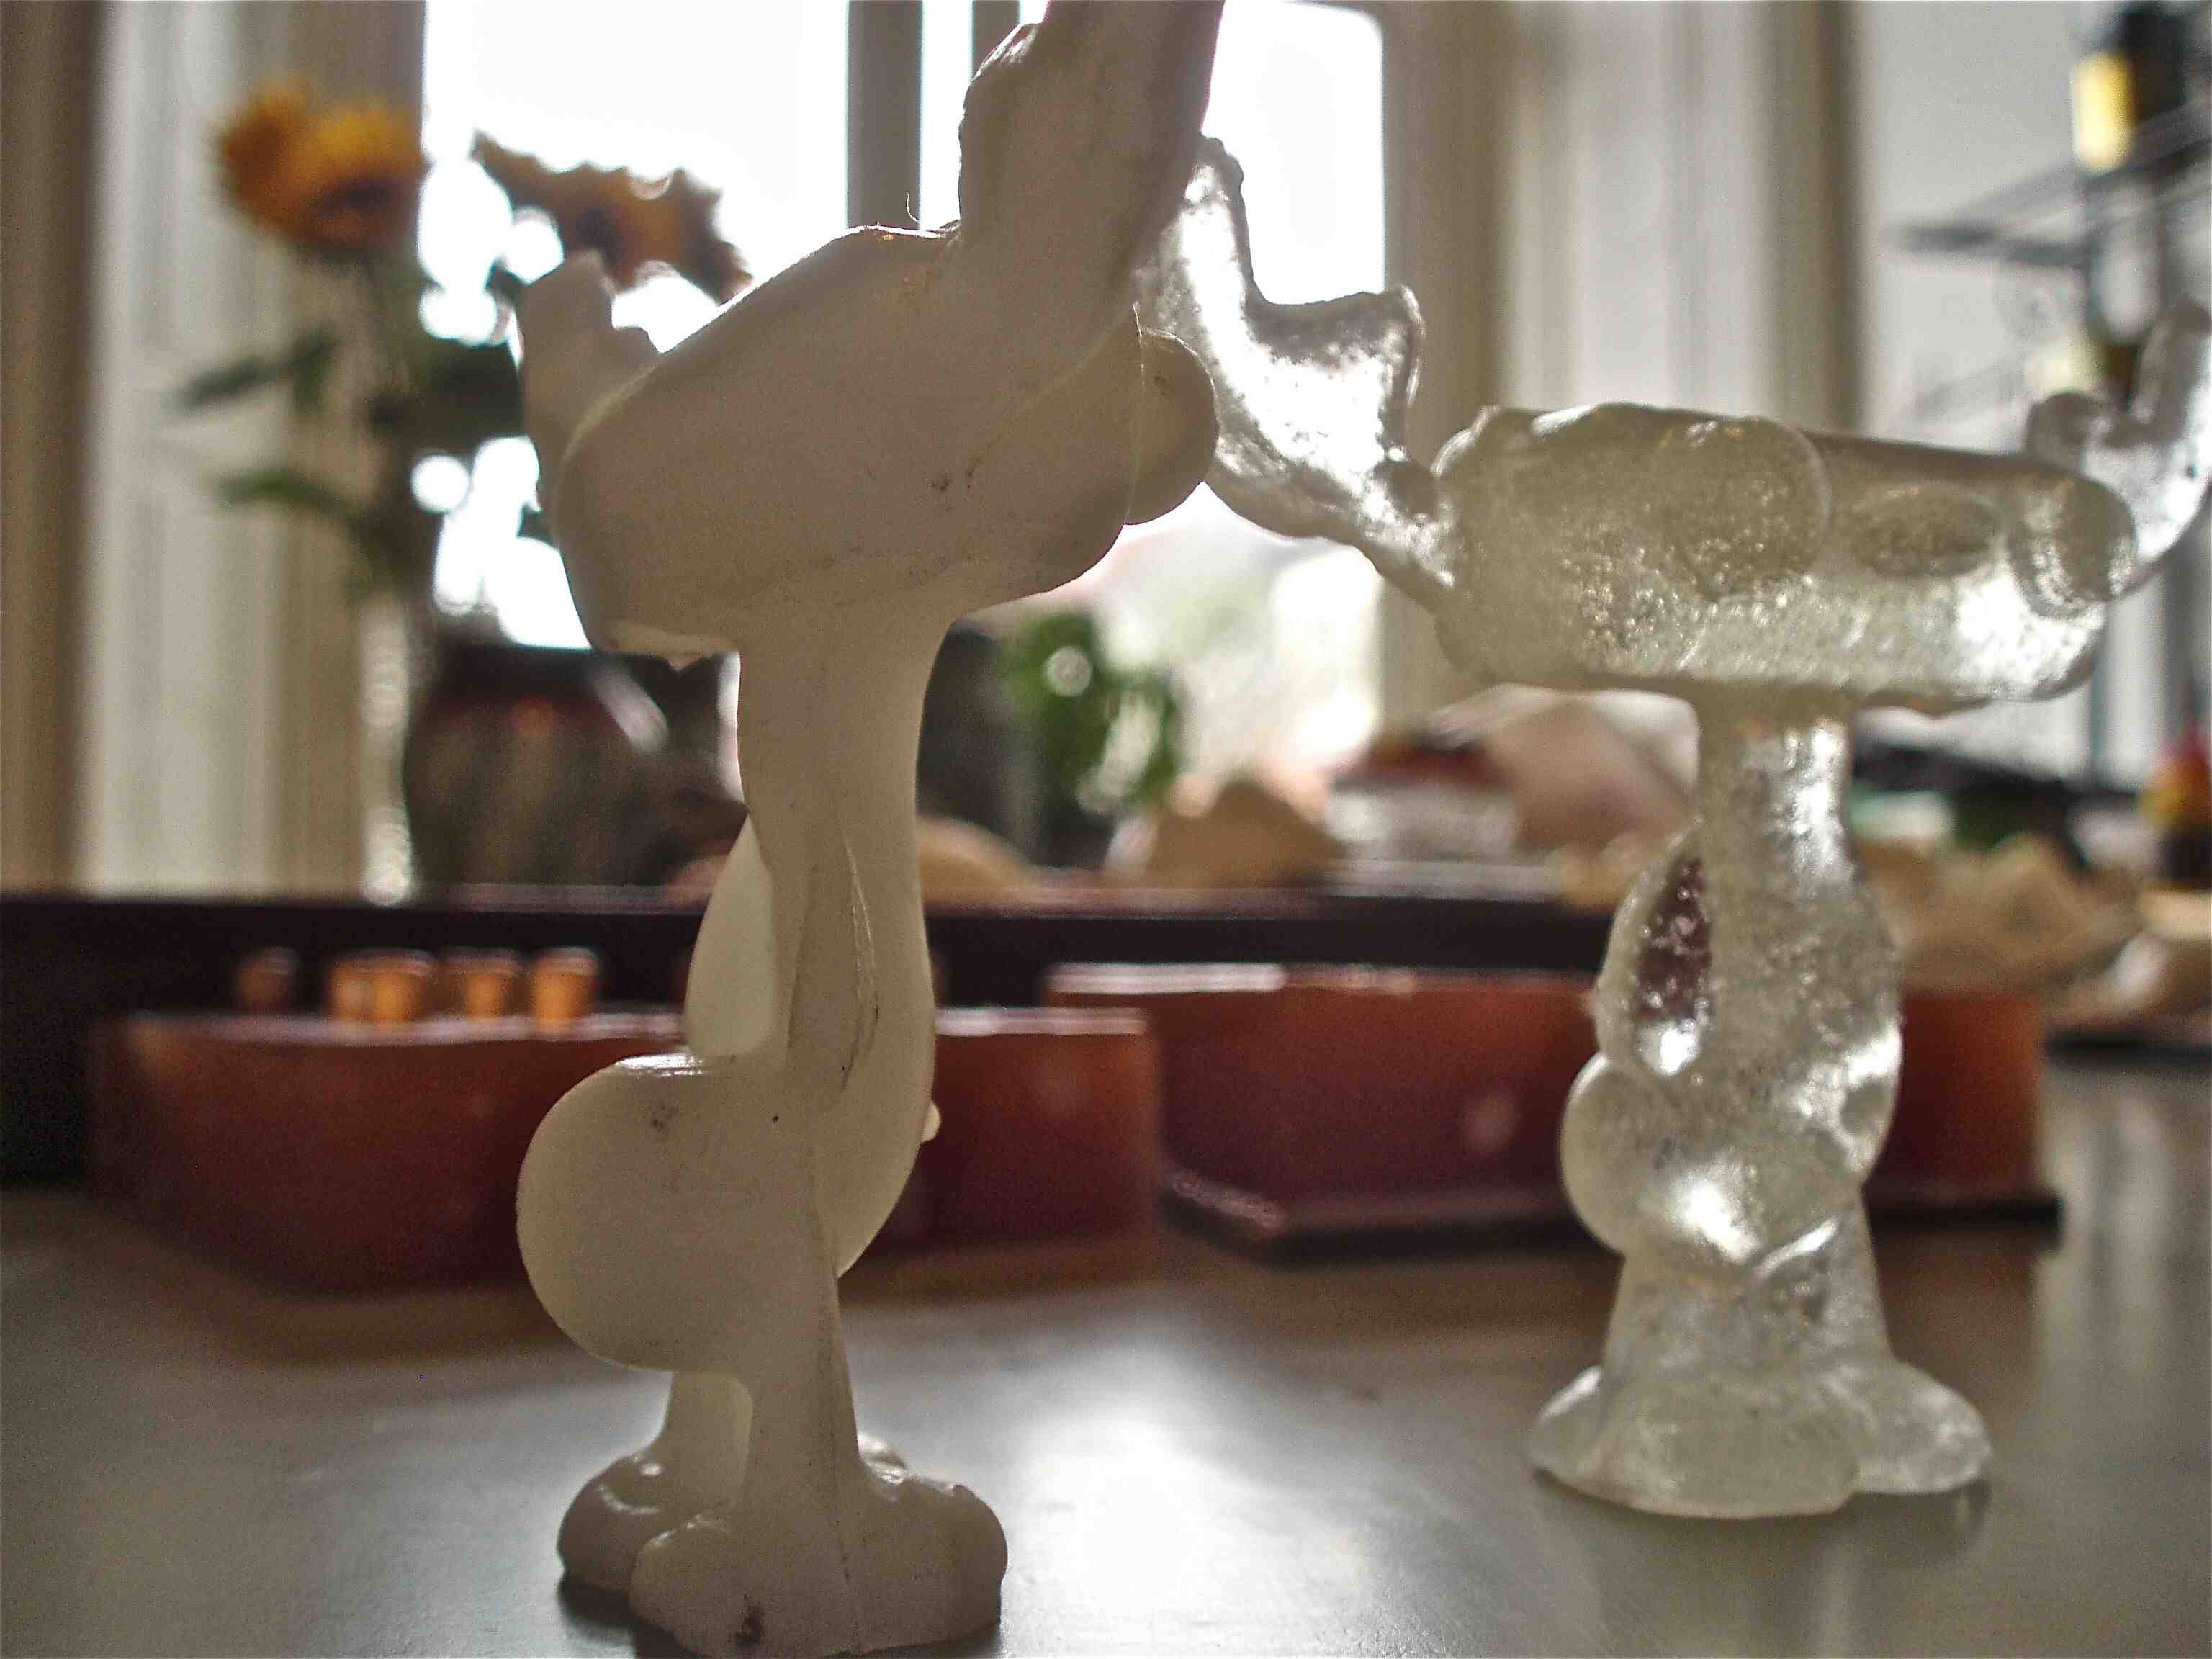
Experimented with different casting materials
 |
 |
- Hydro-Stone
- Plus: dried quickly
- Minus: too thick to pour in molds small holes
- Smooth-Cast- worst results.
- Plus: Quick curing time, minutes!
- Minus: Ruined my mold.
- Crystal Clear - best results.
- Plus: Easy to pour. Colors can be added.
- Minus: Long time to cure 16+ hours. Shrinks.
- Final cast with Smooth-on 325
- Plus: Easy to pour. Colors can be added.
- Plus: Cure in 20 to 30 minutes.
 Lessons Learned
Mold design: While designing mold think how the cast material will flow into the finished mold. Place pouring holes to allow the best flow of casting material.
Wax is brittle a small piece of the design broke off, for example the characters nose. However the finish pass had enough to cut a small nose.
Know what end-mills are available before creating file in PartWorks. The 1/16 inch ball nose end-mills had a 1/4 inch shank that would have skimmed the interior of mold therefore making it unusable for my design.
End-mill stick out was to short rough end-mill kissed the top of the material when doing the peg holes.
Amount of mold release should be light spritze which is then brushed with soft brush, a few minutes later a second light spritze.