Make the FabISP in-circuit programmer
We followed the guide for making the FabISP, which is an
in-system programmer for AVR microcontrollers. 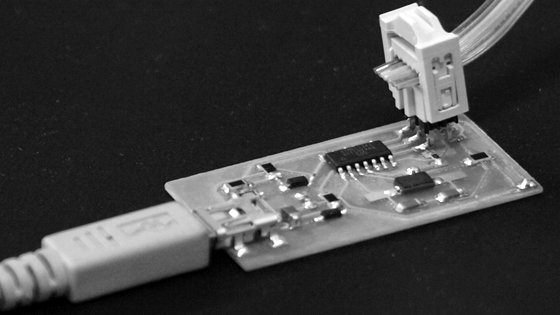
FabISP I made.
Milling
First, we downloaded Eagle data files (schematic, board), and converted the files to mill/drill files (RS274X Gerber format) and G-code file. Then we set up CNC milling machine (KitMill CIP100, Controller: TRA100, CAM: ORIMIN PCB, Software: USB CNC) and milled PCB isolation outlines using the G-code file with endmill (100 mm/min cutting speed, 300 mm/min feed, 0.10 mm cutting depth and 0.25 mm tool diameter.
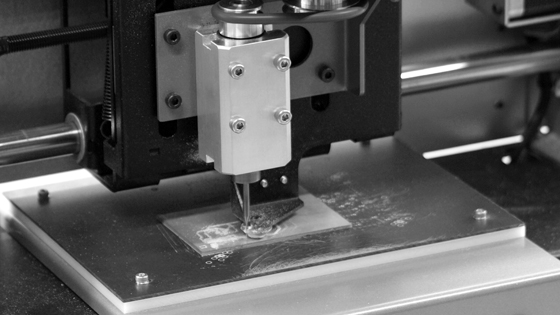
The process of CNC PCB milling.
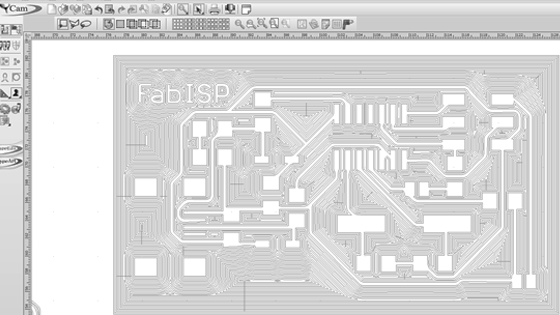
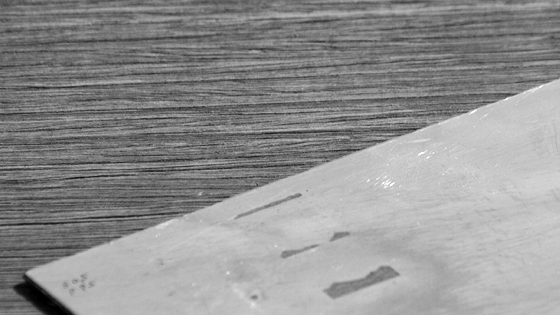
I also tried to mill in other ways. I used the large format CNC router with conical mill to engrave the board. The milled board is shown in a photo below.
Screen capture of Type Edit.
Soldering
Next we scrambled to collect the parts for surface mount device (SMD) of the FabISP. However we could not get ATtiny44, a small and cheap microcontrollers that are convenient for running simple programs, at electronics components shops in Osaka by February 26th. Thanks to the assistance of Masato Takemura (a student of Fab Academy 2014), I got some missing components. Then I soldered the components to the board as shown in the photo below.
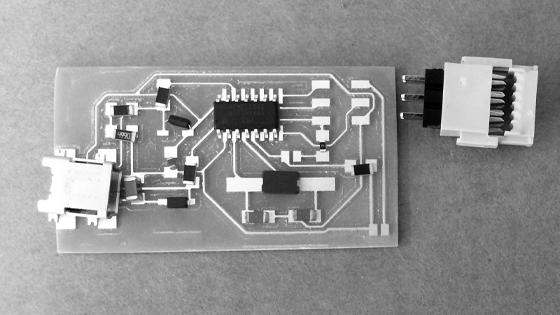
Before soldering.
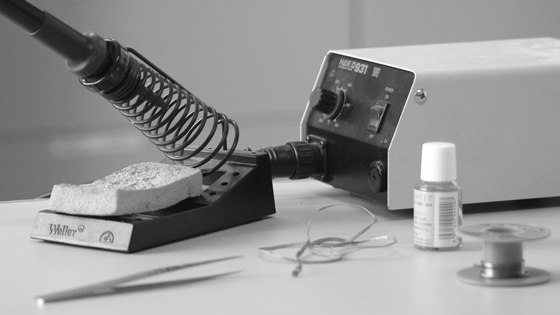
Tools for soldering: soldering iron (back), tweezers, solder wick, flux, and solder (front from left to right).
Before using the FabISP, I programmed the firmware onto the ATtiny44 on it.
Etching
I also tried to make a PCB by etching method and laser cutter with the assistance of etching artist Akiko Matsui. It's in the process of trial and error.

Tools for etching. From left to right: rag, brush, dish, ground, benzine, etching fluid, and tray.
Test results of etching.
