Assignments:
* Design and 3D print an object
* 3D scan an object
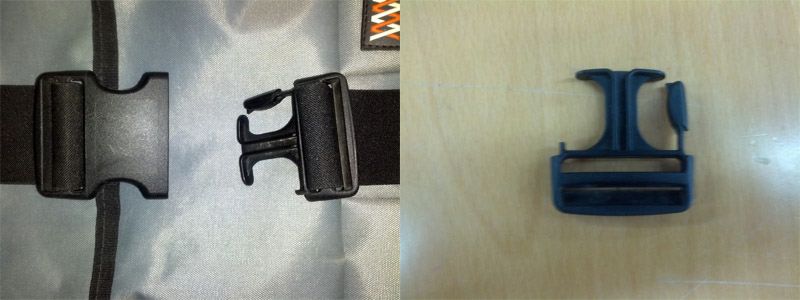
Broken connector
Since connector of my backpack was broken, I spend this week for repairing it by 3D scannning and printing.
123D catch
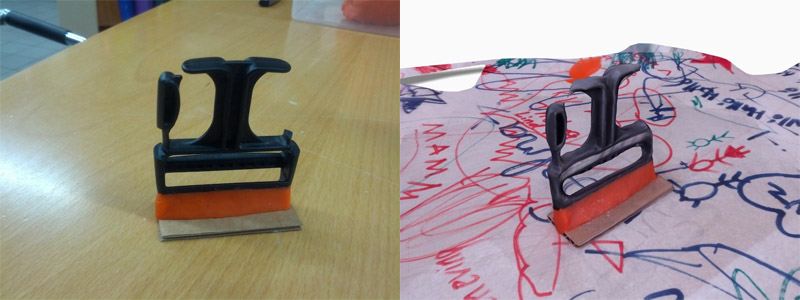
I put cray to the connector to make it stand by itself and took 70 photos of it following tutorial of 123D describes on their web site.
Then all photos were uploaded to 123D catch's web App. It took about an hour to get stl model from the App, it's quite easy. However, As you can see, result isn't good enough. It losts detail and cotains big extra things.
Array illumination Scannning
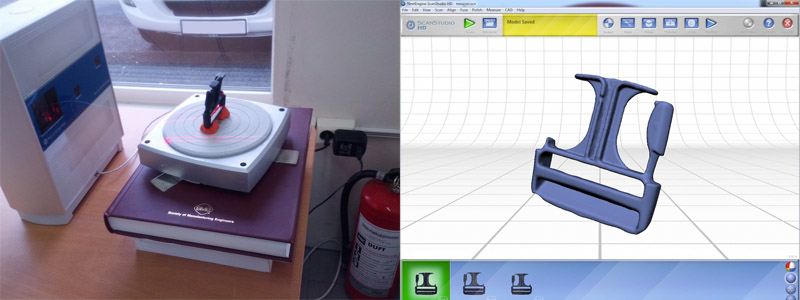
Then I tried NextEngine 3D scanner our lab has.
Its manual is well documented and software is easy to use.
As instructed in the manual, I did 360˚ scan twice (horizontal + vertical rotation) and merge these twoscan data into one so surface of model became more accuracy than using single data.
After merging and cleaning, I got much better scan data.
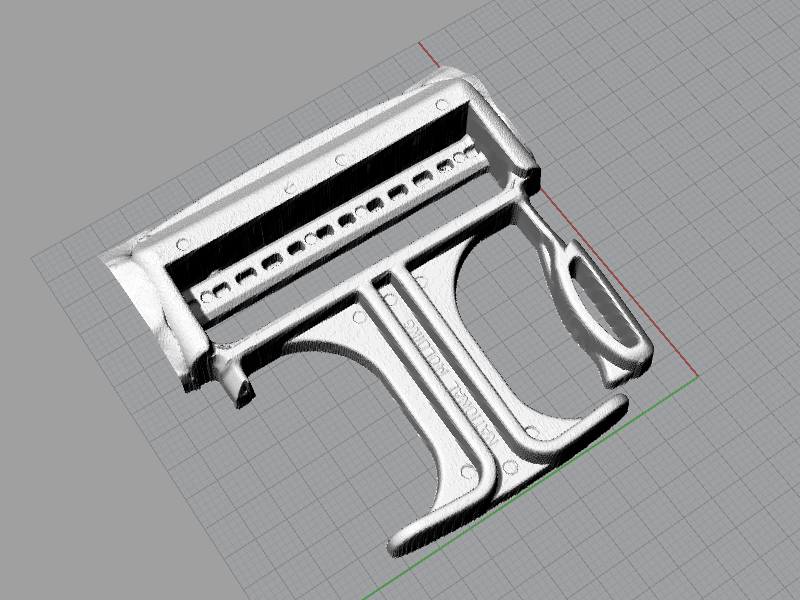
Fixing
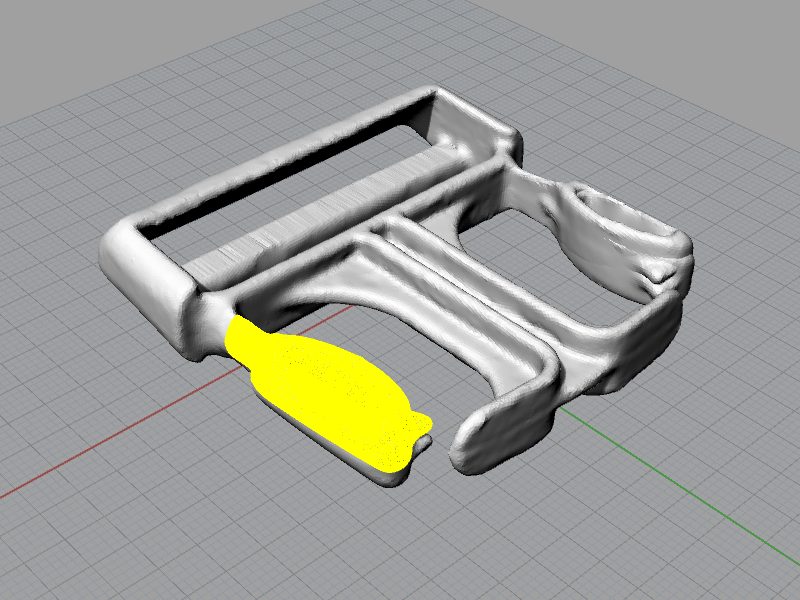
The Connector still lost one of its arms. I fixed it with Rhino.
I loaded stl model exported from software of 3D scanner and did mirror command to copy the arm for one side to
another side.
printing
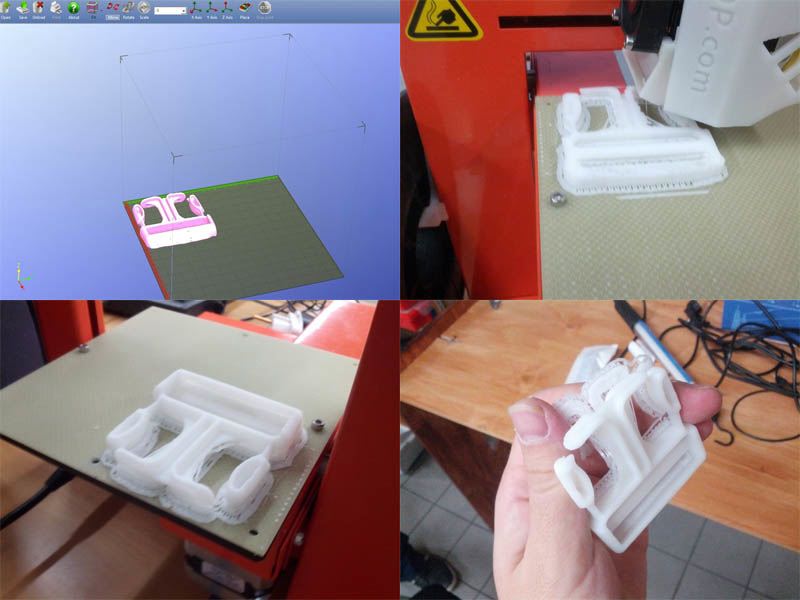
And finally, Printing was started. Bottom of The model was covered with support but it was easy to remove.
and physical copy of the connector is here.
Result

Surprisingly printed connector fit into the place after a little bit sanding.
In the video below, you can check "click" sound when I insert connector into the socket.
Modela scan
While 3d printer was working for me, I tried scanning with modela.
It took about 10hours but resut is great. It detect tiny character on surface engrave 0.1 ~ 0.2 mm depth.
Unfortunatelly I couldn't finish double-side scan but I will and print out model based on the data modela scaned.