


Snapfit-construction
Since I badly need some indirect light in my living room, I decided to build a standard-lamp in snapfit-construction.
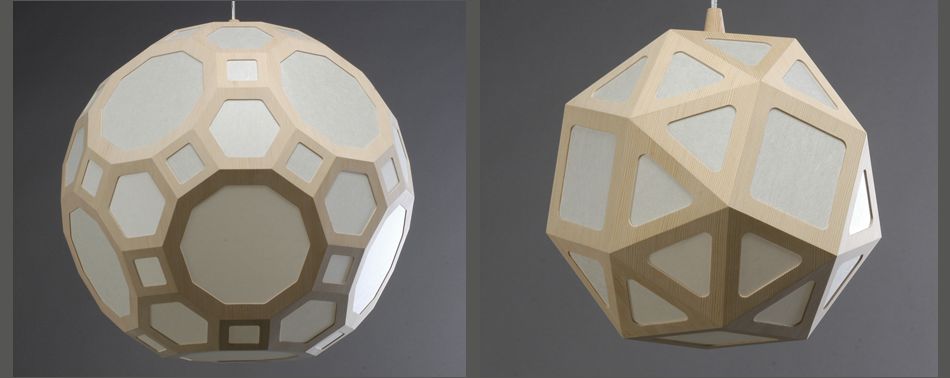
I want a lamp on top of a pole, that points to the ceiling but also lets some diffuse light shine trough the body of the lamp.
First I started to play around in blender a little bit. My first idea was to try something with the array-modifier. Making some interesting shapes was easy, but adapting this to a snapfit would be a lot of work.
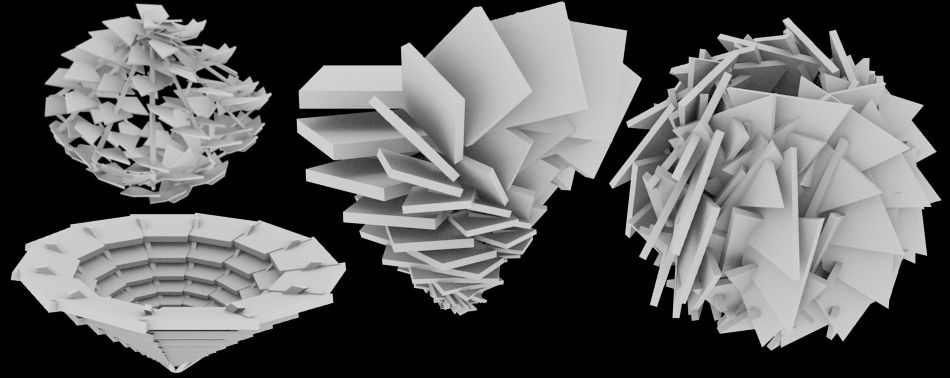
Since I’m quite interested in the work of Buckminster Fuller with lot’s of motivation to build some geodesic domes (geo-dome.co.uk, acidome.ru) I had a look at the archimedean solids.
Blender has a plugin for Platonean, Archimeadean and Catalan solids that can be activated in the addons-menu.
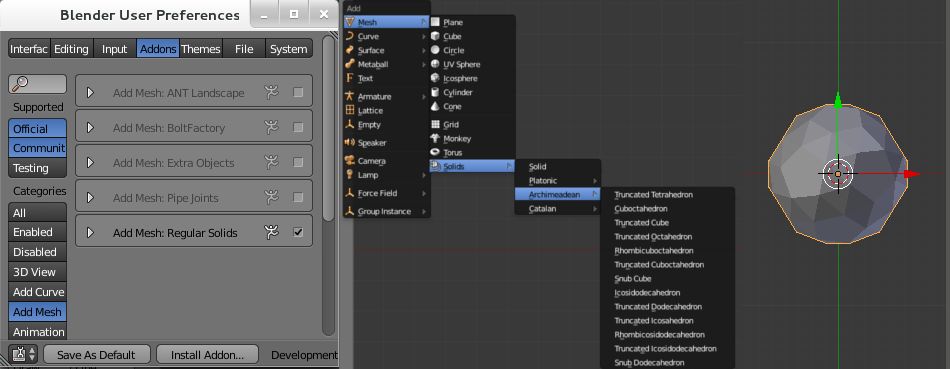
Even though the shapes are beautiful, and several of them seem to be suitable for a lamp, they have to be “unwrapped” in order to produce a file that can be lasercut. Blender offers many tools for unwrapping and texturing, even some plugins for producing papermodels, but the cut-seams have to be edited manually to achieve good results.
After some search for polyhedra I found lot’s of amazing content on the internet. The wikipedia-sites have a detailed explanation and some “nets” of the Archimedean solids:
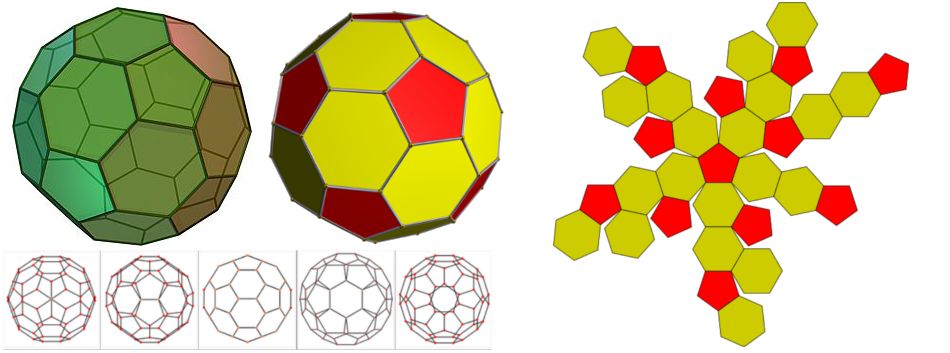
The nets seem to be made with Mathematica and so I started searching for different ways to do the unwrap.
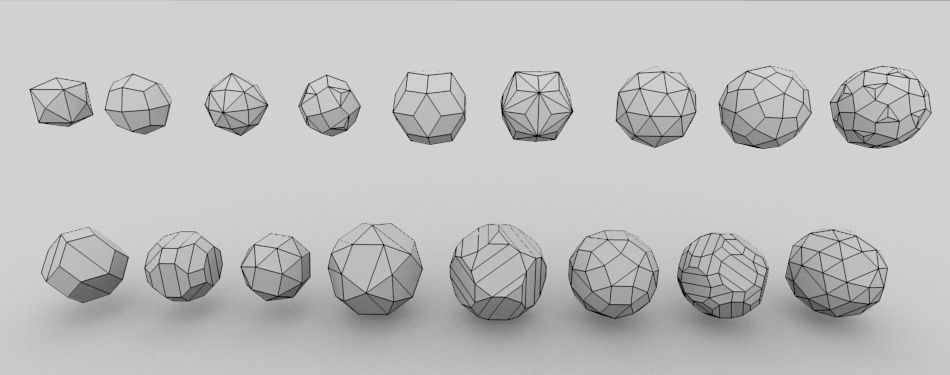
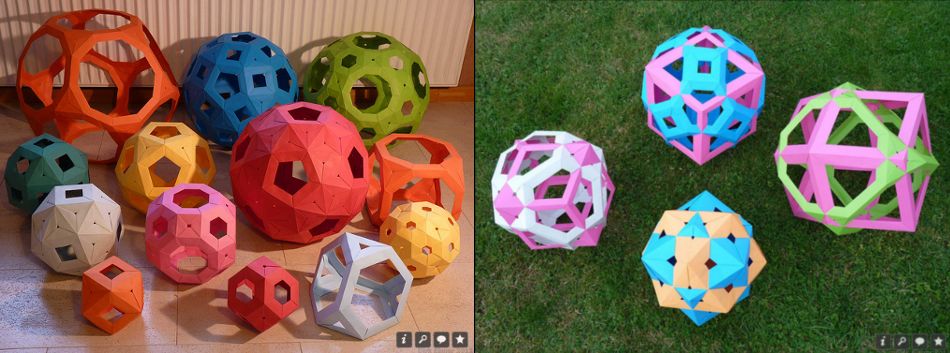
On the way I stumbeled upon various polyhedra-models that gave me some inspiration:
Finally I found the inkscape scripts of Jonathan Manton which are a fantastic tool to generate polyhedra nets.
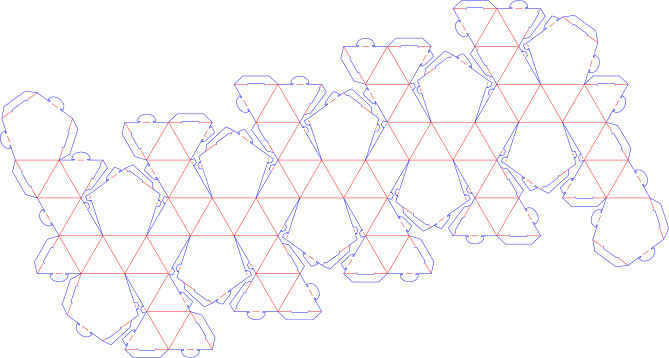
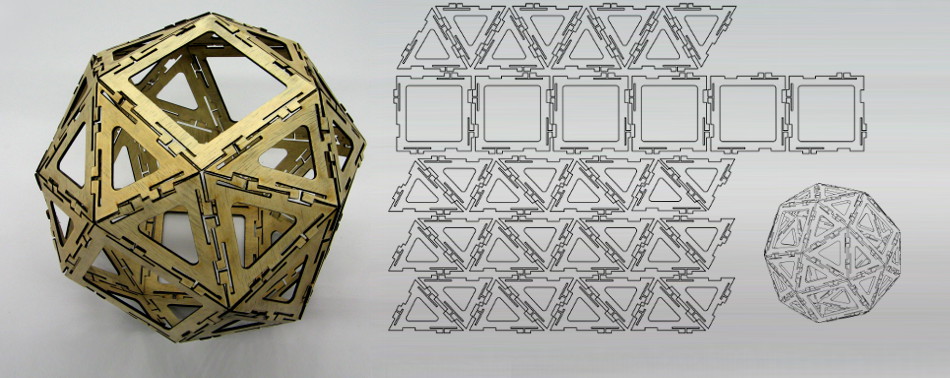
From all the polyhedras, the snub-cube seemed to be the most optimal one for my lamp,since it is not too complex and can be opened on the top. Thanks to the work of Jonathan Manton I could easily produce a first prototype with the lasercutter.
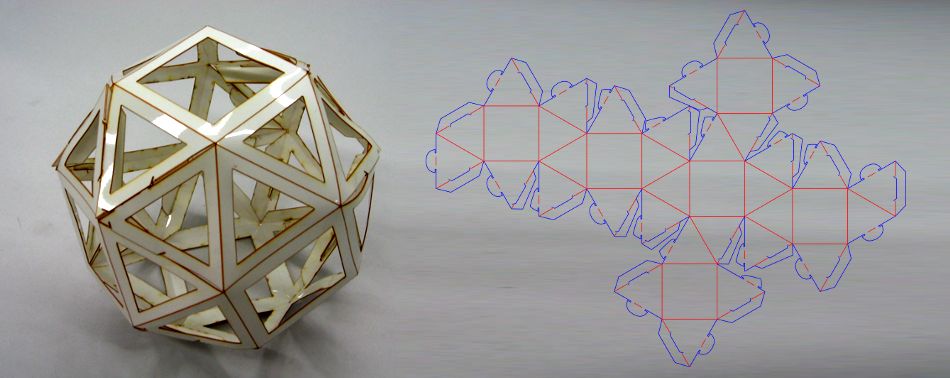
For the final design I made a model in Solidworks. The model is fully parametric and only ruled by one dimension. Inspired by this page, I made the connectors biased so they can’t be assembled in a wrong way.
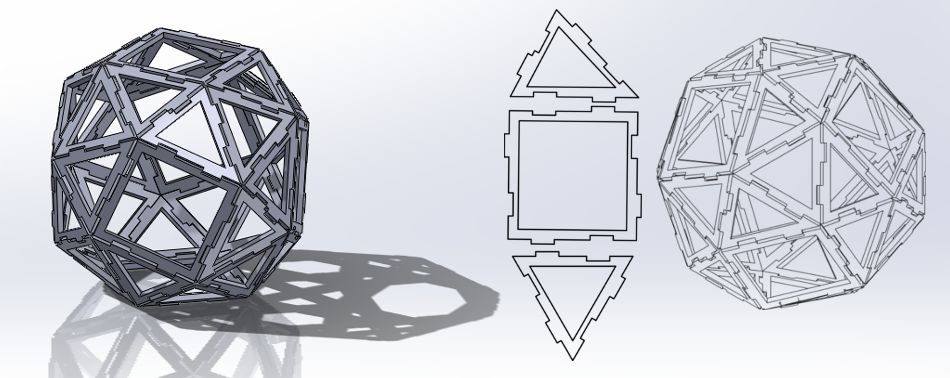
I decided to give the pieces some flexibility by attaching the connectors to a thinner arm. What I learned too late, is that since my 3-layered plywood has a predominant direction of grain, some are more stable than others.
The final piece is 50cm high and is still missing the lamp inside and some semi-transparent paper over the holes to diffuse the light.
Here you can download the drawing.