Embedded Programming
Installing Arduino IDE
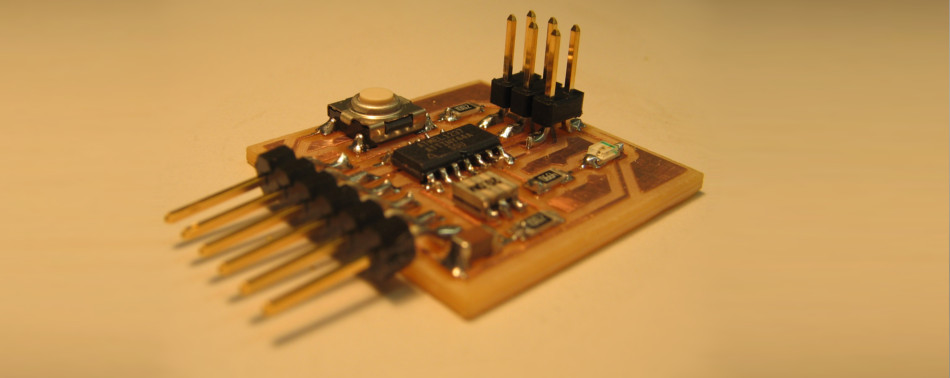
For programming our Button-LED-Board we decided to try the Arduino IDE.
In order to install Arduino on a freshly setup Ubuntu 12.10, the following steps are necessary:
Install Java, gcc-avr and avr-libc:
sudo apt-get install default-jre gcc-avr avr-libc
next you can download the newest Arduino version from arduino.cc
I chose Arduino 1.0.4 for 64-bit Linux
Assuming that you downloaded Arduino to Download and want to install it in /opt/ you can do the following:
sudo cp ~/Downloads/arduino-1.0.4-linux64.tgz /opt/
cd /opt/
sudo tar -xf arduino-1.0.4-linux64.tgz
If you change directory to
cd /opt/arduino-1.0.4-linux64
and run the IDE
./arduino
Several things wont be working yet.
The selector for “Serial Port” in the Tools menu will be grayed out. The easy solution used to be to add your user (replace fablabedp with your username) to the dialout group:
sudo usermod -a -G dialout fablabedpThis doesn’t seem to work anymore (any advice is welcome!)
But you can make it work by manually changing the permissions of the USB-port.
First we have to know which port the Arduino, or in this case the ATtiny, plugs into.
I do this by first resetting and then running dmesg:
sudo dmesg -C //this clears all the previous entries. Now plug in the Arduino and run
dmesg
Something like this should appear:
[ 2773.396202] usb 2-1.3: USB disconnect, device number 9
[ 2777.990875] usb 2-1.3: new full-speed USB device number 10 using ehci_hcd
[ 2778.084614] usb 2-1.3: New USB device found, idVendor=2341, idProduct=0001
[ 2778.084620] usb 2-1.3: New USB device strings: Mfr=1, Product=2, SerialNumber=220
[ 2778.084624] usb 2-1.3: Product: Arduino Uno
[ 2778.084627] usb 2-1.3: Manufacturer: Arduino (www.arduino.cc)
[ 2778.084630] usb 2-1.3: SerialNumber: 64932343638351616112
[ 2778.085294] cdc_acm 2-1.3:1.0: ttyACM0: USB ACM device
which tells us that the Arduino is plugged into /dev/ttyACM0
Now we can enable and run it with
sudo chmod a+rw /dev/ttyACM0
/opt/arduino-1.0.4/arduino
If you want access from the command line and a Desktop-Icon you can also run
sudo ln -s /opt/arduino-1.0.4/arduino /usr/bin/
and
sudo gedit /usr/share/applications/arduino.desktop
which would open a texteditor where you can edit the link to the Arduino IDE, for example like this:
[Desktop Entry]
Version=1.0
Name=Arduino
# Only KDE 4 seems to use GenericName, so we reuse the KDE strings.
# From Ubuntu's language-pack-kde-XX-base packages, version 9.04-20090413.
GenericName=Arduino IDE

Exec=arduino
Terminal=false
Icon=/opt/arduino-1.0.4/reference/img/logo.png
Type=Application
Categories=TextEditor;IDE;Development
X-Ayatana-Desktop-Shortcuts=NewWindow

[NewWindow Shortcut Group]
Name=New Window
Exec=arduino
TargetEnvironment=Unity
Now an Icon (not the best one) will appear in the applications menu and you can drag and drop it to the sidebar.
Installing the ATtiny for Arduino IDE
I downloaded the board definitions for the attiny here: https://github.com/damellis/attiny/
Arduino creates a sketchbook-folder in you home directory the first time you run it.
You can move it somewhere else or leave it where it is for installing the hardware definitions like this:
mkdir ~/sketchbook/hardware
cp ~/Downloads/attiny-master.zip ~/sketchbook/hardware/
unzip attiny-master.zip
mv attiny-master/attiny/ .
rm -r attiny-master
rm attiny-master.zip
If you restart Arduino and look under Tools —> Board, there should be entries for various ATtiny.
I chose ATtiny44 (external 20MHz clock)
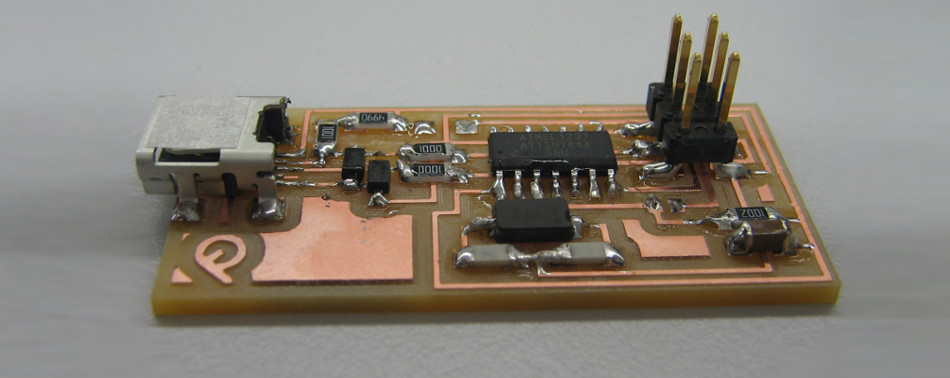
Then I plugged in the FabISP that we built a while ago and had a look with
sudo dmesg -C //this clears all the previous entries. Now plug in the Arduino and run
dmesg
what is going on.
Sadly, my colleagues board gave an error-message and mine didn’t do anything at all.
After spending some time with a multimeter and a magnifying glass I found out that one of my USB-pins looked perfect but wasn’t connected.
A short while later I was greeted with:
[21404.912853] usb 2-1.3: New USB device found, idVendor=1781, idProduct=0c9f
[21404.912858] usb 2-1.3: New USB device strings: Mfr=0, Product=2, SerialNumber=0
[21404.912862] usb 2-1.3: Product: FabISP
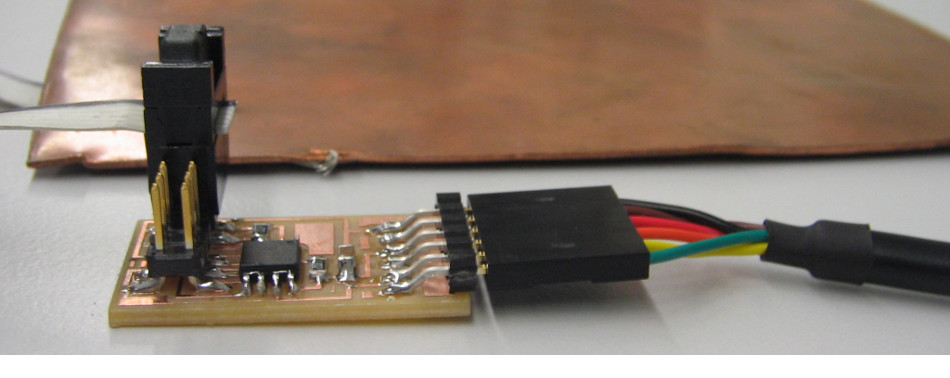
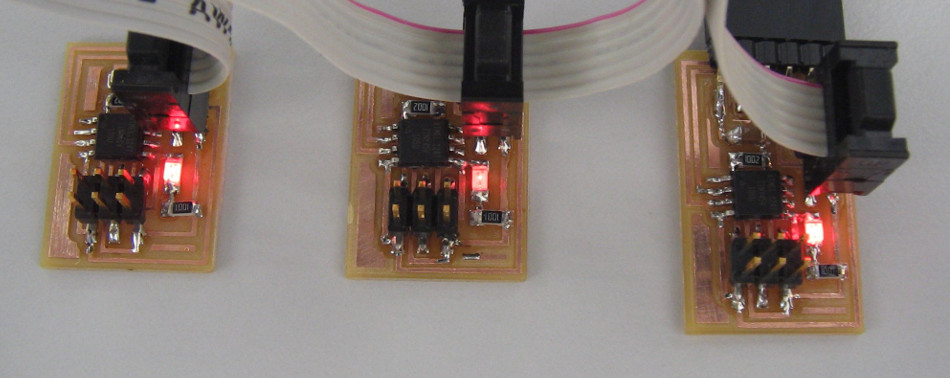
After identifying the orientation of the ISP connector (it’s easy to orientate yourself by marking the ground pin on both devices), we connected the new Button-LED-board to the FabISP.
While I tried to figure out the orientation of the ftdi-cable, I realized that the ground on my board was in the wrong place. I successfully desoldered the ftdi-connector, changed the ground to the right pin and soldered it again, only for finding out 5min later that the connections to the ATtiny were wrong as well. I still wasn’t able to figure out what went wrong in eagle, because the Linux-box that I was working on is now running a long 3D-scan in windows.
In the end we continued trying with Luis’s board, that initially also had some soldering problems.
OK, so we have the boards connected to each other, and the FabISP connected to a USB port. In the Arduino IDE we selected ATtiny under boards, and the Serial Port of the ISP. Now we only have to select USBTinyISP (I hope this is the right one) in Tools —> Programmer and hit Burn Bootloader.
Since this all went fine, we opened File —> Examples —> Digital —> Button
and changed the pins of the button and LED to
const int buttonPin = 3;     // the number of the pushbutton pin
const int ledPin =  7;      // the number of the LED pin
and: Tada! the Button blinks!!!! (yes, I know it’s hard to wow somebody with this, but I was enraptured)


