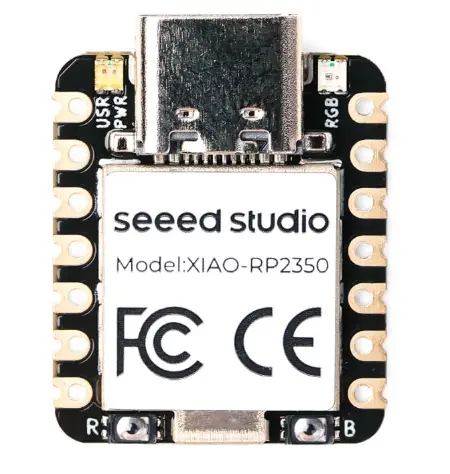
For this week's assignment, the goal was to measure something by adding a sensor to a custom microcontroller board and reading its data. I used my custom board based on the Seeed Studio XIAO RP2350 to read the microcontrollers.
I decided to work with two different microphone modules, as sound detection is a critical part of my final project. Additionally, I integrated an I2C proximity sensor to test a different type of digital communication protocol.
Group Assignment
Check here the group assignment for this week for more information about input devices and its applications.
Sensors
An input device is a transducer that converts a physical parameter (e.g., temperature, pressure, sound, or light) into a measurable electrical signal that a processor can understand and act upon.
Analog Sensors
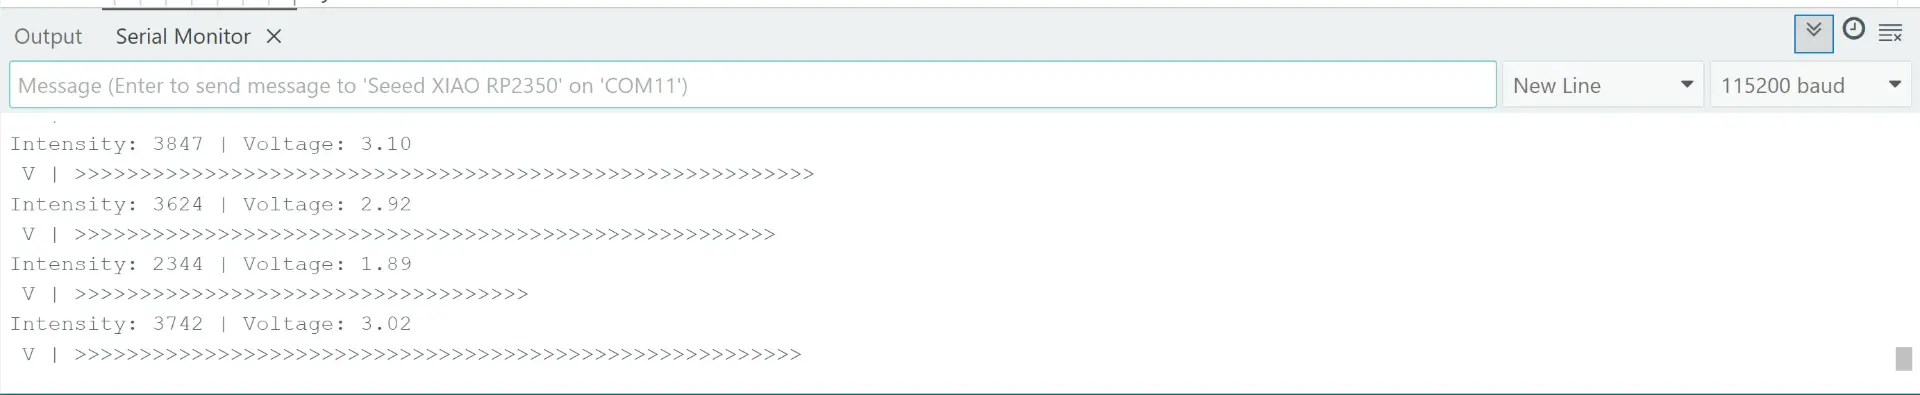
An analog sensor is a device that provides a continuous output signal, typically in the form of voltage, which is proportional to the physical quantity it measures (such as sound, light, or pressure).
Since the XIAO is a digital device, it cannot understand a continuous voltage directly. It uses an ADC (Analog-to-Digital Converter) to translate the incoming voltage into a digital number. On the RP2350, this process has a 12-bit resolution, meaning the microcontroller converts the sensor's voltage (0V to 3.3V) into a numerical scale from 0 to 4095.
I2C Communication
I2C (Inter-Integrated Circuit) is a synchronous serial communication protocol that allows a Main Controller like the XIAO RP2350 to communicate with multiple Peripheral sensors using only two shared wires: SDA (Serial Data) for bidirectional data transfer and SCL (Serial Clock) for synchronization.
Programming
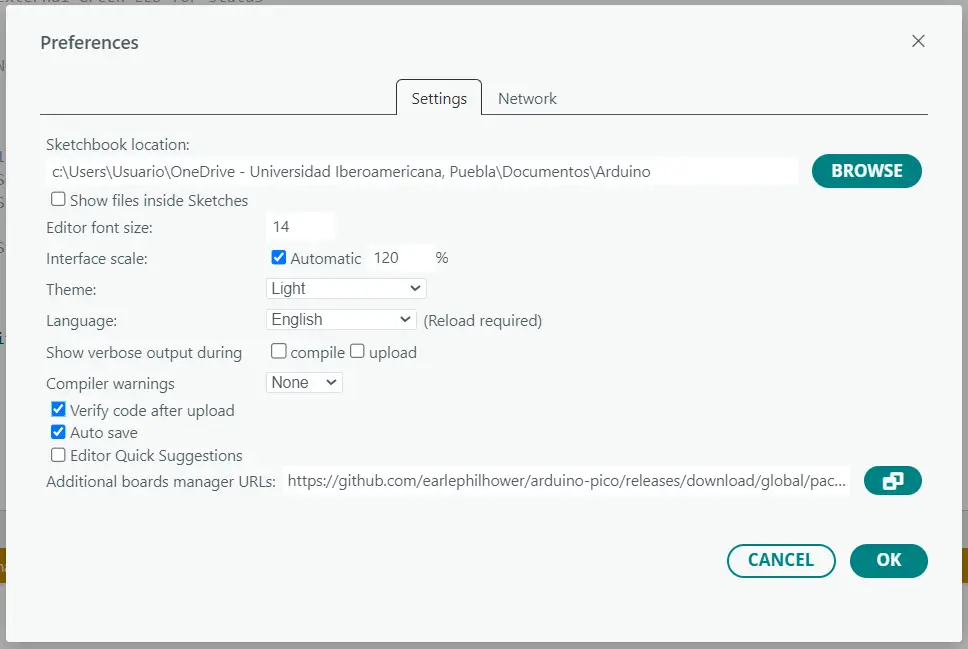
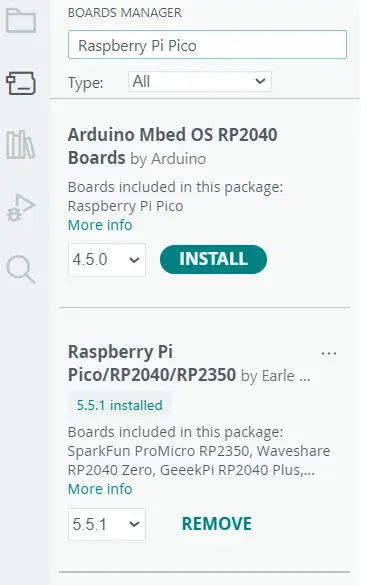
To program the XIAO RP2350, I used Arduino IDE following these steps:
Preferences
First, go to File > Preferences and add the following URL to the Additional Boards Manager URLs field: https://github.com/earlephilhower/arduino-pico/releases/download/global /package_rp2040_index.json. Then, click OK to save the changes.
Boards Manager
Next, go to the Boards Manager menu at the left of the toolbar, search for Raspberry Pi Pico/RP2040/RP2350 , and install the package. This will allow you to program the XIAO RP2350 using the Arduino IDE.
Seed XIAO RP2350
Once the package is installed, you have to select the specific board you are using. Go to Tools > Board > Raspberry Pi Pico/RP2040/RP2350 > Seeed XIAO RP2350. This will set up the correct configuration for programming your XIAO board.
Conection
Finally, connect your XIAO to your computer using a USB-C cable; the board should be recognized automatically. Before uploading your code, you must put the board into bootloader mode: press and hold the BOOT button, then press and release the RESET button, and finally release the BOOT button.
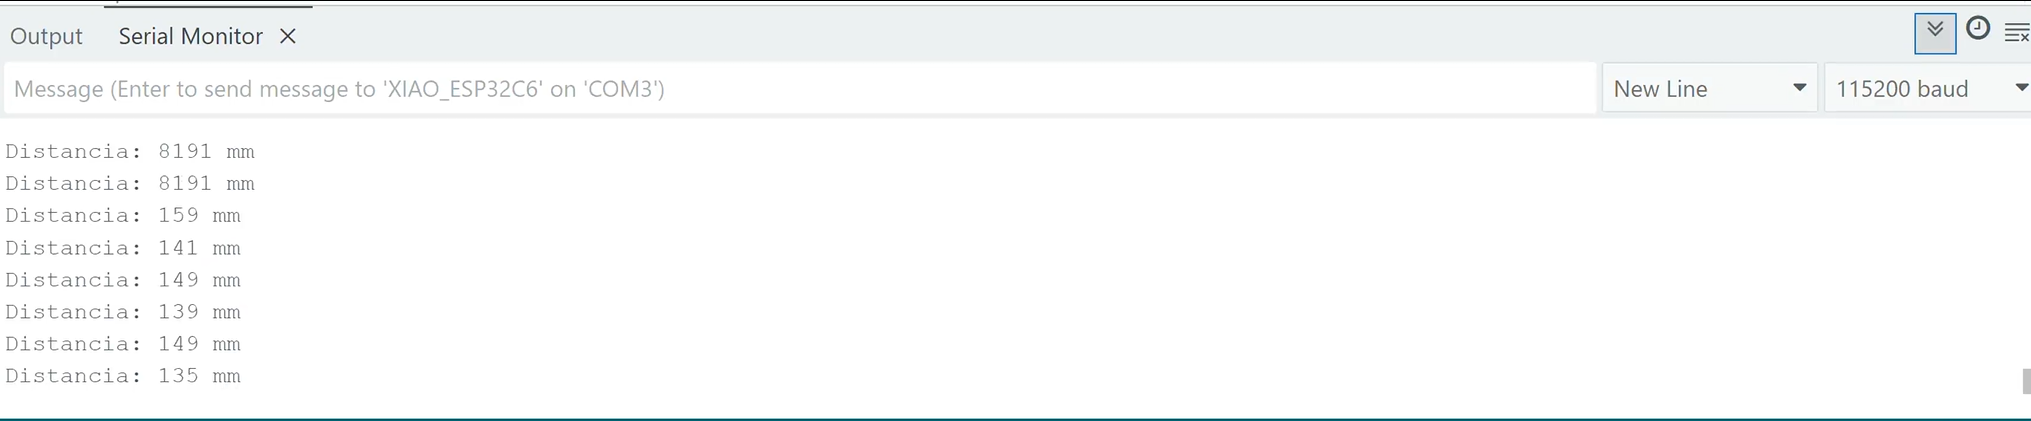
The VL53L0X is a Time-of-Flight (ToF) distance sensor that uses a vertical-cavity surface-emitting laser (VCSEL) to measure the exact time it takes for light photons to bounce off an object and return to the detector. I integrated this sensor using the I2C protocol, allowing the XIAO RP2350 to receive digital distance data through the SDA and SCL lines.
Code
#include "Adafruit_VL53L0X.h" // Includes the library for the sensor
#include "Wire.h" // Includes the library for I2C communication
// Create the sensor object
Adafruit_VL53L0X lox = Adafruit_VL53L0X();
void setup() {
Serial.begin(115200); // Starts the serial communication
while (!Serial); // Waits for the Serial Monitor to open
// Start I2C using the standard XIAO pins: D4 (SDA) and D5 (SCL)
Wire.begin(D4, D5);
// Initialize the sensor
if (!lox.begin()) {
Serial.println("Error: Sensor not found!");
while (1); // Stops the code if the sensor is missing
}
}
void loop() {
VL53L0X_RangingMeasurementData_t measure; // Variable to store measurement data
lox.rangingTest(&measure, false); // Perform a distance test
// Check if the measurement is valid (Status 4 means out of range)
if (measure.RangeStatus != 4) {
Serial.print("Distance: ");
Serial.print(measure.RangeMilliMeter); // Print the distance in millimeters
Serial.println(" mm");
} else {
Serial.println("Out of range"); // Print this if the object is too far
}
delay(100);
}
Results
Analog microphone module
I used an analog microphone module based on the MAX4466, it acts as a transducer that converts sound pressure waves into an amplified electrical voltage. Since the raw signal from an electret microphone is extremely small, this module includes an integrated operational amplifier to boost the output to a 0V-3.3V range that the XIAO RP2350 can process. By connecting the module's output to an ADC pin, the microcontroller samples these continuous voltage fluctuations and converts them into digital values, allowing the system to measure real-time sound intensity
Code
const int micPin = D0; // Pin of the microphone
const float volt = 3.3; // Voltage power of the XIAO
void setup() {
analogReadResolution(12); // Reading precision
Serial.begin(115200); // Serial communication
while(!Serial);
}
void loop() {
unsigned int sampleWindow = 50; // Use 50 milliseconds to listen for sound
unsigned int signalMax = 0; // Variable to store the highest sound level
unsigned int signalMin = 4095; // Variable to store the lowest sound level
unsigned long startMillis = millis(); // Record the exact time we start listening
// Collect sound data for 50 milliseconds
while (millis() - startMillis < sampleWindow) {
int sample = analogRead(micPin); // Read the current value from the microphone
if (sample > signalMax) { // If current value is higher than our max
signalMax = sample; // Update signalMax
}
if (sample < signalMin) { // If current value is lower than our min
signalMin = sample; // Update signalMin
}
}
// Calculate the difference between the loudest and quietest moments
int peakToPeak = signalMax - signalMin;
// Convert the digital intensity into real Voltage
float volts = (peakToPeak * volt) / 4095.0;
Serial.print("Intensity: "); // Intensity
Serial.print(peakToPeak); // Digital value
Serial.print(" | Voltage: "); // Voltage
Serial.println(volts); // Print the voltage
Serial.print(" V | ");
int numR = map(peakToPeak, 0, 2000, 0, 30);
for (int i = 0; i < numR; i++) {
Serial.print(">");
}
Serial.println();
delay(50);
}
Results
MP34DT01
The MP34DT01 is a high-performance digital MEMS microphone. Unlike the analog modules, this sensor outputs a Pulse Density Modulation (PDM) signal, meaning the sound is already digitized at the source. It uses an omnidirectional sensing element to capture audio with high sensitivity and low power consumption. To process this signal, I connected it to the digital pins of the XIAO RP2350, which uses its internal PIO or PDM interface to decode the bitstream into usable audio data. This digital approach eliminates the need for an external amplifier.
Code
const int micPin = D0; // Pin of the microphone
const float volt = 3.3; // Voltage power of the XIAO
void setup() {
analogReadResolution(12); // Reading precision
Serial.begin(115200); // Serial communication
while(!Serial);
}
void loop() {
unsigned int sampleWindow = 50; // Use 50 milliseconds to listen for sound
unsigned int signalMax = 0; // Variable to store the highest sound level
unsigned int signalMin = 4095; // Variable to store the lowest sound level
unsigned long startMillis = millis(); // Record the exact time we start listening
// Collect sound data for 50 milliseconds
while (millis() - startMillis < sampleWindow) {
int sample = analogRead(micPin); // Read the current value from the microphone
if (sample > signalMax) { // If current value is higher than our max
signalMax = sample; // Update signalMax
}
if (sample < signalMin) { // If current value is lower than our min
signalMin = sample; // Update signalMin
}
}
// Calculate the difference between the loudest and quietest moments
int peakToPeak = signalMax - signalMin;
// Convert the digital intensity into real Voltage
float volts = (peakToPeak * volt) / 4095.0;
Serial.print("Intensity: "); // Intensity
Serial.print(peakToPeak); // Digital value
Serial.print(" | Voltage: "); // Voltage
Serial.println(volts); // Print the voltage
Serial.print(" V | ");
int numR = map(peakToPeak, 0, 2000, 0, 30);
for (int i = 0; i < numR; i++) {
Serial.print(">");
}
Serial.println();
delay(50);
}