Forging the legendary Master Sword from chemical trial to physical wax.
MISSION BRIEFING
This week, the challenge was to master chemical materials to create molds and cast parts. I decided to make the iconic Master Sword from Zelda. The process consisted of printing the master in resin, creating a two-part urethane rubber mold degassed in a vacuum chamber, and finally casting the piece in wax.
CO-OP MISSION: TEAM PROTOCOLS
To see different types of molds and casting techniques, please visit our Group Project Page.
Before opening any chemical containers, I strictly reviewed the Safety Data Sheets (SDS) for all materials involved. I learned a crucial difference: the molding rubber I used is NOT silicone, but Polyurethane Rubber. Working with these chemicals requires high caution. Here is the hazard analysis and the Personal Protective Equipment (PPE) utilized:
Material
Hazard Identification
Required PPE & Handling Protocol
Anycubic ABS-Like Resin 3.0 (Master Print)
Contains methacrylates. High toxicity if swallowed or touched raw. Emits Volatile Organic Compounds (VOCs). Can cause severe allergic skin reactions and eye irritation.
PPE: Nitrile gloves, safety goggles, and a VOC-rated respirator. Protocol: Handled strictly in a highly ventilated area. Wash uncured resin off tools/prints with Isopropyl Alcohol (IPA), never with water down the drain.
Smooth-On Polyurethane Rubber (The Mold)
Contains isocyanates. Can cause severe respiratory irritation and sensitization. It is extremely tacky and will bond permanently to surfaces without preparation.
PPE: Nitrile gloves, long sleeves, and safety glasses. Protocol: Requires forced ventilation. Crucial Step: A release agent must be applied to the master model, otherwise the urethane rubber will fuse permanently to it.
Casting Wax (The Cast)
Low chemical toxicity (I melted standard candle wax). Melted wax presents a severe thermal hazard when melted. Liquid wax can cause severe burns on contact.
PPE: Thermal protective gloves and safety goggles. Protocol: Melt using a controlled heat source (stove). Keep away from open flames to avoid flash ignition. Pour slowly to prevent splashing.
02. CAD MOLD ENGINEERING
To be completely transparent: I downloaded the base 3D model of the Master Sword from the internet. My actual engineering task for this assignment was designing the mold mechanics around that asset using SolidWorks.
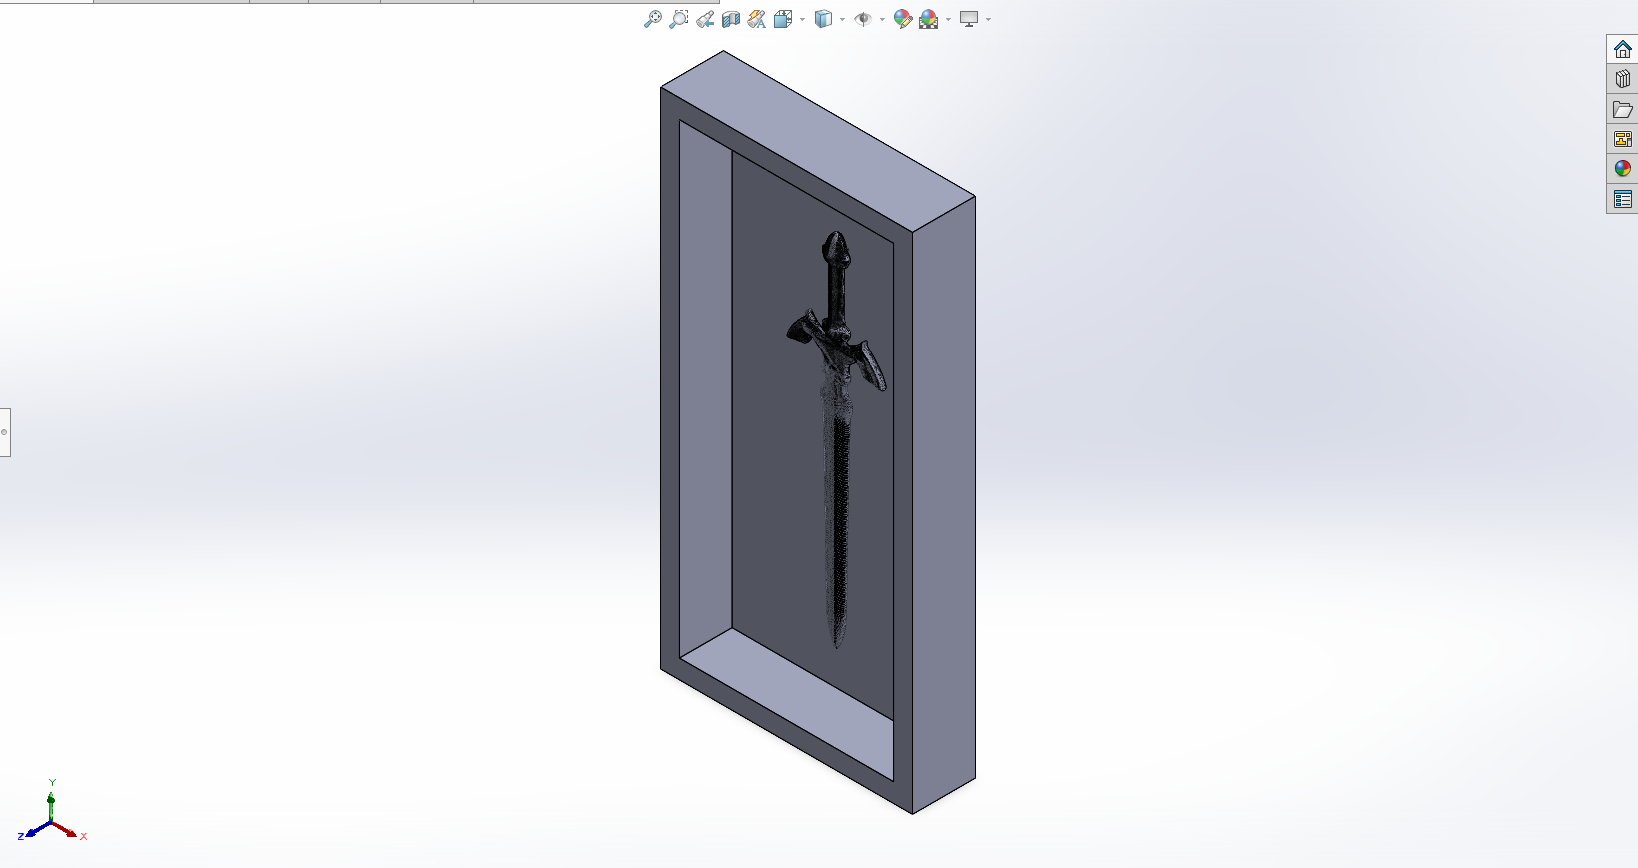
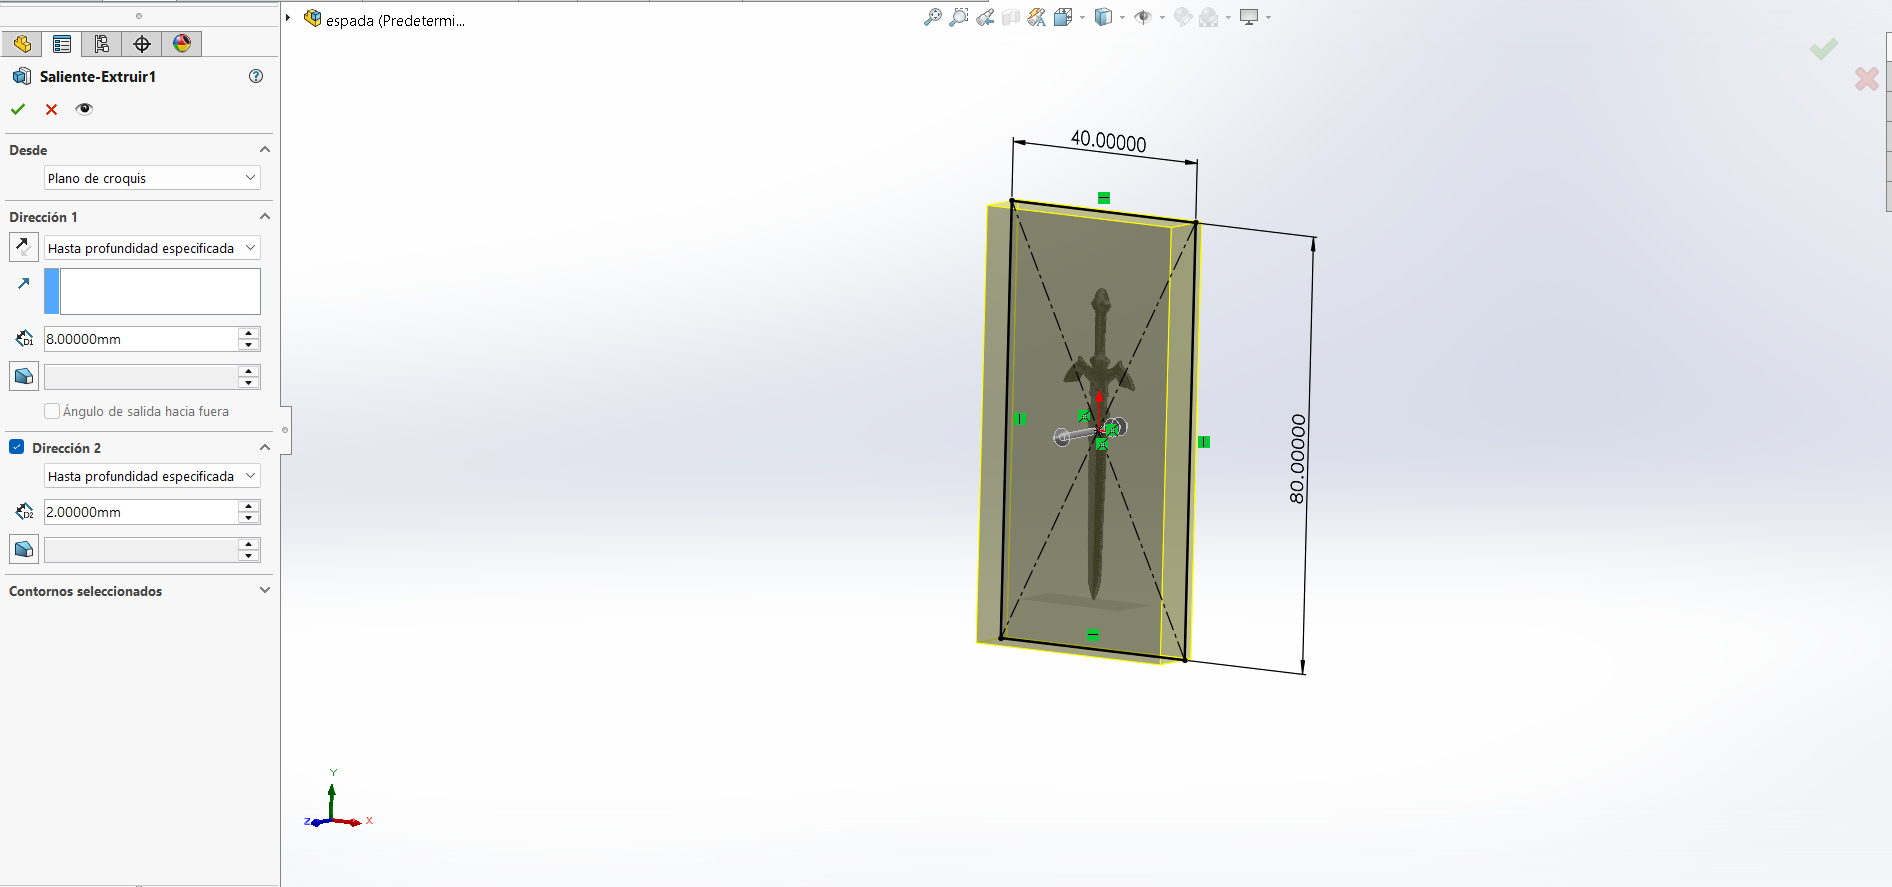
Casting a complex shape requires a Two-Part Mold. I calculated the exact geometric center of the sword's blade to create the parting line, added registration keys for perfect alignment, and modeled a sprue (to pour the wax) and vents (to let trapped air escape).
1. The final mold design.
2. Extruding a 40x80mm rectangle in two directions (8mm to the front and 2mm to the back) to fully encapsulate the downloaded 3D sword.
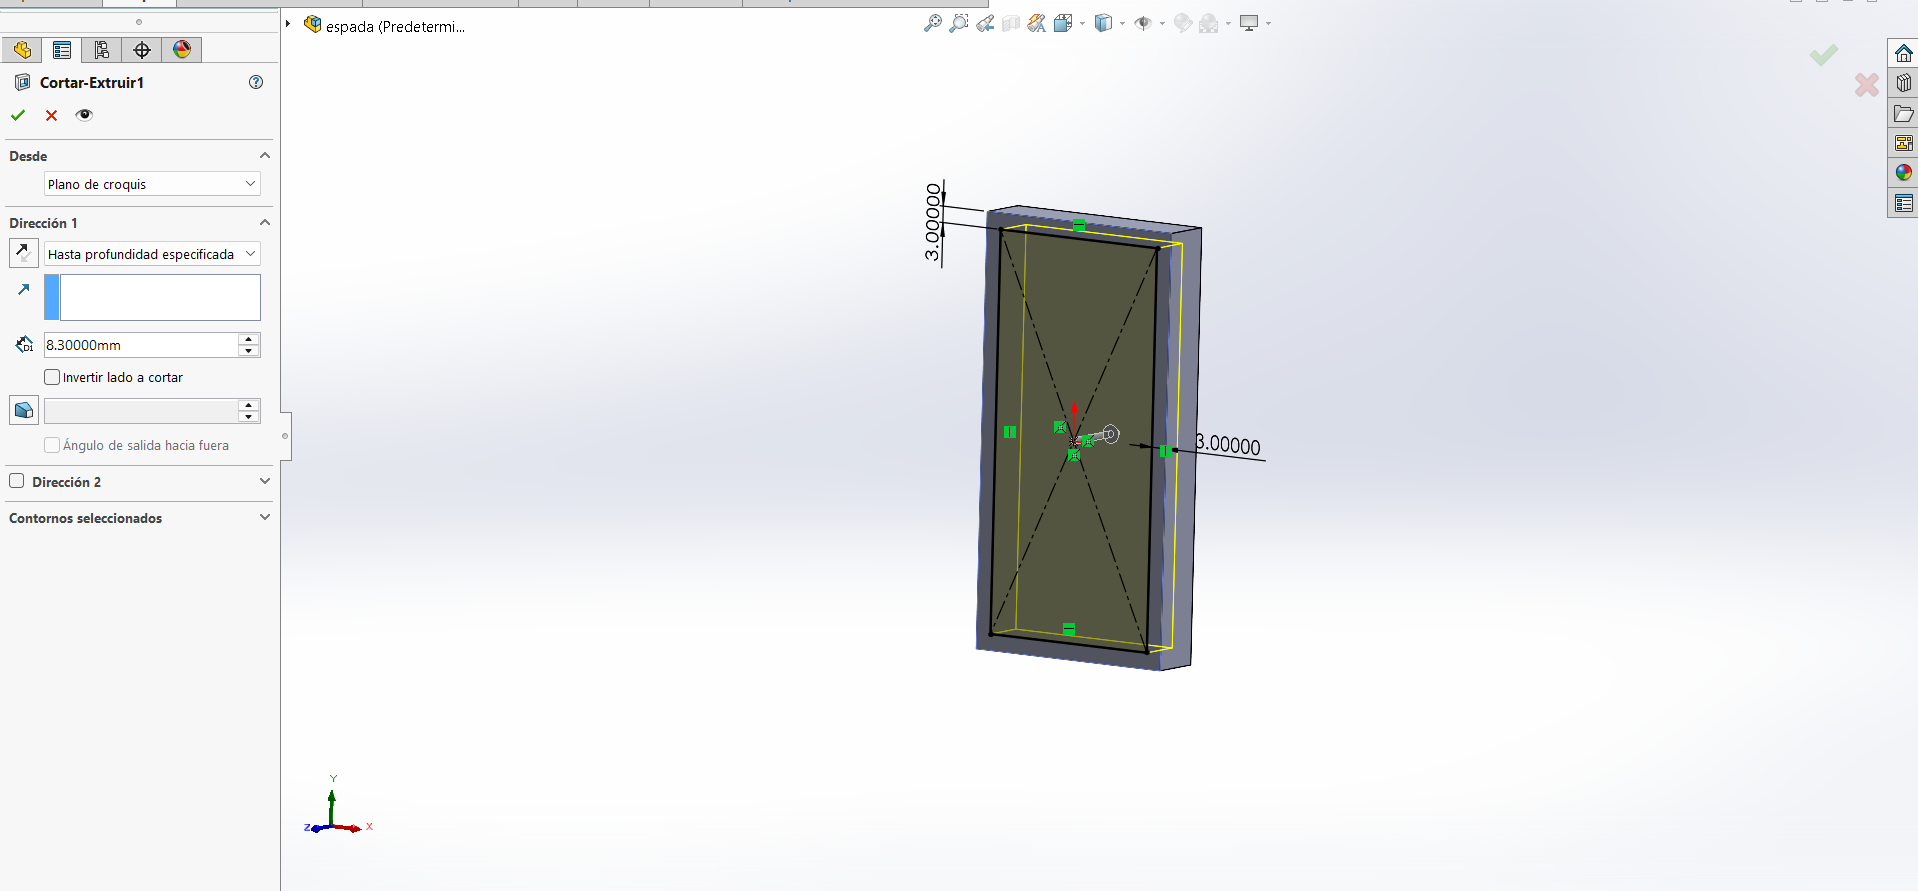
3.THE MOLD CAVITY: Executing an 8.3mm deep cut directly into the center of the block to reveal the sword and create the exact negative space for the rubber.
1 / 3
03. ALCHEMICAL SLICING
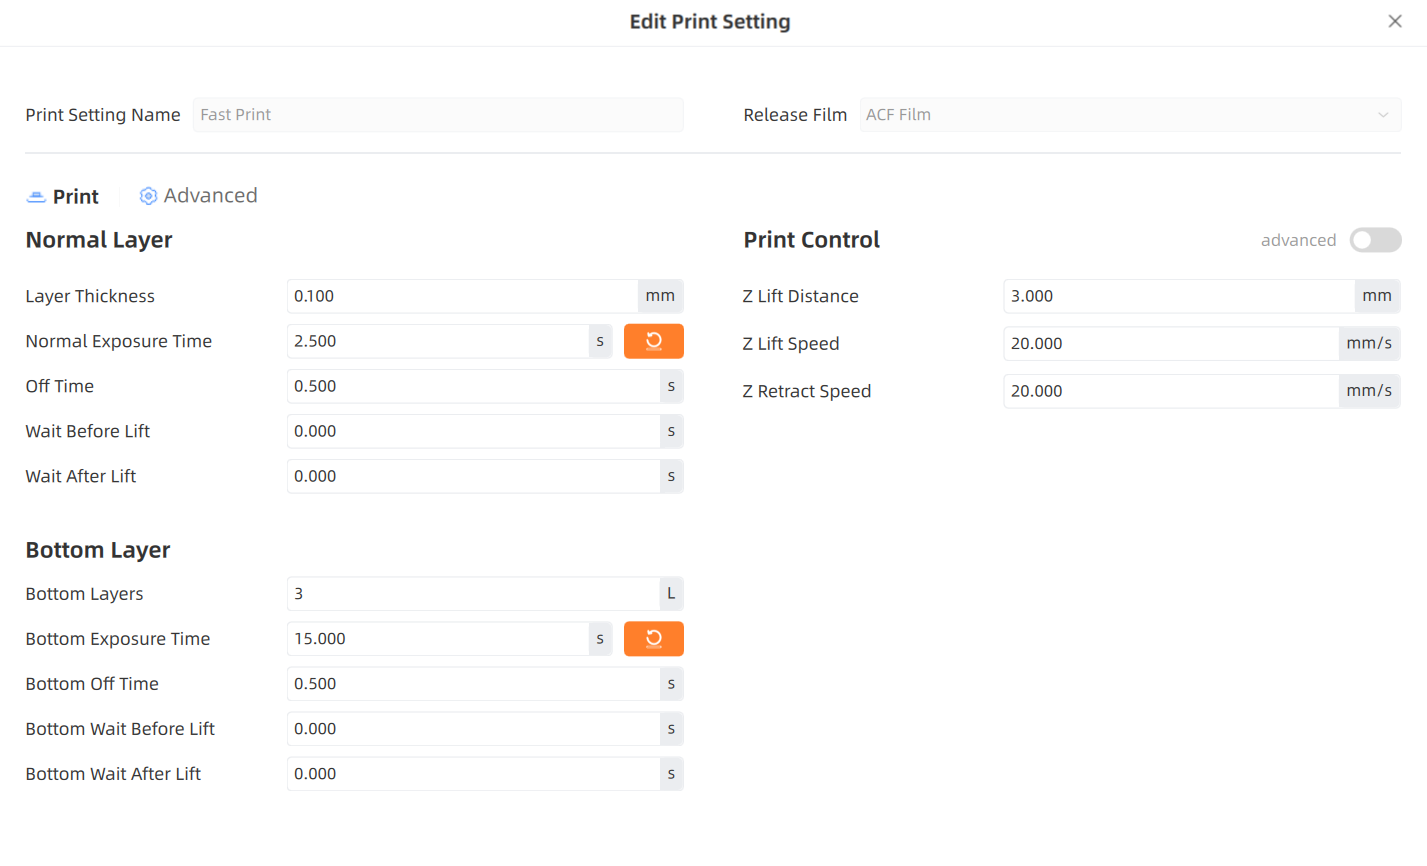
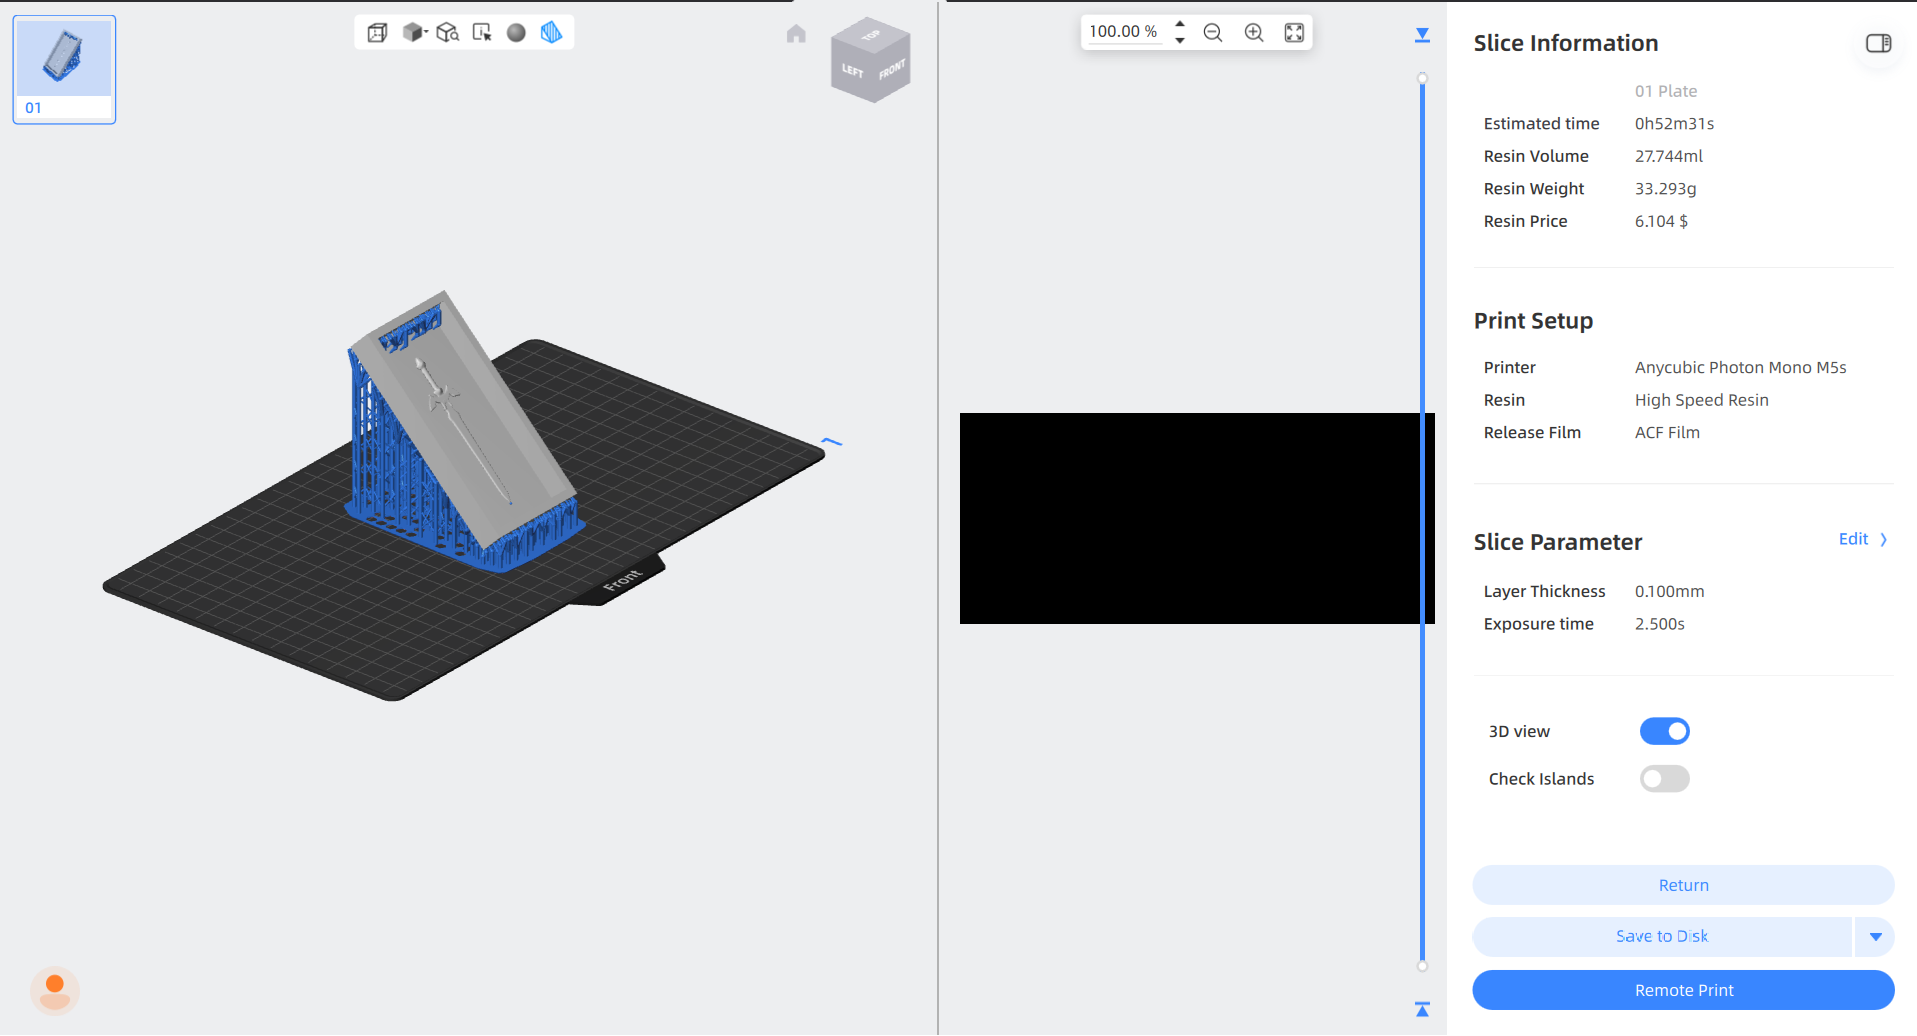
I used the Anycubic Photon Workshop software to prepare the file. I configured the necessary supports so the sword would print with millimeter precision, especially the runes on the handle.
Technical configuration of exposure and layers.
I used the Anycubic Photon Workshop Slicer preview with supports.
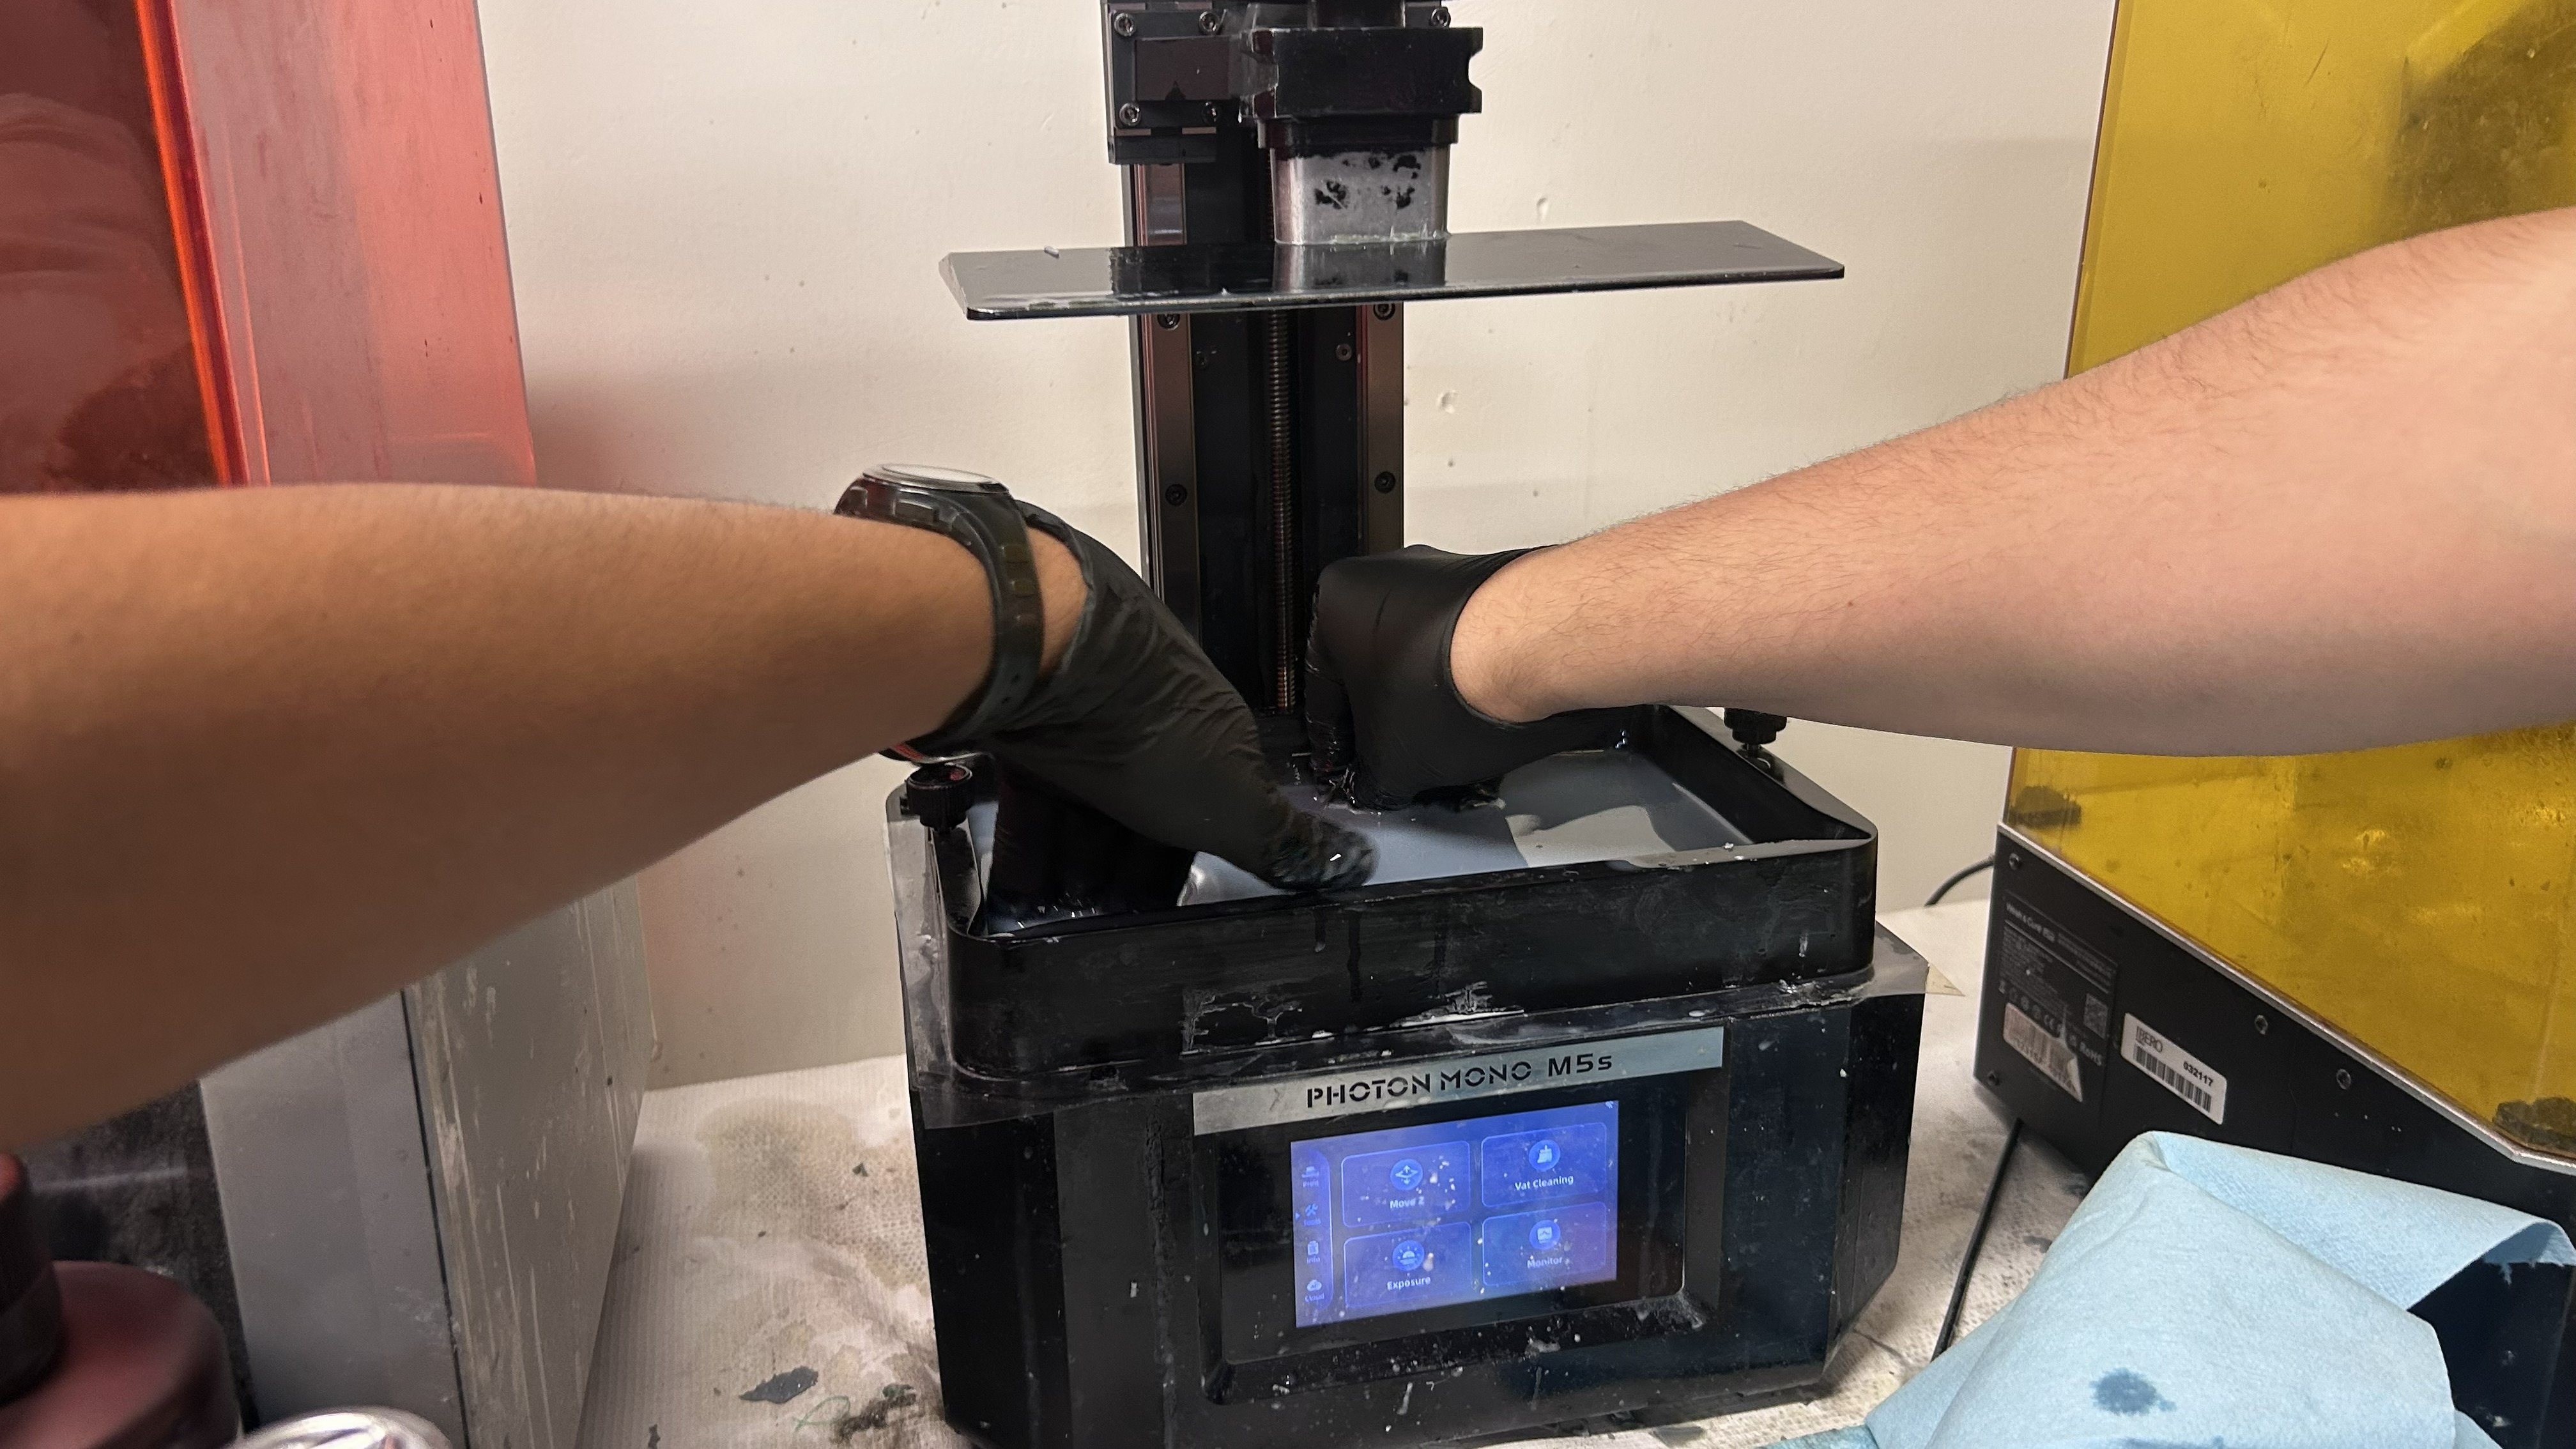
04. RESIN FORGING
To get the master with the best surface finish, I used the Anycubic Photon Mono M5s with the ABS-Like 3.0 resin. This printer allows a resolution that FDM simply cannot achieve, ensuring the mold captures every micro-detail.
Calibration and tank preparation.
The resin printing process in action.
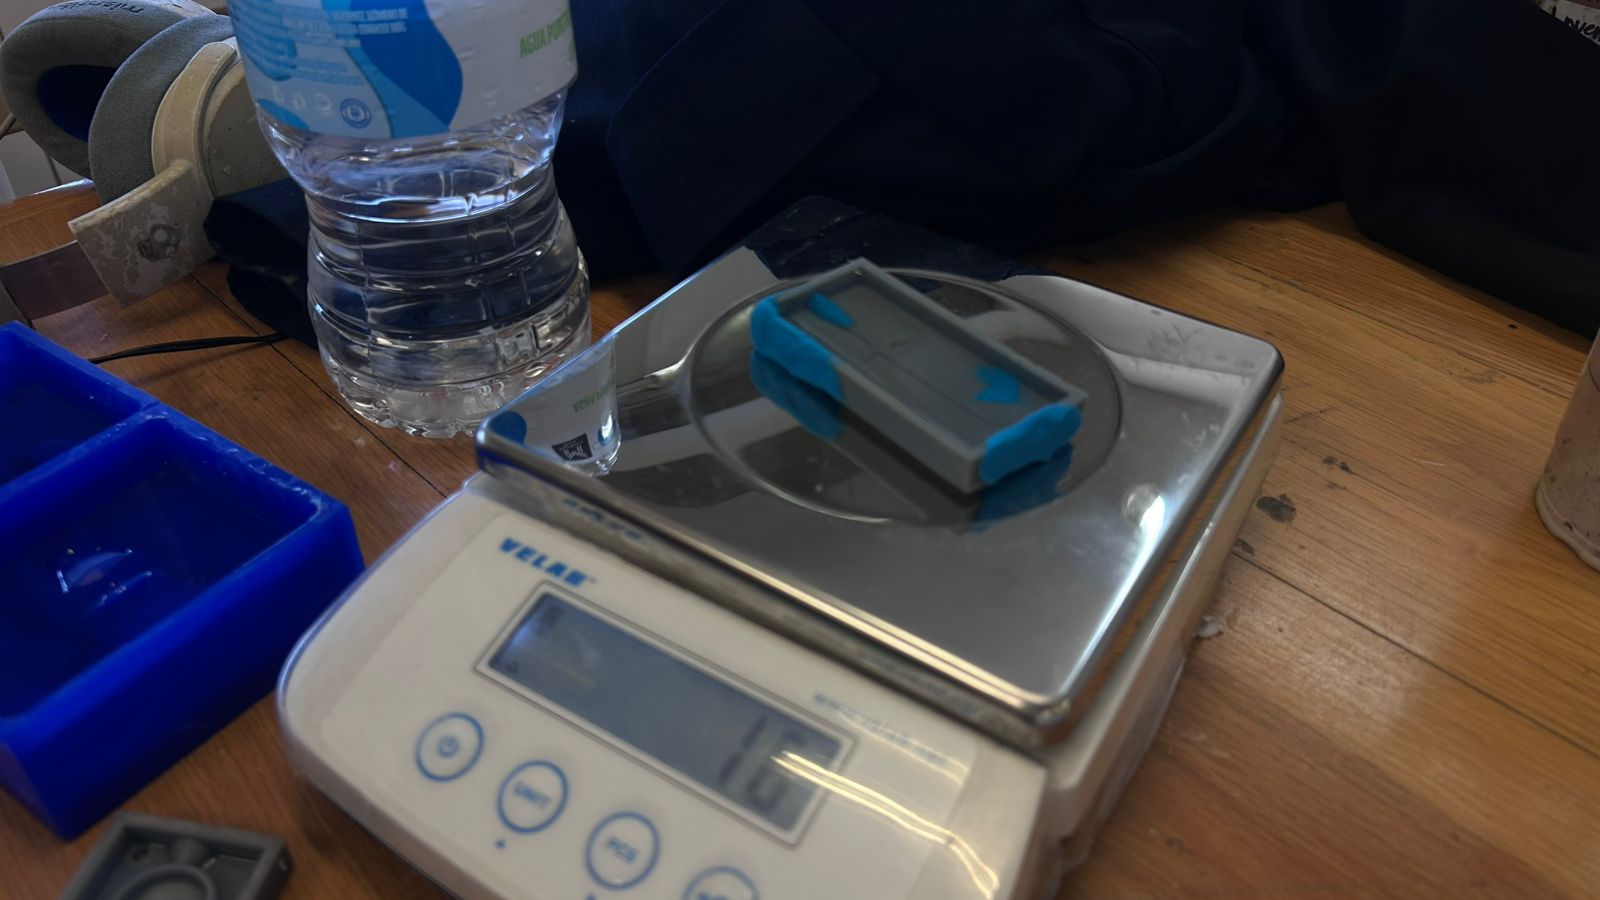
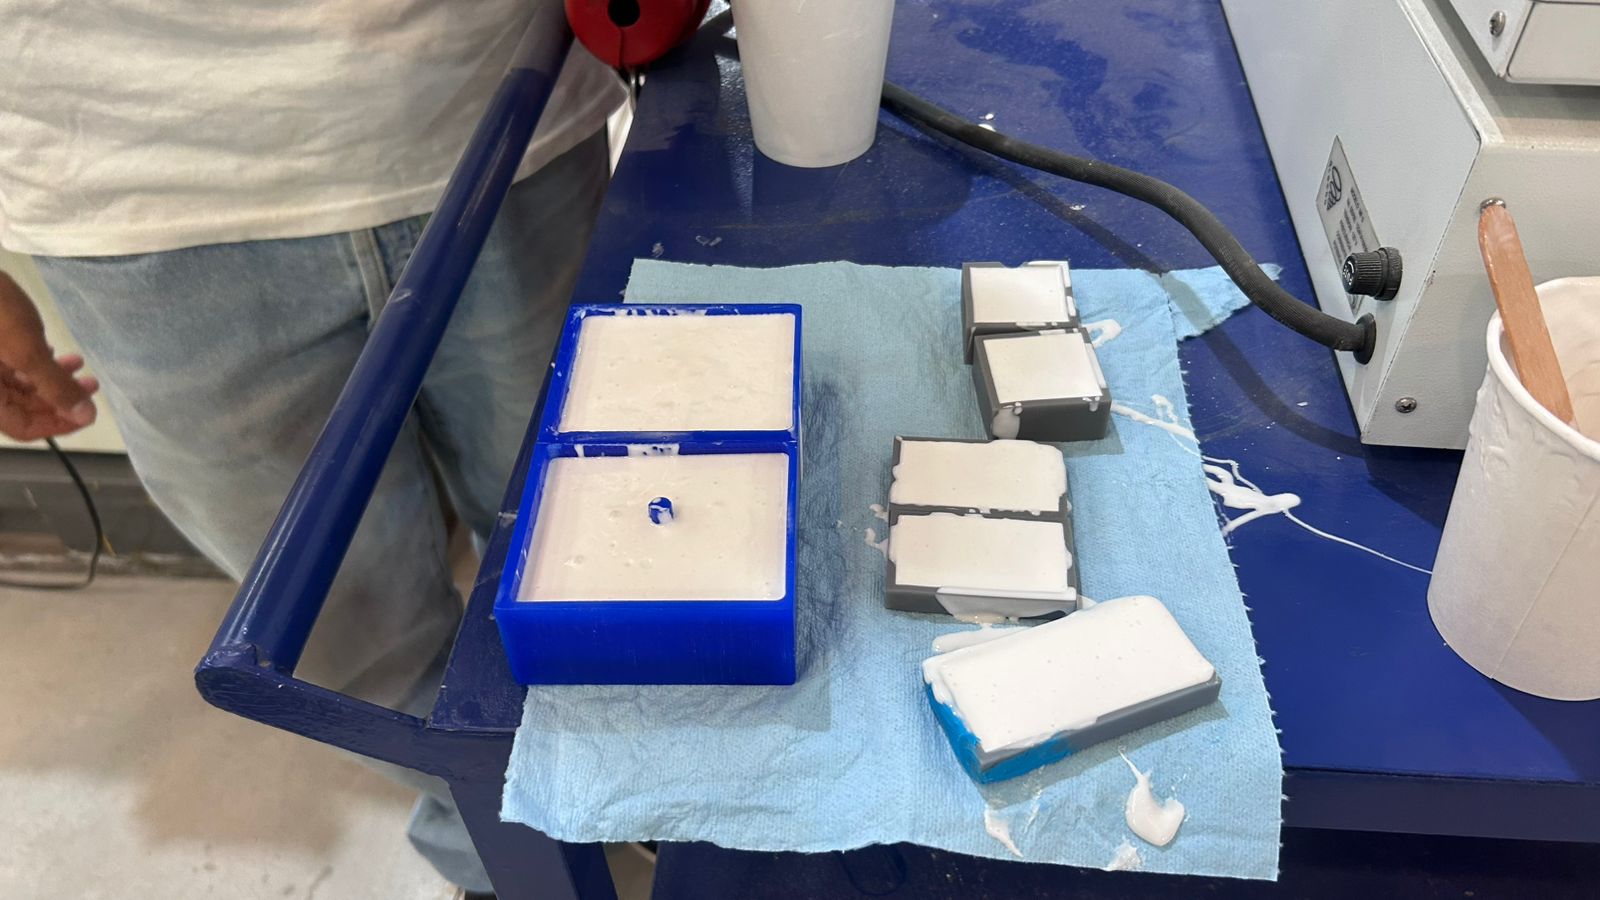
05. THE URETHANE MATRIX
Once the master was clean and coated with a release agent (crucial for Urethane Rubber), I proceeded to mix the components in their exact specified ratio.
🧪 VACUUM PROTOCOL
To avoid bubbles ruining the details, after mixing the rubber, I put it inside the vacuum chamber. This extracts all trapped air before pouring it over the sword.
Initial volume calculation.
Measuring exact ratios for Part A and Part B.
Manual mixing of the catalyst.
Degassing in the vacuum chamber.
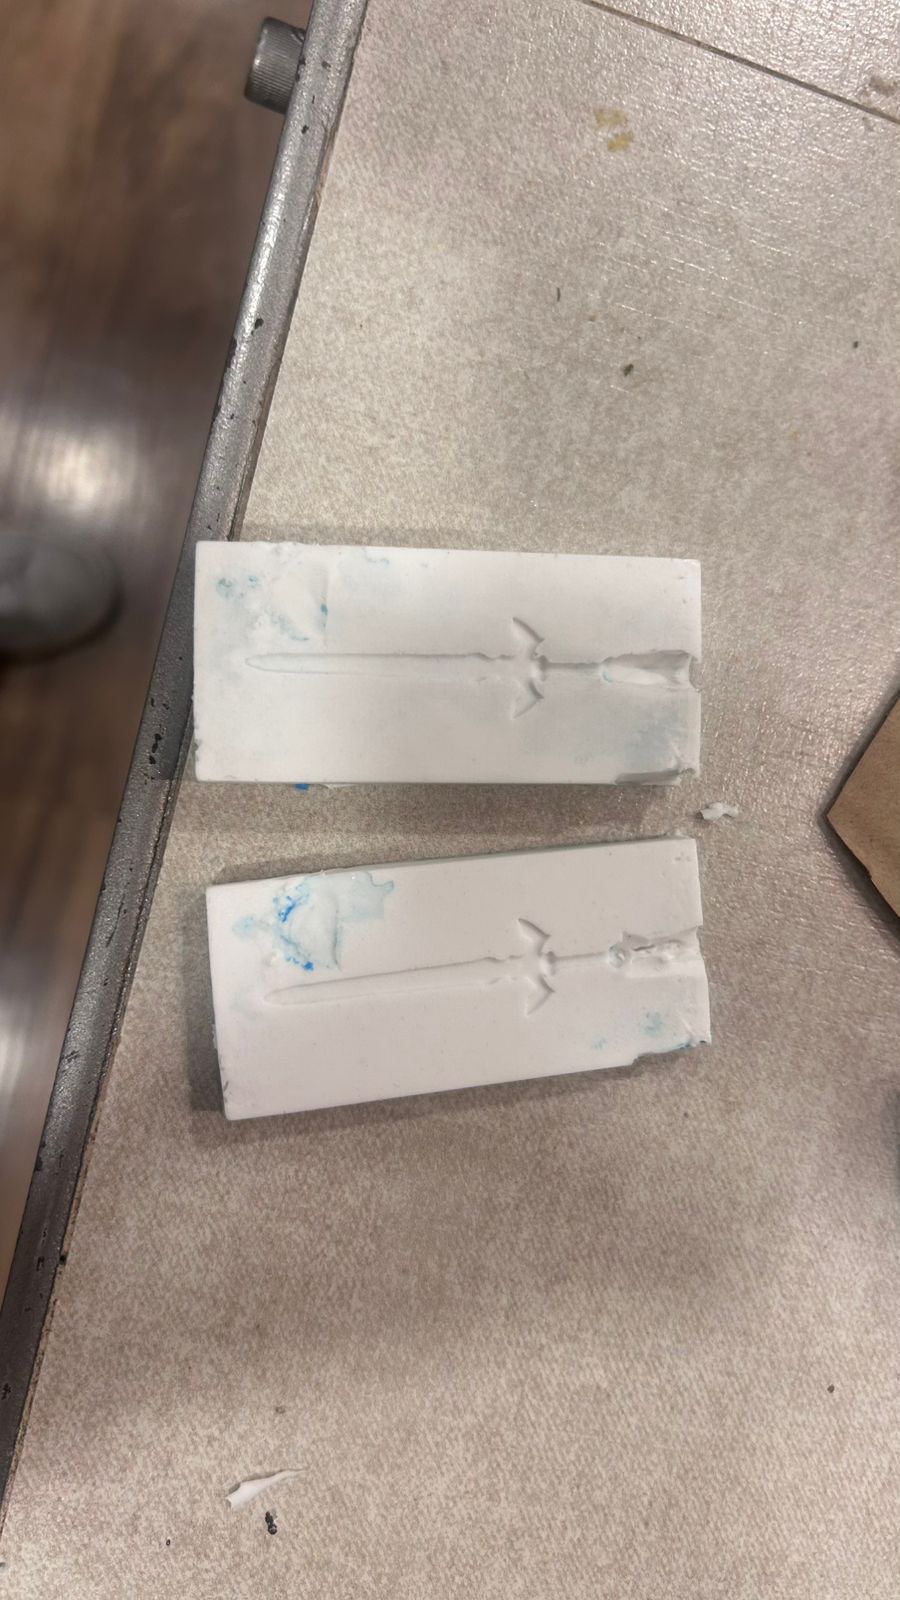
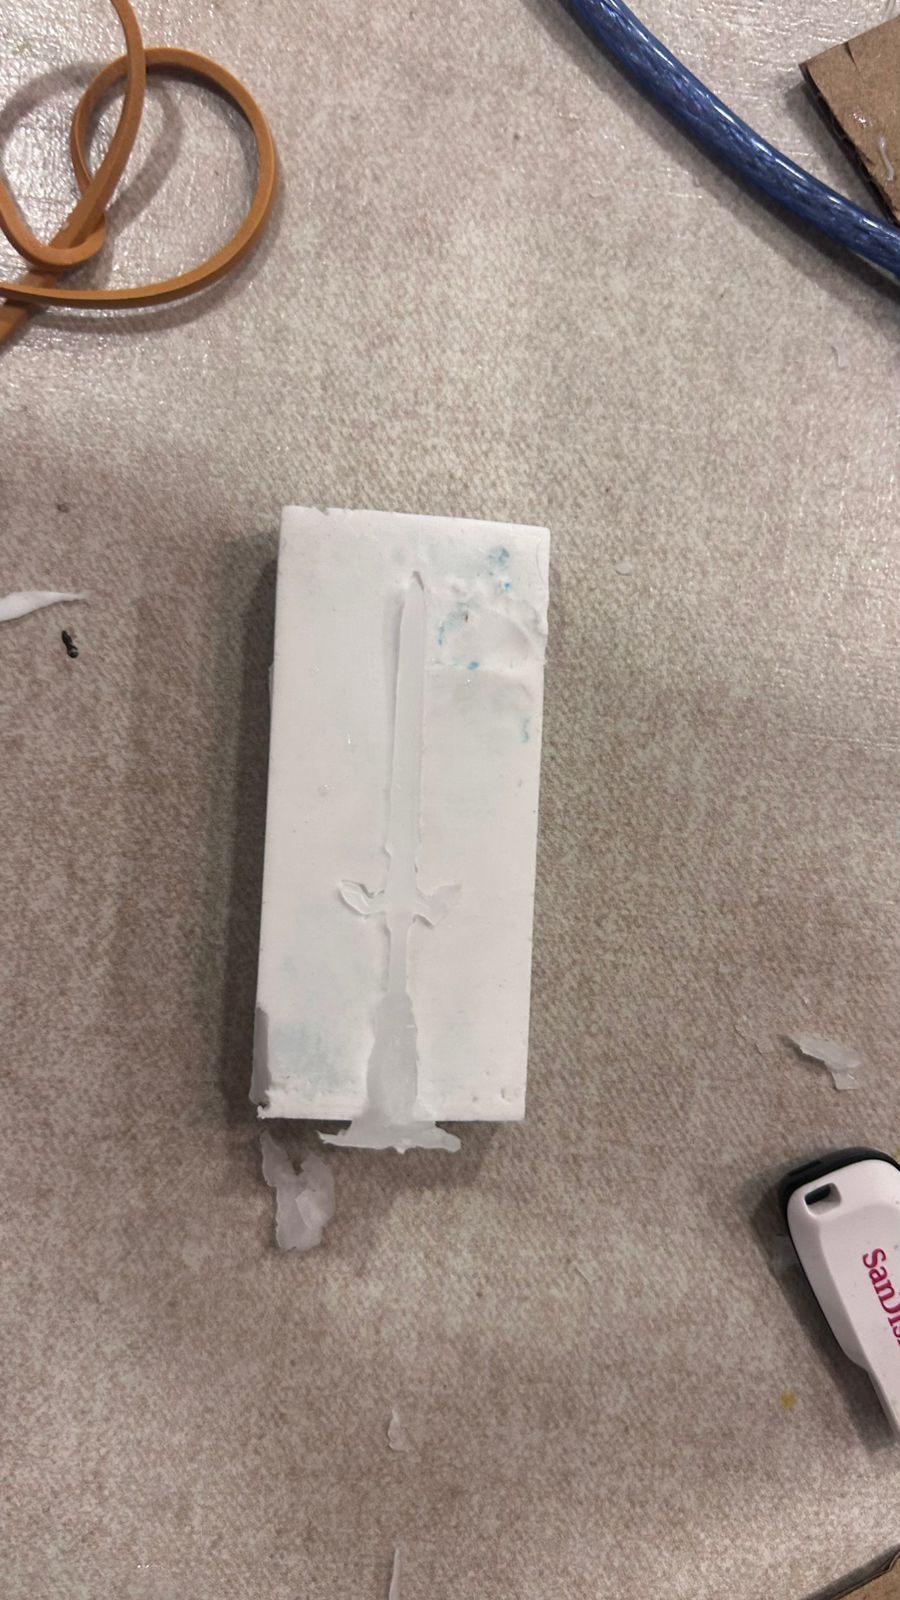
After vacuuming, I poured the rubber into the prepared mold boxes. The result was a highly tear-resistant mold.
Molds curing at room temperature.
Urethane matrices ready for casting.
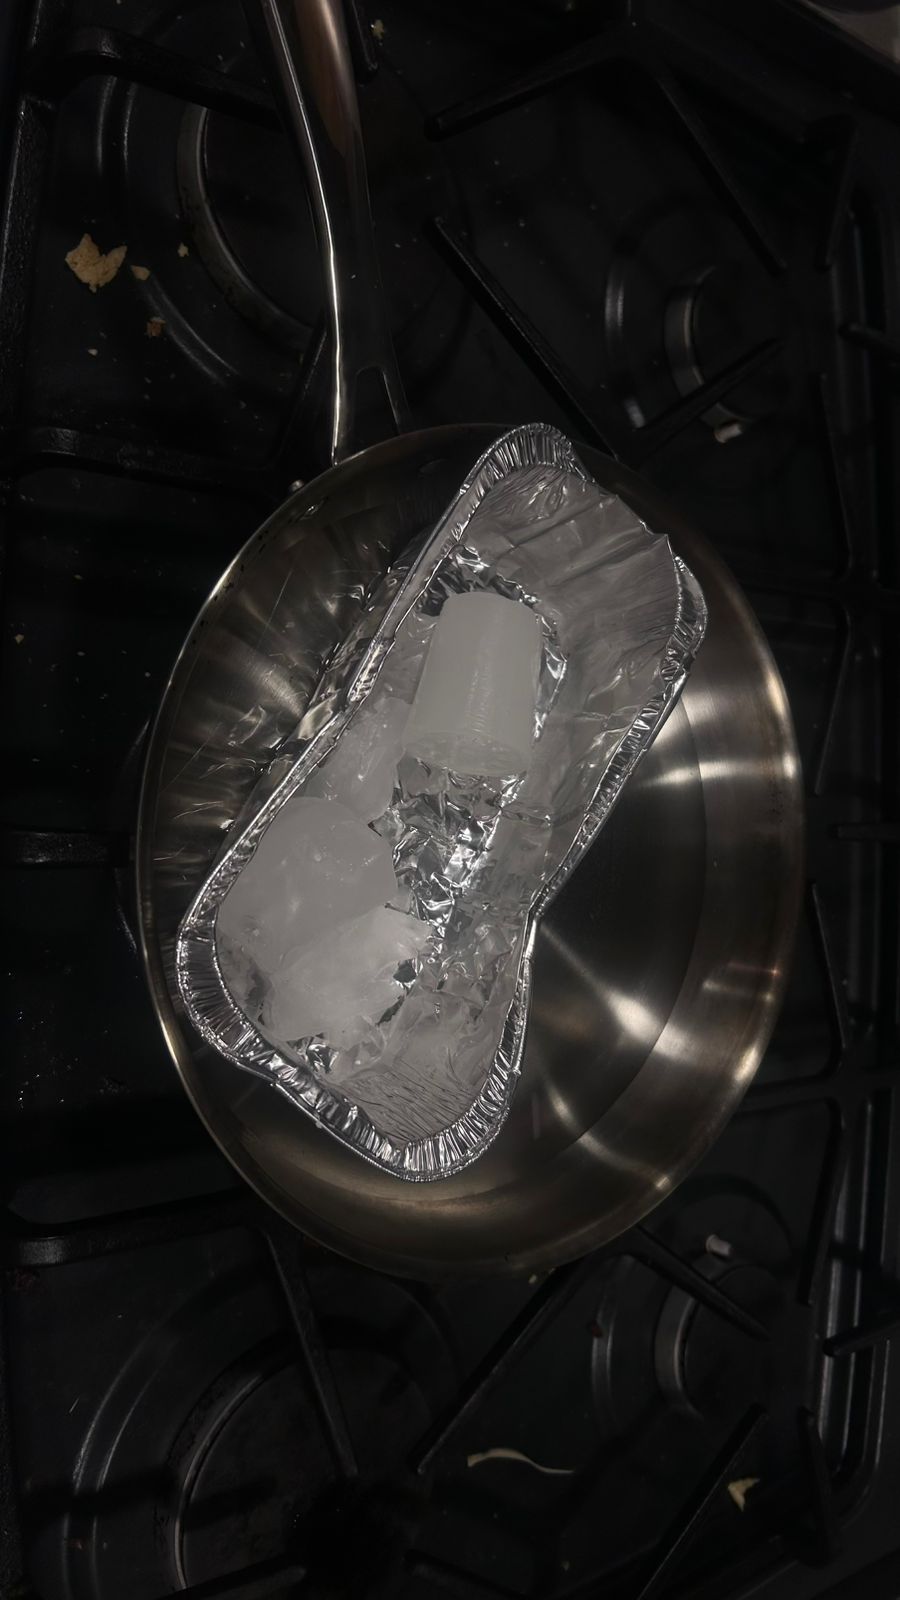
06. CASTING: THE WAX TRIAL
For the final piece, I used melted candle wax. I joined the two halves of the mold with rubber bands to maintain pressure and avoid leaks, and carefully poured the wax into the sprue.
Melting the wax on the stove.
Careful pouring into the sealed mold.
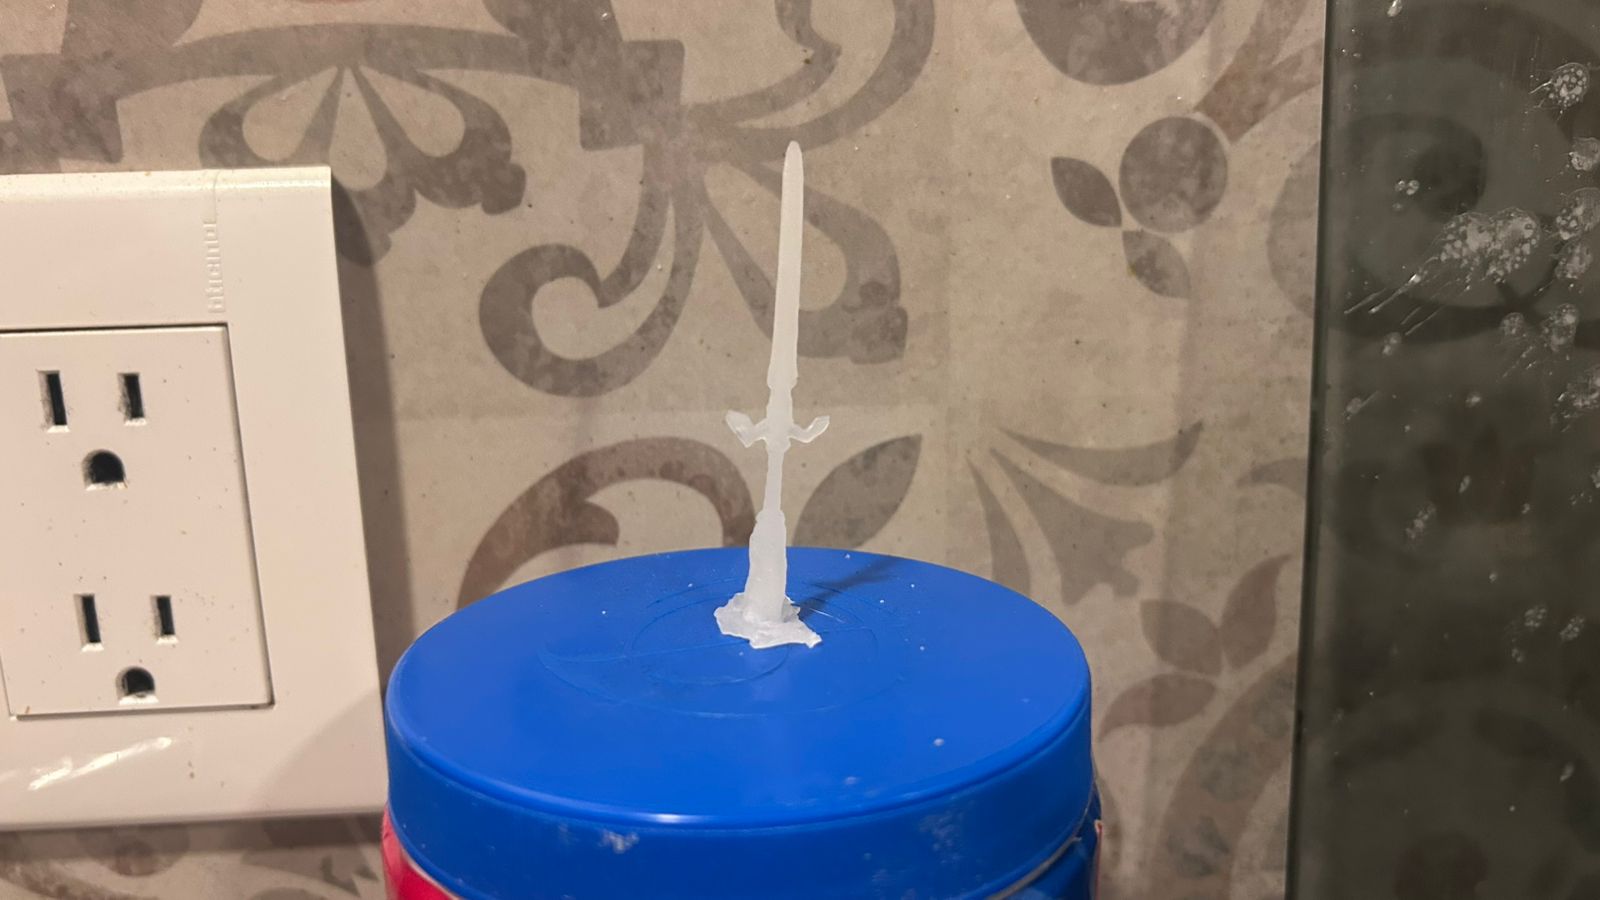
07. MISSION COMPLETE: MASTER SWORD
The final result is an exact wax replica, capturing every rune and detail of the legendary sword.