The Ultimate Manual: Connecting a Python GUI to Bare-Metal C Hardware.
00. MISSION BRIEFING — "THE LEAP INTO THE VOID"
This week's challenge was to create a full interface that connects a computer application to a physical microcontroller. Instead of using simplified toolkits, I chose a professional three-layer architecture — a desktop GUI, a Python communication bridge, and a XIAO RP2350 running bare-metal C firmware.
The Architecture: Three Layers, One System
The core logic was to create an open-loop system where a computer interface commands the physical world. Each layer has a single, clear responsibility:
Frontend: A visually-designed desktop application (Qt Designer + PyQt5)
Middleware: A Python script acting as a communication bridge (pyserial at 115200 baud)
Backend (Hardware): A XIAO RP2350 running low-level bare-metal C via the Pico SDK
PHASE 1: THE BRAIN — HARDWARE & FIRMWARE
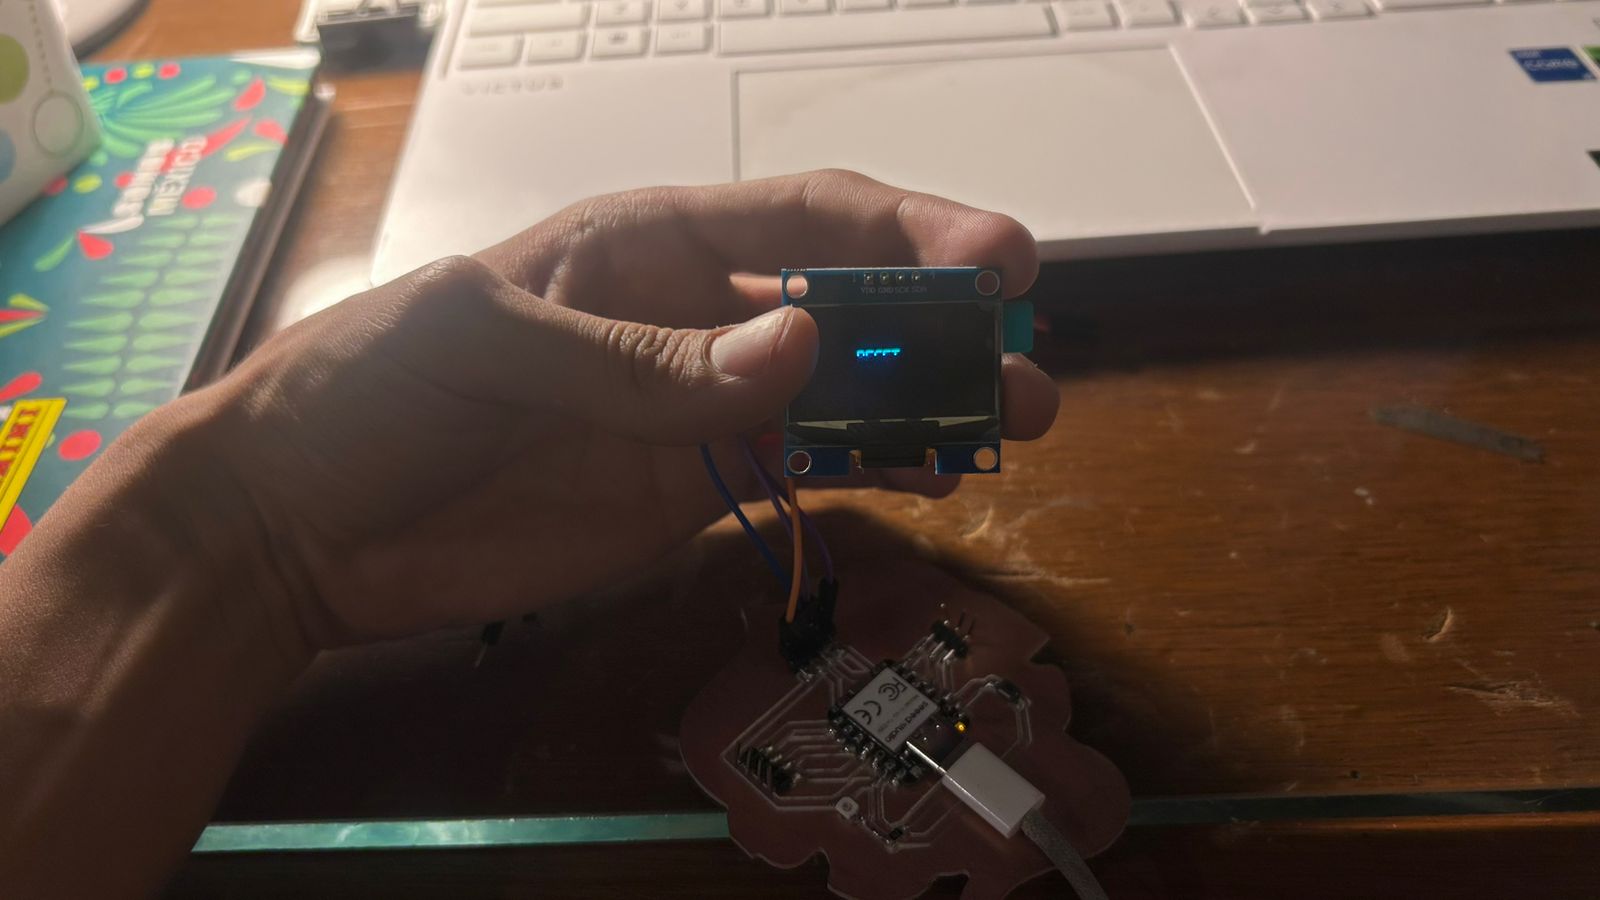
The foundation of this project is a custom PCB housing a Seeed Studio XIAO RP2350, a 1.3" I2C OLED display, and an SMD LED. I wrote the firmware in pure C using the Pico SDK — no Arduino, no libraries, just direct register manipulation.
SH1106 OLED — Custom I2C Driver
Instead of relying on a display library, I wrote C functions to directly issue commands over the I2C bus and render dynamic text on the 1.3" SH1106 OLED. This required studying the SH1106 datasheet and building a minimal character renderer that maps ASCII values to pixel columns.
Serial Protocol — The Non-Blocking Buffer
The firmware uses getchar_timeout_us(0) — a zero-timeout call that never blocks the main loop. Characters accumulate in a buffer until a newline (\n) arrives, at which point the full command string is evaluated. This prevents partial reads and guarantees the board only reacts to complete, valid commands.
THE SECRET HARDWARE PINS TRAP
Crucial note for anyone working with the XIAO RP2350: When writing bare-metal C, you cannot use the board silk-screen labels (D0, D1…). You must use the internal GPIO hardware number. The SMD LED was connected to physical pin D0, which maps internally to GPIO 26 in the Pico SDK. Using GPIO 0 would simply do nothing.
First hardware test: confirming I2C communication with the OLED display.
SOURCE CODE — BARE-METAL C FIRMWARE
#include <stdio.h>
#include <string.h>
#include "pico/stdlib.h"
#include "hardware/i2c.h"
#include "hardware/gpio.h"

#define I2C_PORT i2c1
#define I2C_SDA 6
#define I2C_SCL 7
#define OLED_ADDR 0x3C
#define LED_PIN 26  // Physical D0 on XIAO = GPIO 26 in Pico SDK

// [OLED init & text rendering functions omitted for brevity]

int main() {
    stdio_init_all();

    // Init LED
    gpio_init(LED_PIN);
    gpio_set_dir(LED_PIN, GPIO_OUT);
    gpio_put(LED_PIN, 0);  // Start OFF

    // Init I2C & OLED
    i2c_init(I2C_PORT, 400 * 1000);
    gpio_set_function(I2C_SDA, GPIO_FUNC_I2C);
    gpio_set_function(I2C_SCL, GPIO_FUNC_I2C);
    gpio_pull_up(I2C_SDA);
    gpio_pull_up(I2C_SCL);
    sleep_ms(500);
    oled_init();
    oled_clear();
    draw_word("RESET", 3, 40);

    char buffer[32];
    int buf_idx = 0;

    // Non-blocking "Perpetual Listener" loop
    while (true) {
        int c = getchar_timeout_us(0);
        if (c != PICO_ERROR_TIMEOUT) {
            if (c == '\n' || c == '\r') {
                buffer[buf_idx] = '\0';
                if (buf_idx > 0) {
                    if (strcmp(buffer, "GOL") == 0) {
                        gpio_put(LED_PIN, 1);  // LED ON
                        oled_clear();
                        draw_word("GOL!", 3, 50);
                    } else if (strcmp(buffer, "RESET") == 0) {
                        gpio_put(LED_PIN, 0);  // LED OFF
                        oled_clear();
                        draw_word("RESET", 3, 40);
                    }
                    buf_idx = 0;
                }
            } else if (buf_idx < 31) {
                buffer[buf_idx++] = (char)c;
            }
        }
        sleep_ms(10);
    }
    return 0;
}
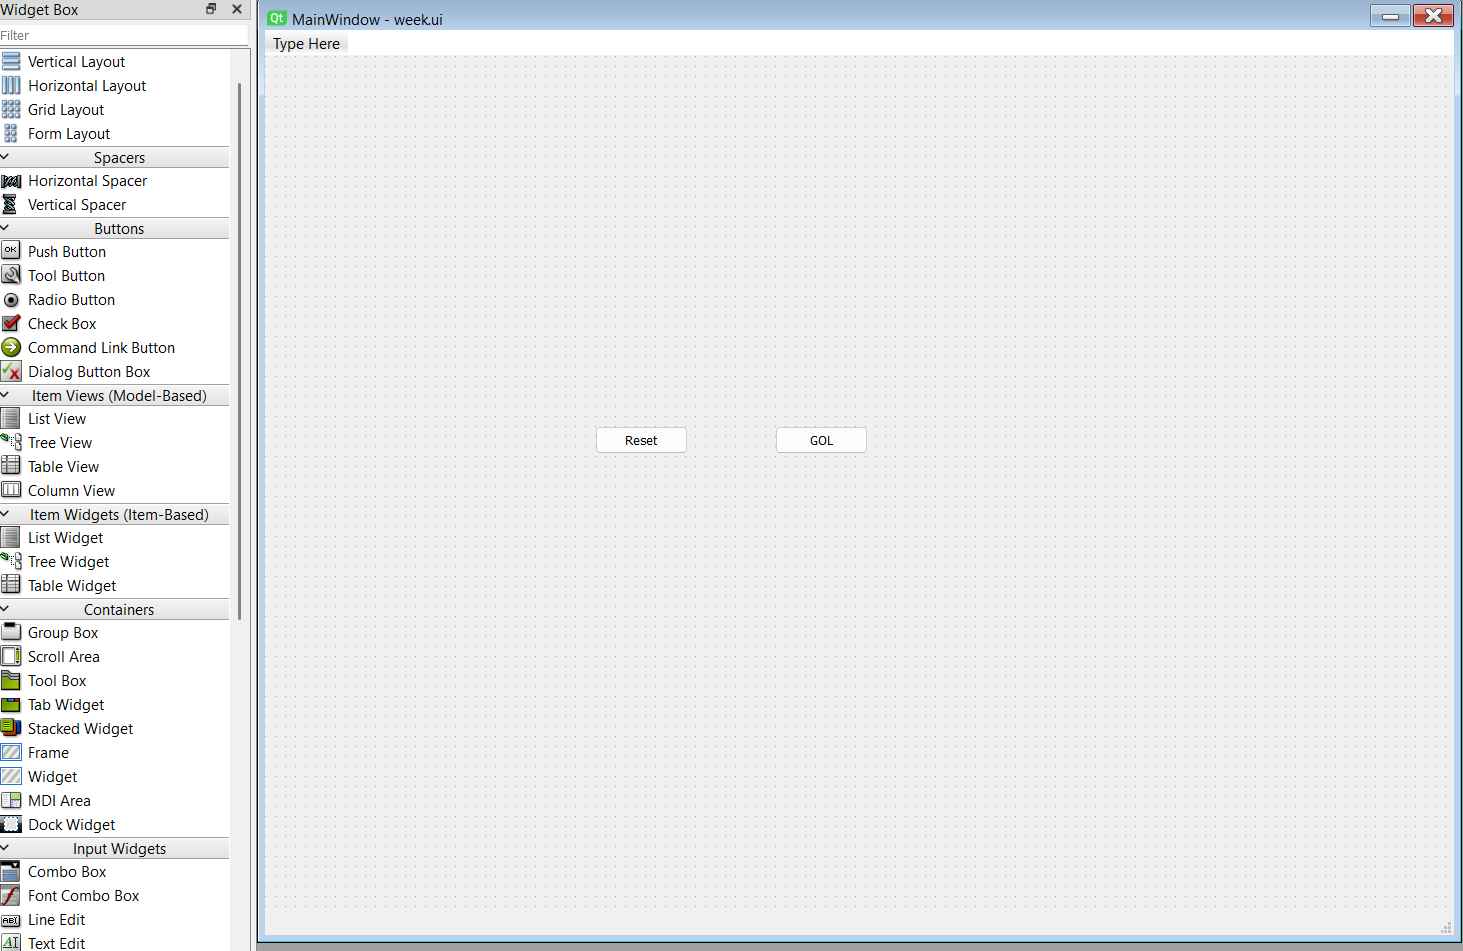
PHASE 2: UI LAYOUT — QT DESIGNER
Instead of hardcoding every pixel in Python, I used Qt Designer to visually build the dashboard and export it as a .ui XML file. This is called separation of concerns: the visual structure lives in the .ui file, while the behavior lives in Python. Changing the look never requires touching the logic.
Why Qt Designer?
Drag-and-drop layout tools prevent a common beginner mistake: hardcoding absolute pixel positions that break on different screen sizes. Qt's layout managers (HBox, VBox, Grid) ensure the interface scales correctly regardless of the display resolution.
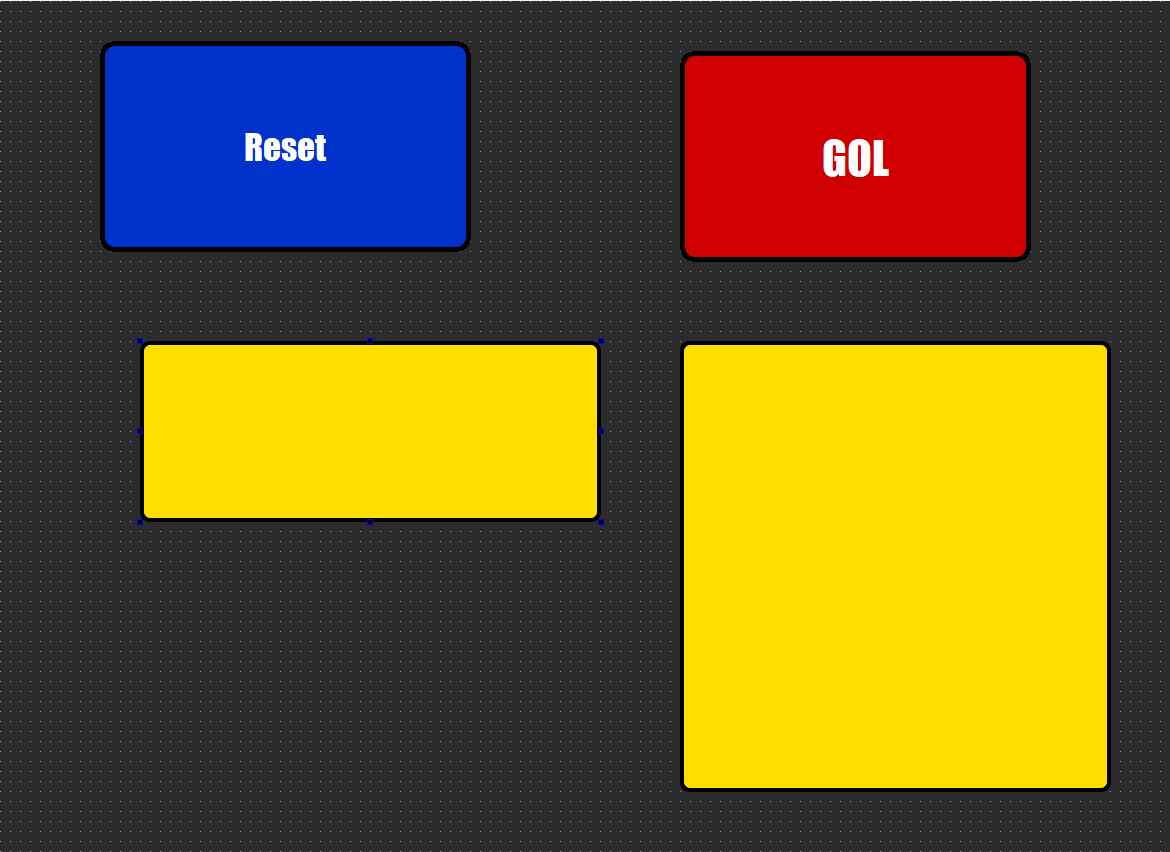
Object Names Matter
Every widget that Python needs to interact with must have a meaningful objectName set in the Properties panel. In this project: btnGol, btnReset, txtUltimoGol, and txtHistorial. These are the exact names the Python script uses to find and control them via uic.loadUi().
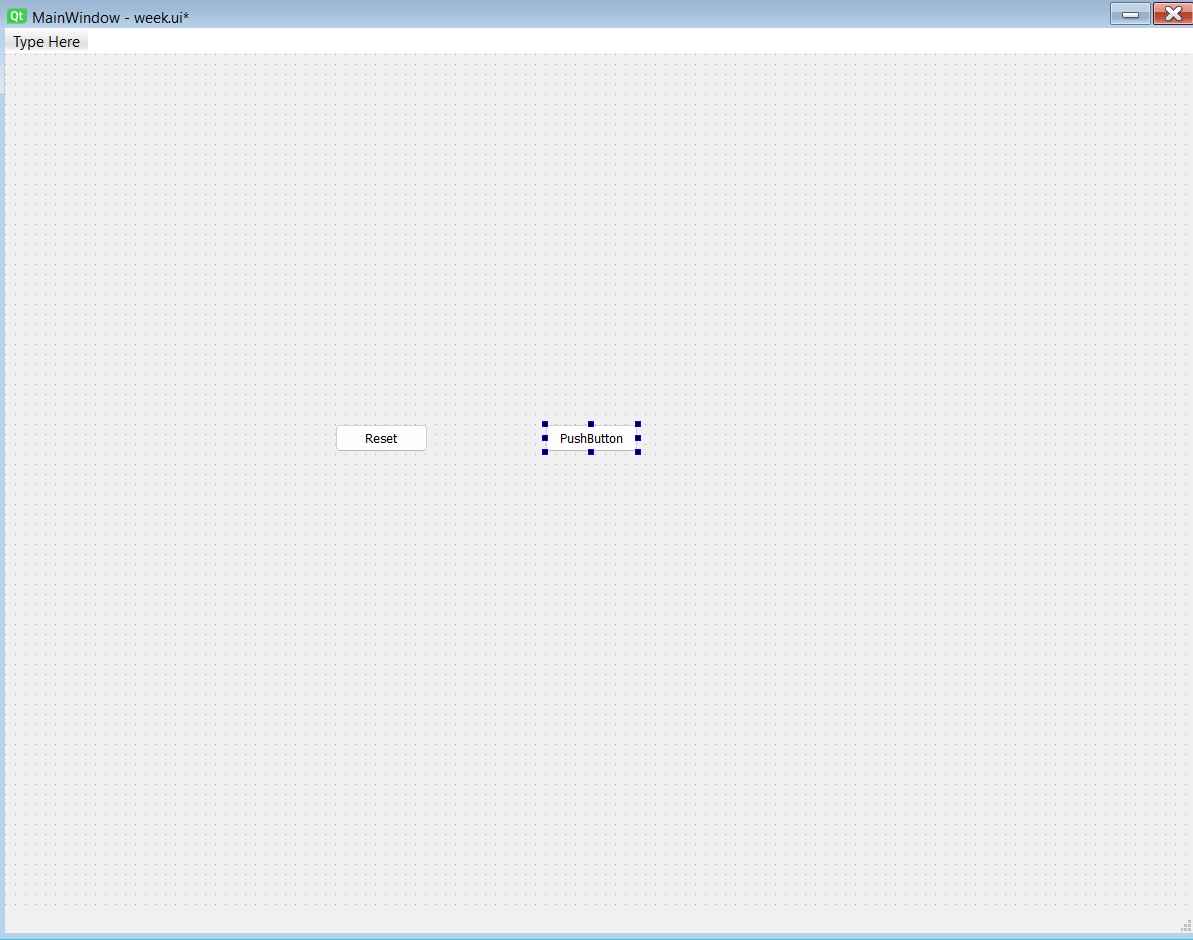
Step 1 — Dragging default PushButtons onto the main canvas.
Step 2 — Resizing buttons to be large and touch-friendly.
Step 3 — Assigning correct objectNames (btnGol, btnReset) so Python can reference them.
Step 4 — Adding a LineEdit for the latest speed and a TextEdit for the 10-shot history log.
1 / 4
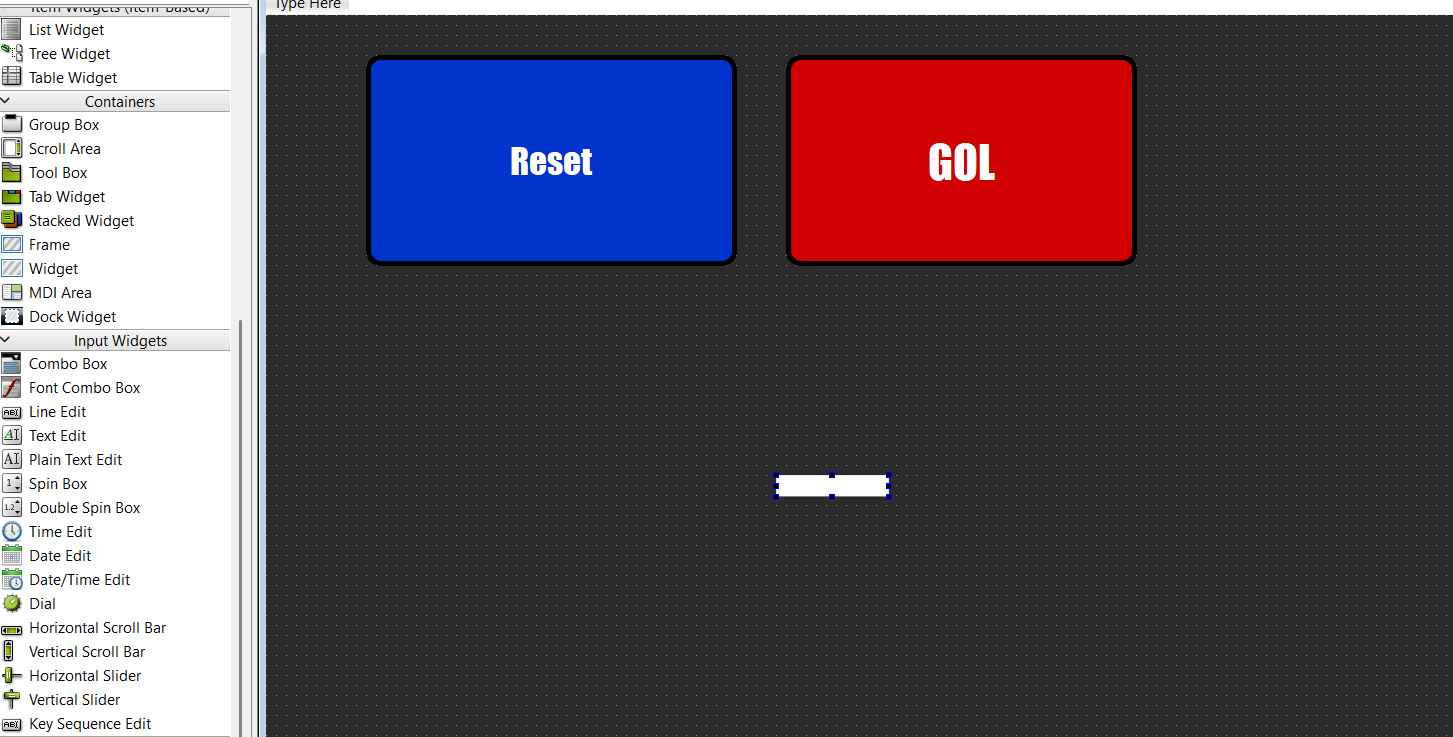
PHASE 3: COMIC BOOK STYLING — QSS
To give the app a superhero identity, I used QSS (Qt Style Sheets) — a system that works exactly like CSS for web development. Styles are injected directly onto each widget via Qt Designer's "Edit Style Sheet" panel, keeping the visual rules completely separate from the Python logic.
The Design Language
The visual palette is built on three principles: high contrast (black + yellow + red), thick borders (mimicking comic book ink lines), and bold typography (Impact-style fonts with generous letter-spacing). Every interactive element communicates its state clearly — normal, hover, and active — through color changes defined in the QSS rules.
Three Layers of QSS
The styling was applied in three passes: first the canvas background (#centralwidget), then the button widgets with hover/pressed states, and finally the text display boxes styled to look like high-contrast radar screens with monospace fonts.
Step 1 — Right-clicking a widget to open the "Edit Style Sheet" QSS editor.
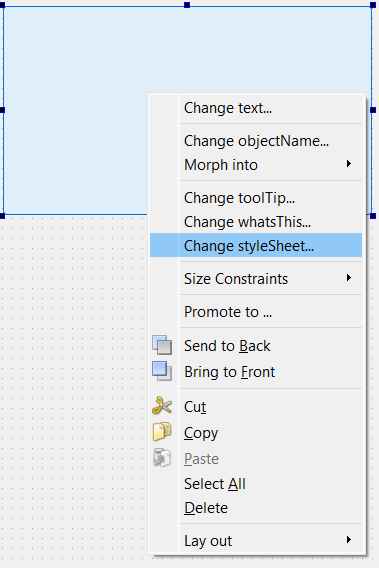
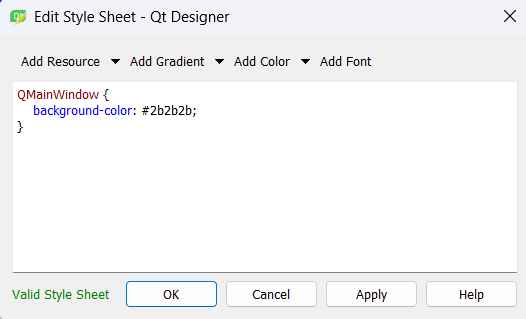
Step 2 — Applying the dark background color to the main canvas widget.
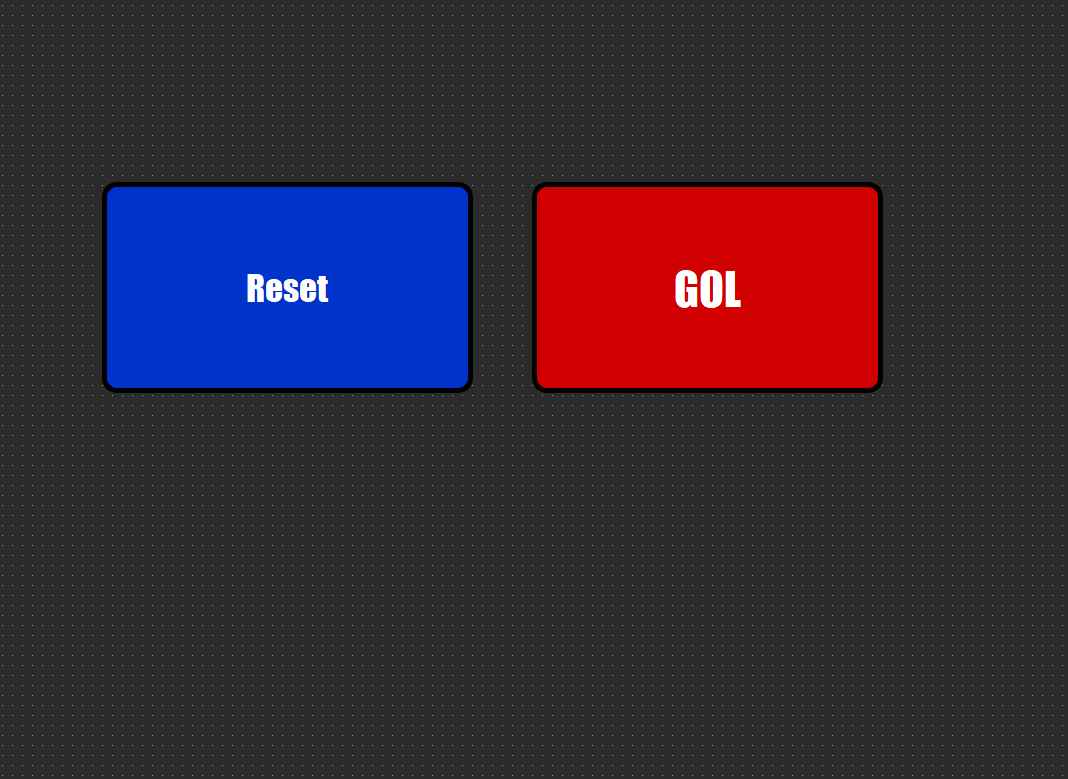
Step 3 — Writing QSS rules for buttons: thick borders, Impact font, hover color change.
Step 4 — The buttons after QSS is applied. Bold, high-contrast, comic-book aesthetic.
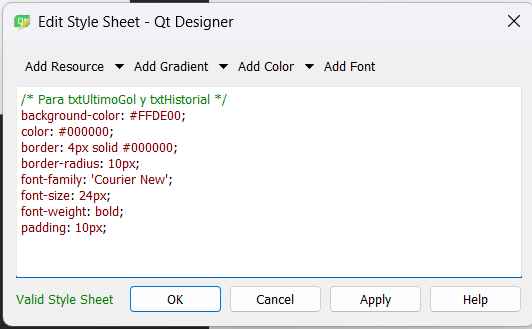
Step 5 — Styling the text boxes as radar-screen displays with monospace fonts.
Step 6 — The completed Qt Designer layout, ready to be loaded by Python.
1 / 6
PHASE 4: PYTHON BACKEND & SERIAL COMMS
The Python script is the middleware that glues the visual interface to the physical hardware. It loads the Qt Designer .ui file at runtime, connects each button to a Python function, and manages the serial channel to the XIAO.
The Serial Bridge — pyserial
The library pyserial opens the USB COM port at 115200 baud, creating a bidirectional byte channel. When a button is pressed, Python writes a byte sequence — b"GOL\n" — down the cable. The \n newline character is the agreed-upon signal that tells the firmware "this command is complete, process it now."
Simulated Sensor Data
For the Smart Precision Goal prototype, random.randint(70, 130) generates a simulated shot speed in km/h on every button press. This decouples the software testing from the hardware — the full stack can be developed and demonstrated before the physical sensor exists.
Rolling Memory — The 10-Shot Array
A Python list stores the goal history. Each new entry is appended to the end. When the list exceeds 10 items, pop(0) removes the oldest — ensuring the log never grows infinitely and always shows exactly the last 10 shots. This pattern (ring buffer / sliding window) is standard in data logging applications.
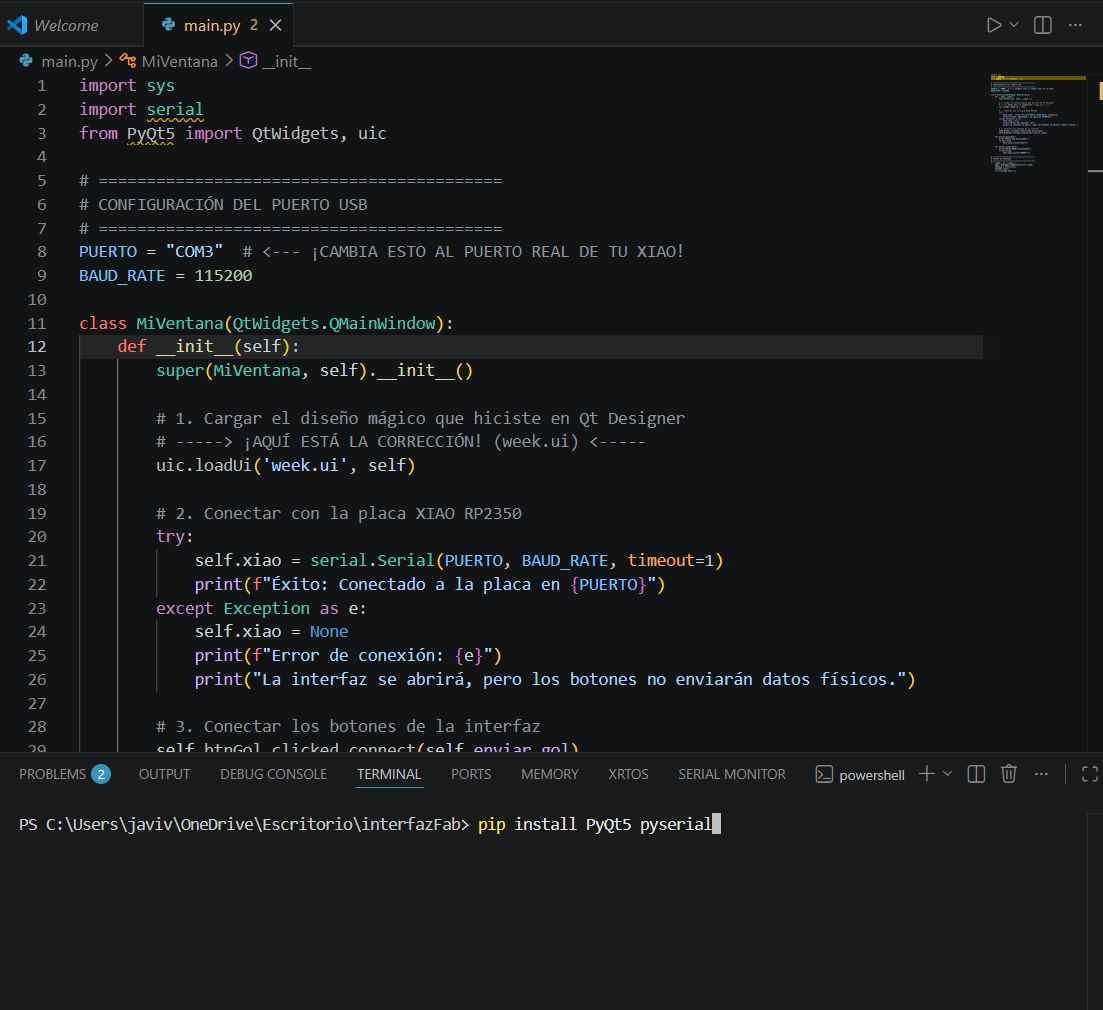
Installing PyQt5 and pyserial globally via pip in the Windows terminal.
Fixing the environment: installing the libraries directly into the active VS Code Python interpreter so it recognizes the serial module.
1 / 2
SOURCE CODE — PYTHON LOGIC (main.py)
import sys
import serial
import random
from PyQt5 import QtWidgets, uic

PUERTO = "COM3"       # Target serial port
BAUD_RATE = 115200

class MiVentana(QtWidgets.QMainWindow):
    def __init__(self):
        super(MiVentana, self).__init__()
        uic.loadUi('week.ui', self)   # Load Qt Designer layout file

        self.memoria_goles = []       # Rolling 10-shot history array

        try:
            self.xiao = serial.Serial(PUERTO, BAUD_RATE, timeout=1)
            print(f"Connected to {PUERTO}")
        except Exception as e:
            self.xiao = None
            print(f"Connection Error: {e}")

        # Wire GUI buttons to Python methods
        self.btnGol.clicked.connect(self.enviar_gol)
        self.btnReset.clicked.connect(self.enviar_reset)

        self.txtUltimoGol.setReadOnly(True)
        self.txtHistorial.setReadOnly(True)

    def enviar_gol(self):
        if self.xiao:
            self.xiao.write(b"GOL\n")           # Send command to hardware

        velocidad = random.randint(70, 130)      # Simulate shot speed (km/h)
        mensaje = f"GOL DETECTED: {velocidad} km/h"

        self.txtUltimoGol.setText(mensaje)

        # Rolling history: append new, drop oldest if > 10
        self.memoria_goles.append(mensaje)
        if len(self.memoria_goles) > 10:
            self.memoria_goles.pop(0)

        self.txtHistorial.setPlainText("\n".join(self.memoria_goles))

    def enviar_reset(self):
        if self.xiao:
            self.xiao.write(b"RESET\n")          # Send reset command

        self.memoria_goles.clear()
        self.txtUltimoGol.clear()
        self.txtHistorial.clear()

if __name__ == "__main__":
    app = QtWidgets.QApplication(sys.argv)
    ventana = MiVentana()
    ventana.show()
    sys.exit(app.exec_())
PHASE 5: THE INFORMATION FLOW
Command → Serial → Reaction
This is the complete sequence of events in milliseconds when the GOL button is pressed. Understanding this chain is the most important takeaway of the week. The Command → Serial → Reaction pattern is the foundation of modern industrial automation — swap the LED for a motor, a valve, or a solenoid and the architecture stays identical.
Python generates a random speed value and updates the internal goals list.
Python writes the byte sequence b"GOL\n" down the USB serial channel at 115200 baud.
The XIAO RP2350 detects new characters via the non-blocking getchar_timeout_us(0) call.
Characters accumulate in the C buffer until the \n newline terminates the command.
The firmware sets GPIO 26 to HIGH, turning on the physical SMD LED instantly.
The OLED driver sends I2C commands to clear the screen and render the "GOL!" message.
Pressing Reset sends b"RESET\n", which clears both the Python list and the hardware states simultaneously.
PHASE 6: THE HERO SHOT — FINAL DEMO
Full integration test: pressing "GOL" in the Python UI instantly triggers the bare-metal C firmware on the XIAO RP2350, turning on the physical LED and rendering "GOL!" on the OLED — all in real time over USB serial.
Full system integration: Python GUI commanding bare-metal hardware via serial.