Overview
Wildcard Week asks us to use a process that was not covered in other assignments. I chose bio-material sheet making. This was different from the laser cutting, 3D printing, electronics, and programming work I had done before.
My theme was Re-Cycle & Re-Circle. I wanted to use material waste as part of the visual result, so I added tea waste and coffee grounds into the sheets. The final material was not perfectly clean, but the bubbles, particles, stains, and uneven edges made it more interesting.
Assignment
Assignment requirement
The assignment was to design and produce something with a digital process, using a process not covered in another assignment. The work also needed enough documentation so another person could reproduce it.
My interpretation
I focused on materials / synthesis / bio-material sheet making. The digital part was the leaf template and the use of a digital scale to control the recipe.
Safety note: These were material samples only. They were not made for eating, even though some ingredients were food-related.
Concept
Re-Cycle & Re-Circle
I started from the idea of circular material use. Tea waste and coffee grounds were not hidden. I kept them visible in the sheets so the material could show traces of recycling.
I used a leaf-like shape for the final pieces. It connects the material experiment with nature, growth, decay, and circular design.
Materials
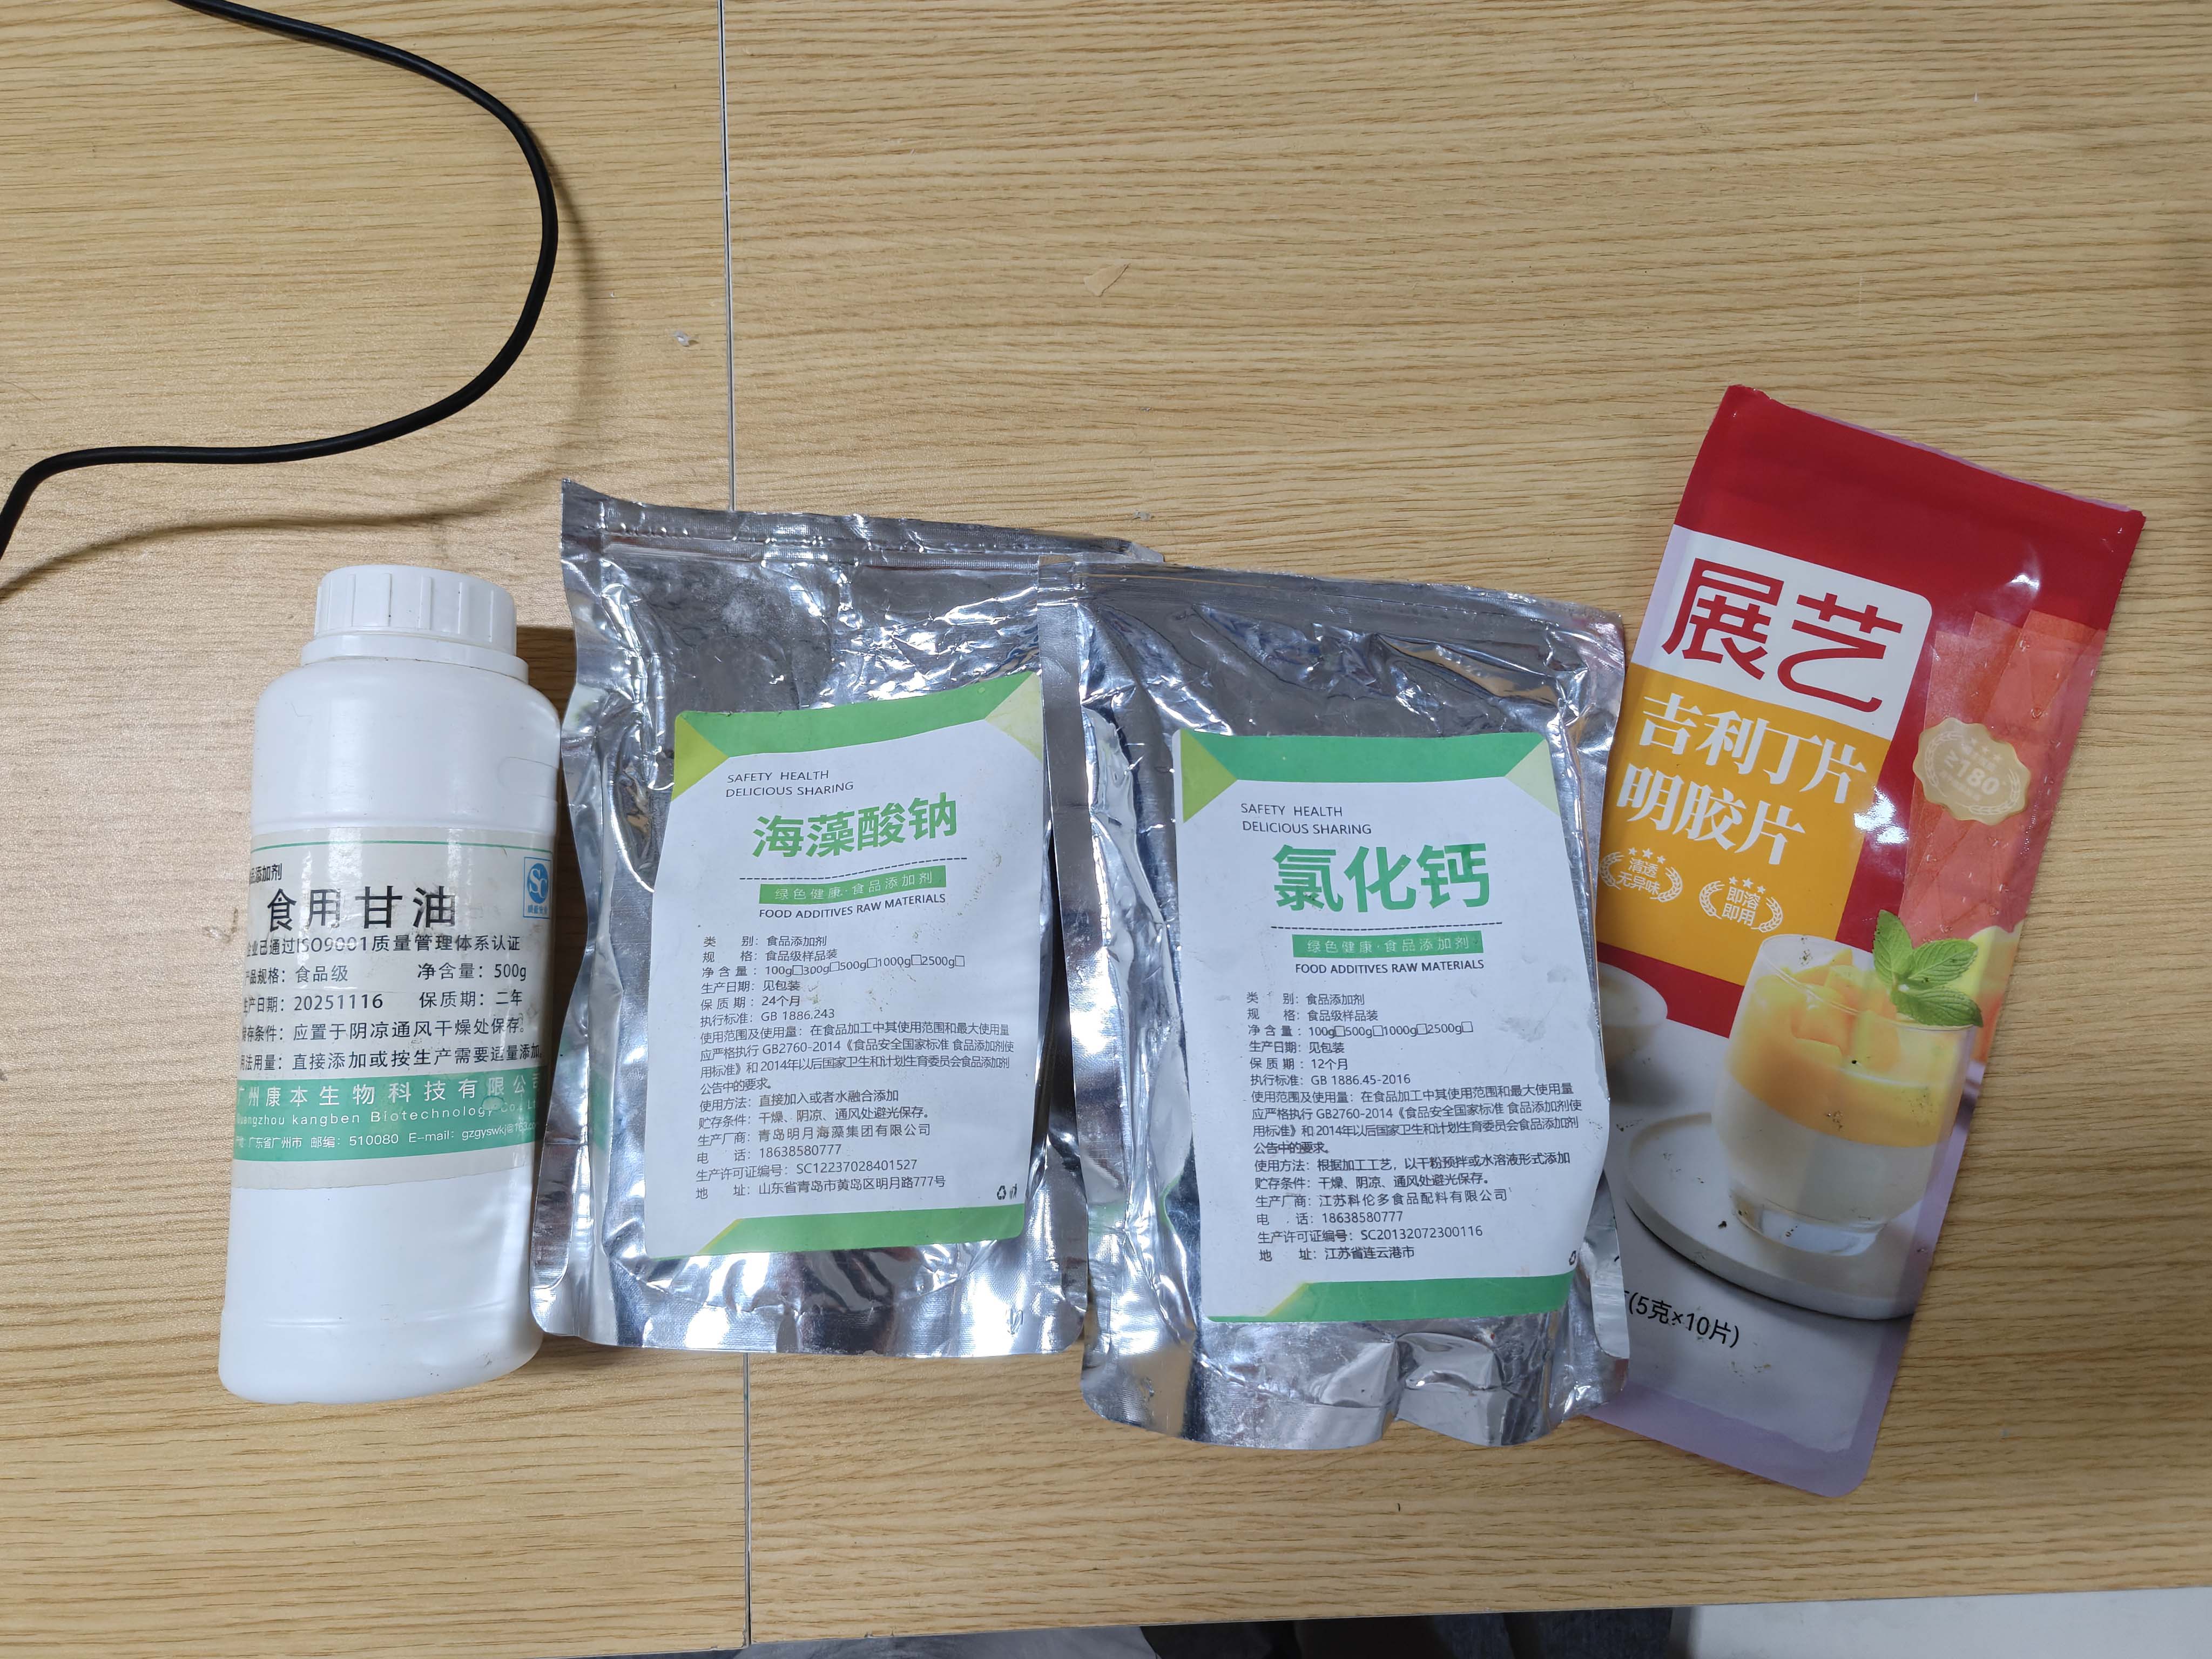
| Material | Use |
|---|---|
| Gelatin sheets | Main film-forming material. |
| Glycerin | Makes the sheet less brittle. |
| Sodium alginate | Adds viscosity and gel-like behavior. |
| Calcium chloride | Used to test cross-linking with alginate. |
| Color paste | Changes the color and transparency. |
| Tea waste | Adds organic fragments and texture. |
| Coffee grounds | Adds dark recycled material particles. |
Making Process
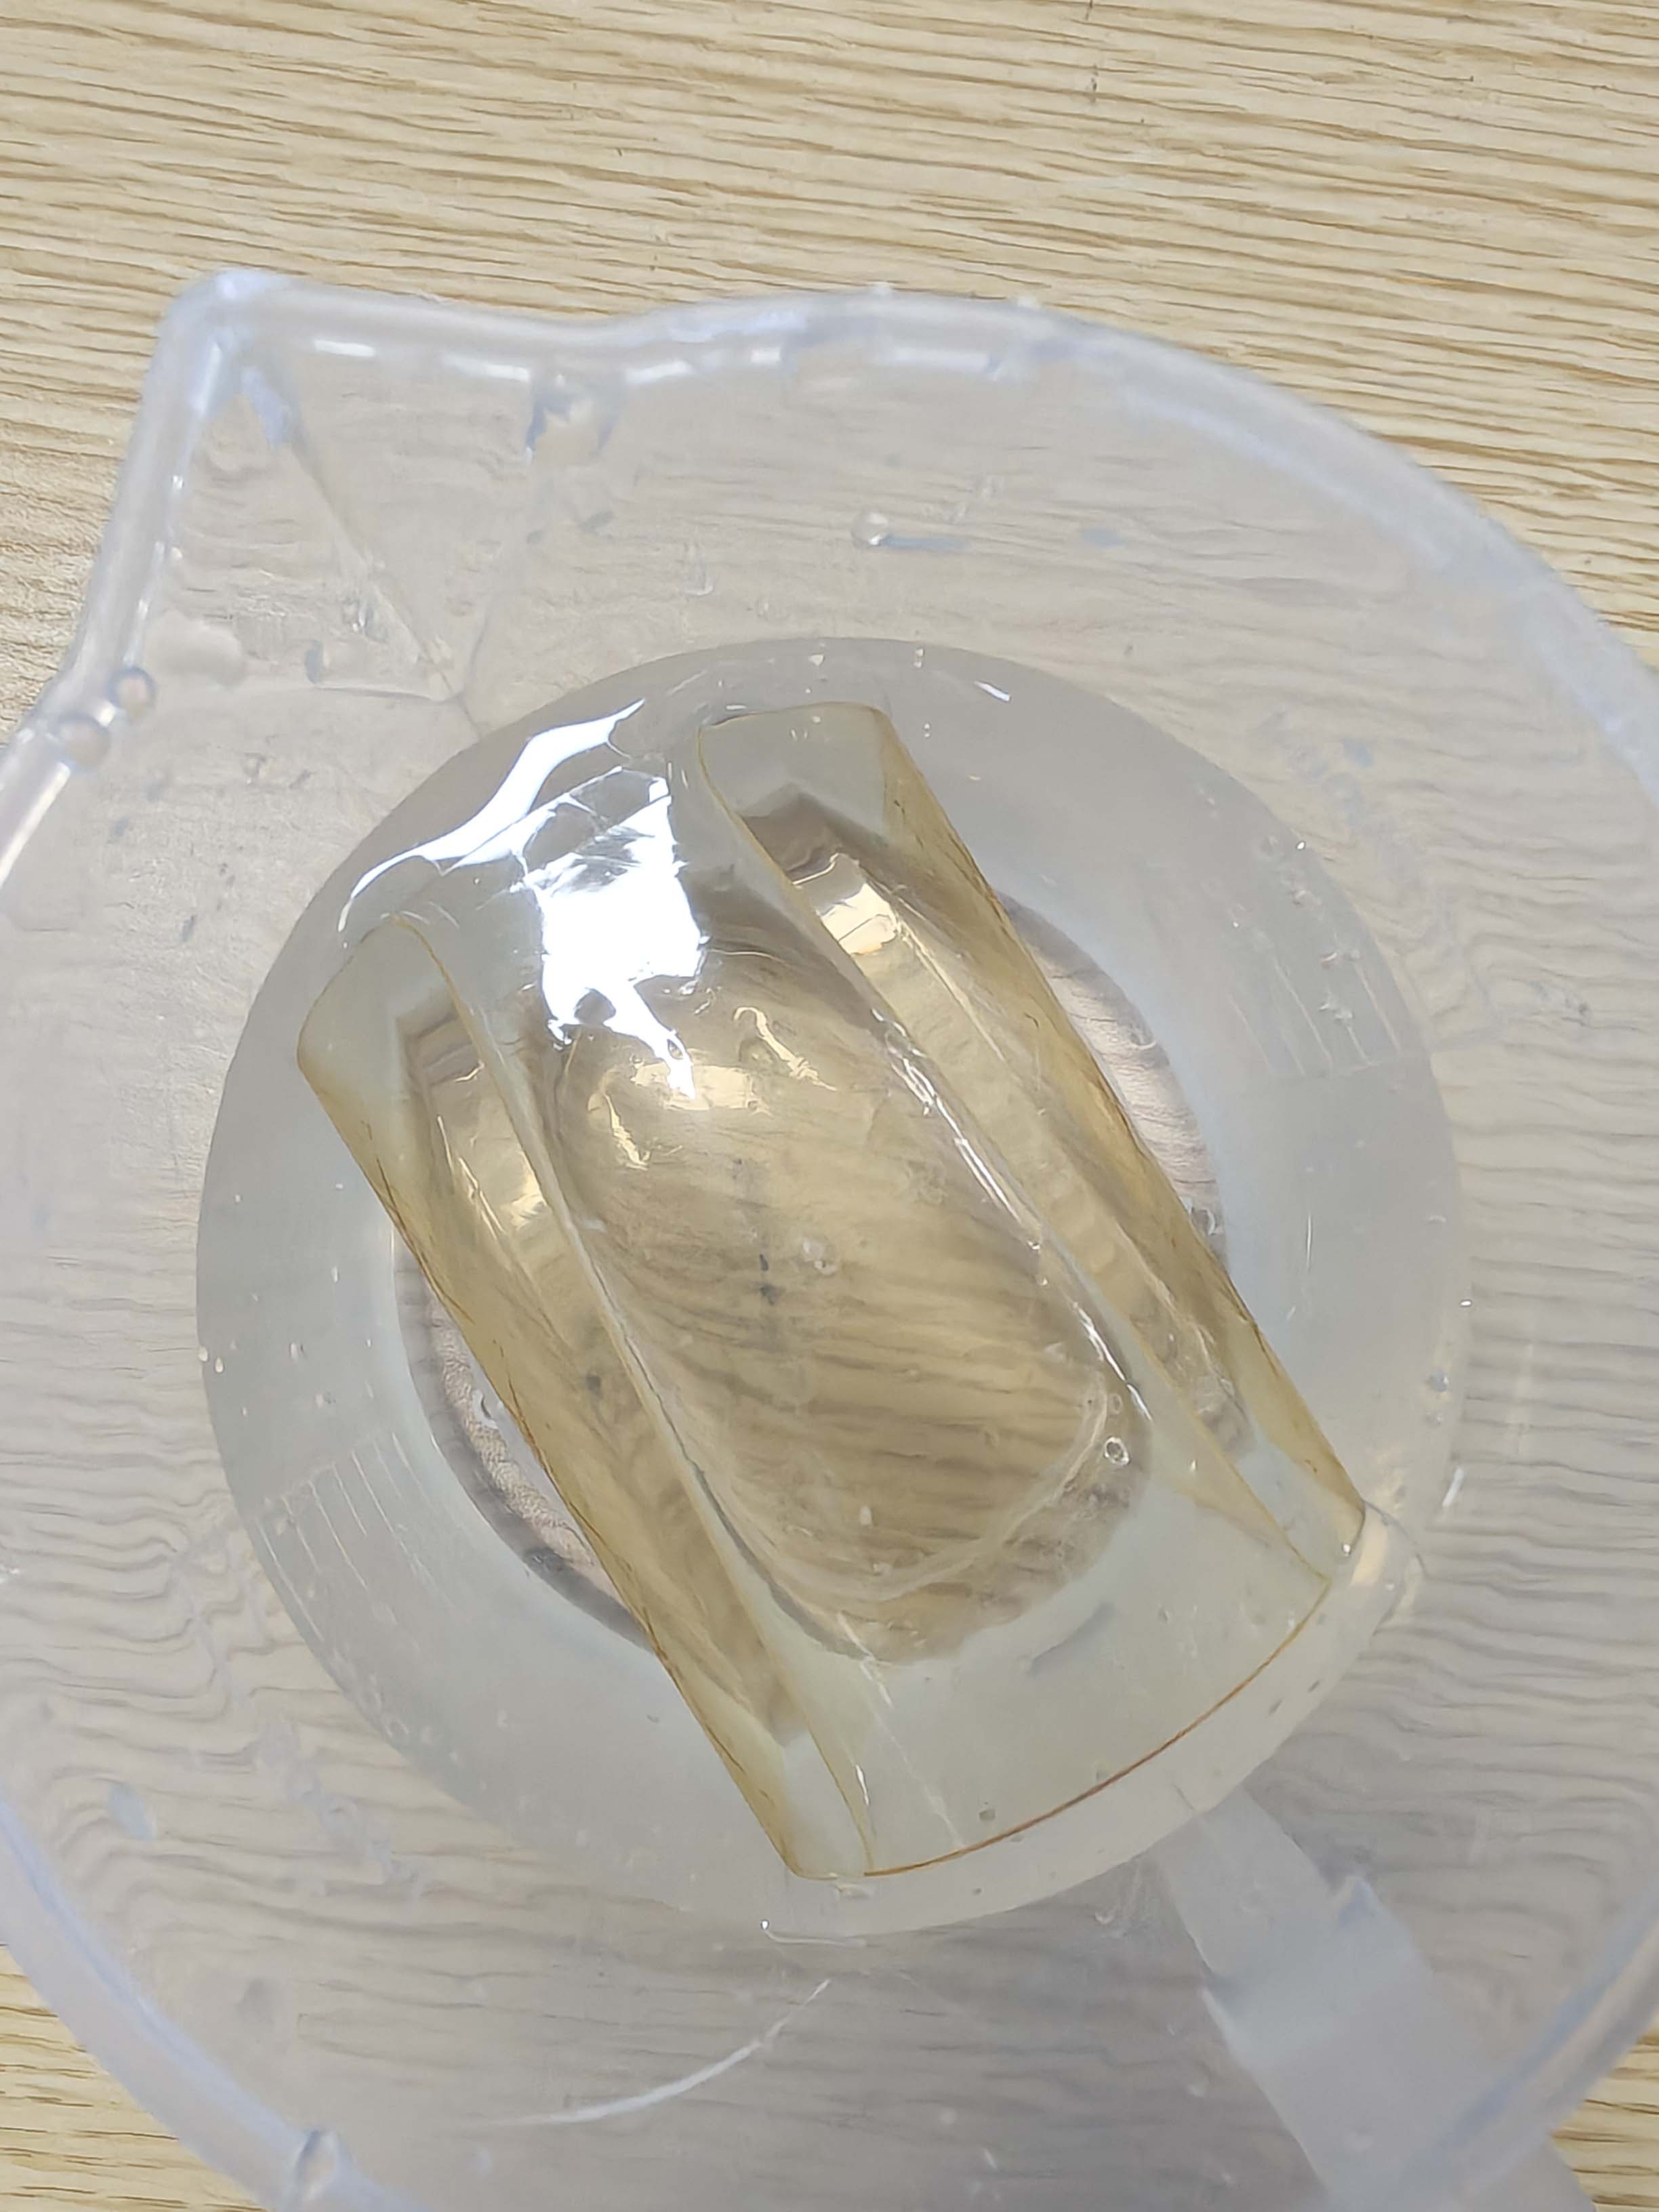
1. Soaking the gelatin sheets
I first soaked the gelatin sheets in water. This made them soft and easier to dissolve during heating.
2. Measuring sodium alginate
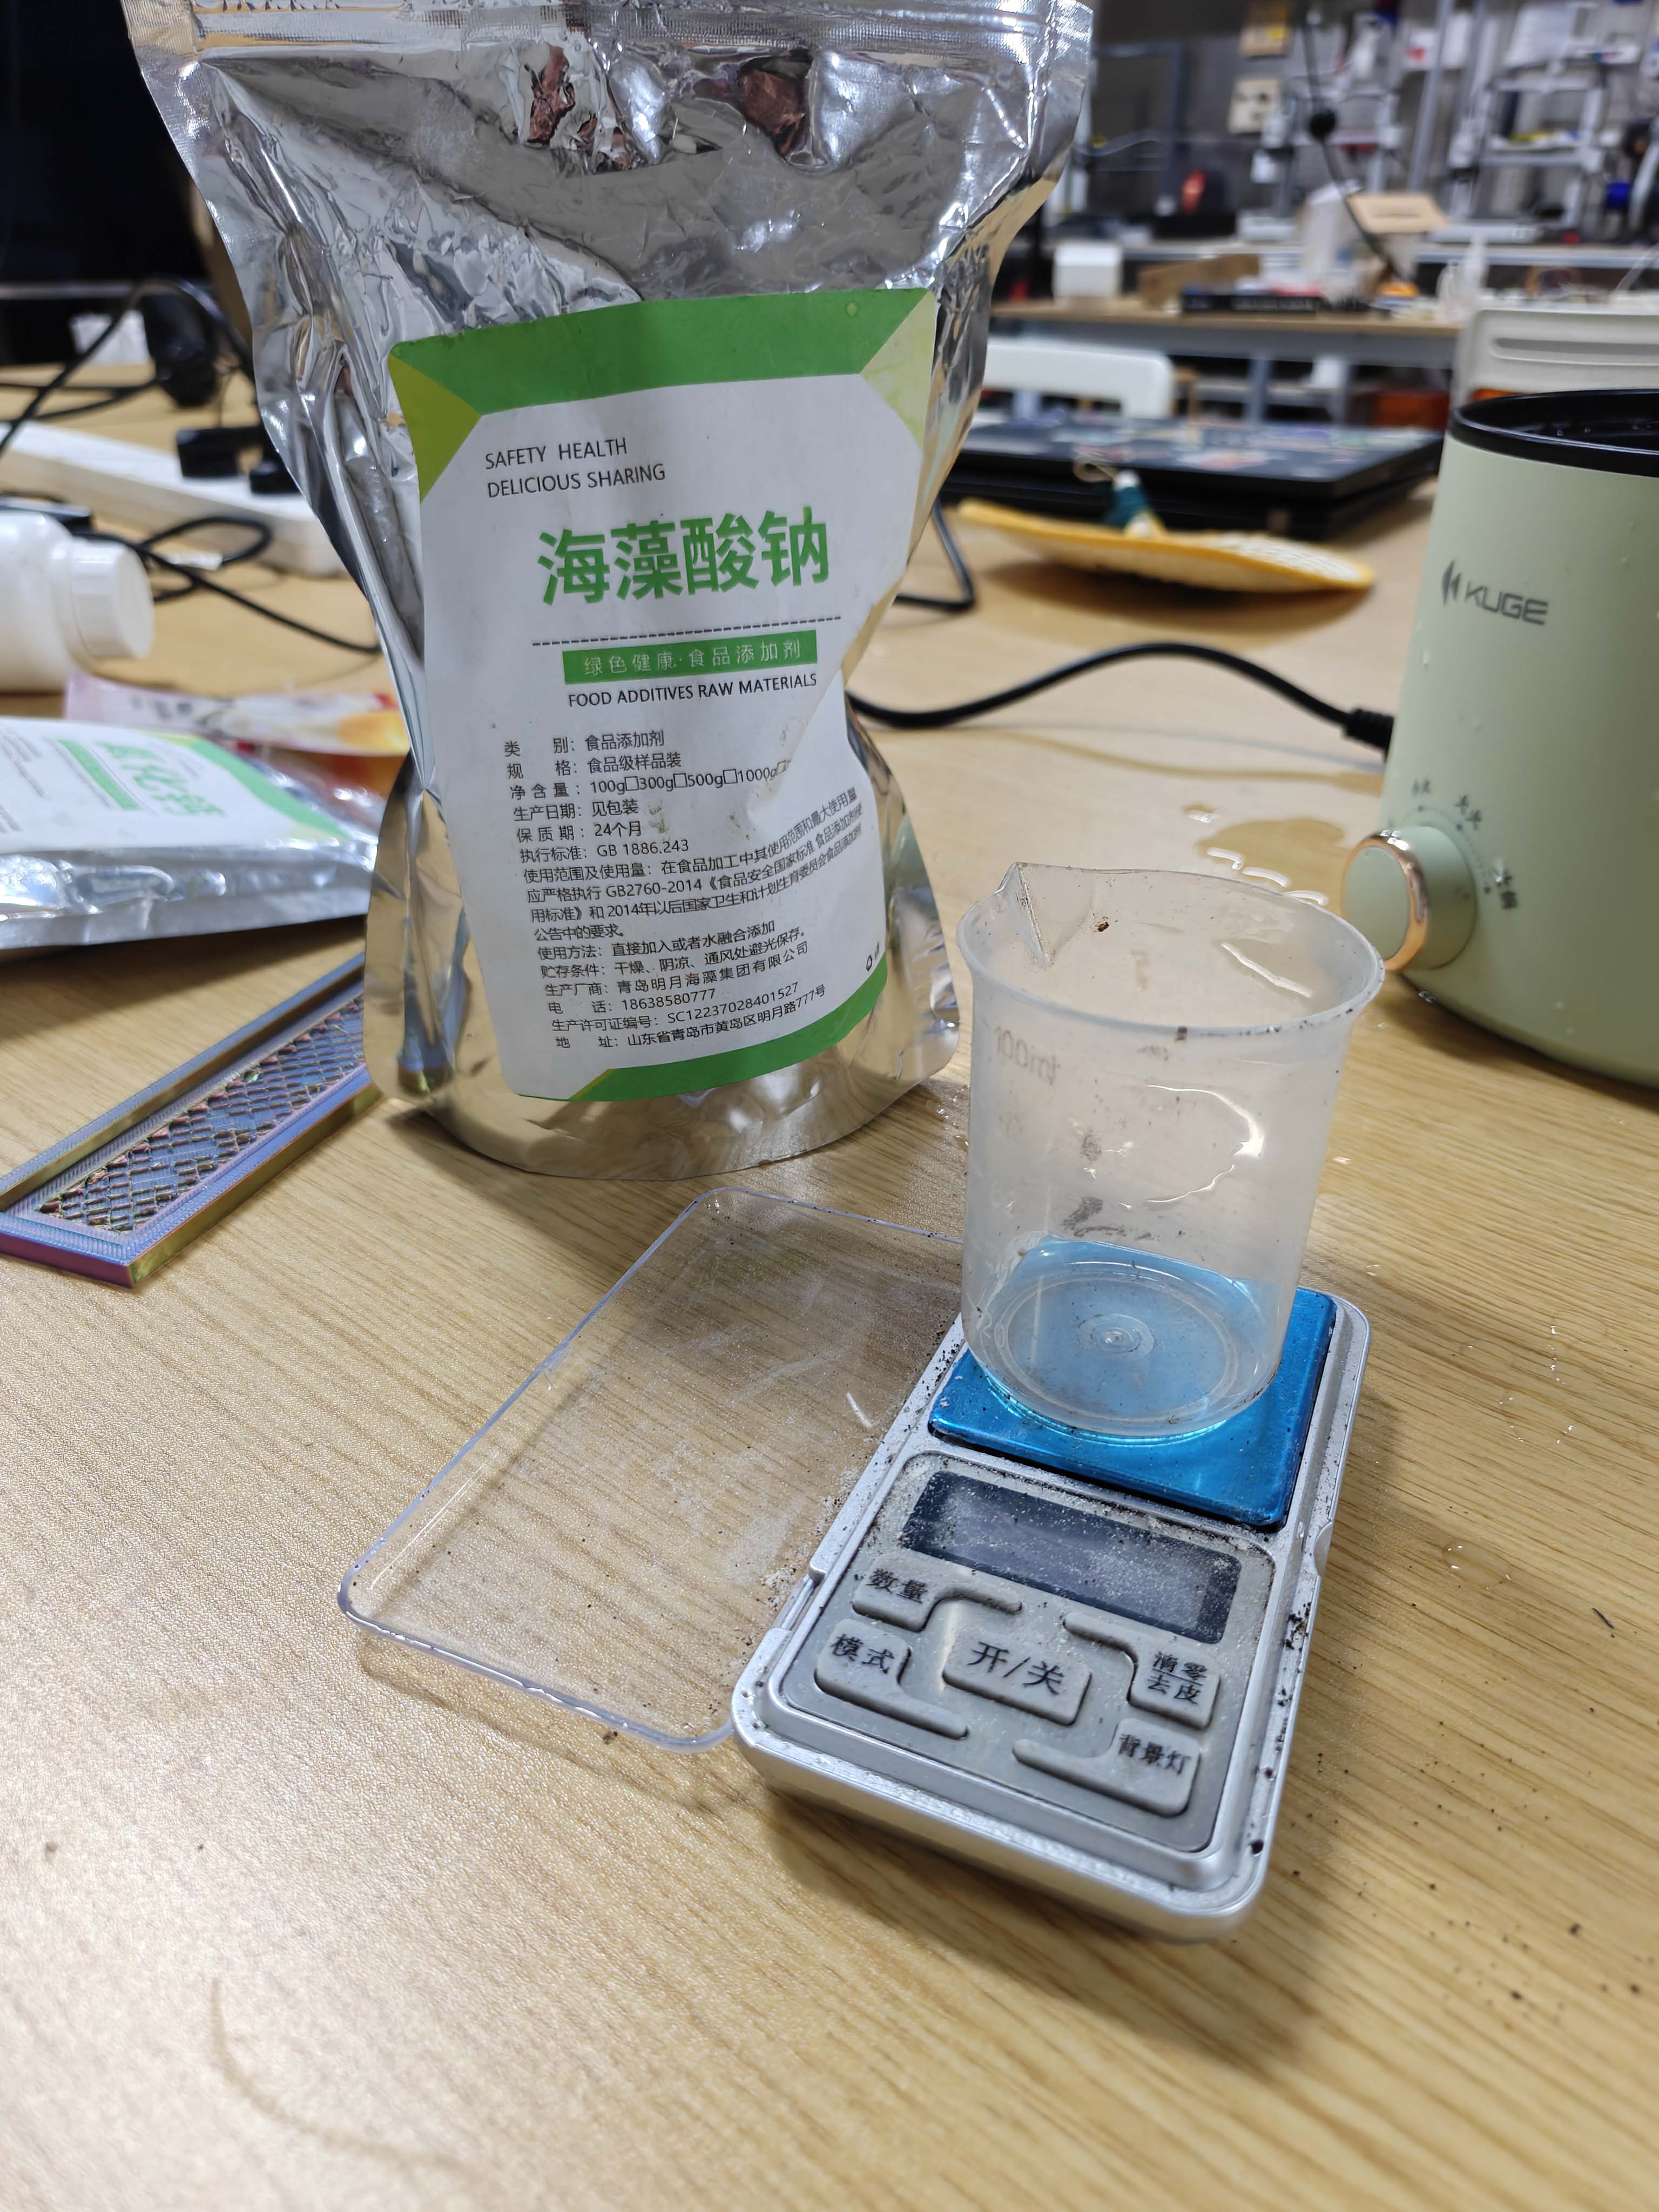
I measured the sodium alginate with a digital scale. This batch was about 3.2 g.
3. Mixing the material
I mixed the softened gelatin, water, glycerin, sodium alginate, calcium chloride, and pigment. I stirred the mixture before heating.
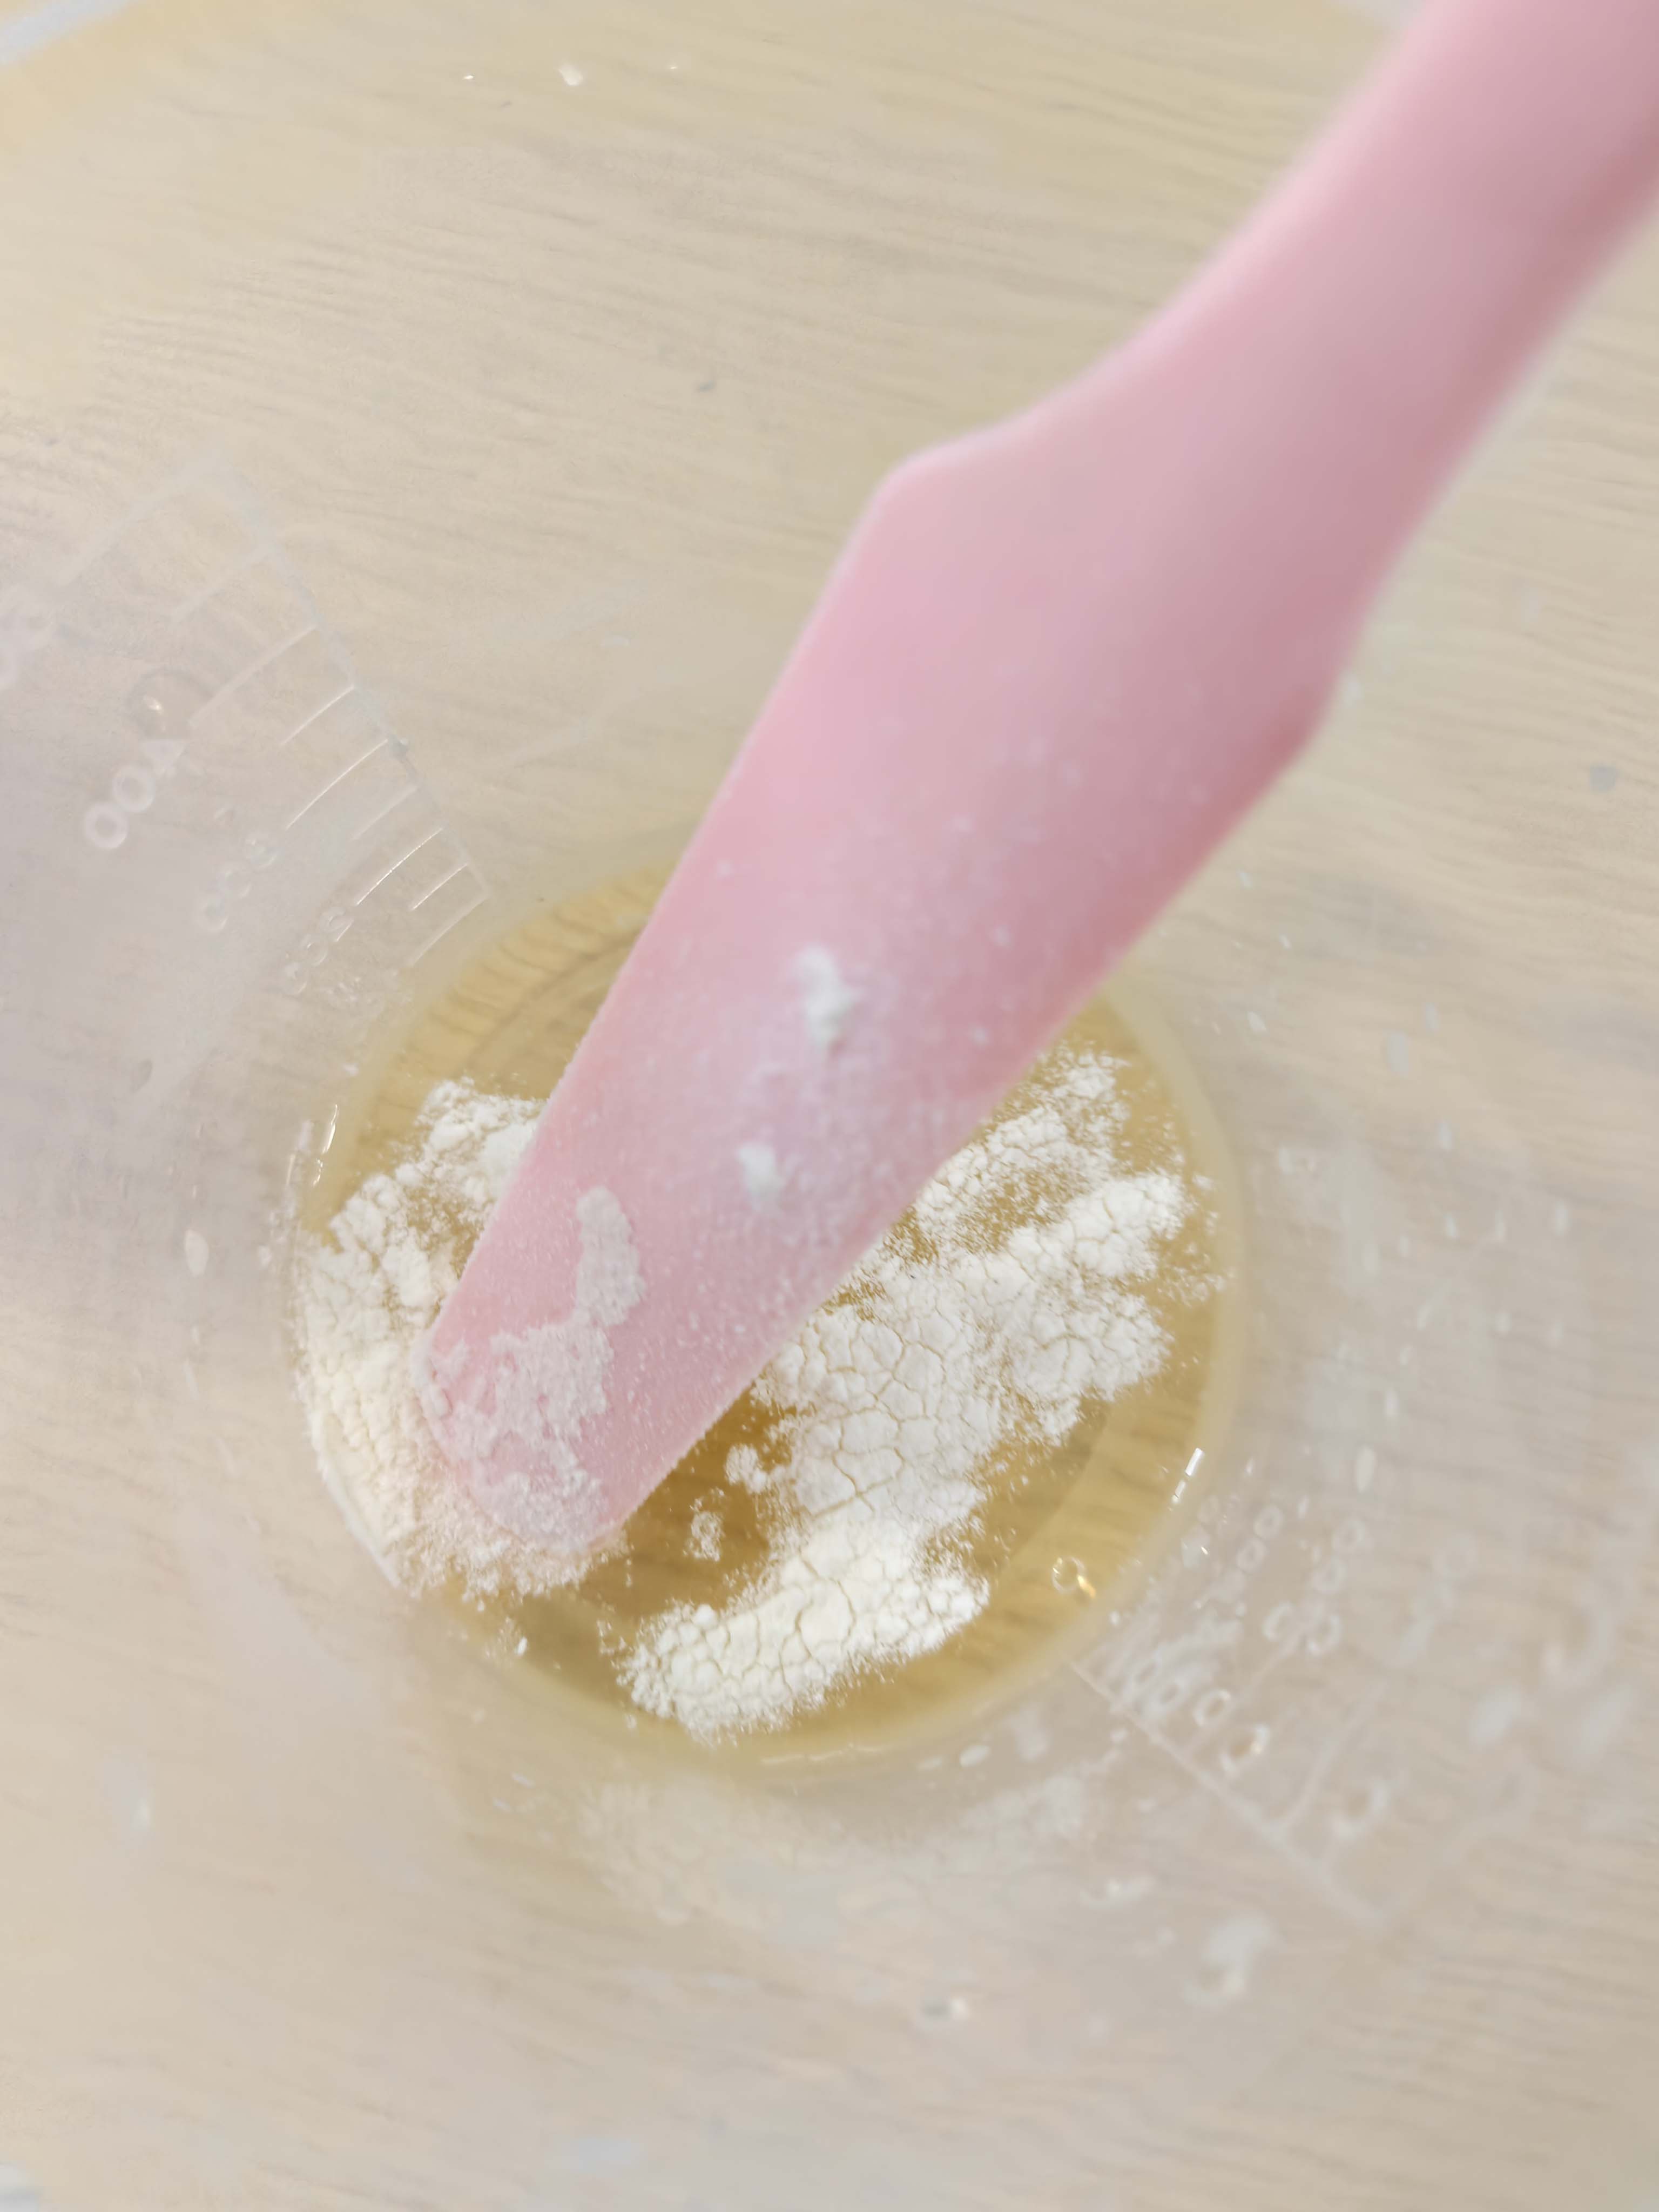
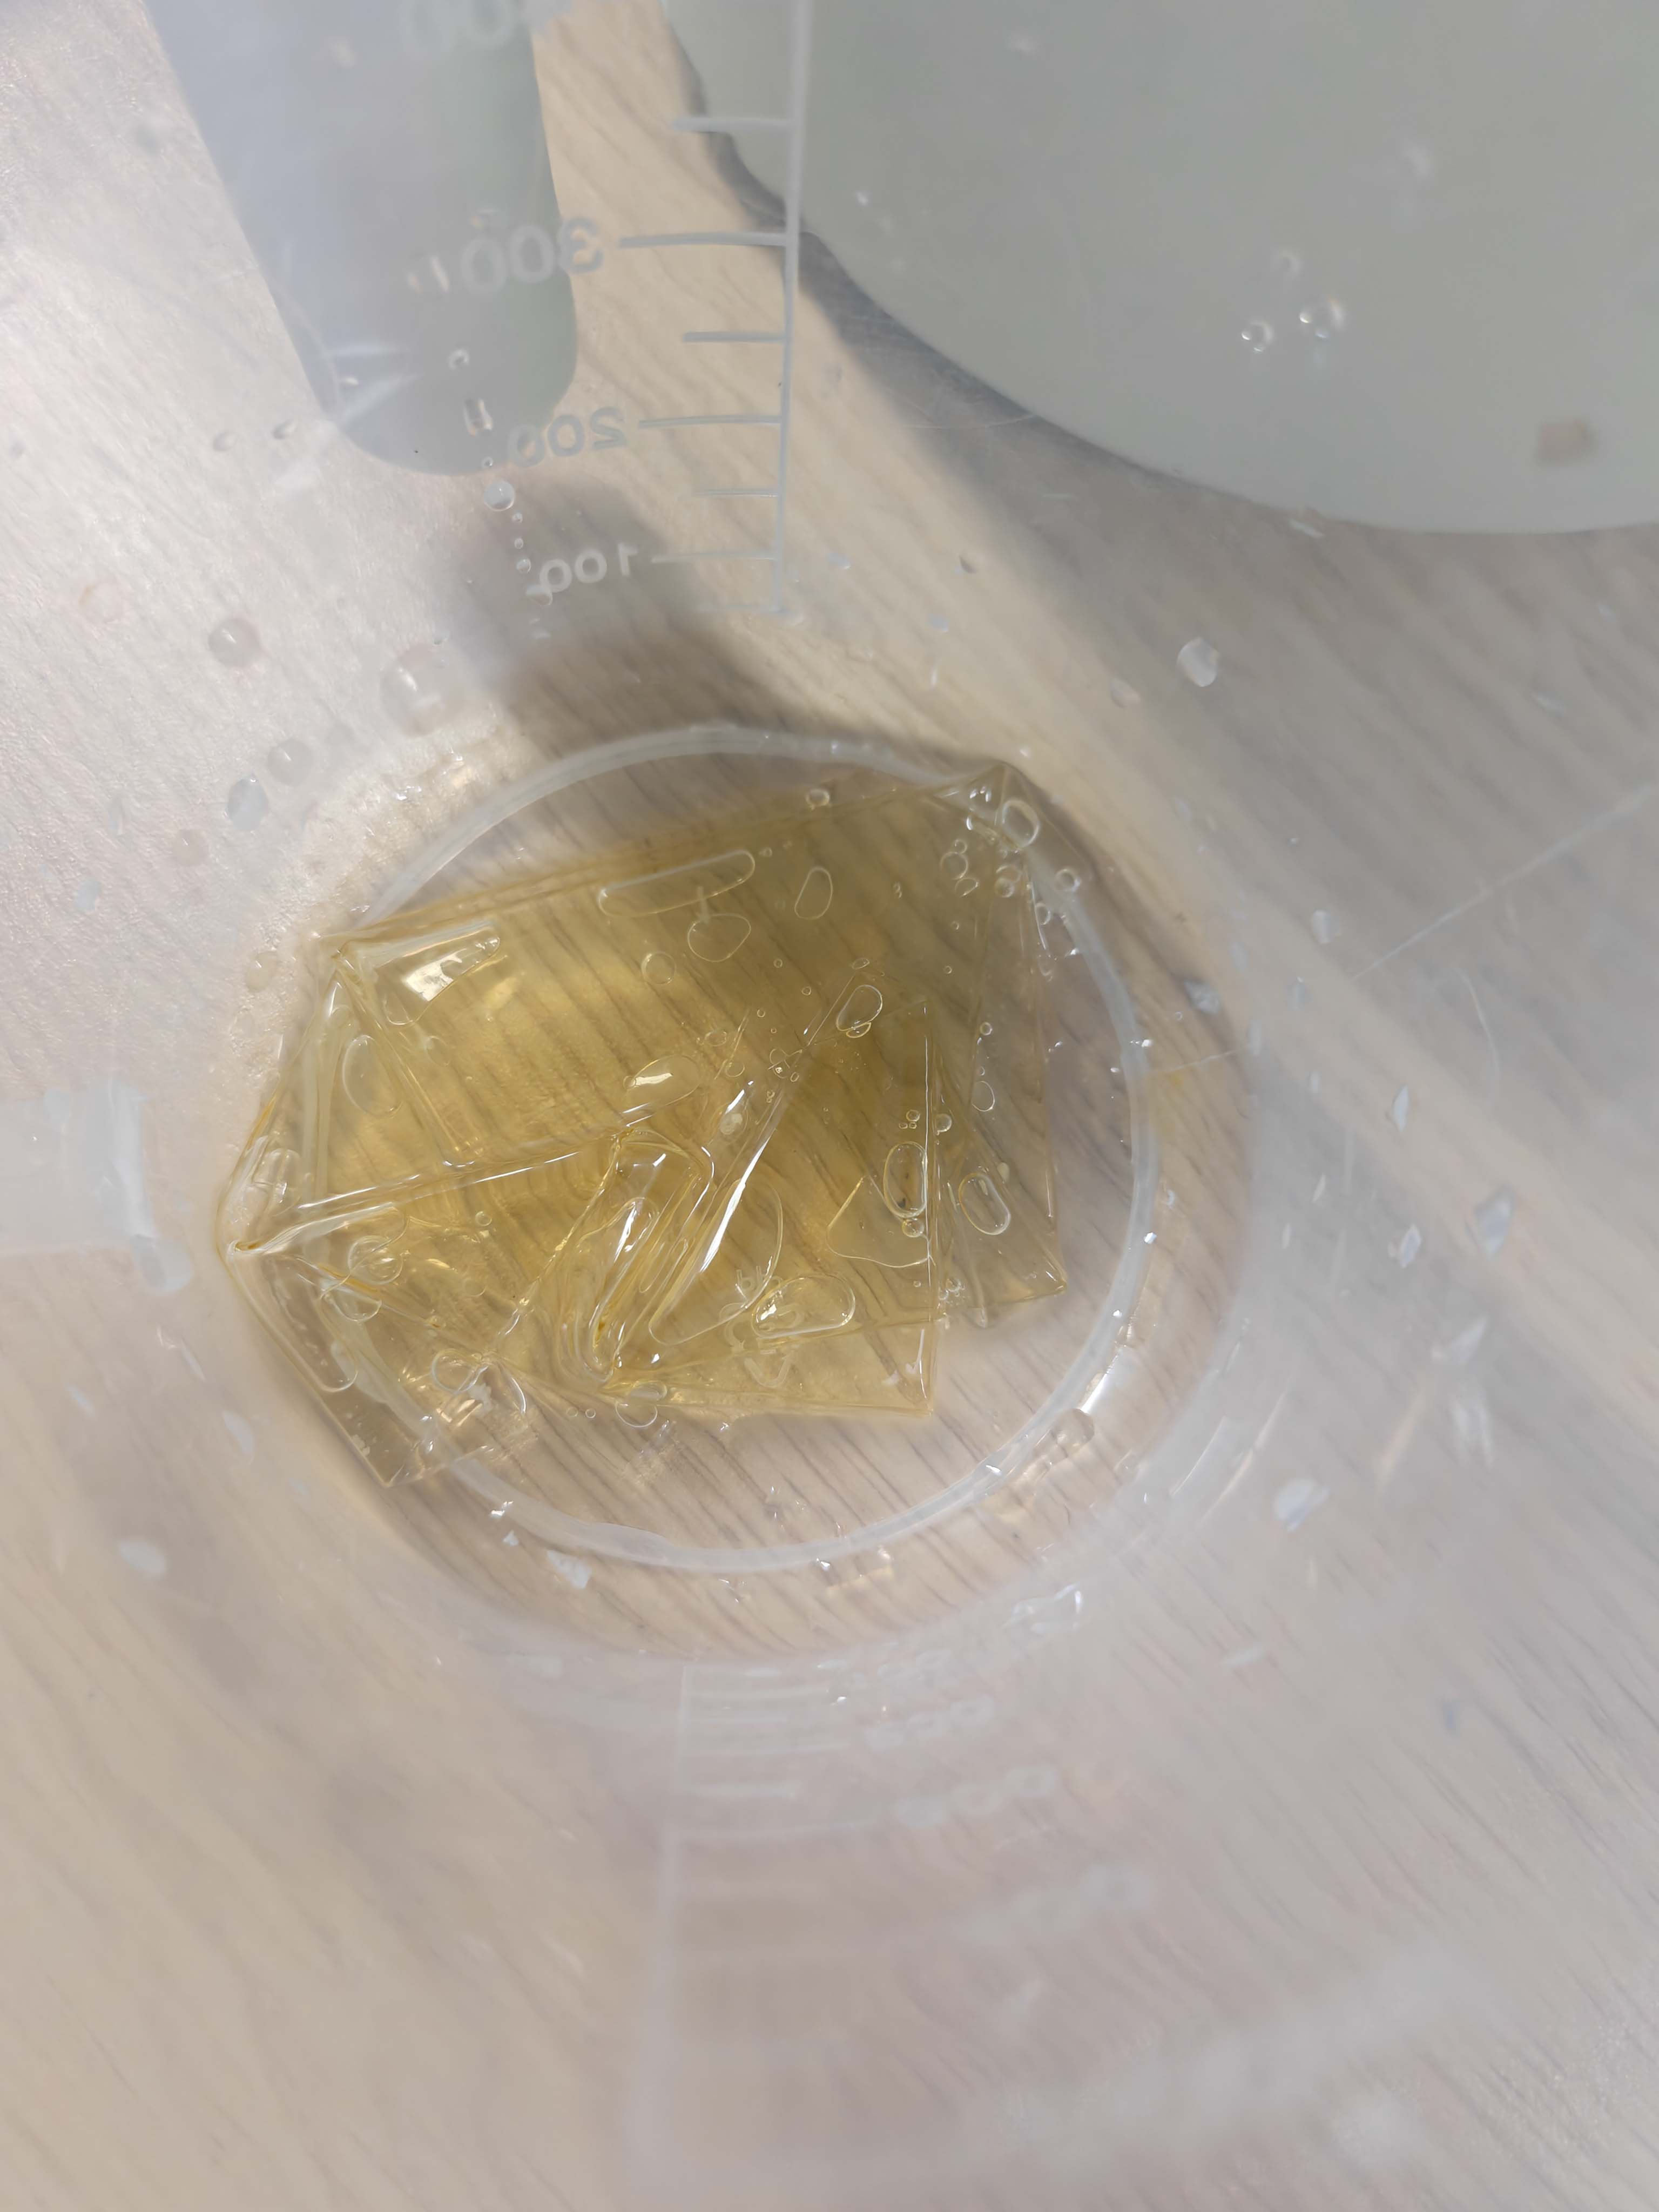
4. Heating
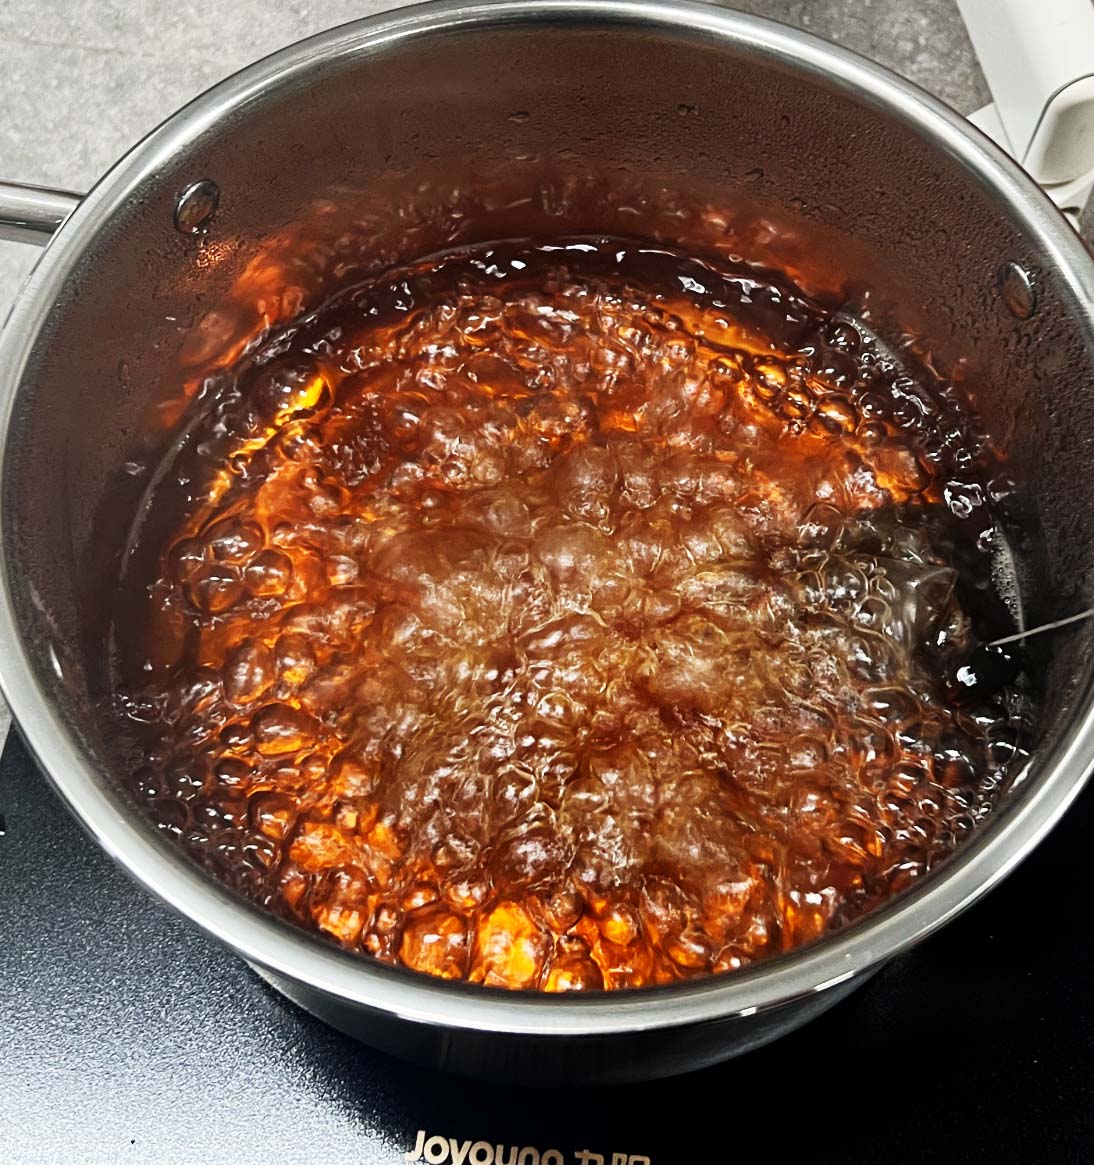
I heated the mixture until the gelatin dissolved. Some batches boiled, so many bubbles appeared. Later, these bubbles became part of the dried sheet texture.
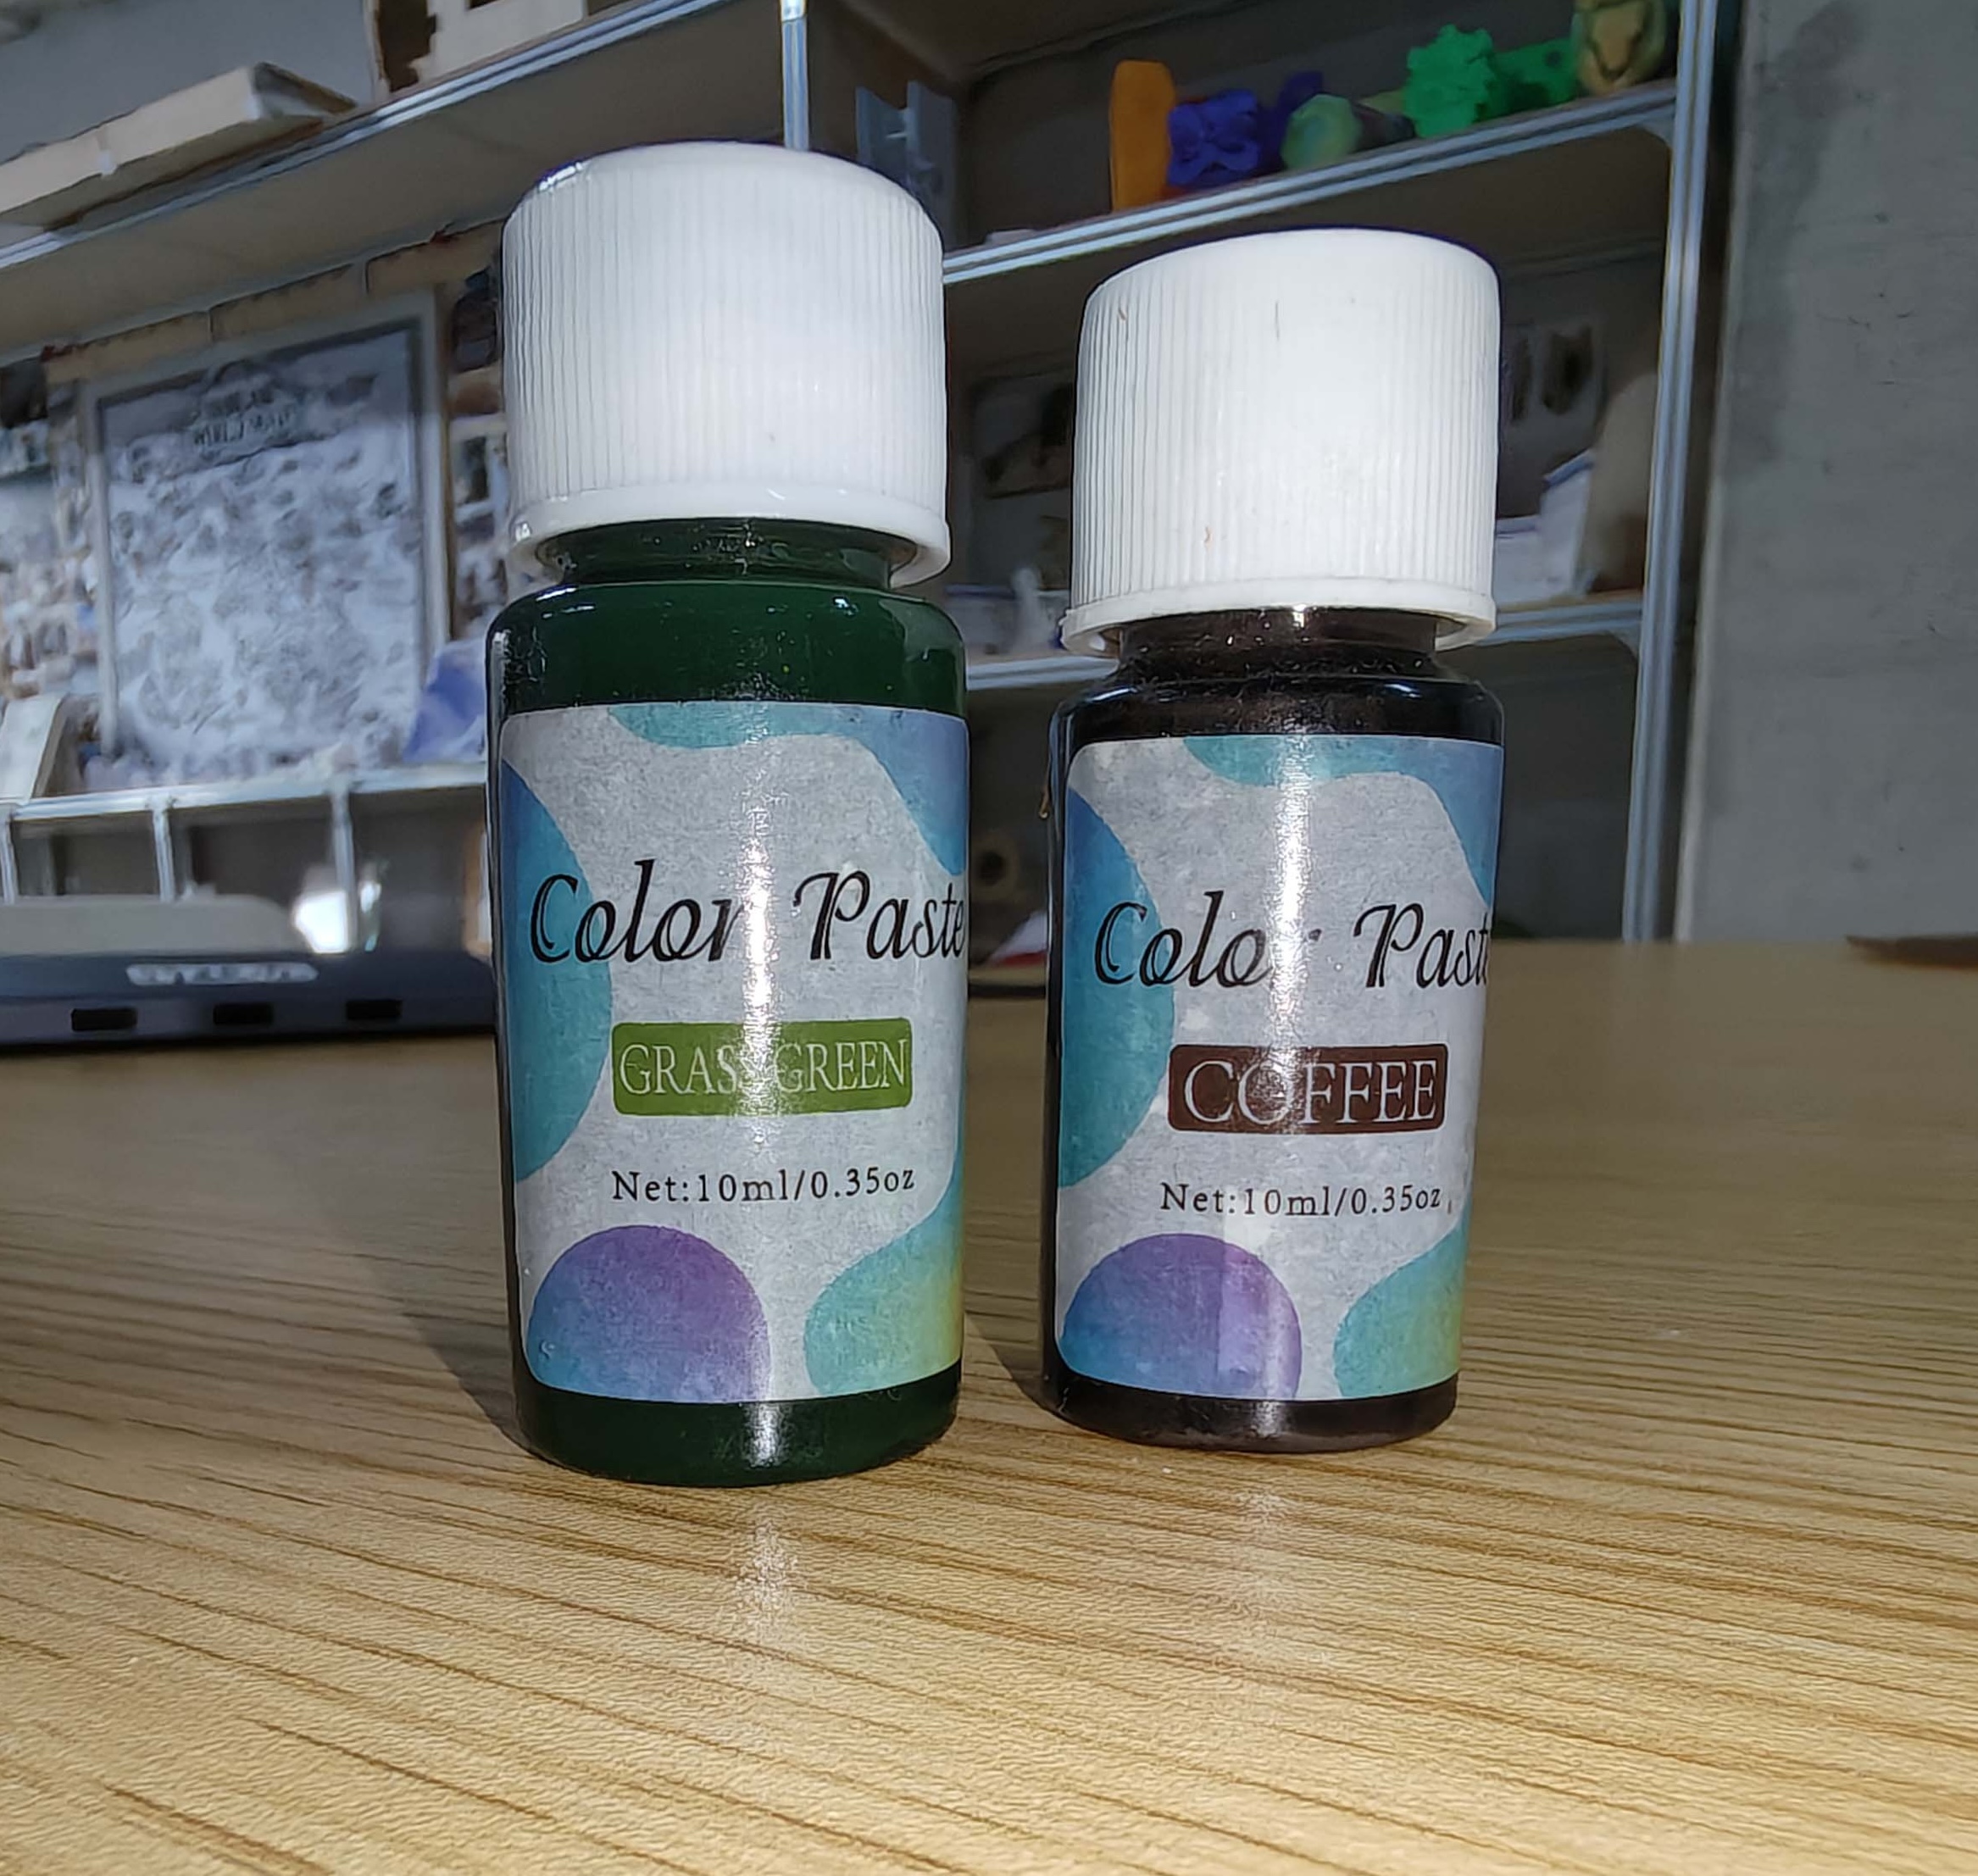
5. Adding color
I used green and coffee-colored pigment. Because I added different amounts of pigment, the sheets had different color depths.
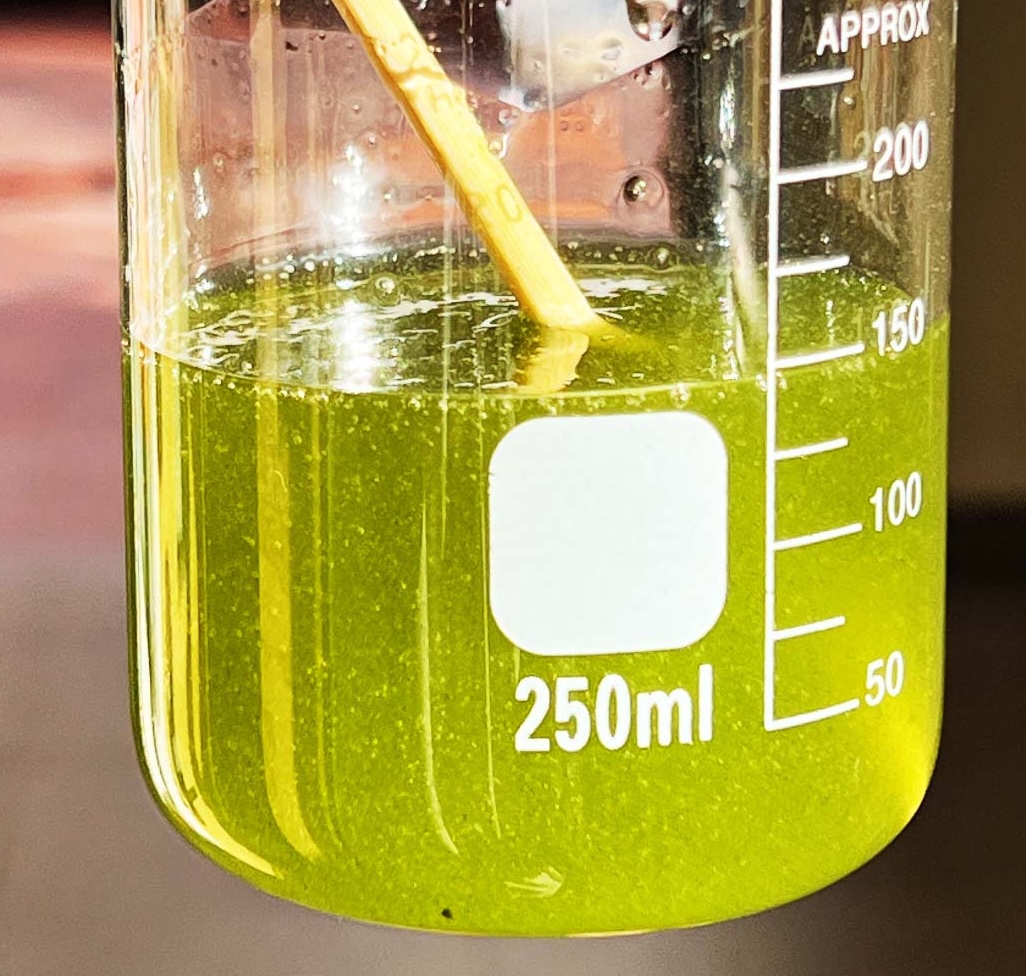
6. Adding tea waste and coffee grounds
After pouring the liquid into containers, I added tea waste and coffee grounds to some samples. These materials created visible particles and uneven organic textures.
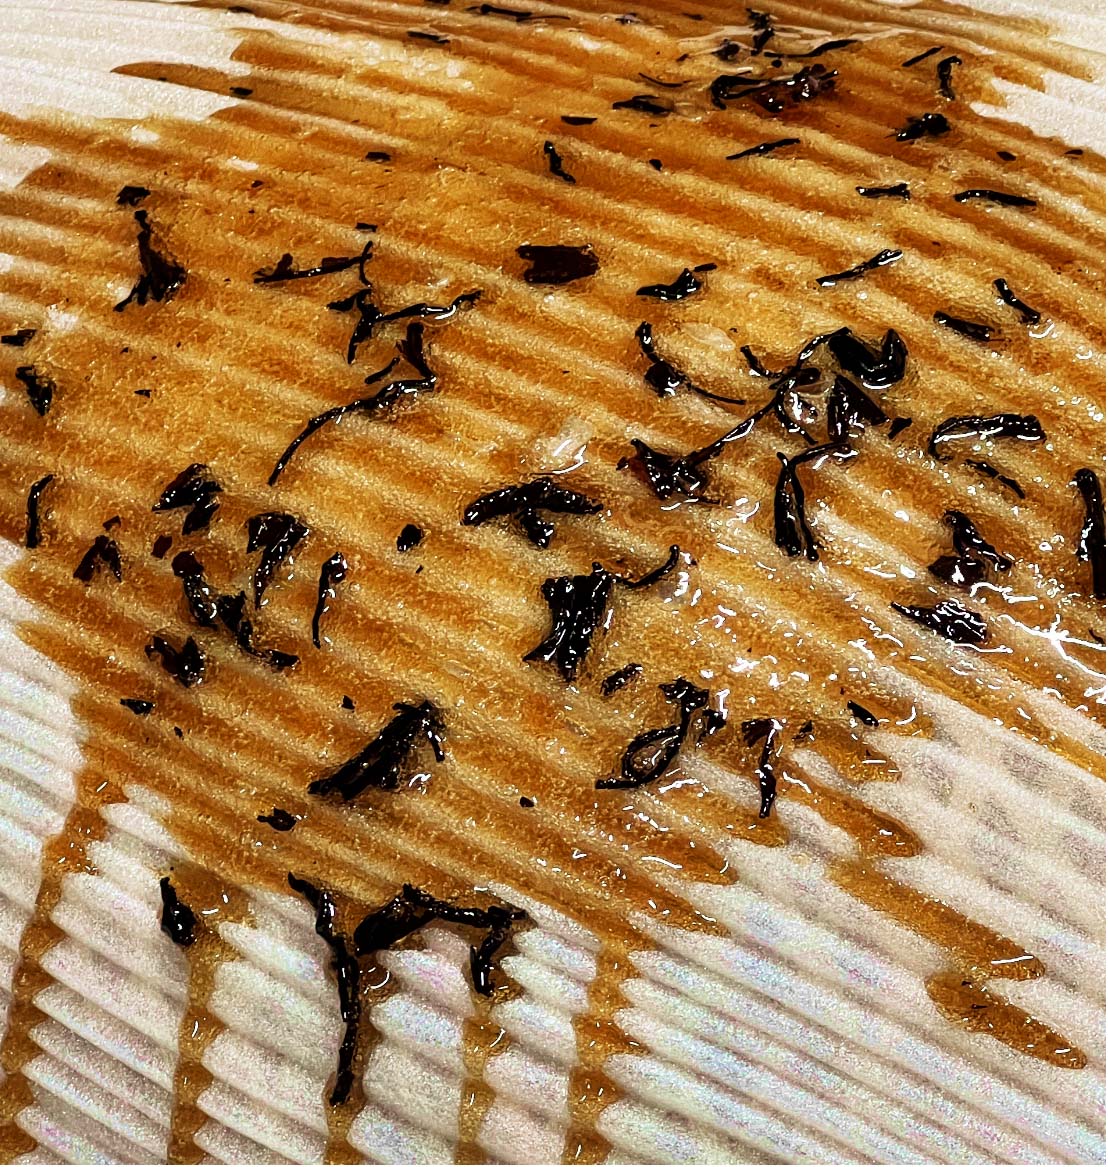
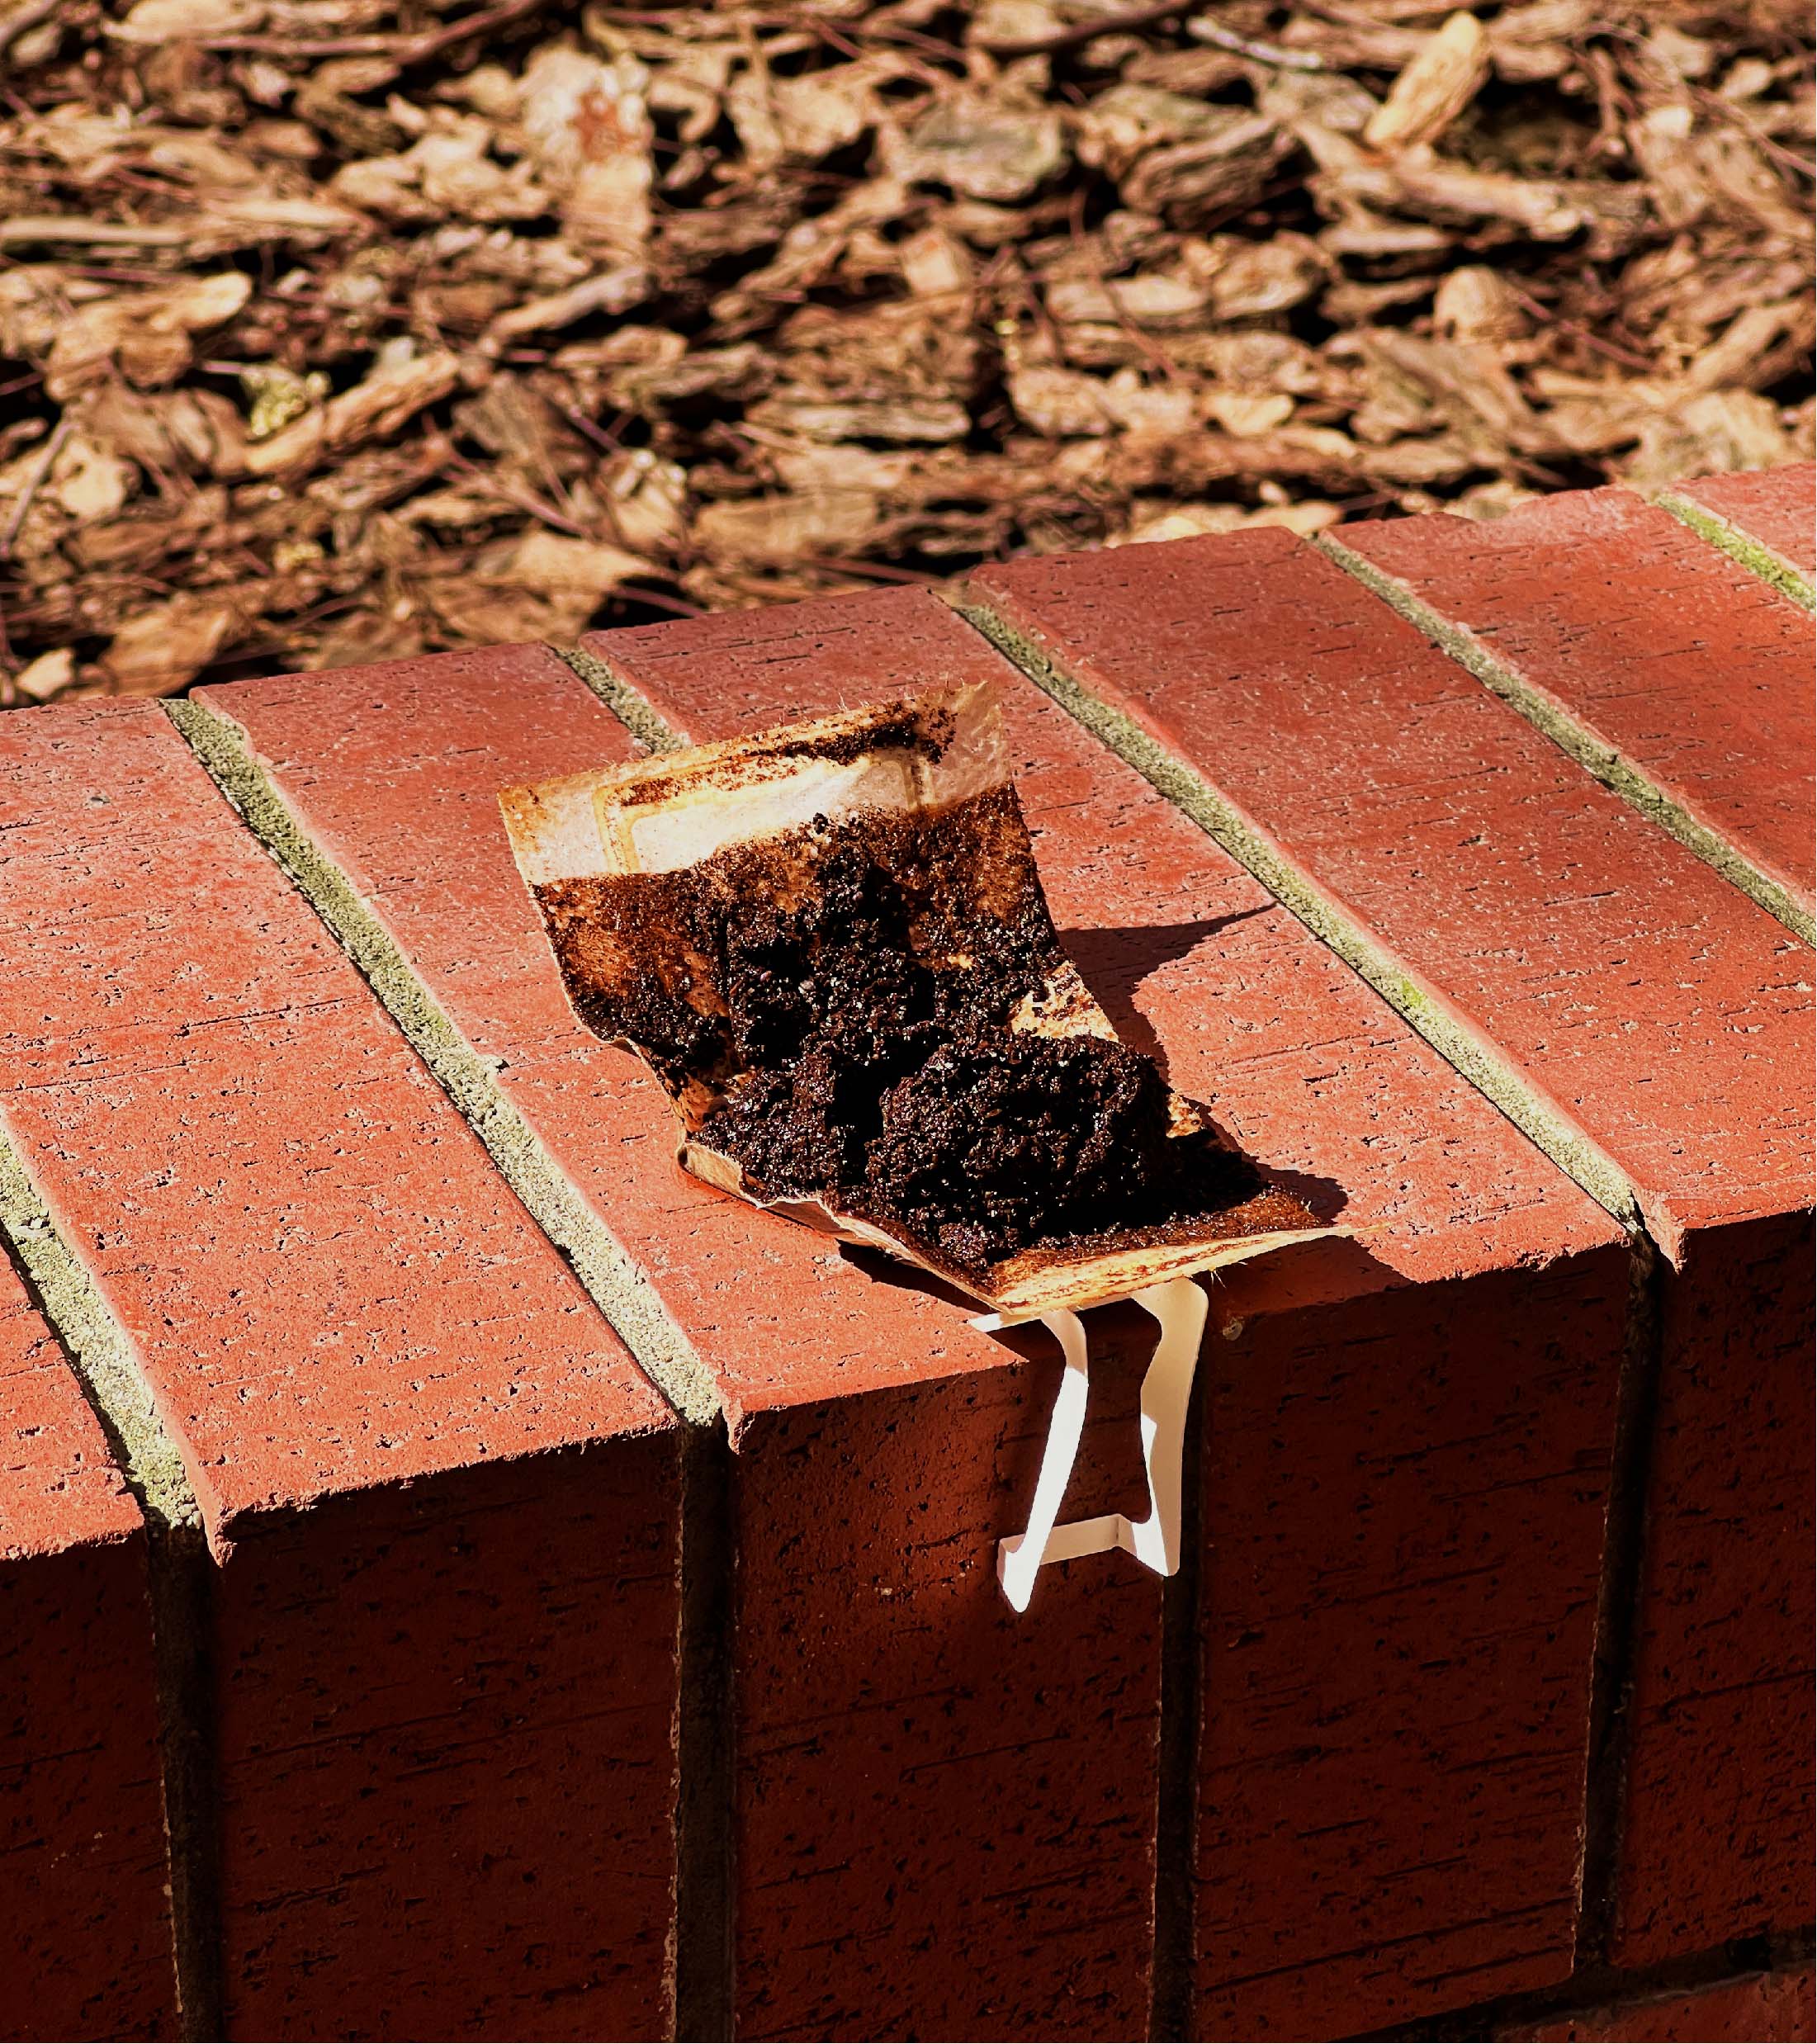
7. Drying
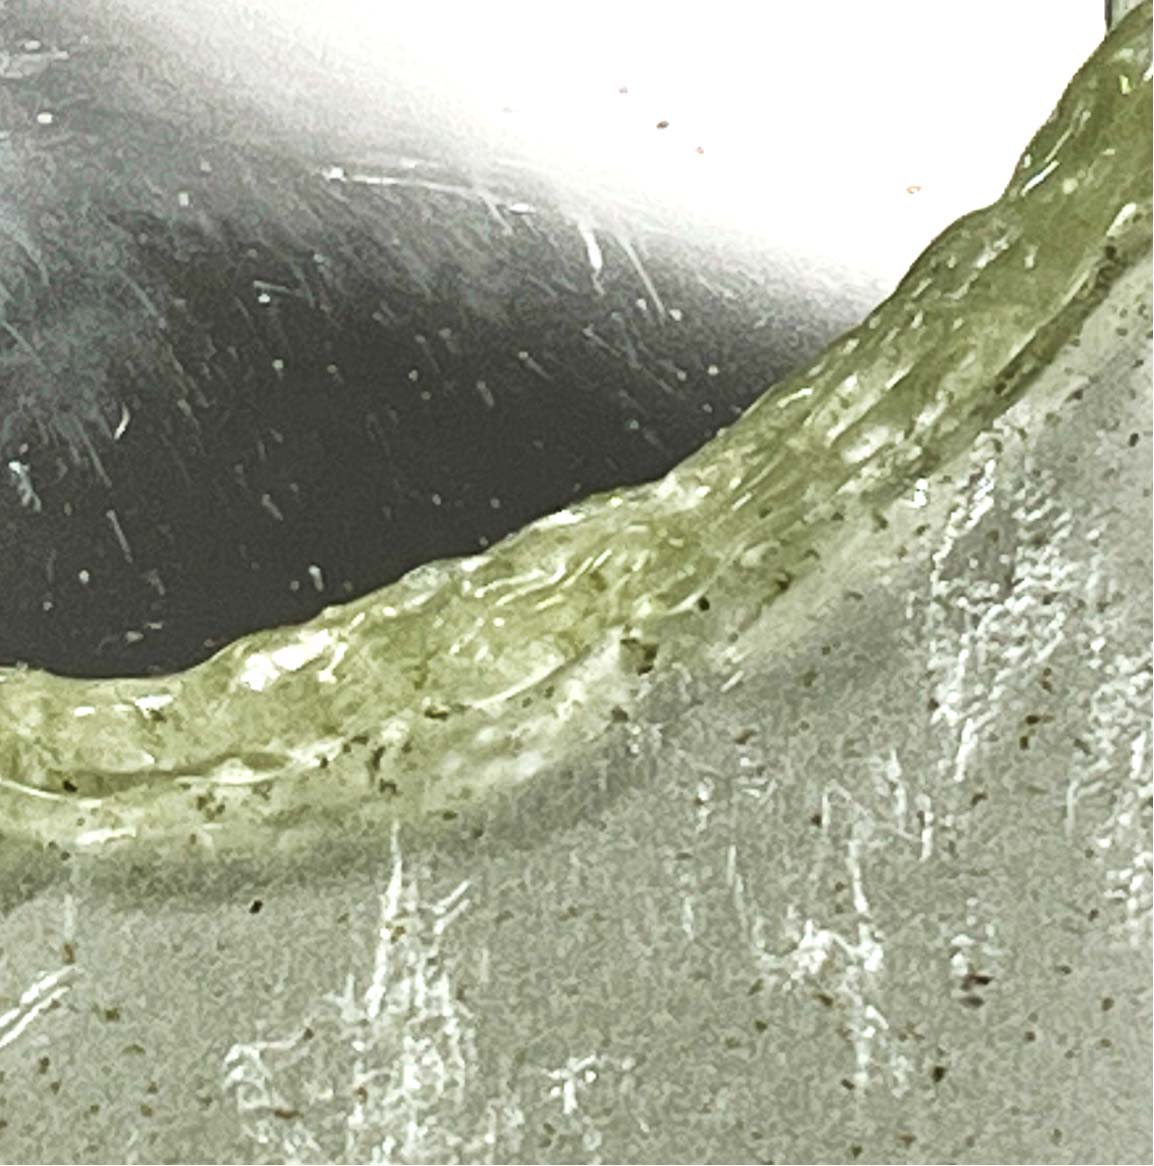
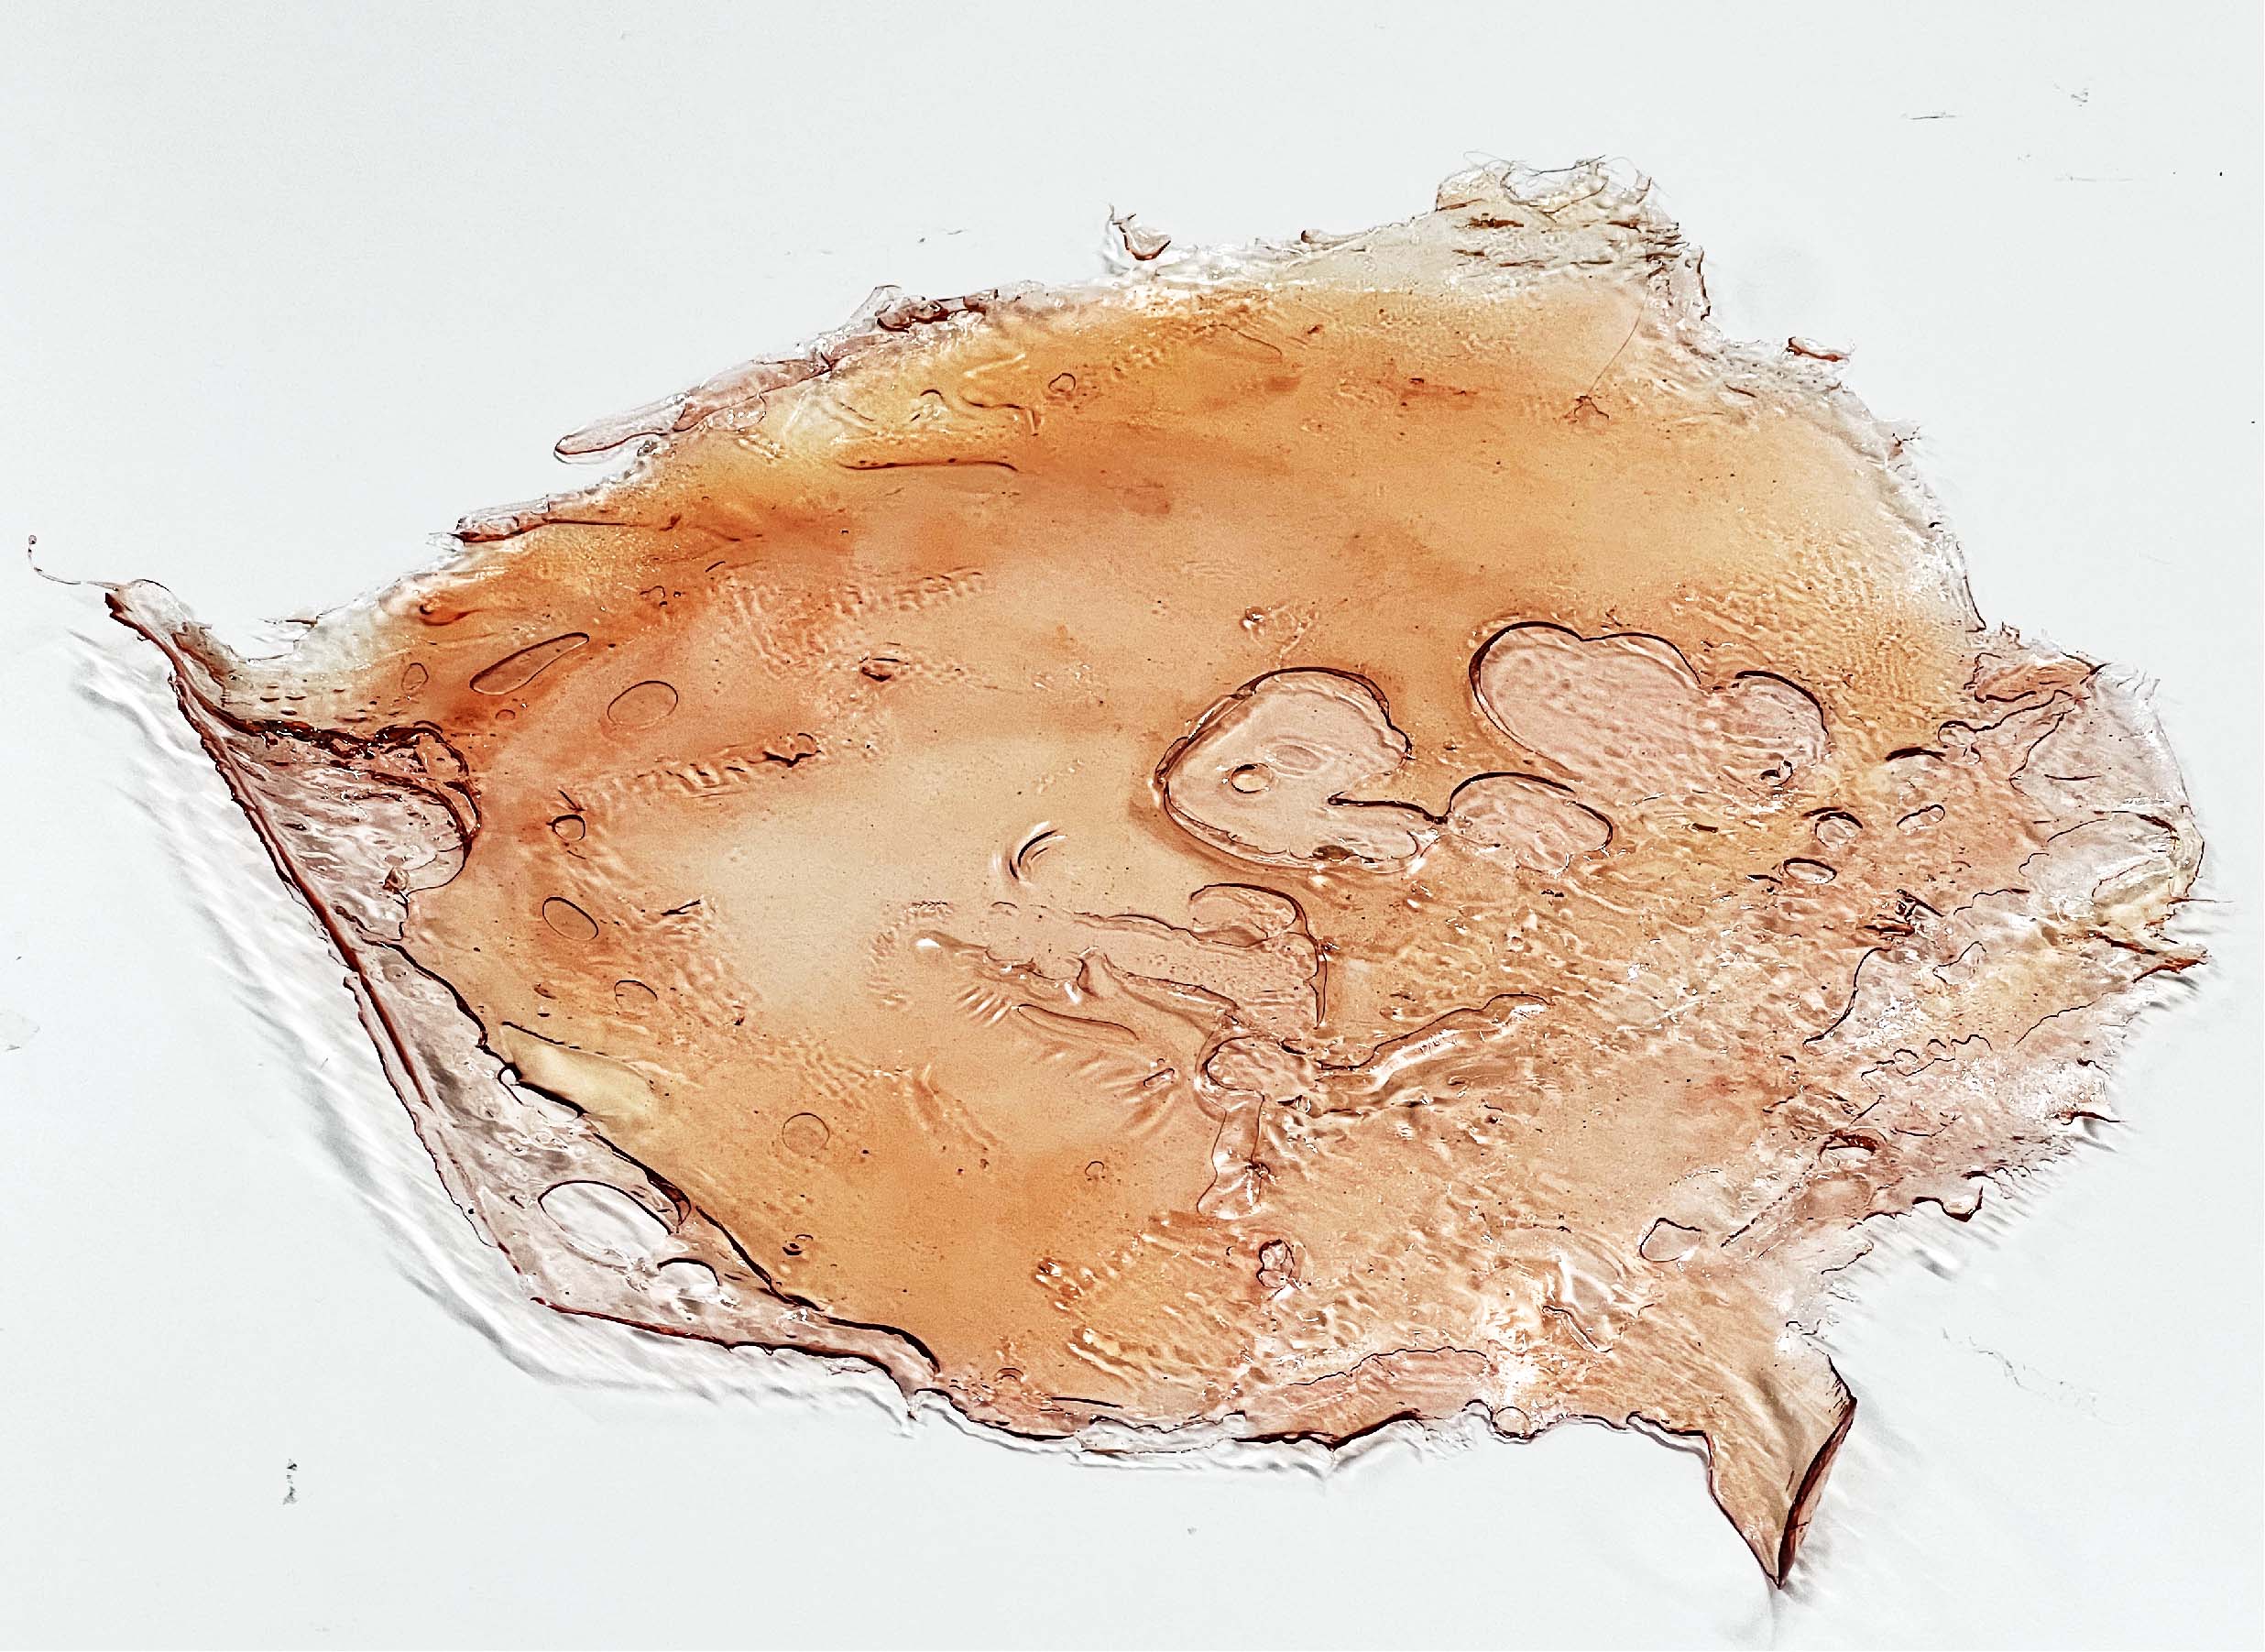
I left the sheets to dry naturally. During drying, the sheets shrank, wrinkled, and formed bubbles. I kept these marks because they showed how the material behaved.
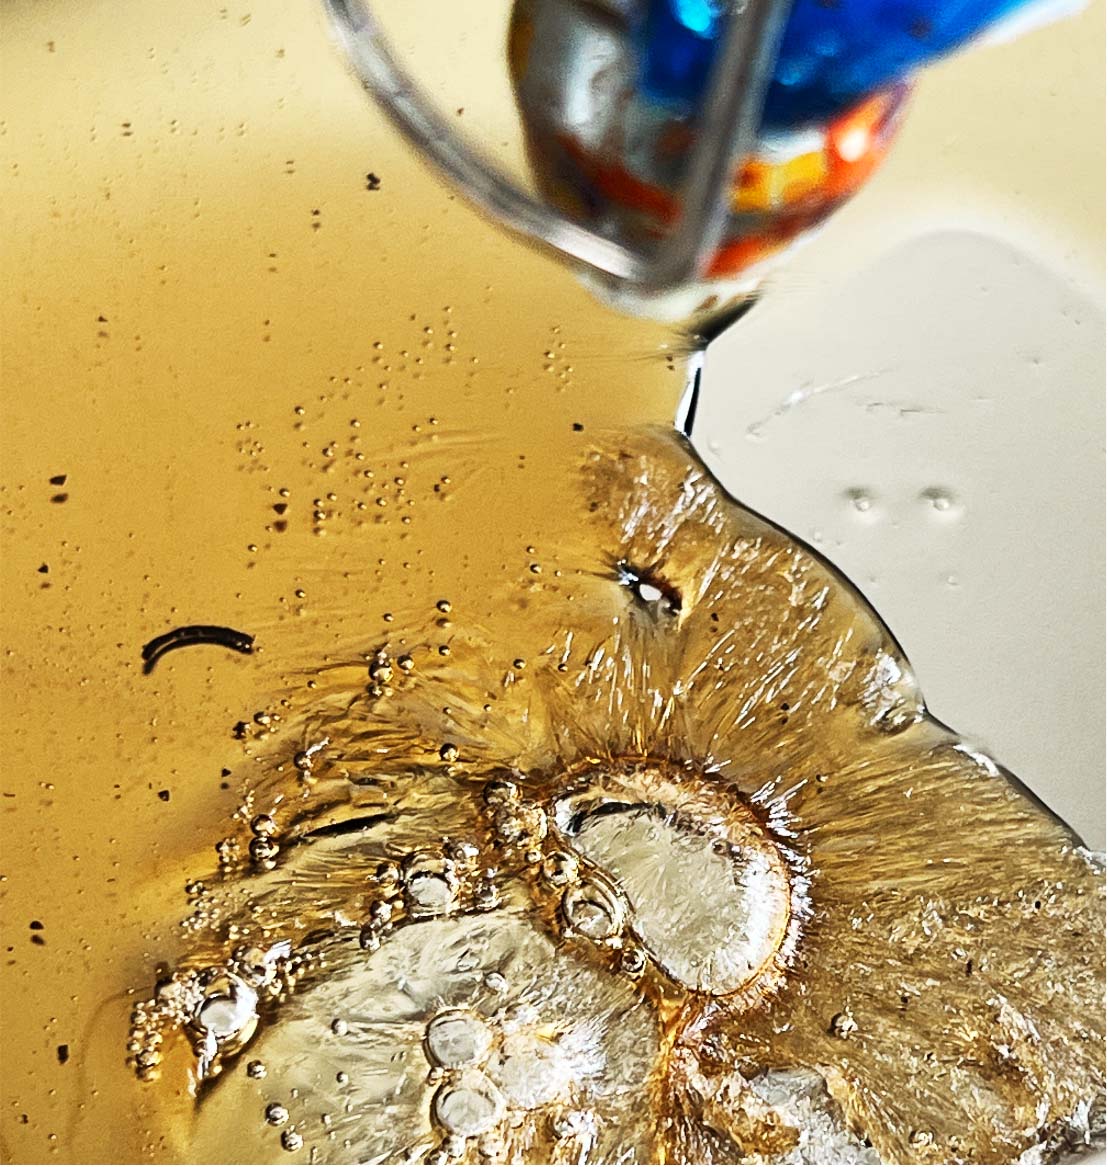
8. Cutting the dried sheets
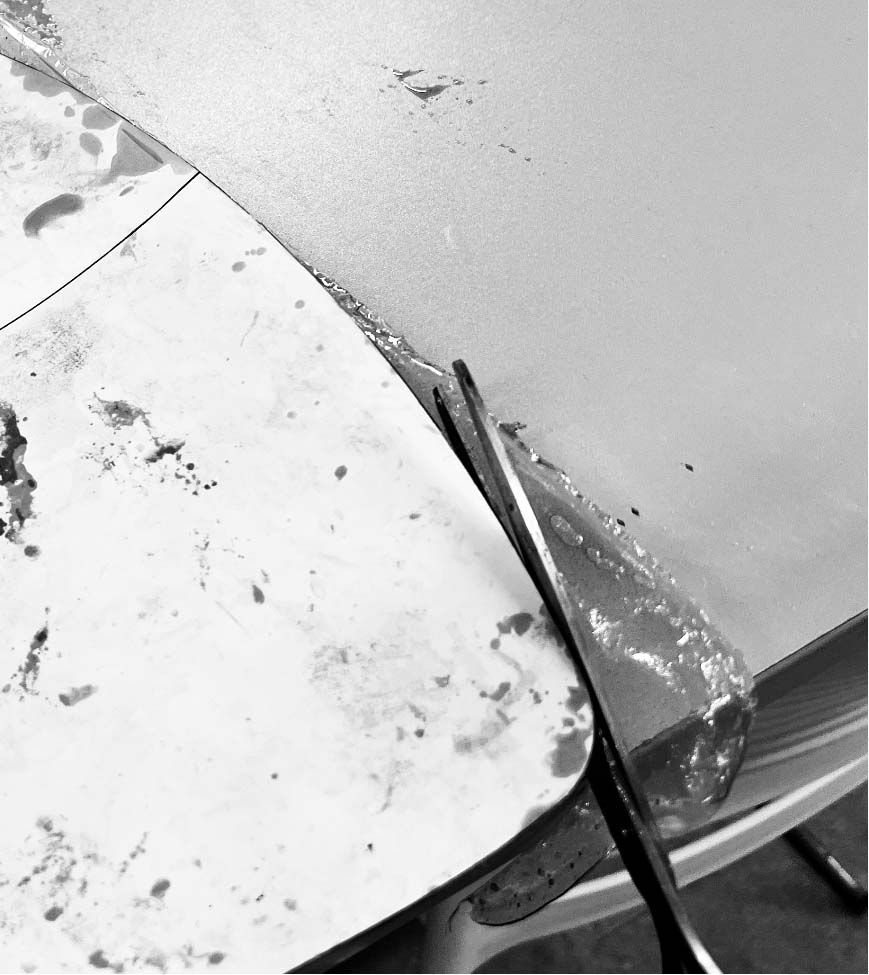
After the sheets dried, I cut them with scissors. I did not use the laser cutter because the material could melt, burn, or curl.
Results
Material samples
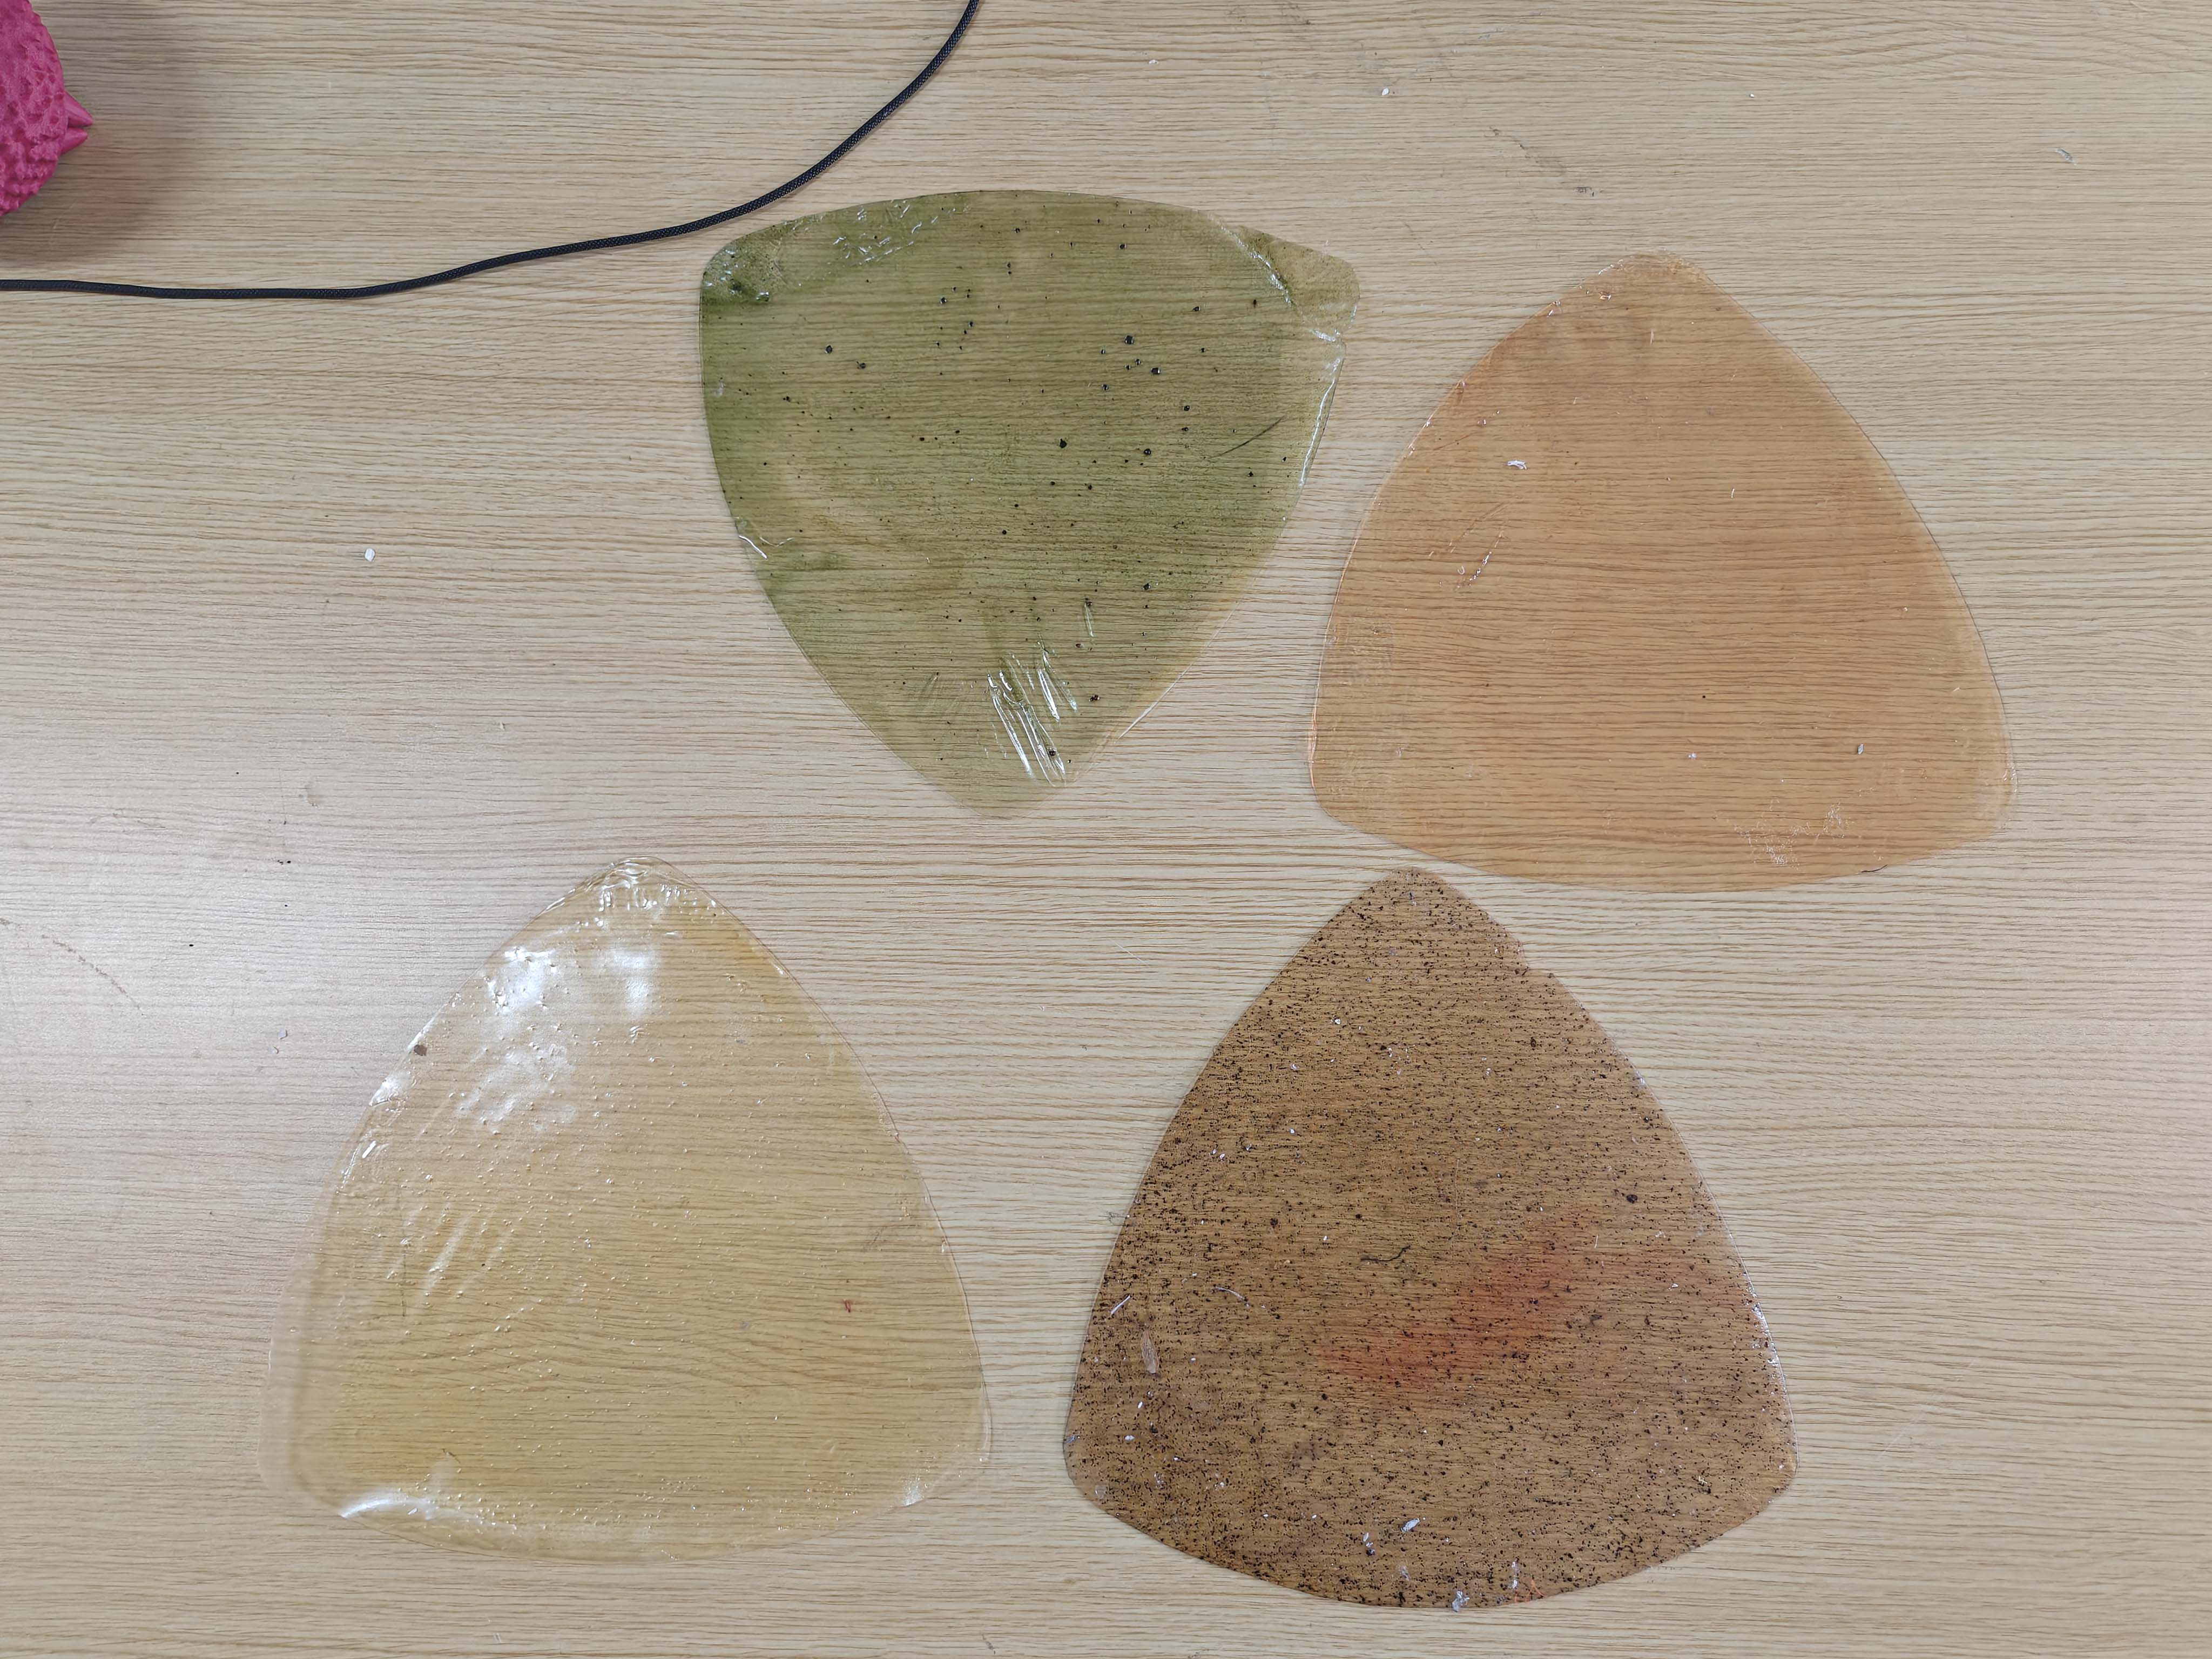
The final sheets looked quite different from each other. The color, thickness, and added residue changed the transparency and texture.
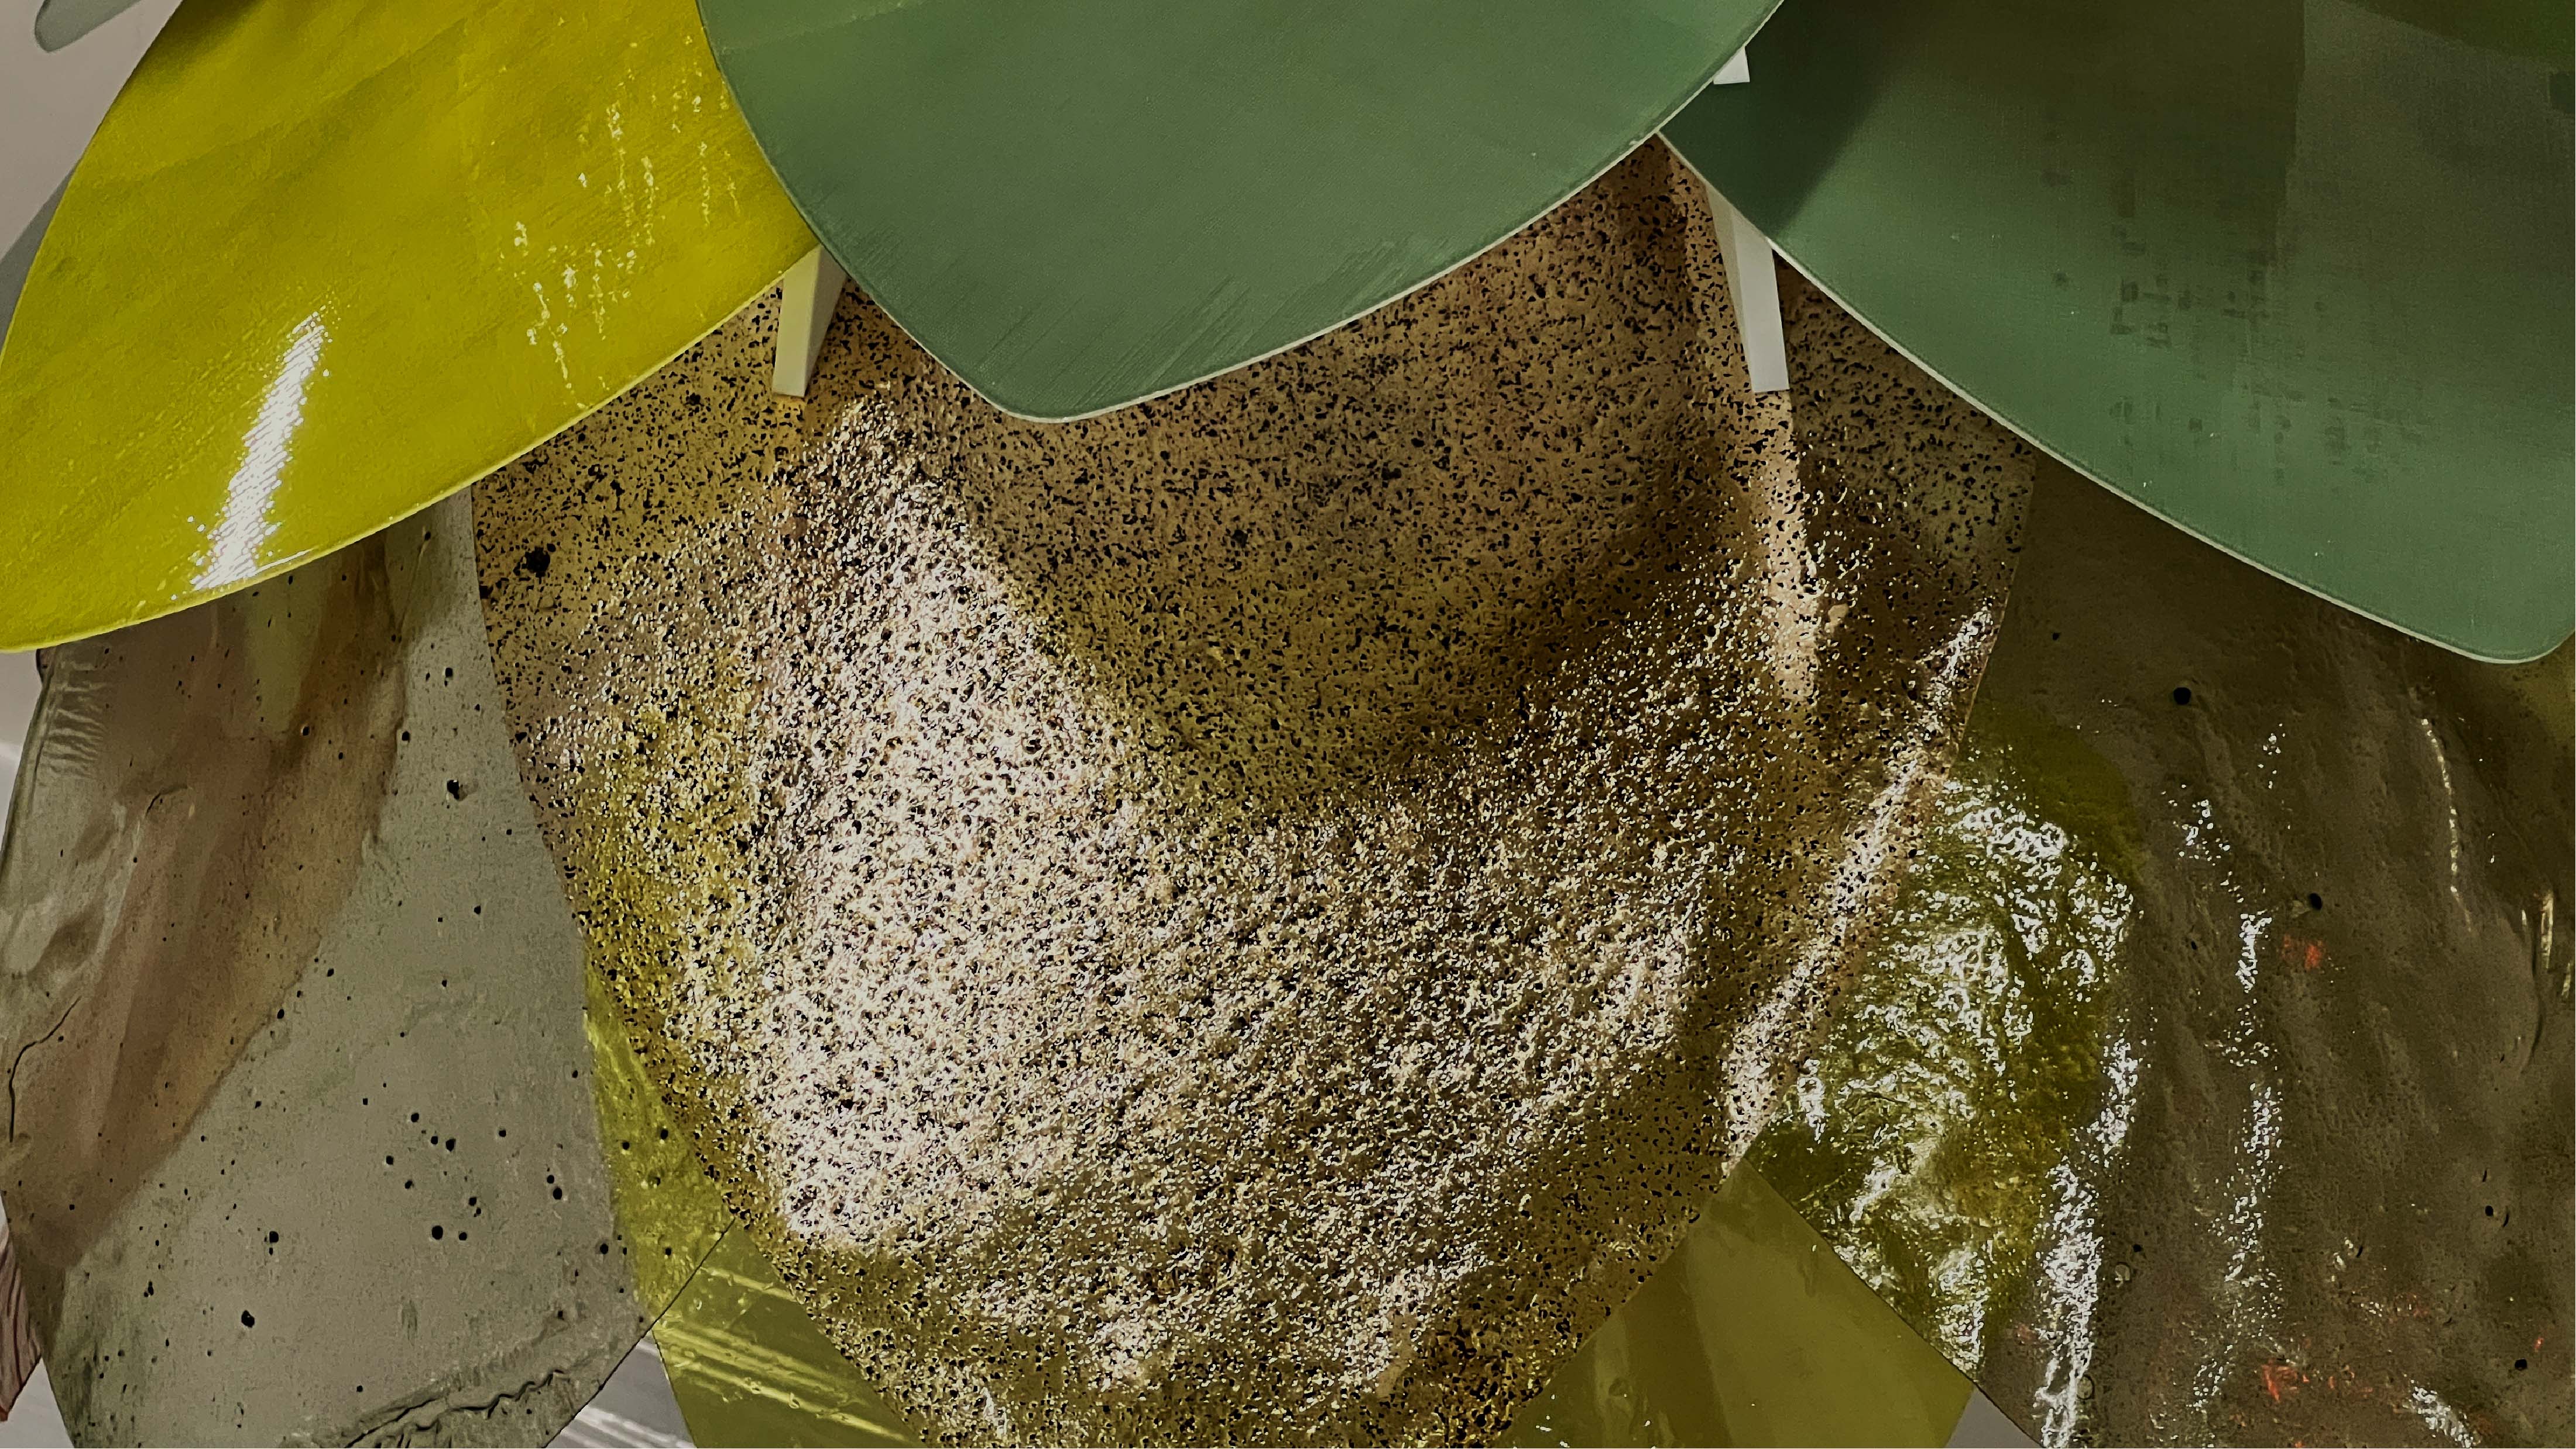
| Sample | Visual result | Observation |
|---|---|---|
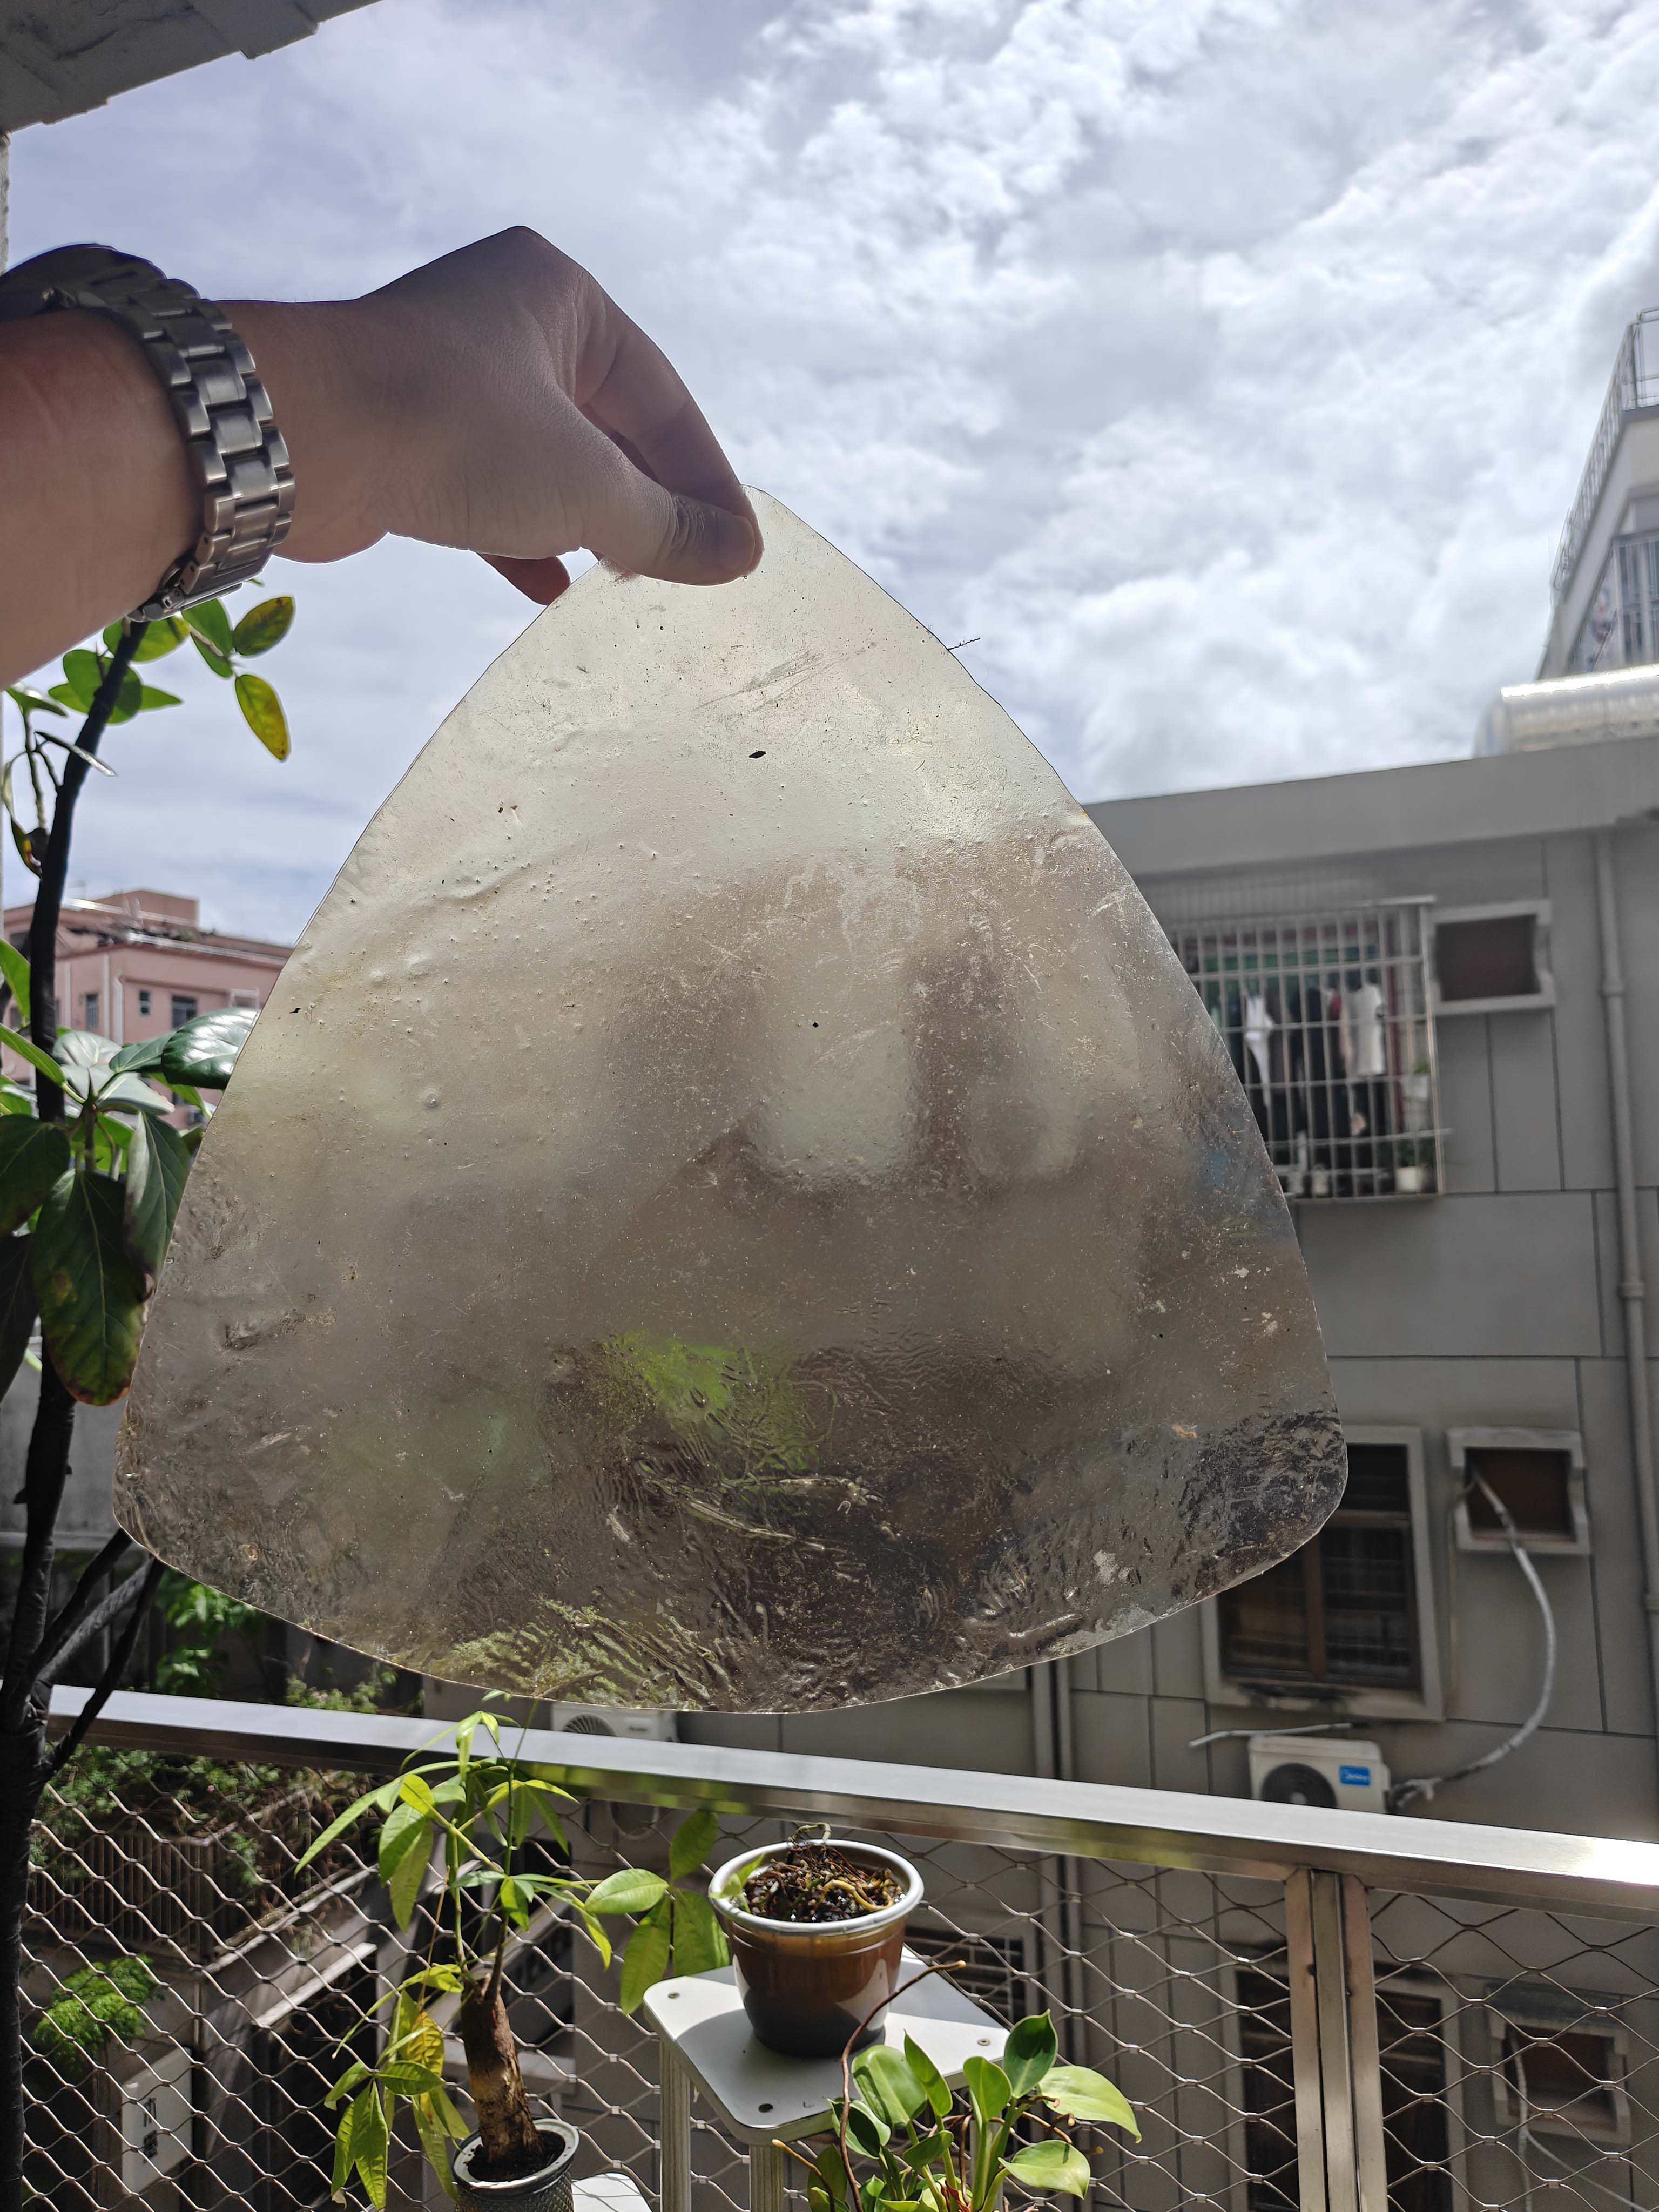
| Amber sheet | Clear and warm | Good for showing light and bubbles. |
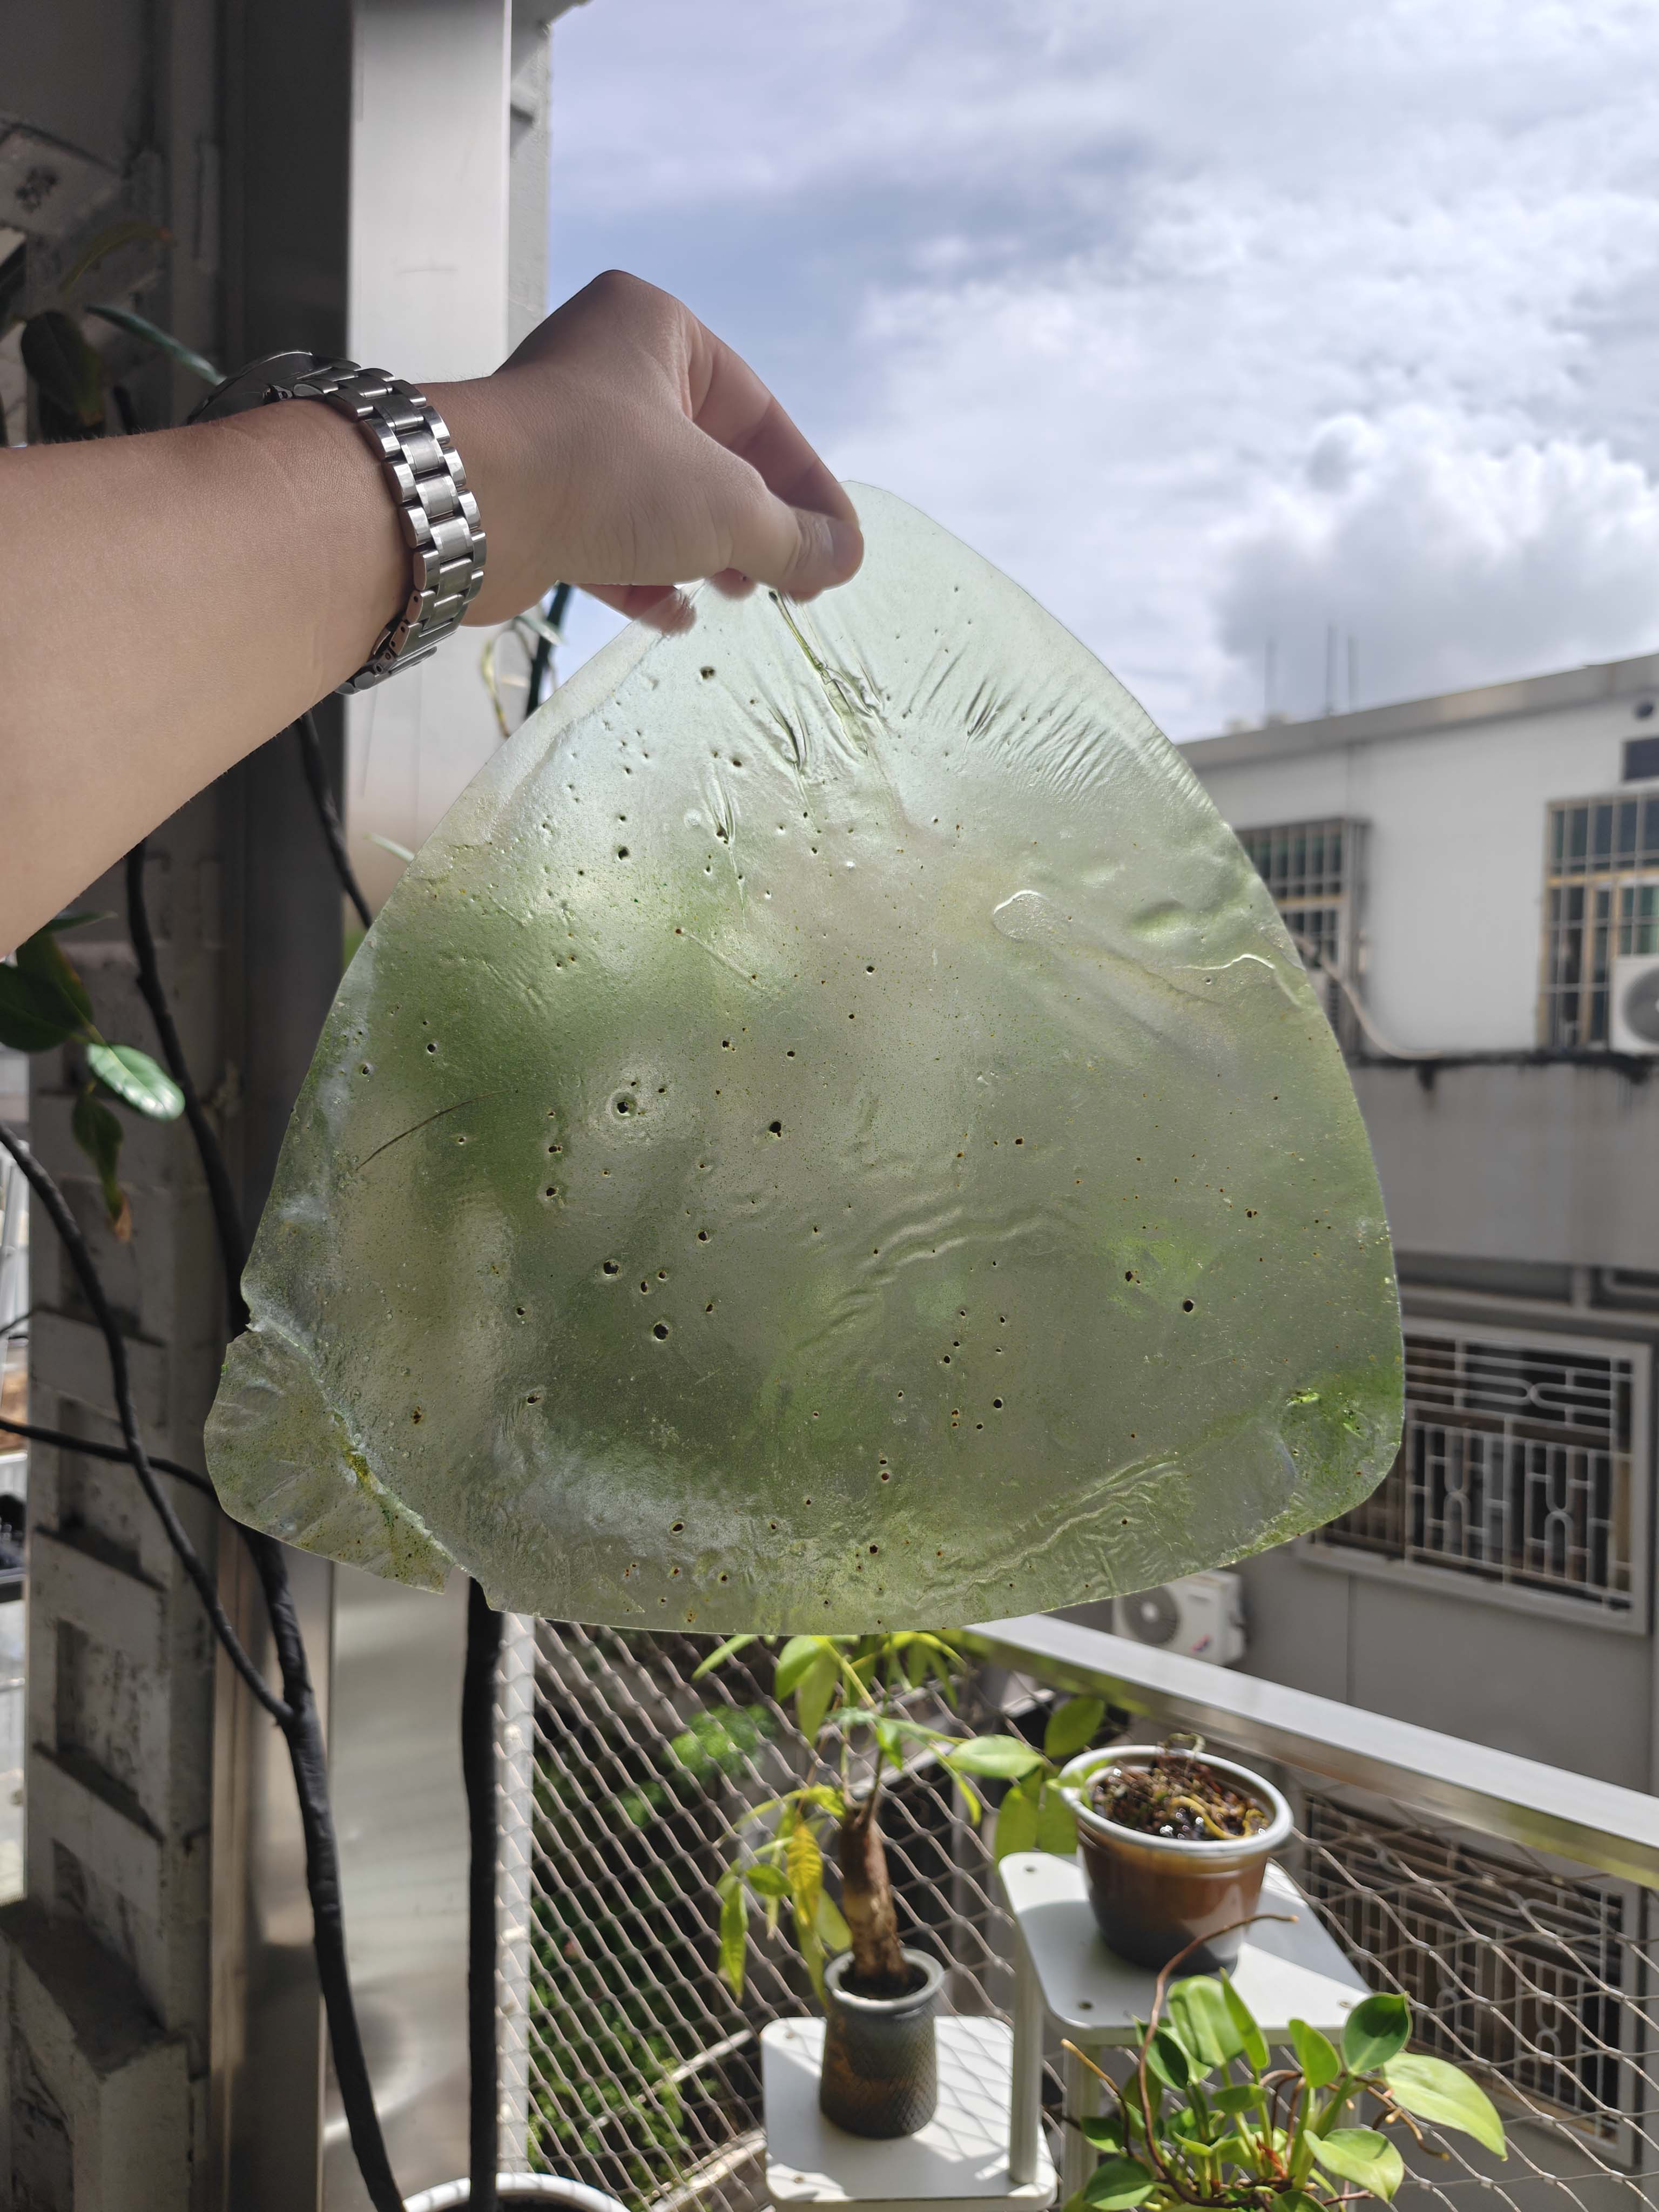
| Green sheet | Soft green | Looks closer to a leaf. |
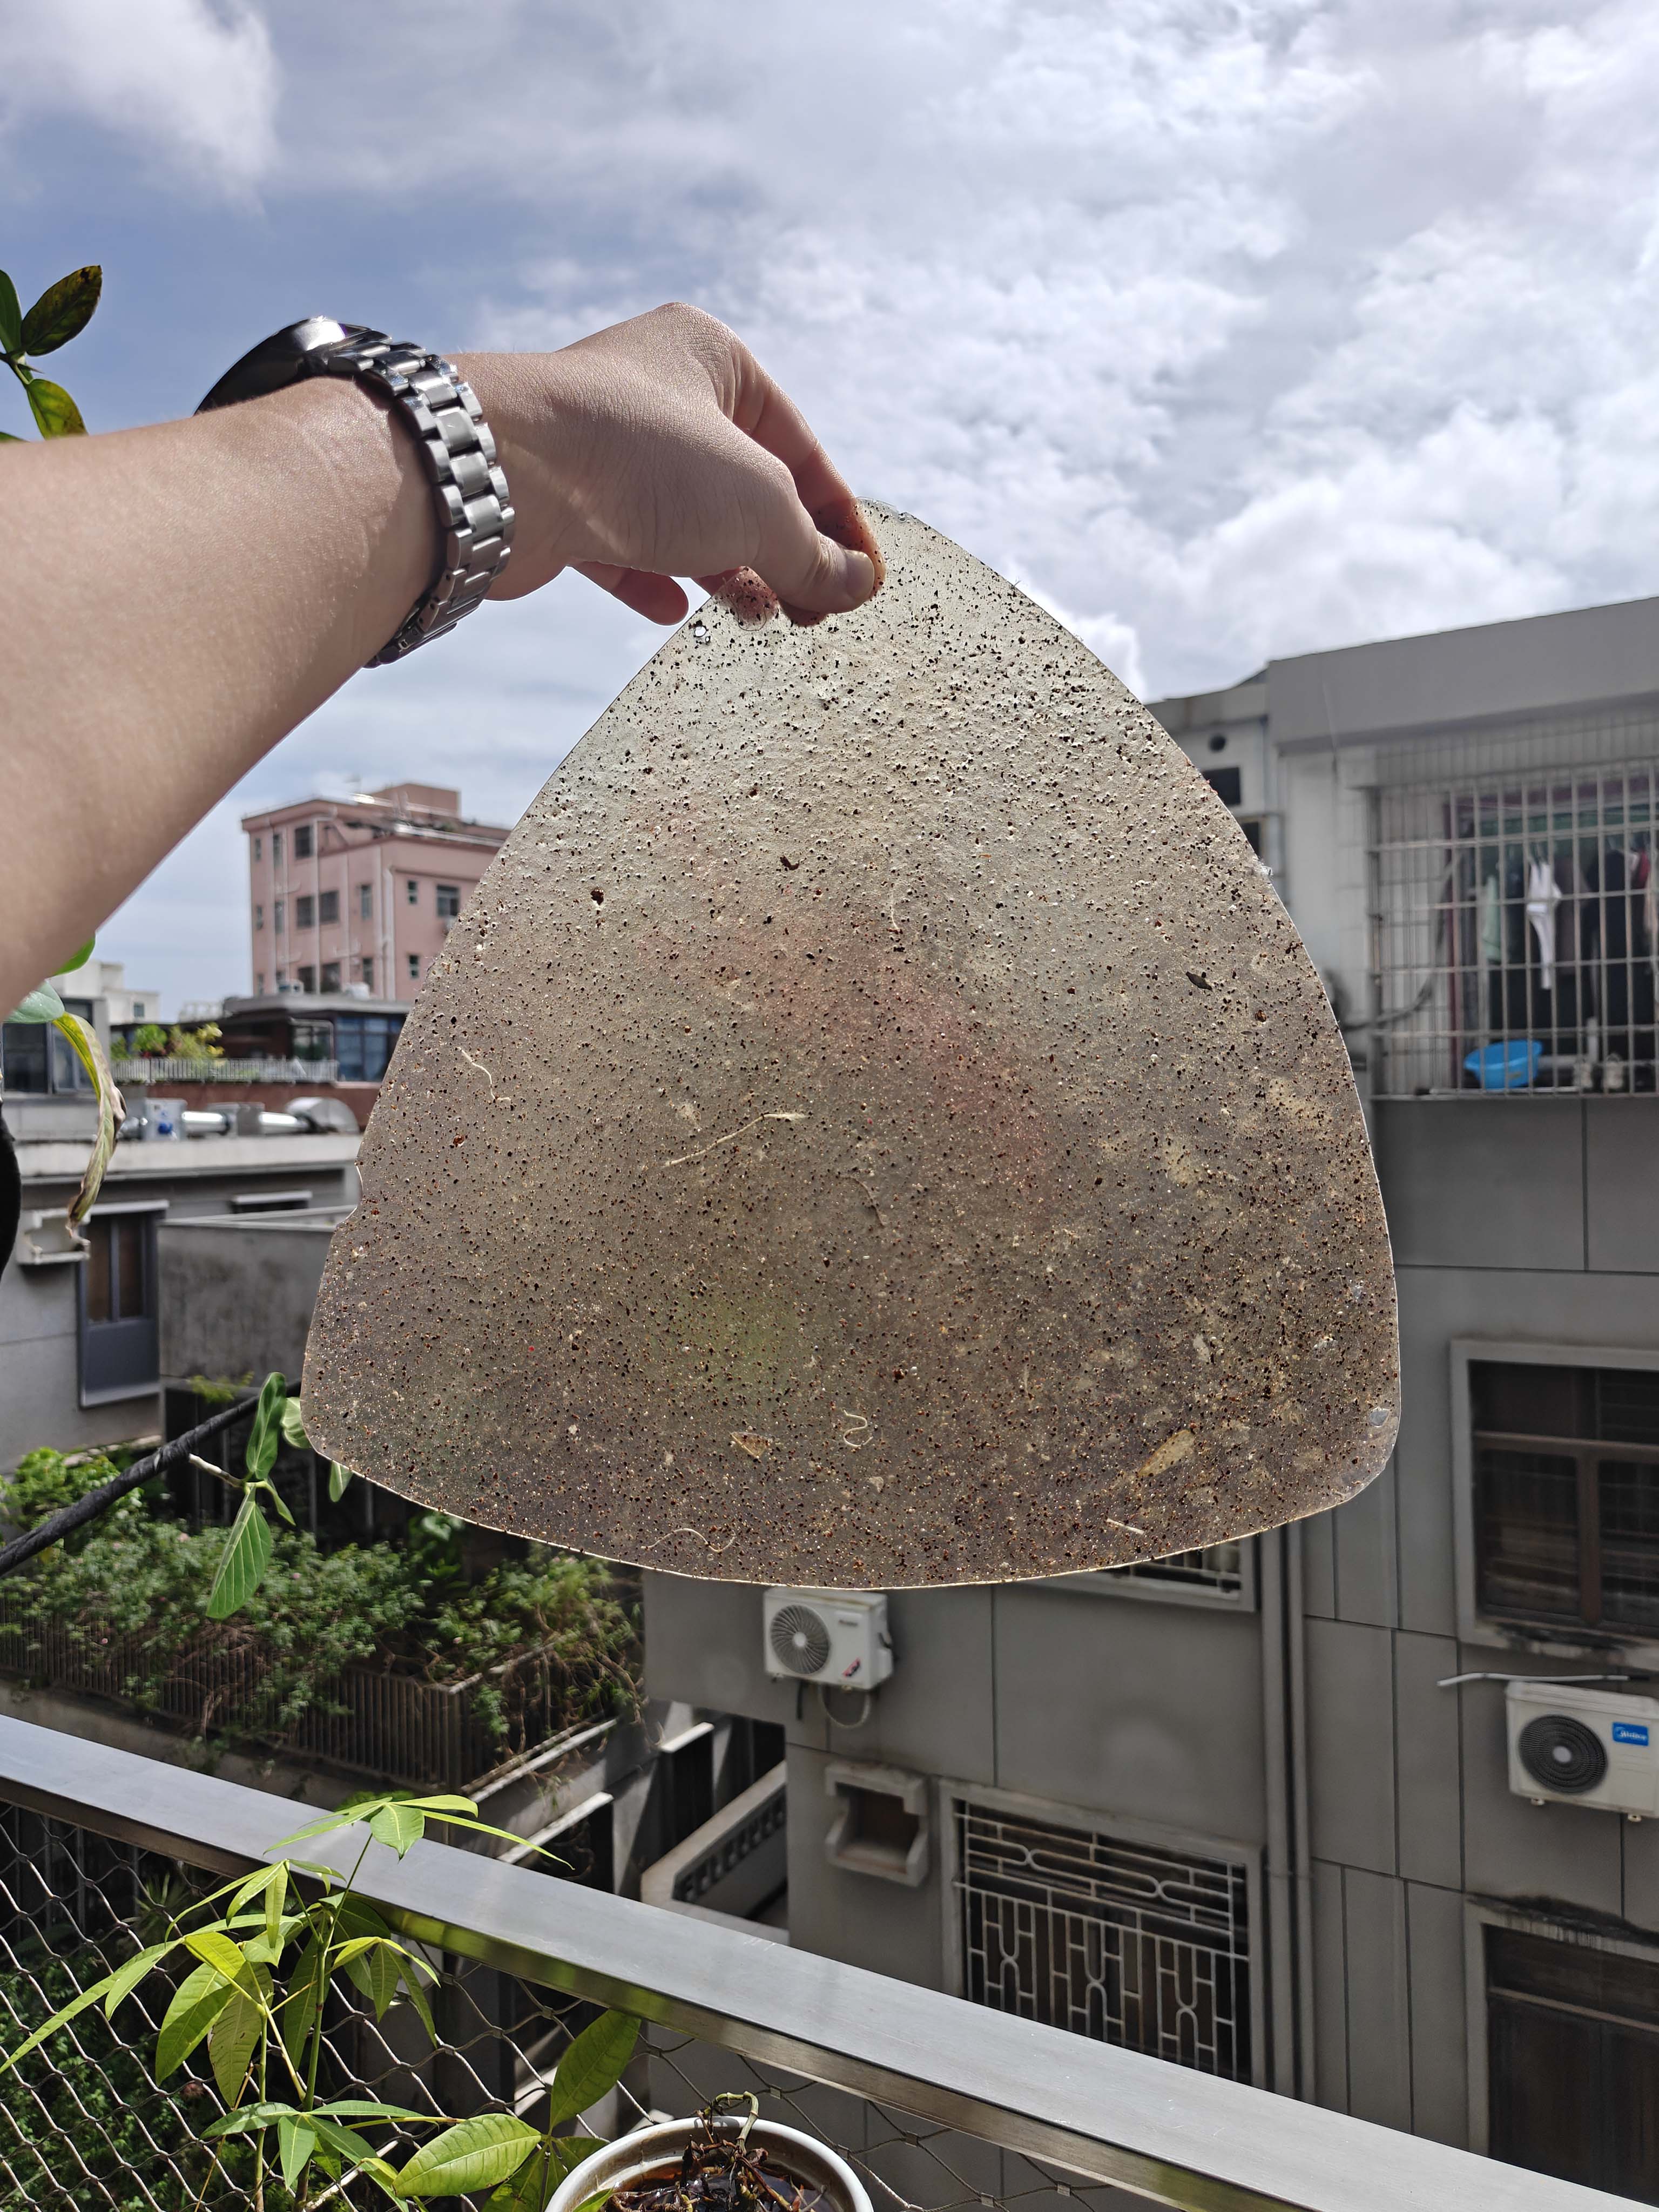
| Coffee sheet | Dark speckles | Shows the recycled material texture clearly. |
| Orange-brown sheet | Thin and irregular | Shows shrinkage and uneven drying. |
Sunlight Transparency Tests
I held the dried sheets against sunlight. This made the bubbles, particles, and cloudy areas easier to see.
Reference and Help
I did not invent this gelatin-based sheet method by myself. The basic idea came from biomaterial examples in class and lab discussions. I also discussed the material direction with my instructor.
Before making my samples, I watched one YouTube video to check if the process was possible. The video showed a gelatin-based bioplastic recipe, including soaking, heating, casting, drying, and removing the sheet from the mold.
Some materials in the video were not the same as the materials I had in the lab. So I used the available materials and adjusted the recipe during my own tests.
Reproduction Guide
This recipe is a starting point. I adjusted pigment by eye, so the final color can be changed depending on the batch.
| Ingredient | Starting amount |
|---|---|
| Water | About 200–250 ml |
| Gelatin sheets | About 10–15 g |
| Glycerin | About 5–10 ml |
| Sodium alginate | About 3.2 g |
| Calcium chloride | Small amount |
| Color paste | 1–3 drops |
| Tea waste / coffee grounds | Small amount |
Soak gelatin sheets
        ↓
Measure sodium alginate
        ↓
Mix water, gelatin, glycerin, sodium alginate, calcium chloride, and pigment
        ↓
Heat and stir
        ↓
Pour into a flat container
        ↓
Add tea waste or coffee grounds
        ↓
Let the sheet dry
        ↓
Cut the dried sheet
        ↓
Test under sunlight
How This Meets the Assignment
| Requirement | How I met it |
|---|---|
| Design and produce something | I made bio-material sheets and cut them into leaf-like modules. |
| Use a digital process | I used a digital scale and a digital leaf template. |
| Use a new process | This was a material synthesis and casting process. |
| Document the process | I documented materials, mixing, heating, drying, cutting, and testing. |
| Make it reproducible | I included the material list, starting recipe, and process steps. |
Problems and Solutions
| Problem | Why it happened | What I would change |
|---|---|---|
| Too many bubbles | The mixture boiled strongly. | Heat more gently next time. |
| Wrinkles and shrinkage | The sheet dried unevenly. | Use a flatter mold and control thickness better. |
| Cloudy areas | Pigment and powder were not fully even. | Stir longer if I want a cleaner sheet. |
| Irregular edges | The liquid spread unevenly. | Trim after drying or use a frame. |
What I Learned
I learned that material making is not as predictable as 3D printing or laser cutting. Small changes in pigment, heating, and drying can change the result a lot.
I also found that some imperfections were useful. Bubbles, stains, and particles made the sheets feel more natural and more connected to the recycling theme.
If I continue this experiment, I want to make a better mold, record the ratios more carefully, and test whether the leaf pieces can be punched or stitched together.
AI Use Statement
I used ChatGPT to help organize and rewrite the English text for this Week 16 page. ChatGPT helped me make the documentation clearer and connect the writing with my process photos.
The project idea, material selection, recipe tests, heating, casting, drying, cutting, and observations are my own work. I checked and edited the text before publishing it.